Defense site Lostarmour.info released a detailed analysis (LINK) of the battle in the Artillery Academy in western Aleppo in the period between August 6, 2016 and September 5, 2016.
SF provides a translation of the fifth part (source) of this series. Pics are taken from the original text.
- The English version of the FIRST PART IS HERE;
- The English version of the SECOND PART IS HERE;
- The English version of the THIRD PART IS HERE;
- The English version of the FOURTH PART IS HERE.
THE FIFTH PART
And finally, for the most patient among you, I’ll try to squeeze a few drops of brain juice in the form of conclusions and generalizations.
As a reminder, I should point out that all preceding material is an effort to reconstruct events on the basis of openly available information. No official documents or reports are openly available, naturally. What is more, those who made basic information available apparently did everything possible to distort reality rather than express it accurately.
It so turned out this rather secondary sector found itself well covered by cameras from the very start of events. Ground camera operators, headset Go-Pro, and of course the ubiquitous drones. There were very many drones.
Which were fired upon.
They were also welcomed.
The wounded in one tank were pointed at the drones hovering over a road.
Some even tried to tickle them.
For that reason, material is not simply available, it is available in massive quantities. The images were censored, edited, reset, then laid out on the internet for general viewing.
The militants were the most advanced when it comes to political agitation. Their overview clips, as a rule, contain aggregated information from several days of fighting, with successful episodes being replayed several times, in an attempt to make it look like they were separate events. For example, the flight from the yellow house was shown up in one video only using wide-coverage drone footage. In another video, those who were killed while fleeing are shown in a close-up, and described as victims of artillery shelling. One should also reflect on the very correct militant depiction of their own positions, forces, and losses. In this sector, the “green” opposition videos only briefly show own troops in the context of setting an Armored Recovery Vehicle on fire, and capturing the yellow house. RPG launch sites can only be found after a dedicated search, and they are excised wherever possible. Only the ATGM launch videos can be considered more or less reliable, they are as a rule accurate when it comes to the dates, and are not heavily edited. The only changes may be the “fake” launch site (a single launch may be used in several videos) and the rapid cutting away in cases of near misses. The aftermath of successful hits (fires, corpses) is always shown. On the debit side, there are no videos of unsuccessful ATGM launches, which really warps the real picture of ATGM use rate. Government channel videos also often cover several days, but they are less systematic, less geared toward propaganda purposes. I’ll refrain from commenting on the RT video crew–having a drone of their own, they broadcast nice looking video not having anything to do with any plot line. It would seem their approach was purely utilitarian–the video could be used to accompany any narration.
RT reporters had a magnificent opportunity to provide high-quality analysis of these events, which were accompanied by many dramatic reversals. If they were afraid to reveal too much information, the analysis could have been made after the battle had concluded, but neither RT nor Evgeniy Poddubny’s own “War” program even hinted at attempting something of this kind. Their reporting amounted to only a kaleidoscope of pretty pictures in random order. I don’t know whether the result justified exposing oneself to a sniper’s bullet or an SPG rocket. In my view, such reports could have been made by simply sending up a quadrocopter from the hotel, the video that was broadcast did not warrant anyone exposing themselves to danger. ANNA-News reports probably contained the most information. As a rule, they were capable of providing a decent narrative without mixing up events from different days. Considering that their “ideological treatment” consisted only of “sins of omission” (not showing obvious SAA failures), their videos may be considered the most trustworthy among what’s available.
This voluminous flight of lyricism was intended to remind that:
–when interpreting the videos, keep in mind there may be both chronological and factual errors;
–when attempting to assess a single day’s events from a video that’s several minutes long, there is always a risk that the main events of that day were not documented;
–when drawing conclusions from improperly interpreted information, one may draw the wrong conclusions (Thank you, Captain Obvious ;).
Let’s start with simple things: statistics. Over the 29-day period under consideration, we spotted 24 ATGM launches. Those are only the launches whose authors considered successful (or relatively so). This number does not include SPG/RPG shots. Considering that most of the launches were conducted along a less than 500m long frontline, I’m probably not mistaken in saying this is the most intense ATGM use during the entire conflict.
Out of the 24 launches, 10 (42%) were against infantry, 14 (58%) against armored vehicles, including 9 (38%) against BMPs and 5 (21%) against tanks. Nine (or 90%) of launches against infantry were successful, 8 (57%) launches against armor including 5 (56%) against BMPs and 3 (60%) against tanks. Three launches (21%) caused catastrophic kills of armored vehicles, including 2 BMPs and 1 tank. Infantry losses are assessed at about 16 killed in action. It’s evident that in this location, in half the cases the intended target were not armored vehicles. One can also note that our statistics suggest infantry is an easier target, but does killing 1.6 soldiers per launch warrant the expenditure of a missile or the associated risk of return fire? On the other hand, in several instances hitting a group of soldiers had a powerful demoralizing effect sufficient to stop the attack (at least temporarily.
As far as vehicles are concerned, BMPs are a more frequent target, twice as frequent as tanks, but the rate of hits and losses is not different from that of tanks.
When examining the statistics concerning hit location, we see the following:
13 launches (54%) took place on Academy territory (mainly by the storage facility), 5 launches (21%) by the fence, 6 (25%) in the field. At first glance this looks paradoxical–targets on the road behind the berm were hit more frequently than targets sitting next to buildings in Academy grounds. But if one looks more closely, the puzzle is solved: nearly all the launches were at static targets (the only exception is the hit on a moving T-55 on August 25), therefore the higher percentage of hits is due to the more advantageous aiming conditions.
In addition to the ATGMs, there were 8 SPG/RPG shots, 6 against BTRs and 2 against tanks.
Summing up all the armor losses on this sector, we get:
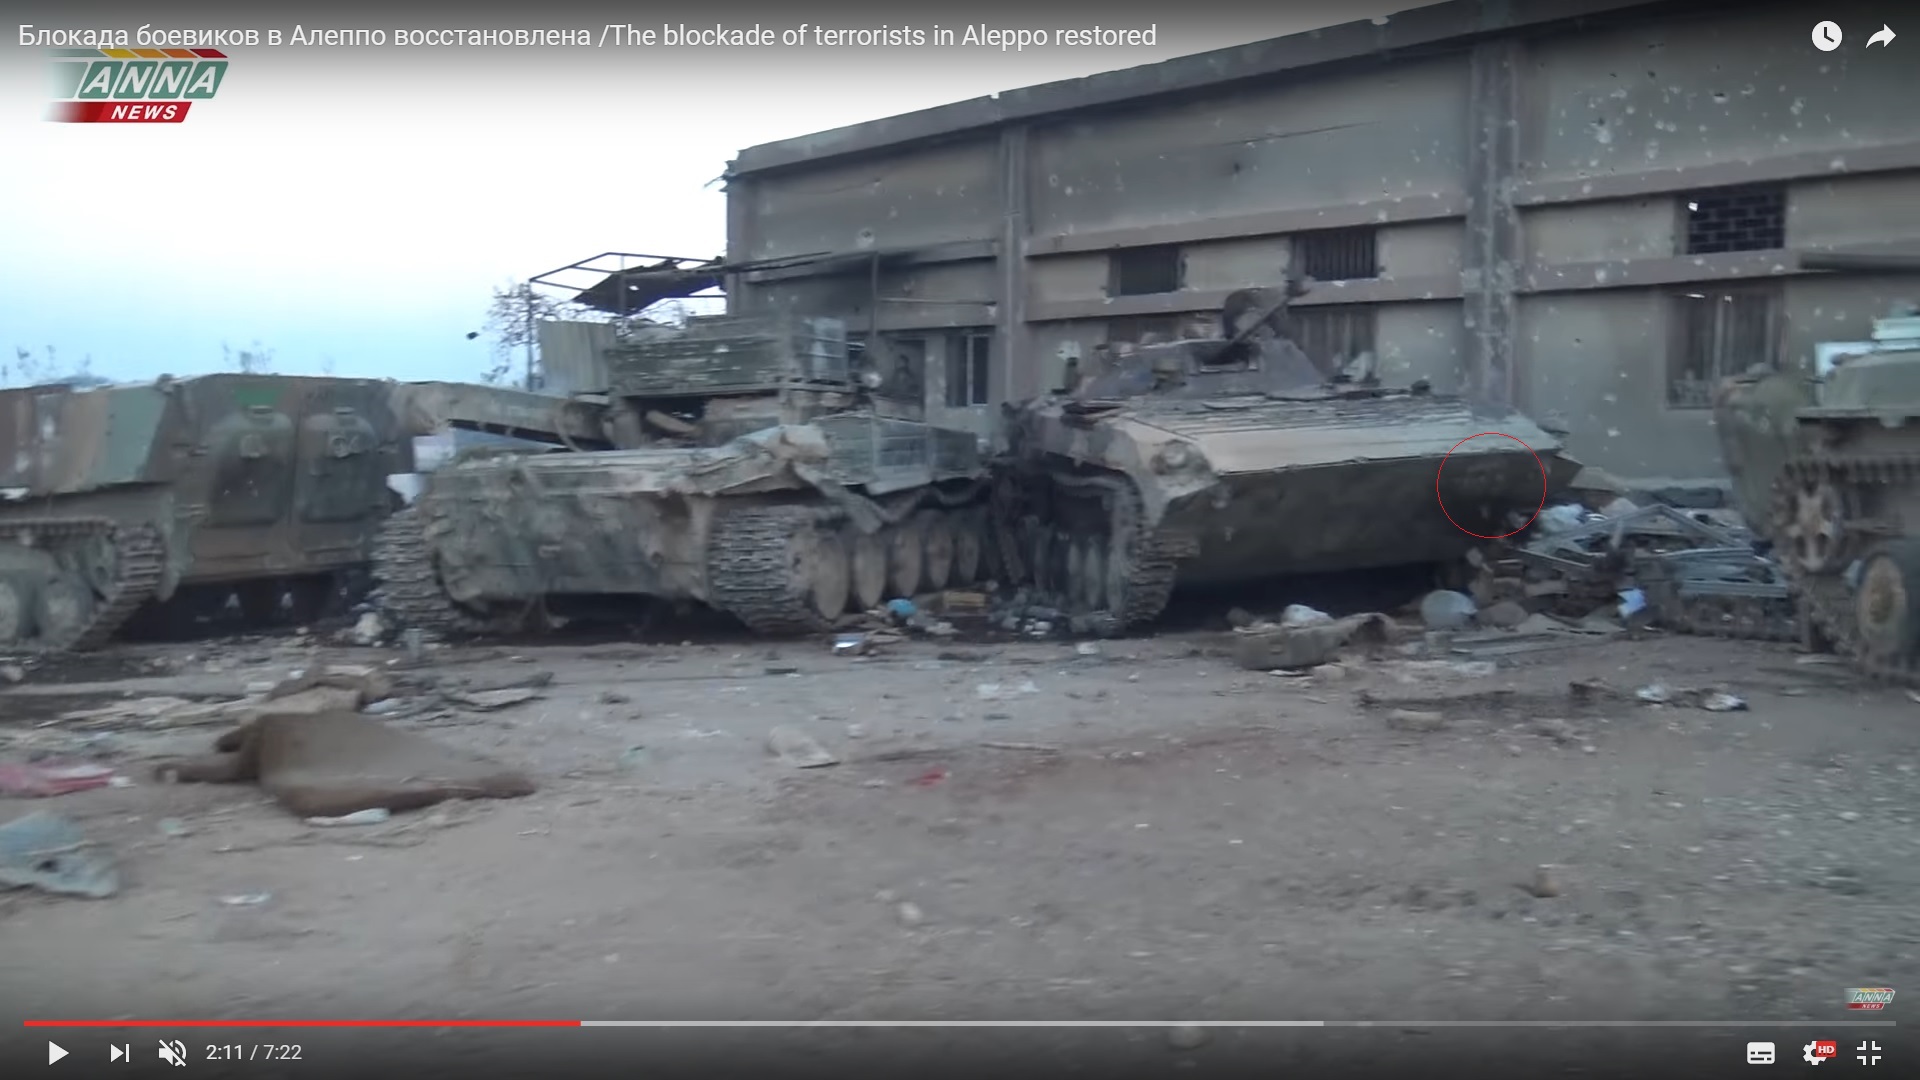
Burned out. 1 tank, 1 ARV, 3 BMPs. ATGM hit on T-55 by the water pumping station, the ARV was destroyed by a grenade, ATGM hit on a BMP-2 by the warehouse, RPG on BMP-1 next to the yellow house, and ATGM on a BMP on the road. BMP-2 by the warehouse was targeted 4 times–a real ATGM magnet.
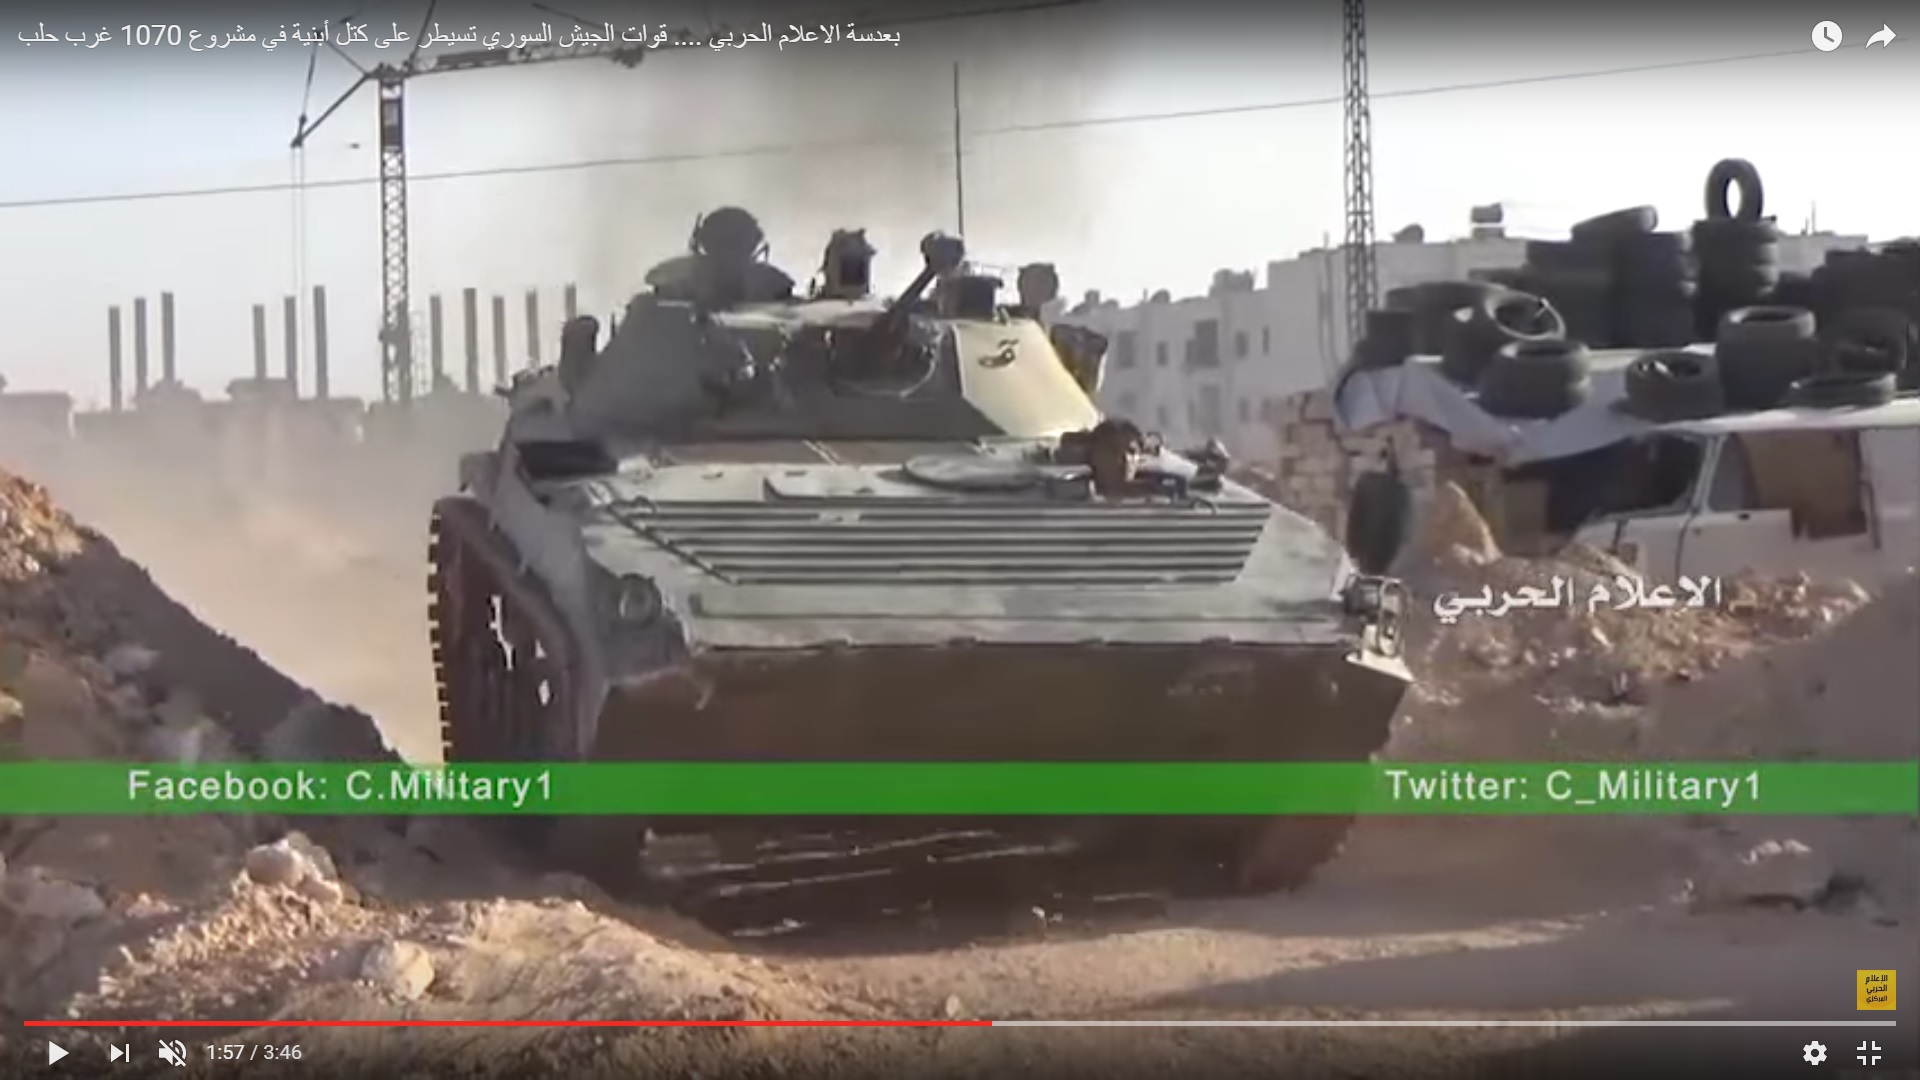
Of the lost vehicles, one can confidently identify only the BMP-2. A tactical symbol was painted on its front, on driver’s side.
This very same vehicle earlier appeared in the 1070 quarter.
One may also get to know the driver. He nearly got stuck in the rubble during the first assault.
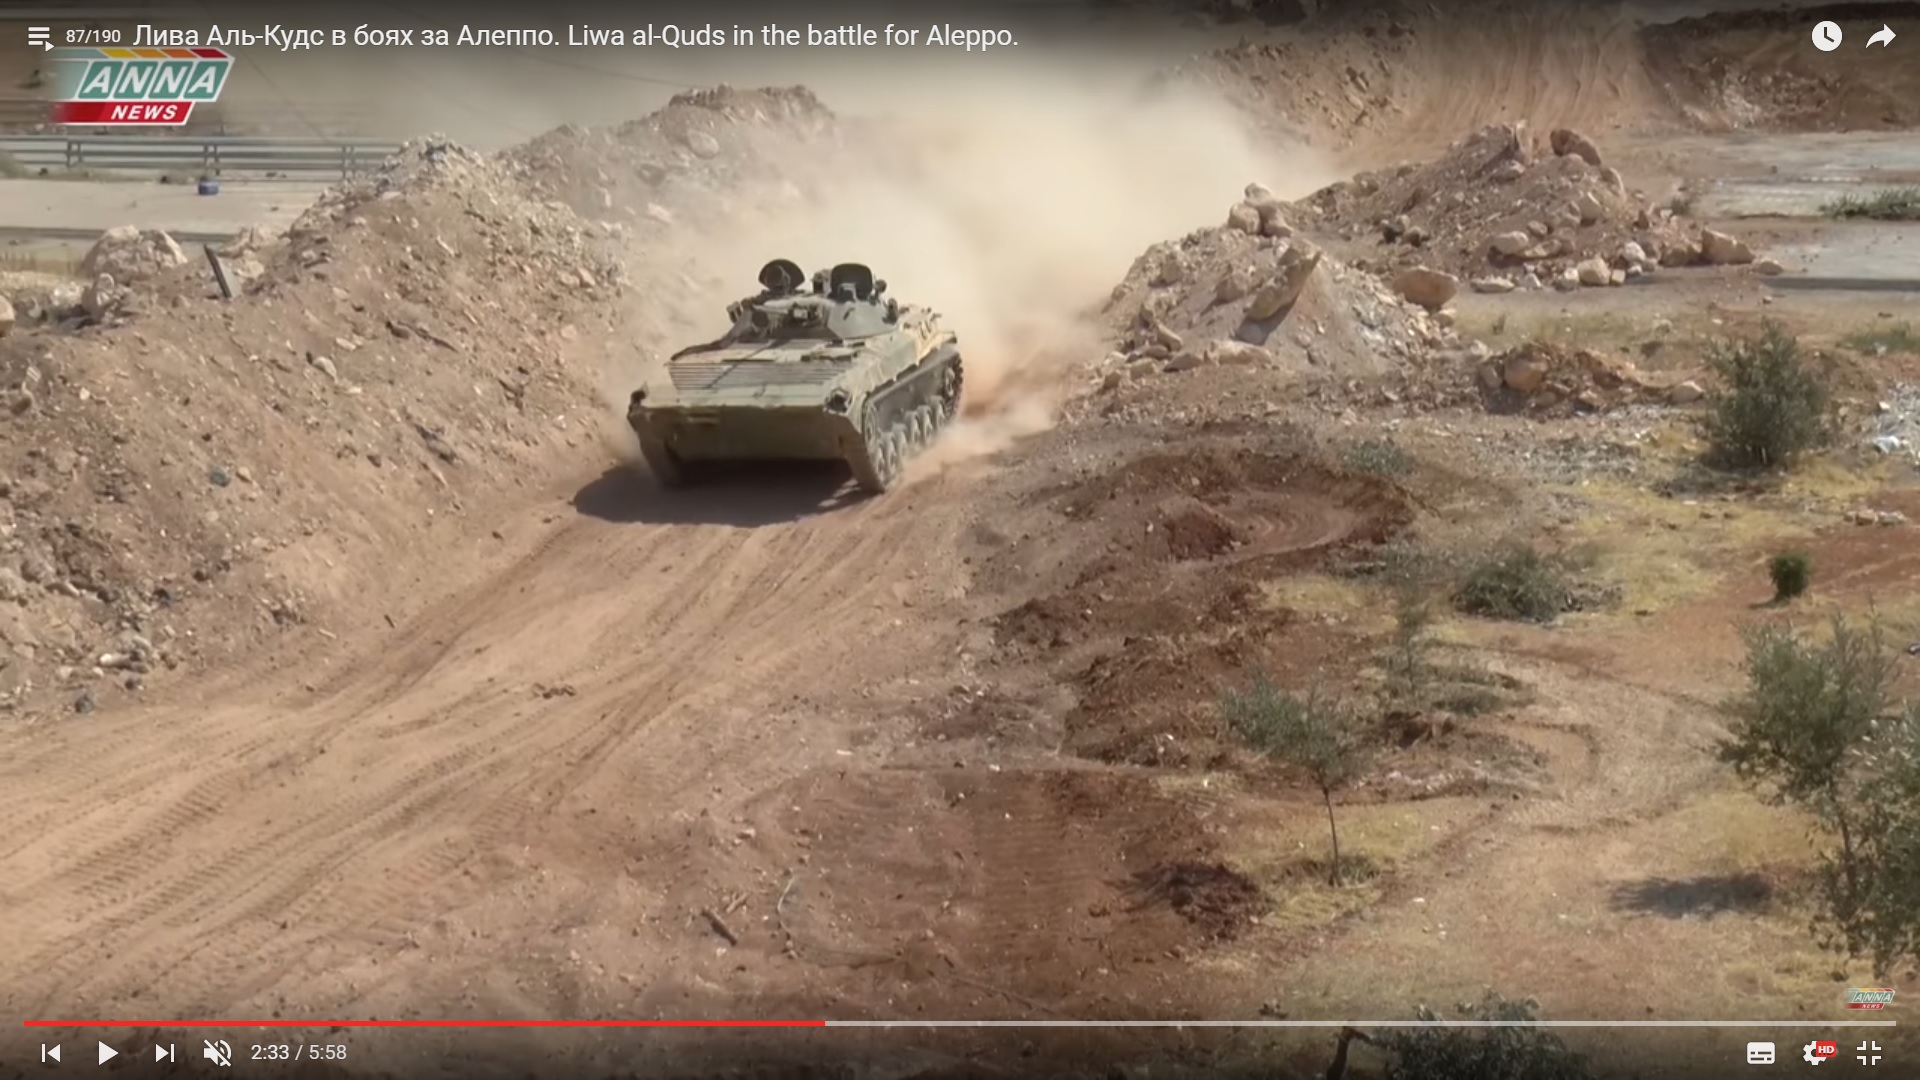
Here it’s returning from yet another sortie along the “mud road” into the Hamdaniya quarter.
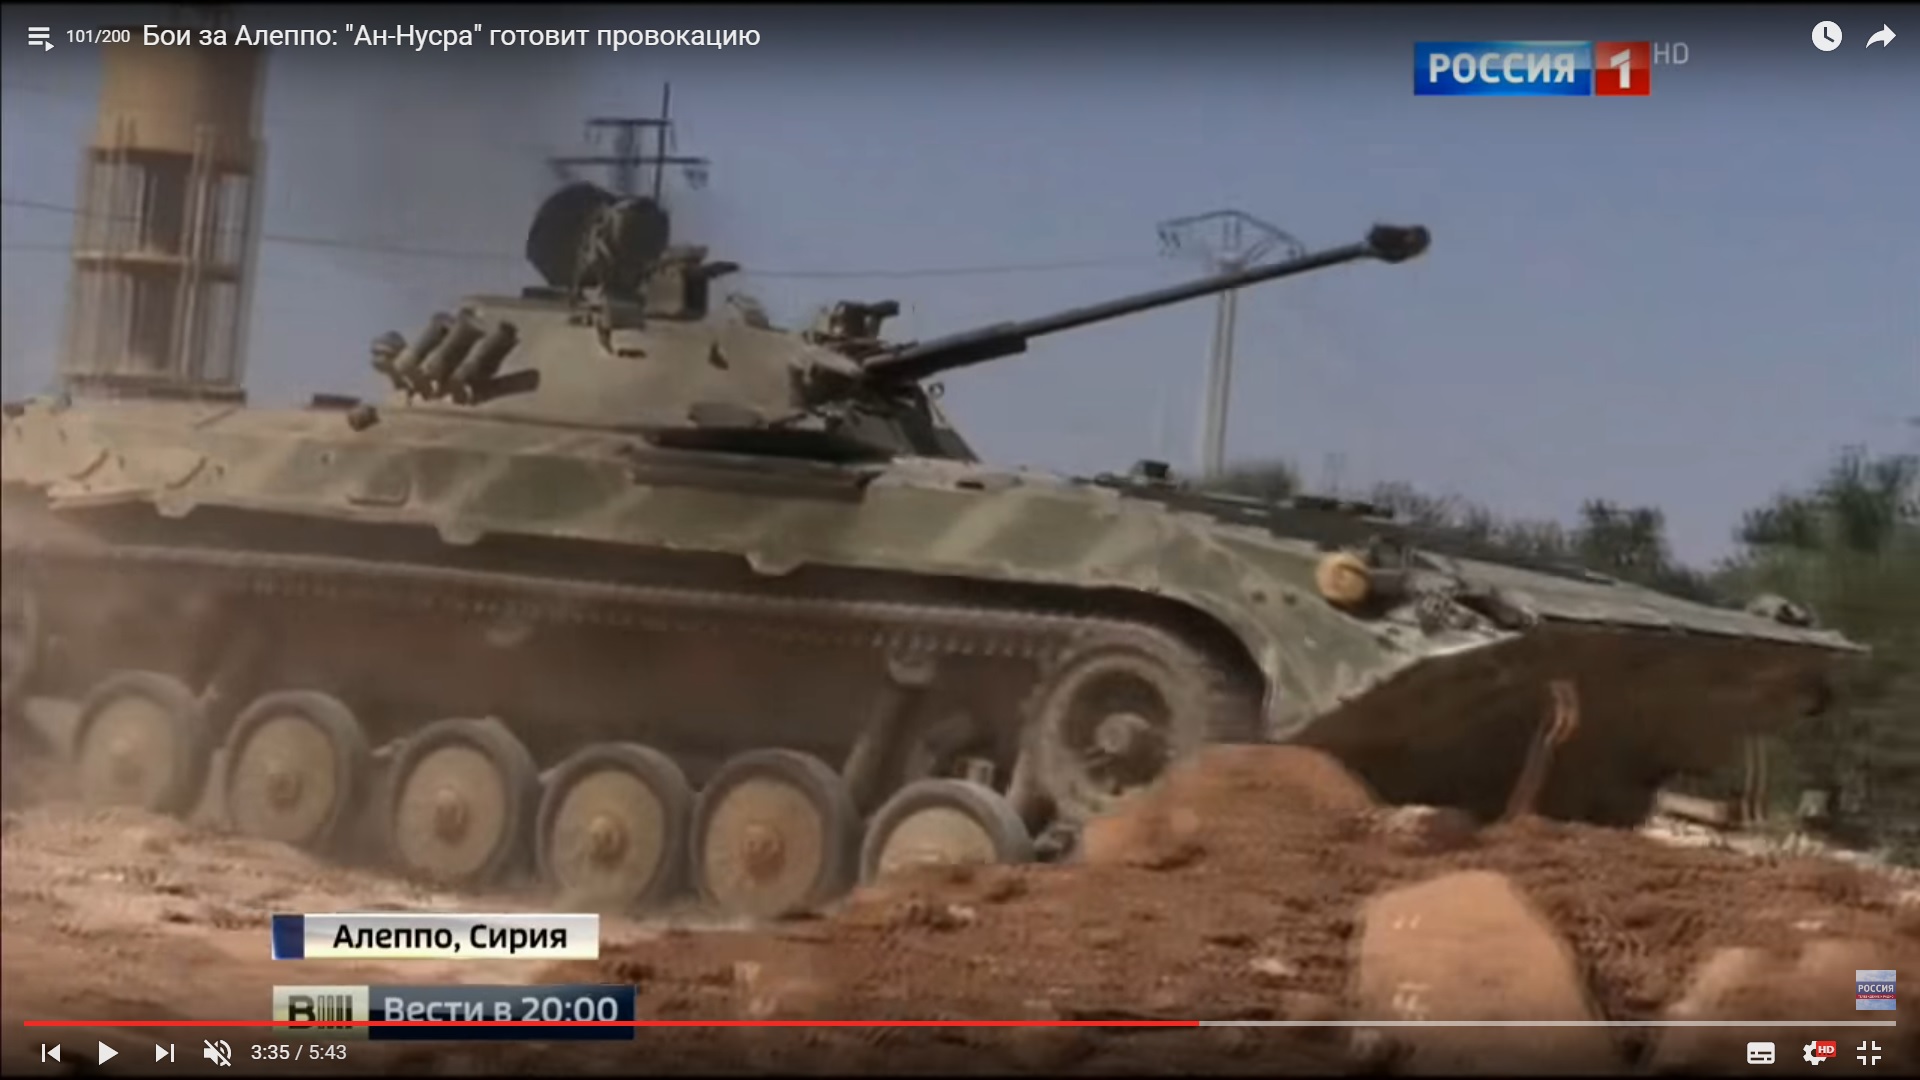
The other BMP-2 used in this area had a tactical symbol on the other side.
I was unable to determine which of the three T-55 operating in this area was destroyed by water pump. The same with the many BMP-1s. But it’s all clear with the ARV–it was the only such vehicle in this area.
Damaged. A controversial category because it’s not clear whether the T-55 on the road with a pierced turret should count as damaged. The level of damage is not always known in specific cases. In the end, I decided to include only those vehicles which were immobilized. 1 tank and 7 BMPs. SPG on T-72 by the warehouse, RPG on BMP-1 by yellow house, ATGM on BMP-1 by cafeteria, plus the following vehicles to unknown weapons: AMB-S by the warehouse and 4 BMP-1s. One by the warehouse, one on the way back from the yellow house, two on the way back from the warehouse.
Of vehicles which received hits, there is the T-55 with sandbags by the warehouse, and the T-55 with pierced turret on the road.
It’s revealing that we weren’t able to find a single launch against either vehicles of infantry assaulting the Aviation Academy from the direction of the cloverleaf, even though the events there unfolded in a very dramatic manner. It means that the launches were made from the houses on the second-third line of the Al-Amriya quarter. The explanation is obvious enough–operators’ concern for own safety.
All the launches were made by Fagot/Faktoriya/Konkurs-family missiles. Range to target (1700m) allowed them to use the ancient 9M111 missiles, and the comparably modern 9M113M. The choice of these weapons is also understandable–supply routes to the encircled part of Aleppo were under constant fire, and the smaller and lighter missile system is preferable under such conditions. Moreover, some of these missiles were captured by militants when they captured the Support Services Academy.
The system also has some shortcomings. The main one is that it’s more demanding on user skills than the TOW. The spiral flight trajectory makes aiming more difficult even against a static target, the misses against the T-72 in the field and the BMP next to the Aviation Academy are embarrassing. The TOW has a flatter trajectory, which makes scoring hits easier. Moreover, TOW hits will cause a higher percentage of fires because its warhead is twice as heavy. TOW has a greater blast radius when shooting at infantry. Of course, ideally one should have statistics on the frequency of TOW hits causing fires to support the above suppositions. In any event, Fagot reliably damages armored vehicles whenever it hits them, rendering them non-battleworthy.
ATGM unit operations are interesting from organizational point of view. One gets the impression they are not permanent members of specific organizations, but are semi-autonomous subunits used for specific tasks. The “product” of their labor is not only the destruction of personnel and armor, but creating media content which is highly prized by conflict participants. One may surmise that an ATGM team enters into a contract with a specific group. This group gets rights to show video with successful launches, publishing them with own embedded logos. Some of the videos are sent elsewhere and are published with the logos of other detachments, but without showing the moment of launch or with the operator concealed. Unsuccessful launches or misses may be sold not to the detachments but to rebel information agencies. It’s not known how “intellectual property rights” are being handled–are the ATGM operators independently selling their clips “under the table” or whether this is handled by a group manager who maintains exclusive rights. It’s also not clear who decides where the ATGM team will operate, and with what volume of fire. On the one hand, we do see examples of decent tactical cooperation, when the launches occur during mortar bombardment which makes detecting the launch more difficult and makes it easier to carry out a second launch. On the other hand, there were also frequent cases of ATGM gunners appearing on the scene when the proverbial dust was settling so that even their effective engagements made no difference on the course of battle.
Judging by their operations in this sector, it seems that ATGM teams operate autonomously, independently observing the battlefield and choosing the moment of joining the battle, with own safety being paramount. This is supported by the fact that many launches were made in the evening, when their result made no difference, while opportune moments to hit priority targets were ignored during the daytime. For example, only five launches were made against tanks, in spite of them being used against the warehouse during every assault by providing fire support to assault teams, with two or even four tanks being present in the warehouse yard on some occasions. Militants observed them using UAVs, theoretically had an opportunity to score some hits, but the ATGM gunners did not react.
The Tactics
First the painful aspects ;) SAA infantry resilience on the defense has already acquired a certain reputation: should anything happen, they take to their heels. But is everything as obvious if we look at them through the eyes of an officer’s daughter? The Syria civil war has been raging for almost six years, but even after the capture of Aleppo it’s impossible to predict when it will end. The conflict’s length, and particularly its early stages when part of the army joined the rebels, seriously affected the army’s quality. It has significantly degraded, in terms of the level of training, equipment, and the manner of fighting. It characterized by low intensity, as evidenced by the low number of units participating and how heavy weapons are used. Aviation, with some qualifications, is used by only one side, neither side has serious artillery (not surprising, considering its rate of ammunition use), tanks are used only for direct fire support. There are sectors where both sides calmly face each other for months, and the war is limited to who will extract more from the passing civilians. The country’s economy collapsed due to the war, and survival is a key problem for many. Not everyone can go off to Europe, therefore military service is one of the remaining options to make ends meet. So one shouldn’t be surprised by the low level of motivation and training among the infantry. What is more, if one examines the history of warfare, this is not unprecedented. During World War I, following the Verdun and Somme slaughters, French Army command had to deal with the rapid decline of morale among the troops–the war begam to seem endless and death so senseless that even potential repressive measures could not force soldiers to advance. The situation here is similar. Both sides have only limited numbers of well trained and motivated soldiers, insufficient to operate along the entire front. It means that quiet sectors are held by the least motivated units, while the higher-quality ones are used only for offensive operations on other sectors. It naturally follows that whichever side has the initiative will also have the advantage. It can choose the point of attack where the line is held by poor quality units. Considering the wide variation in the level of training and morale, the attack will nearly always be successful. What is more, in order to stop it, the opposing side will have to deploy its best units, and use them in penny packets, as they arrive, which greatly reduces their power. As a rule, this approach only stops the assault but does not recover lost terrain.
But there are also other considerations. First, only the SAA can be considered a homogeneous force with unified command (though there’s still the question of how integrated are, for example, Hezbollah or Liva Al-Quds into the SAA command structure?). Thus only government forces can assemble big assault battering rams. The Kurds and the IS are also fairly centralized and could compete with the SAA but, I think they have other goals in Syria. IS are content with control over Syria’s oil and want to ensure as long a confrontation between the SAA and the “greens”, while the Kurds want to preserve what they already have and, if possible, spread the war to Turkey’s territory. The “greens” don’t have such centralization, which has both pluses and minuses. On the one hand, it’s difficult for them to assemble for attack, but on the other hand SAA offensive on one sector does not guarantee calm on others. Rather to the contrary, once the best SAA forces are committed to one sector, militants in units not targeted by the assault grow more active on other sectors.
But let’s return to tactics. In my view, the “flexible” defense is not necessarily the result of cowardice but a well thought-through model. What can we say about the average tactic for assaulting SAA positions? There usually is no artillery preparation–that’s a big luxury. But it’s successfully replaced by truck bombs. If the target is an important defensive node, perhaps even two truck bombs. It’s equivalent to a high-precision airstrike, considering the explosive power. Then, before the dust settles, the attack is launched–one or two BMPs, a pair of mopeds quickly approach the position and begin to clear it. If it’s a less sophisticated position, it is approached by a tank which fires two-three shots to make noise and dust. What can the average SAA soldier, not overly eager to go to heaven, do in response? He can’t stop the suicide vehicle bomb. It can theoretically be done by a ZU-23, an ATGM, an SPR or RPG. But the suicide truck bomb attack unfolds rapidly, while ATGMs and SPGs need time to deploy. They are rarely in the front lines, because both sides observe one another and are good at taking out individual firing positions. Destroying a truck bomb using a ZU-23 or especially an RPG demands nerves of steel and good marksmanship.
Engineer preparation of fighting positions (obstacles preventing or slowing down the truck bombs) are usually absent. Therefore remaining on own positions is very dangerous–it entails a high risk of being hit by a truck bomb. If the strongpoint is a small one, and there is a tank instead of a truck bomb, we get a brief shoot-out with the militants. Here, too, options are limited. The better prepared assault troops should be able to take out the defenders if the numbers are equal. One can’t prevent the enemy approach for the same reasons as above. So we get the following set of tactics. When seeing enemy approach, open rapid fire in his direction (maybe they’ll reconsider? And the noise will wake-up everyone else). Then quickly retreat to the next defensive position. Ideally no weapons should be lost in the process. Naturally, nobody will try to carry heavy weapons (all the more reason not to put it in the first line).The attacking force usually are small in numbers, once they take the position they won’t immediately advance further, and the clearing process and the counting of trophies will take a long time. In the meantime reinforcements are brought up, an air or artillery strike is launched (depending on how valuable the position is) and an counter-attack is launched. Often the militants abandon the captured position after the artillery strike and return to initial positions. The skill of the “clean getaway” not only gives you a chance to live, but also the ability to retaliate.
Regarding this particular scenario, we see that SAA were able to give up the Academy territory with only minor losses (videos show maximum 2-3 men) and then spent the next month taking and abandoning buildings on the edge of the Aviation Academy with the regularity of tidal waves. There were only two major failures–on the road during the flight to Hamdaniya, and during the escape from the yellow house. The second major source of losses in this operation was the hesitant manner of SAA infantry operations. SAA troops adhered to the classic principle of the French Army during WW1: artillery destroys, infantry occupies. Lack of assault tactic skills forced SAA troops to wait in the no-man’s land until the artillery forced militants to retreat. But if they did not leave, SAA would have to fall back.
Militants apparently performed a sound analysis of SAA tactics. They worked out measures which effectively neutralized the positive aspects of SAA tactics and managed to score major successes in the first phase of operation. First, the militants managed to assemble a sizable assault force. This meant that after seizing one position they still had forces to continue the assault, which caused the SAA to lose entire sectors of the front. The most obvious example is the assault of the Academy in the evening of August 5, after than the assault on Khikma, the outskirts of 1070, the assault on the string of hills from the direction of Khan-Tuman.
The second unpleasant surprise for the SAA was the massed (by the standards of this war) use of artillery by the greens. Earth berms giving decent protection against small arms proved useless against mortar fire. Moreover, SAA infantry (possibly due to limited exposure to shellfire) showed low resilience against artillery fire. One could observe, on more than one occasion, a single hit on a house where the SAA troops were taking cover caused them to flee. It was even worse with open positions. But one has to add that in the second phase of the operation, lessons were learned. Troops no longer assembled in groups in the open, and started to use zig-zagging trenches for forward movement.
Examining the greens’ tactical behavior, one sees an analogy with Wehrmacht tactics from the end of WW2. Powerful Red Army artillery forced Wehrmacht to leave only observers in the front lines, and likewise the firepower leveled at the frontline green positions compelled them to leave only observers there, and later on even they were replaced by drones. Another bit of “know-how” that characterized the late-war Wehrmacht was the late afternoon attack. The Wehrmacht at the time only had sufficient forces for short attacks, and the late timing allowed them to avoid counterattacks. We see the same thing among the greens–they react calmly to losing positions, at first only fighting delaying actions, but with a determined counterattack that, as a rule, recovered the lost ground. It is after such an evening assault that the greens entered the Academy. In contrast, the SAA launched most attacks in early mornings, then reinforced the captured positions in the second half of the day. But, considering the SAA infantry qualities on the defense, simply pumping in reinforcements did not work, it was much more effective to keep moving forward. This meant that even after the militant counterattack, the SAA would have some net gains. Night-time operations were another part of WW2 “know-how” which enabled to offset force disparity. They were actively used by Japan in the Solomon Islands, Wehrmacht when counterattacking in Hungary, the Red Army when conducting tank attacks in late war. Japan tried to reduce the effect of US airpower whose superiority was becoming overwhelming, while the Wehrmacht and the Red Army wanted to reduce anti-tank gun effectiveness.
In the Aleppo battle, night assaults as a means of reducing losses were used by both sides, particularly in the final phases when all sides have exhausted their reserves. It is night assaults which allowed SAA to consolidate themselves in the Aviation Academy and then to advance to the Artillery Academy.
Armor was being used as protected transport to deliver reinforcements and provide direct support. The support took the form of firing from the direction of Hamdaniya homes, and of entering the territory of Aviation Academy. Shooting from the houses was safer for the tankers, but less effective because even from the berm one could only see the top stories of the houses. Entering the road or the Academy made the fire more effective, but exposed tanks to ATGMs from Al-Amriya or RPG/SPG crews on Academy territory. In order for them to be effective, armor crews required a certain level of preparation. On the one hand, the tank’s advance toward a house was followed by infantry, which otherwise would not have risked entering open ground. On the other hand, once on the square next to the warehouse tanks were exposed to crossfire which forced them to maneuver on the tiny square which did not permit maneuver. The result was four shots and three hits on tanks on this piece of ground.
This sector was also peculiar in that the configuration of the technical zone cut off assault teams on Academy territory from support from the direction of Hamdaniya, from which fire could be sustained only against the top stories of some buildings. Suppression of firing positions on lower stories demanded the use of tanks from the berm and Academy. This exposed the tanks to ATGMs and light AT weapons. In my view, in daytime the SAA was never able to implement coherent tank-infantry cooperation. The results of daytime attacks testify to that. The maximum that the use of tanks achieved was the recapture of the warehouse. But the militants were not particularly determined to hold it. The lack of effectiveness of the daylight attacks into the Academy forced the SAA to come up with new tactics. Unfortunately, we don’t know whether tanks were used in night attacks.
And, in conclusion, “What if I were the Sultan?” What can one propose to either side to change the course of events in their favor or to improve the effectiveness of operations?
Concerning the general outcome, one should note that the sector which attracted the greatest attention was hardly the decisive one. The greens lost the battle when they failed to take the Cement Factory. For the SAA, the turning point was the capture and defense of the Umm-Quara hill. The cutting of lines of communications then became a matter of time. That could have been accomplished not only by the movement from both sides in the Academy, which is what happened, but also by an attack from 1070 or an advance from Umm-Quara toward Khikma, 1070, or the Artillery Academy. As we can see, the battle was decided away from our road.
When carrying out this mission, the greens chose the strategy of passive defense. Even though the implementation was effective–the militants managed to hold this sector long enough, and inflicted painful losses on the SAA, in my view this was an erroneous strategy. The Academy territory has no “human shield” protecting the greens against aviation and artillery. SAA could methodically pound the greens without fear of striking own troops or civilians. And then check whether the defense was softened yet. Cracking the defense was therefore only a matter of time. Therefore the militants should have instead tried to advance their positions as close to the SAA as possible and enter Hamdaniya. The capture of its eastern part would give them better positions and take the Ramousseh cloverleaf under full control, allowing the free use of the Khan Tuman–Ramousseh road.
Considering the technical zone layout from the direction of the academy, it would have been more propitious to seek the capture of Hamdaniya from Al-Ameriya. The greens twice tried to attack in that direction. On August 5 they were able to advance but after a corridor was cut through the attacks stopped. The next attack took place exactly a month later, when it was all over. At the decisive moment, for some reason there were no attacks in that direction. And yet even if these attacks had failed, they’d have forced the SAA to shift some of the forces away from the road. The expectation of rapid success in the Cement Factory area seems to have backfired. From the perspective of tactics, in my view they should have truck-bombed the warehouse, all the more since they had all the opportunity to do so on September 25-26. The destruction of the main defensive point would have greatly hampered SAA efforts to recover the territory.
At first, SAA command panicked. Then it operated less than effectively, in both tactical and strategic sense. The first successful green attacks led them to believe the militants were spent and will remain on the newly captured positions for some time. Then it turned out that there are no positions behind the Support Academy and the Artillery Battalion to which one could retreat if SAA lines were broken. But the loss of outlying houses in 1070 made the right flank vulnerable. This led to the capture of the Academy in the evening of August 5. Then the most correct move would have been the creation of a second line backed up by defensive positions in the Academy Artillery buildings, Aviation Academy, and the yellow house. The big open spaces toward the militants and 1070 meant that position could be held. Then the Khan Tuman-Ramousseh road would have been kept under fire over its sizable portion even if Umm-Quara hill were not captured. Concerning the time when the Academy was fully lost, the main question here concerns where the effort should have been applied. Due to the nature of its construction, the warehouse was utterly unsuited to defense against any serious attack, or as a place to assemble forces because its lot was under constant fire. Naturally, the warehouse was chosen as the place of main effort because there was a road and a berm. One can hardly blame those who laid the road in not foreseeing the loss of all three academies and the lengthy struggle that followed. The road was meant to be a rear-area supply artery on a relatively calm sector, not an approach route to enemy trenches. Nevertheless, its presence channeled all subsequent SAA attacks. In my view, after the vulnerability of warehouse positions became evident, one should have laid down another supply route where the trench was eventually dug–between the water pump to the fence corner. Then one should have attacked first the yellow house and the adjacent buildings, and only then advance on the Academy. Naturally, this advice benefits from hindsight, but the yellow house’s dominant position is obvious even without hindsight. But the desire to cut the supply route as quickly as possible must have been too great, because all the attacks were directed mainly toward the Ramousseh cloverleaf–on to the Aviation Academy.
There’s another scenario that warrants consideration–the full refusal to attack in this direction. Because if the militants are not about to advance across the road, perhaps it would have been better to await the Tigers and avoid losing troops and equipment for nothing? This situation suffers from all the minuses of a passive strategy. First, the militants could have brought up artillery and open fire on Hamdaniya. They were doing just that between August 6 and 14–we saw many hits from mortar bombs on the road and in the yards of nearby houses. We saw that in addition to mortars the militants were preparing “hell-cylinders” that could have quickly transformed this quarter into ruins. As soon as fighting moved to the Academy, it also became the target of shelling. Secondly, active operations on this sector forced the militants to disperse their already modest forces. By the time of Academy capture, they were clearly suffering from a lack of forces. So they never did completely capture 1070, and they took 3 days to reach the Aviation Academy. It was vitally necessary for them to capture Cement Factory, but that could have been done only through a concentration of forces. I don’t have reports on the green order of battle, its losses in the first days of operations, and their reserves, but as soon as SAA resumed active operations (the August 14 attack on 1070, the road, and by the cloverleaf) the militants stopped Cement Factor attacks. It’s entirely plausible this was due to the assault group being broken up to plug defense gaps.
But if one is to speak of alternatives, I would have offered the SAA a somewhat different point where to apply force. On August 14, some of 1070 houses were captured, but it was not even half-cleared. The full recapture of 1070 would have given better prospects than the attempts to penetrate into the Academy. 1070 gave overwatch over the entire territory of the three academies, it also made impossible the movement toward Khikma. If the Tigers took the Umm-Quara hill, the encirclement would be totally closed. Even if they couldn’t take the hill, one could attack the yellow house on the Aviation Academy territory from two directions–from 1070 and across the road, thus increasing the chances of success. Moreover, supply routes from 1070 would not be exposed to ATGMs.
But history does not deal well with counterfactuals, so everything turned out the way it did. In spite of the problems and losses, after a month SAA was able to recover the academies and Ramousseh, and restore the blockade of Aleppo. The failure of relief not only expended the greens’ resources, but damaged their morale and self-assurance. This battle became the first big step toward the liberation of Aleppo.
P.S. Thanks to the Lost Armour site admin for help in preparing the publication of this cycle.


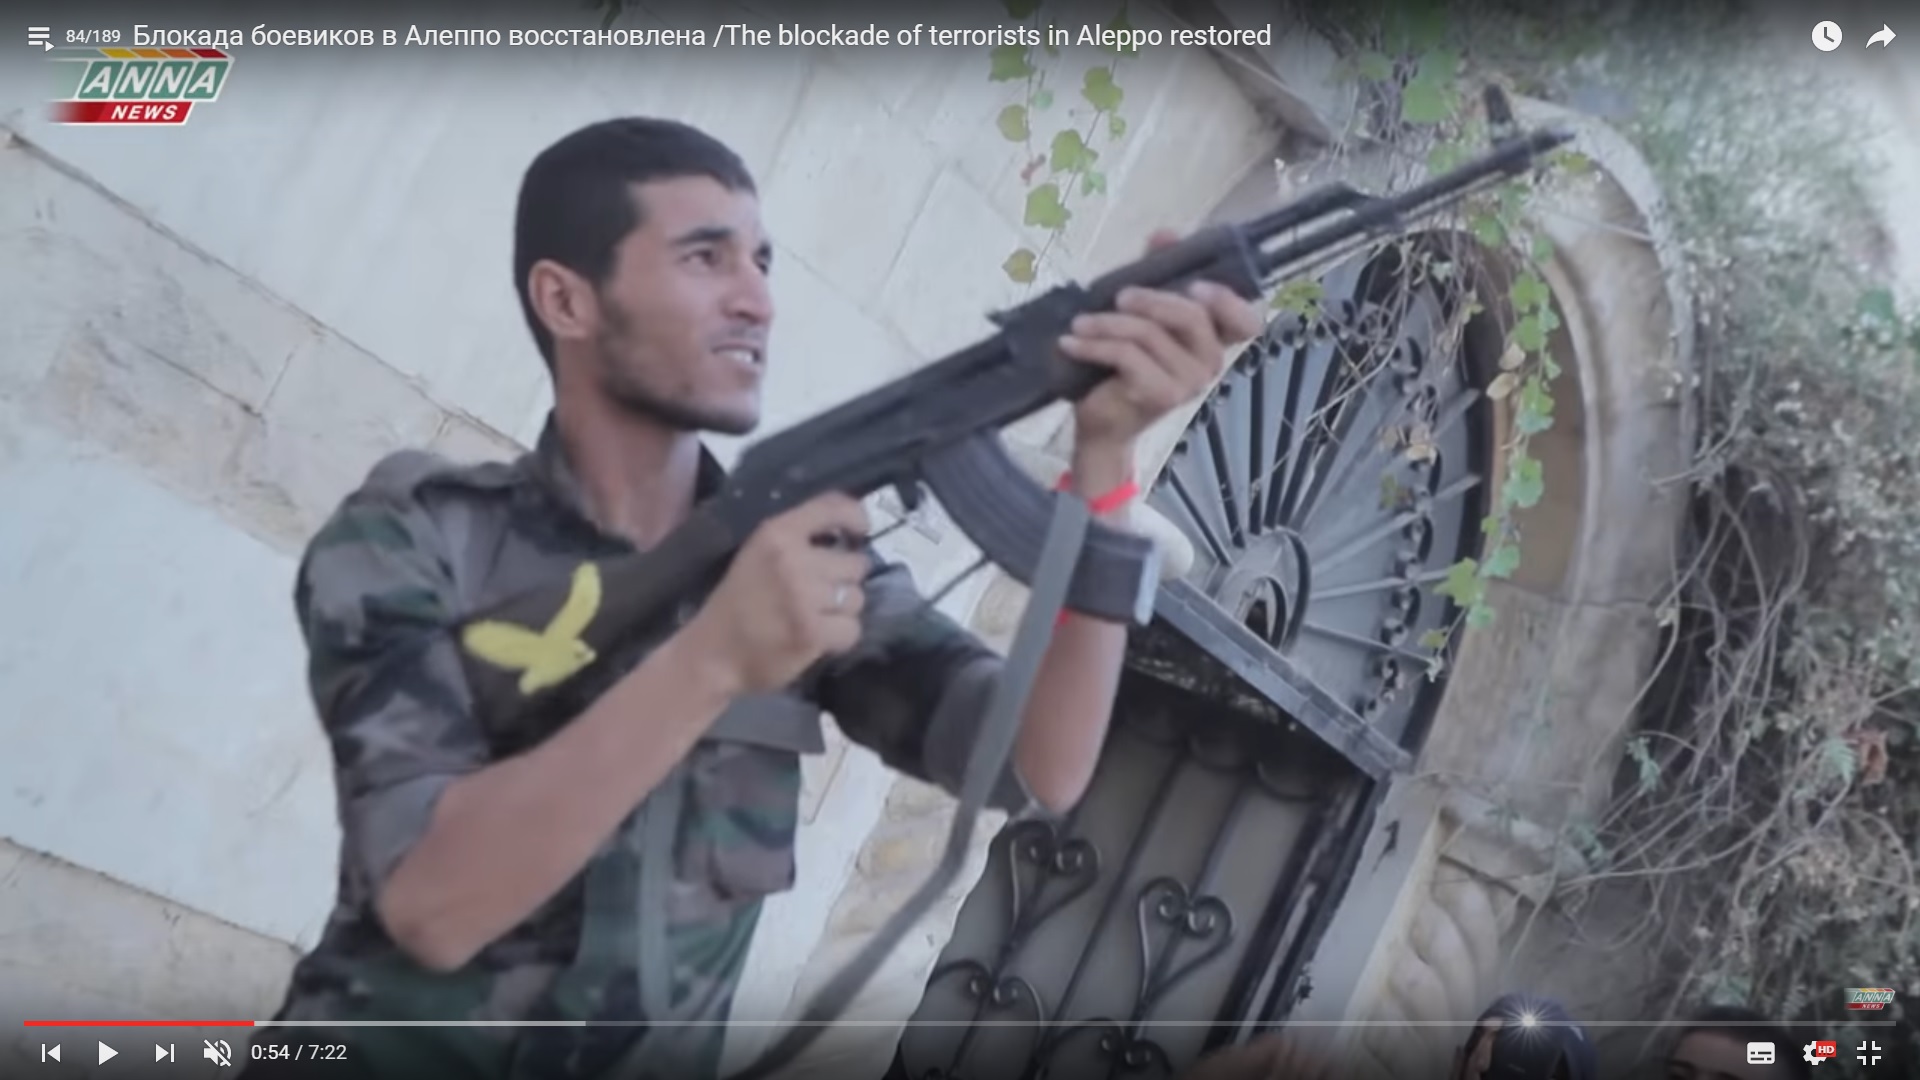
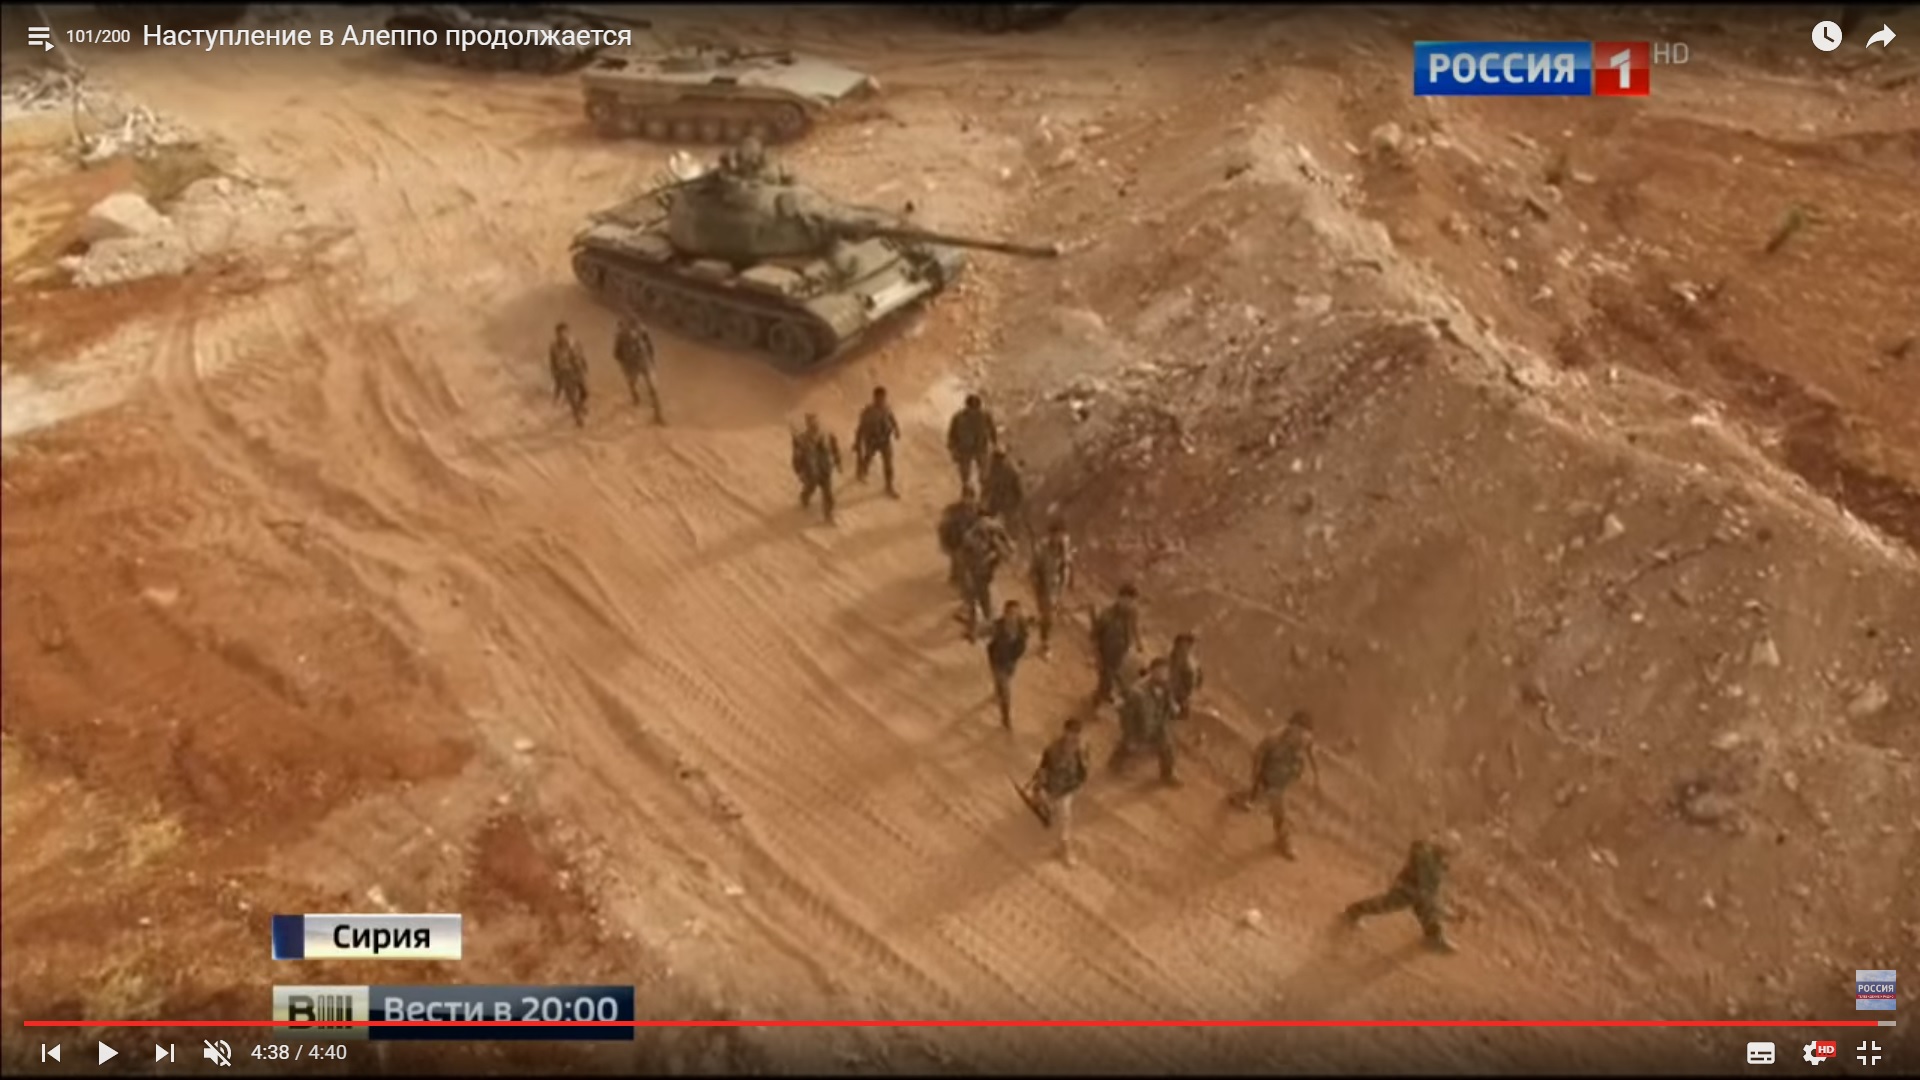
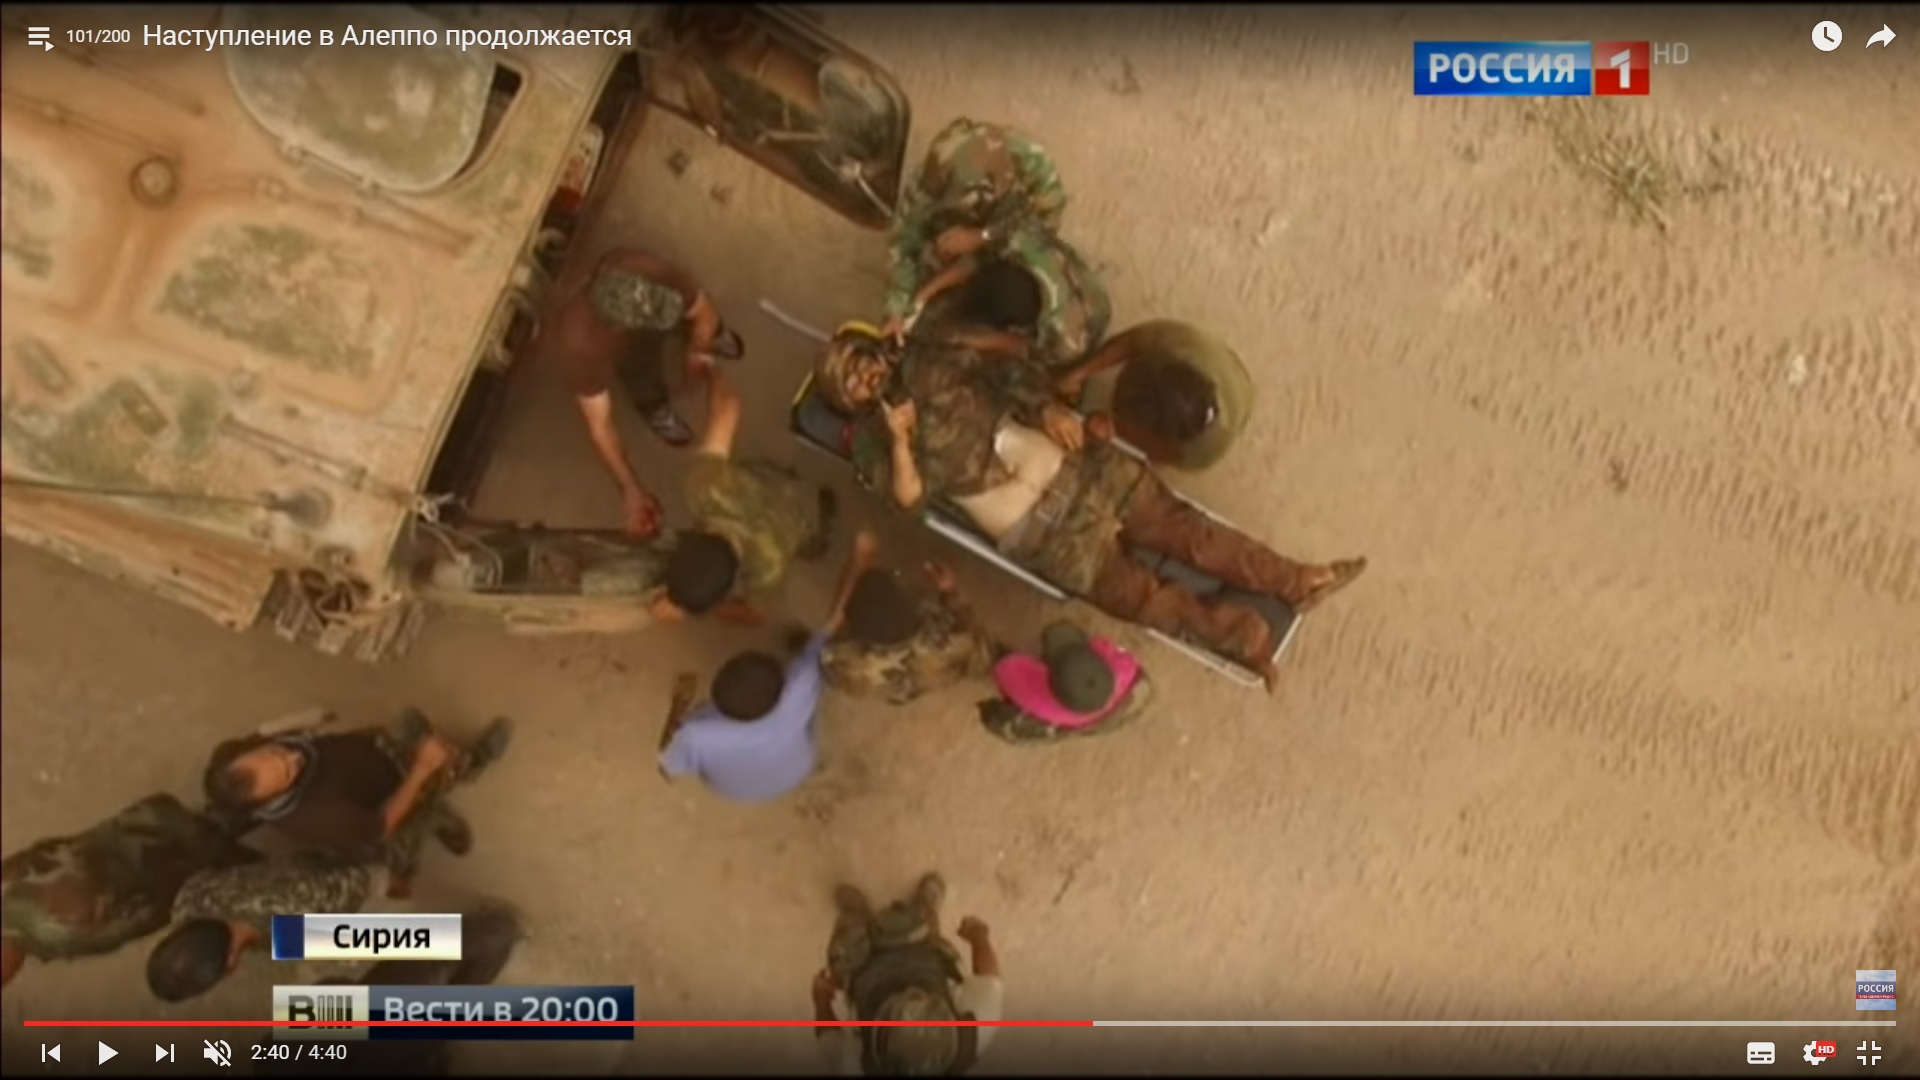
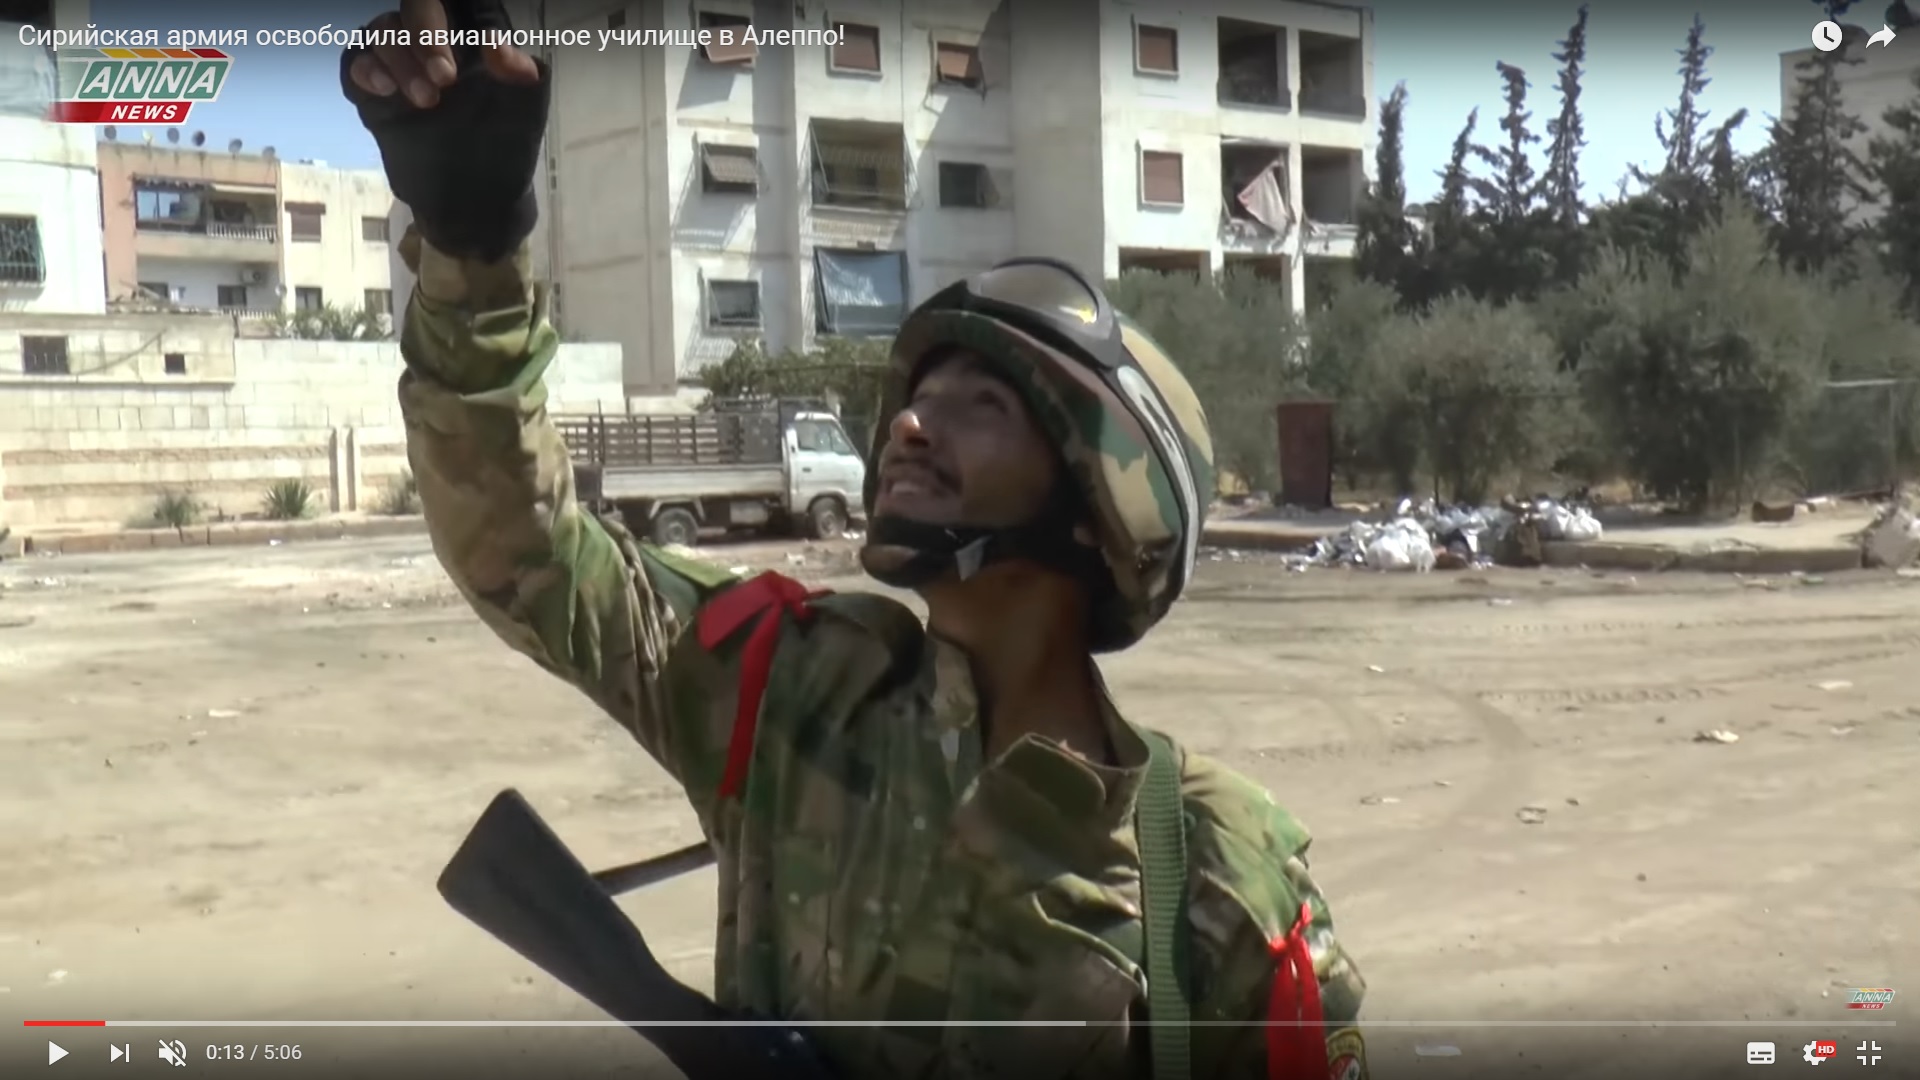

A very interesting appraisal by SouthFront.
I am following this war for some time already. Loosing Academy was disgrace for SAA, actually they have lost it when they have lost project 1070, And academy is actually great to defend …if you don´t loose 1070, and they have lost it within first 2 hours. Few trenches against SVBIED, minefield, observer on the roof of 1070, few mortar and ATGM crews could defend it. Rebels came thru desert, many kilometers thru plane empty desert by foot or in few old BMP-s. True, it is low intensity, low tech war, and Assad would do great to buy few anti artillery radars, they cost less then millions of shells and rockets and bombs SAA is wasting day after day ant they definitely cost less then all the things and houses and cities, factories SAA has to destroy by the way they fight. And he should by some protective gear for his soldiers and should beg them and beat them and do what is necessary to make them take a cover.
….and wear helmets!!!
still haven’t seen it on the battlefields https://southfront.org/syrian-army-receives-advanced-mobile-radar-system-from-russia-photos/
Excellent series, very educational. Thank you.