Detailed Analysis Of Battle For Ramouseh Artillery Academy In Western Aleppo – Part 4

Defense site Lostarmour.info released a detailed analysis (LINK) of the battle in the Artillery Academy in western Aleppo in the period between August 6, 2016 and September 5, 2016.

SF provides an abridged translation of the fourth part (source) of this series. Pics are taken from the original text. 

  1. The English version of the FIRST PART IS HERE;
  2. The English version of the SECOND PART IS HERE;
  3. The English version of the THIRD PART IS HERE.

THE FOURTH PART

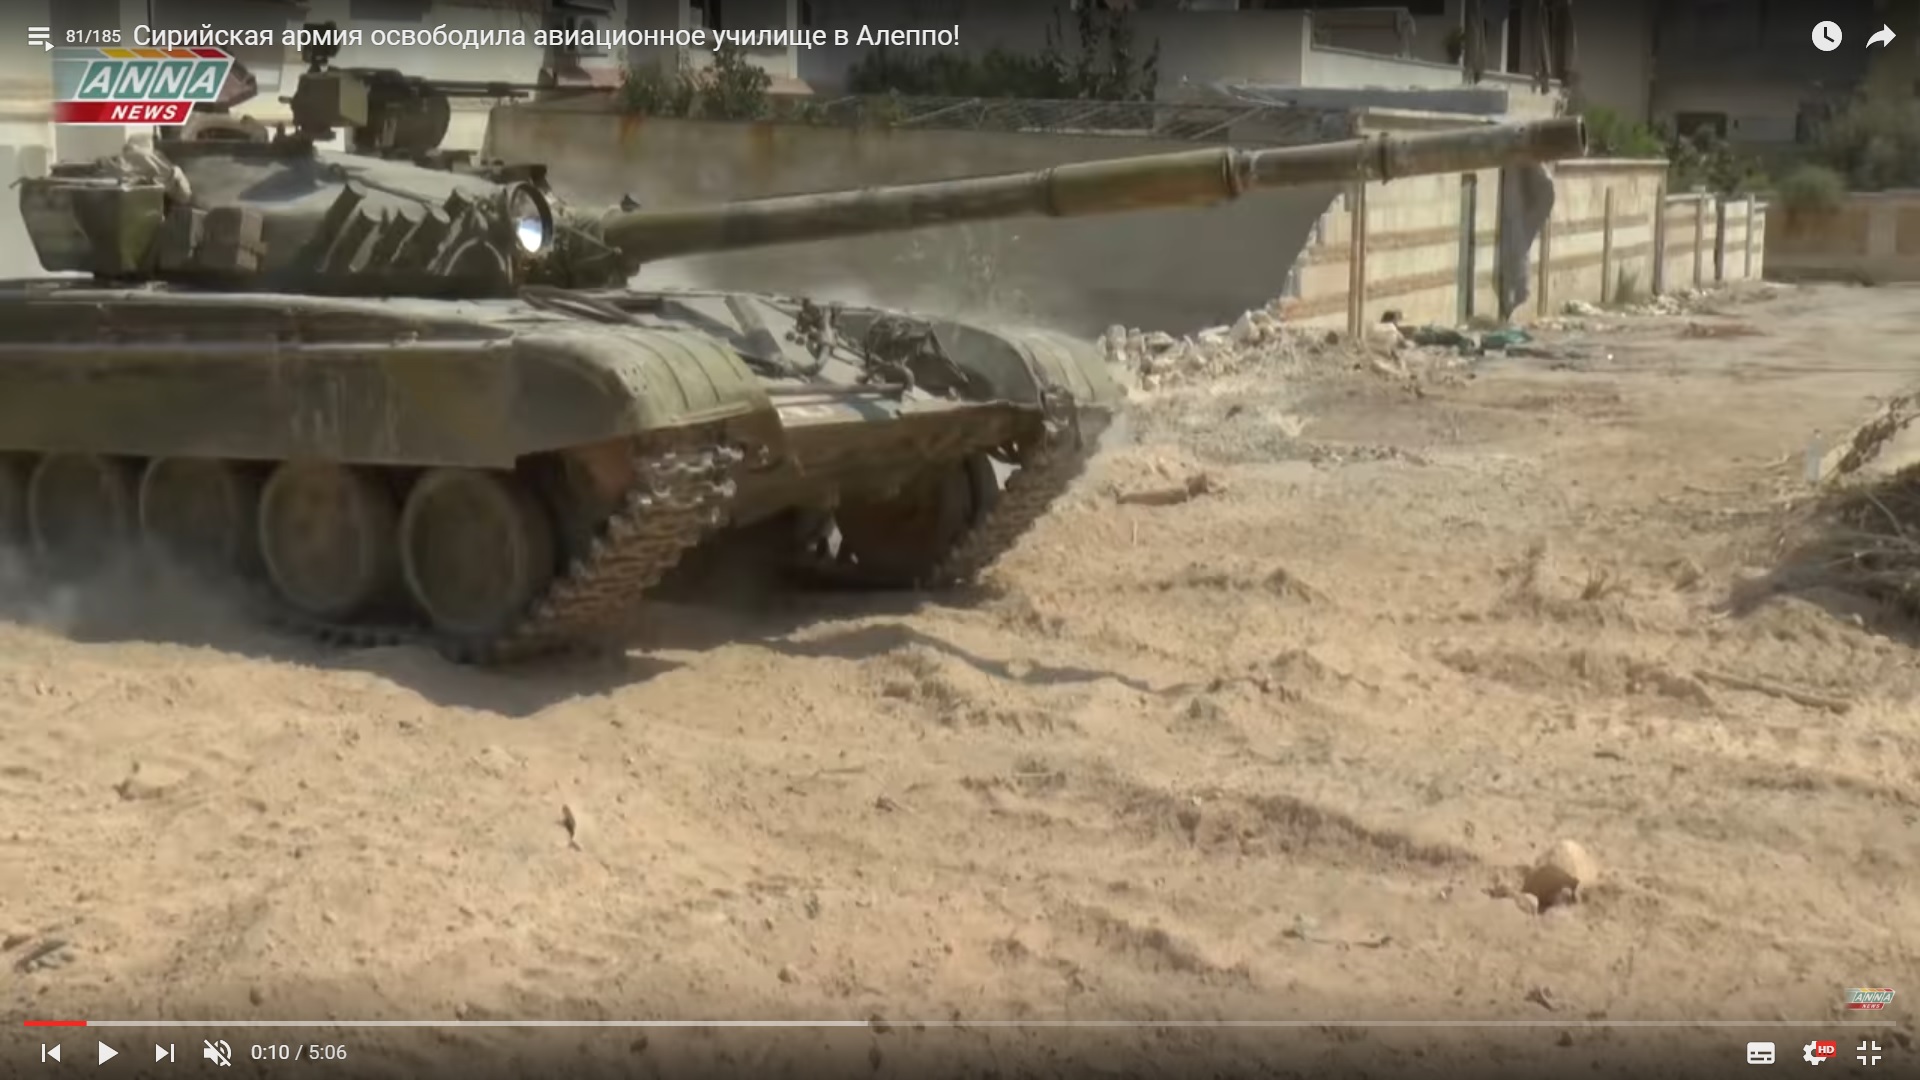
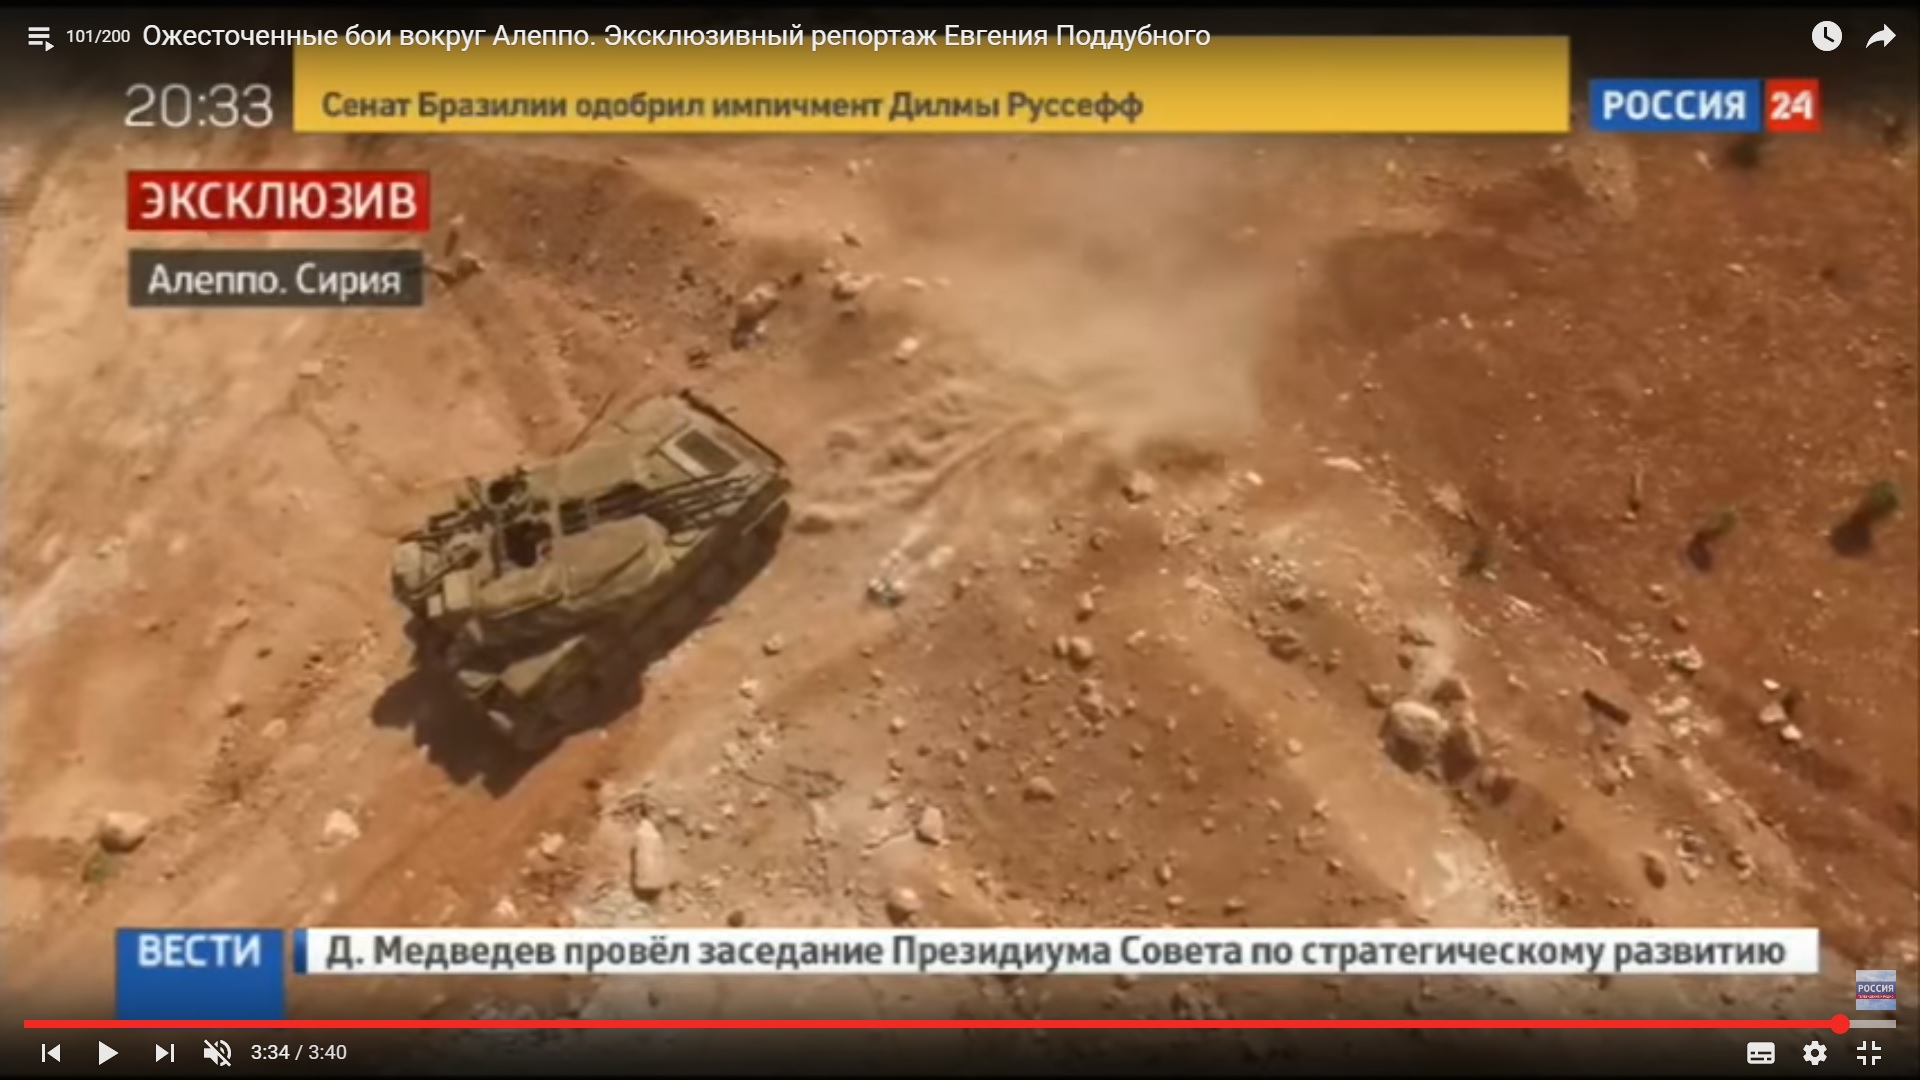
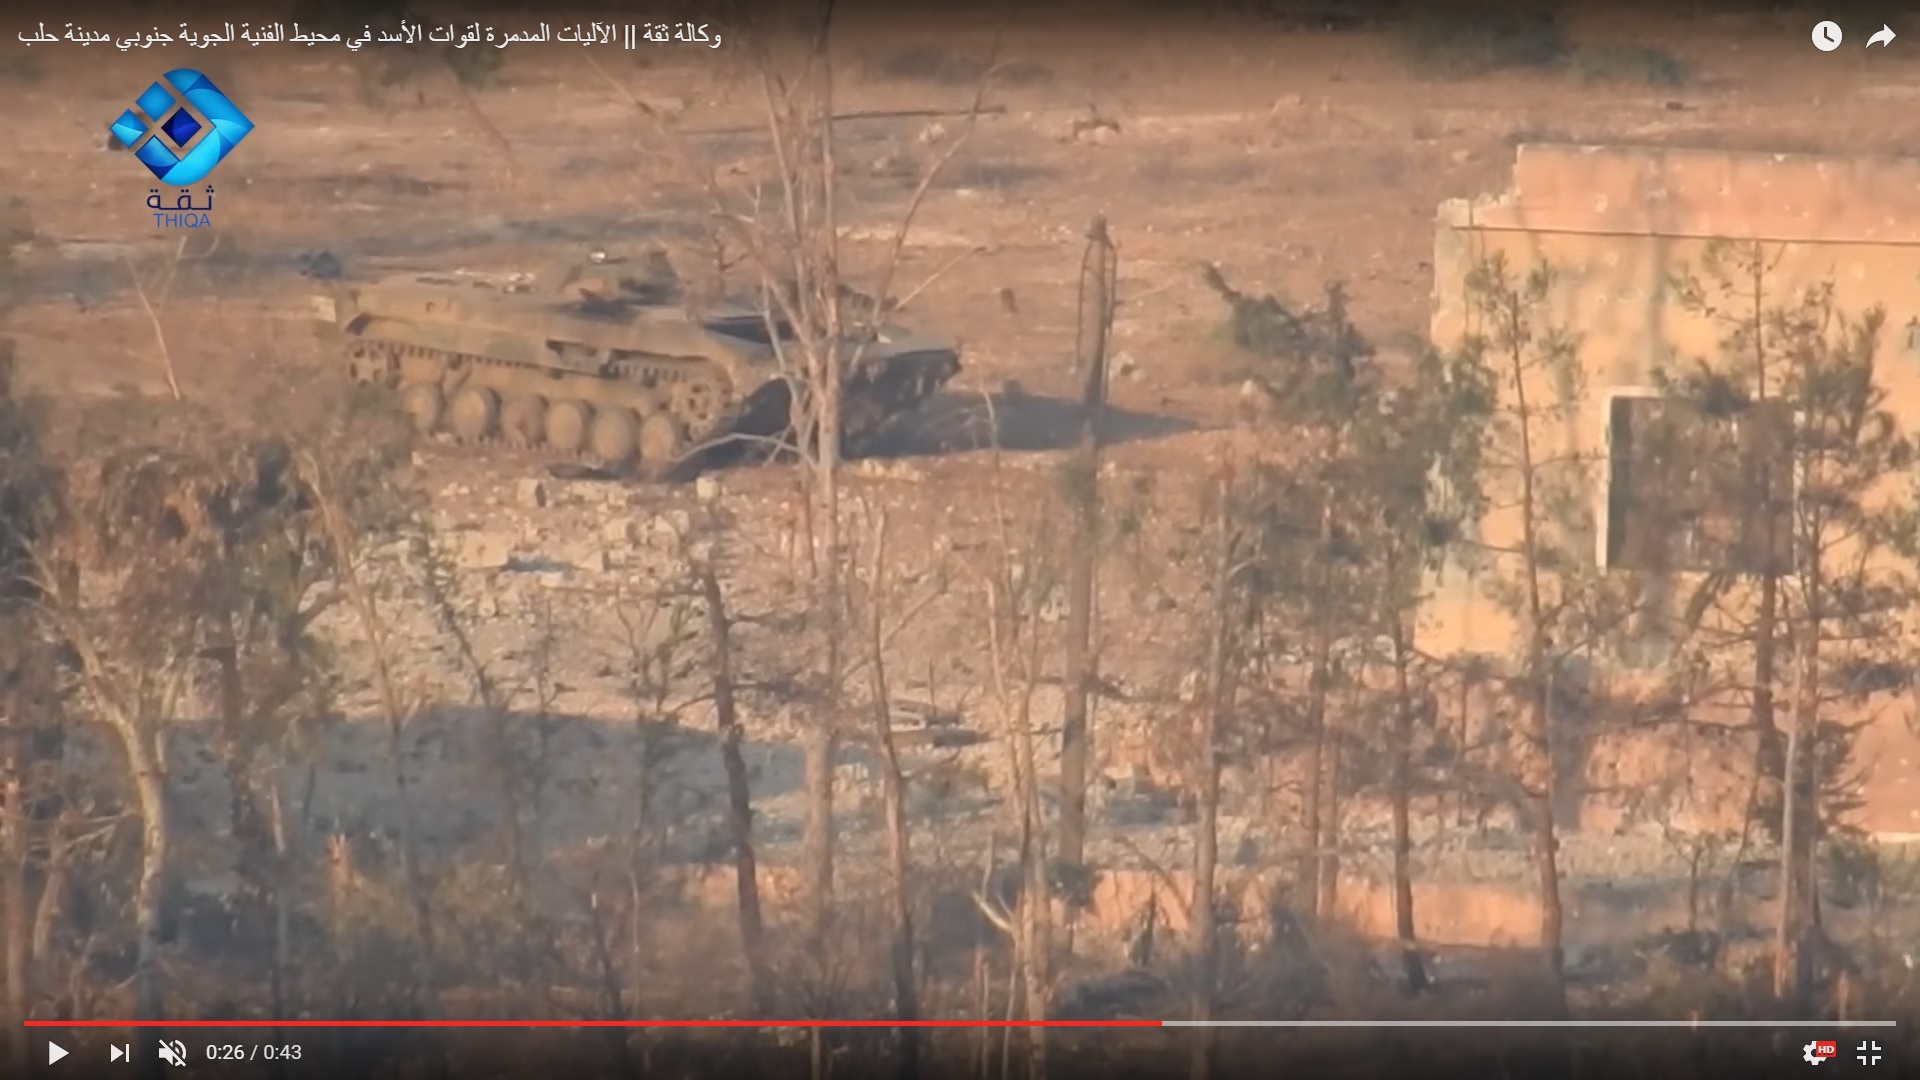
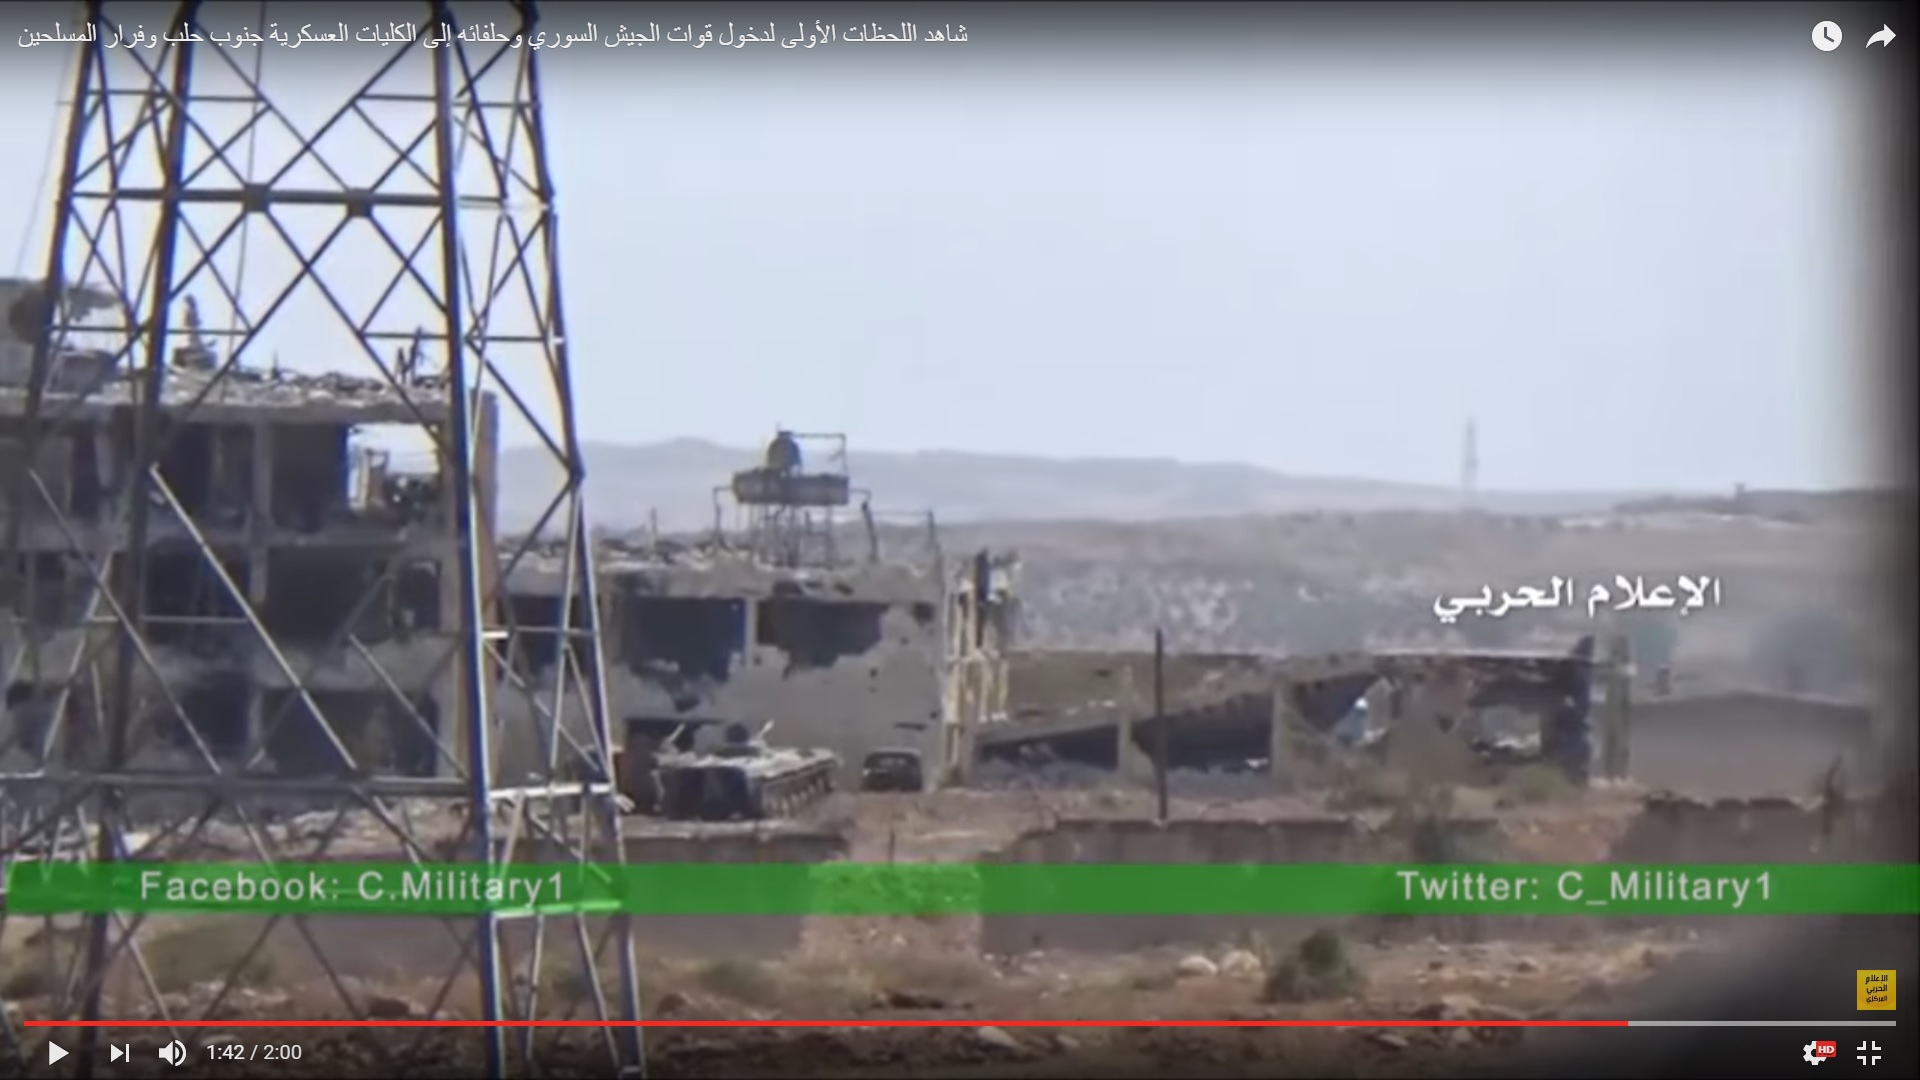
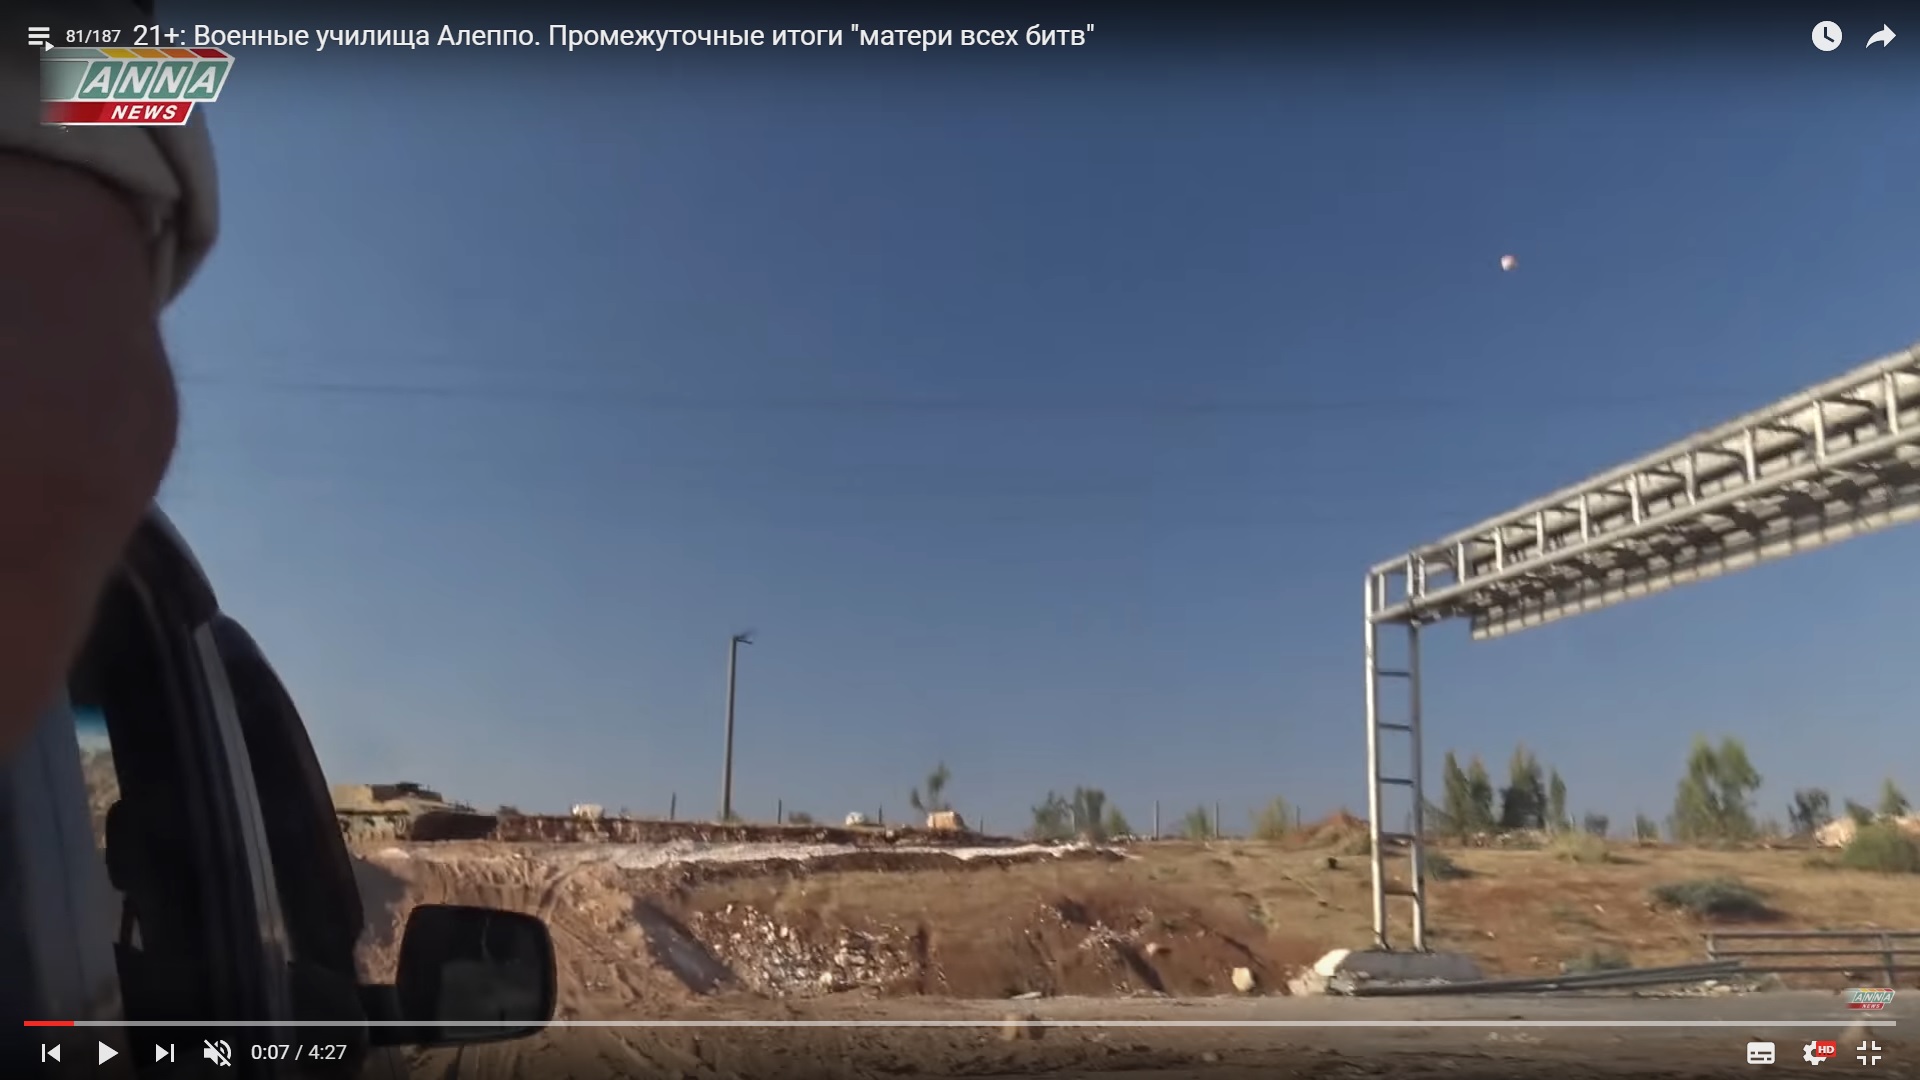
On August 31, the story repeated. The T-72 battle tank moved to a banket near the road

Detailed Analysis Of Battle For Ramouseh Artillery Academy In Western Aleppo – Part 4

Click to see the full-size image

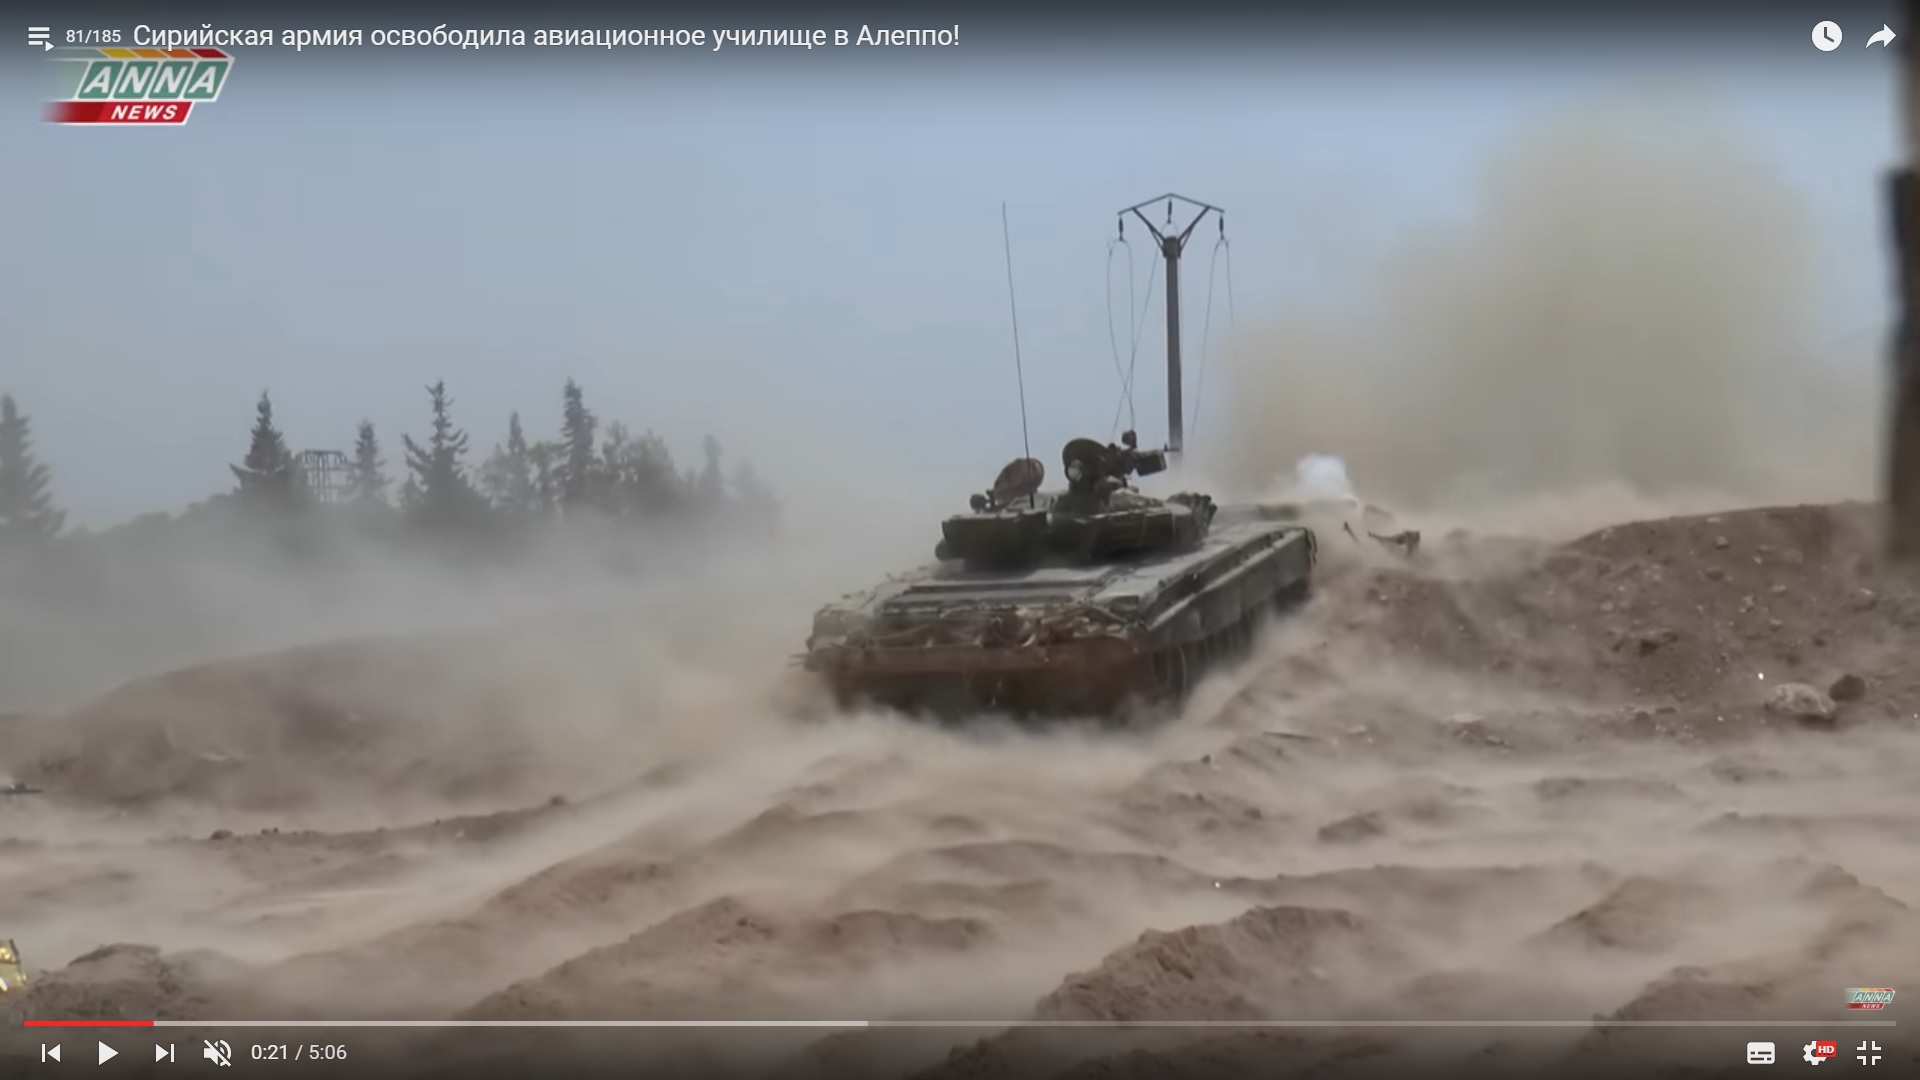
and threw few rounds in the direction of the academy

Detailed Analysis Of Battle For Ramouseh Artillery Academy In Western Aleppo – Part 4

Click to see the full-size image

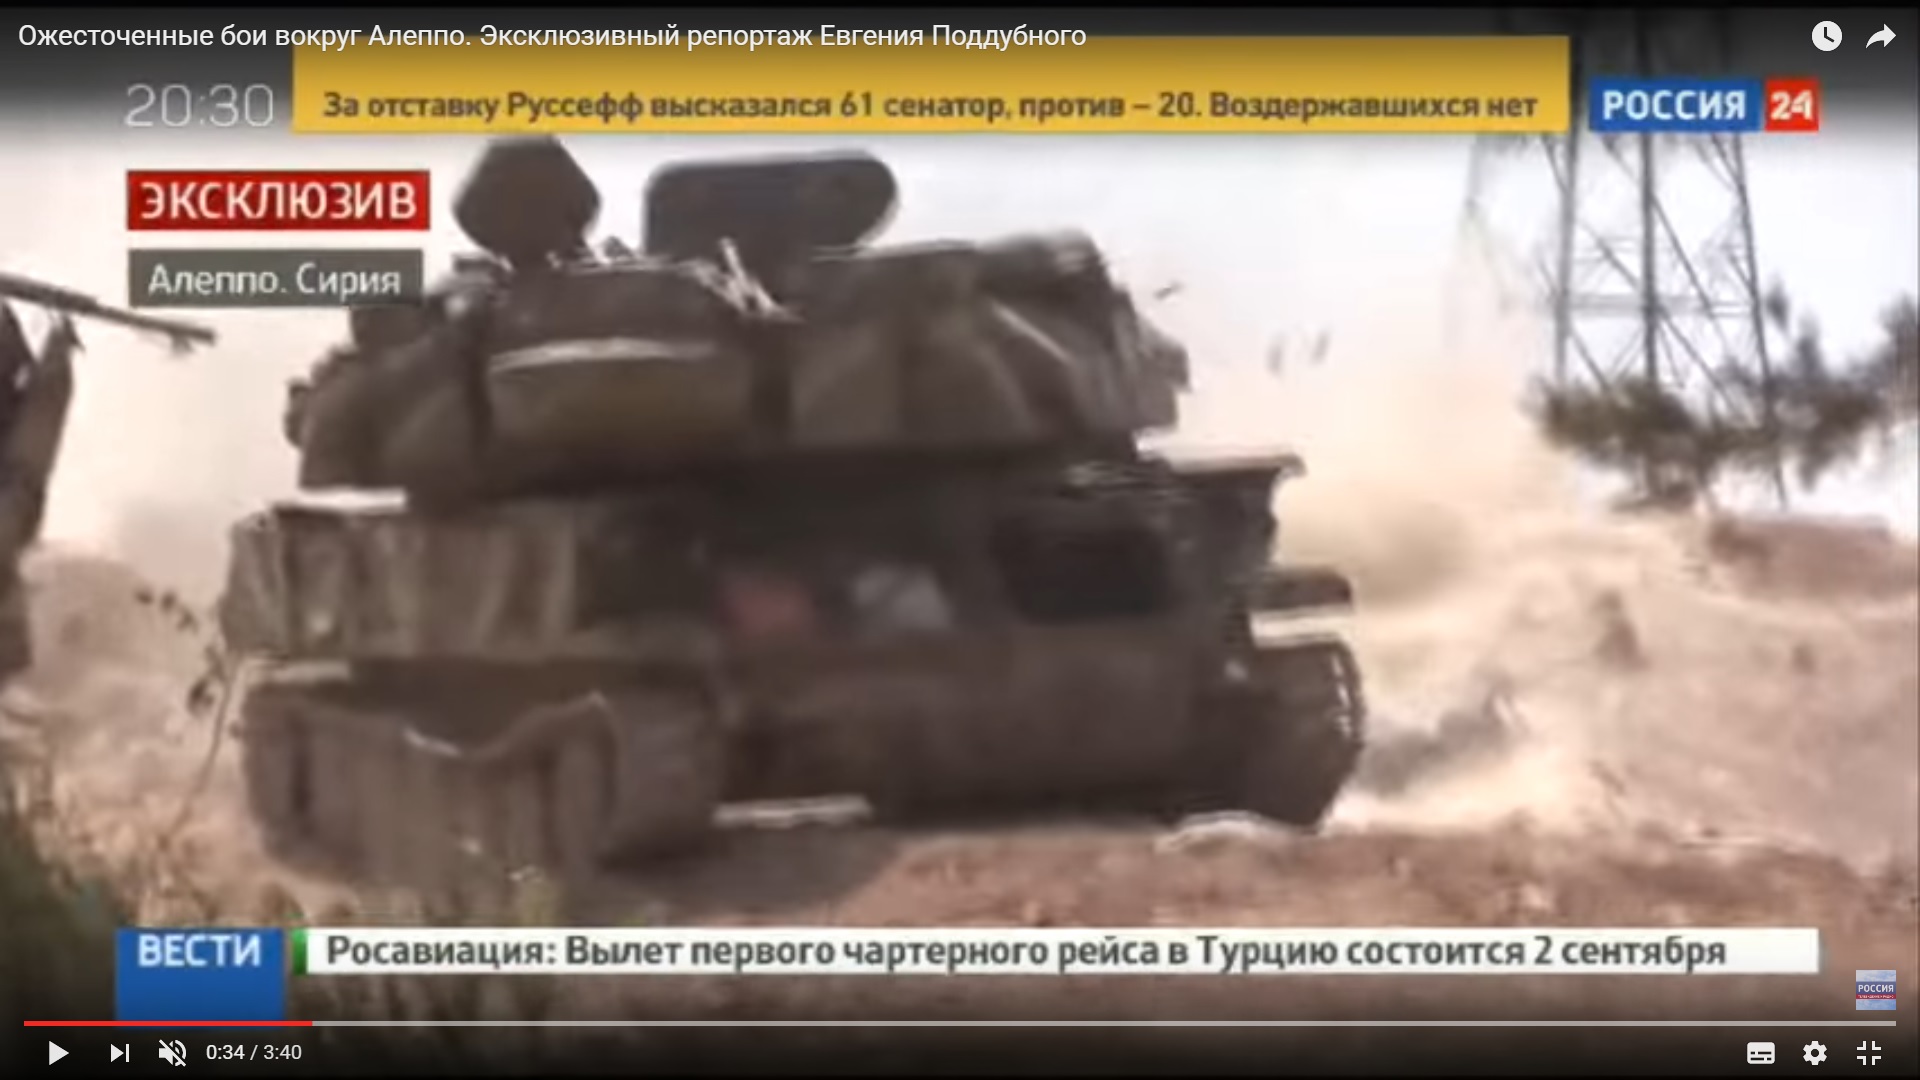
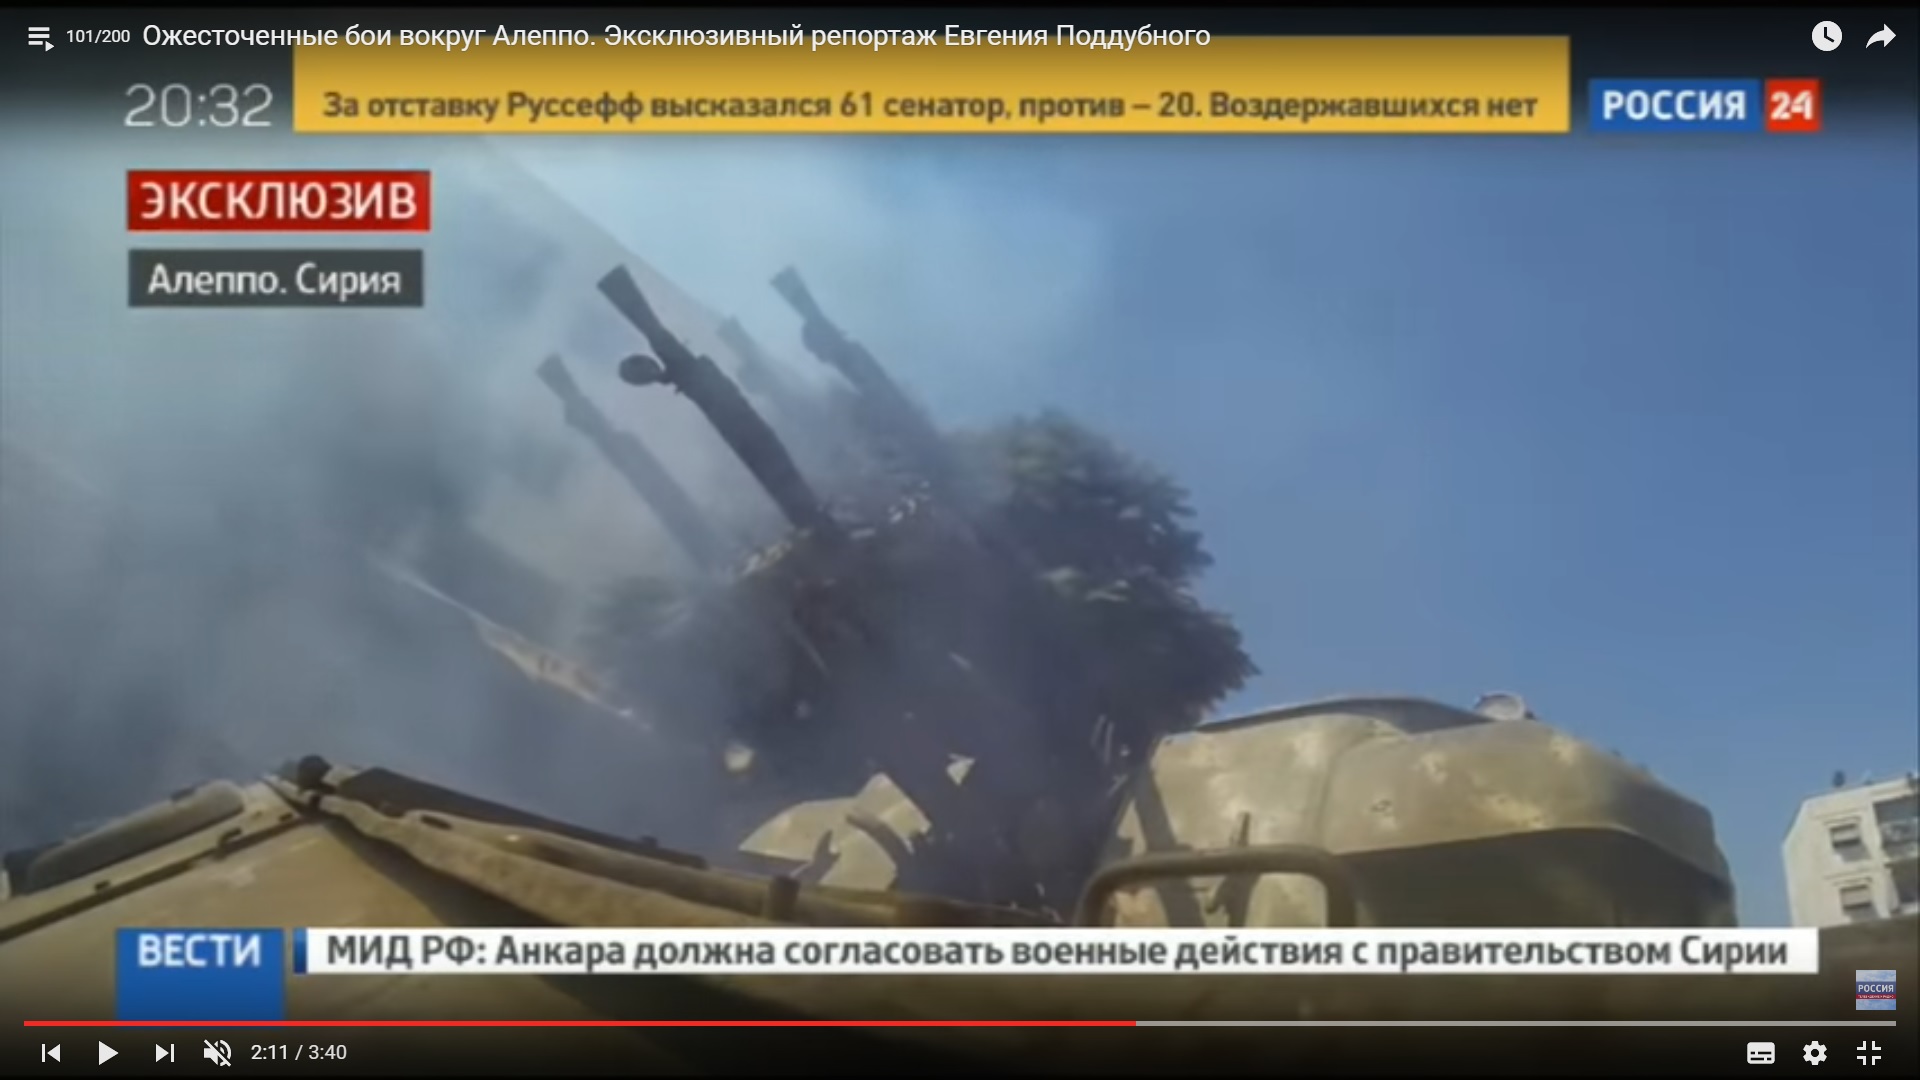
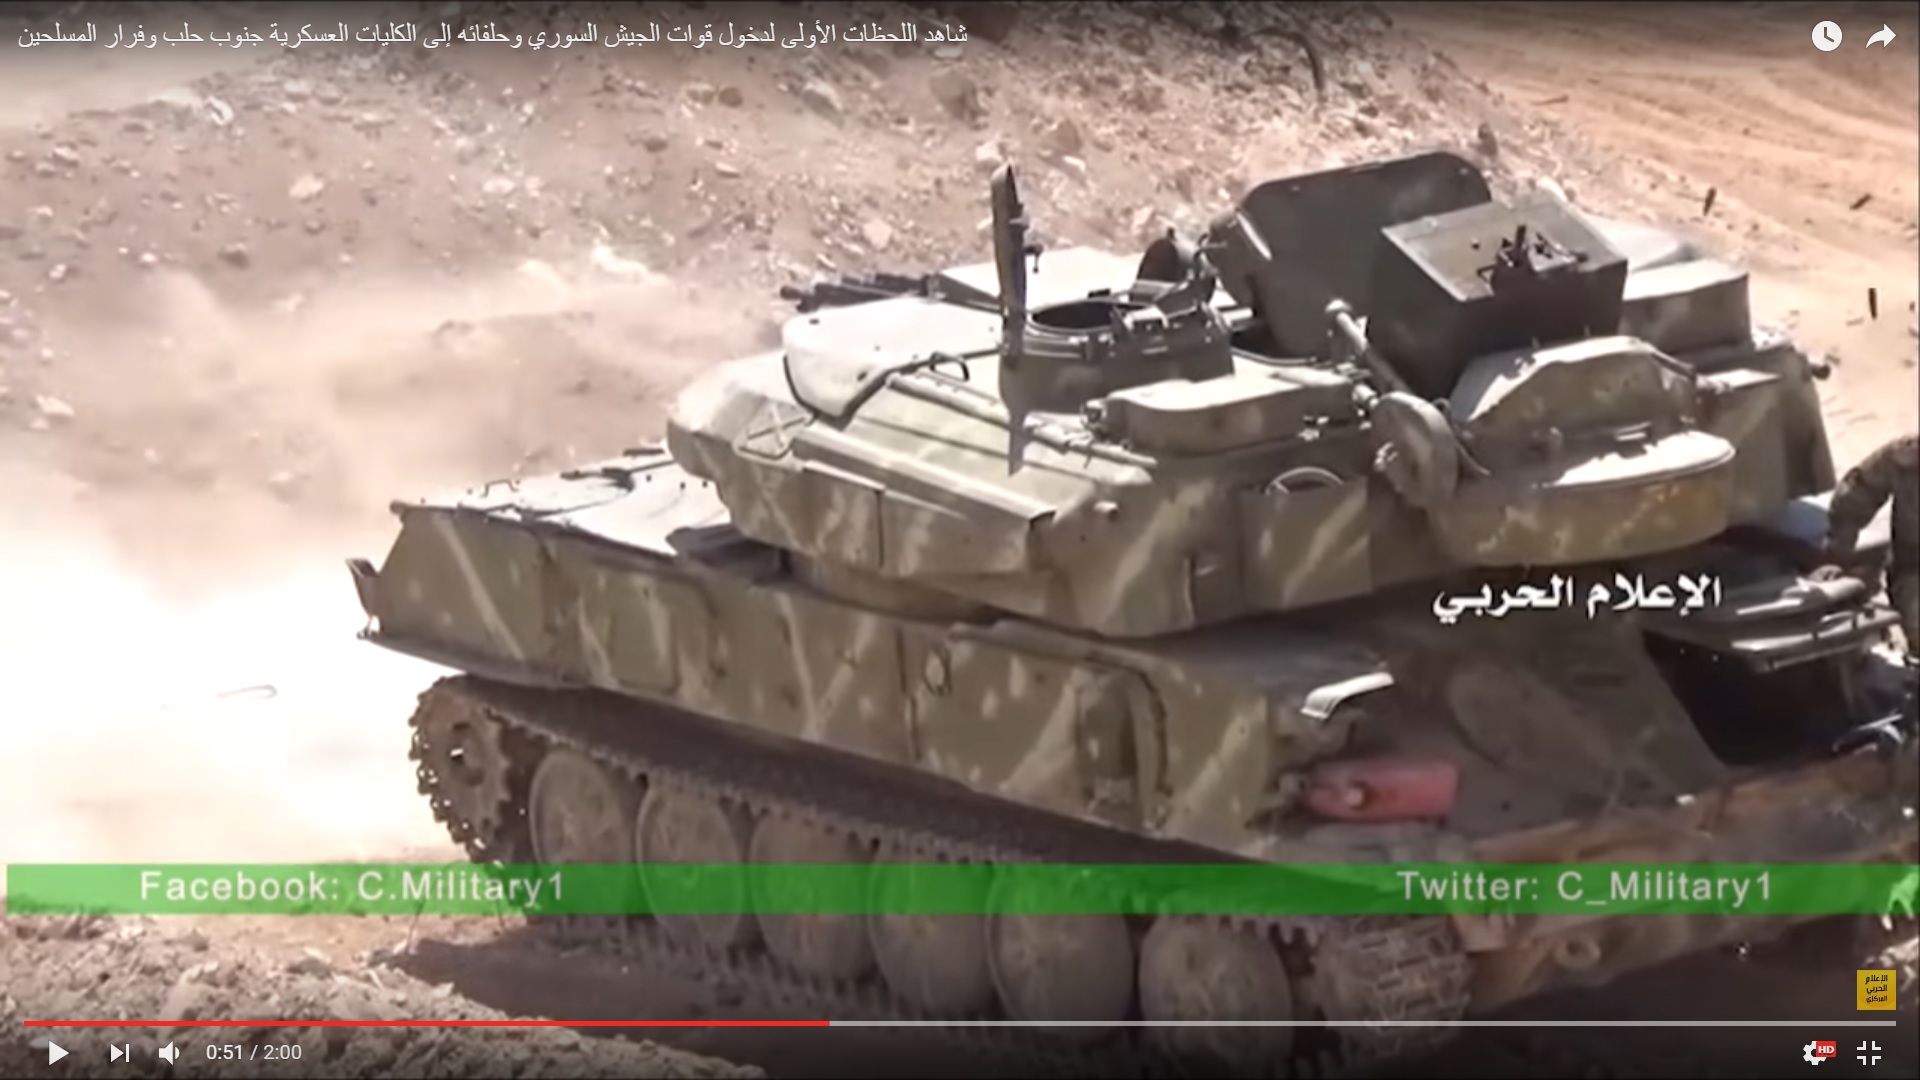
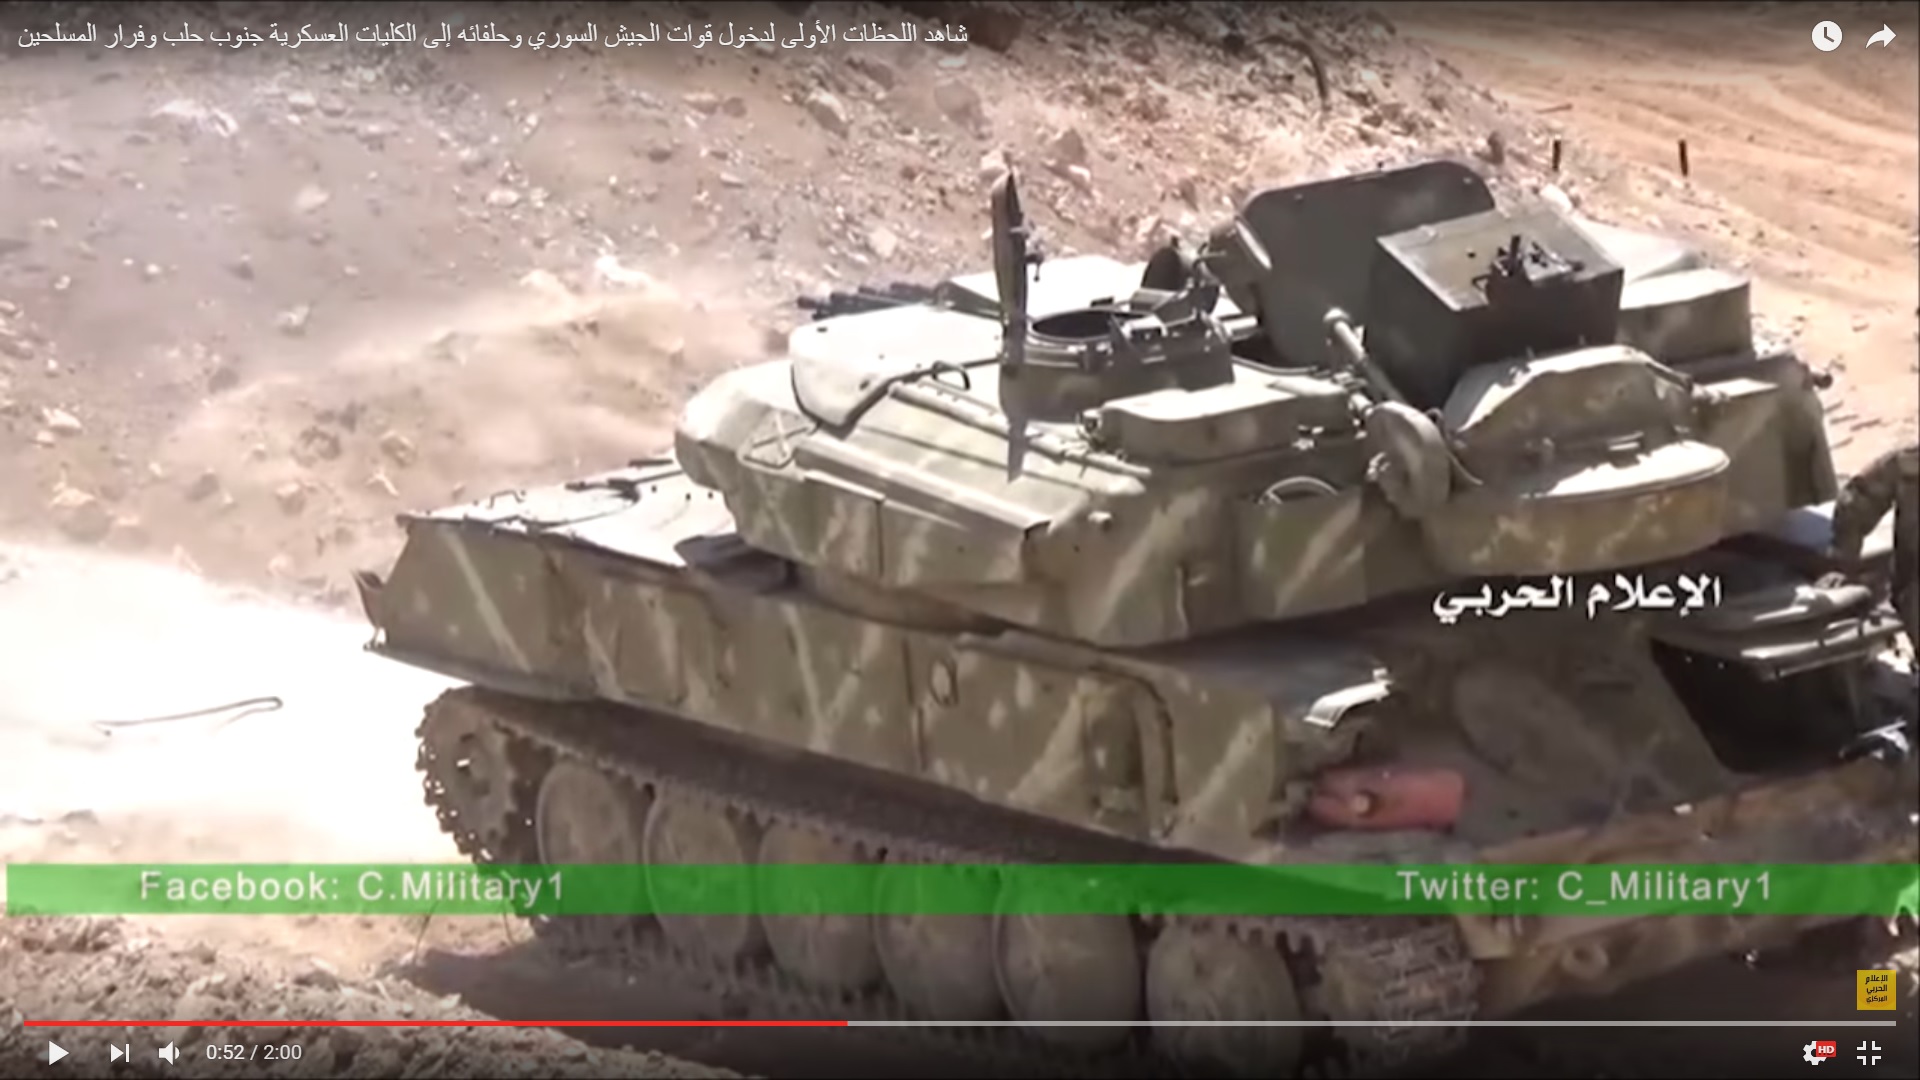
Then a Shilka self-propelled gun replaced it.

Detailed Analysis Of Battle For Ramouseh Artillery Academy In Western Aleppo – Part 4

Click to see the full-size image

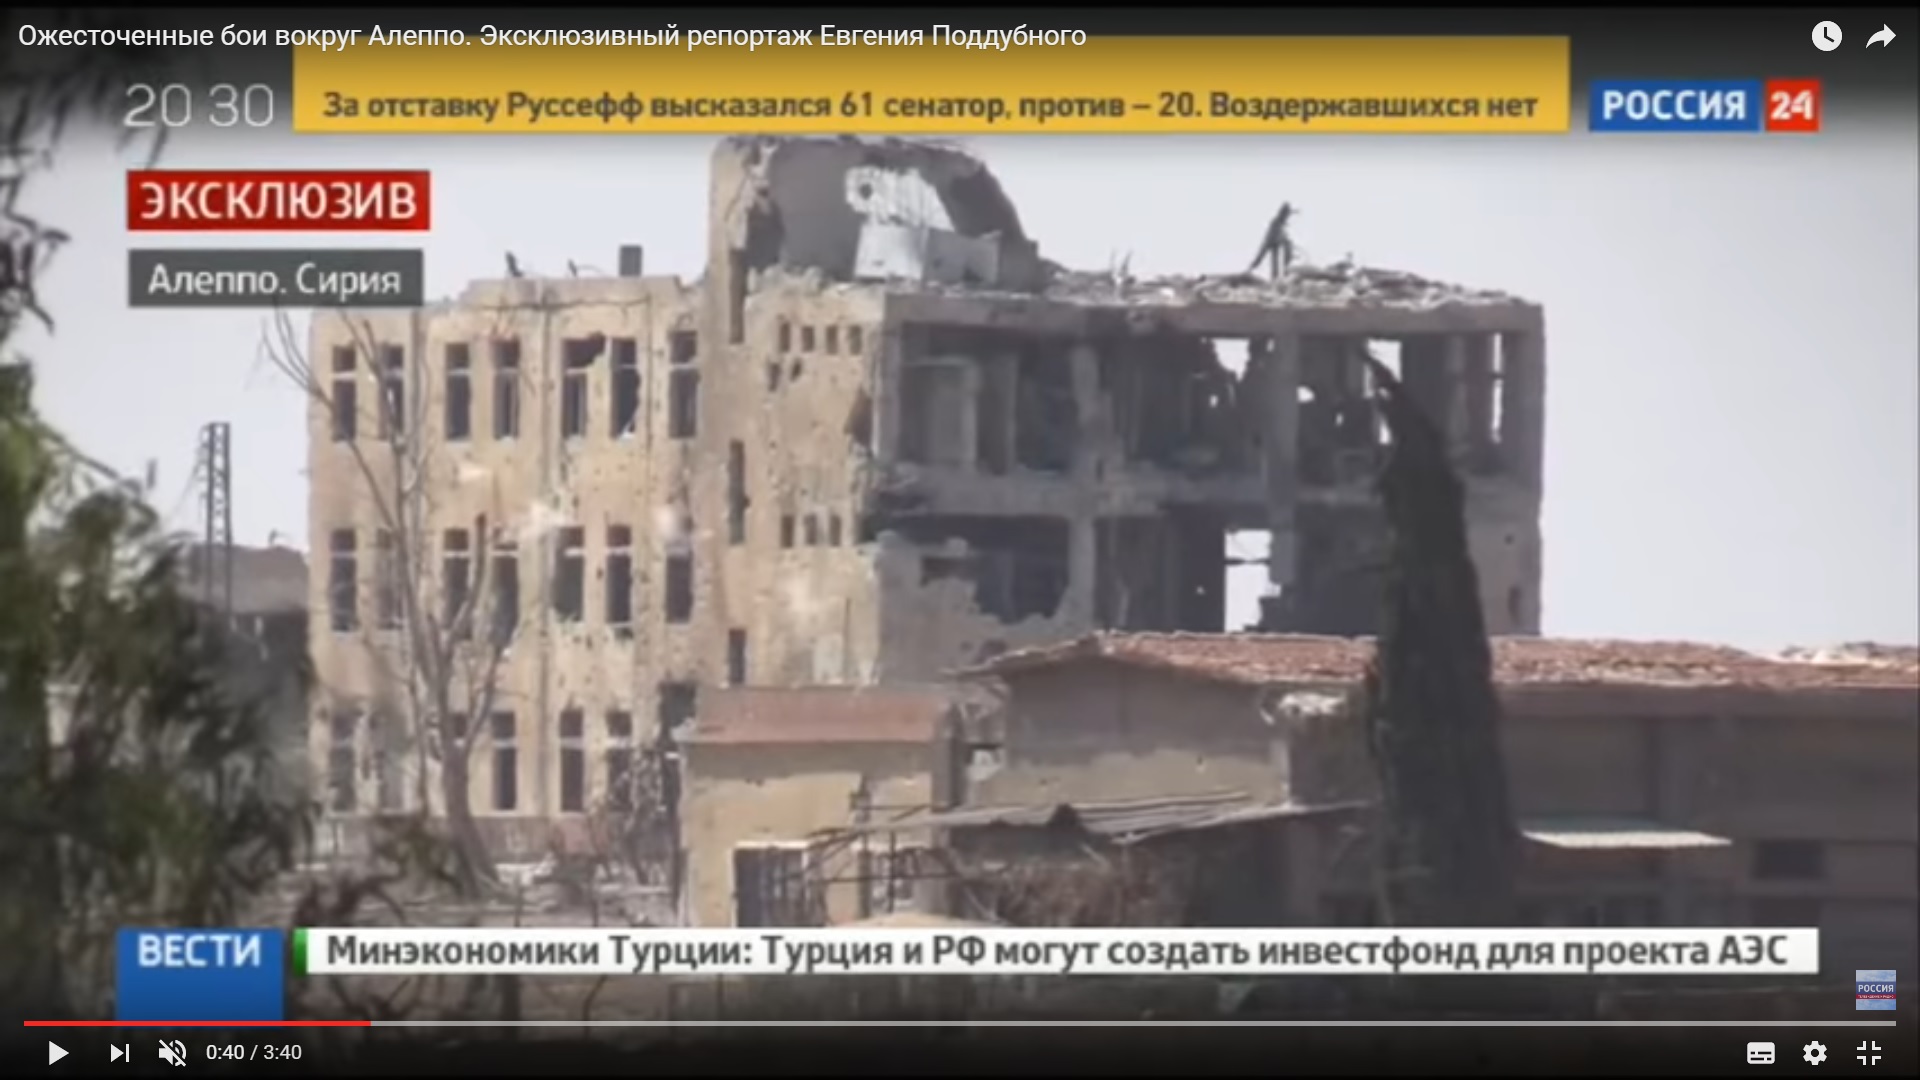
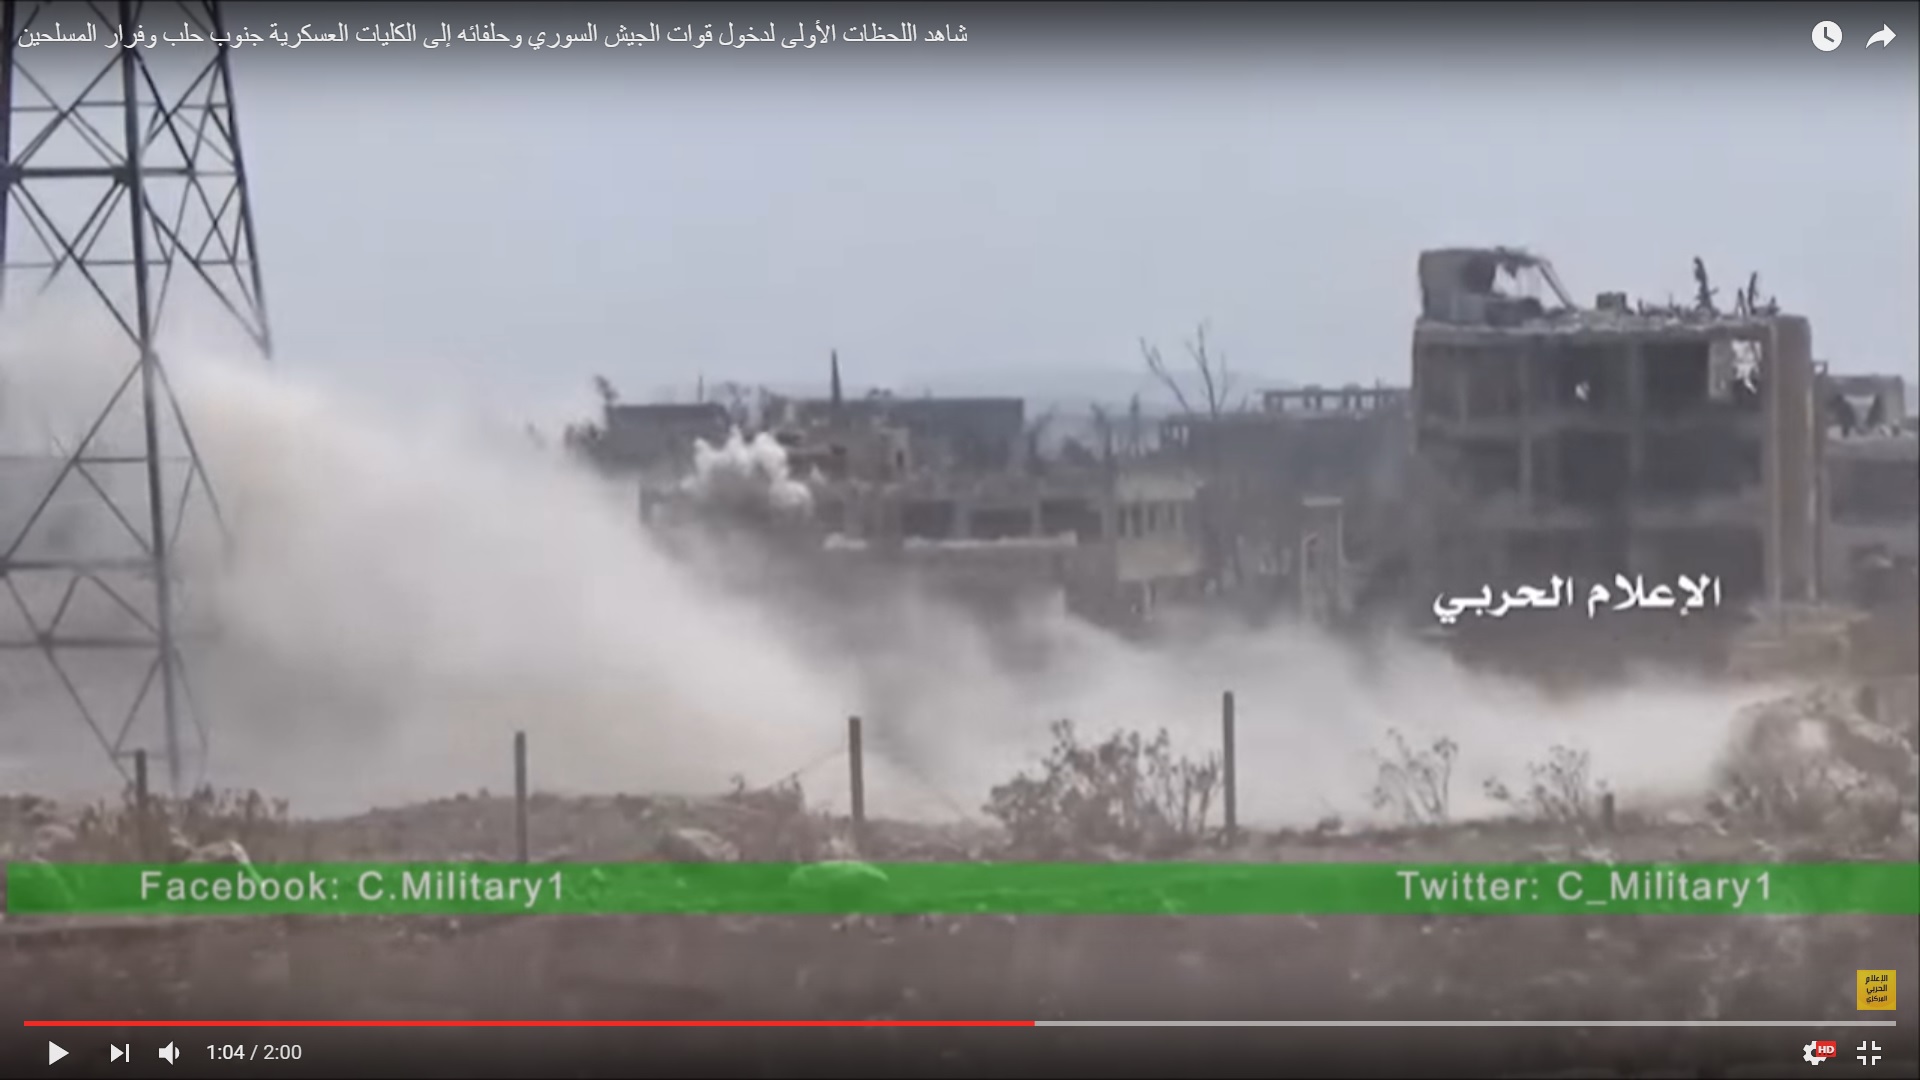
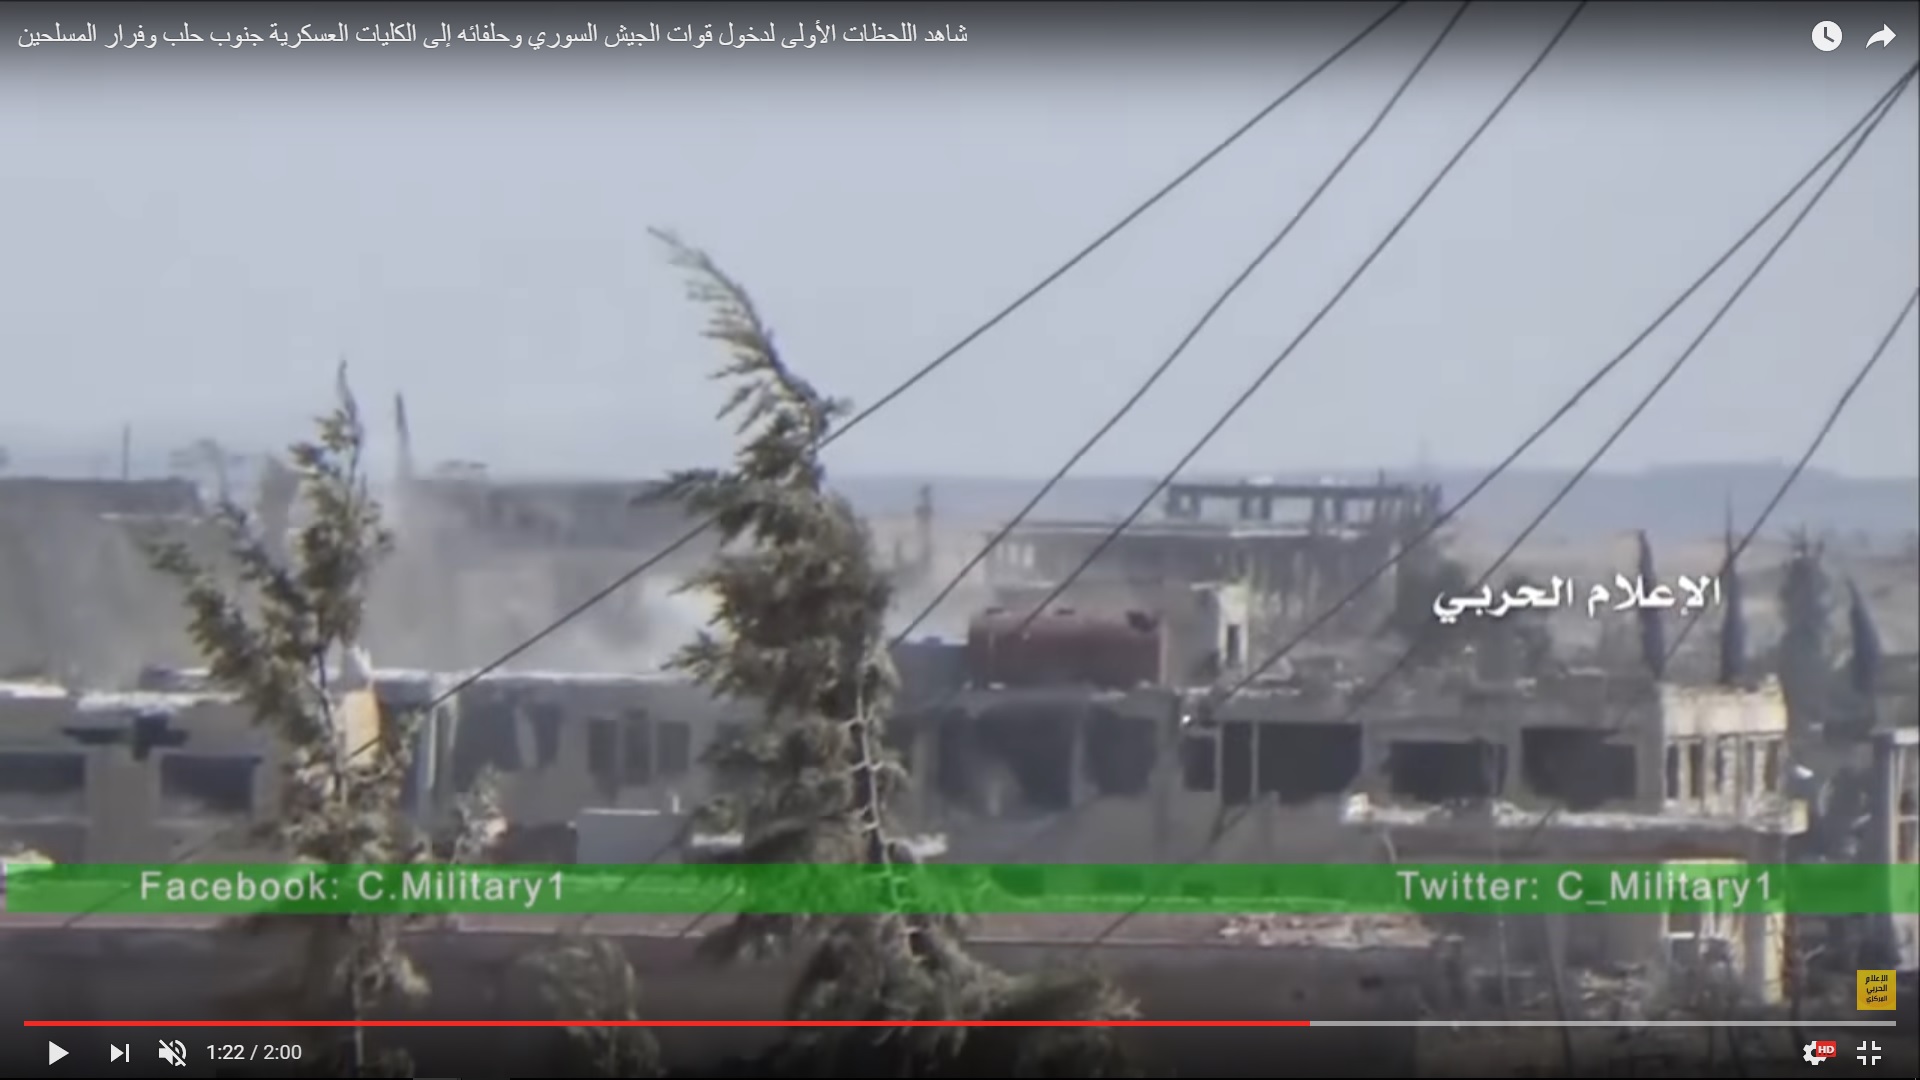
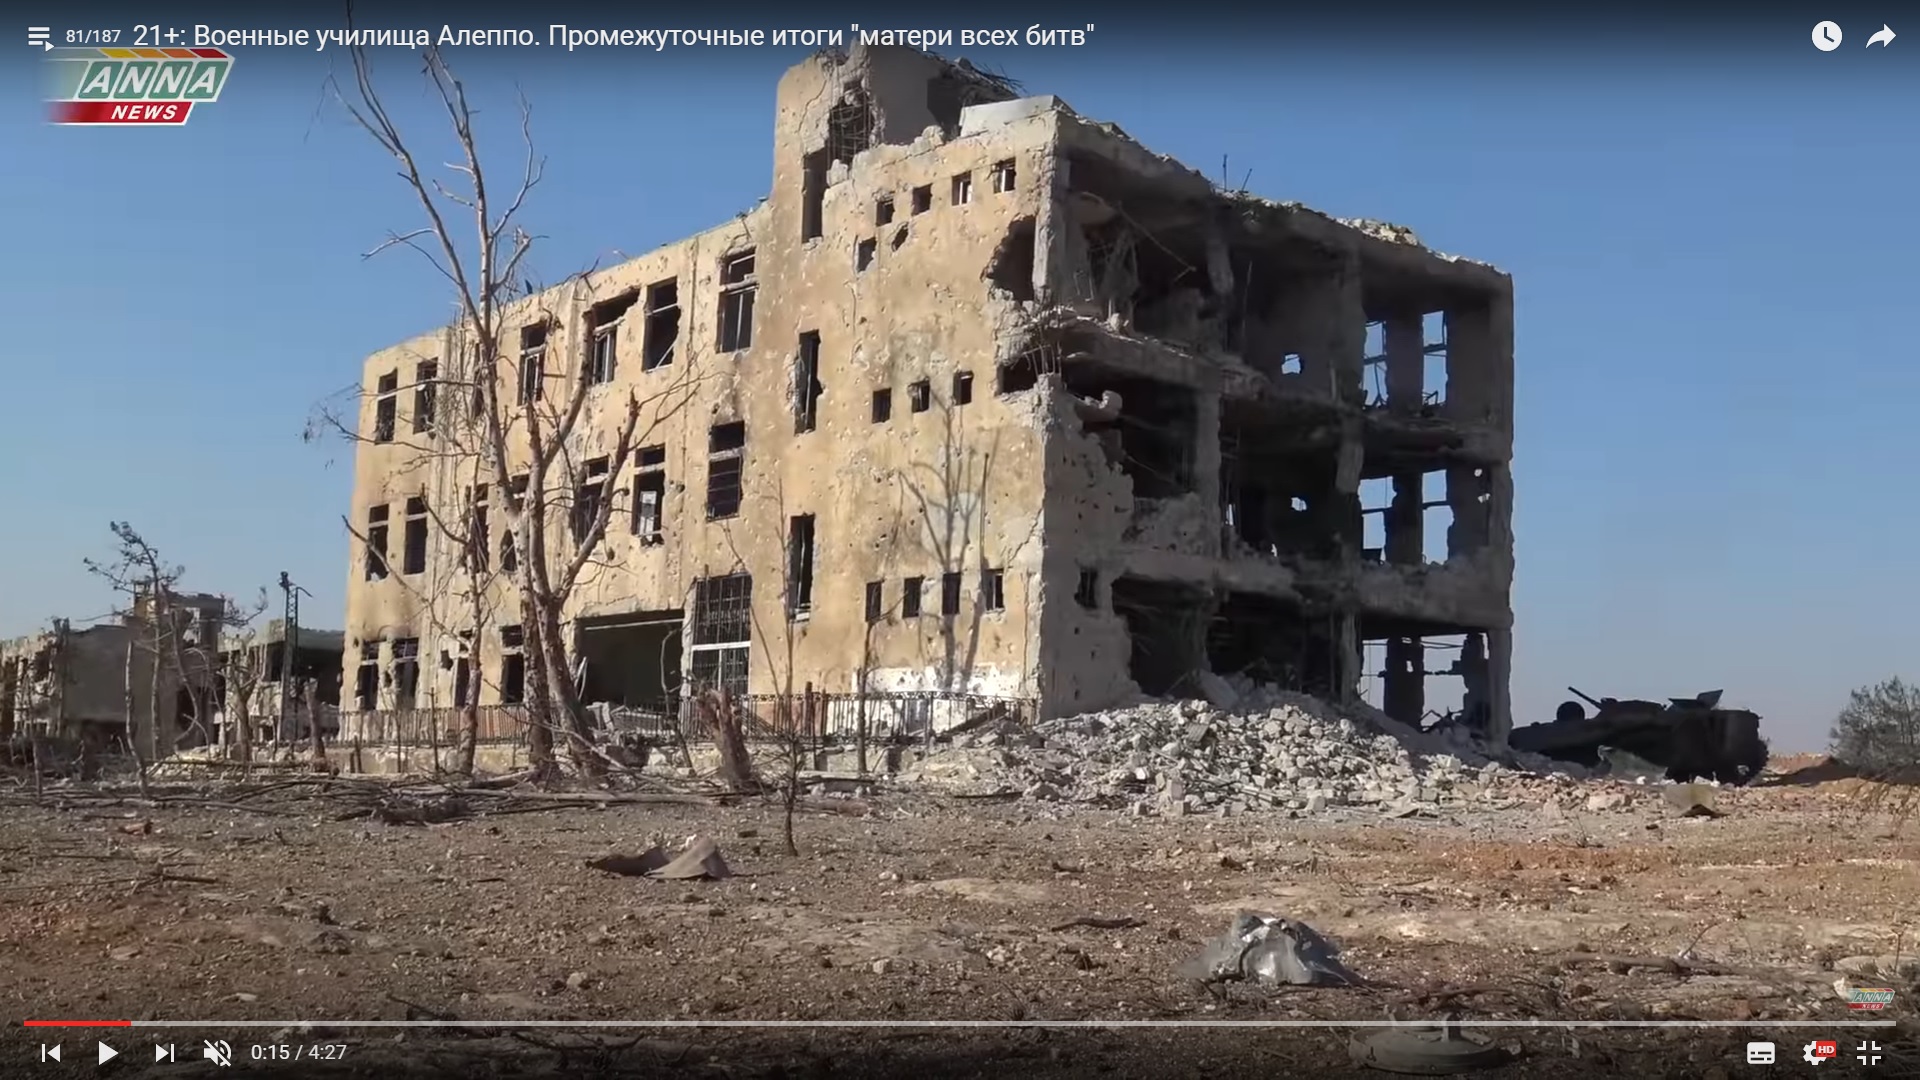
A series of rounds hit the top floor of the Yellow Building and its rear part.

Detailed Analysis Of Battle For Ramouseh Artillery Academy In Western Aleppo – Part 4

Click to see the full-size image

Artillery units shelled the area of the artillery college.

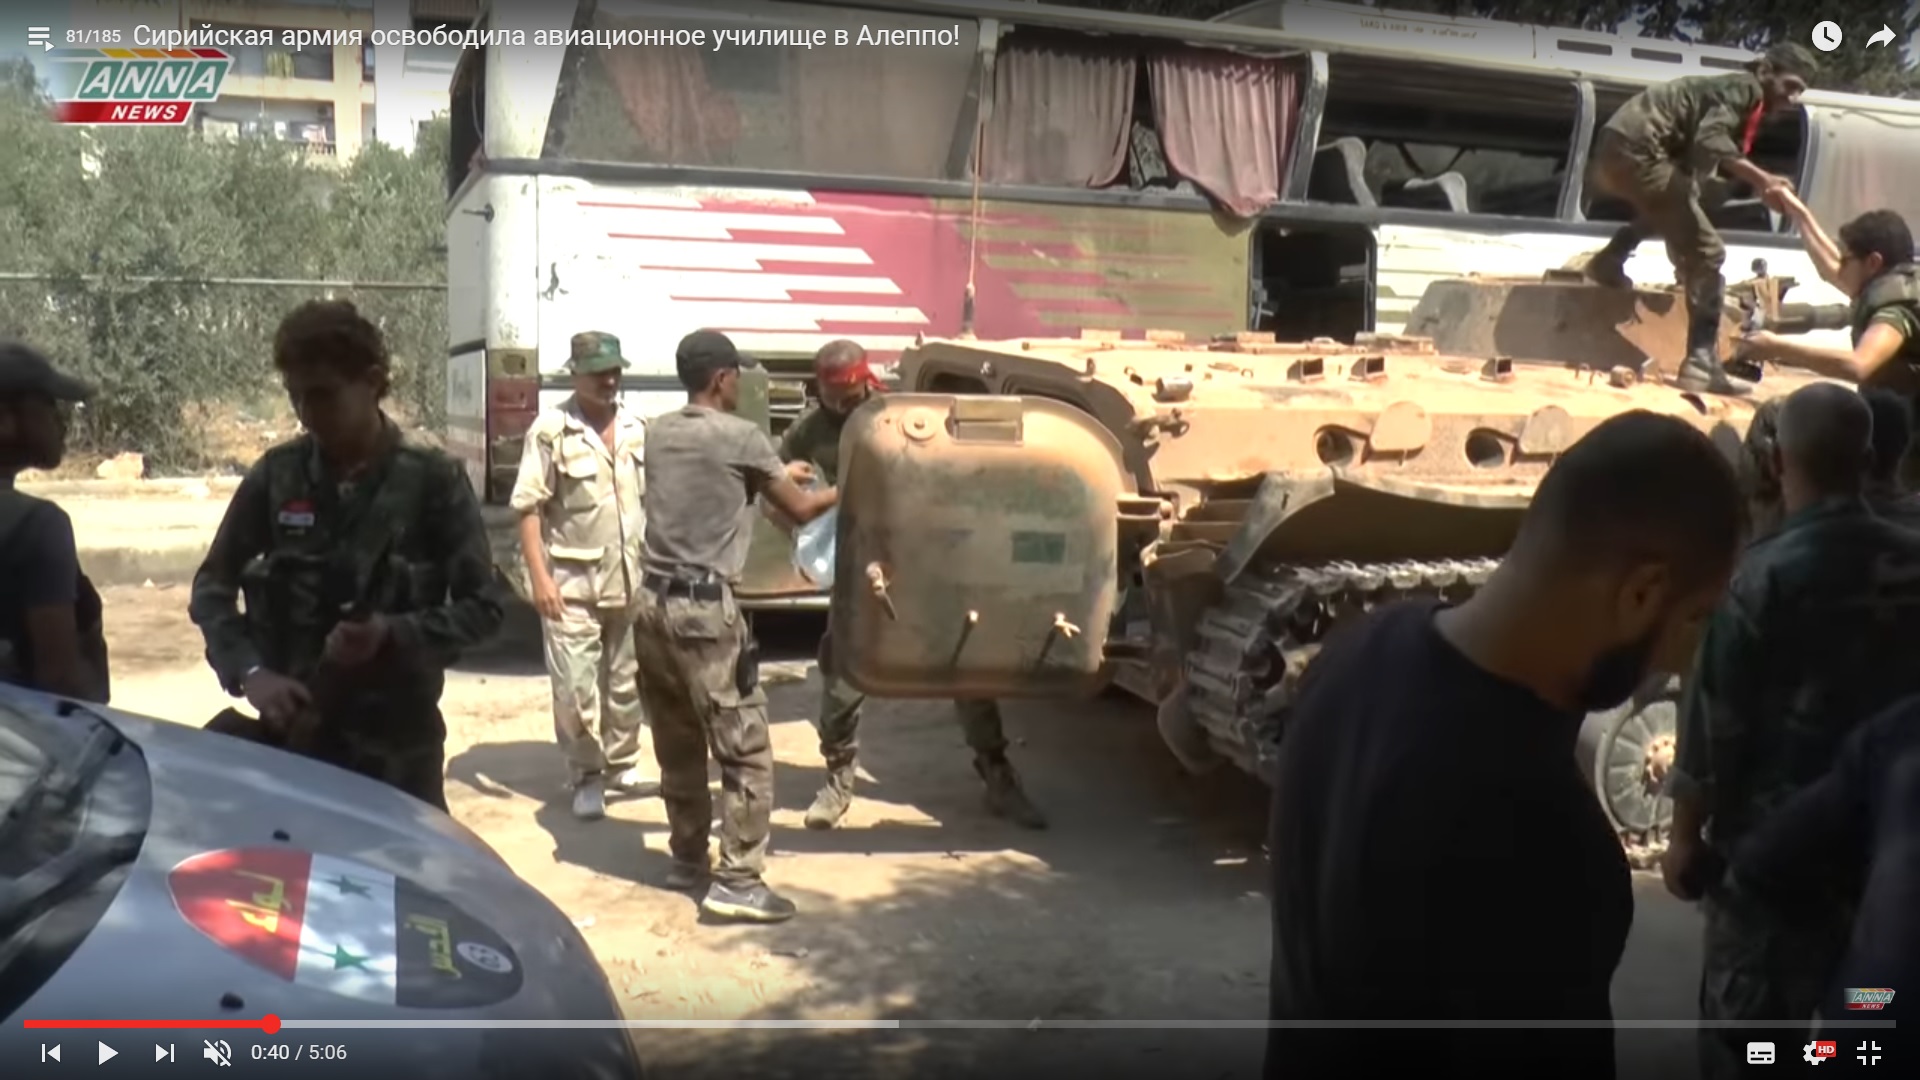
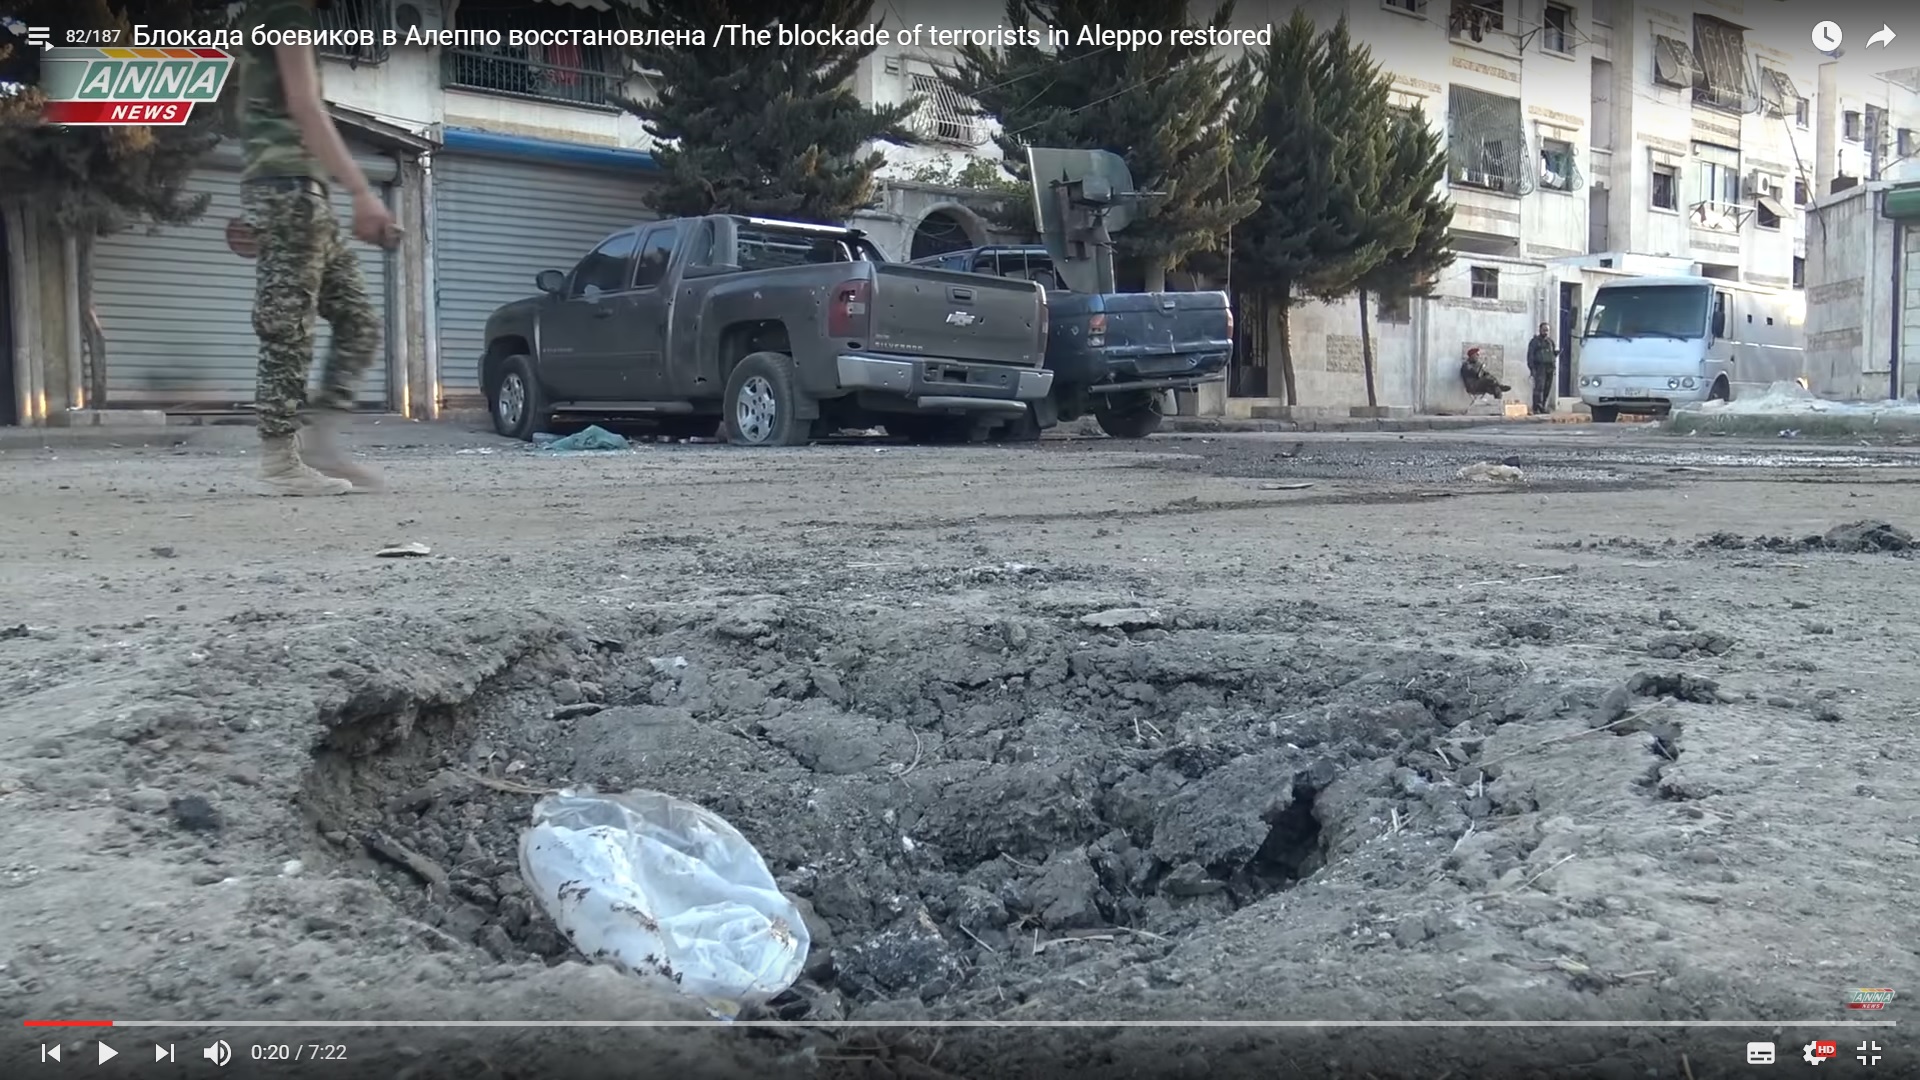
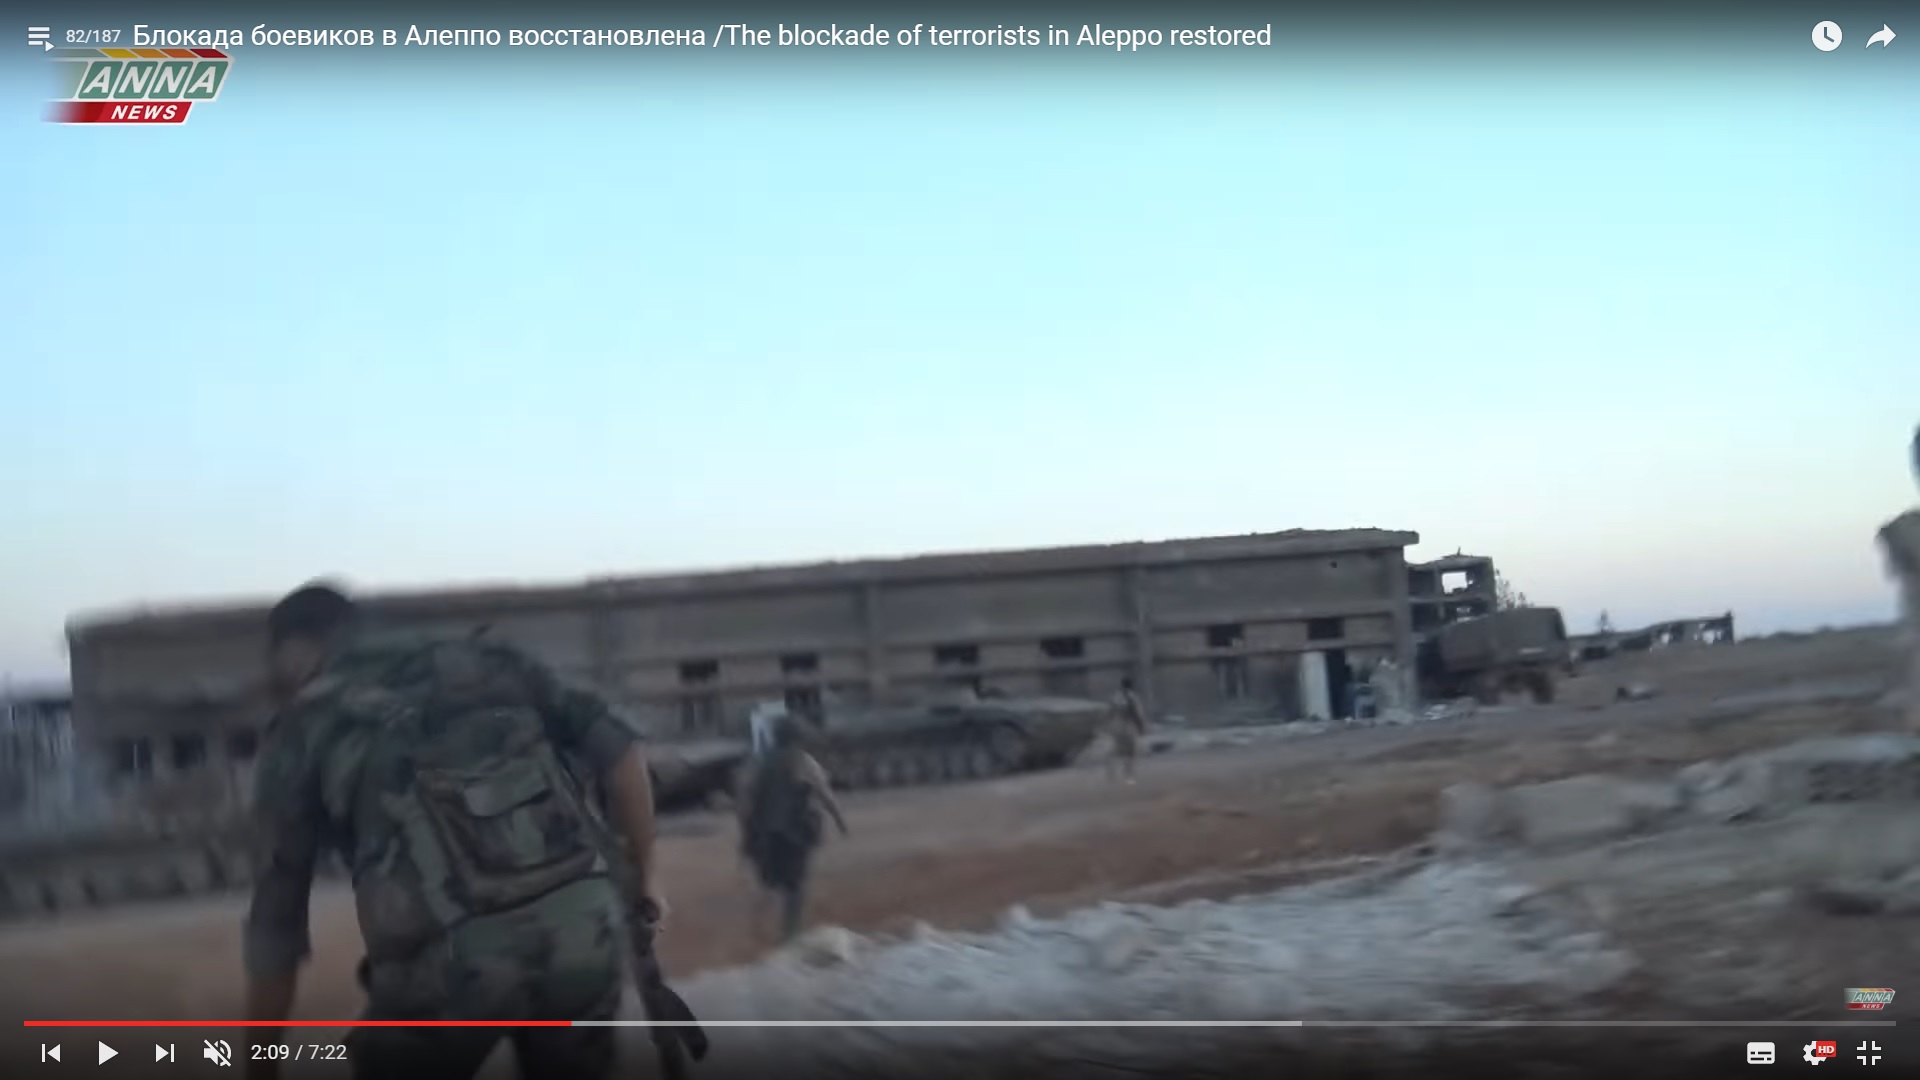
It looks like that the situation encouraged the command staff’s optimism. A crew of ANNA News arrived in the noon. It received a proposal to move to the aviation college by a BMP vehicle.

Detailed Analysis Of Battle For Ramouseh Artillery Academy In Western Aleppo – Part 4

Click to see the full-size image

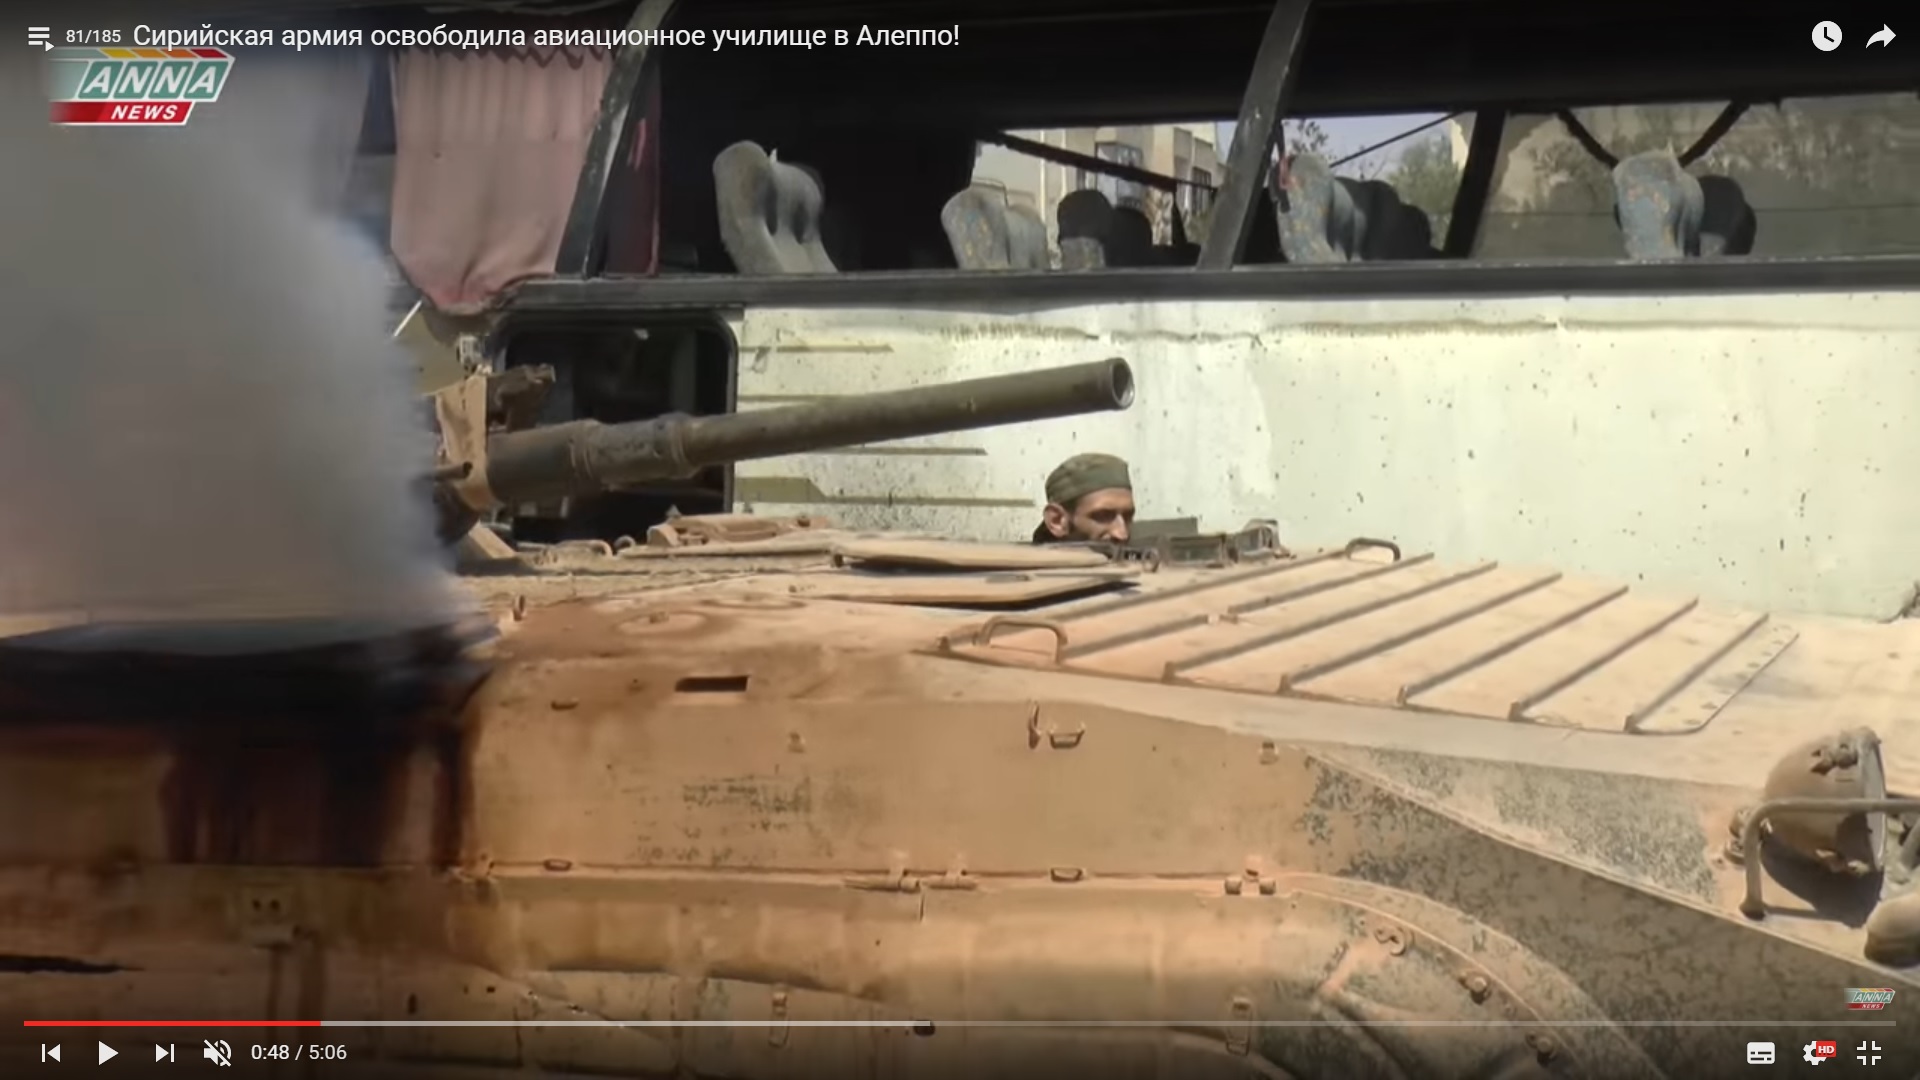
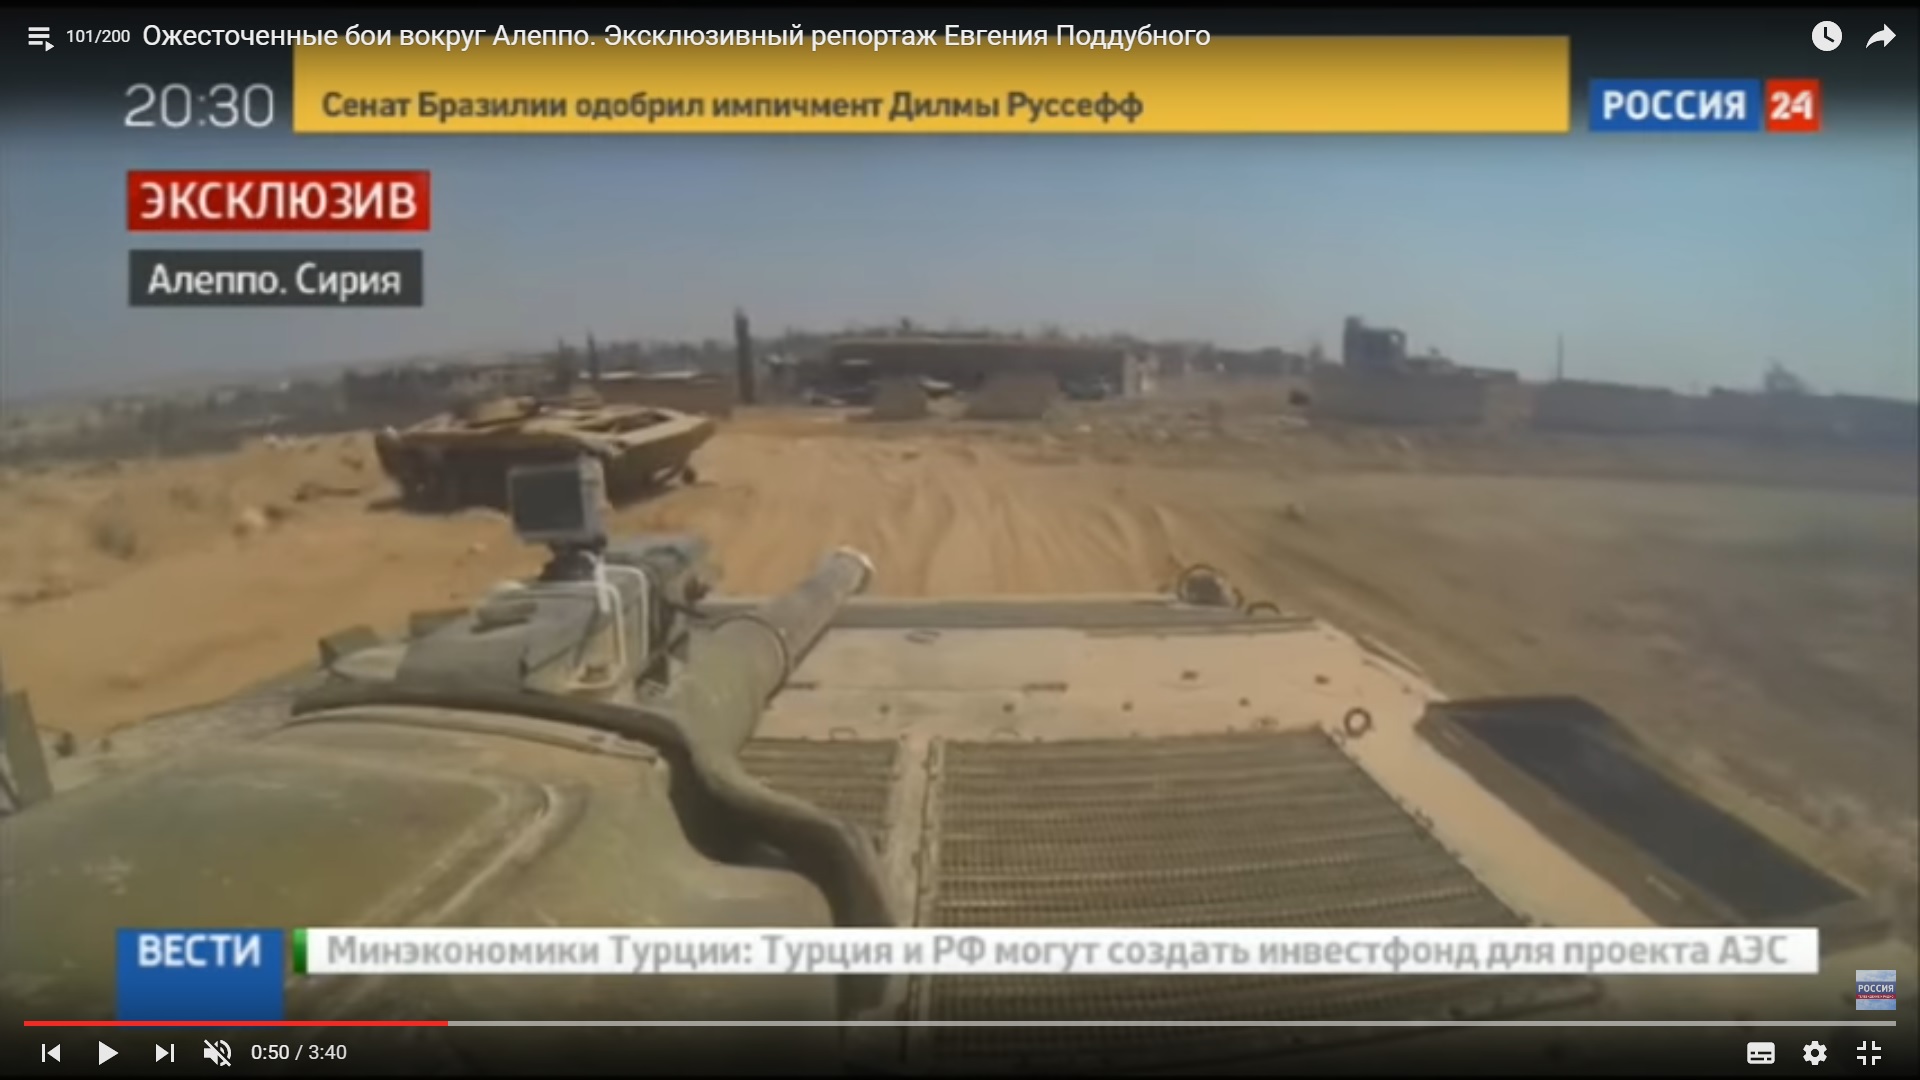
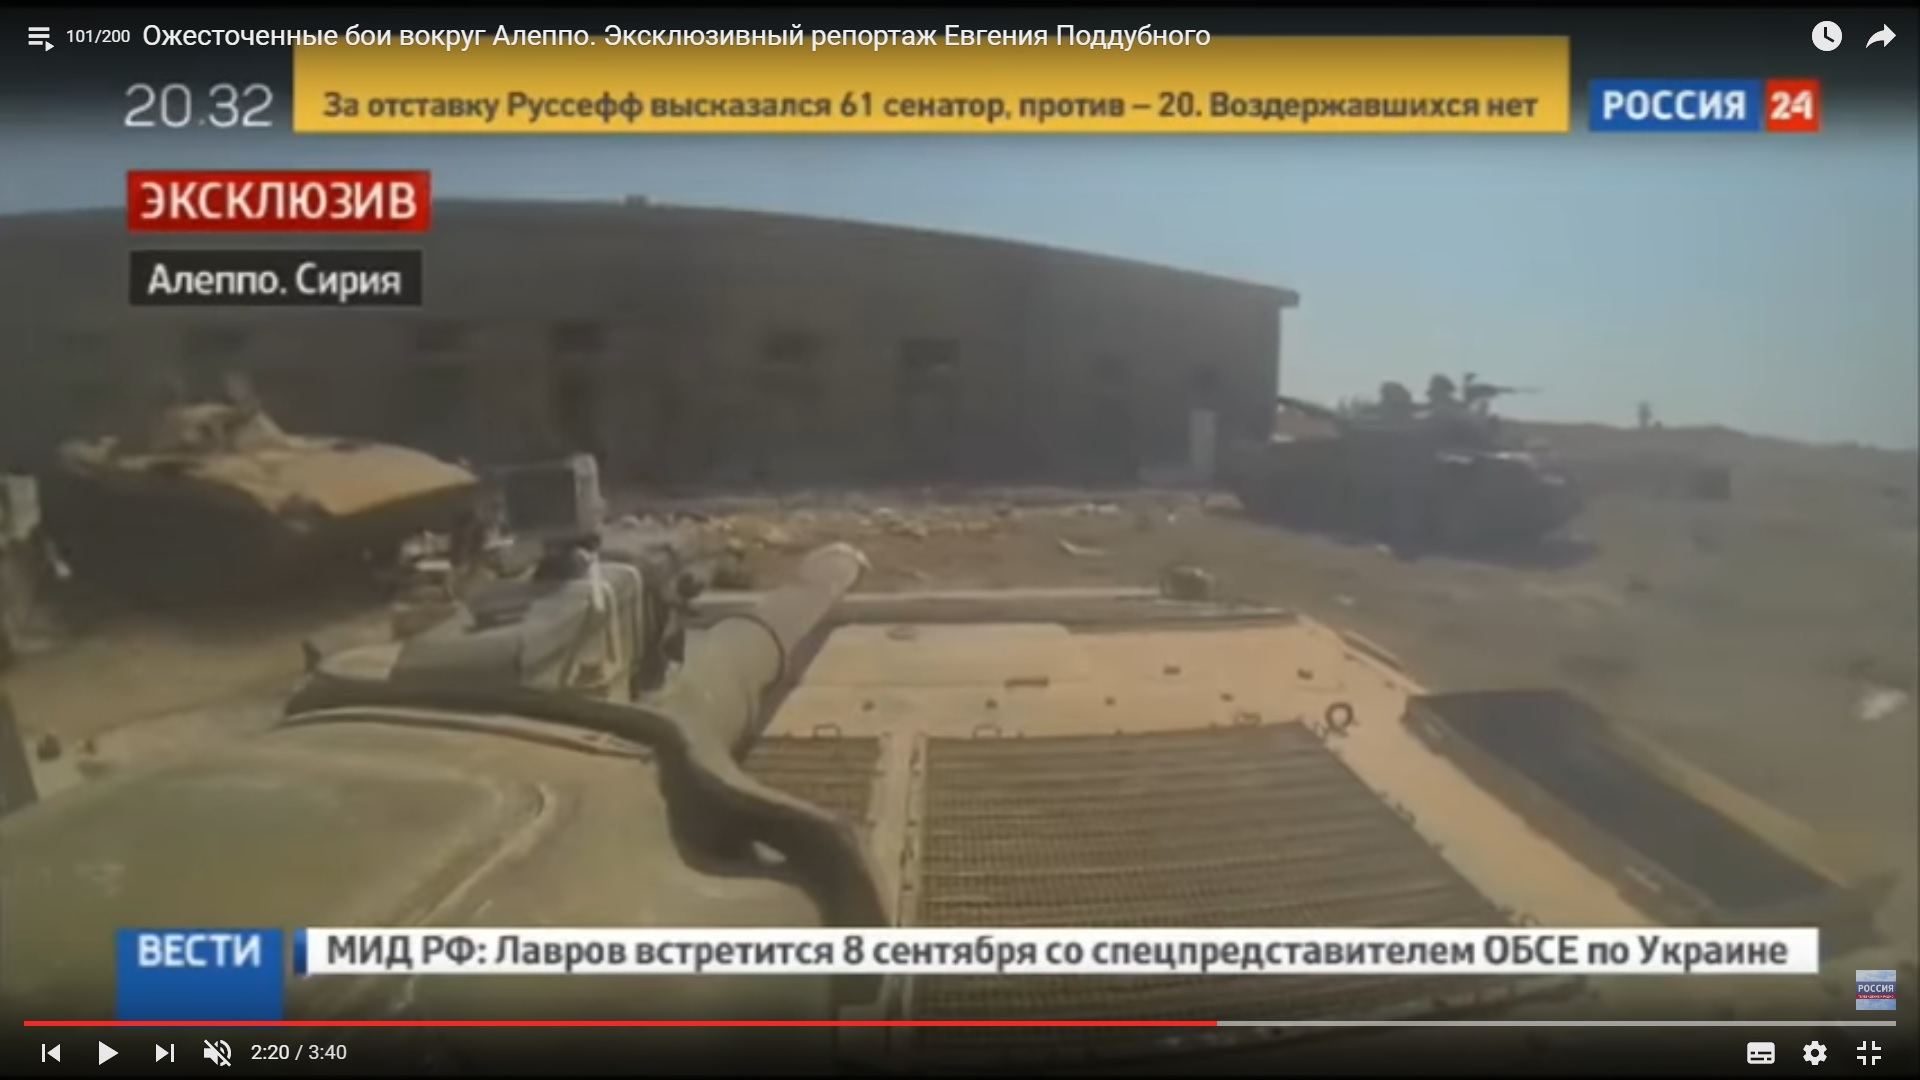
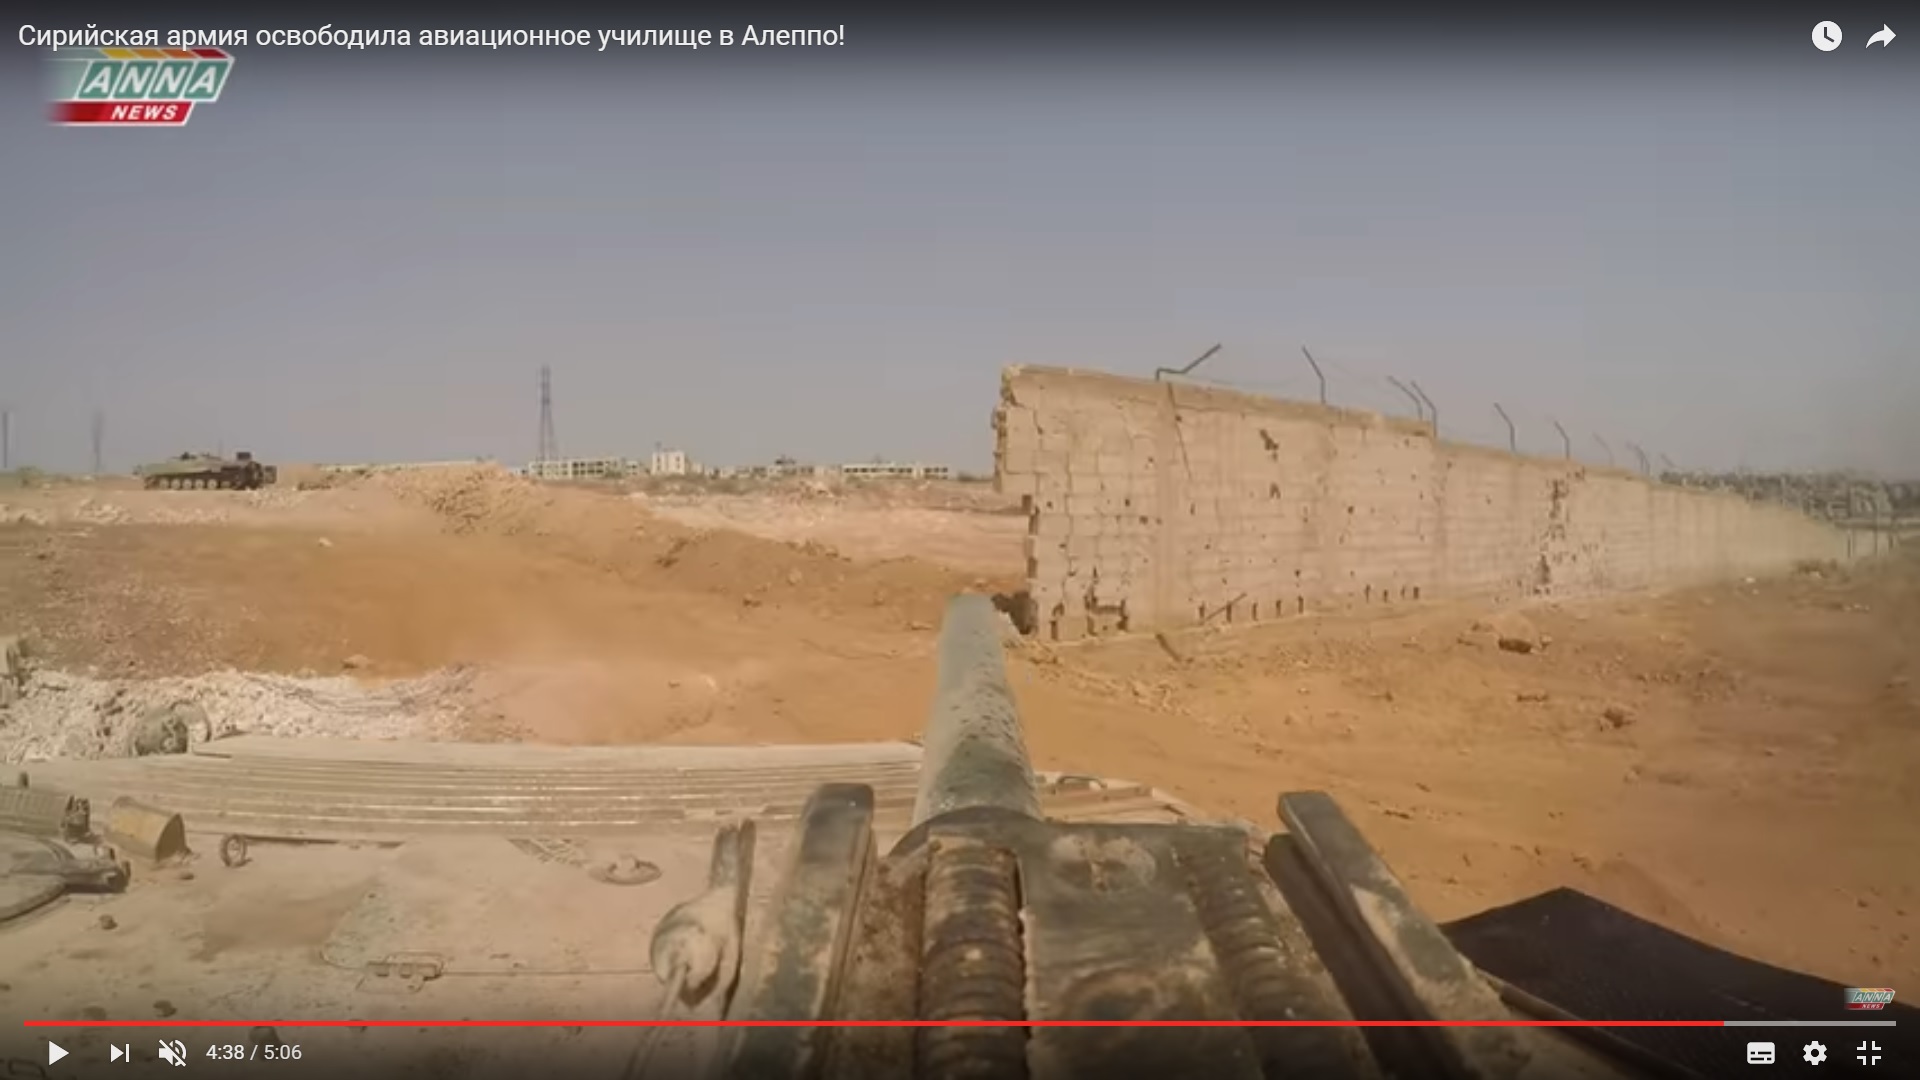
A loading took place in the yard. The BMP driver helped a journalist to set up a GoPro camera on the tower.

All passengers took their places.

Detailed Analysis Of Battle For Ramouseh Artillery Academy In Western Aleppo – Part 4

Click to see the full-size image

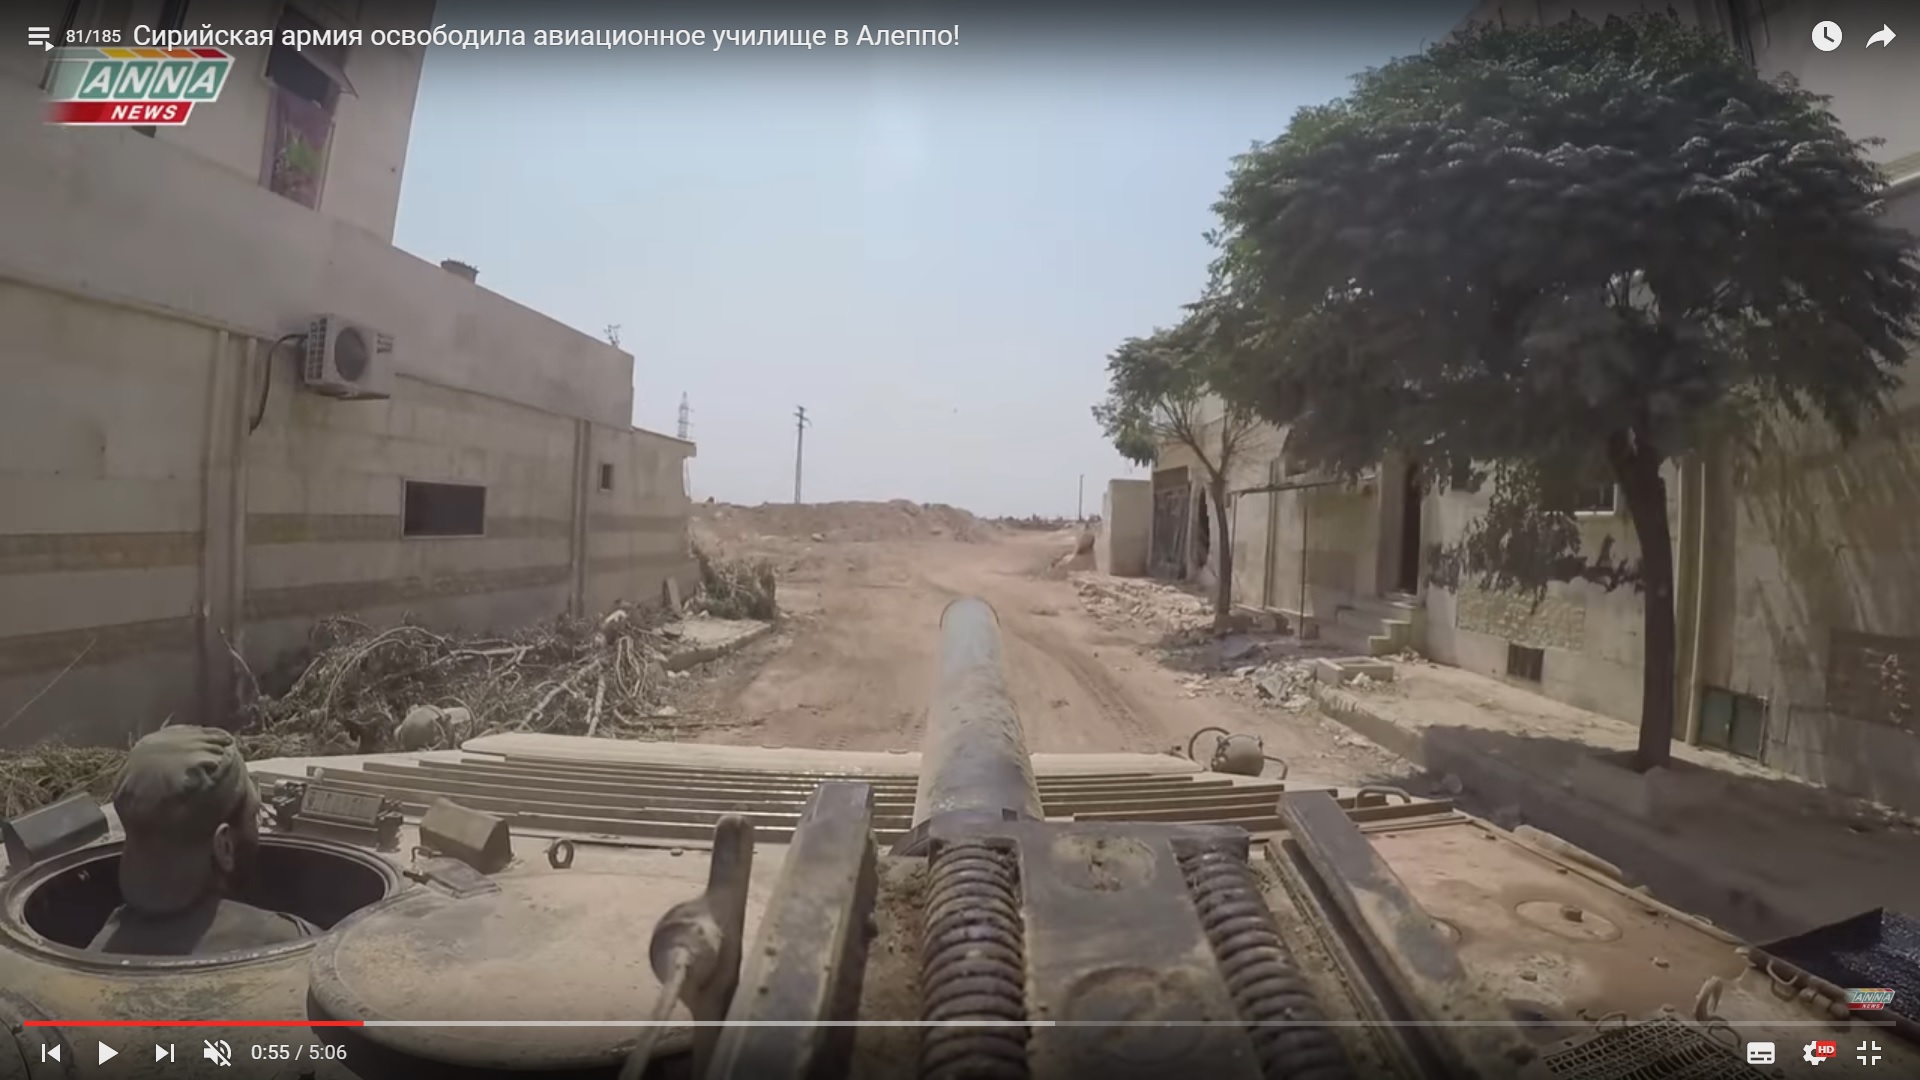
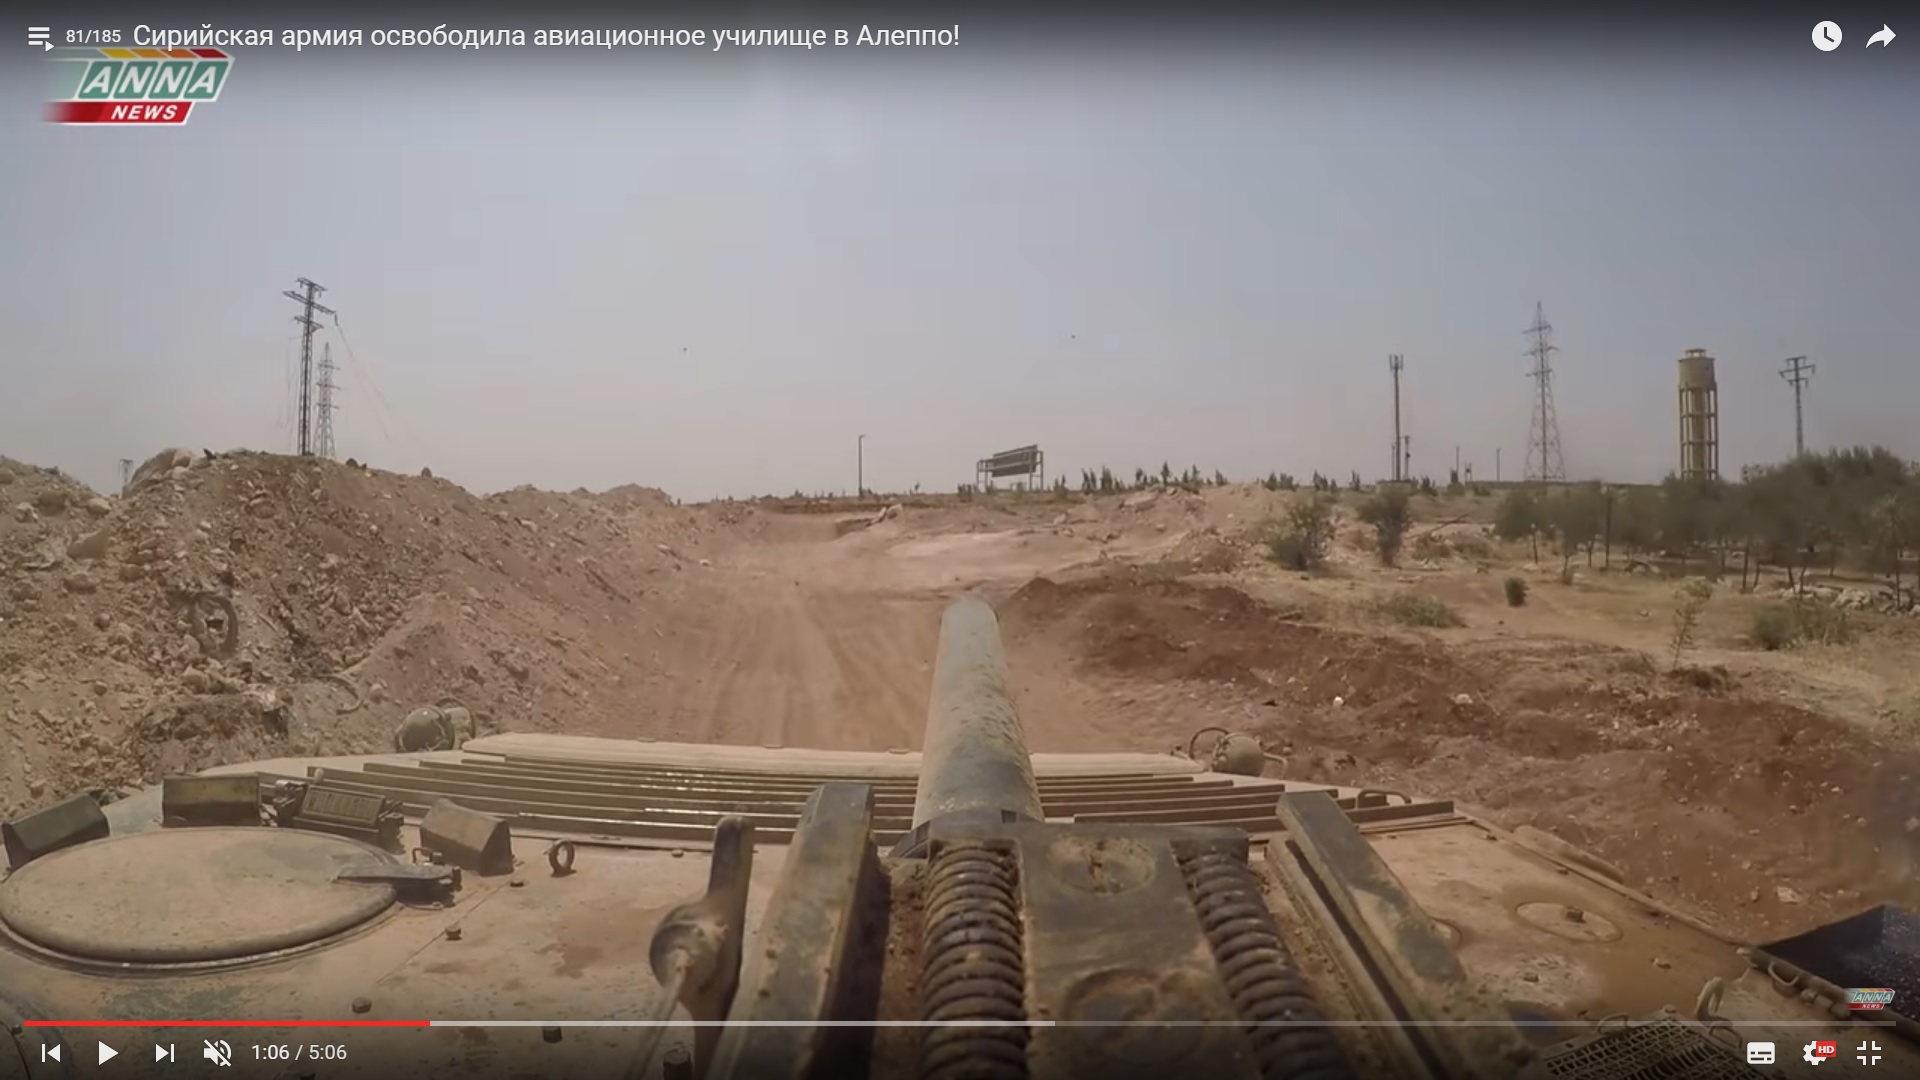
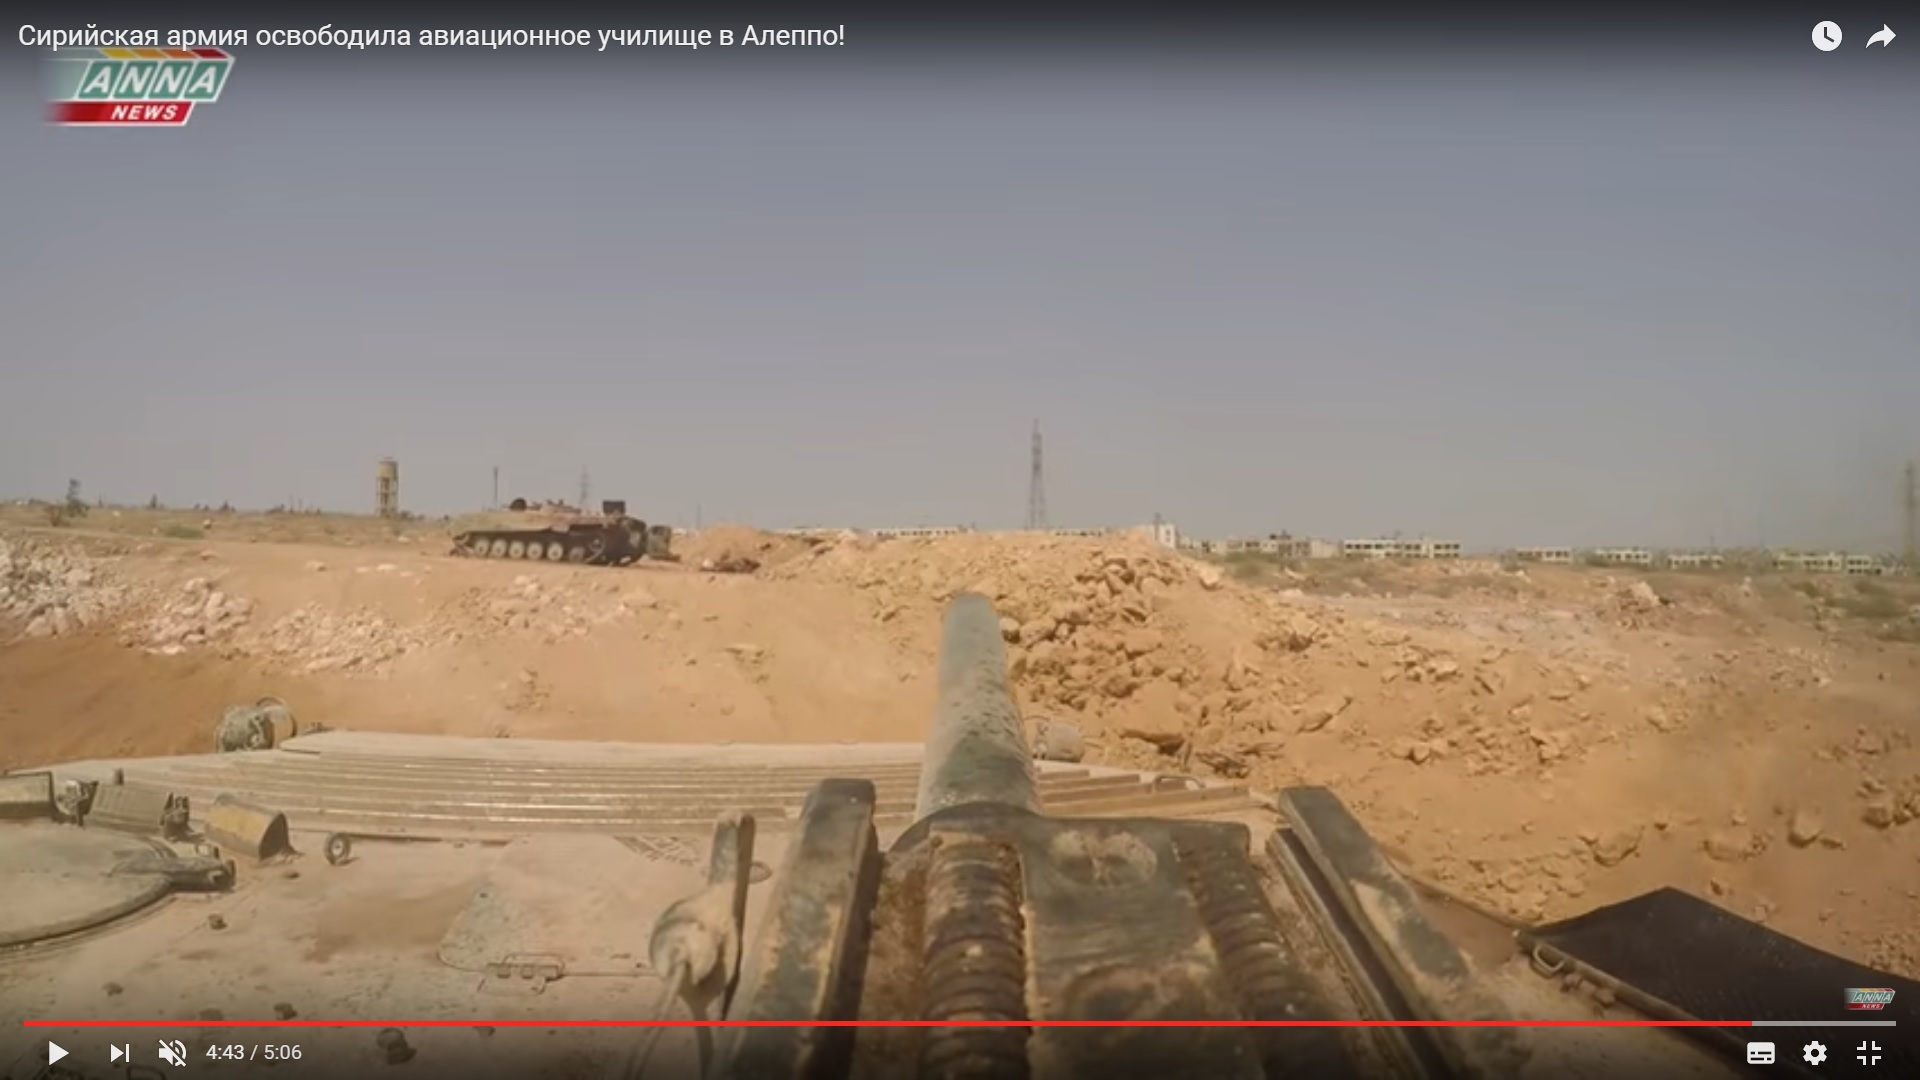
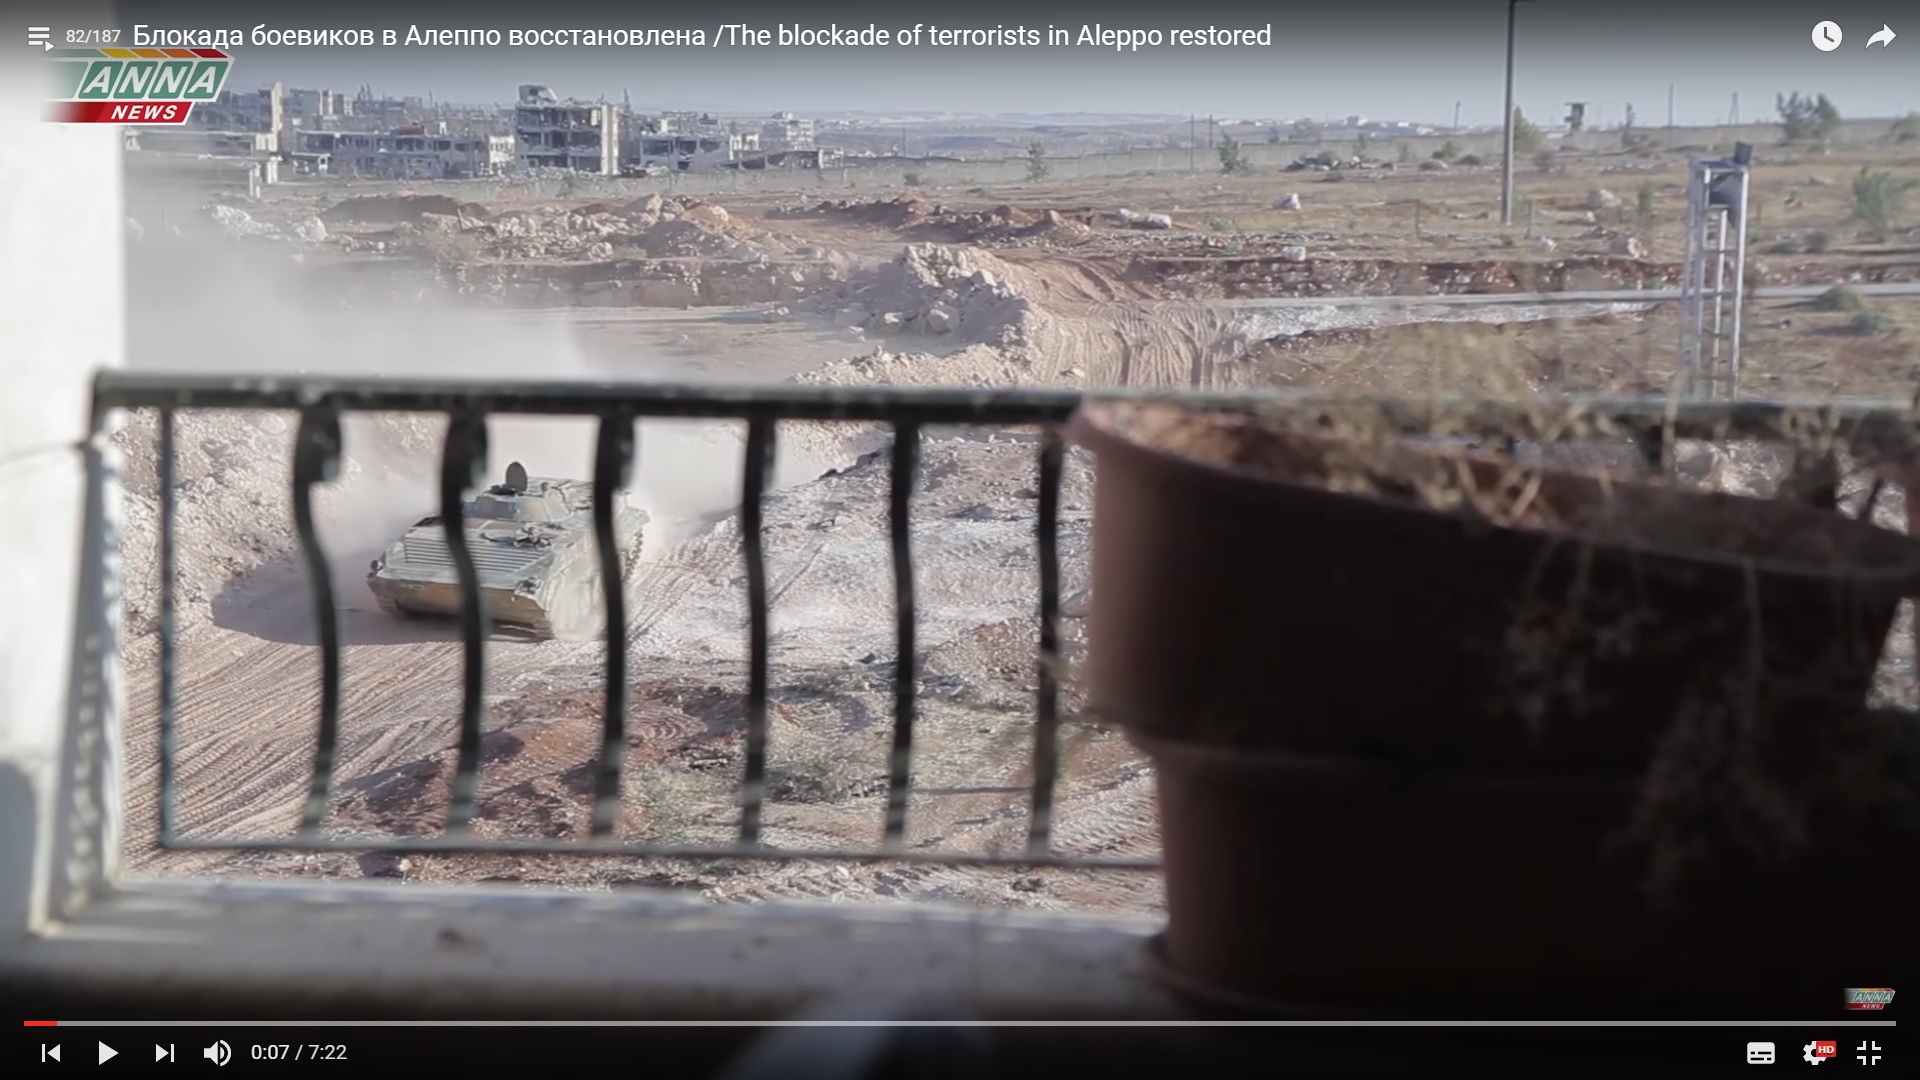
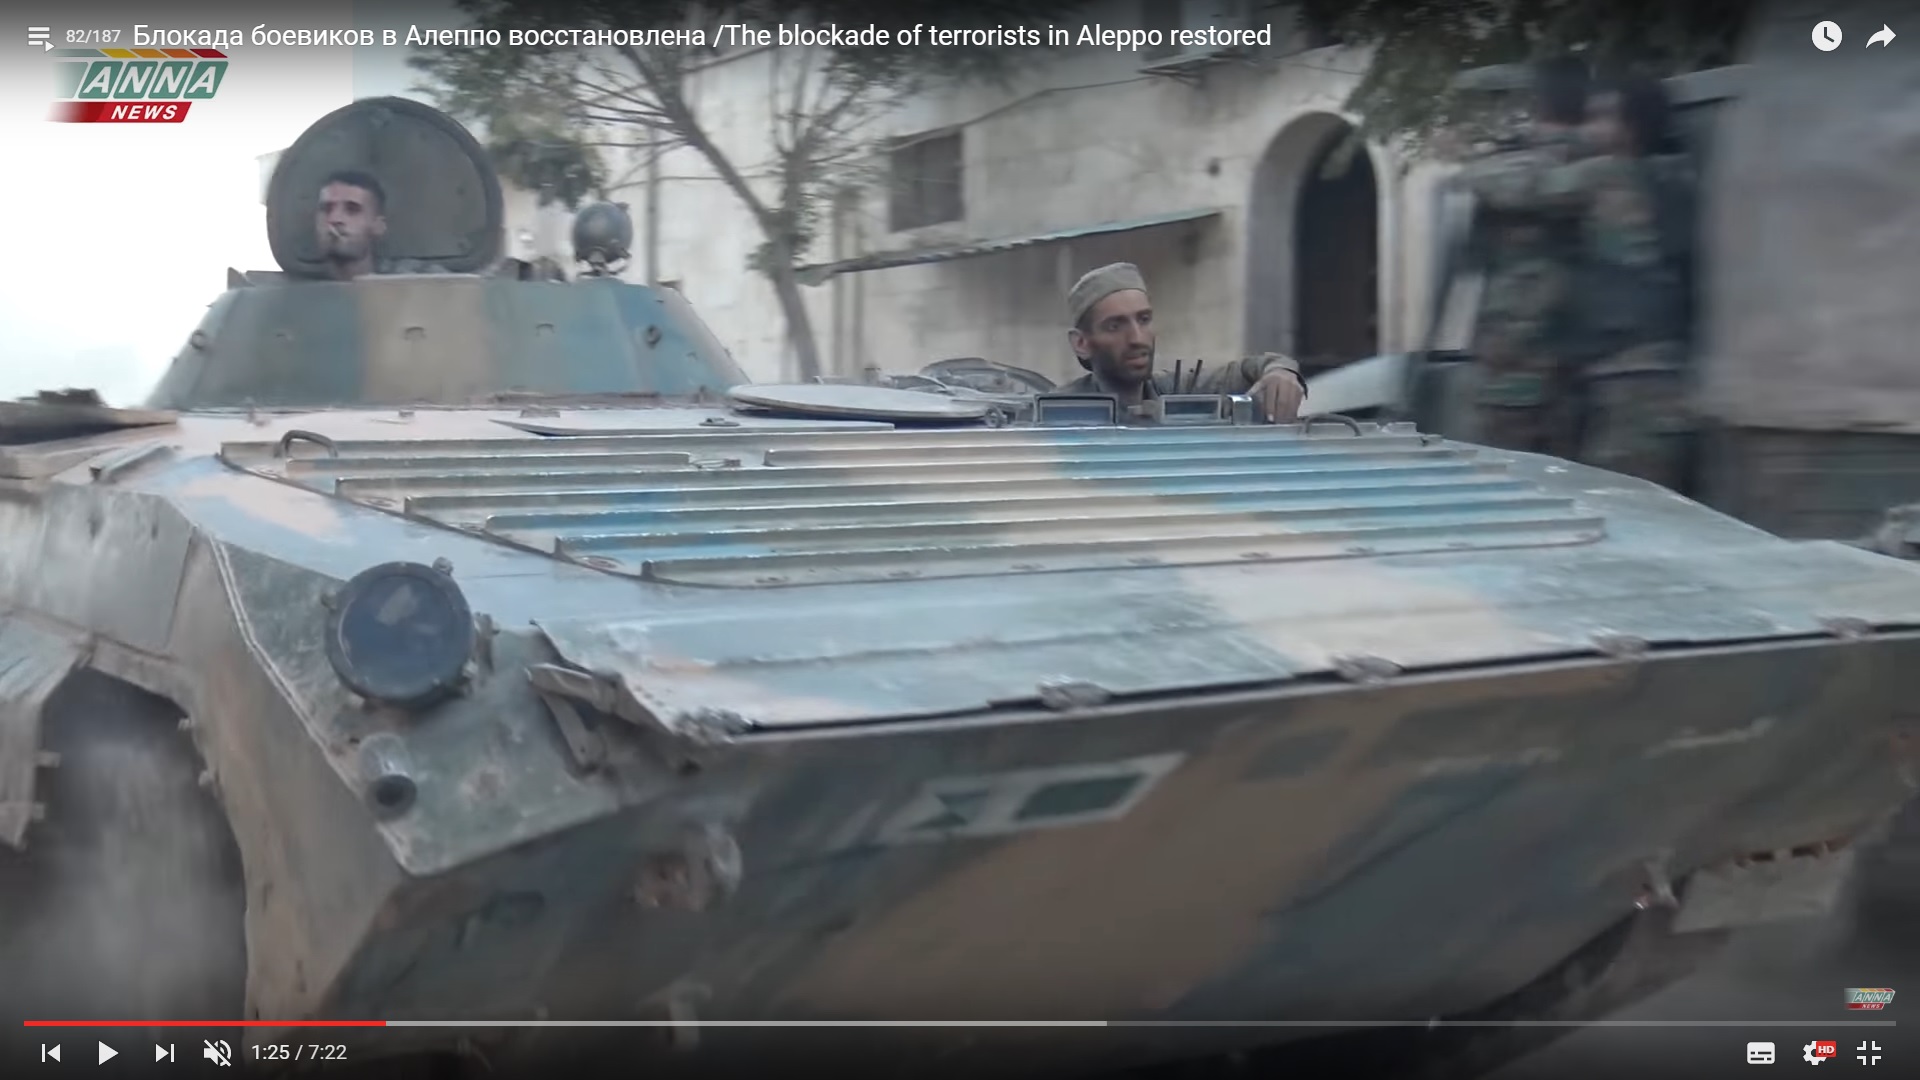
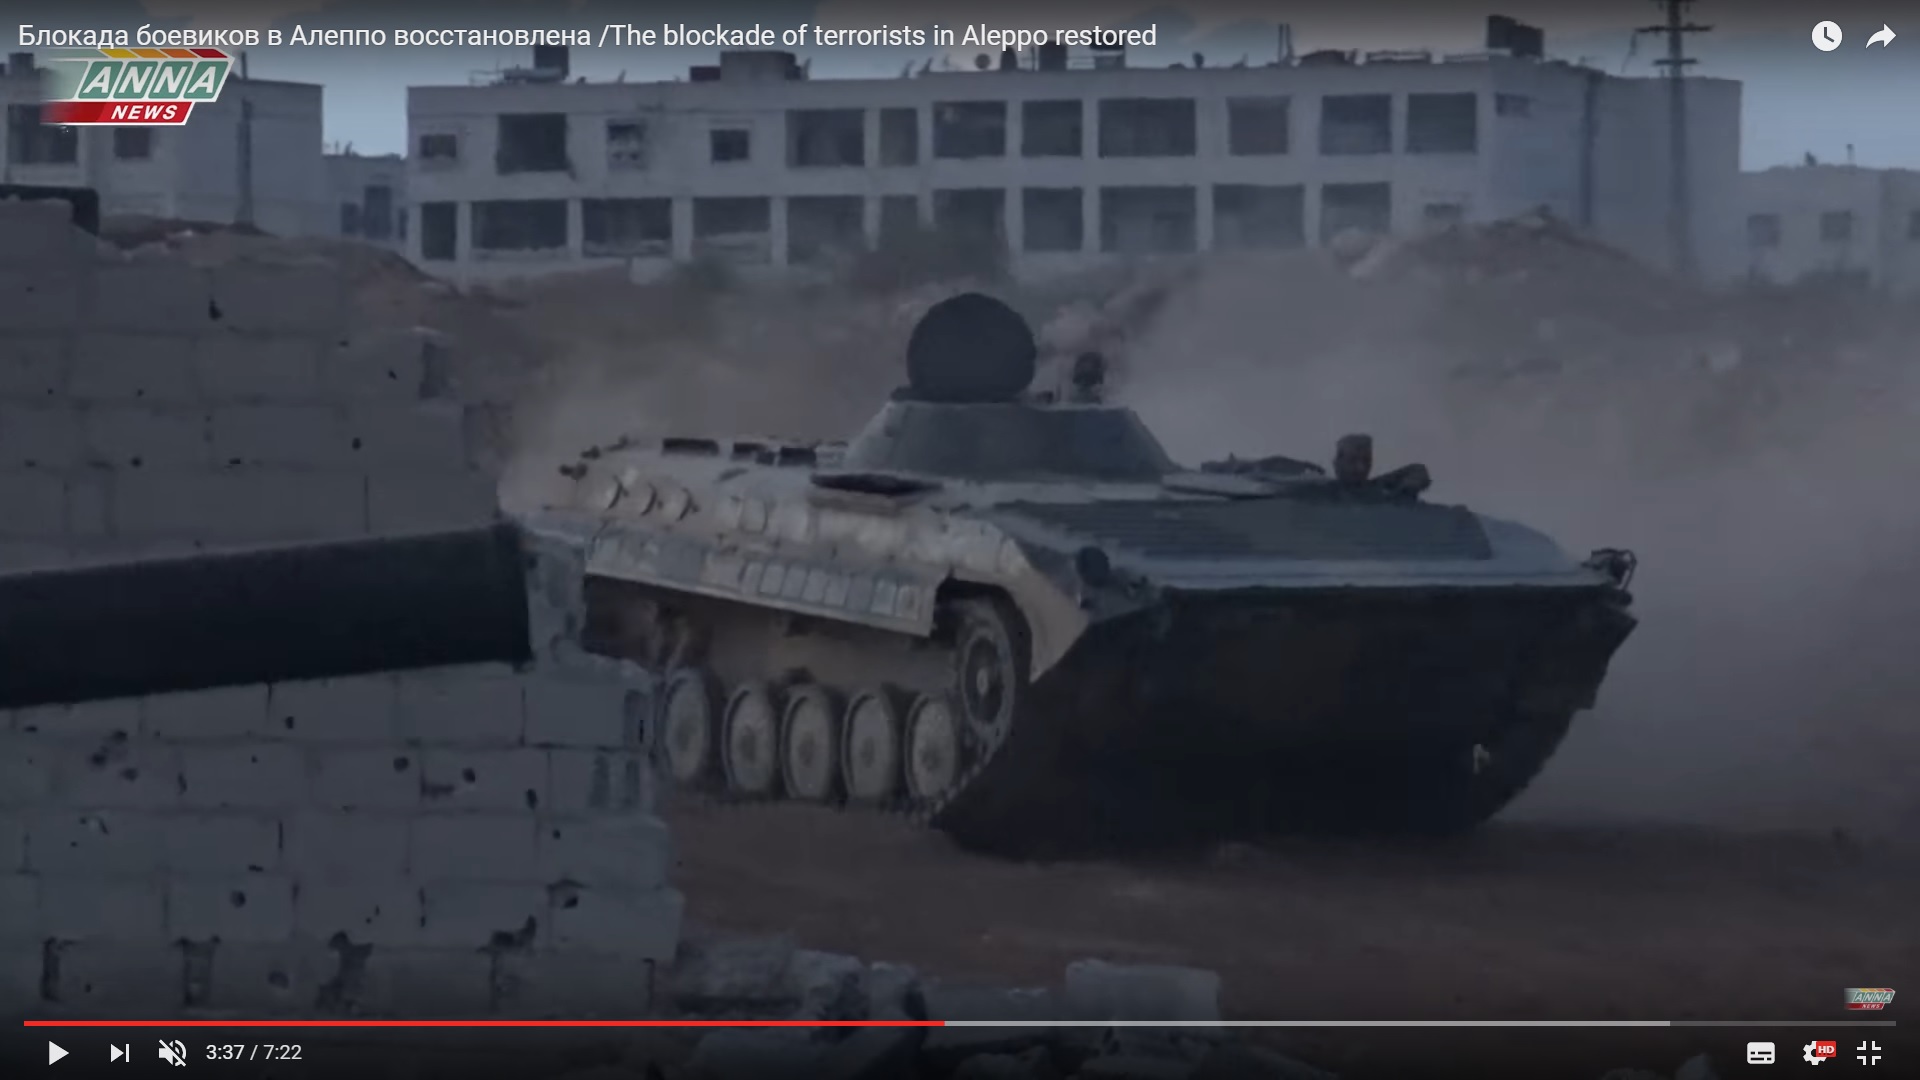
The BMP-1 vehicle started its trip.

Detailed Analysis Of Battle For Ramouseh Artillery Academy In Western Aleppo – Part 4

Click to see the full-size image

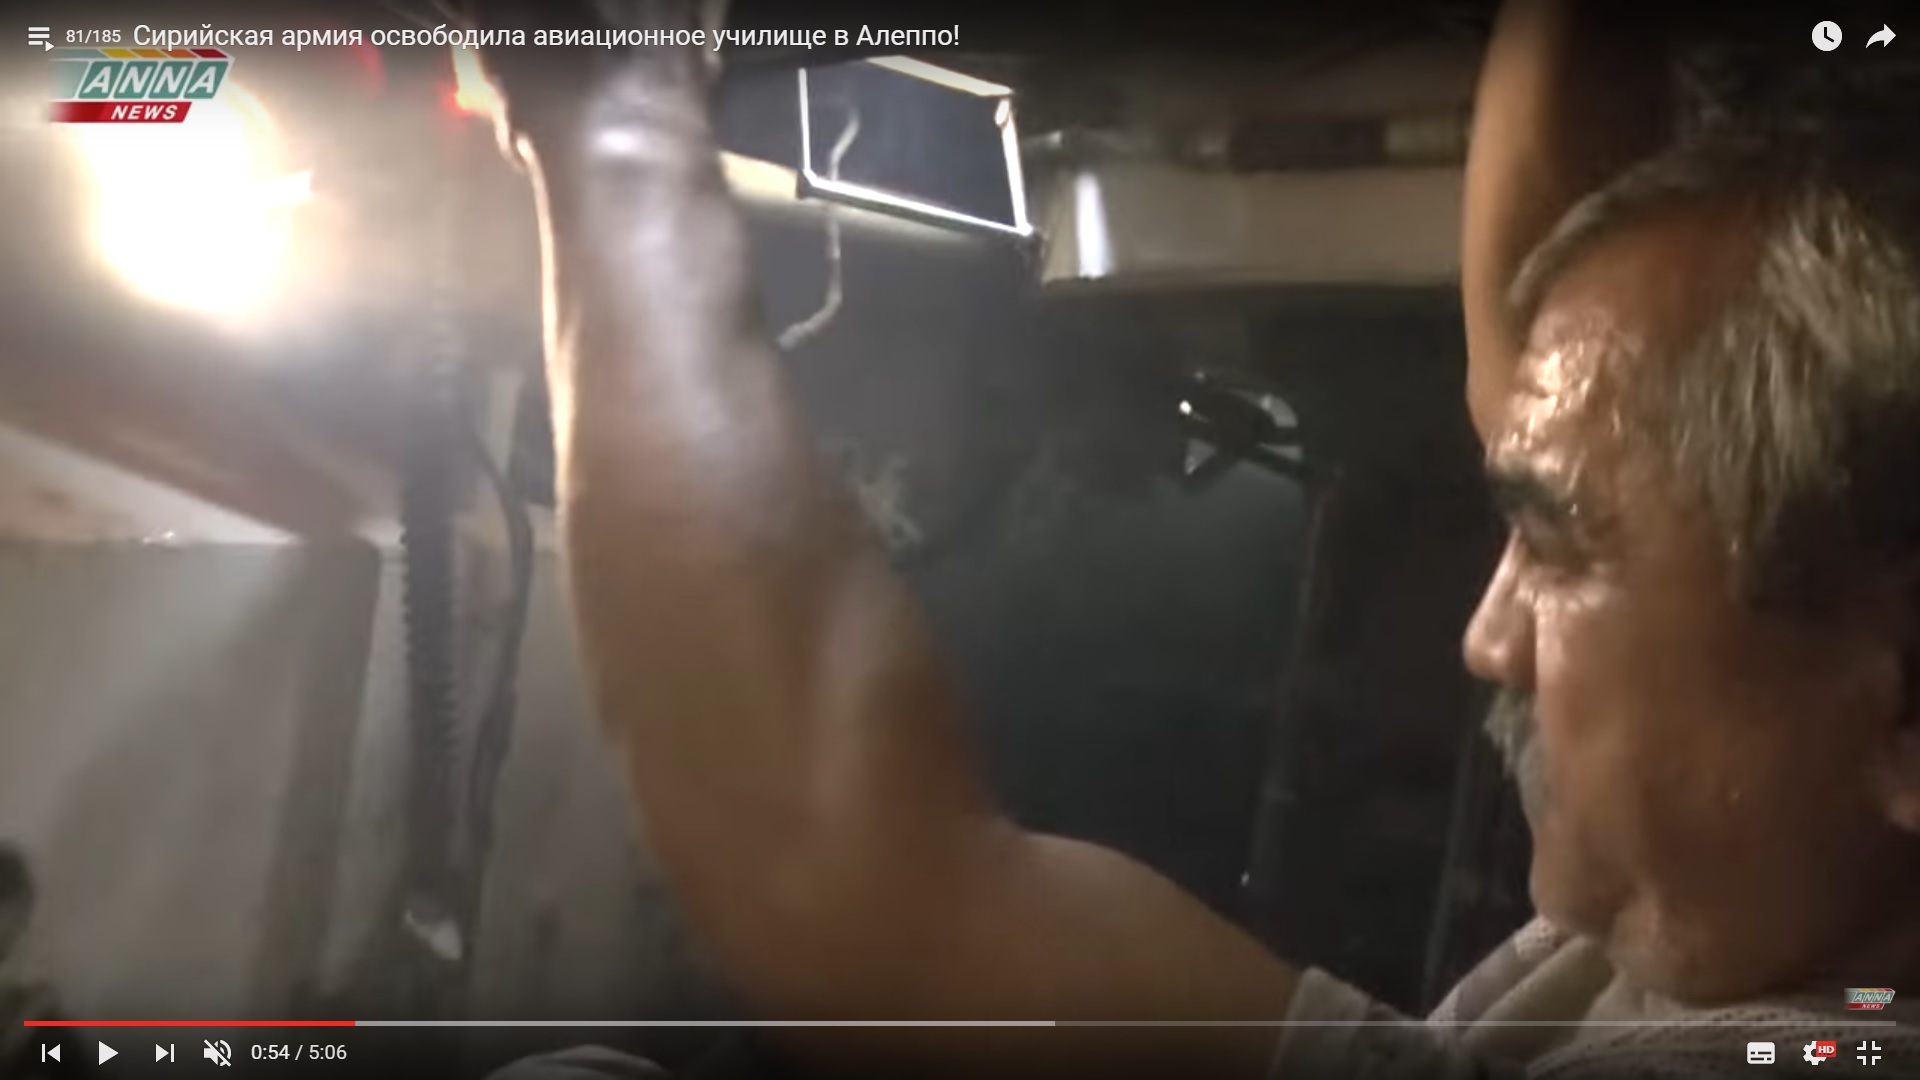
A soldier used a hand-rail because the BMP vehicle was shaking.

Detailed Analysis Of Battle For Ramouseh Artillery Academy In Western Aleppo – Part 4

Click to see the full-size image

The vehicle was reaching the road.

Detailed Analysis Of Battle For Ramouseh Artillery Academy In Western Aleppo – Part 4

Click to see the full-size image

The BMP driver increased the speed and closed the hatch.

Detailed Analysis Of Battle For Ramouseh Artillery Academy In Western Aleppo – Part 4

Click to see the full-size image

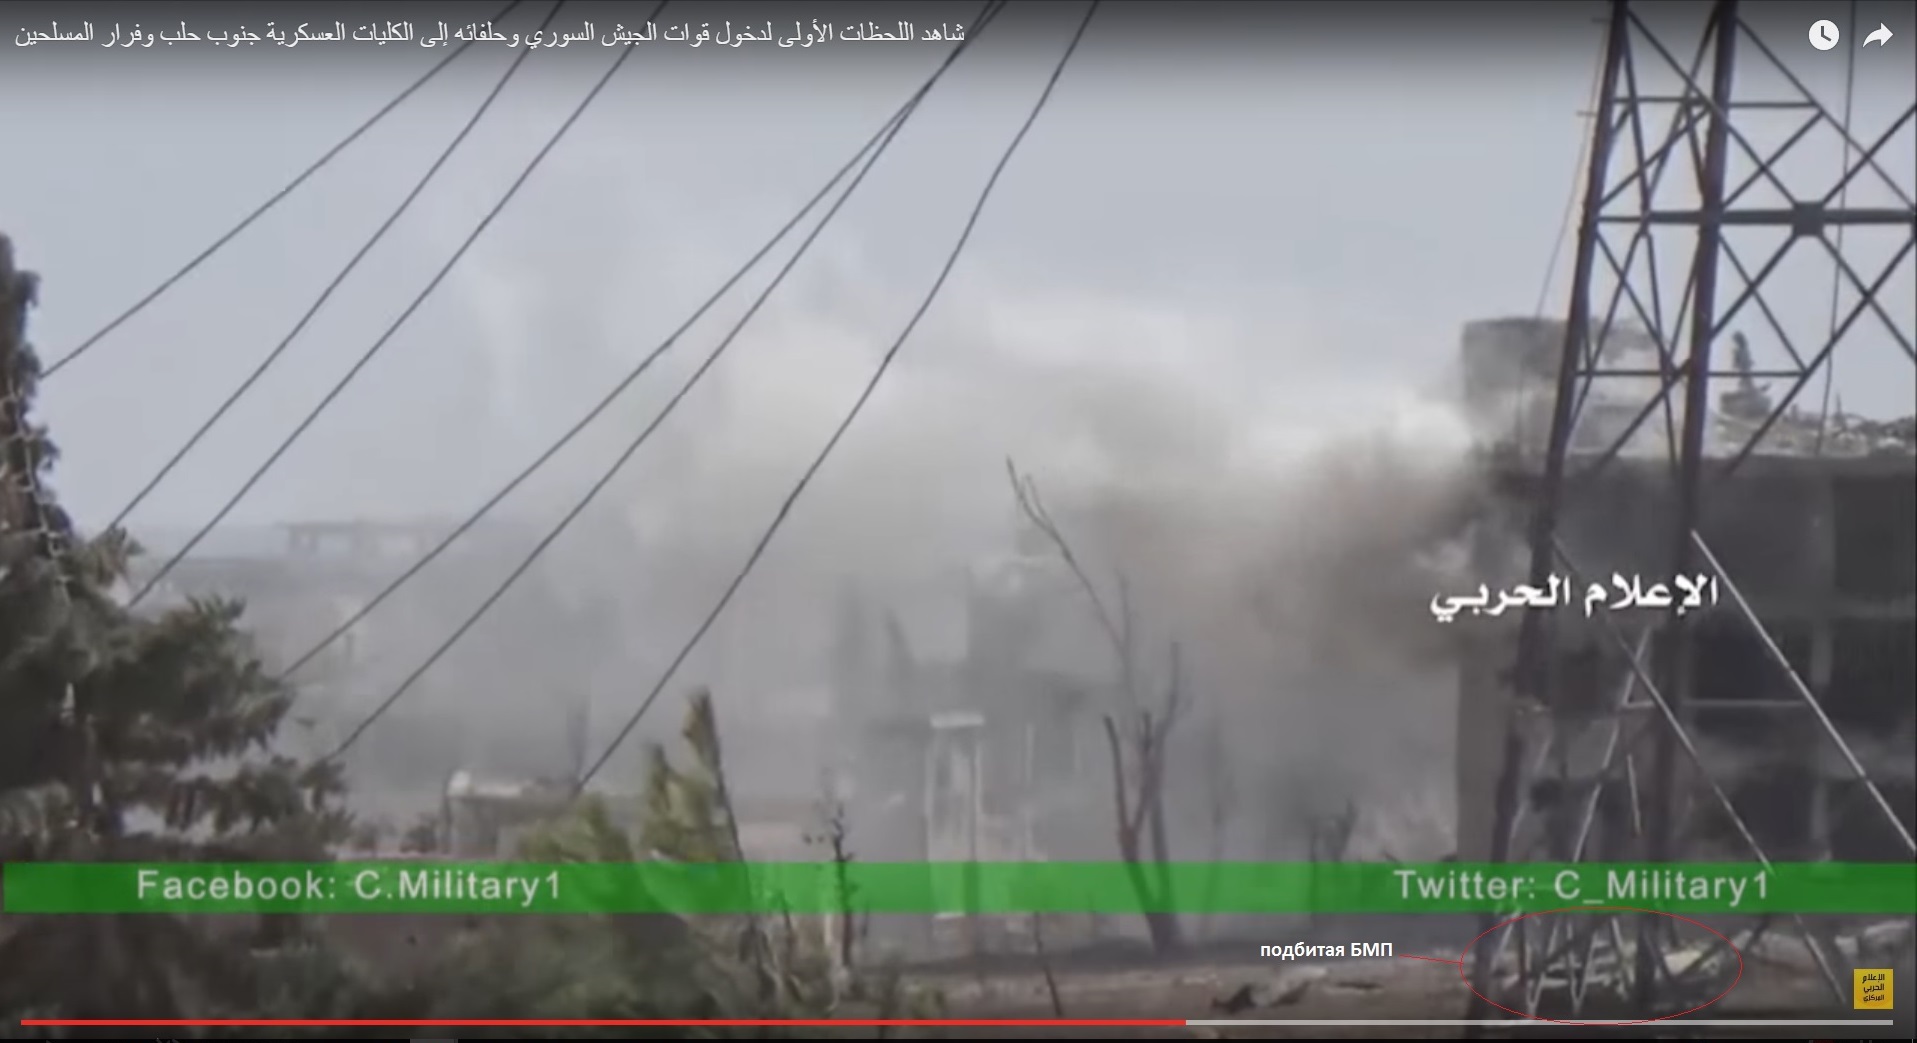
The video allows to see the burned BMP vehicle on the road.

Detailed Analysis Of Battle For Ramouseh Artillery Academy In Western Aleppo – Part 4

Click to see the full-size image

The vehicle passed it.

Detailed Analysis Of Battle For Ramouseh Artillery Academy In Western Aleppo – Part 4

Click to see the full-size image

The depot was the first stop.

Detailed Analysis Of Battle For Ramouseh Artillery Academy In Western Aleppo – Part 4

Click to see the full-size image

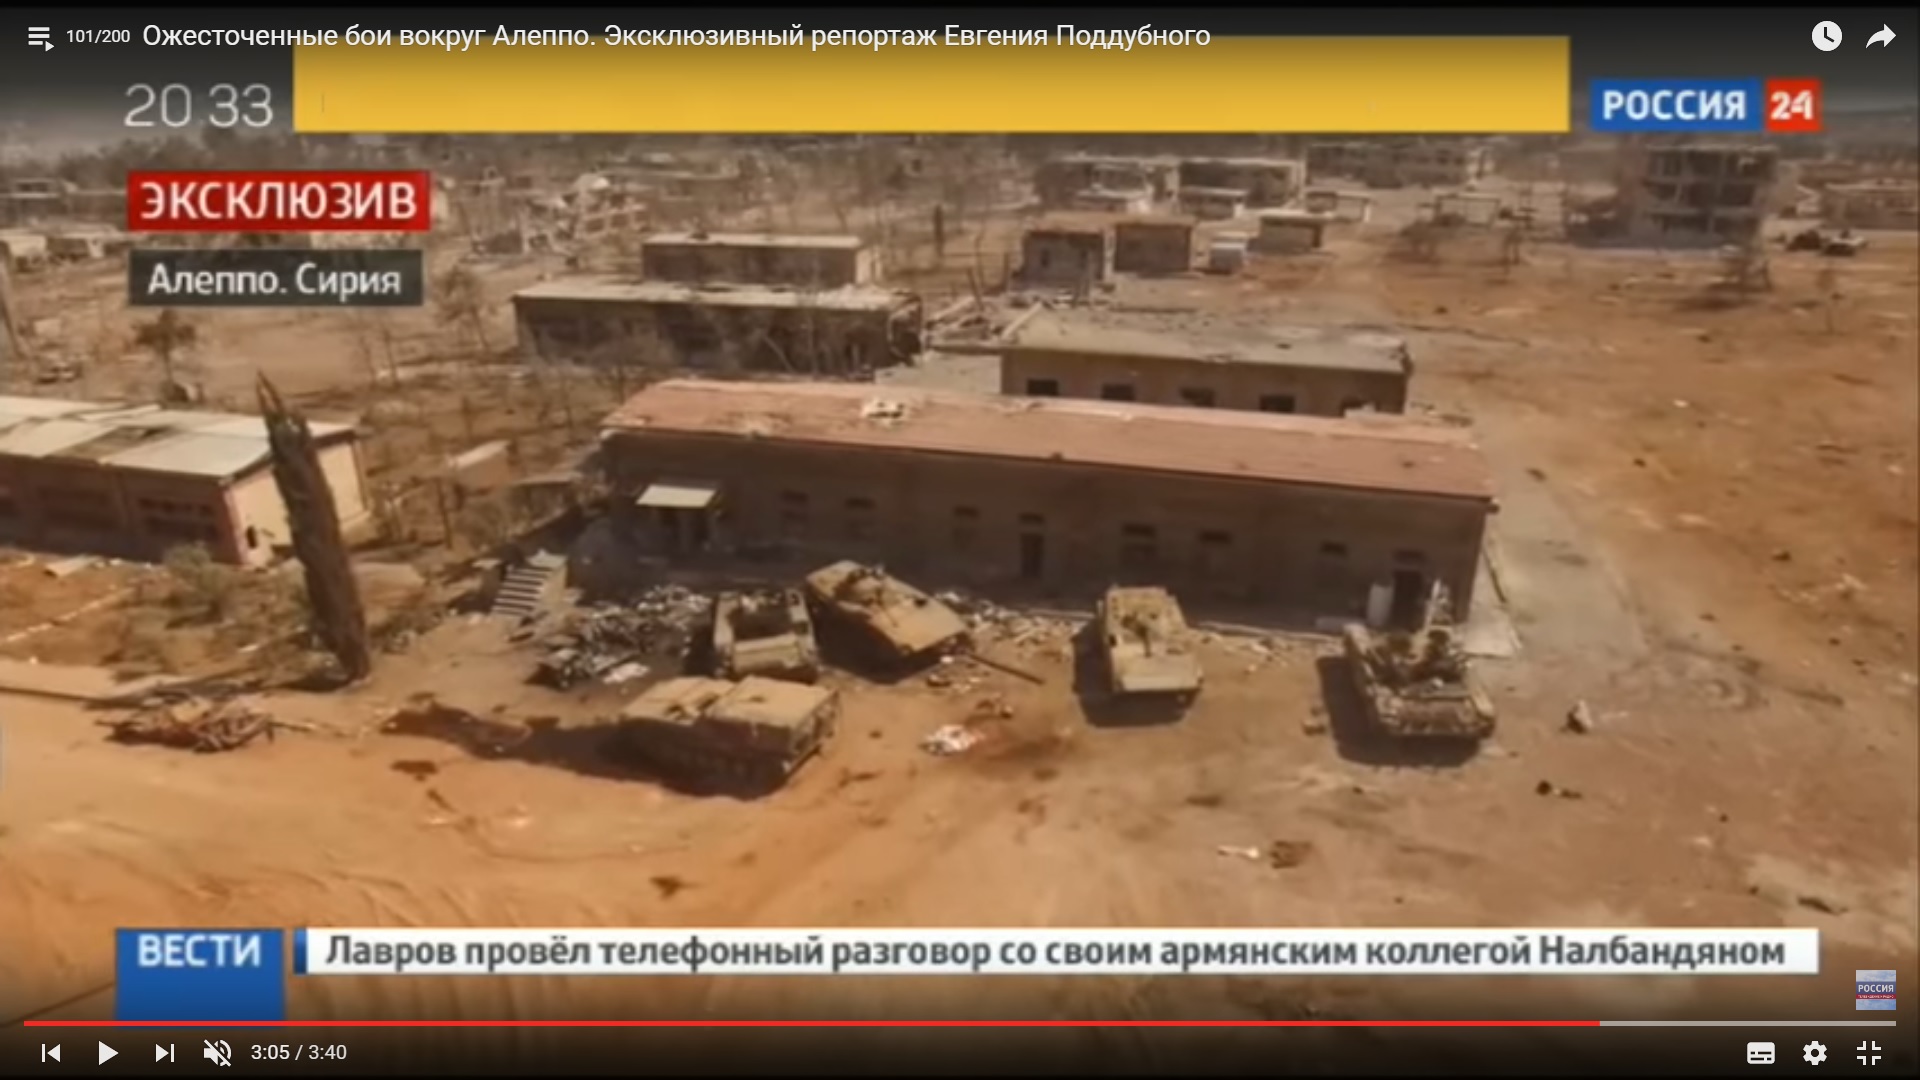
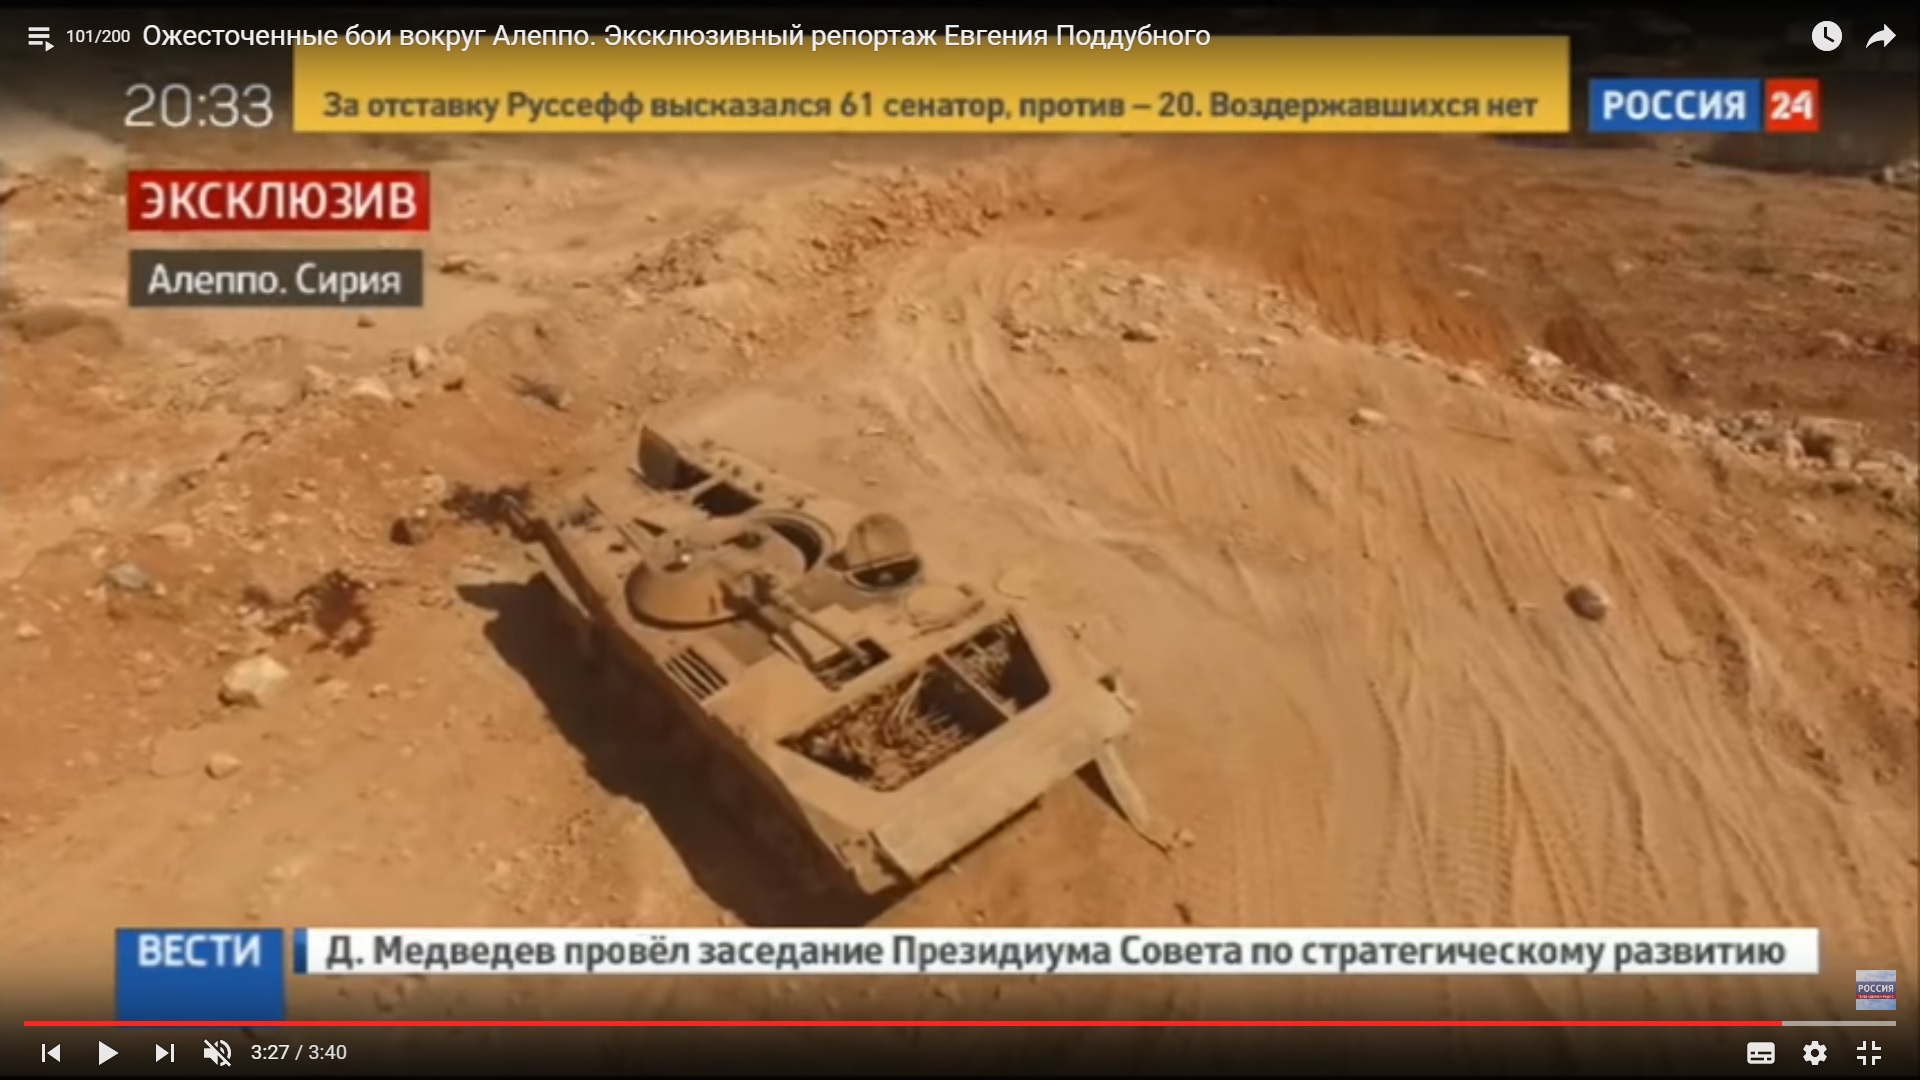
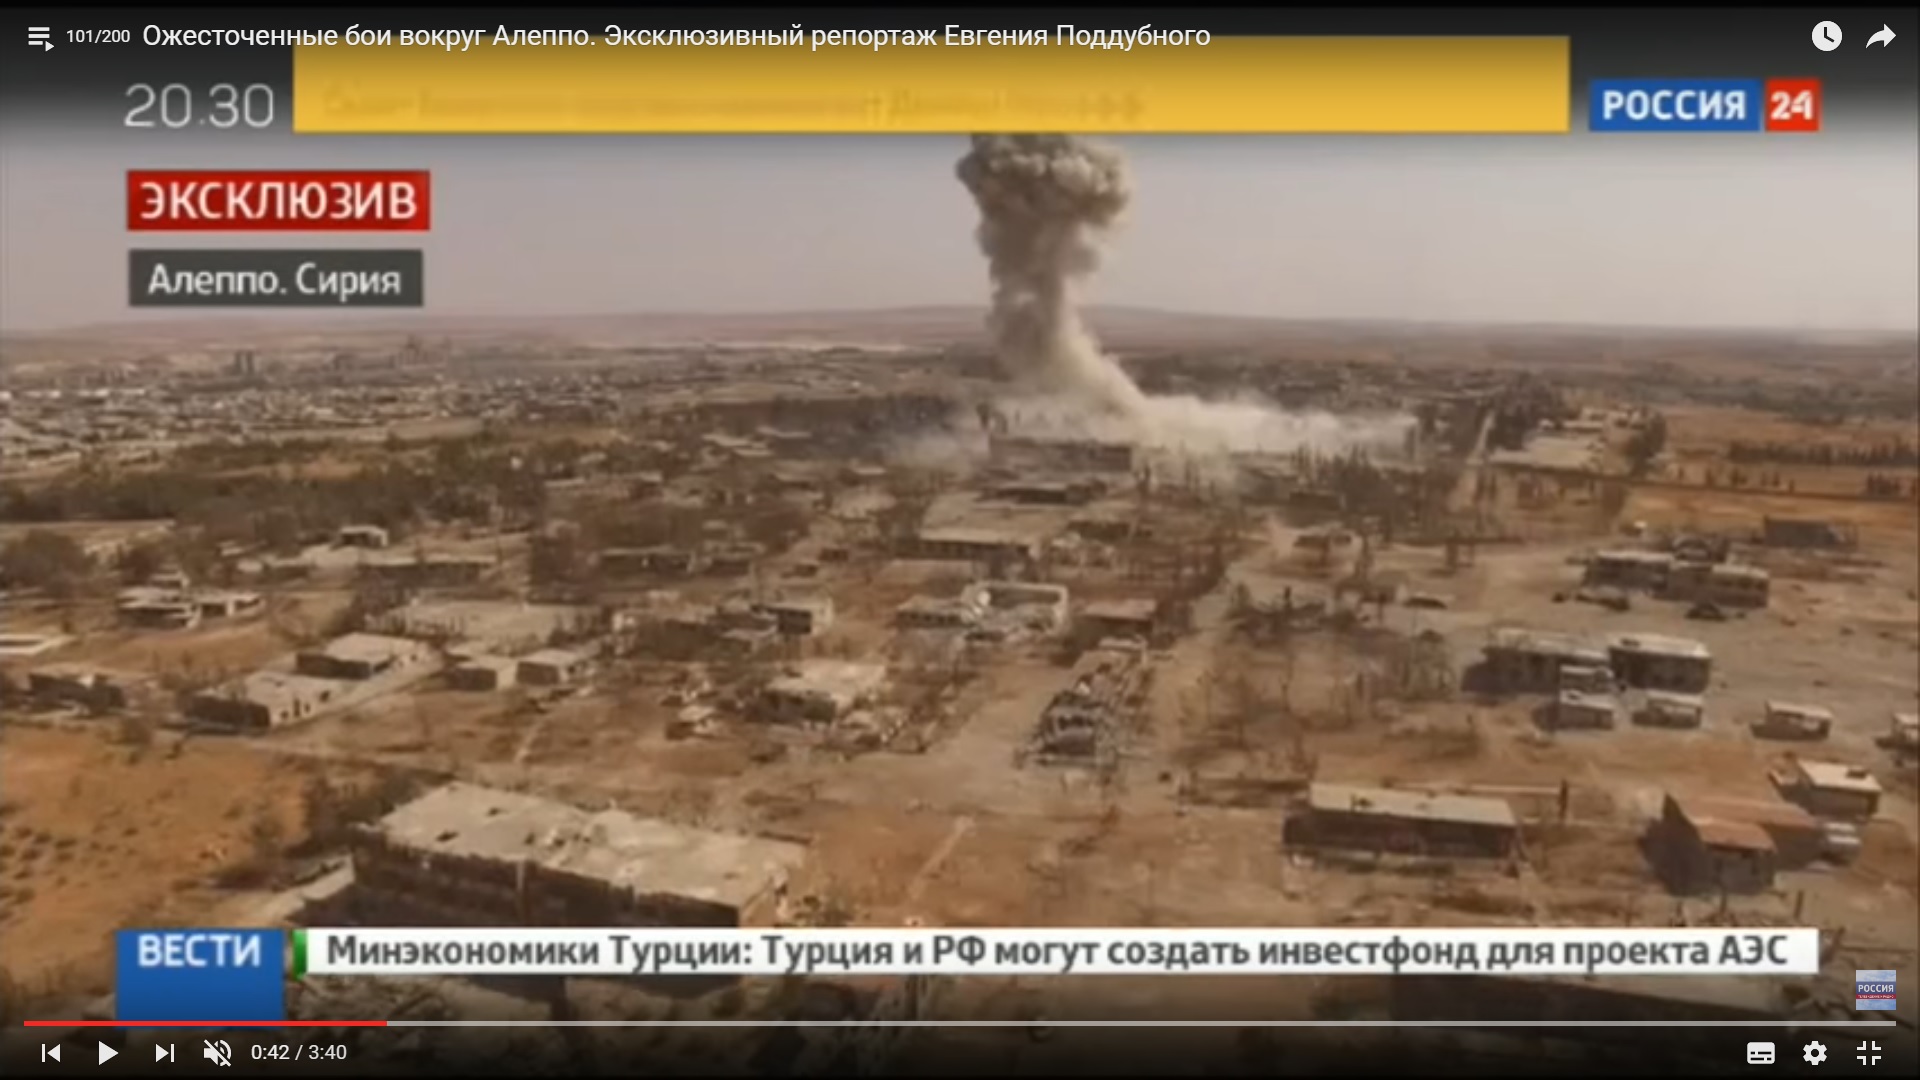
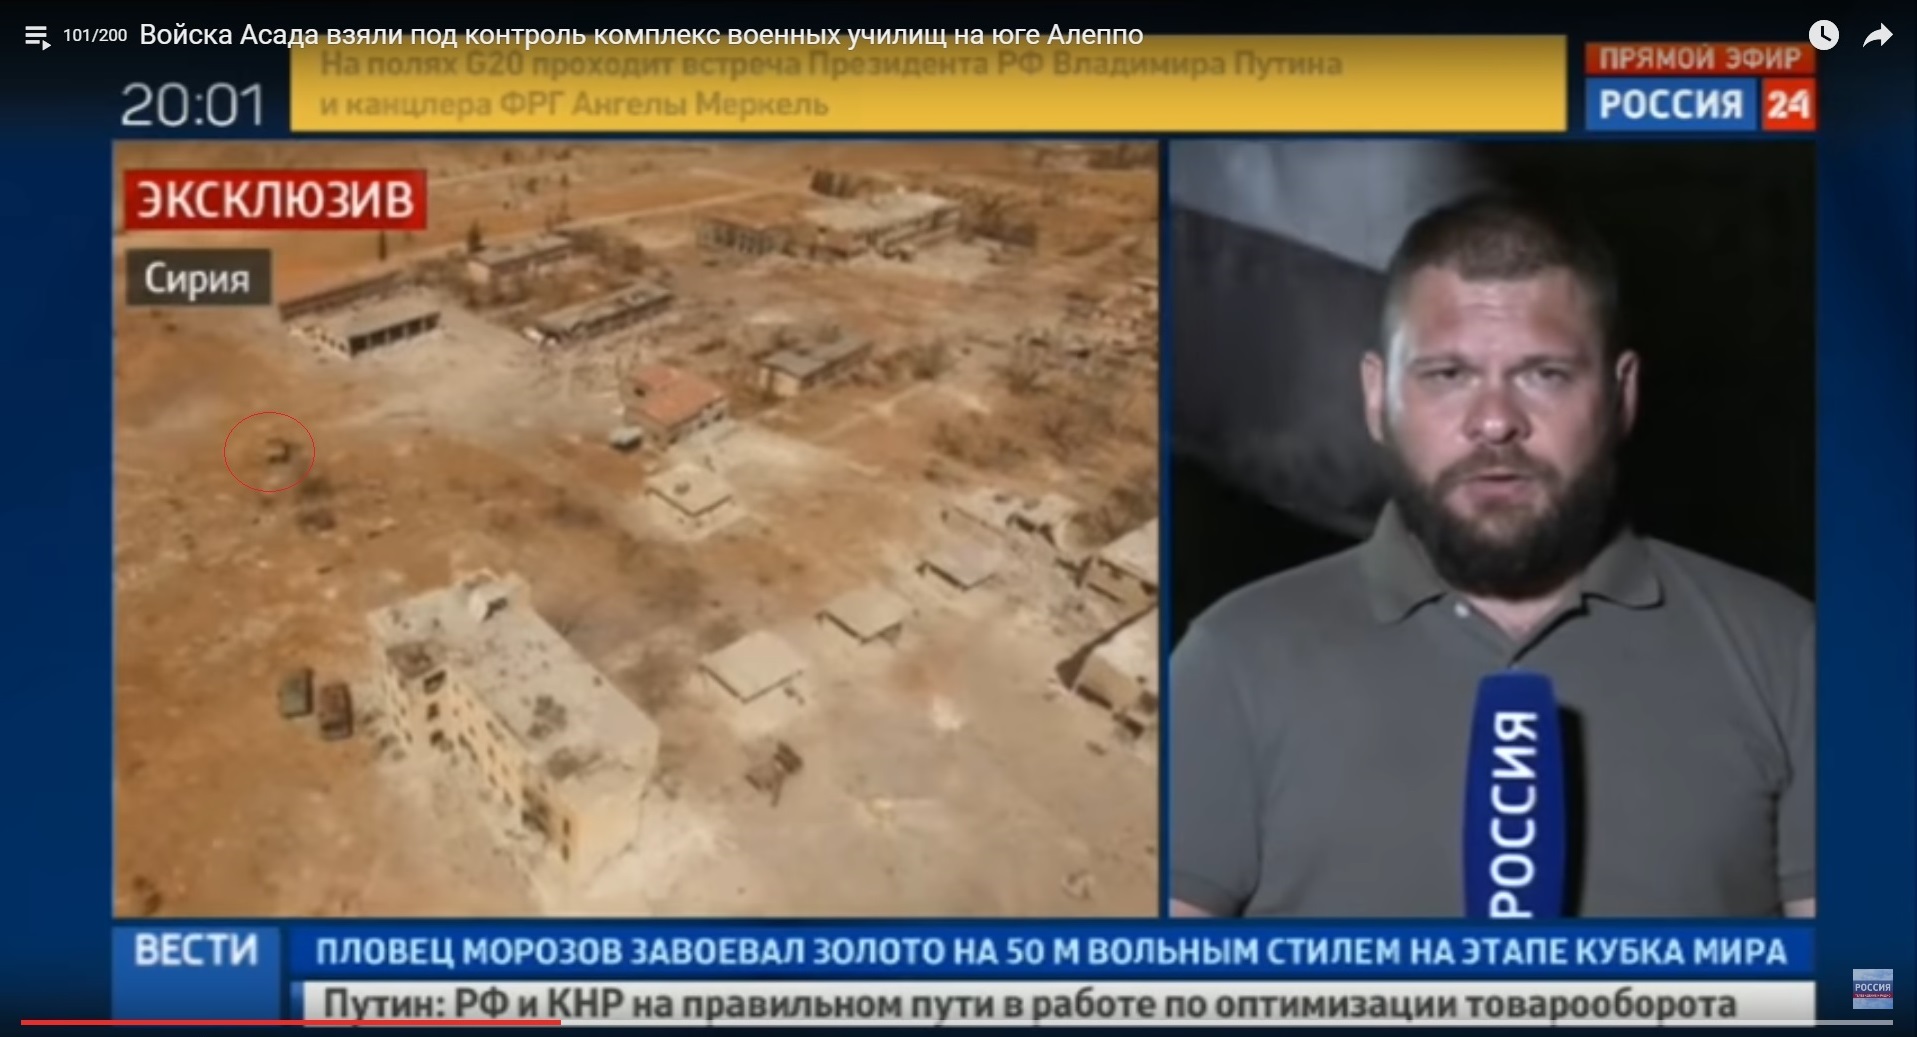
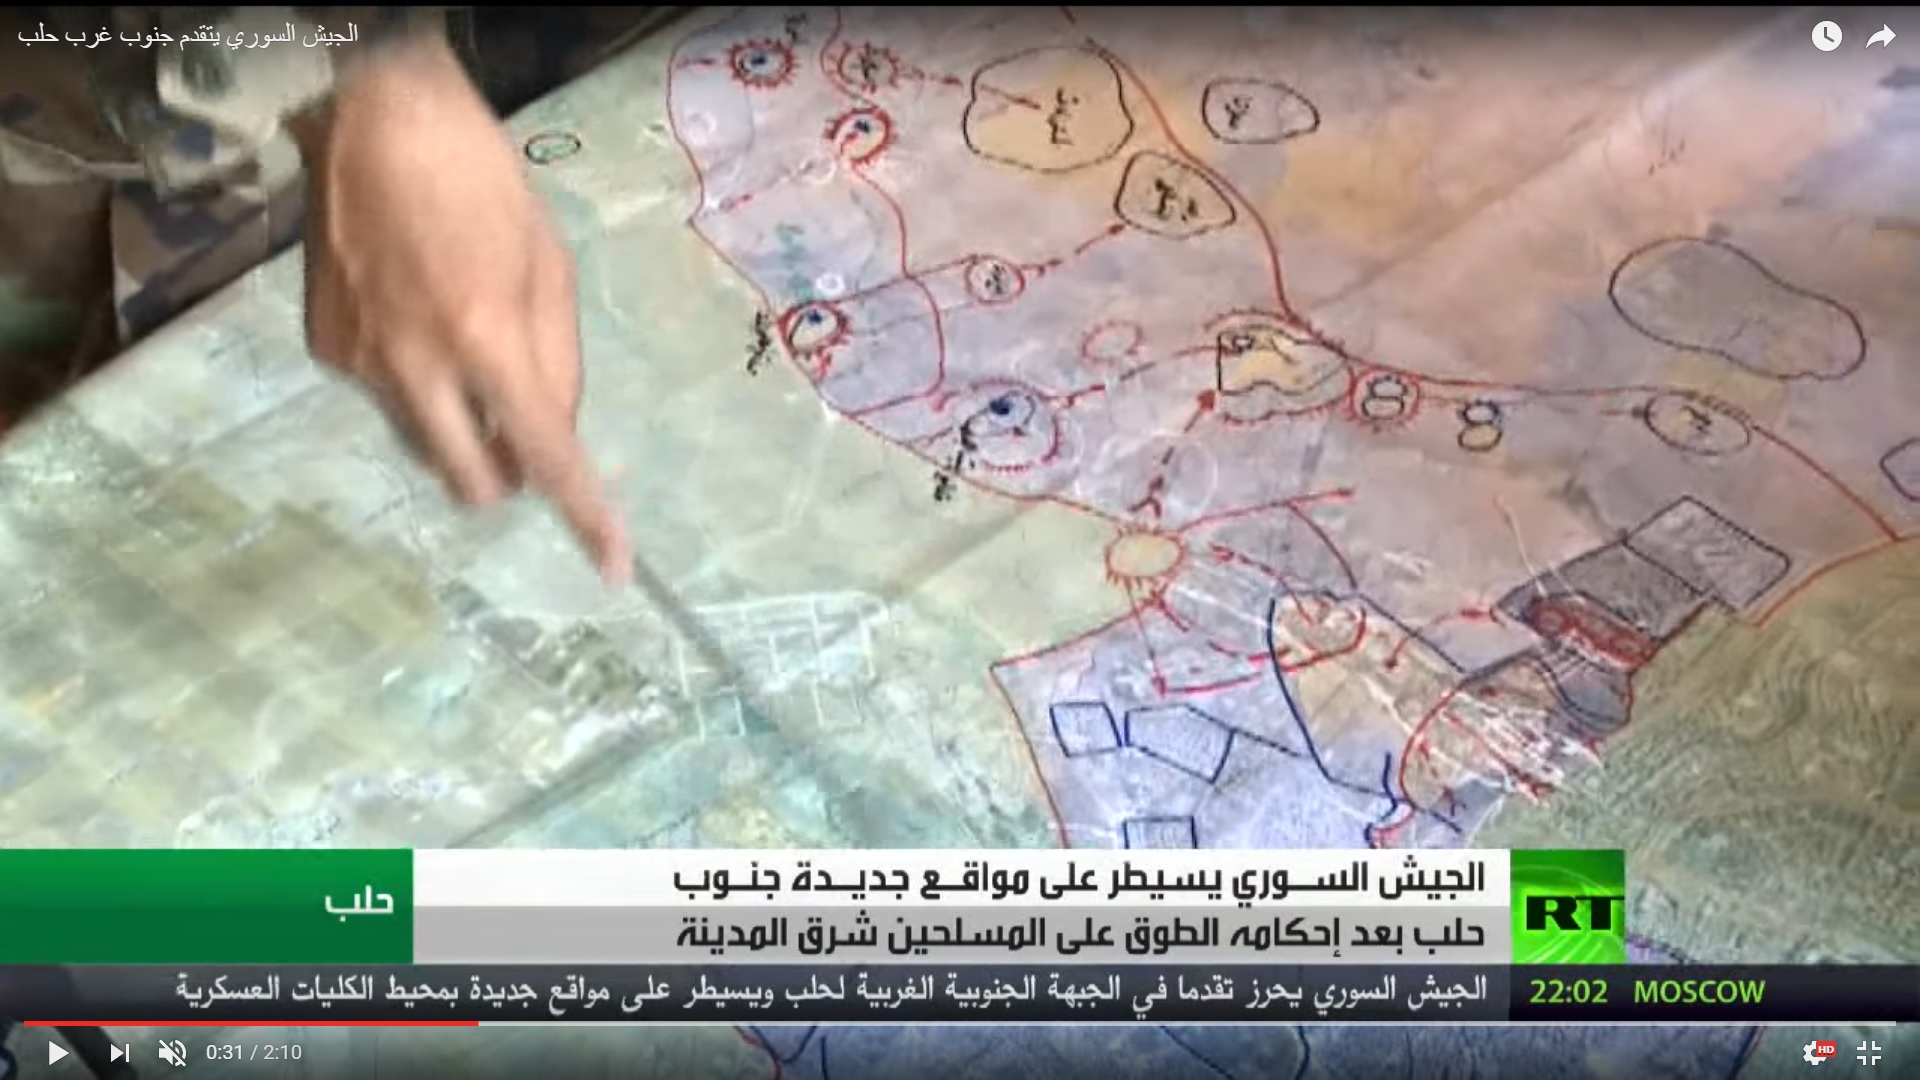
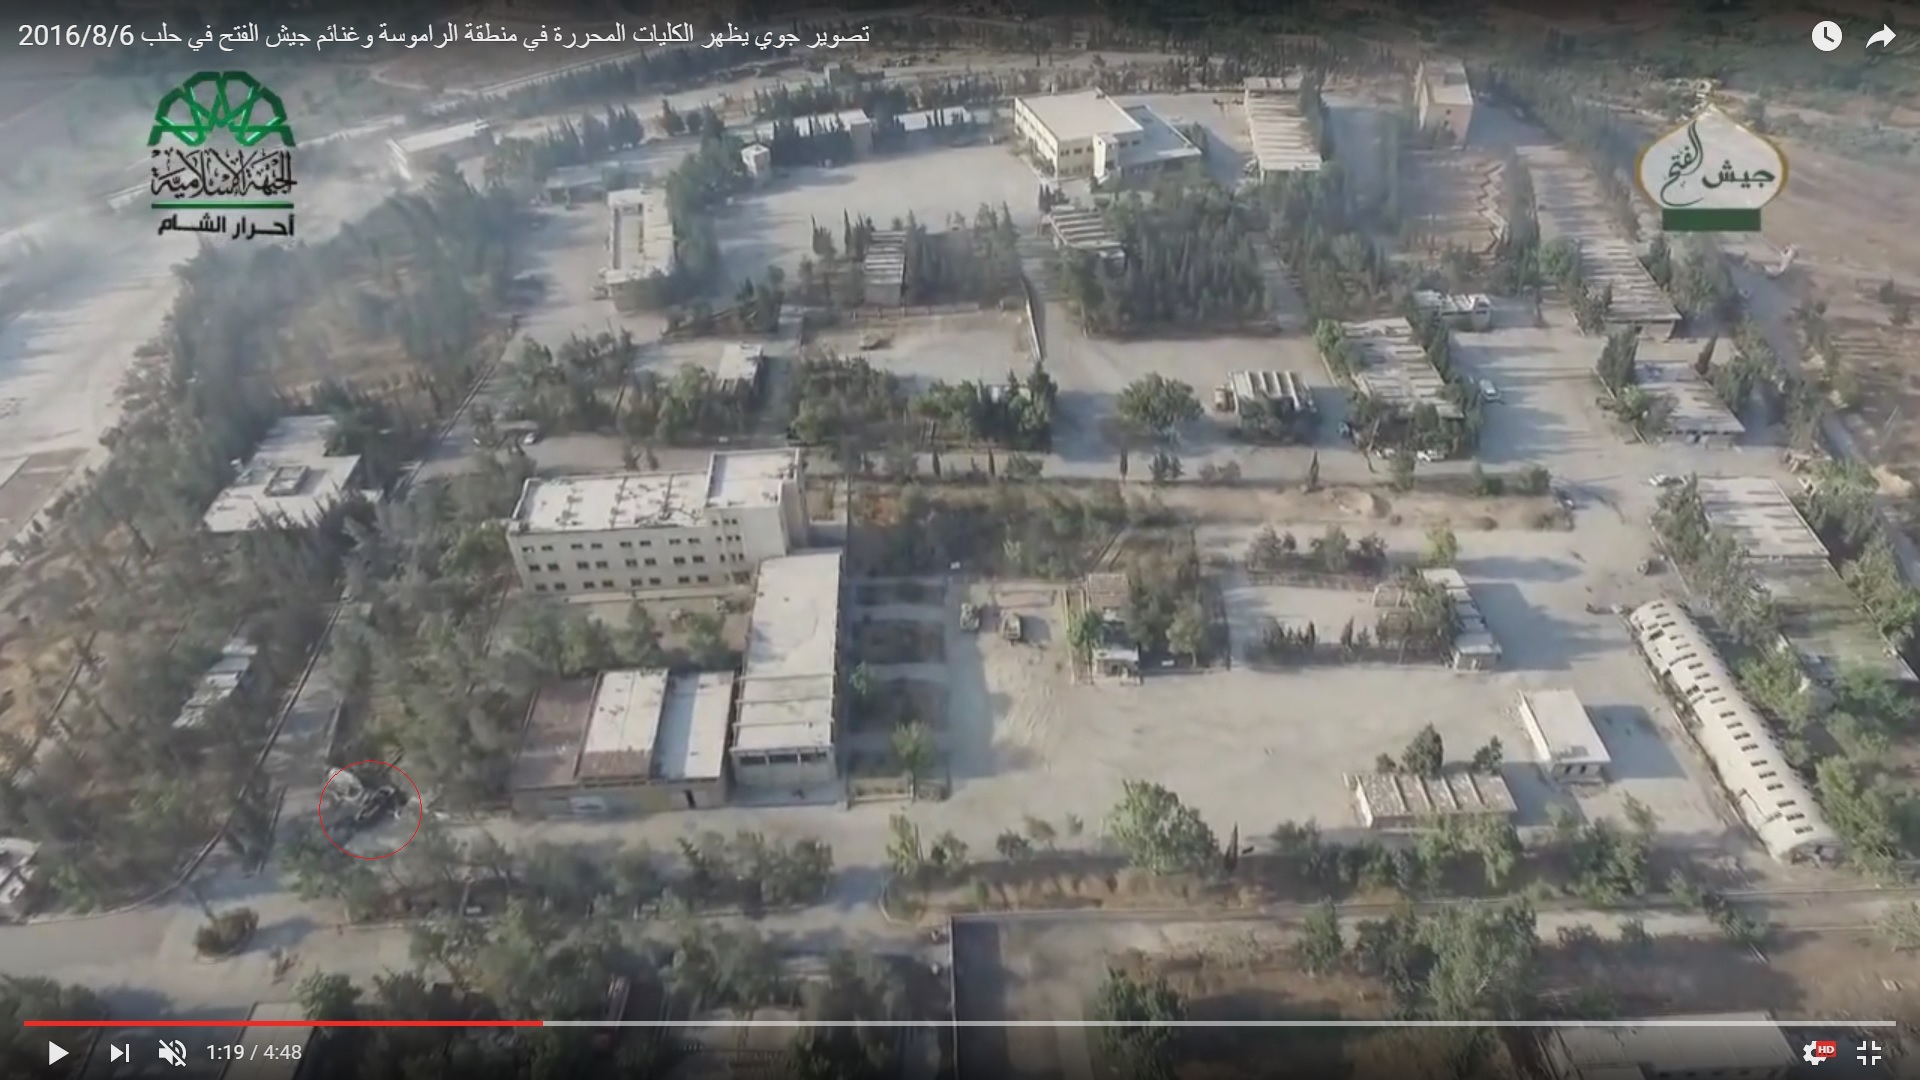
RT’s drone allows to get a general look at the area.

Detailed Analysis Of Battle For Ramouseh Artillery Academy In Western Aleppo – Part 4

Click to see the full-size image

A look at defenses of the site.

Detailed Analysis Of Battle For Ramouseh Artillery Academy In Western Aleppo – Part 4

Click to see the full-size image

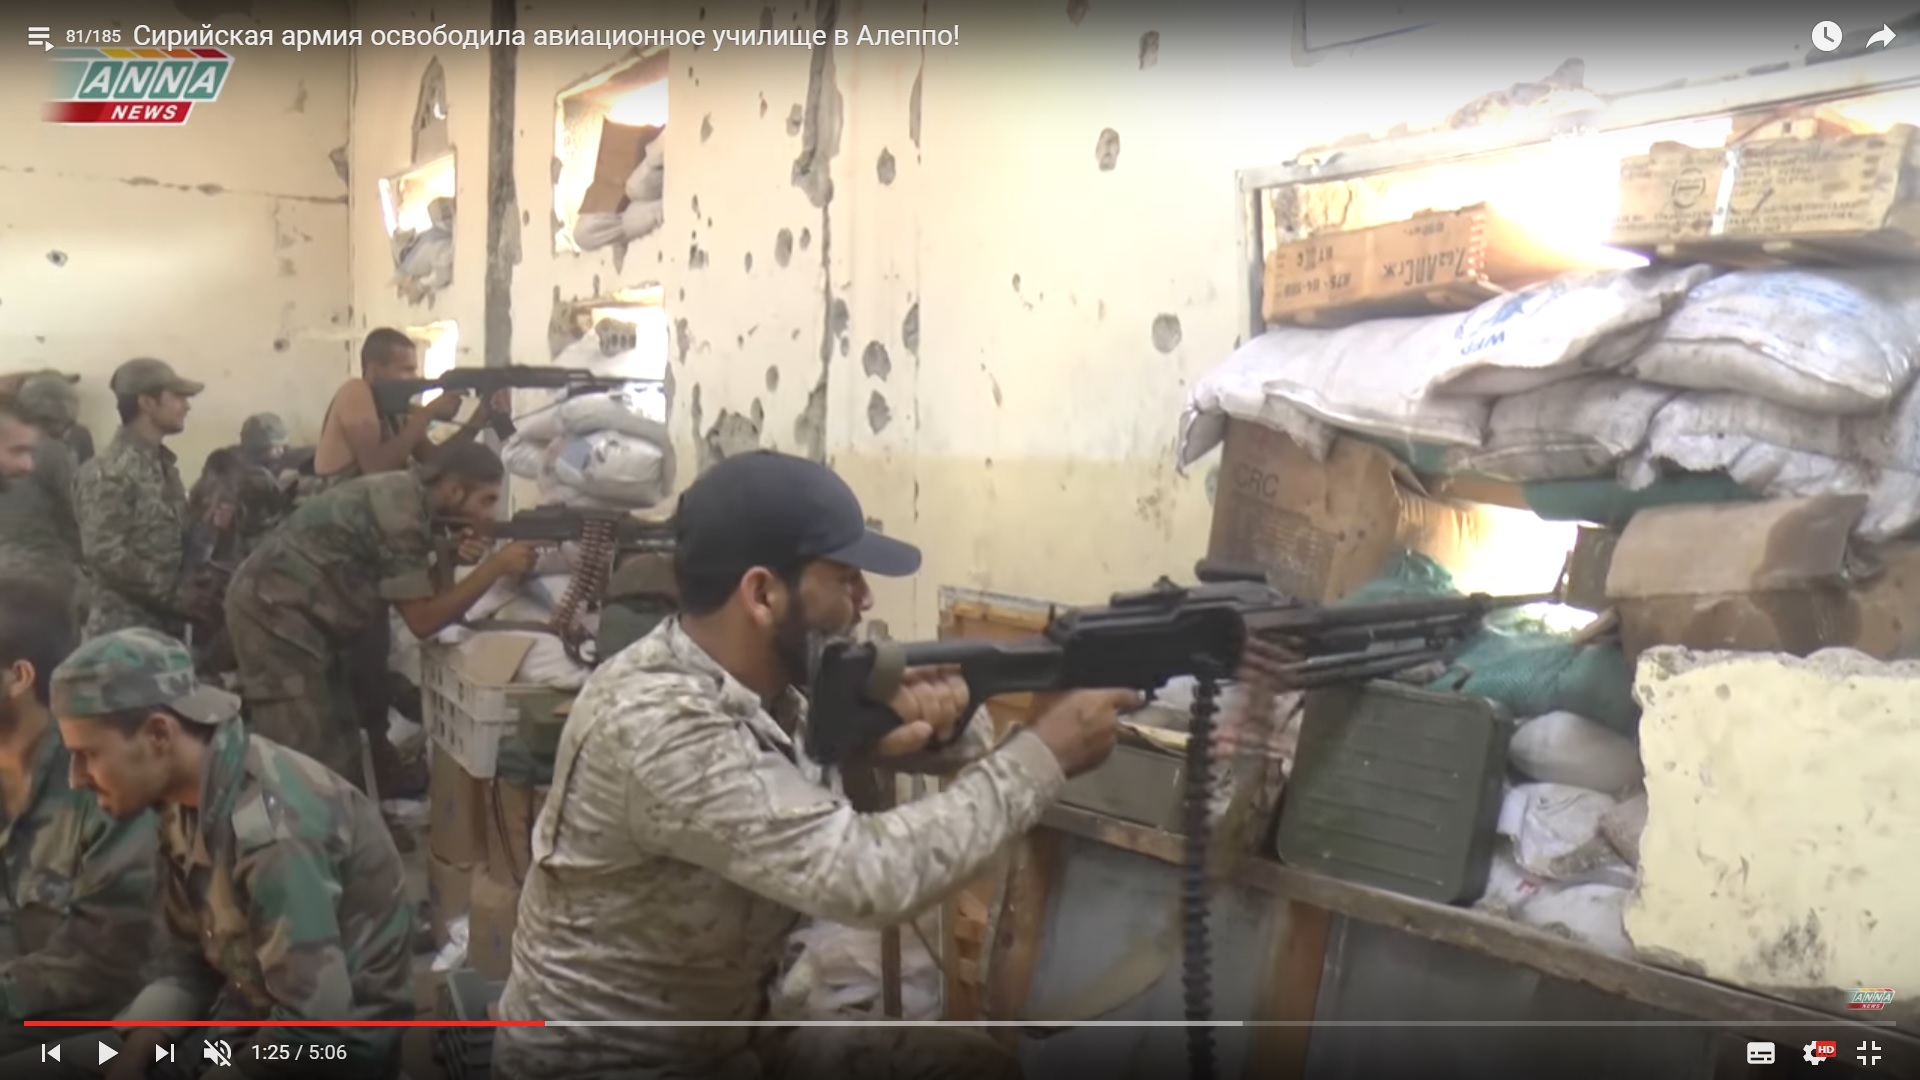
We could see a flimsy wall with apertures narrowed with whatever comes to hand. Holes in the wall allows to see that the wall does not defend from heavy machine gun-like weapons (probably it can stop 7.62 round). The building itself is likely always full of dust if it’s under fire. No doubts why both sides run from this site after any sign of an advance on it.

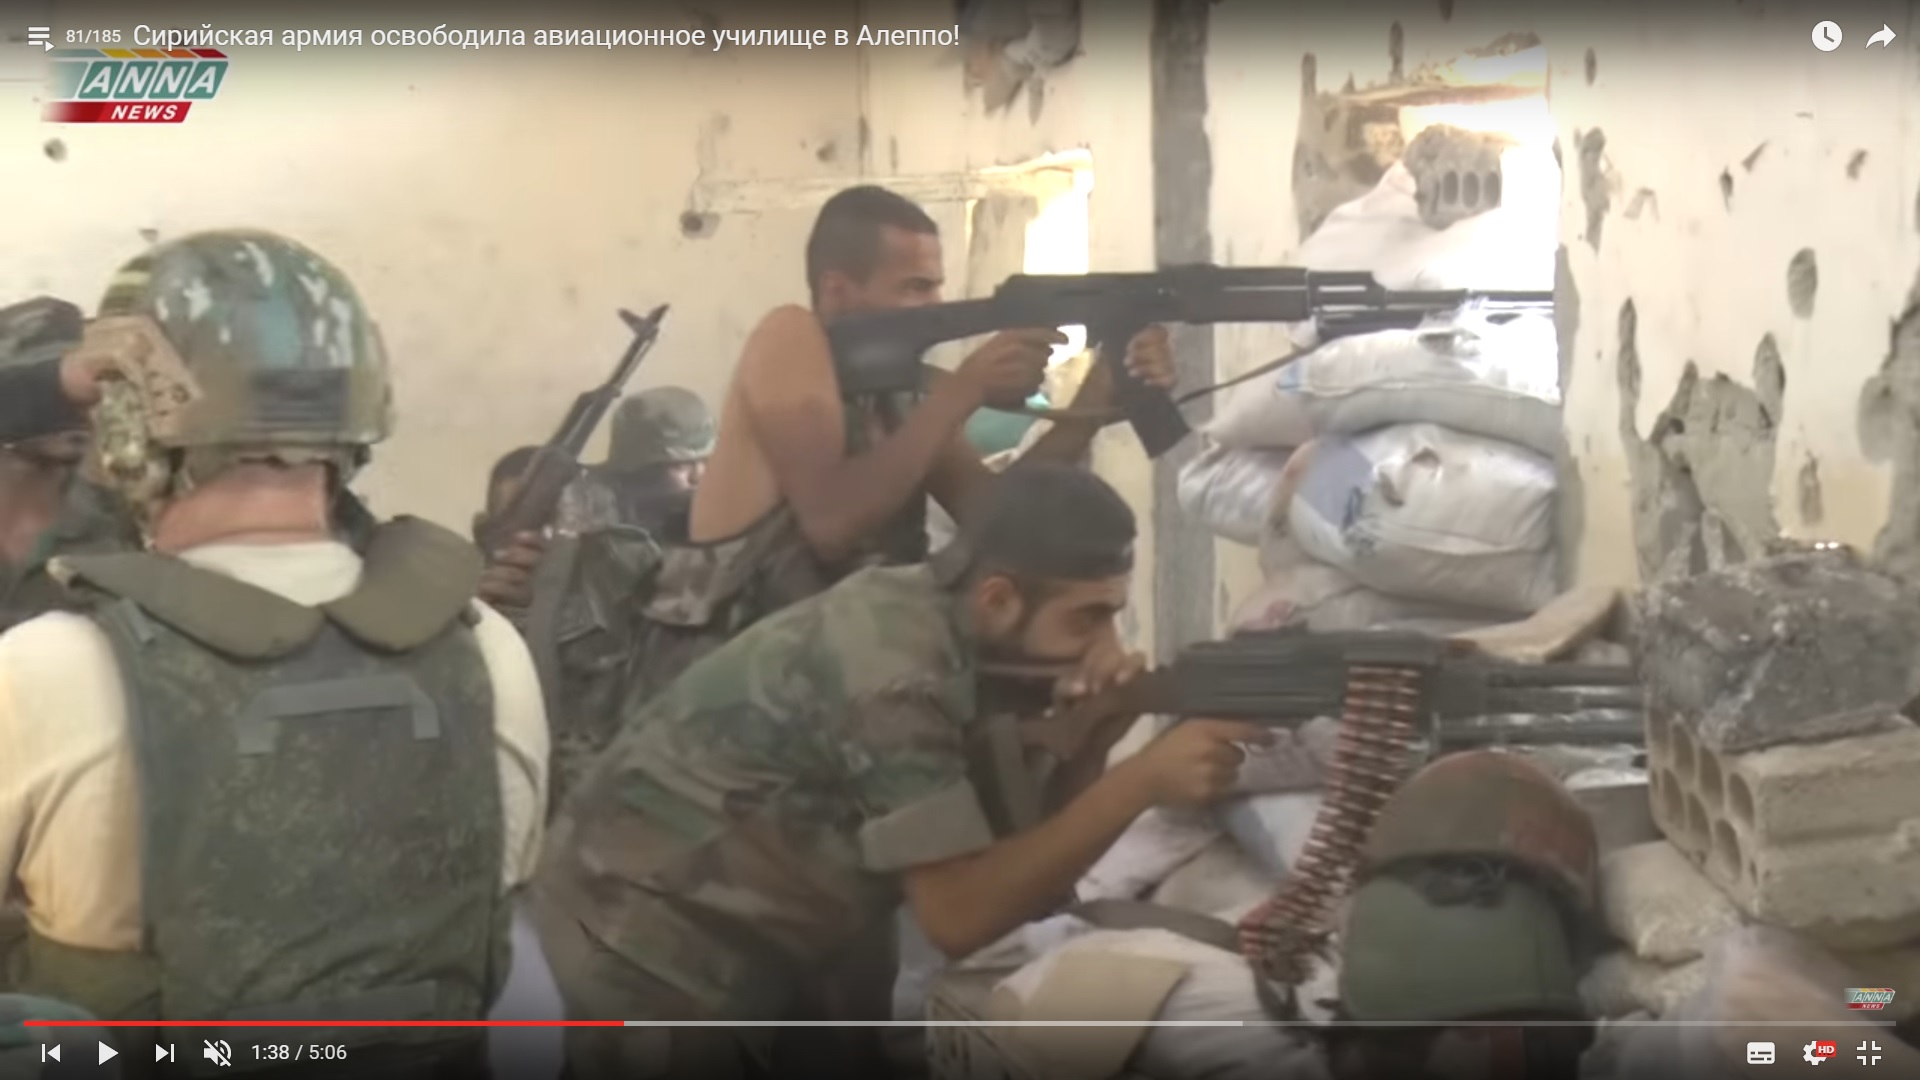
A majority of soldiers don’t wear helmets. Helmets could be seen near the aperture .(right corner) A lack of body armours is also the issue. However, the video allows to see an interesting person in a body armour and a helment. (left corner)

Detailed Analysis Of Battle For Ramouseh Artillery Academy In Western Aleppo – Part 4

Click to see the full-size image

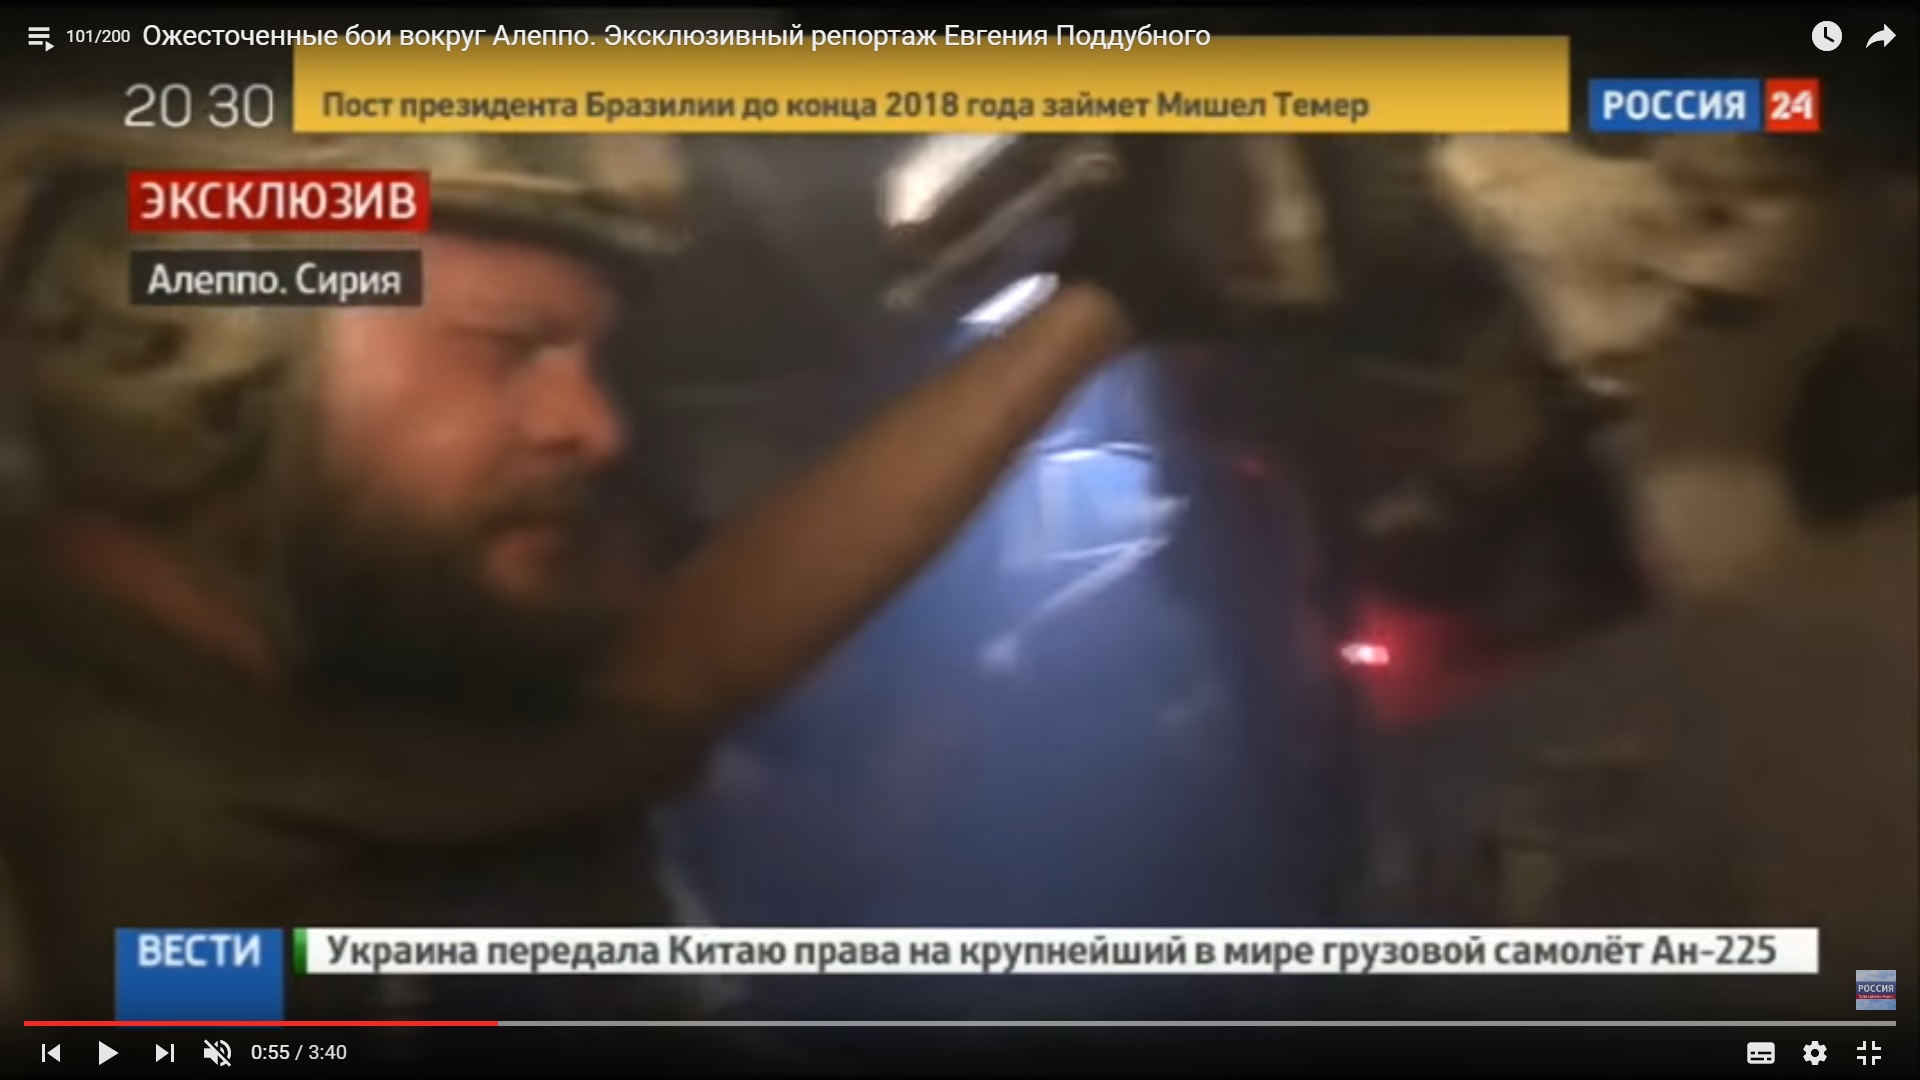
Who is the? Commander? Nope, the t-shirt allows to understand who is that. It’s a passenger of the BMP – Russian jouranlist, Evgeny Poddubnyy.

Detailed Analysis Of Battle For Ramouseh Artillery Academy In Western Aleppo – Part 4

Click to see the full-size image

It’s a bad idea to advice Poddubny about a personal security. Nonetheless, it seems that his look makes him an attractive target for militants including snipers. An expensive body armour and helmet and a lack of personal weapon make him alike to a military adviser. A lack of a portable radio set is the only difference. However, this time Poddubny had a competitor.

Detailed Analysis Of Battle For Ramouseh Artillery Academy In Western Aleppo – Part 4

Click to see the full-size image

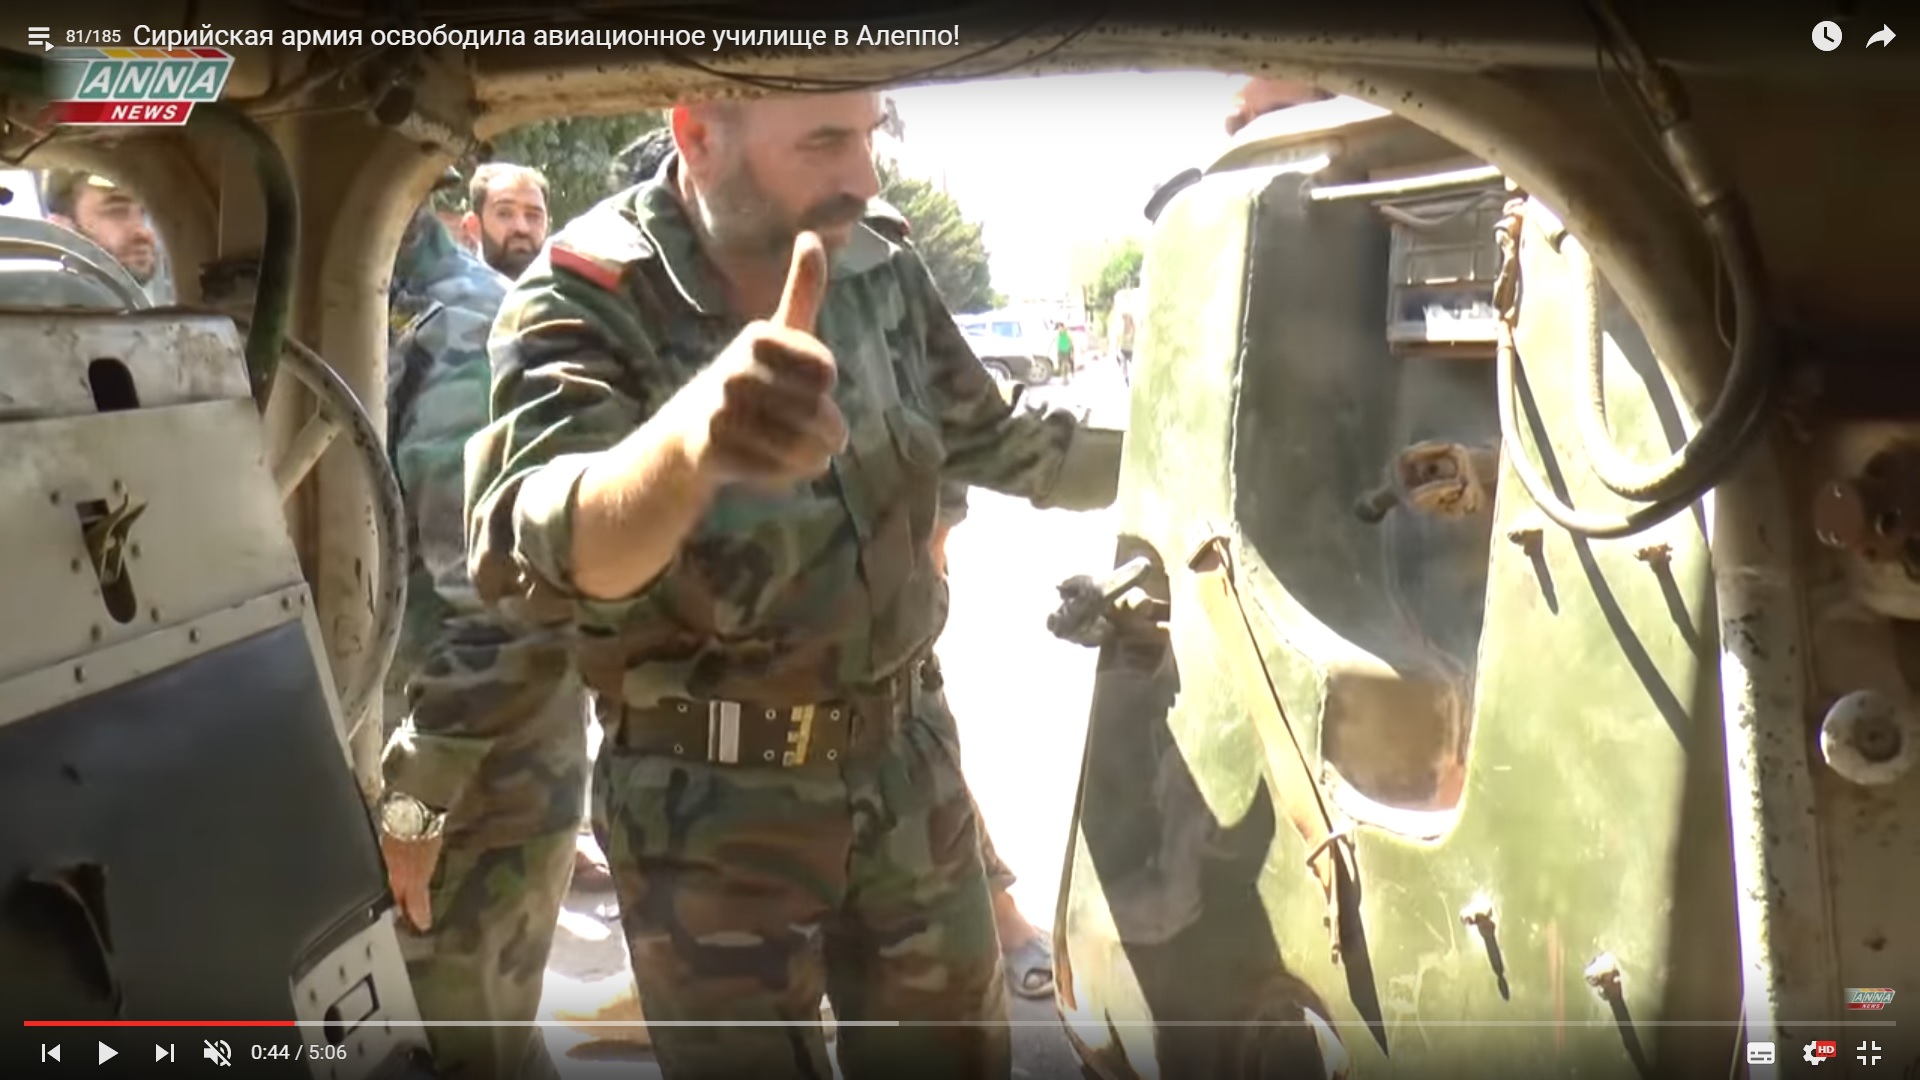
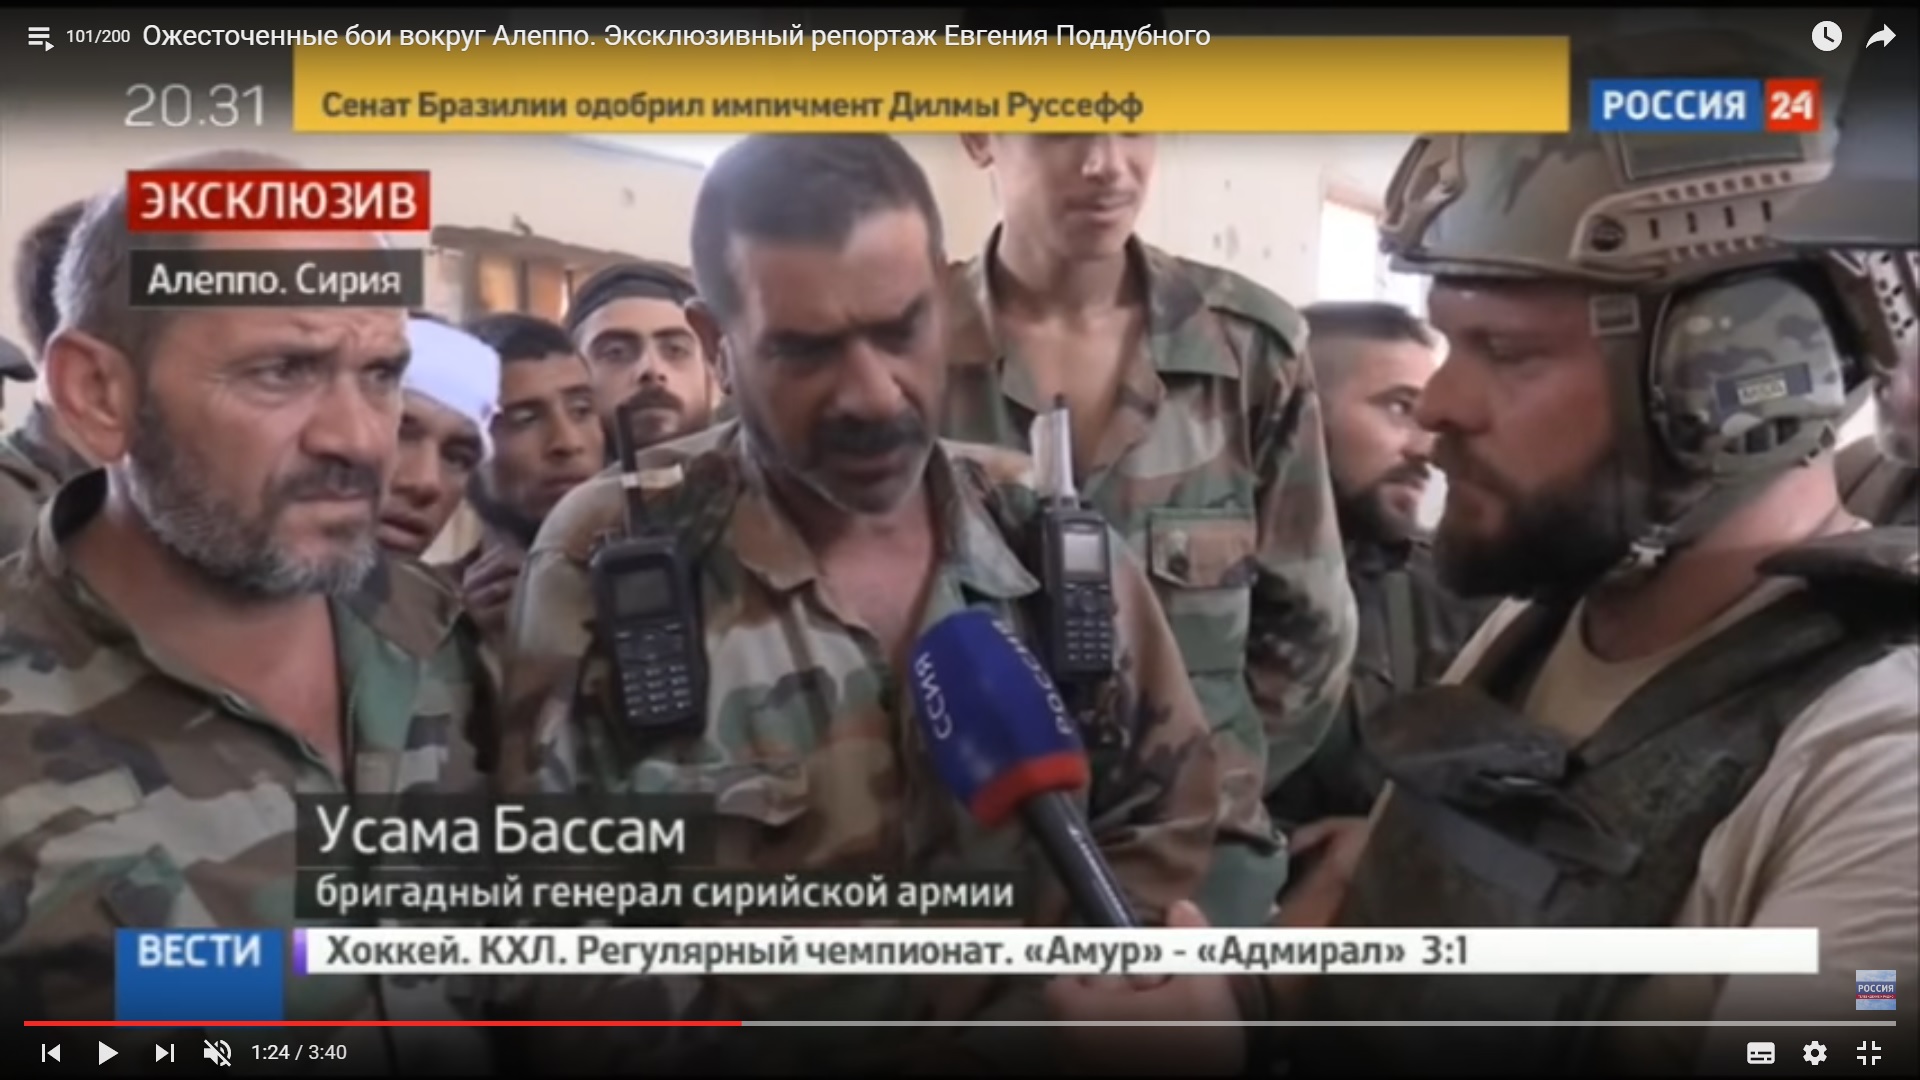
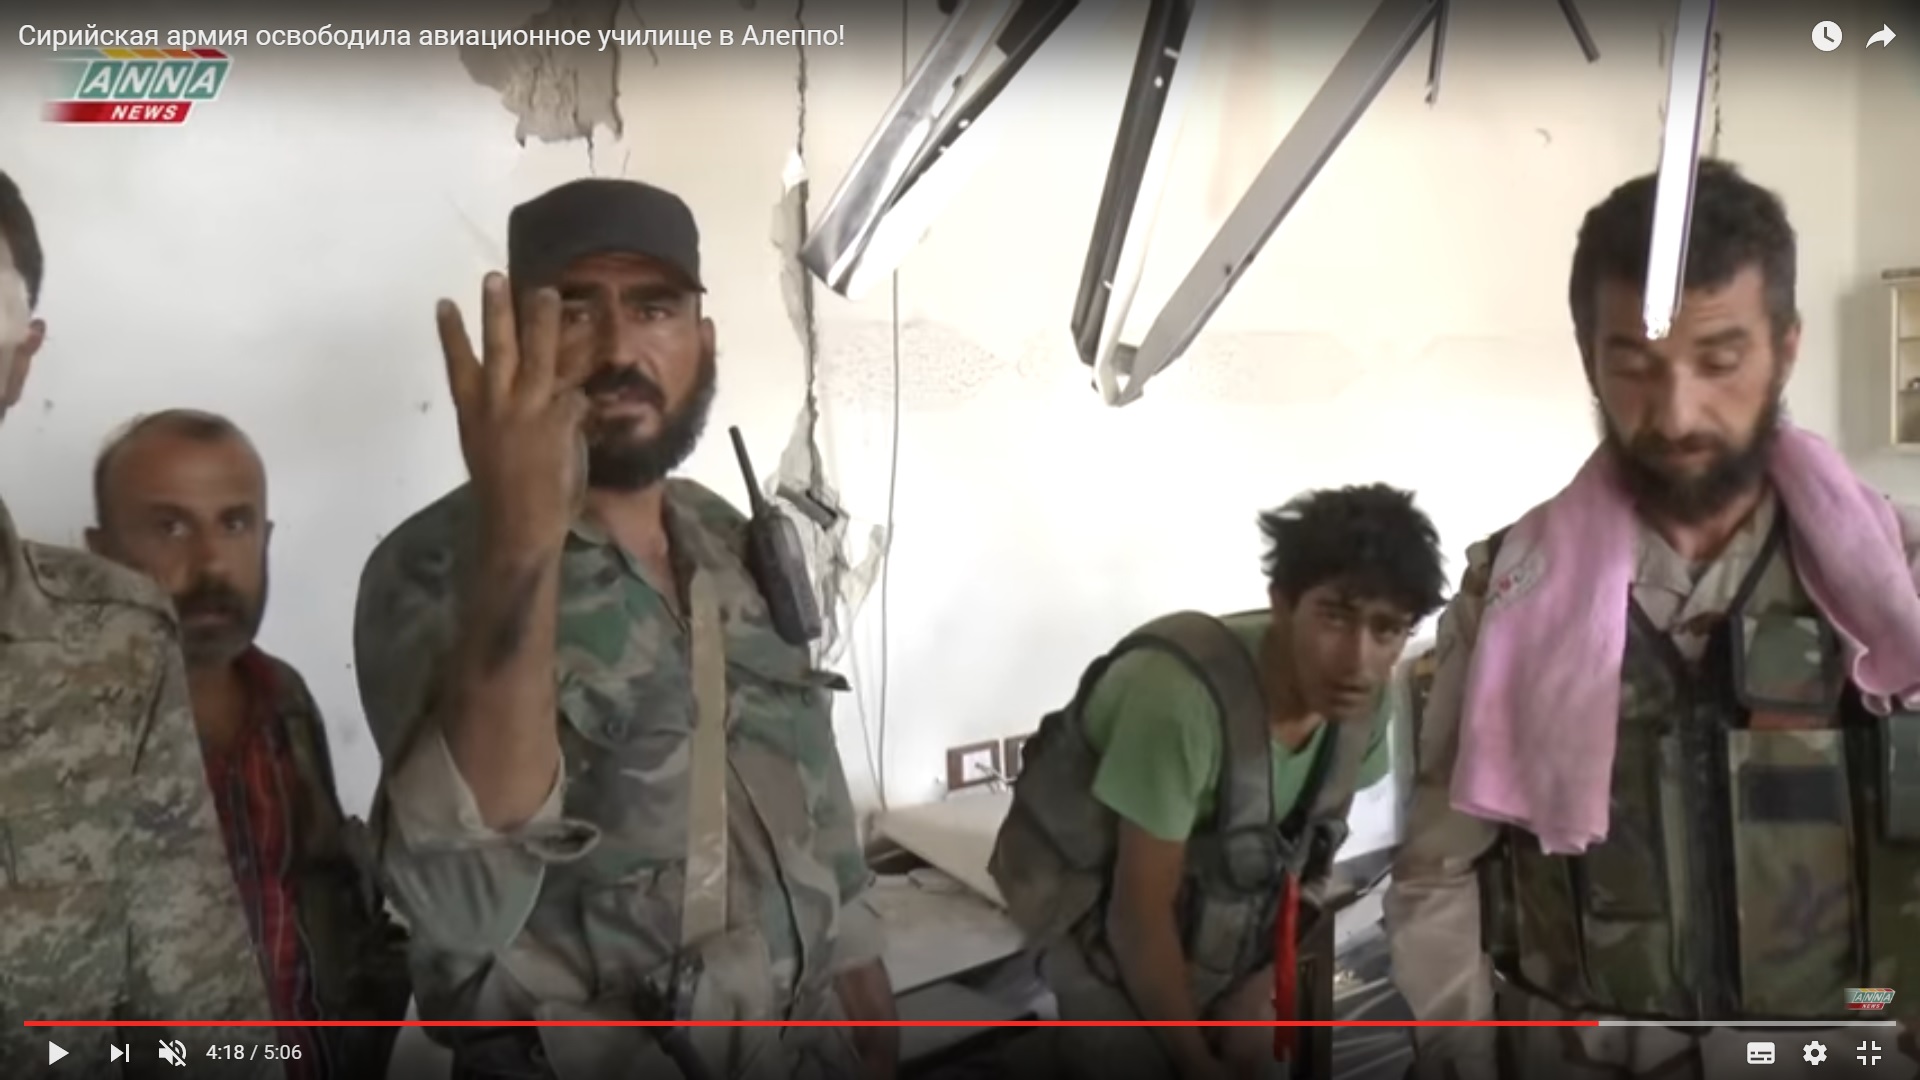
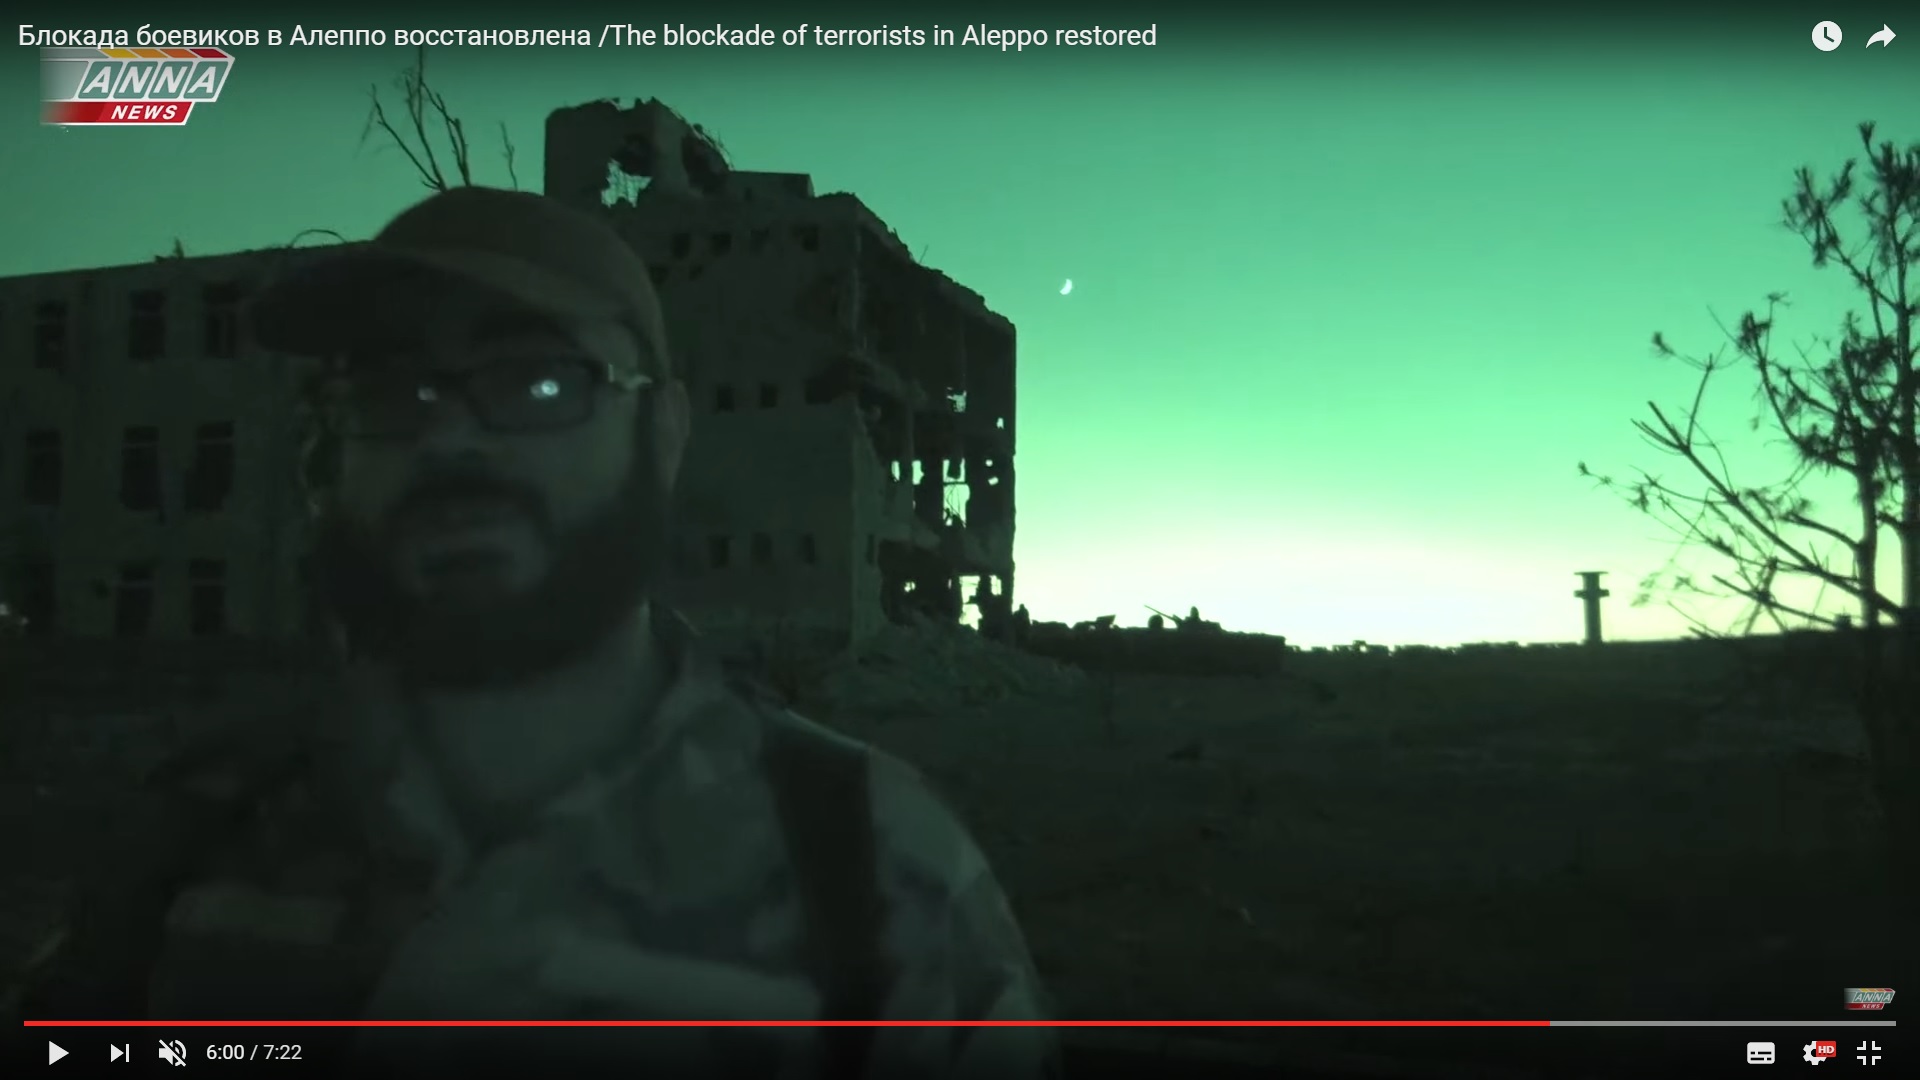
Black glasses, a baseball cap, a helmet, a body armour, elbow-pads, knee-pads, cartridge pouches etc… Meanwhile, the real military commander looked this way.

Detailed Analysis Of Battle For Ramouseh Artillery Academy In Western Aleppo – Part 4

Click to see the full-size image

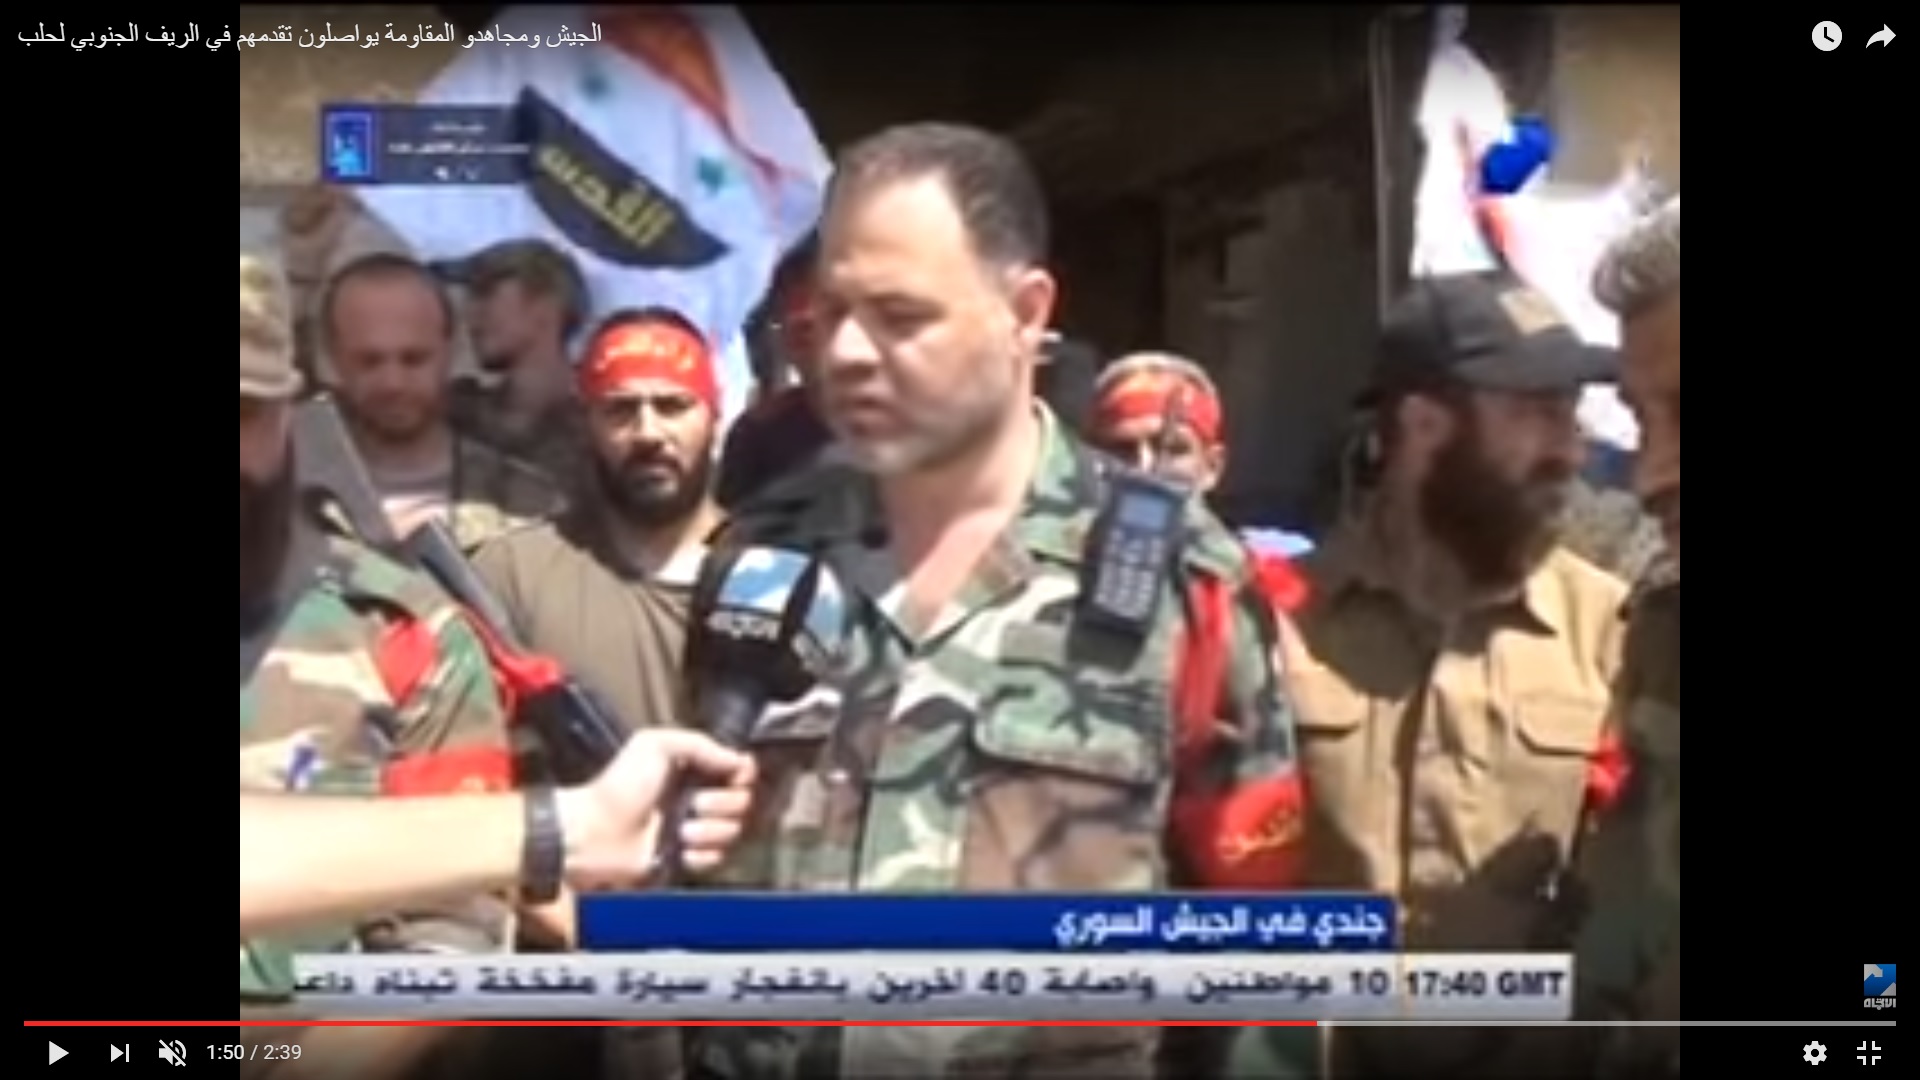
No arms, no body armour, two radio sets (one – to contact soldiers, another one – to contact the command staff). The video says that he’s a brigadier general. However, there were only about two dozens of soldiers in the building.

The BMP beeped and all moved to the next target.

Detailed Analysis Of Battle For Ramouseh Artillery Academy In Western Aleppo – Part 4

Click to see the full-size image

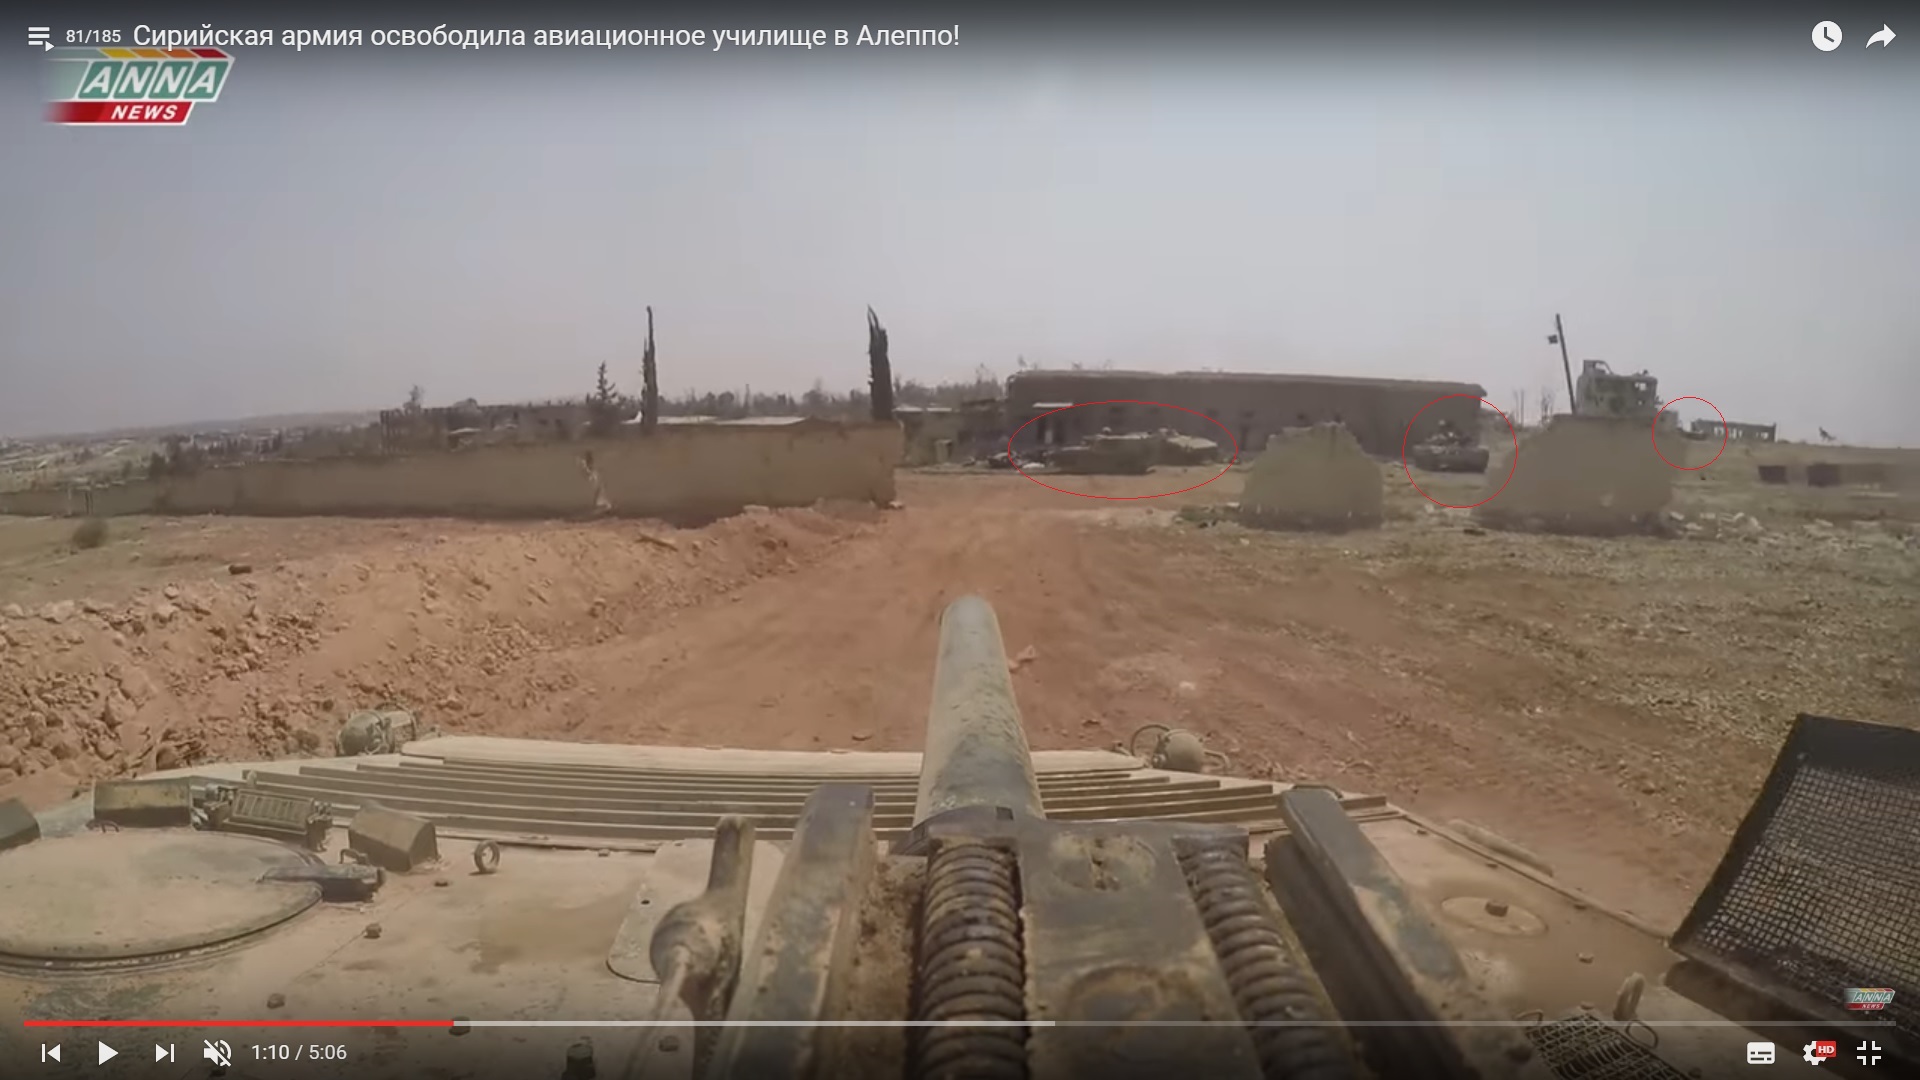
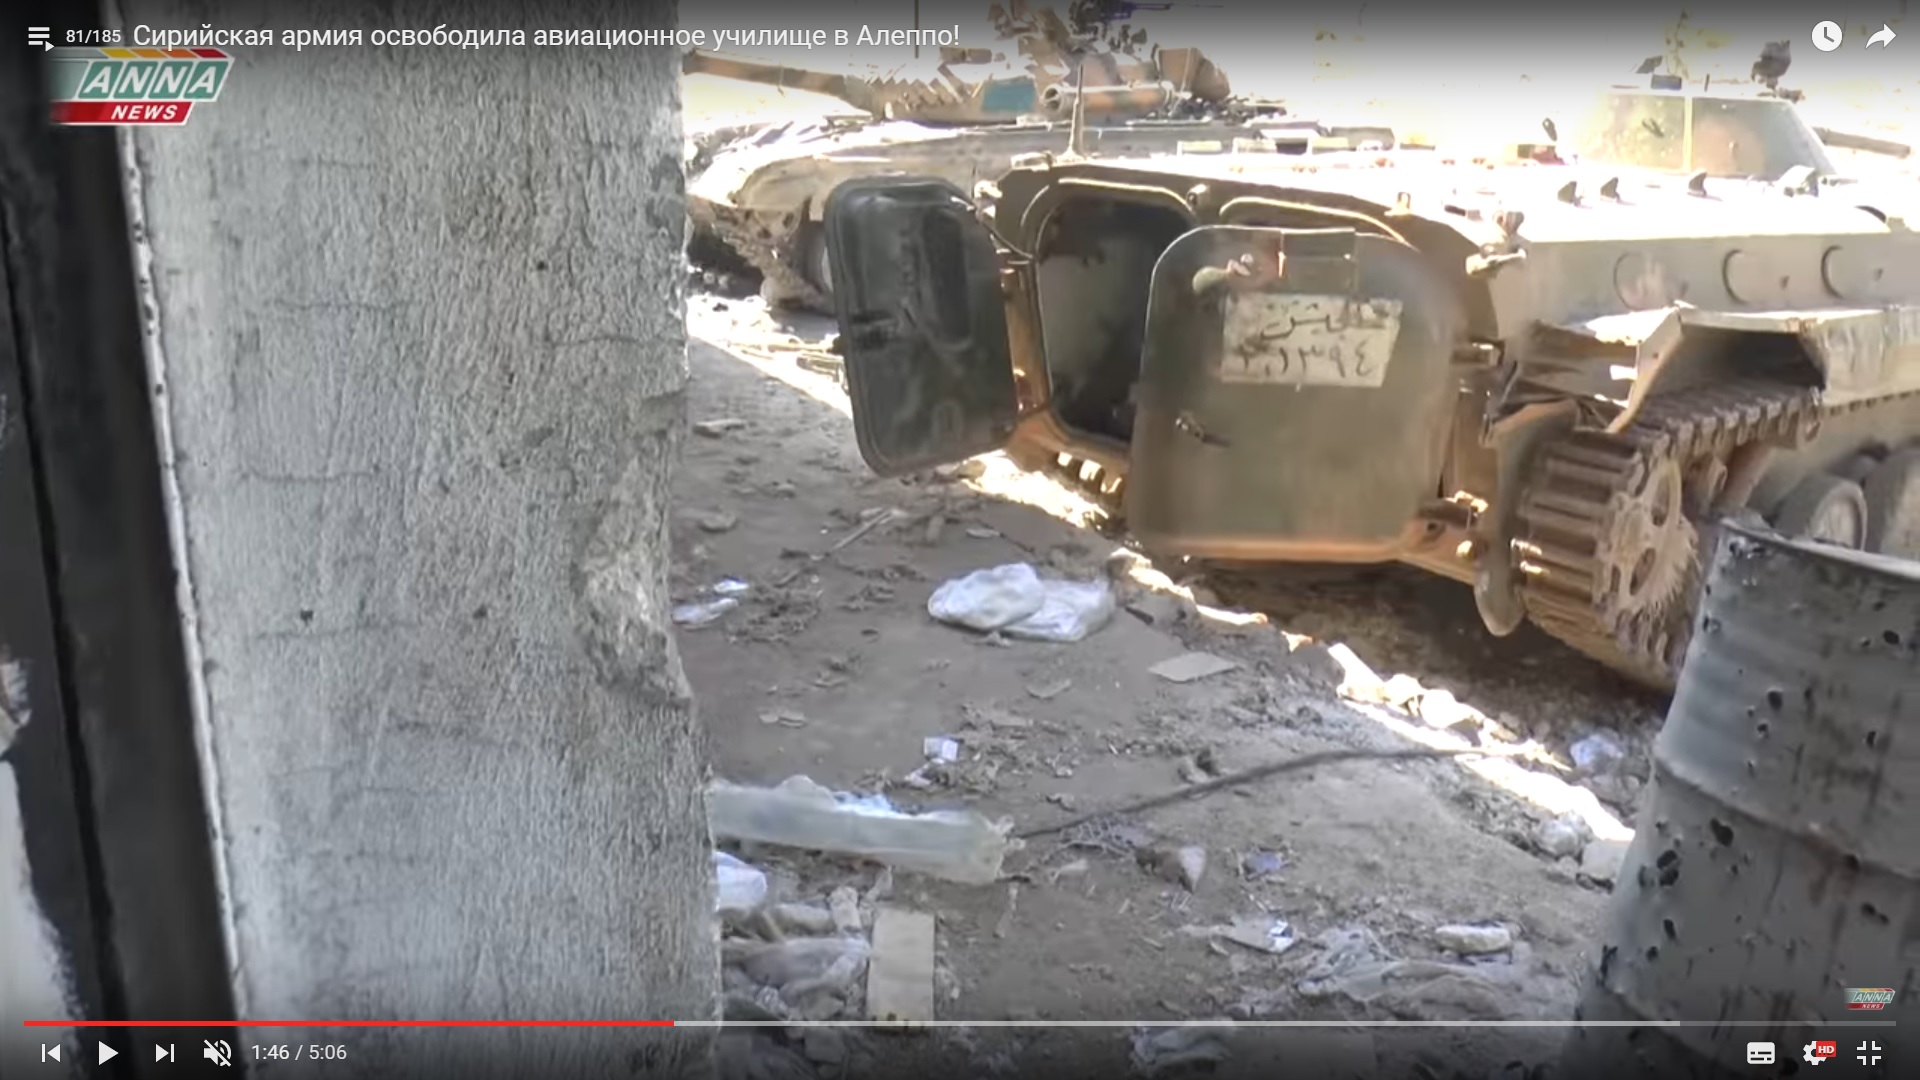
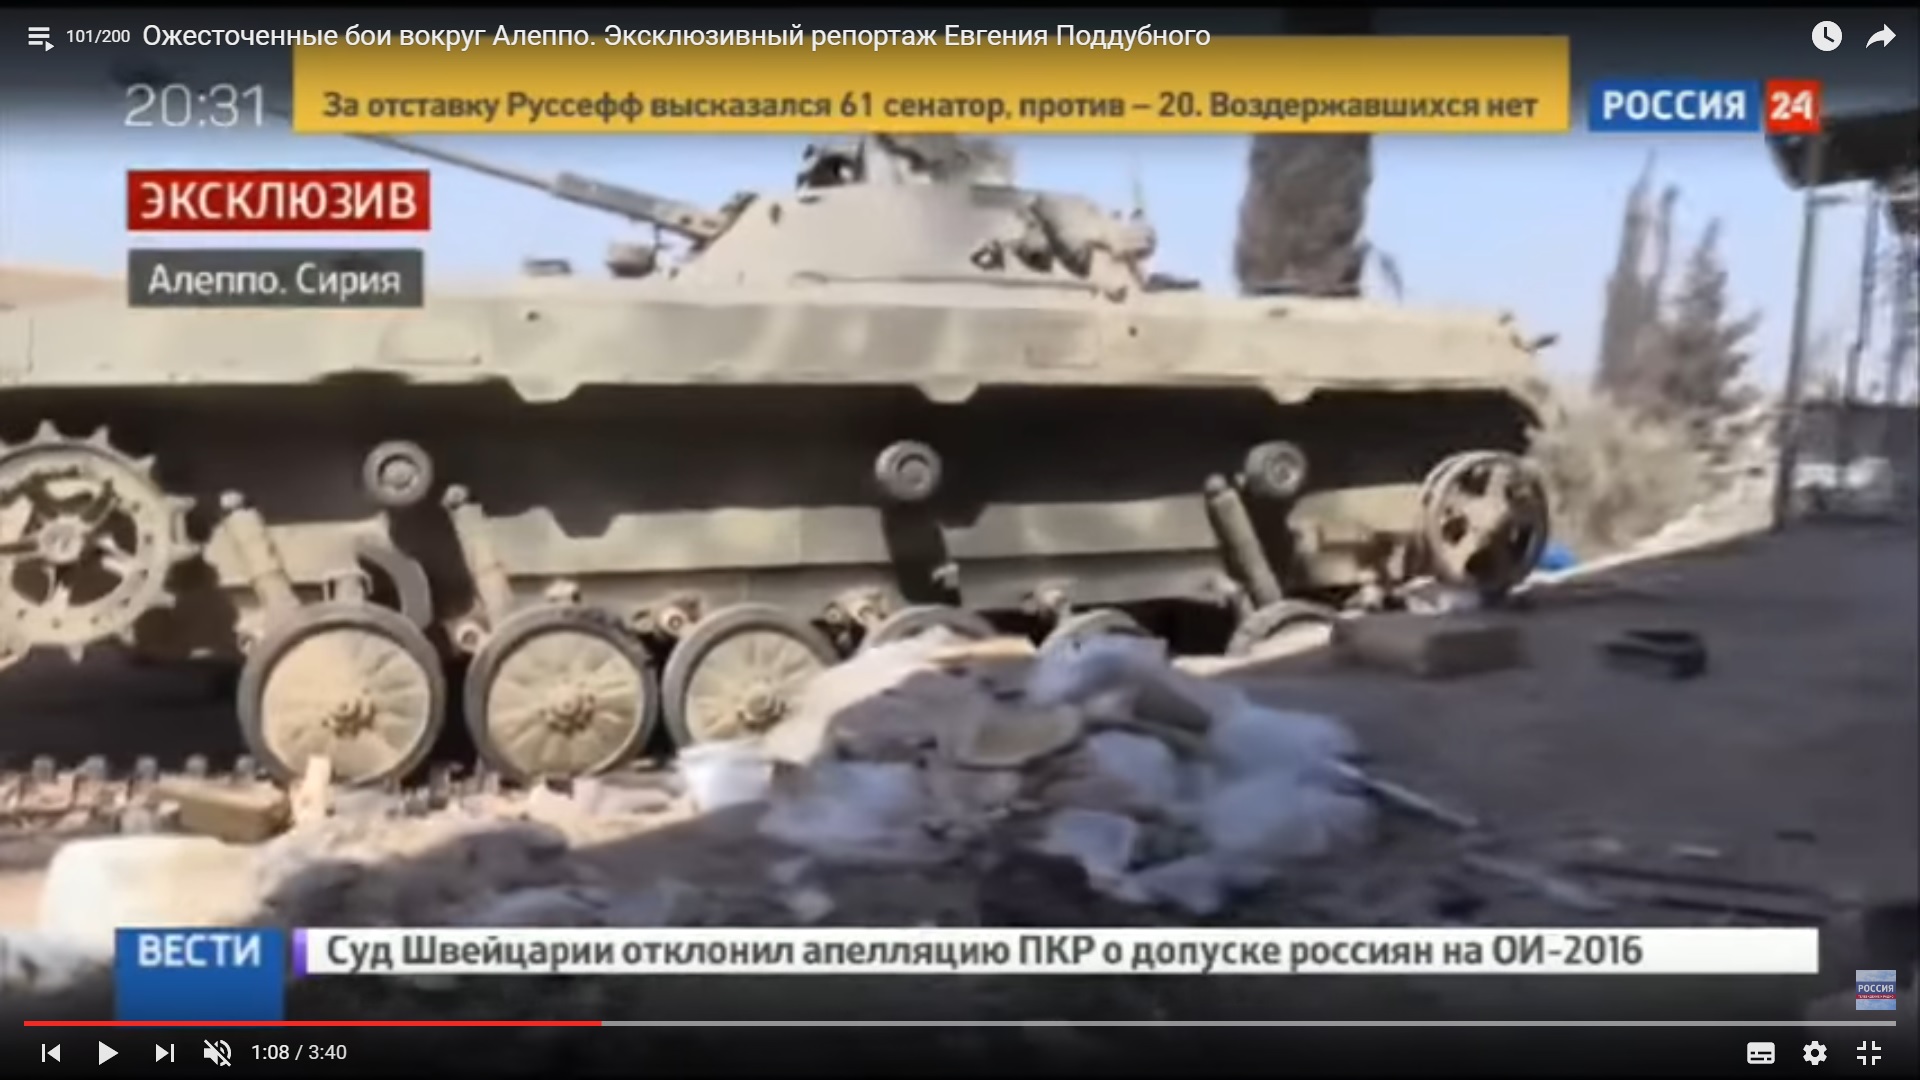
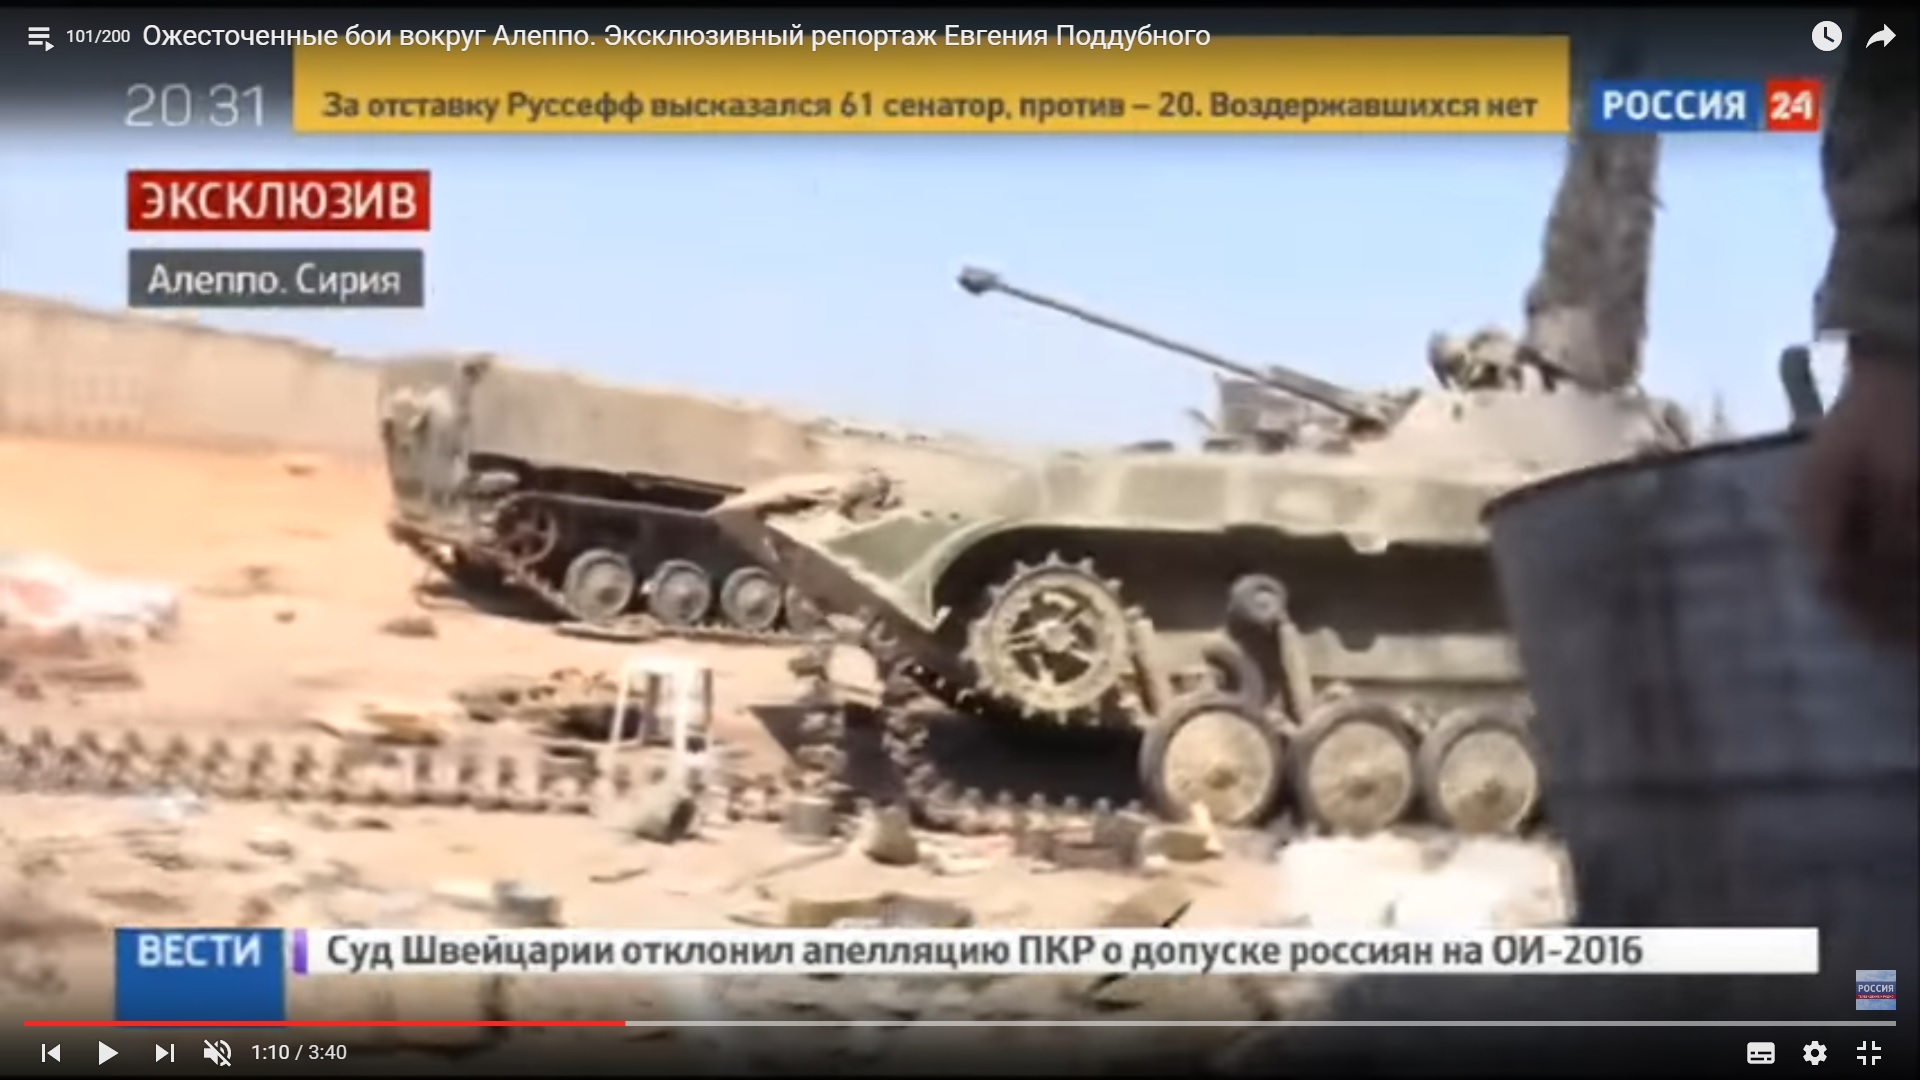
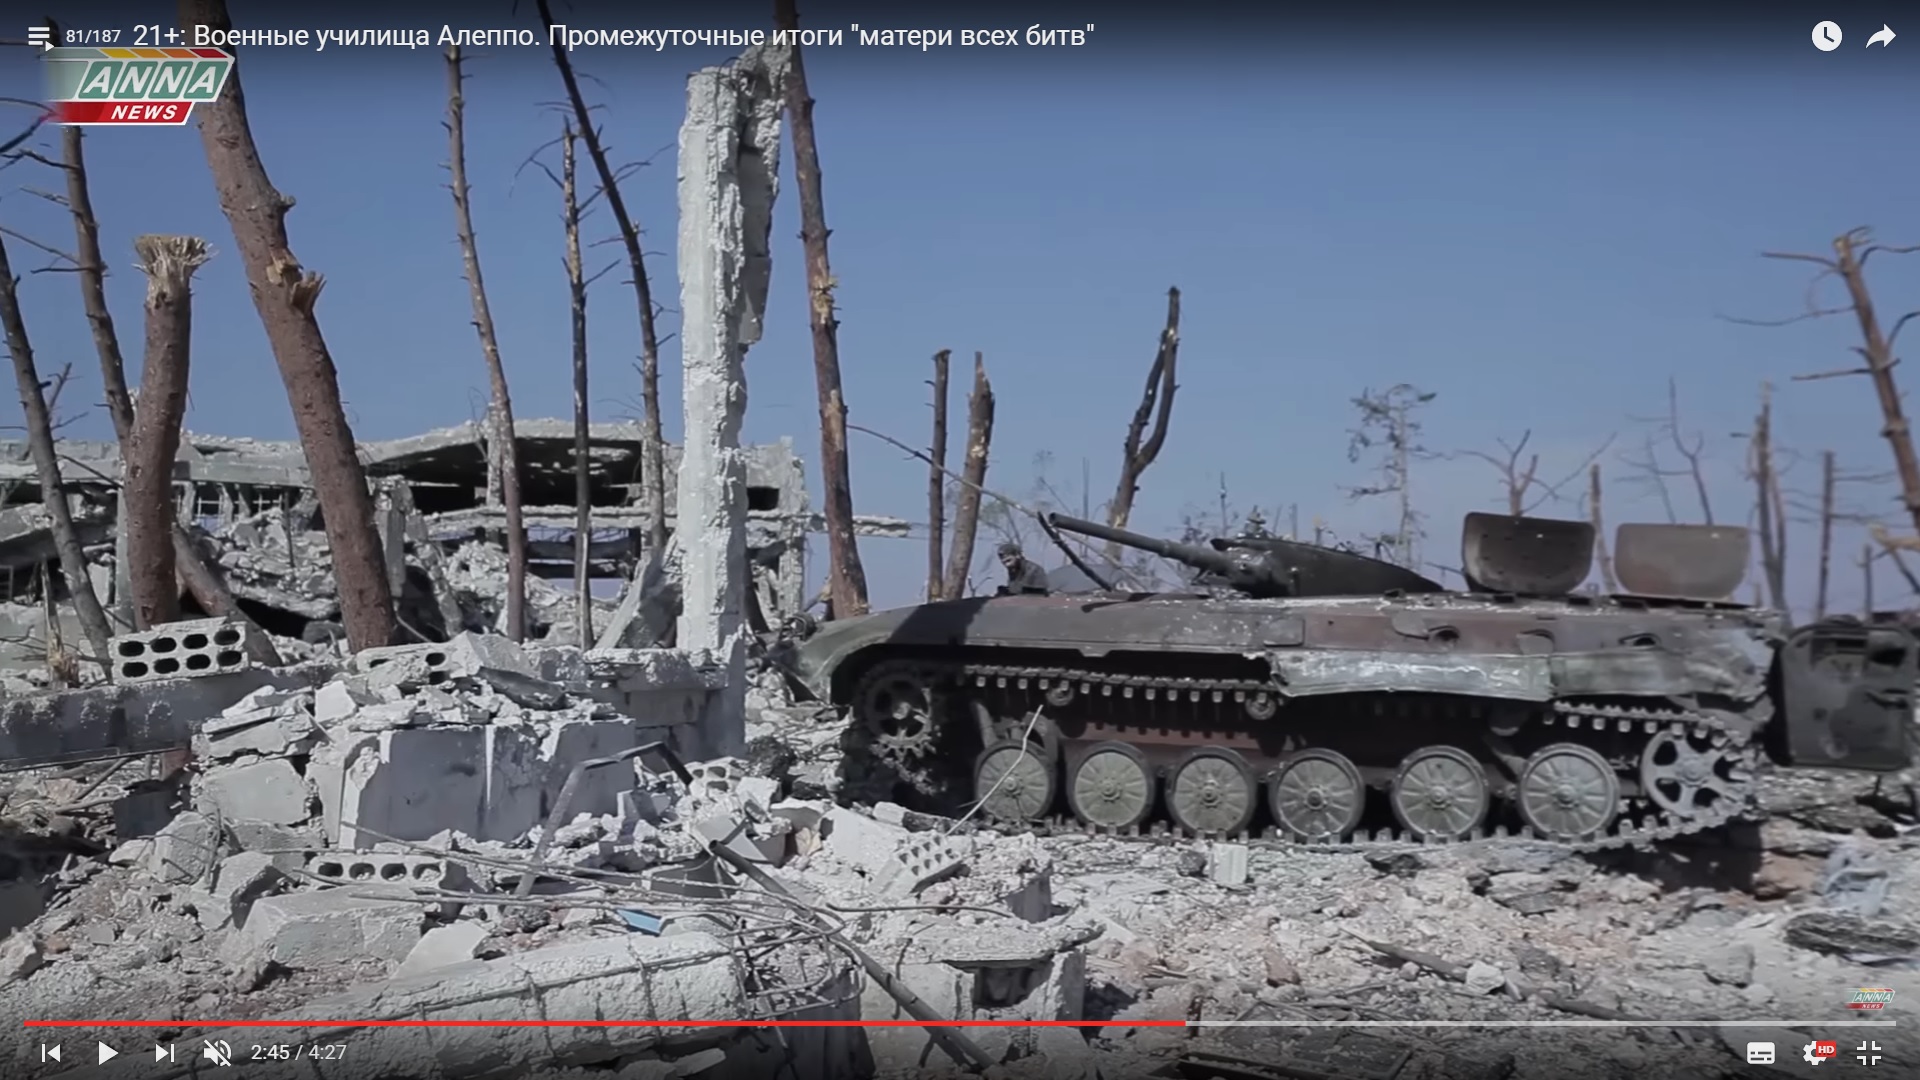
A look at the damaged BMP-2 vehicle.

Detailed Analysis Of Battle For Ramouseh Artillery Academy In Western Aleppo – Part 4

Click to see the full-size image

Detailed Analysis Of Battle For Ramouseh Artillery Academy In Western Aleppo – Part 4

Click to see the full-size image

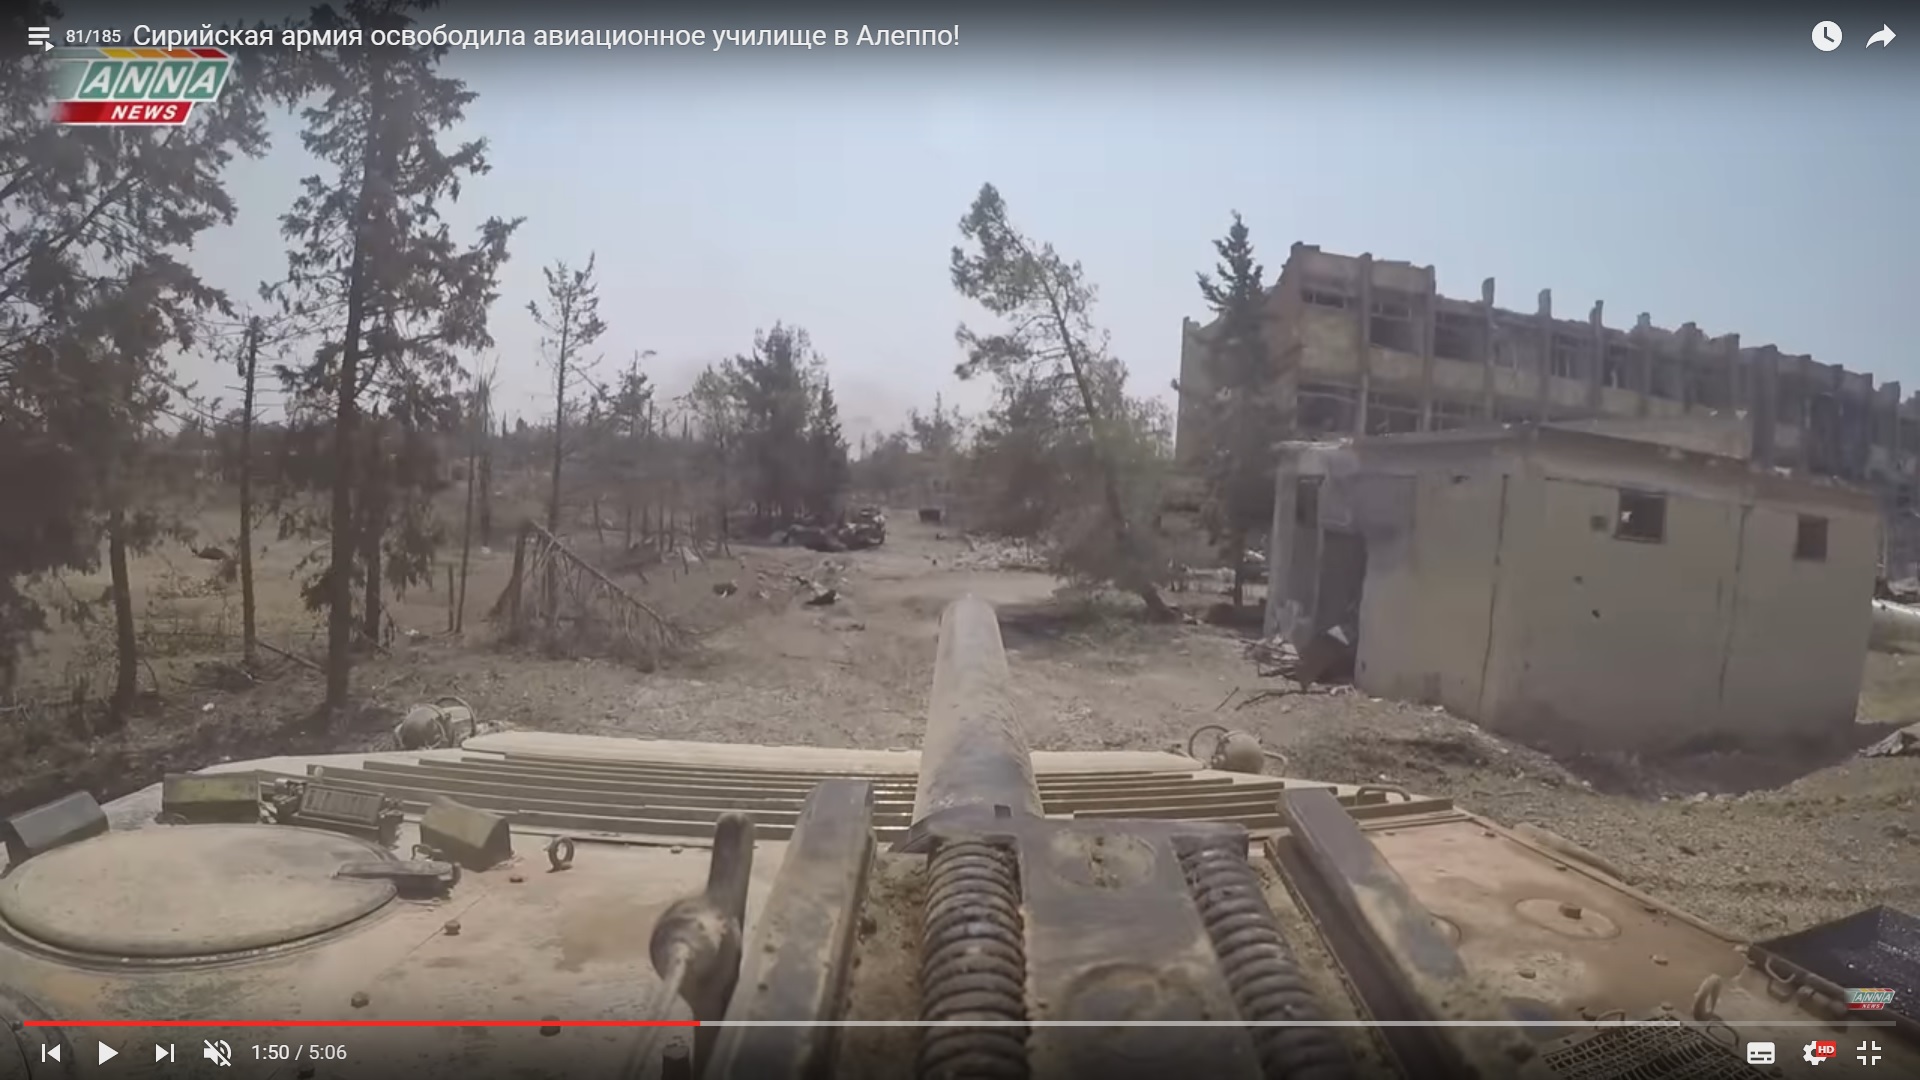
Few seconds in the vehicle and we could see the aviation college.

Detailed Analysis Of Battle For Ramouseh Artillery Academy In Western Aleppo – Part 4

Click to see the full-size image

The main entrance.

Detailed Analysis Of Battle For Ramouseh Artillery Academy In Western Aleppo – Part 4

Click to see the full-size image

Detailed Analysis Of Battle For Ramouseh Artillery Academy In Western Aleppo – Part 4

Click to see the full-size image

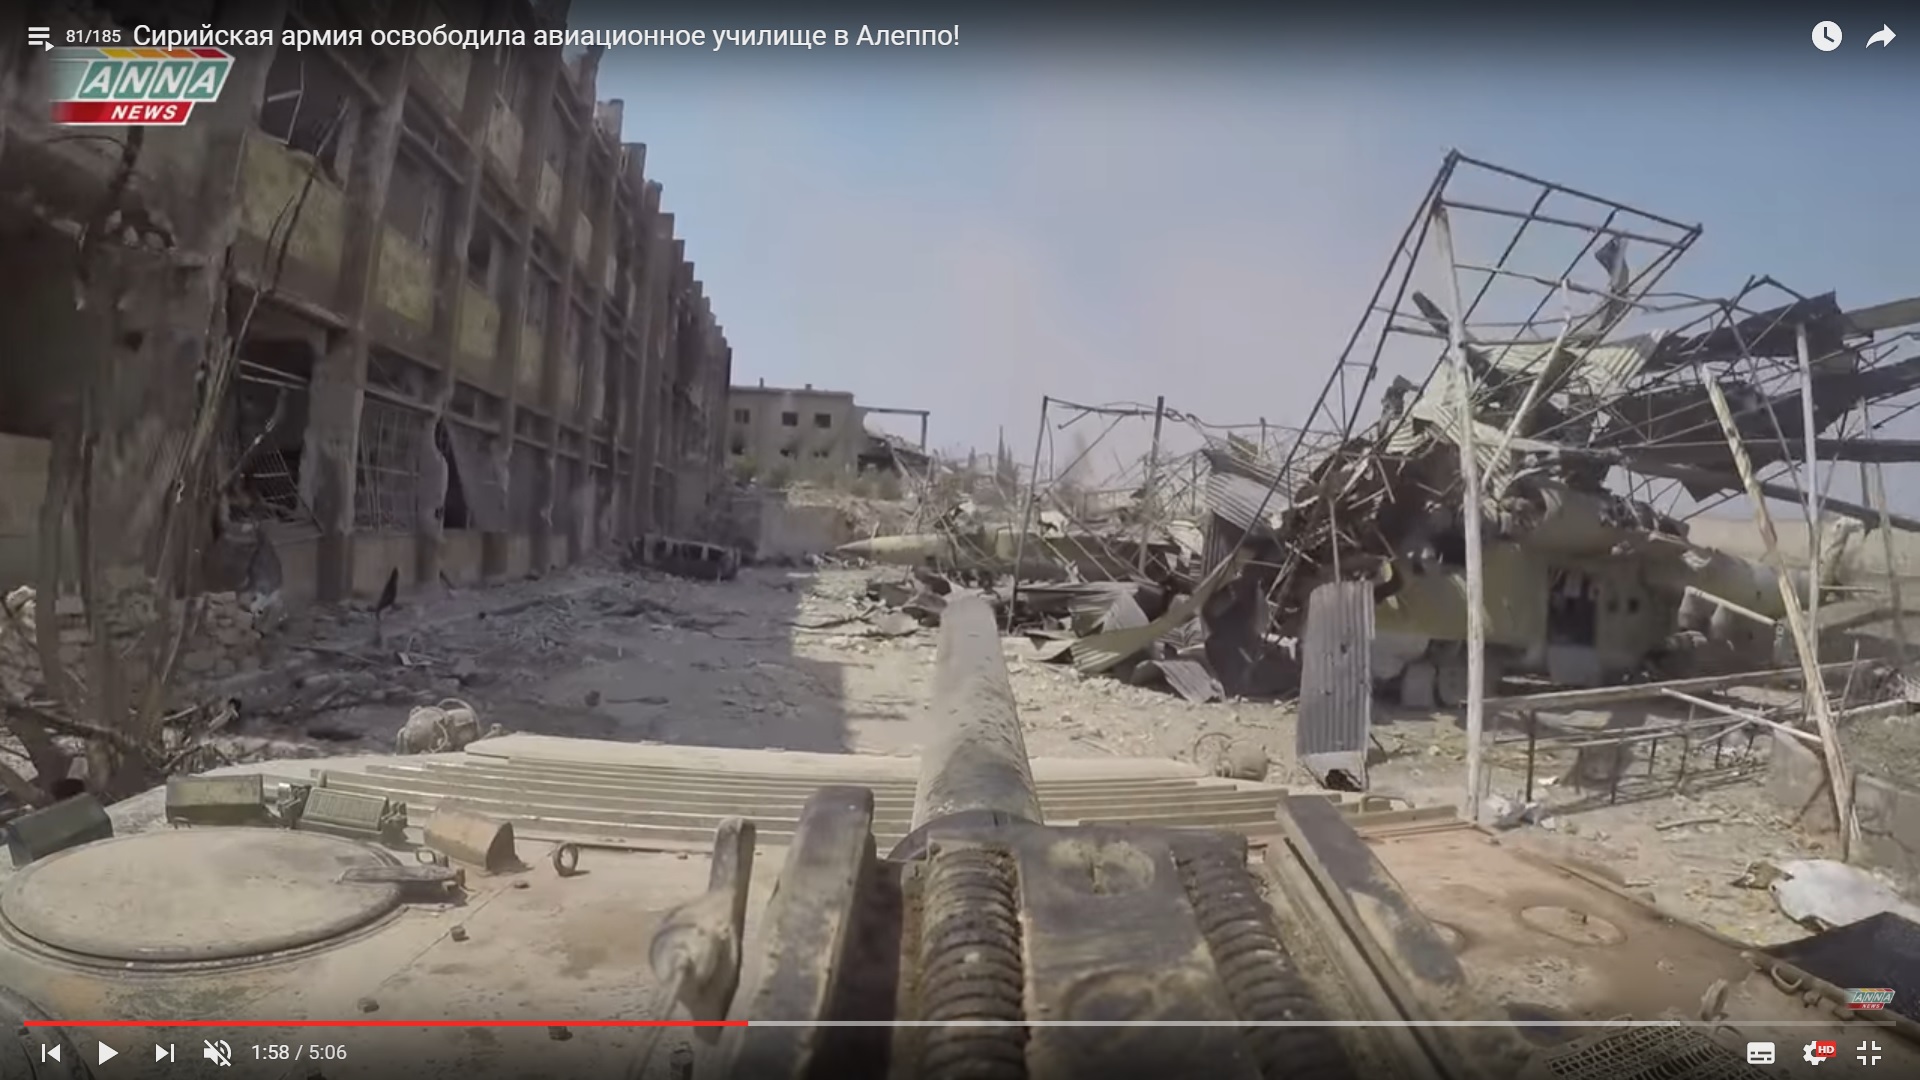
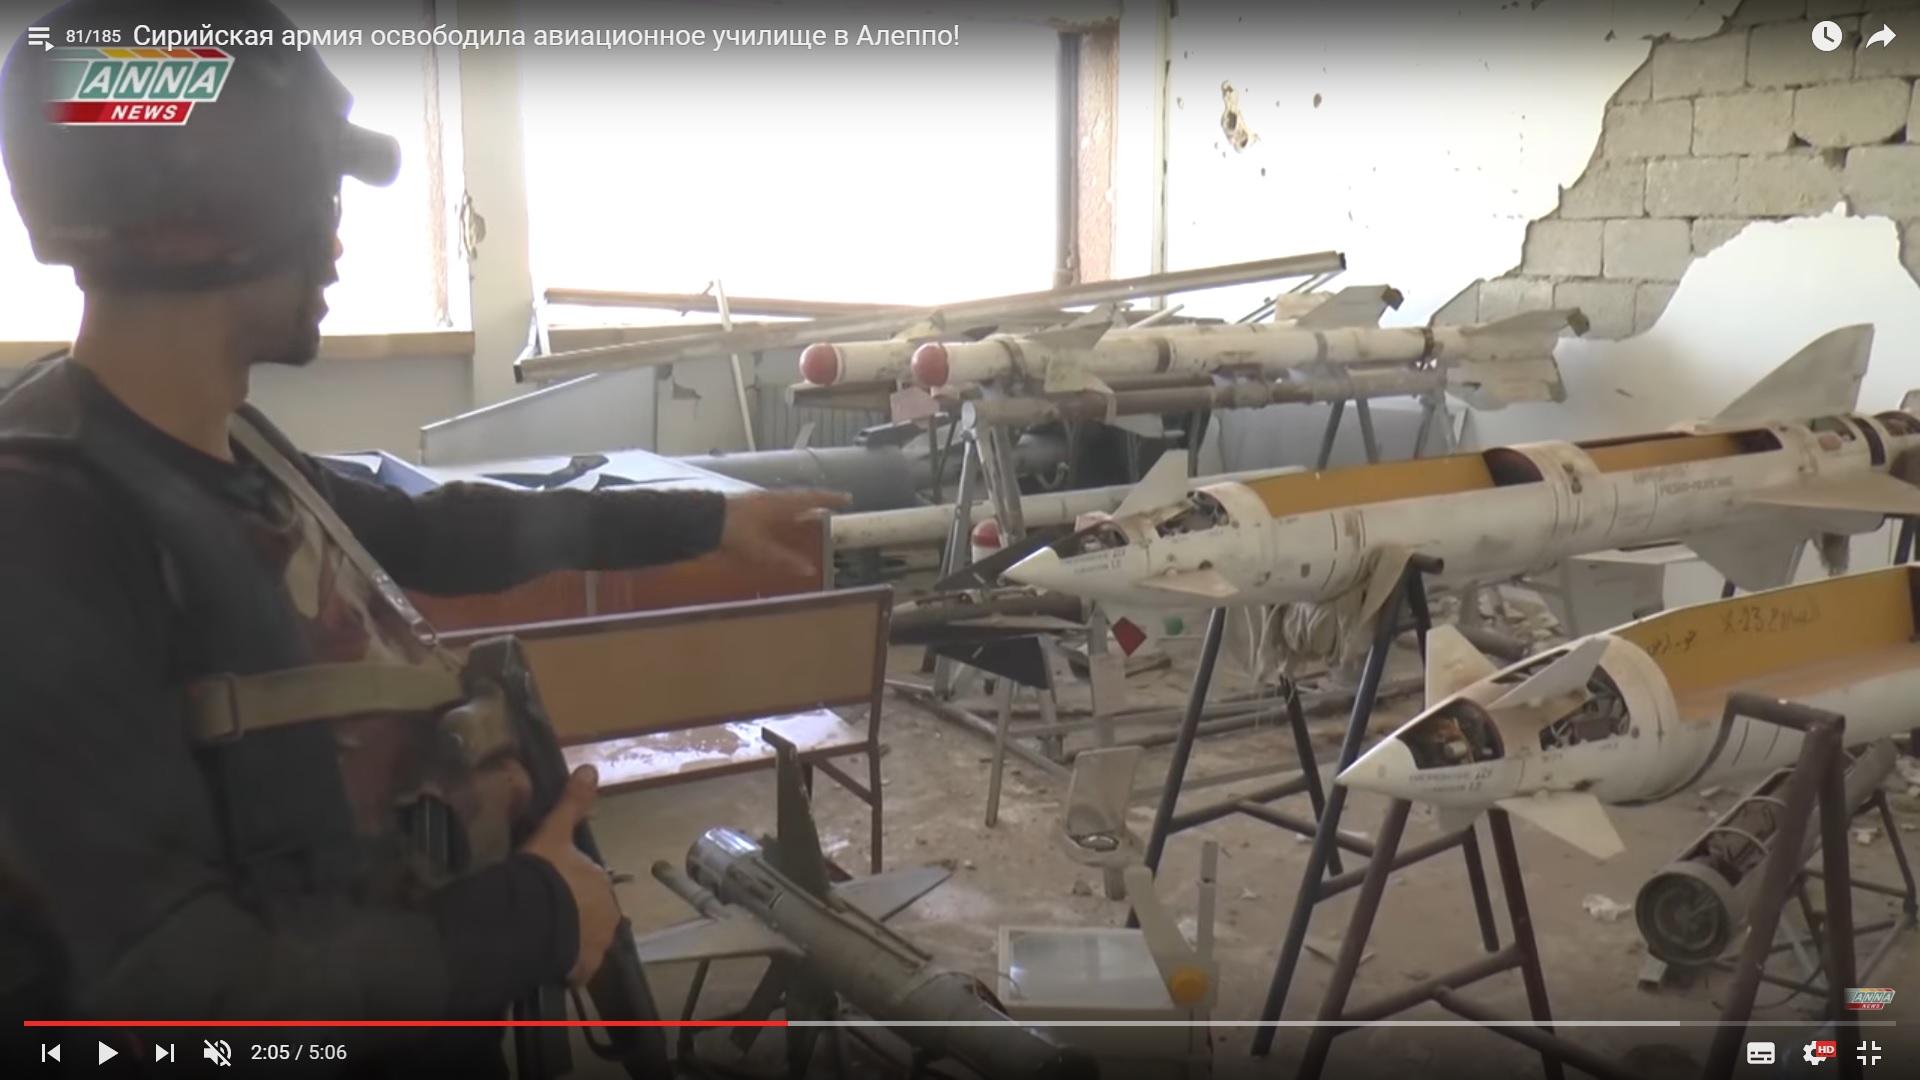
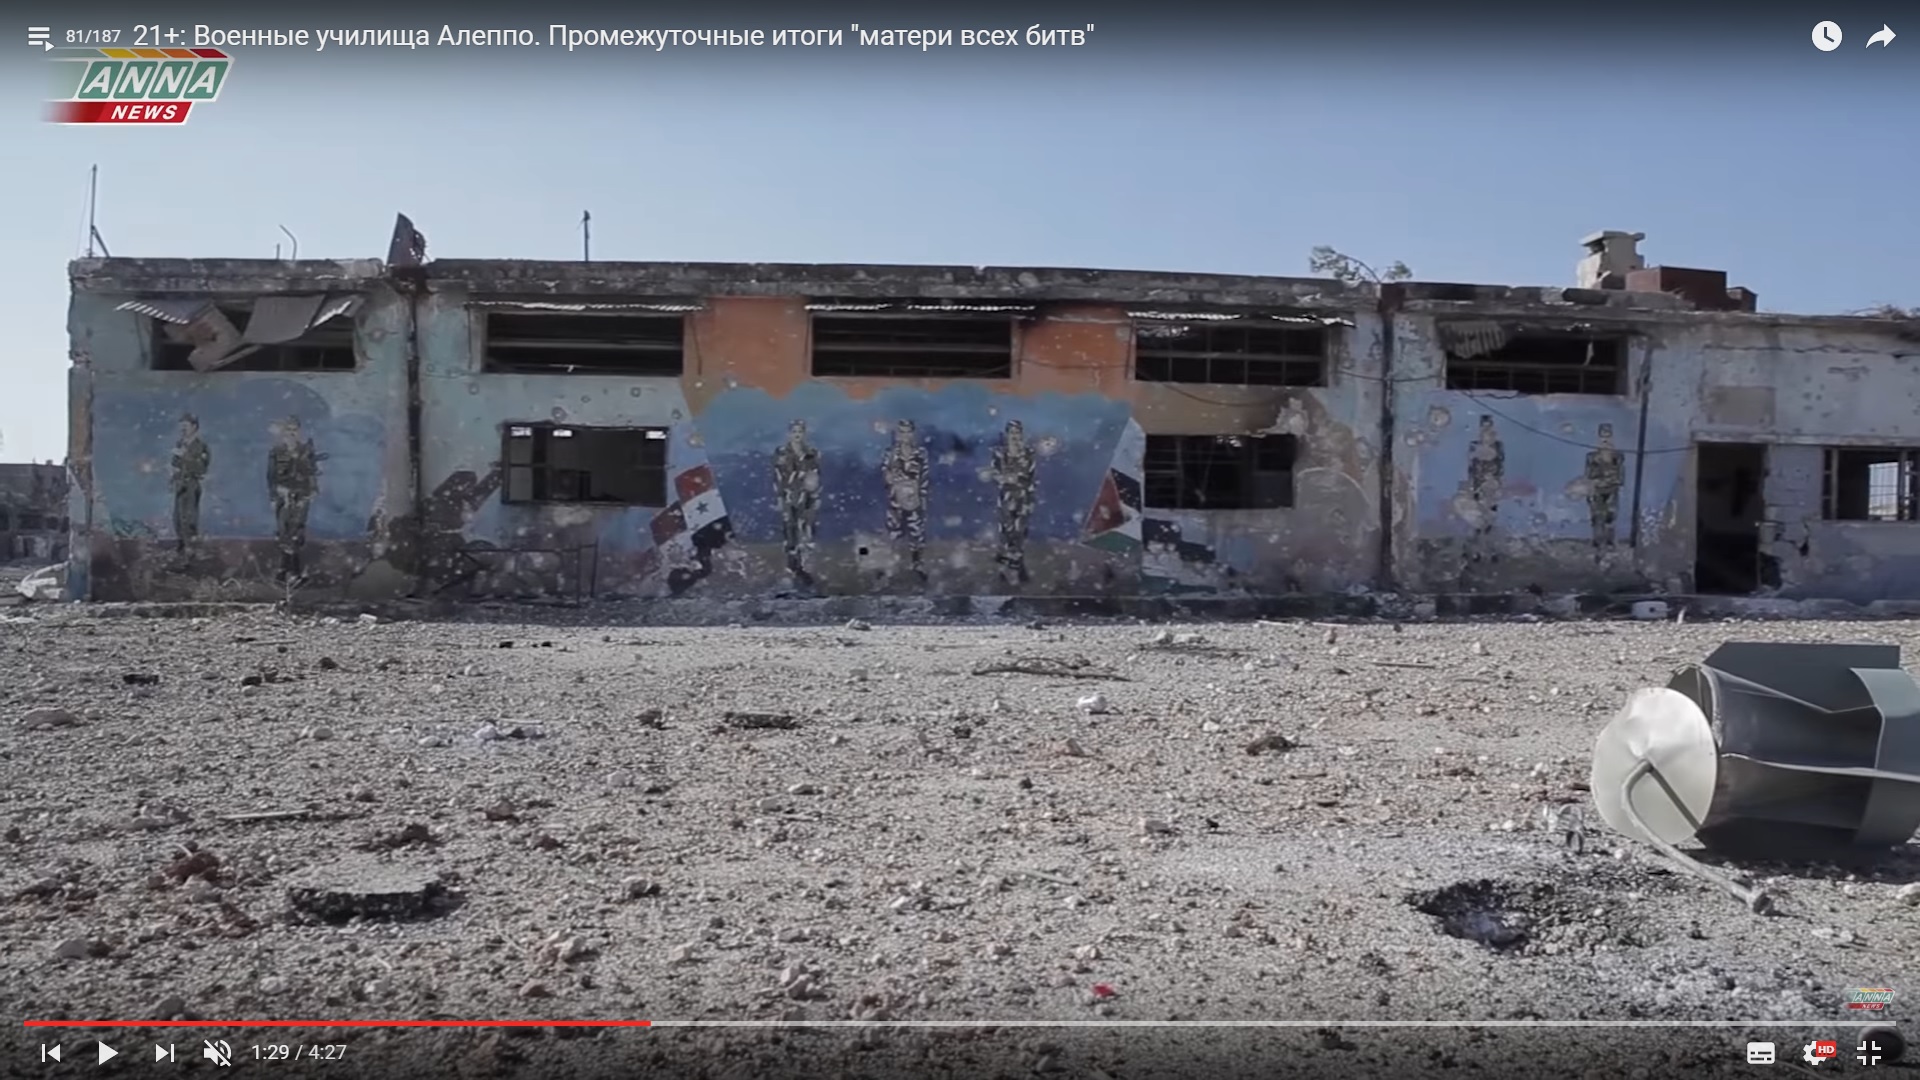
The college and’s rooms were damaged. However, mock missiles survived.

Detailed Analysis Of Battle For Ramouseh Artillery Academy In Western Aleppo – Part 4

Click to see the full-size image

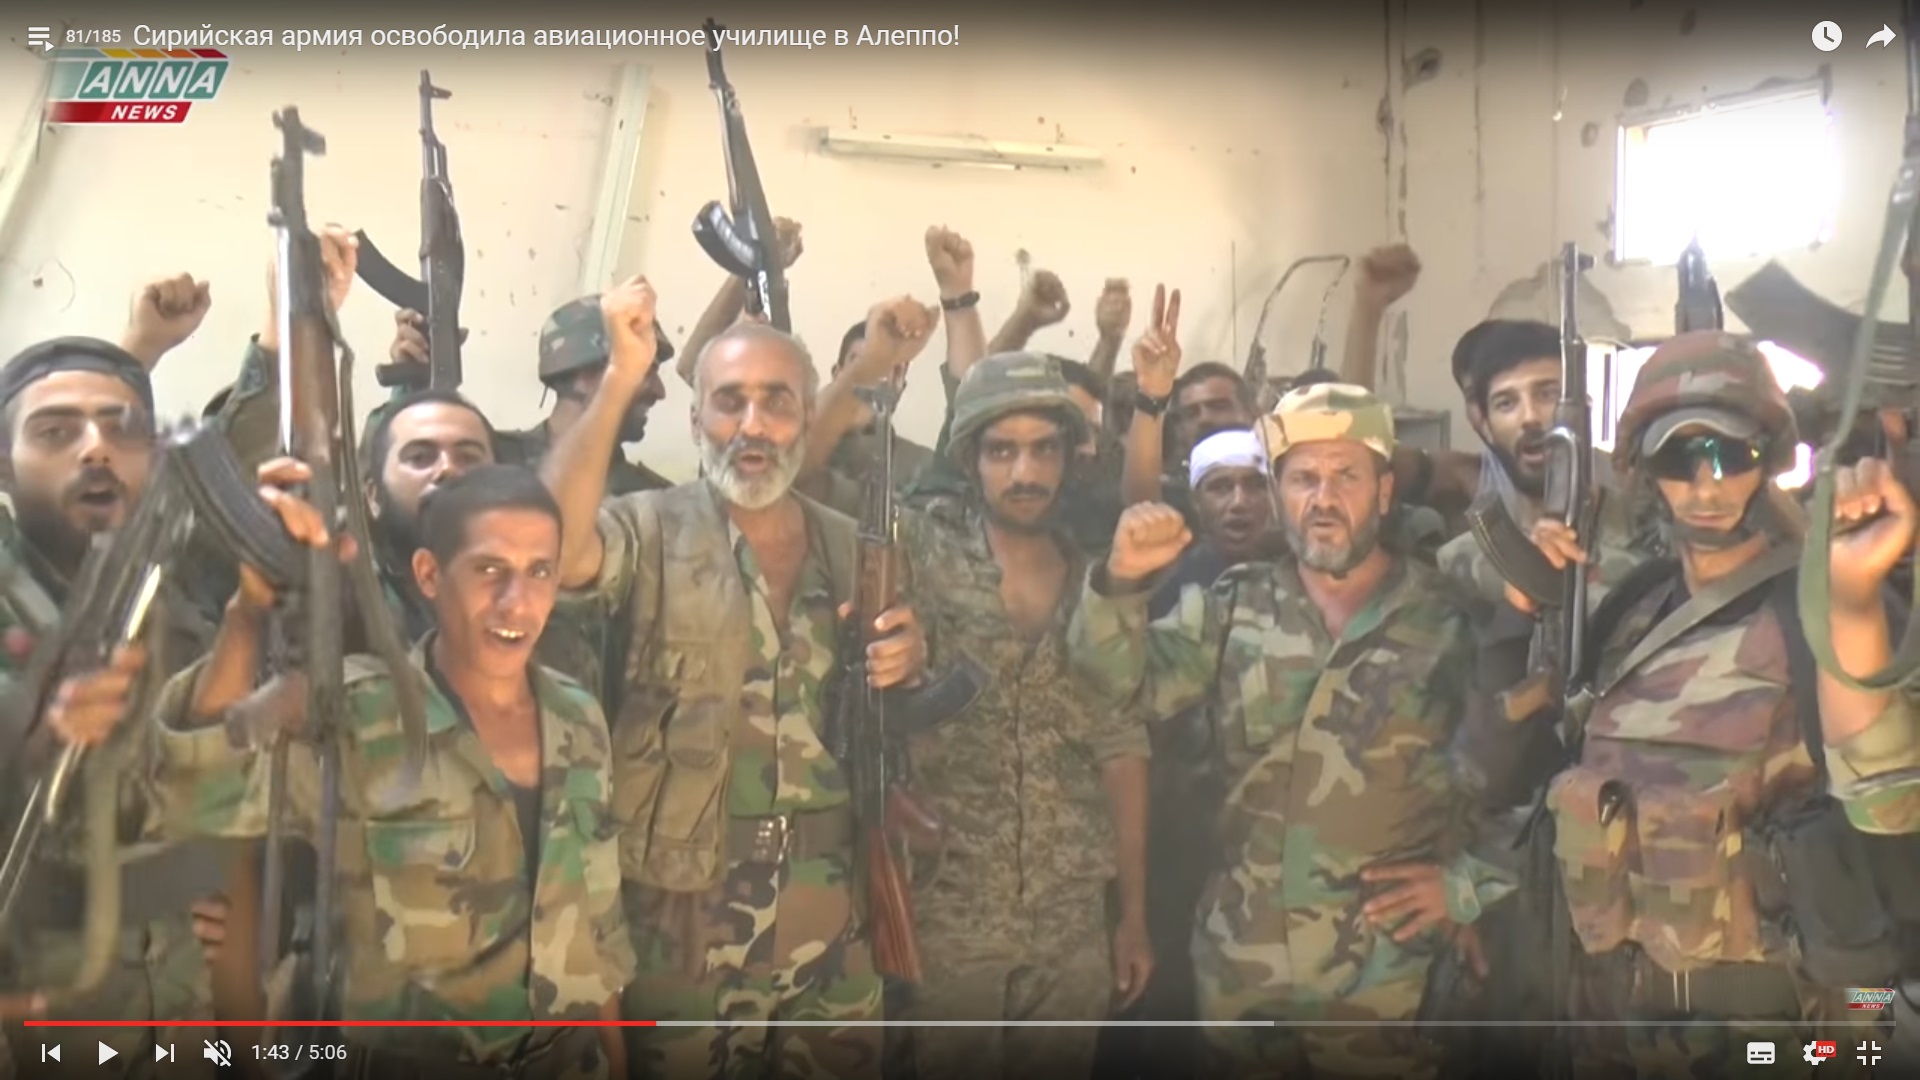
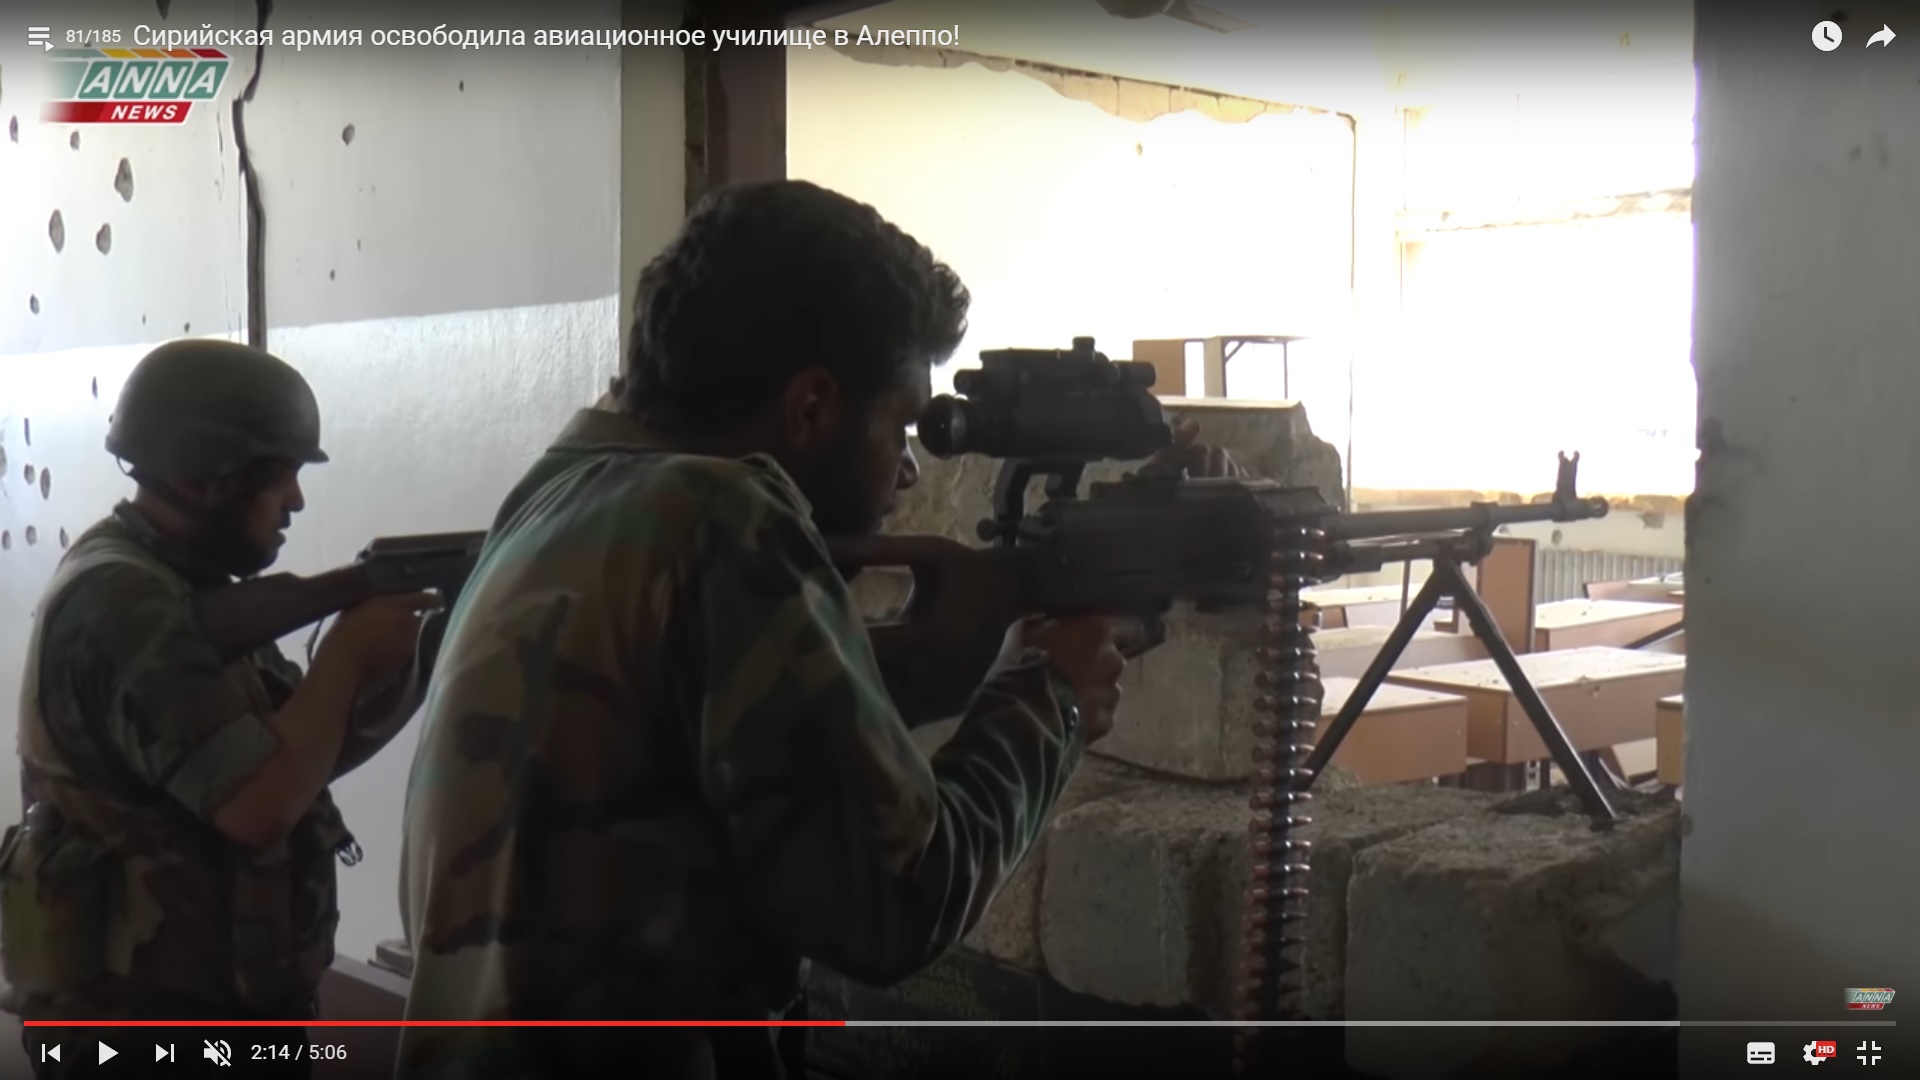
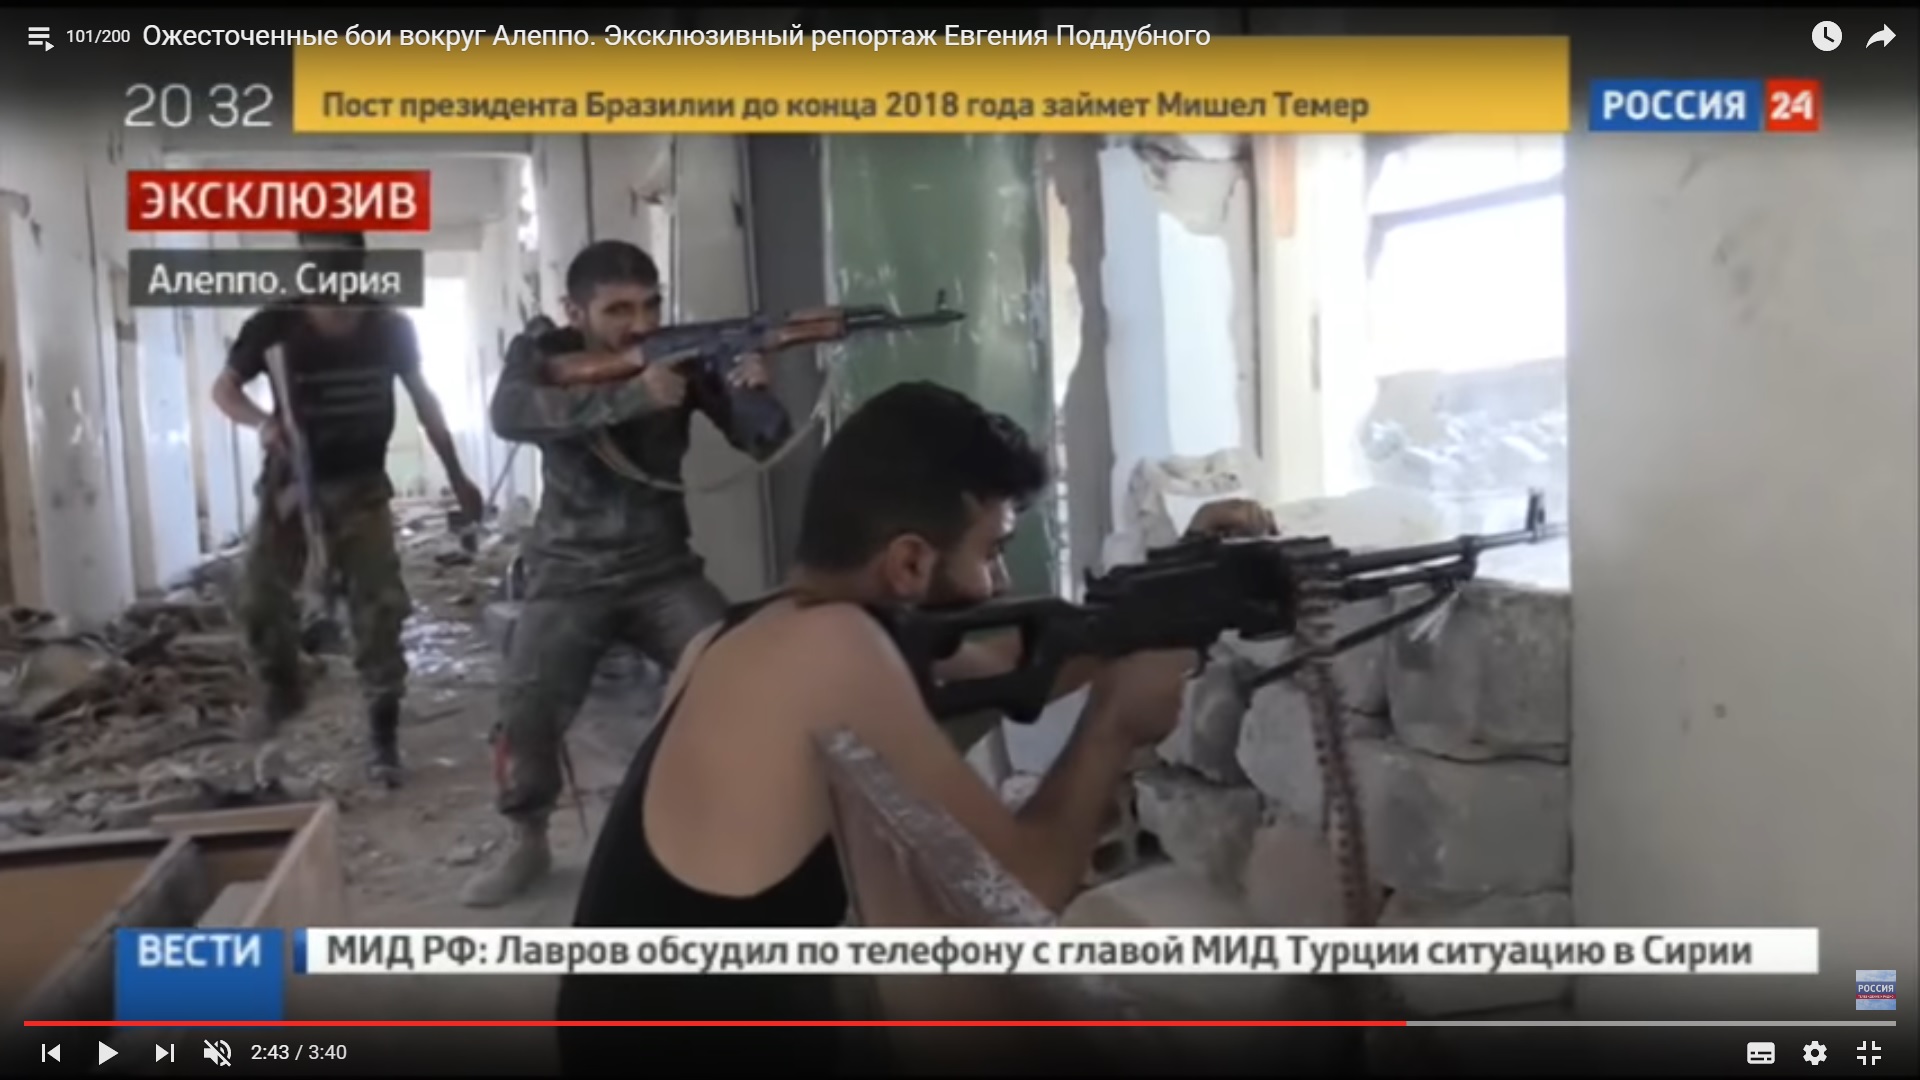
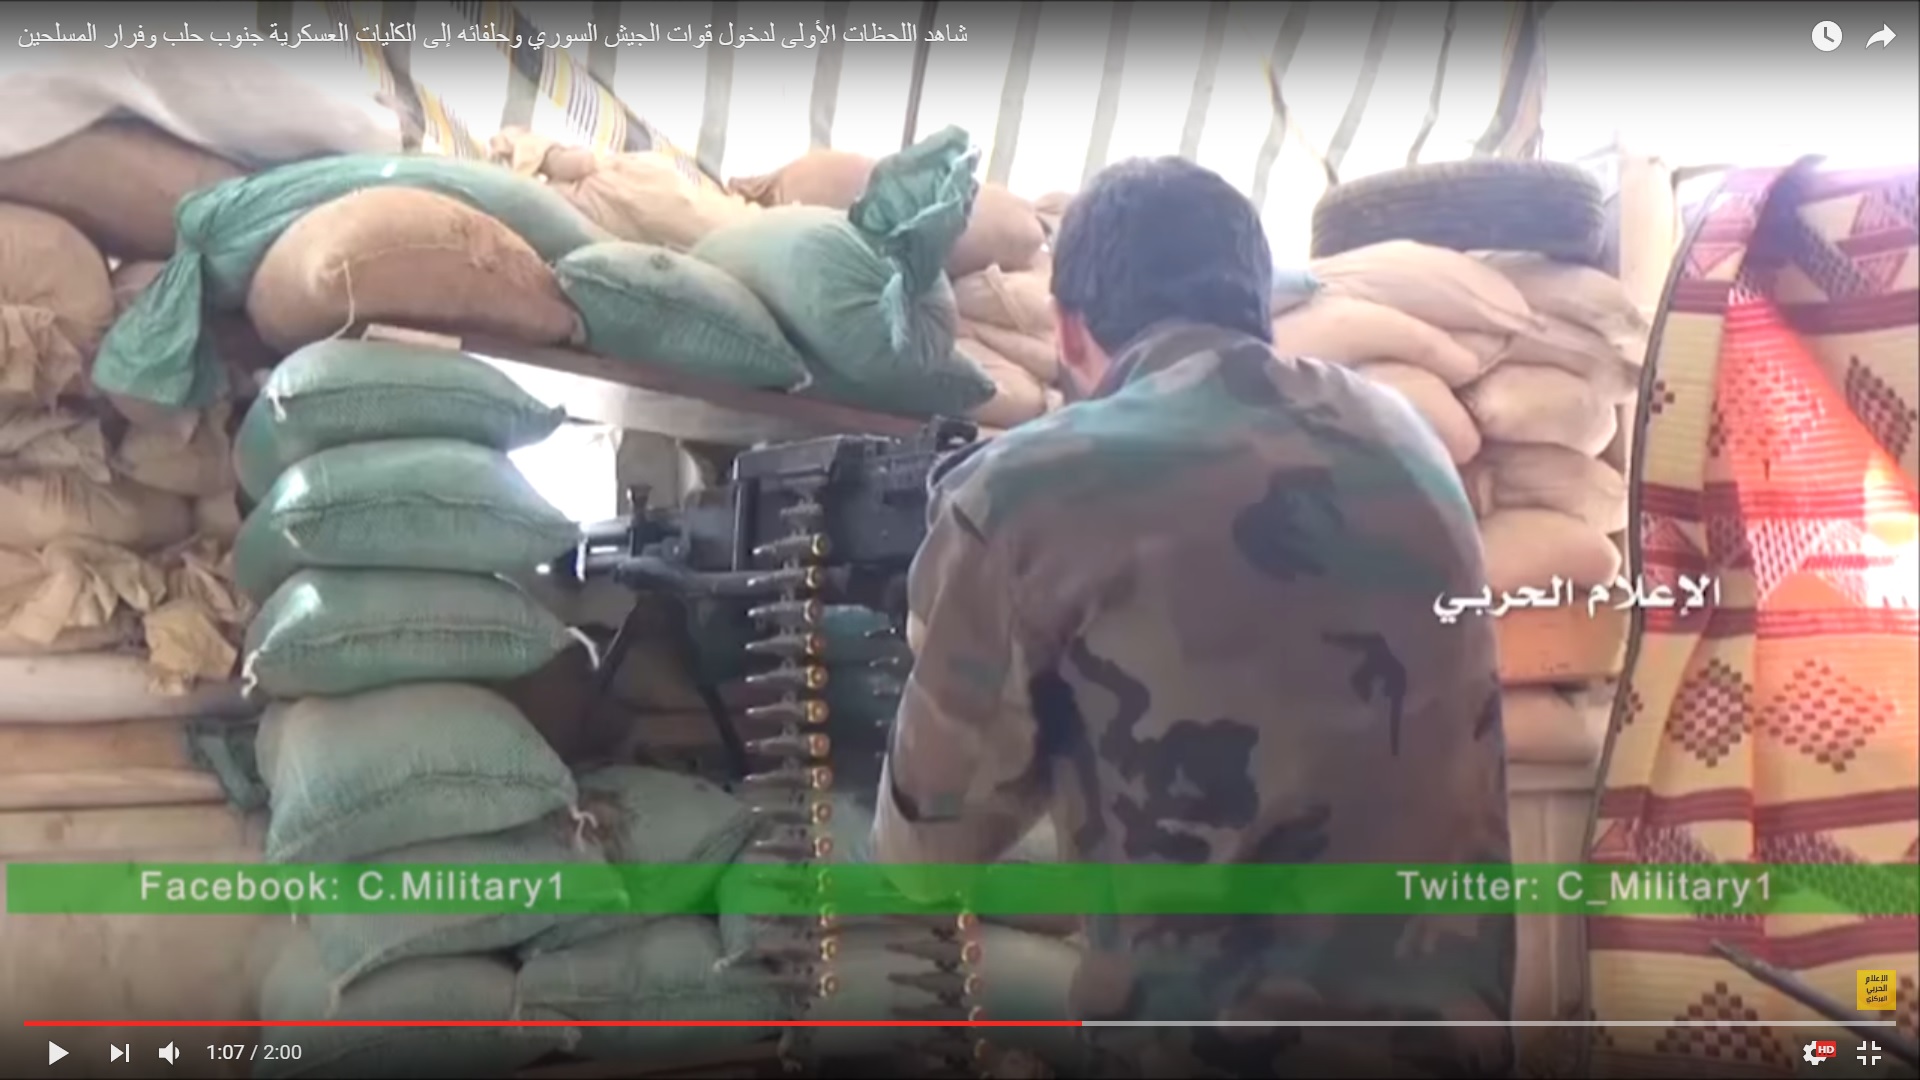
Soldiers took firing positions inside the building.

Detailed Analysis Of Battle For Ramouseh Artillery Academy In Western Aleppo – Part 4

Click to see the full-size image

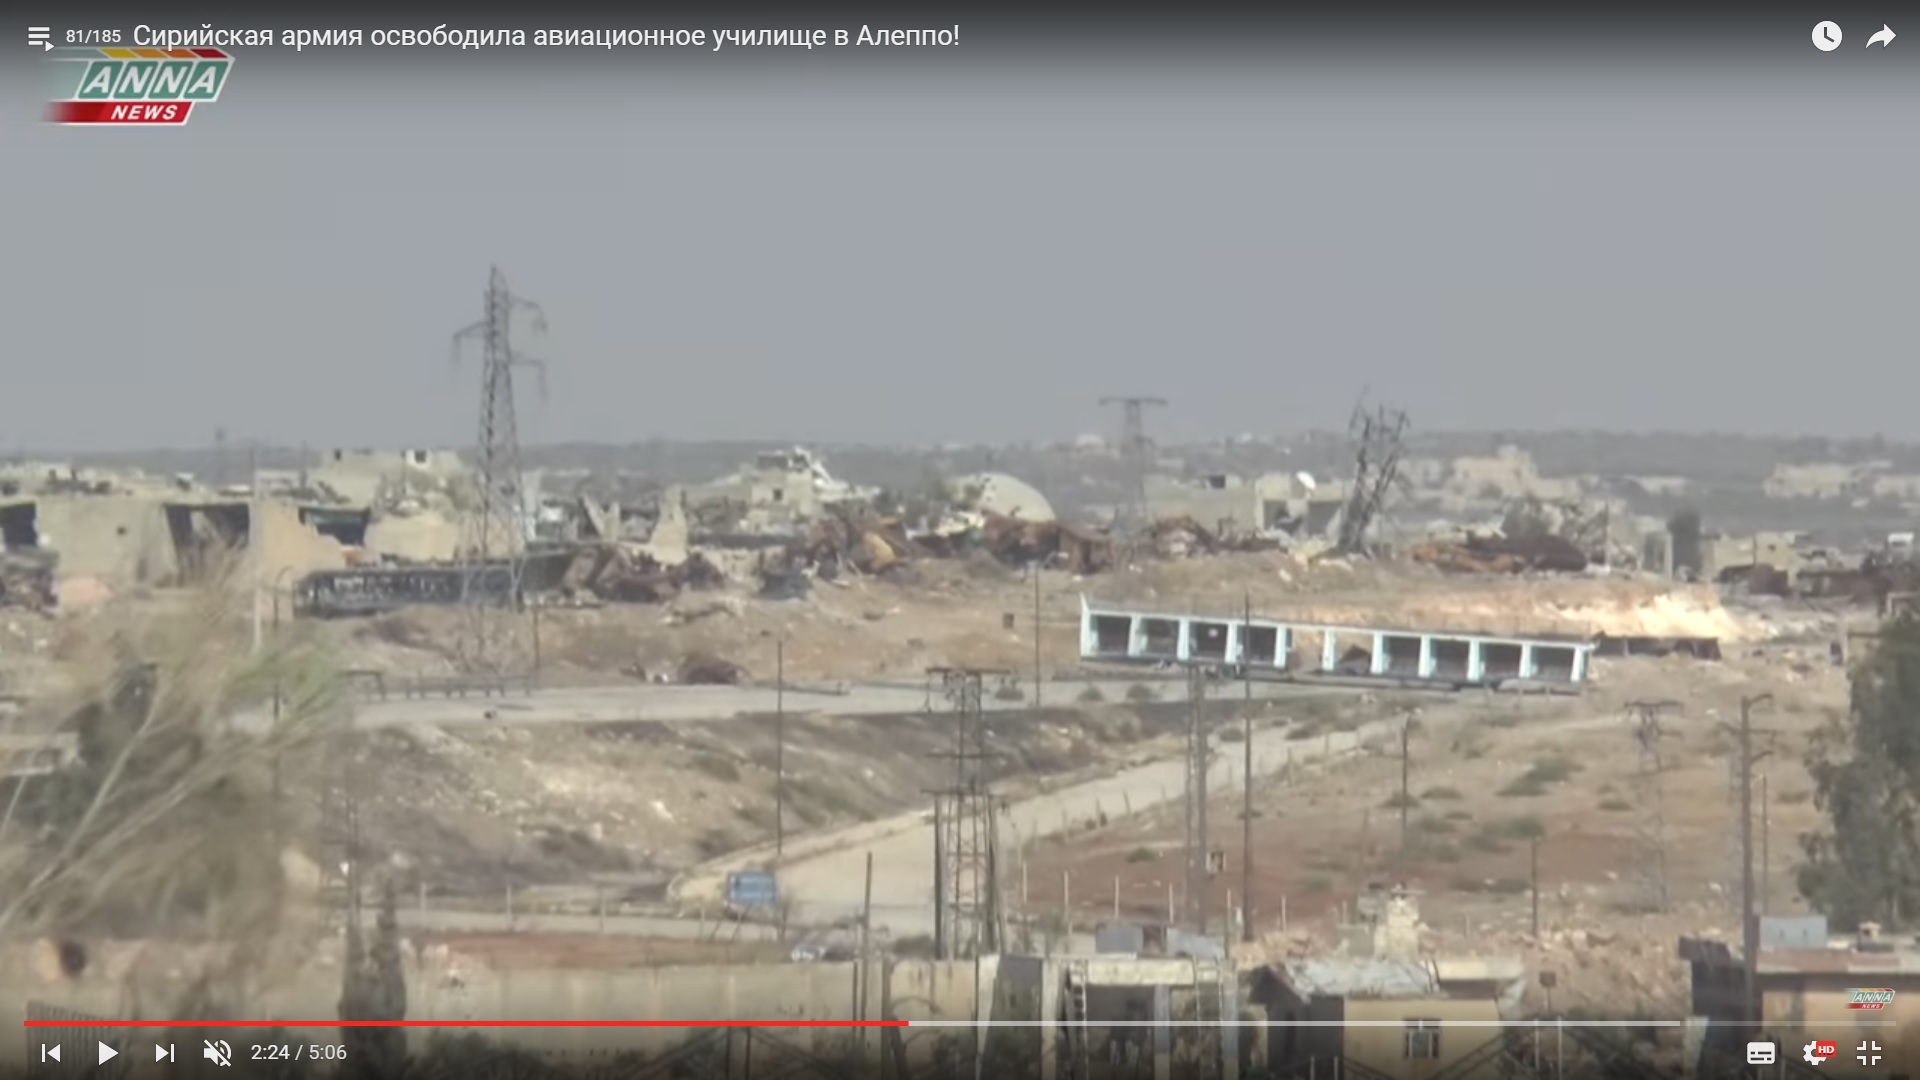
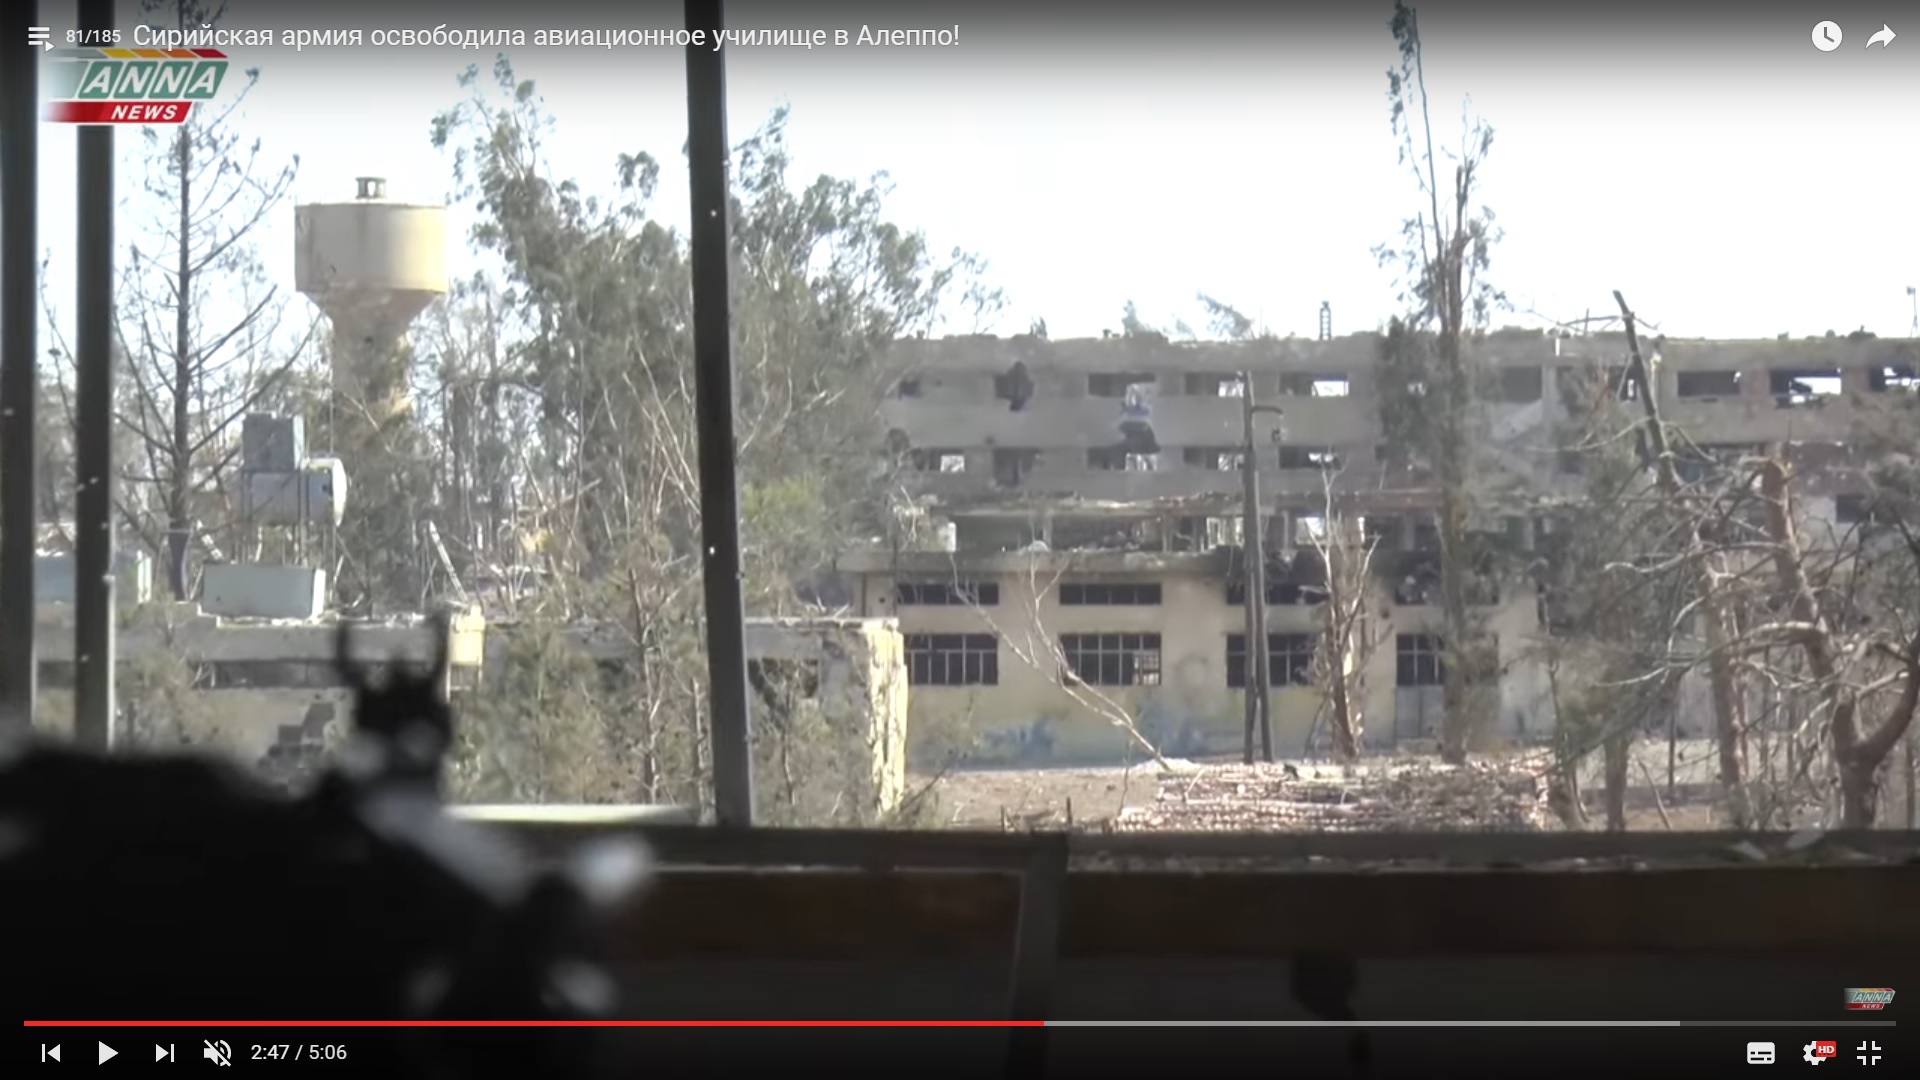
The college allows to see the auto station, the Ramouseh roundabout and the militants’ supply line (where it crosses the roundabout).

Detailed Analysis Of Battle For Ramouseh Artillery Academy In Western Aleppo – Part 4

Click to see the full-size image

This is why militants were defending the college. This is a look in another direction: the artillery college, the pumping station and a building near the college.

Detailed Analysis Of Battle For Ramouseh Artillery Academy In Western Aleppo – Part 4

Click to see the full-size image

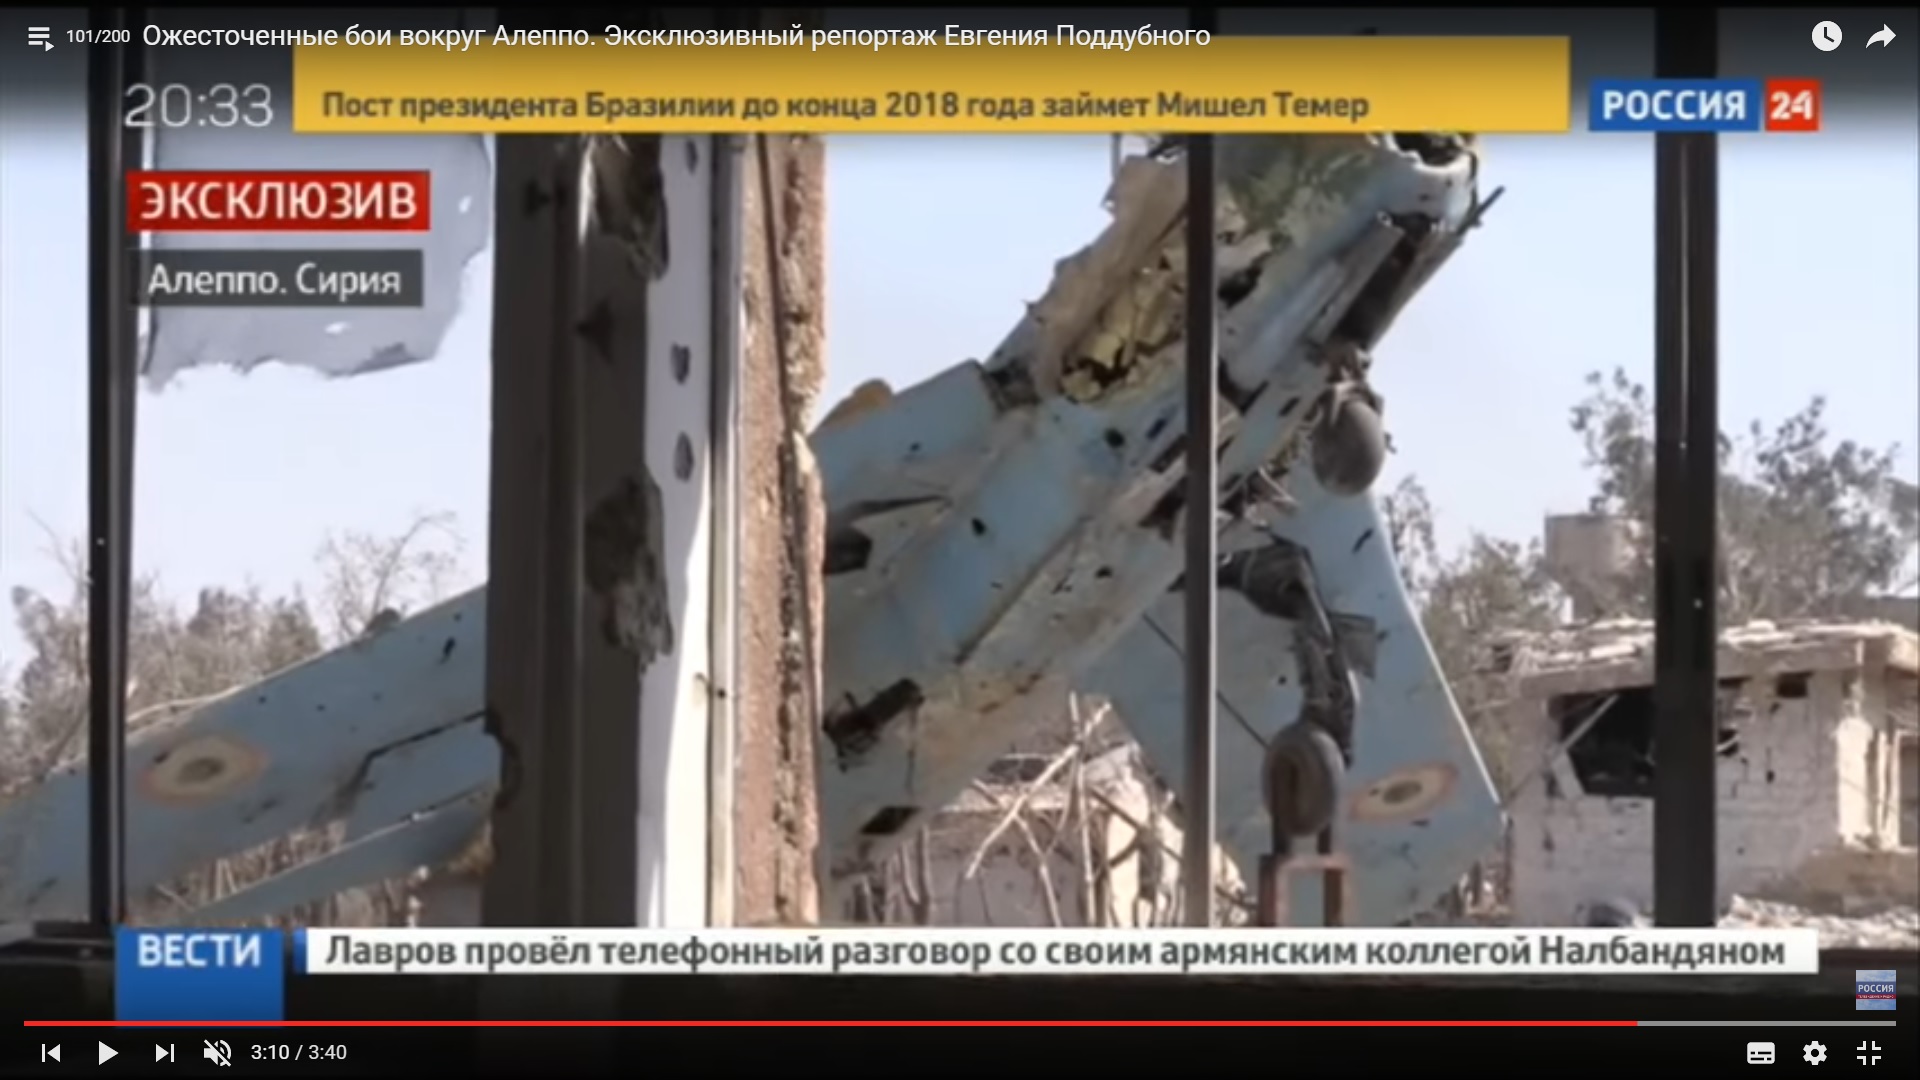
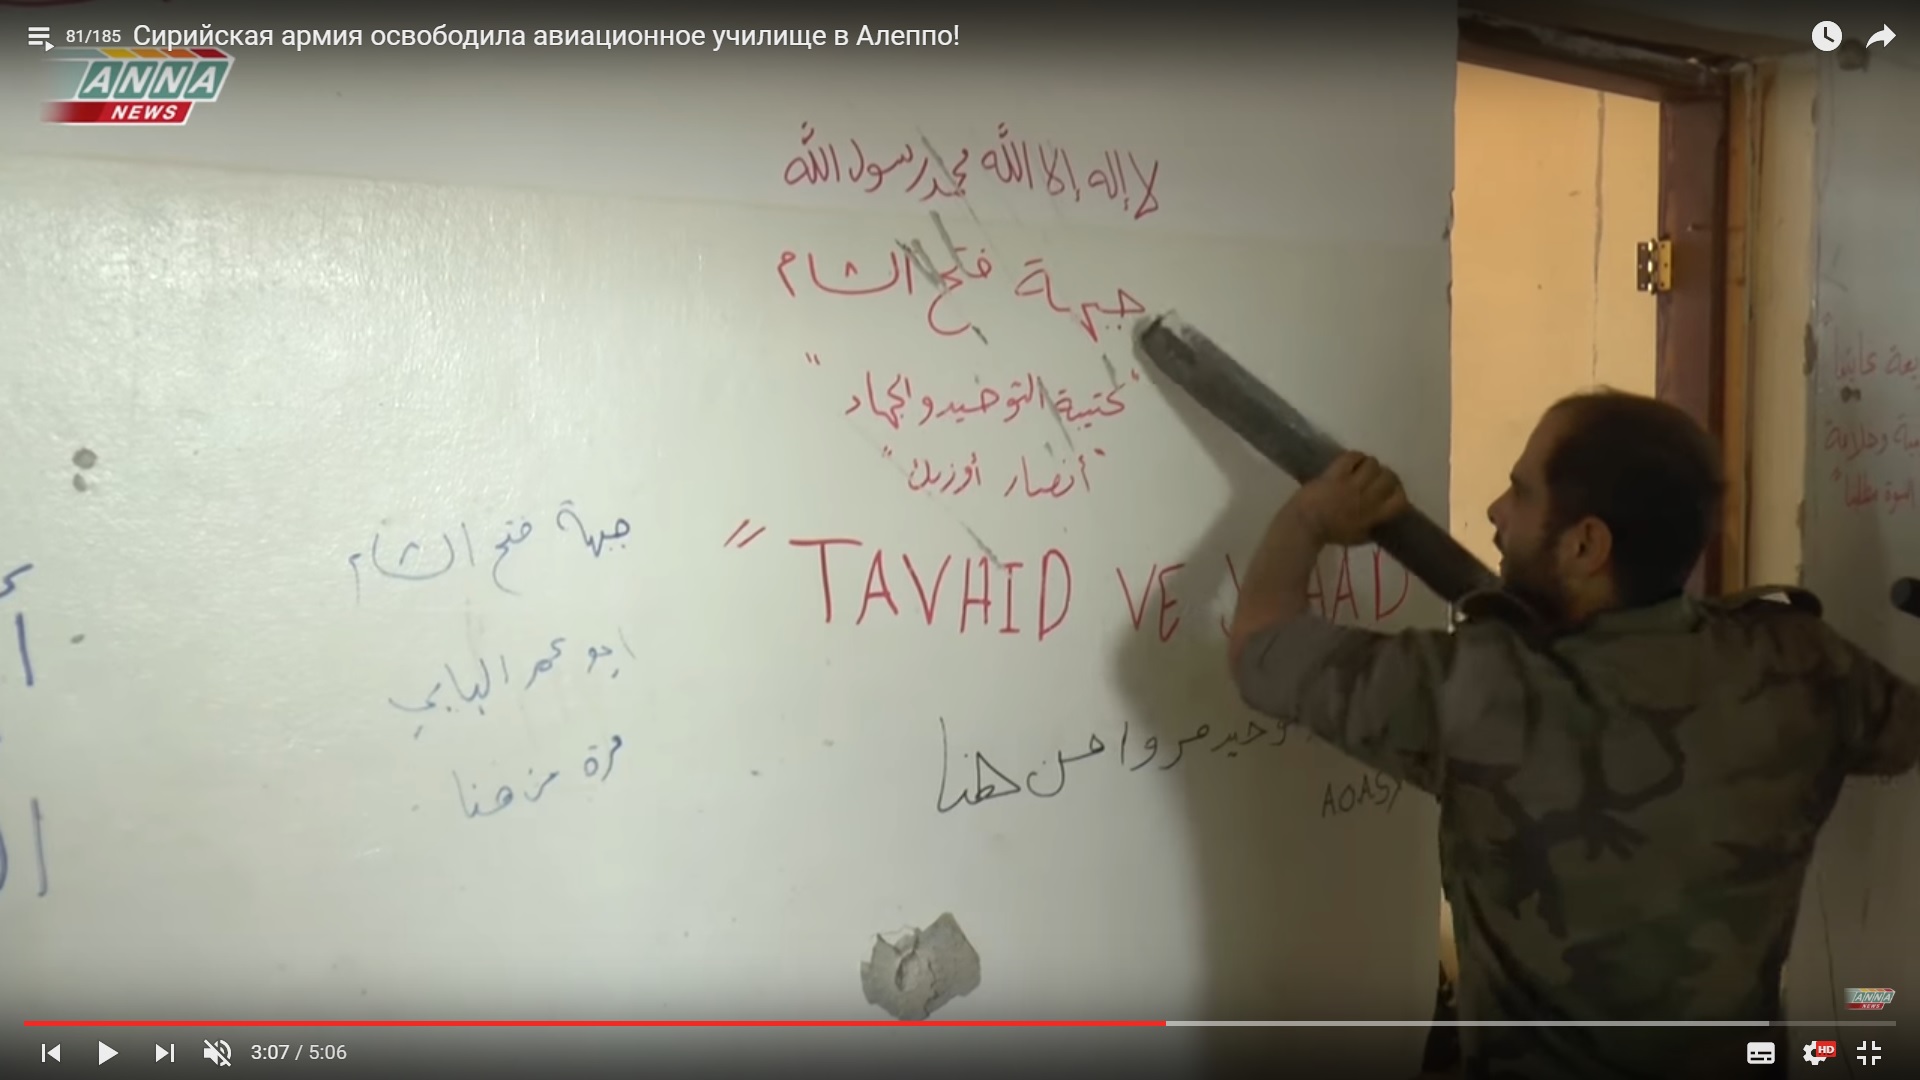
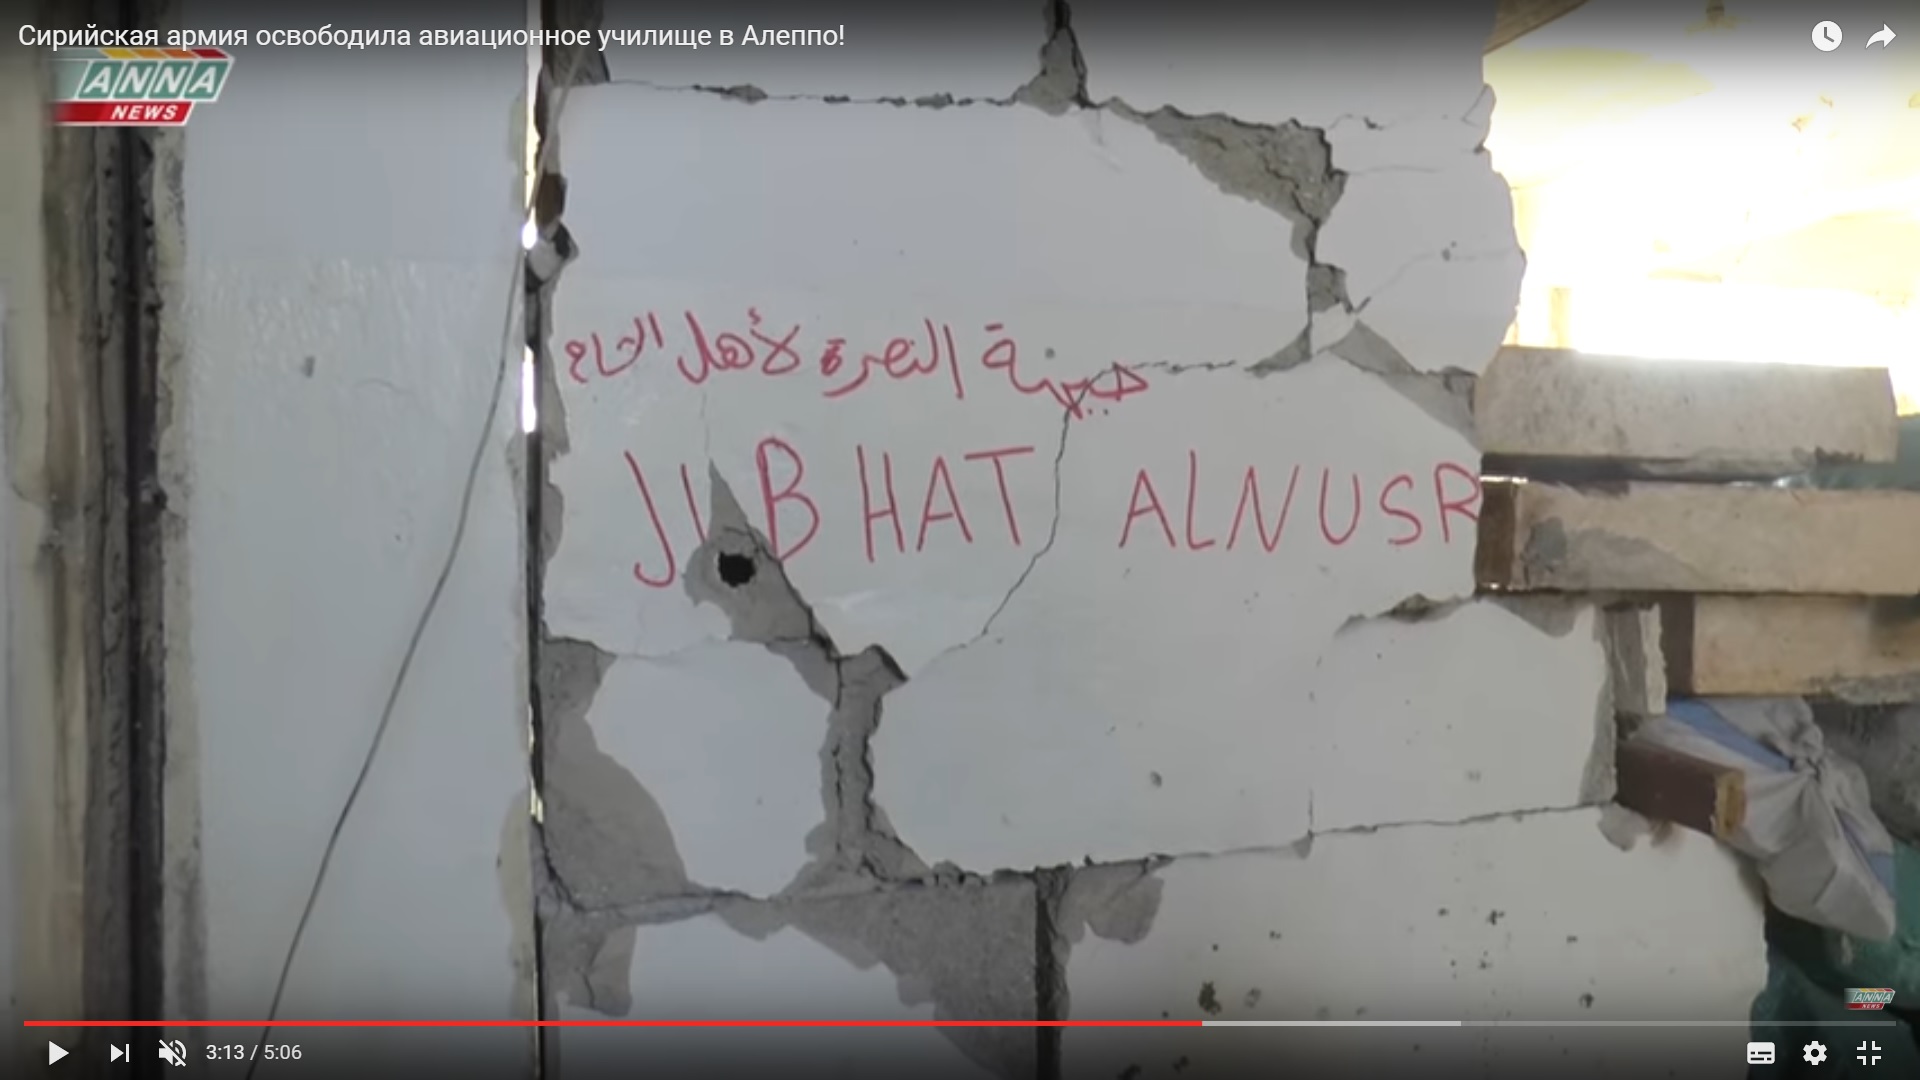
During the first visit of the academy on August 17, we could see some Arabic words on its walls. Probably militants believed that Arabic words were not enough to deliver the message to the message to the international audience. So they added some comments in English.

Detailed Analysis Of Battle For Ramouseh Artillery Academy In Western Aleppo – Part 4

Click to see the full-size image

Detailed Analysis Of Battle For Ramouseh Artillery Academy In Western Aleppo – Part 4

Click to see the full-size image

There were some problems in English grammar but it’s possible to read “JIBHAT ALNUSRA” and “TAVHID VE JIHAD”. Furthermore, “moderate rebels” forgot that for that Jabhat al-Nusra had changed its name to Jabhat Fateh al-Sham. But who cares?

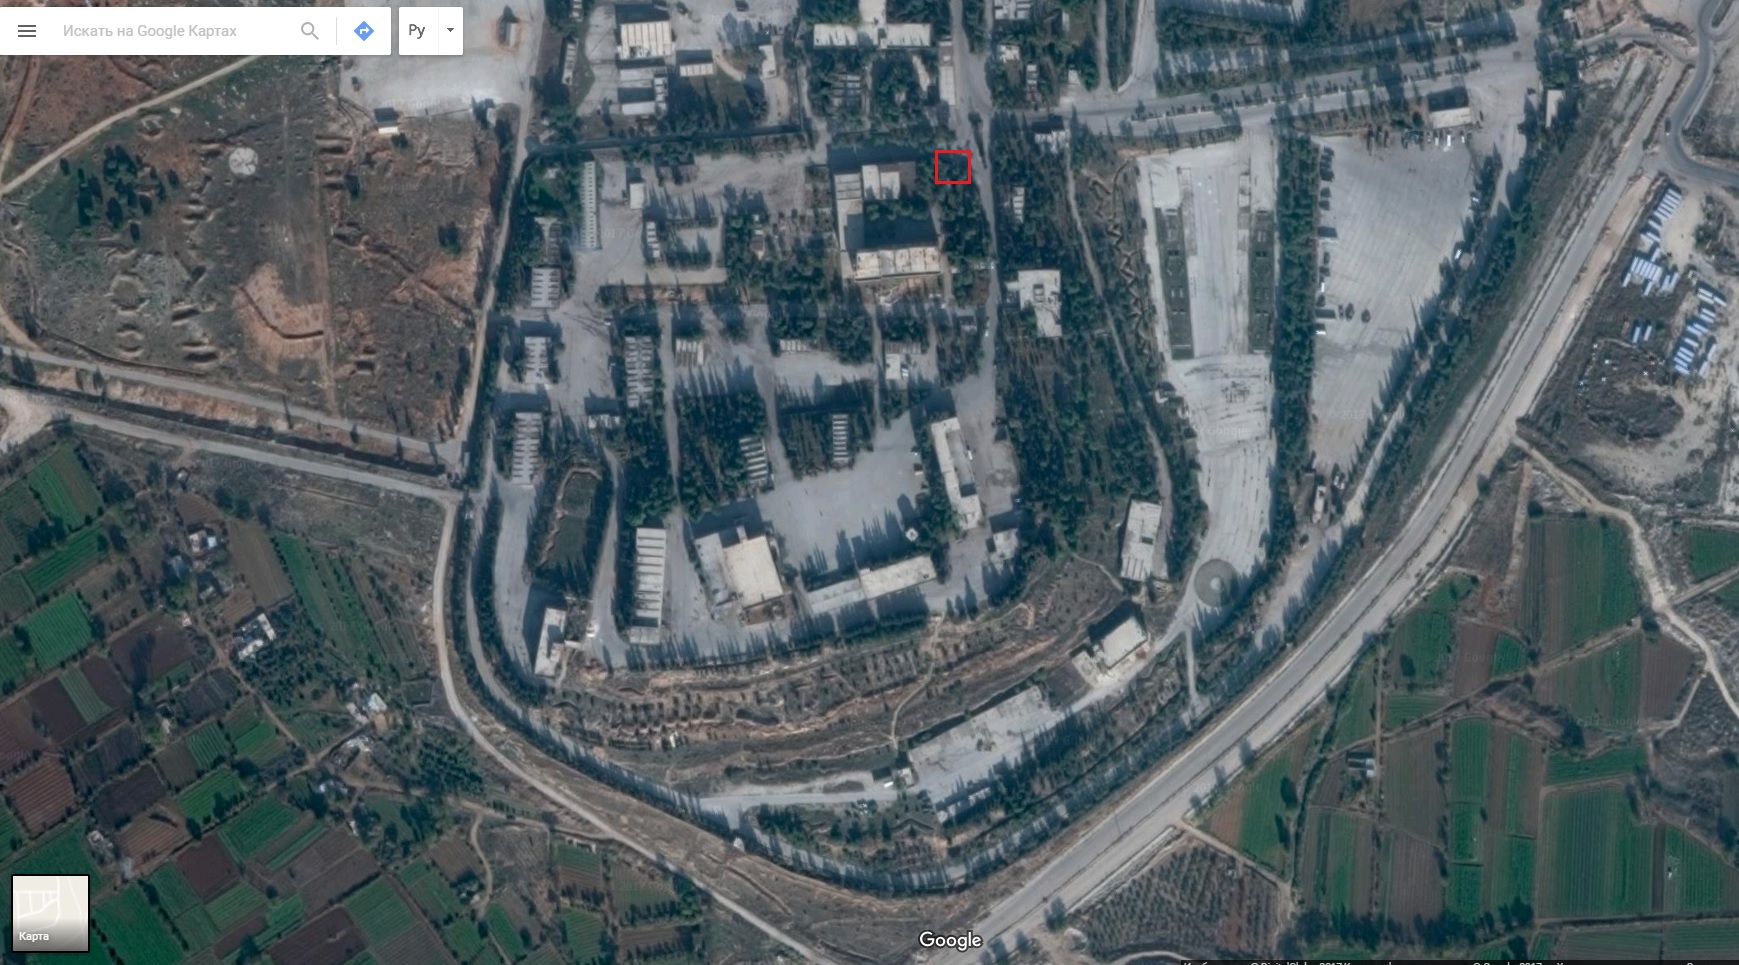
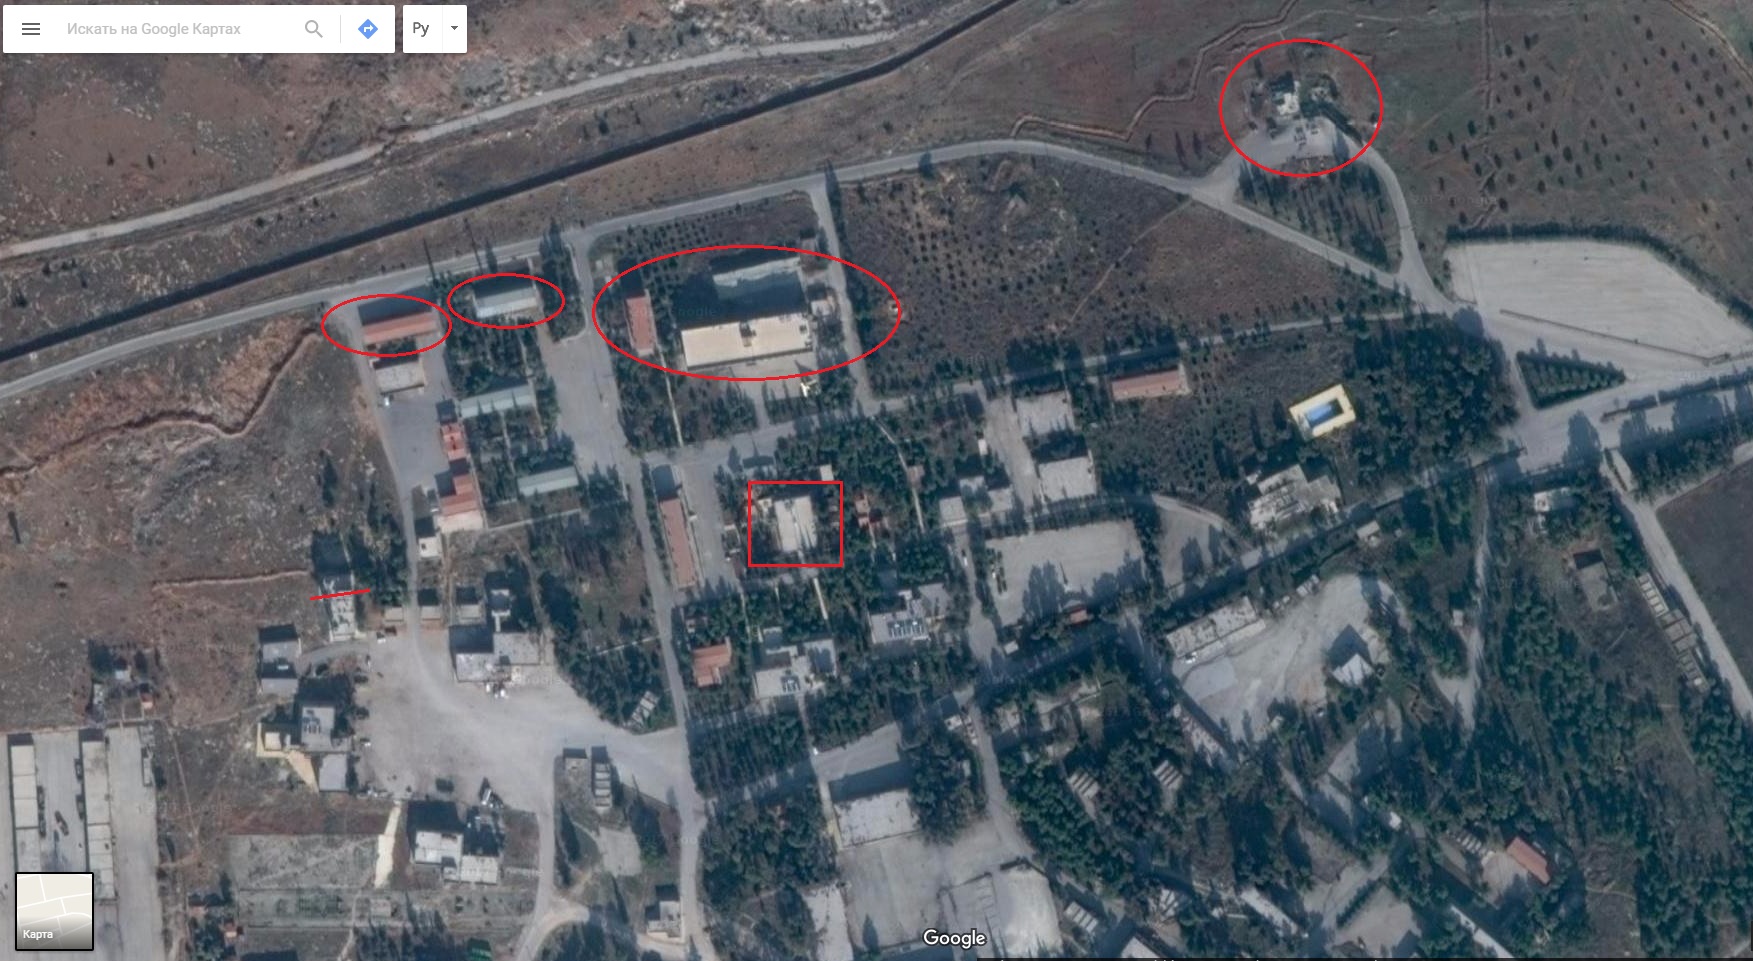
A building near the academy was the deepest position of Liwa al-Quds.

Detailed Analysis Of Battle For Ramouseh Artillery Academy In Western Aleppo – Part 4

Click to see the full-size image

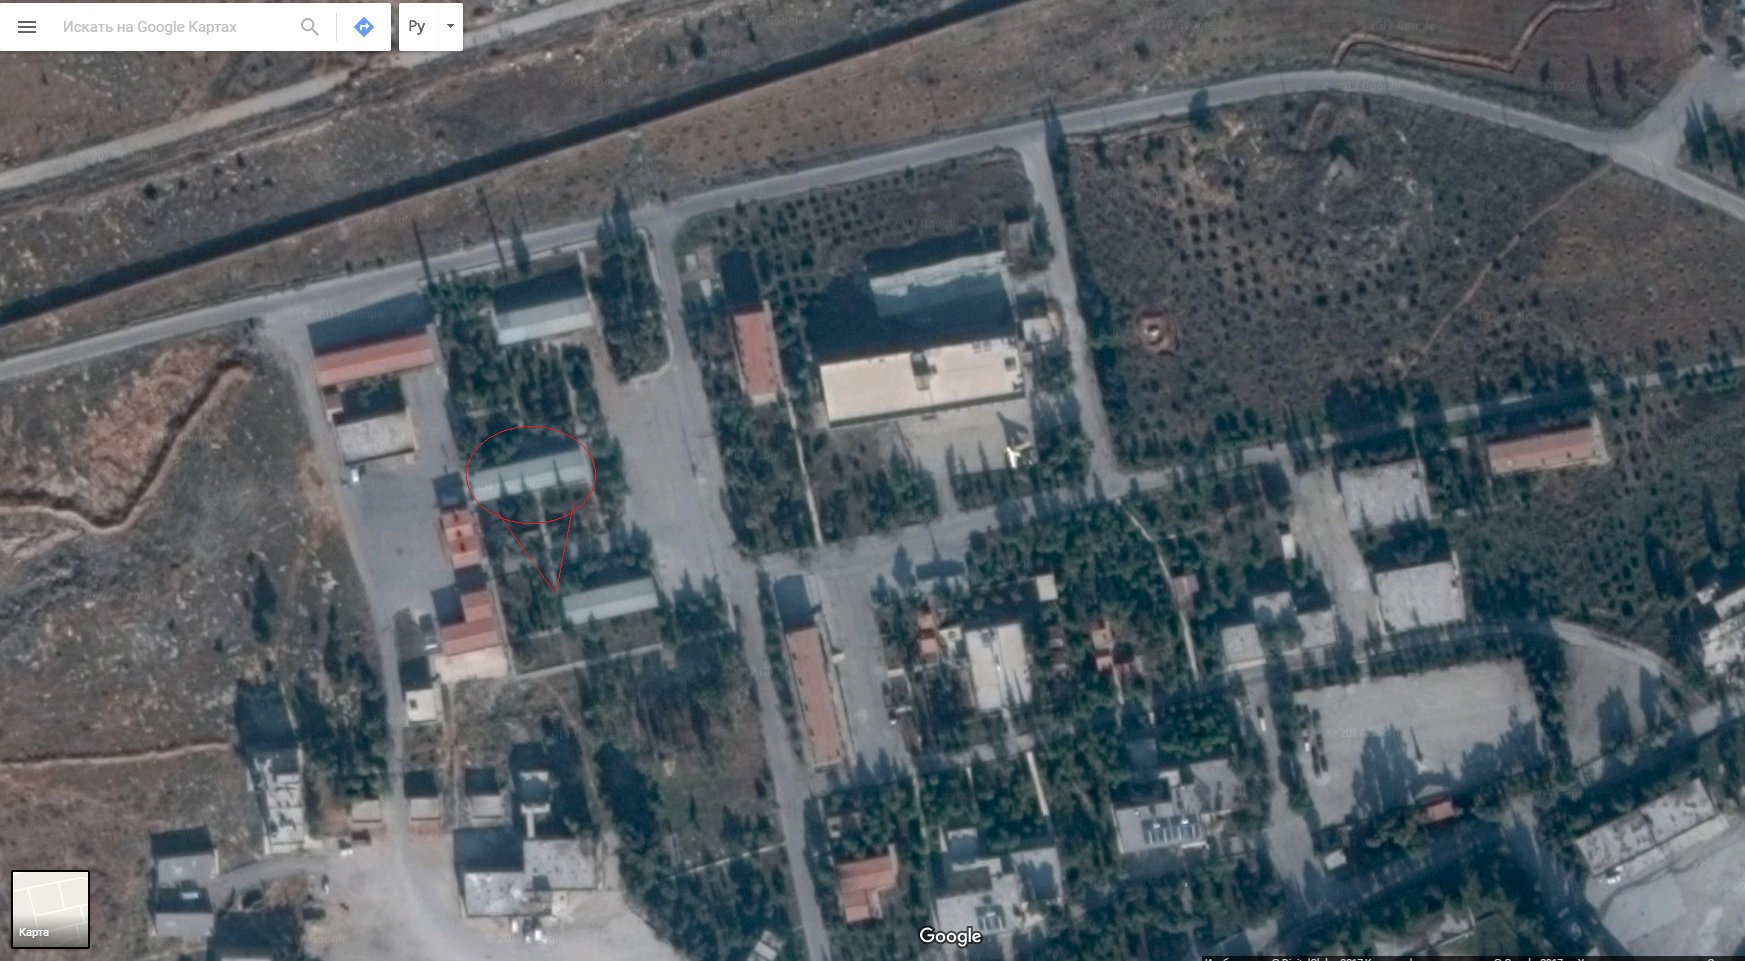
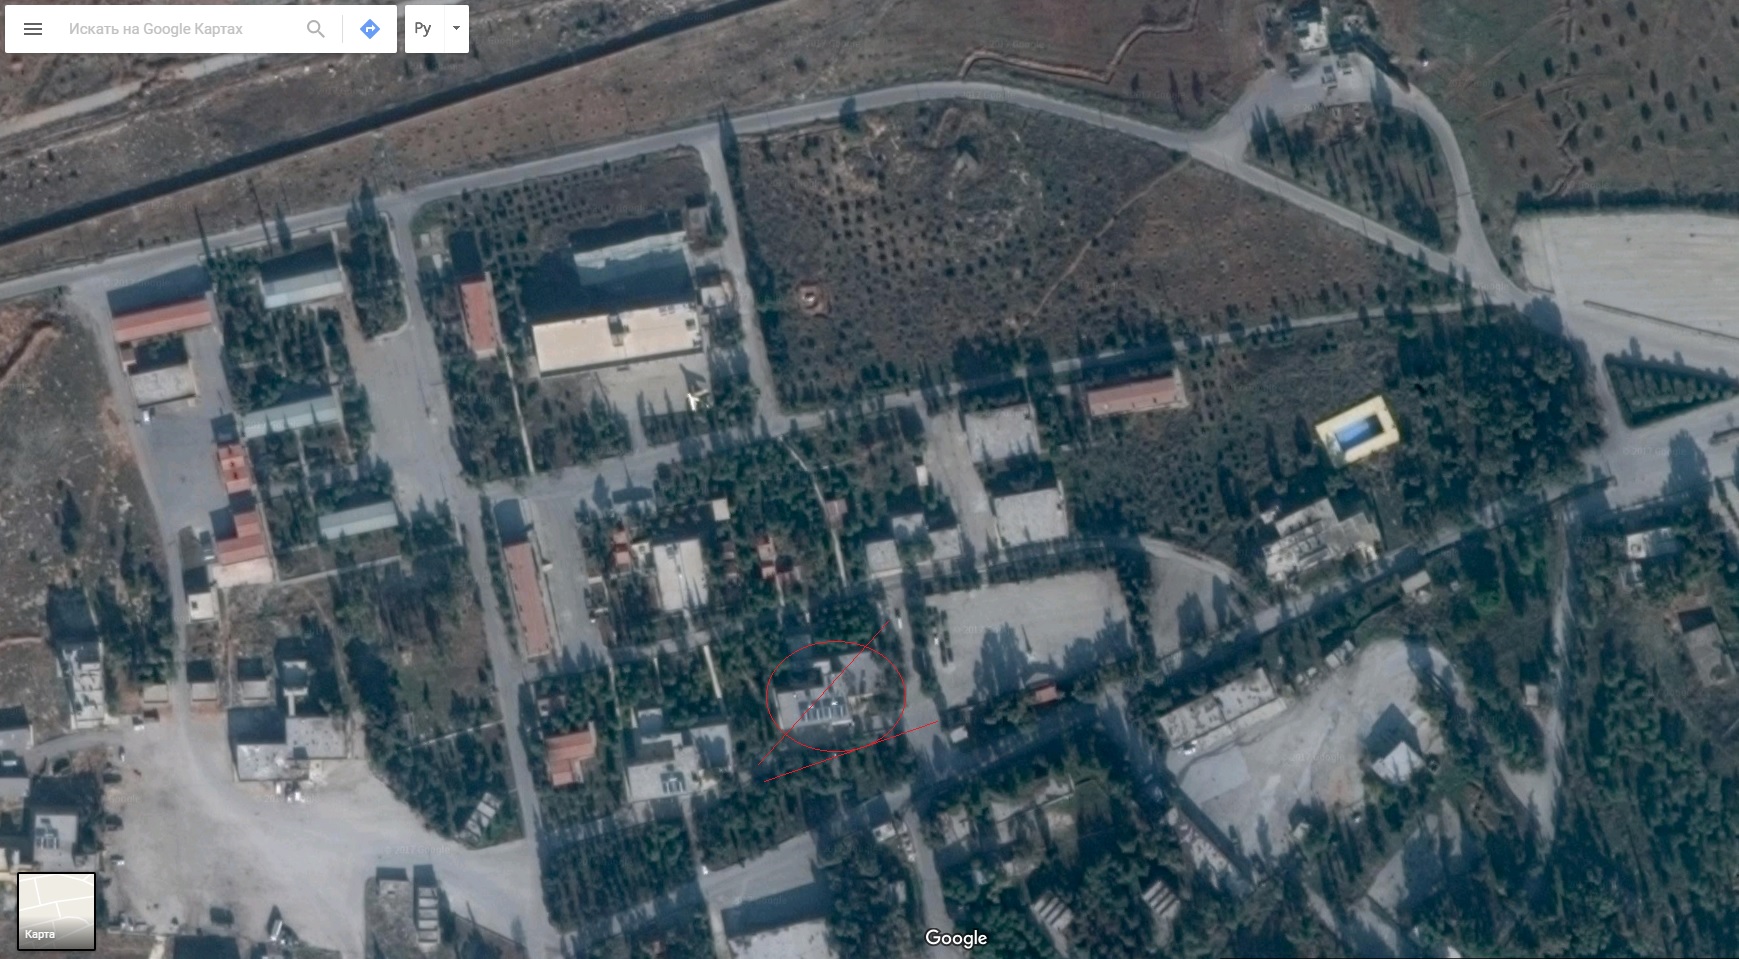
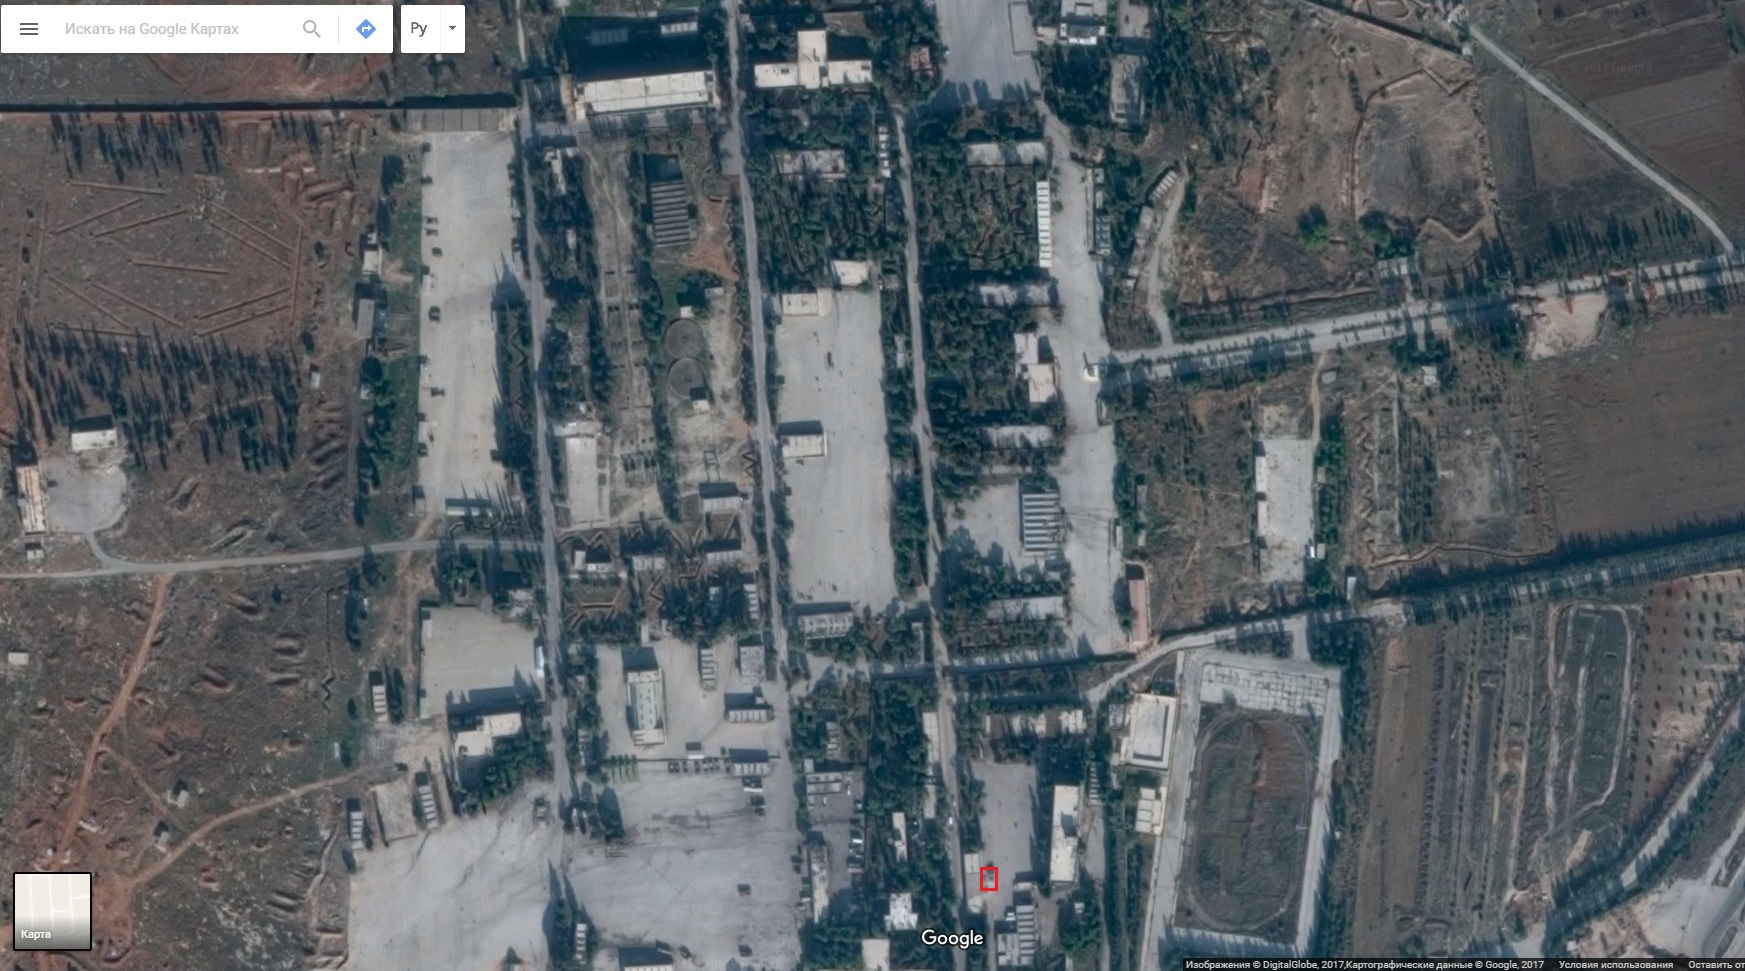
It’s marked with a square on the map.

Detailed Analysis Of Battle For Ramouseh Artillery Academy In Western Aleppo – Part 4

Click to see the full-size image

Journalists of ANNA News visited it and provided a look at the militant-held part of the complex.

Detailed Analysis Of Battle For Ramouseh Artillery Academy In Western Aleppo – Part 4

Click to see the full-size image

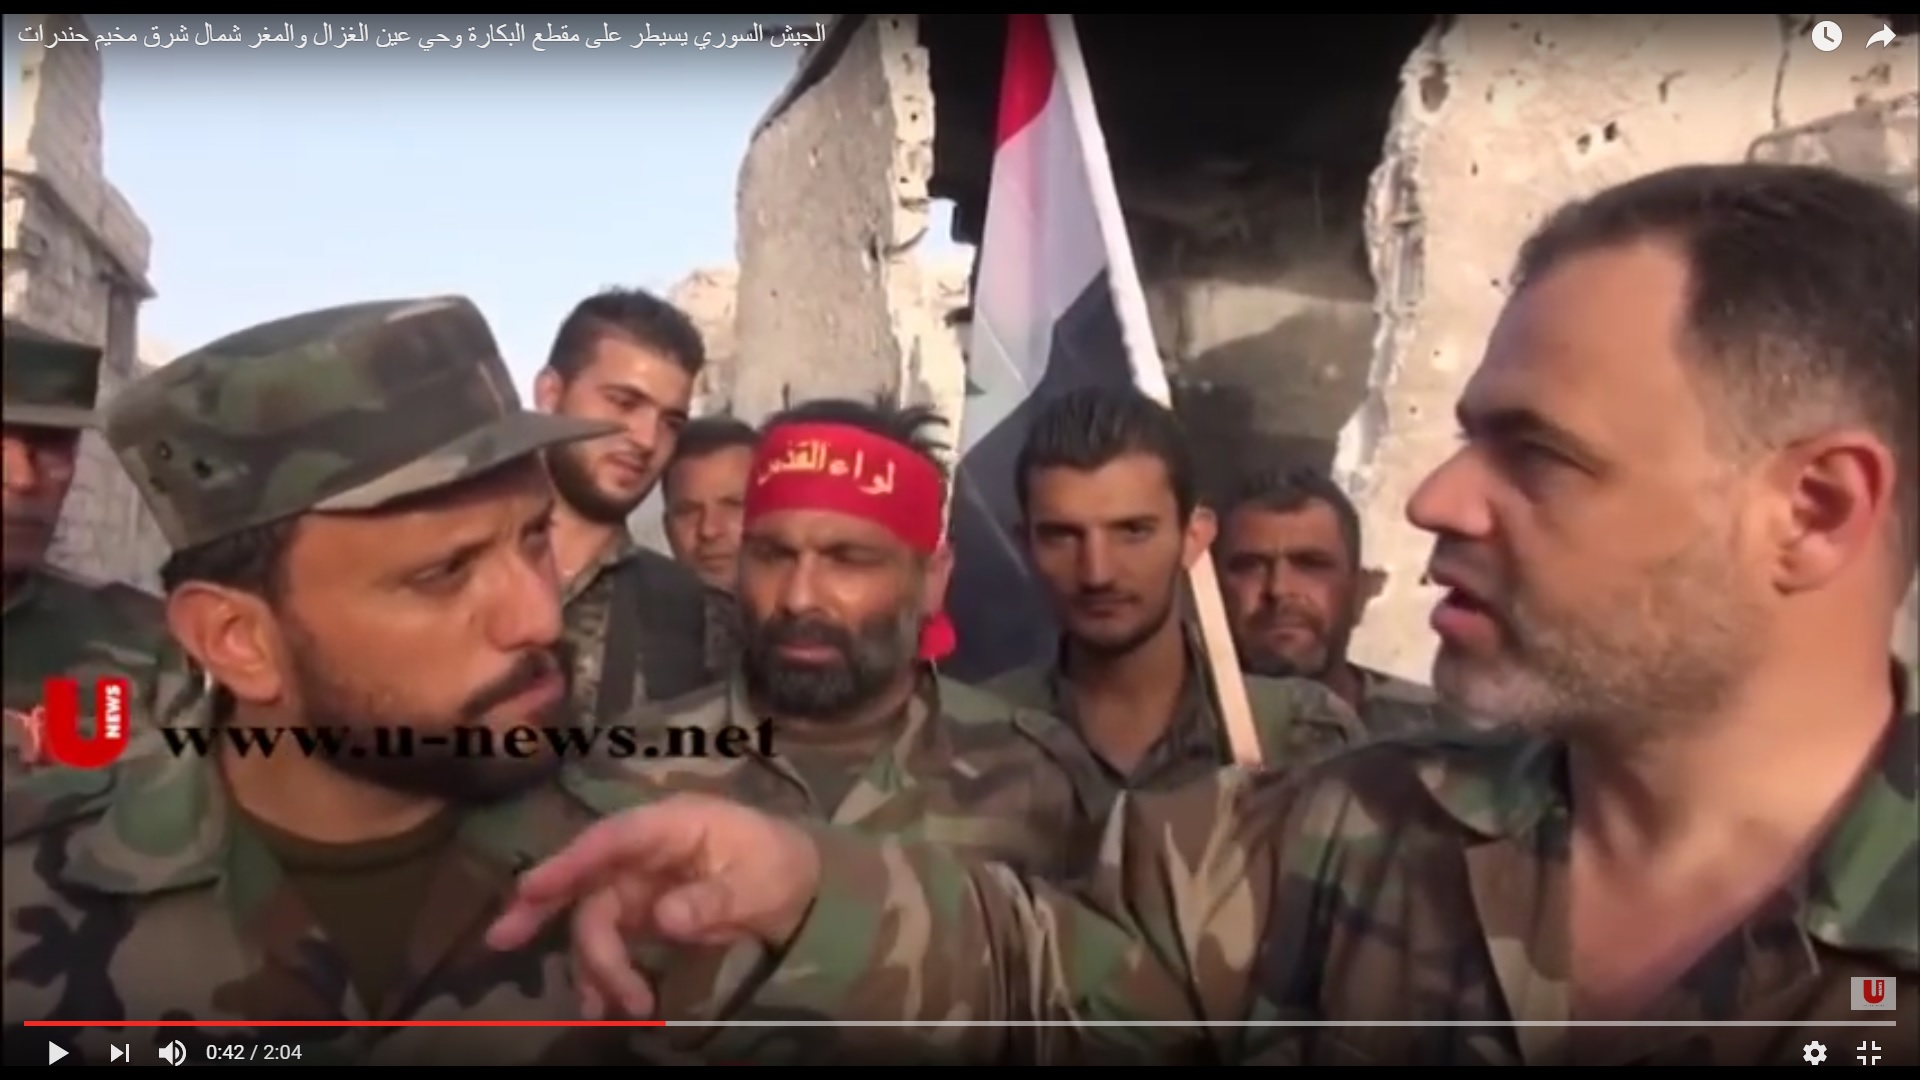
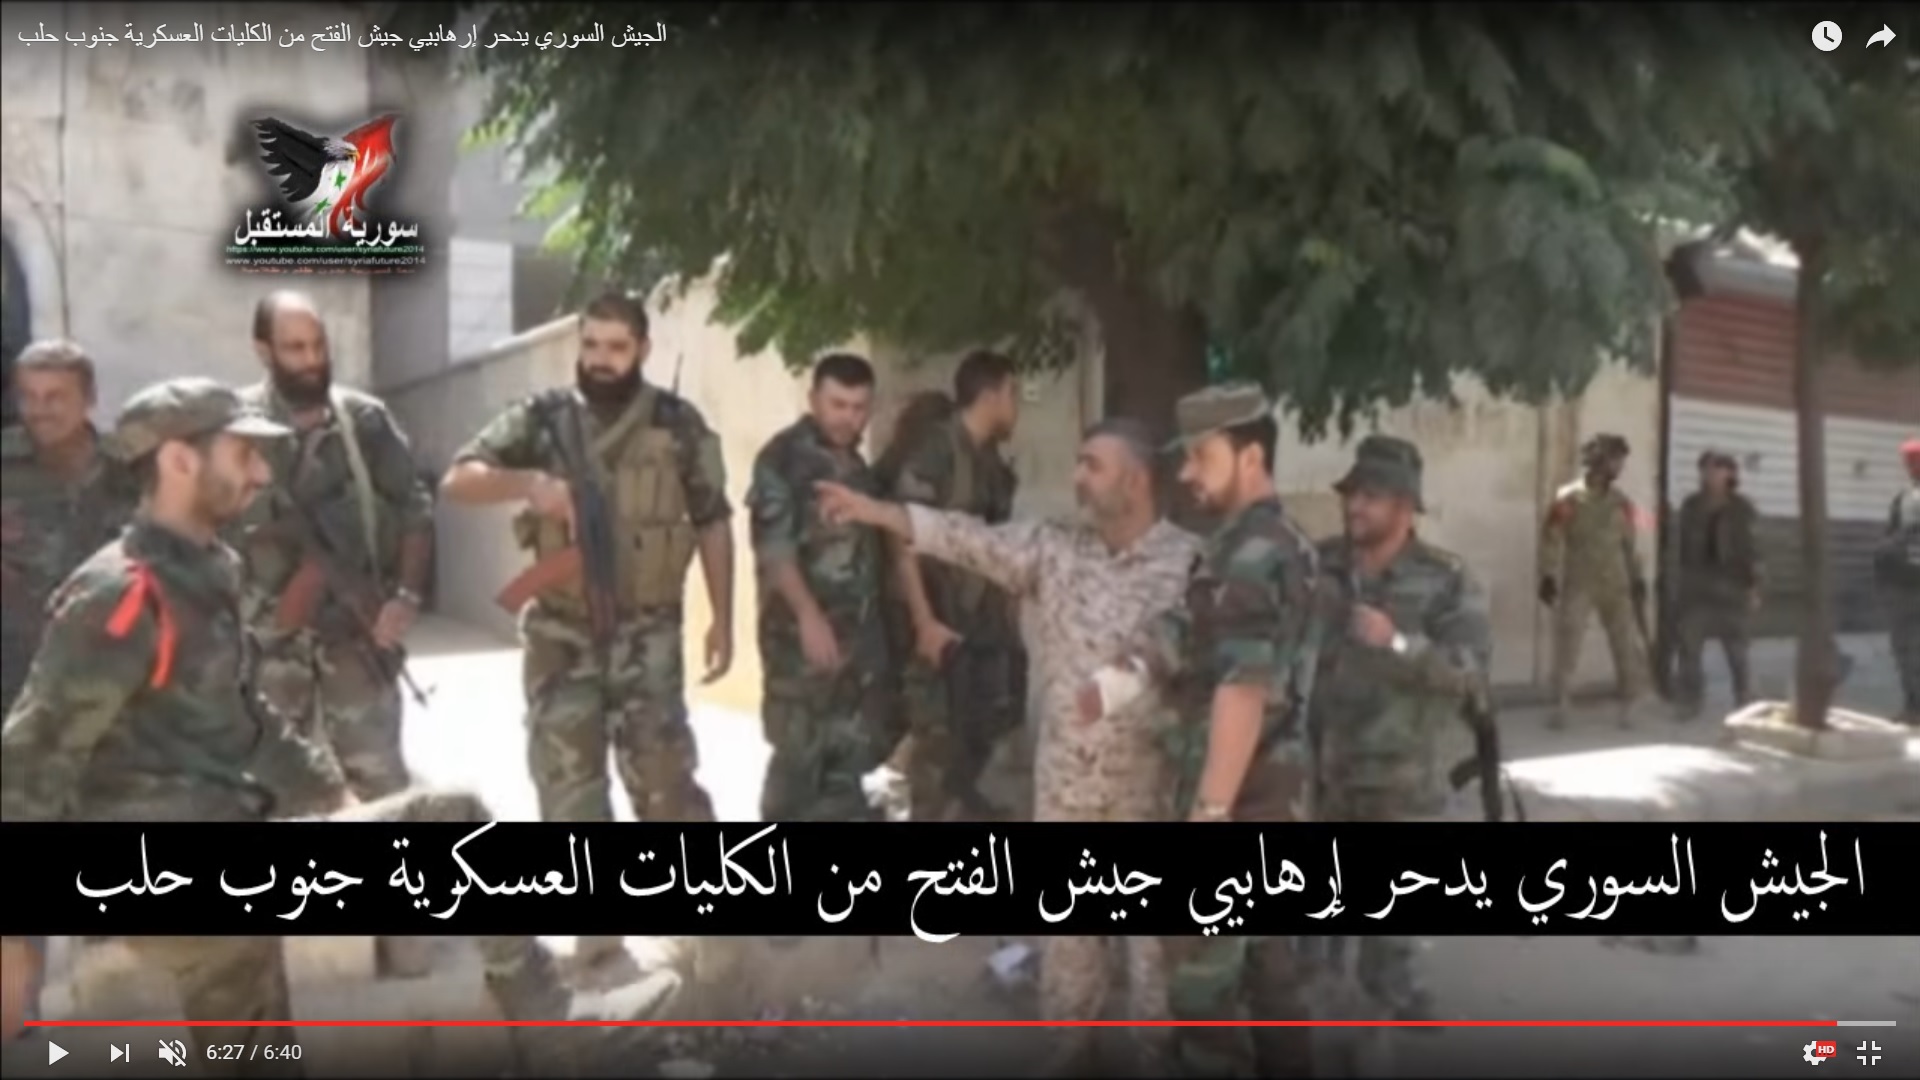
The video allows to see soldiers deployed to the area and their commander (one radio-set means that he only receives commands and does not manage other groups of fighters).

Detailed Analysis Of Battle For Ramouseh Artillery Academy In Western Aleppo – Part 4

Click to see the full-size image

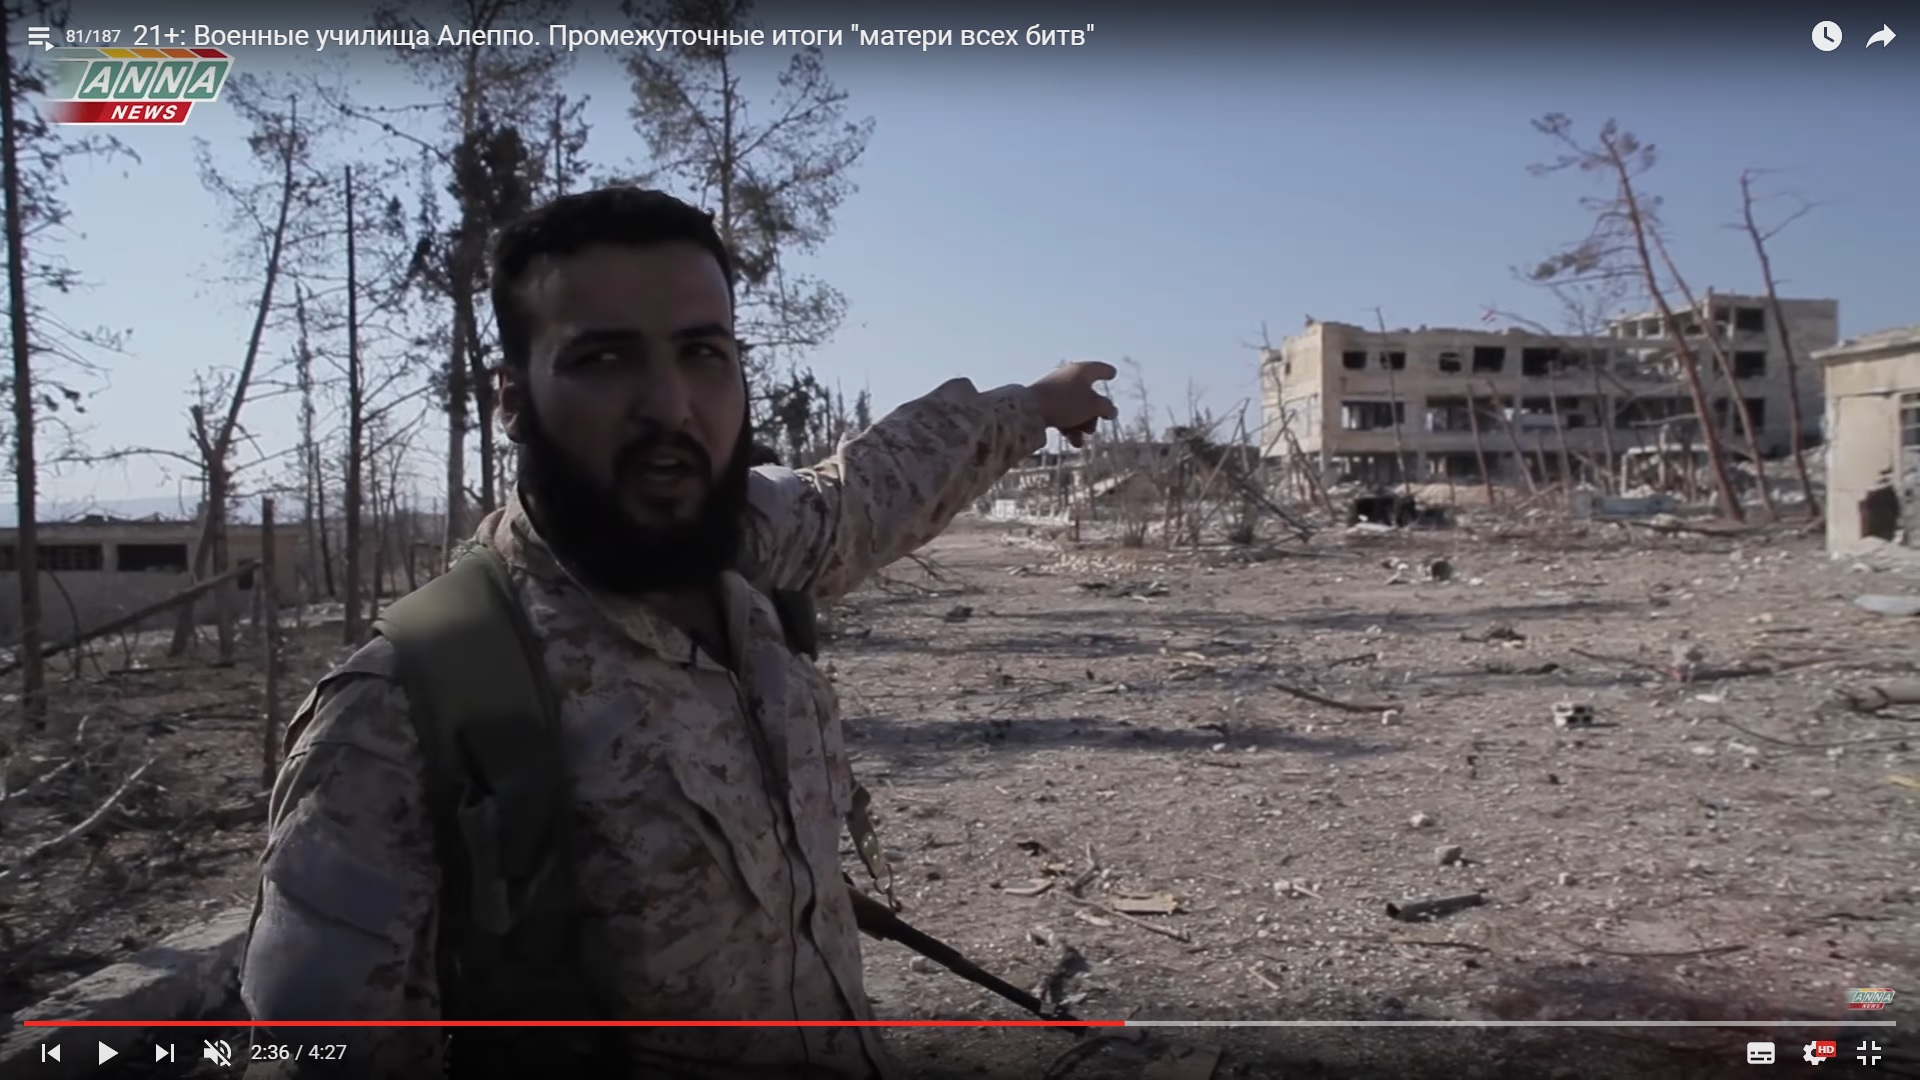
The commander said that there are only 3 high buildings inside the complex: the aviation college, the Yellow Building and the artillery college – as soon as they are captured, the complex will be under the control of government forces.

Great words.

Some shooting for the camera.

Detailed Analysis Of Battle For Ramouseh Artillery Academy In Western Aleppo – Part 4

Click to see the full-size image

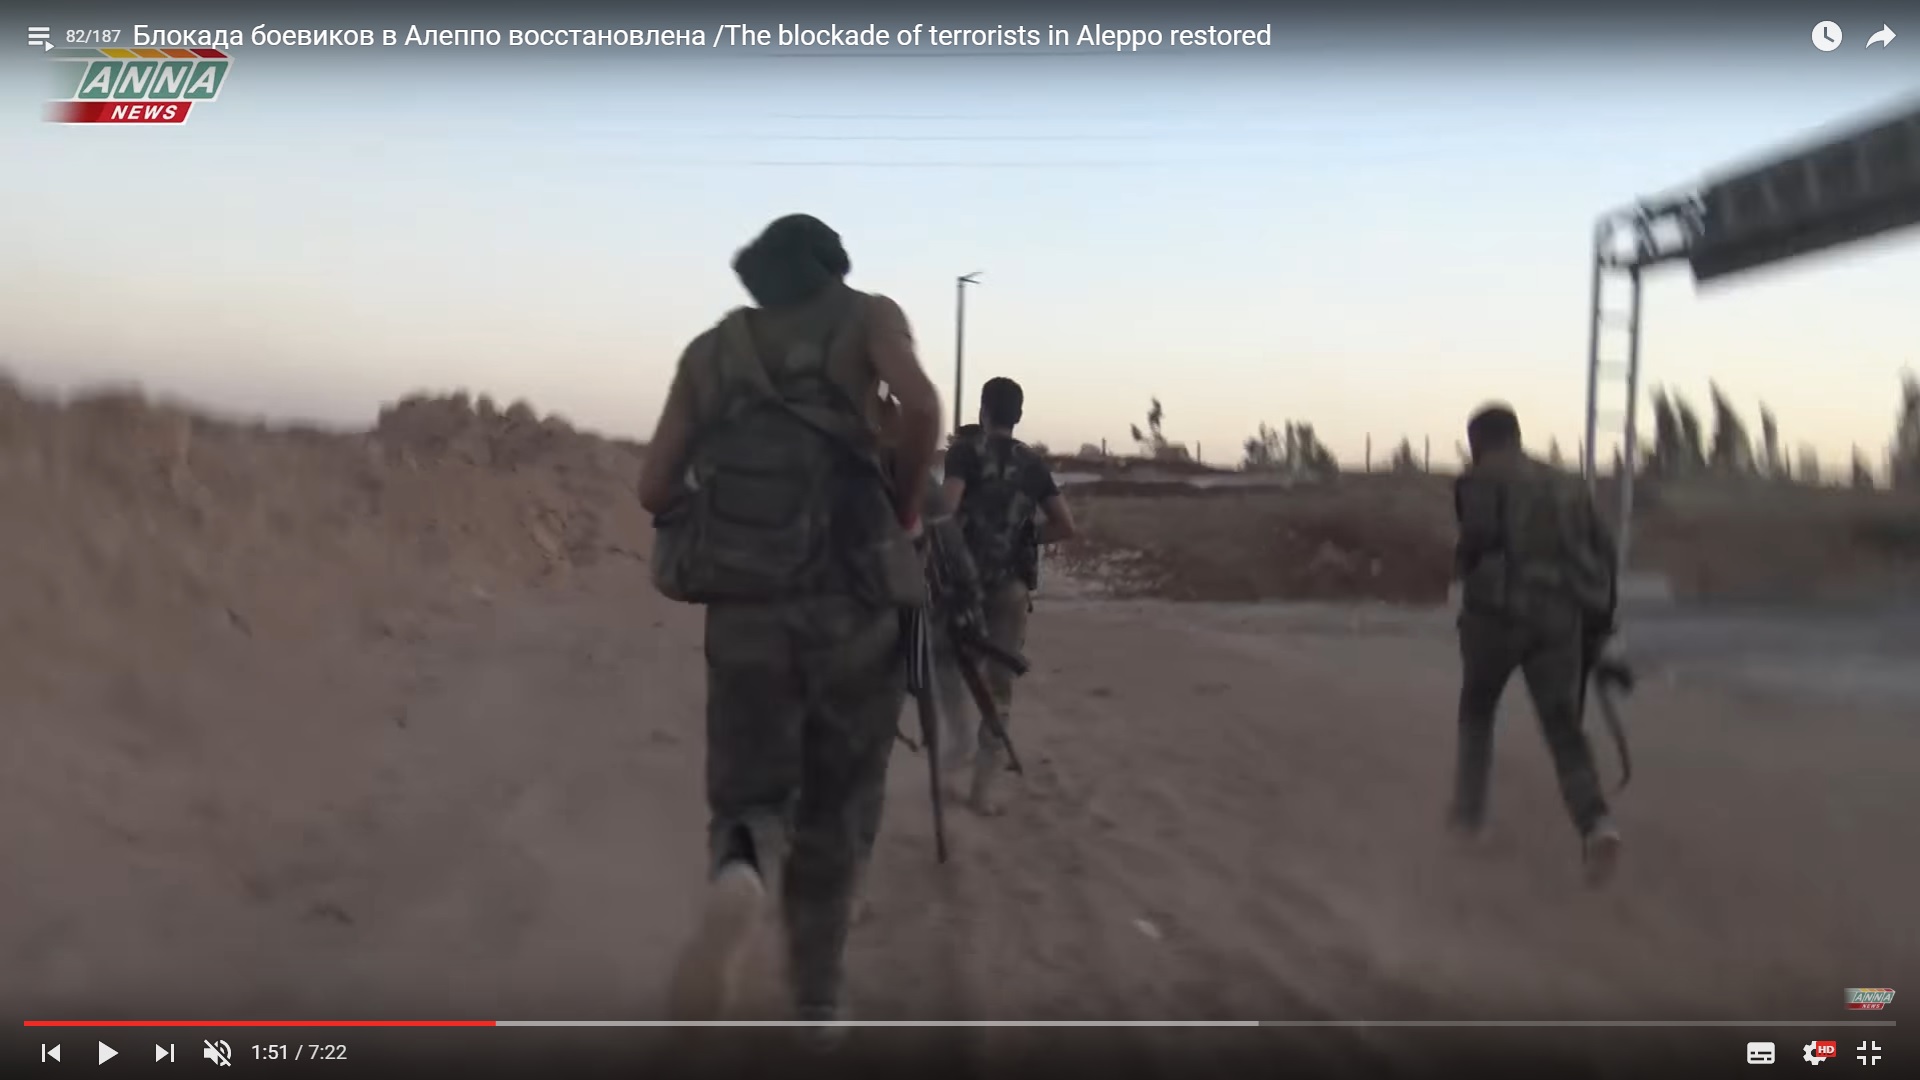
All returned to the BMP vehicle and moved back.

Detailed Analysis Of Battle For Ramouseh Artillery Academy In Western Aleppo – Part 4

Click to see the full-size image

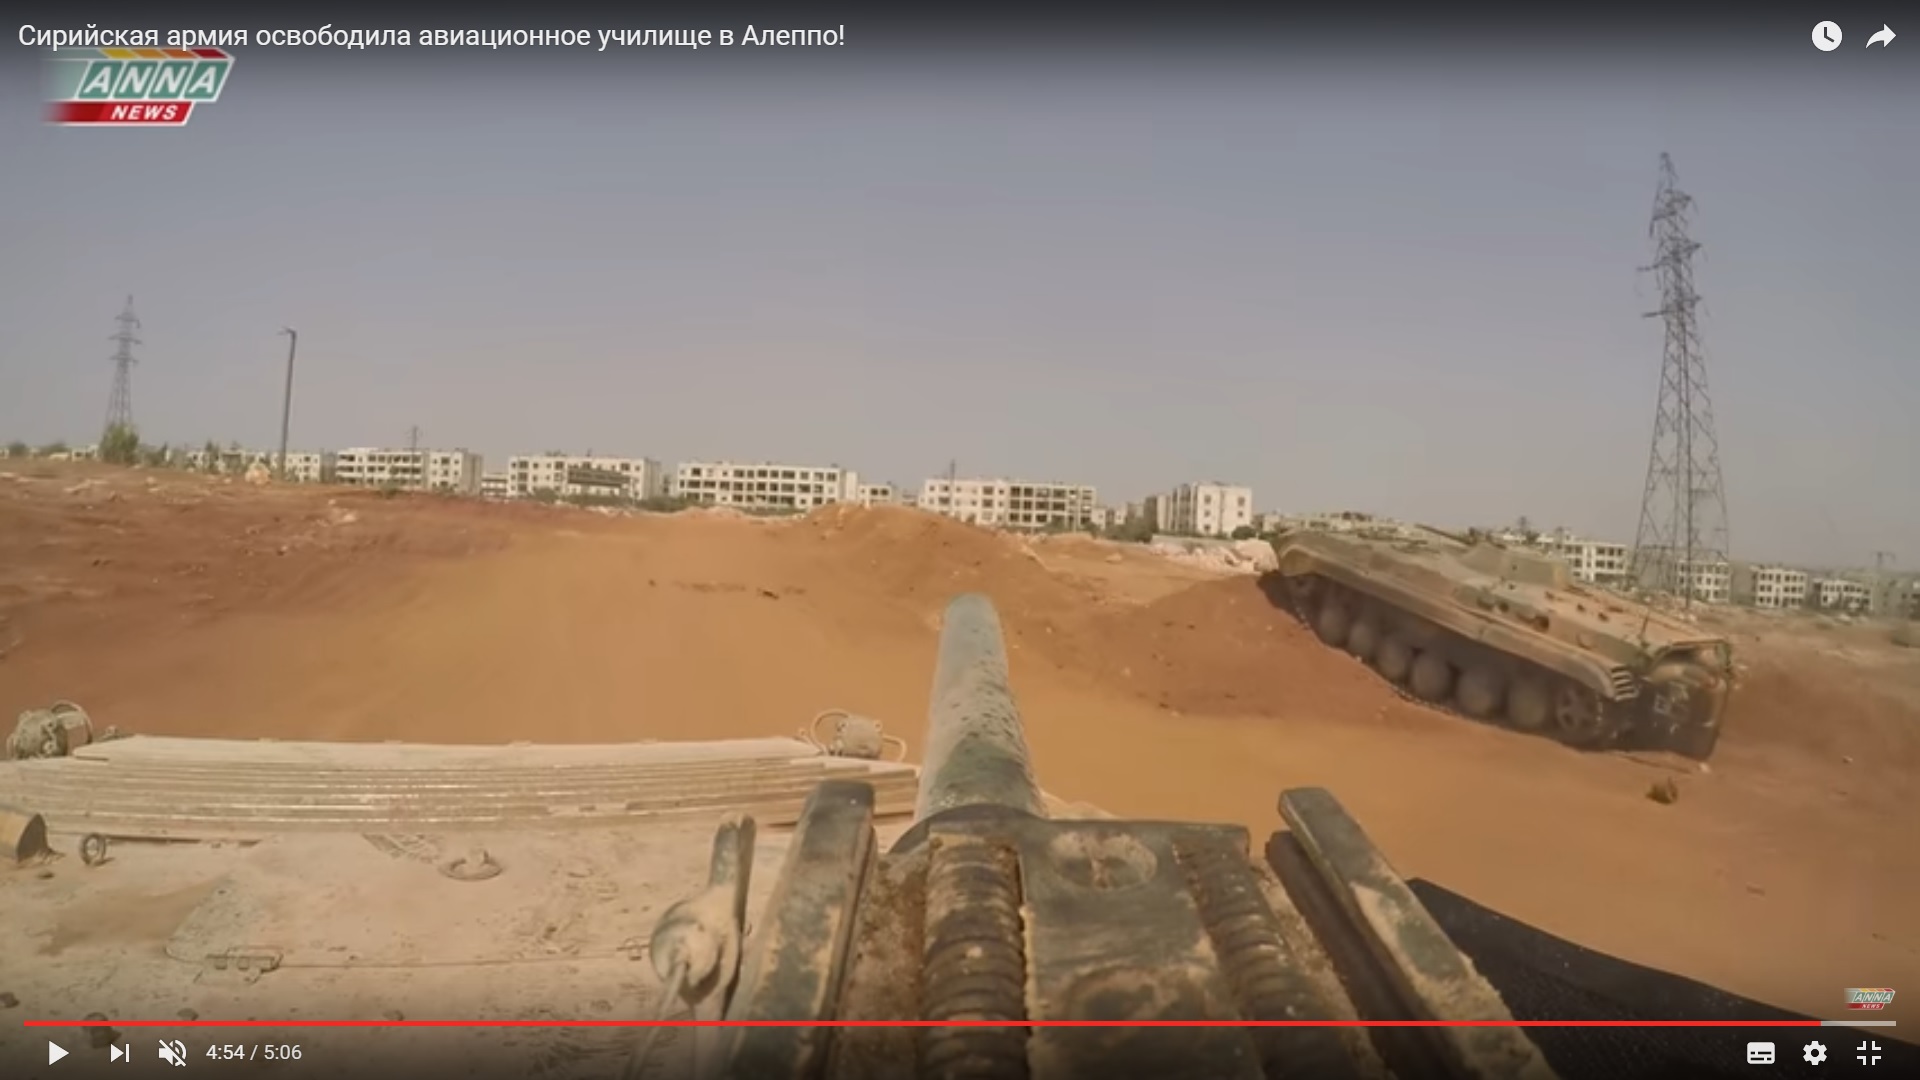
The damaged BMP vehicle was still remaining on the road.

Detailed Analysis Of Battle For Ramouseh Artillery Academy In Western Aleppo – Part 4

Click to see the full-size image

There could be an impression that bodies of dead soldiers were still remaining on the  road, but these were just stains.

Detailed Analysis Of Battle For Ramouseh Artillery Academy In Western Aleppo – Part 4

Click to see the full-size image

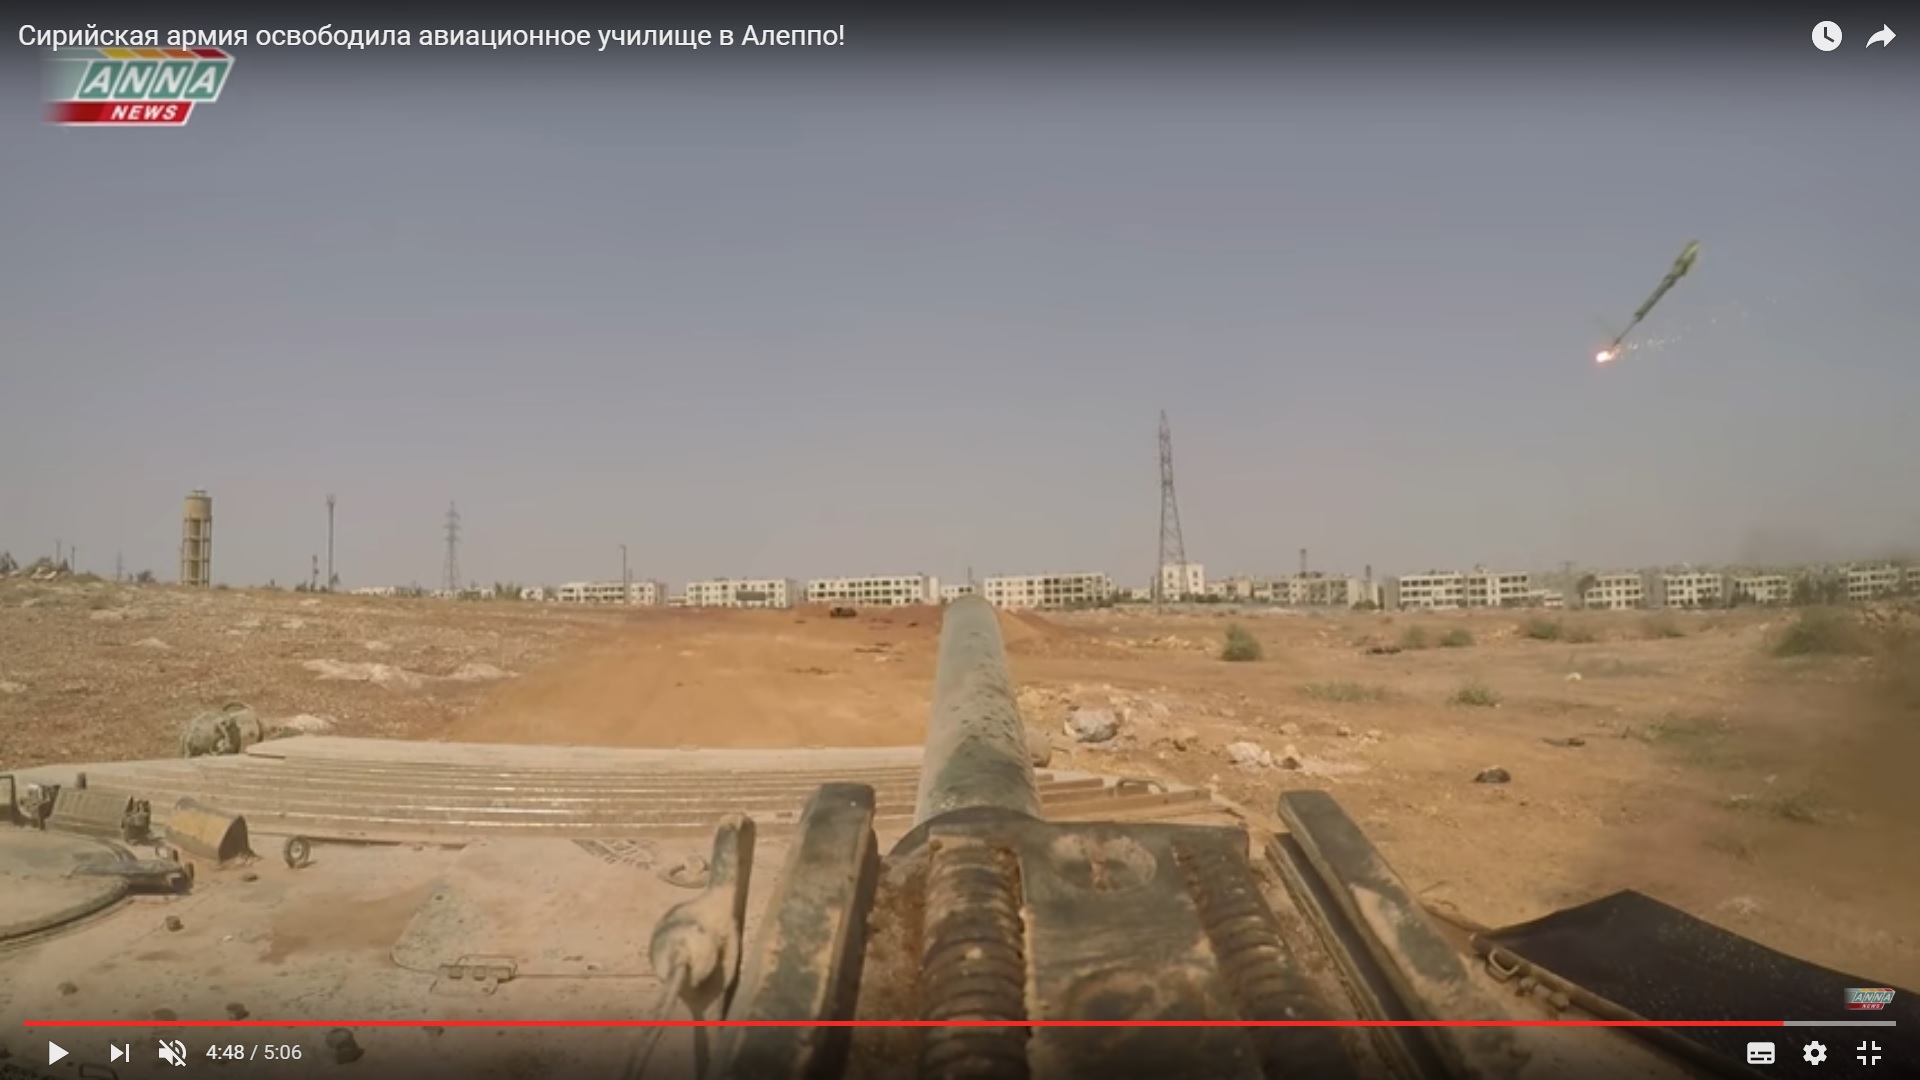
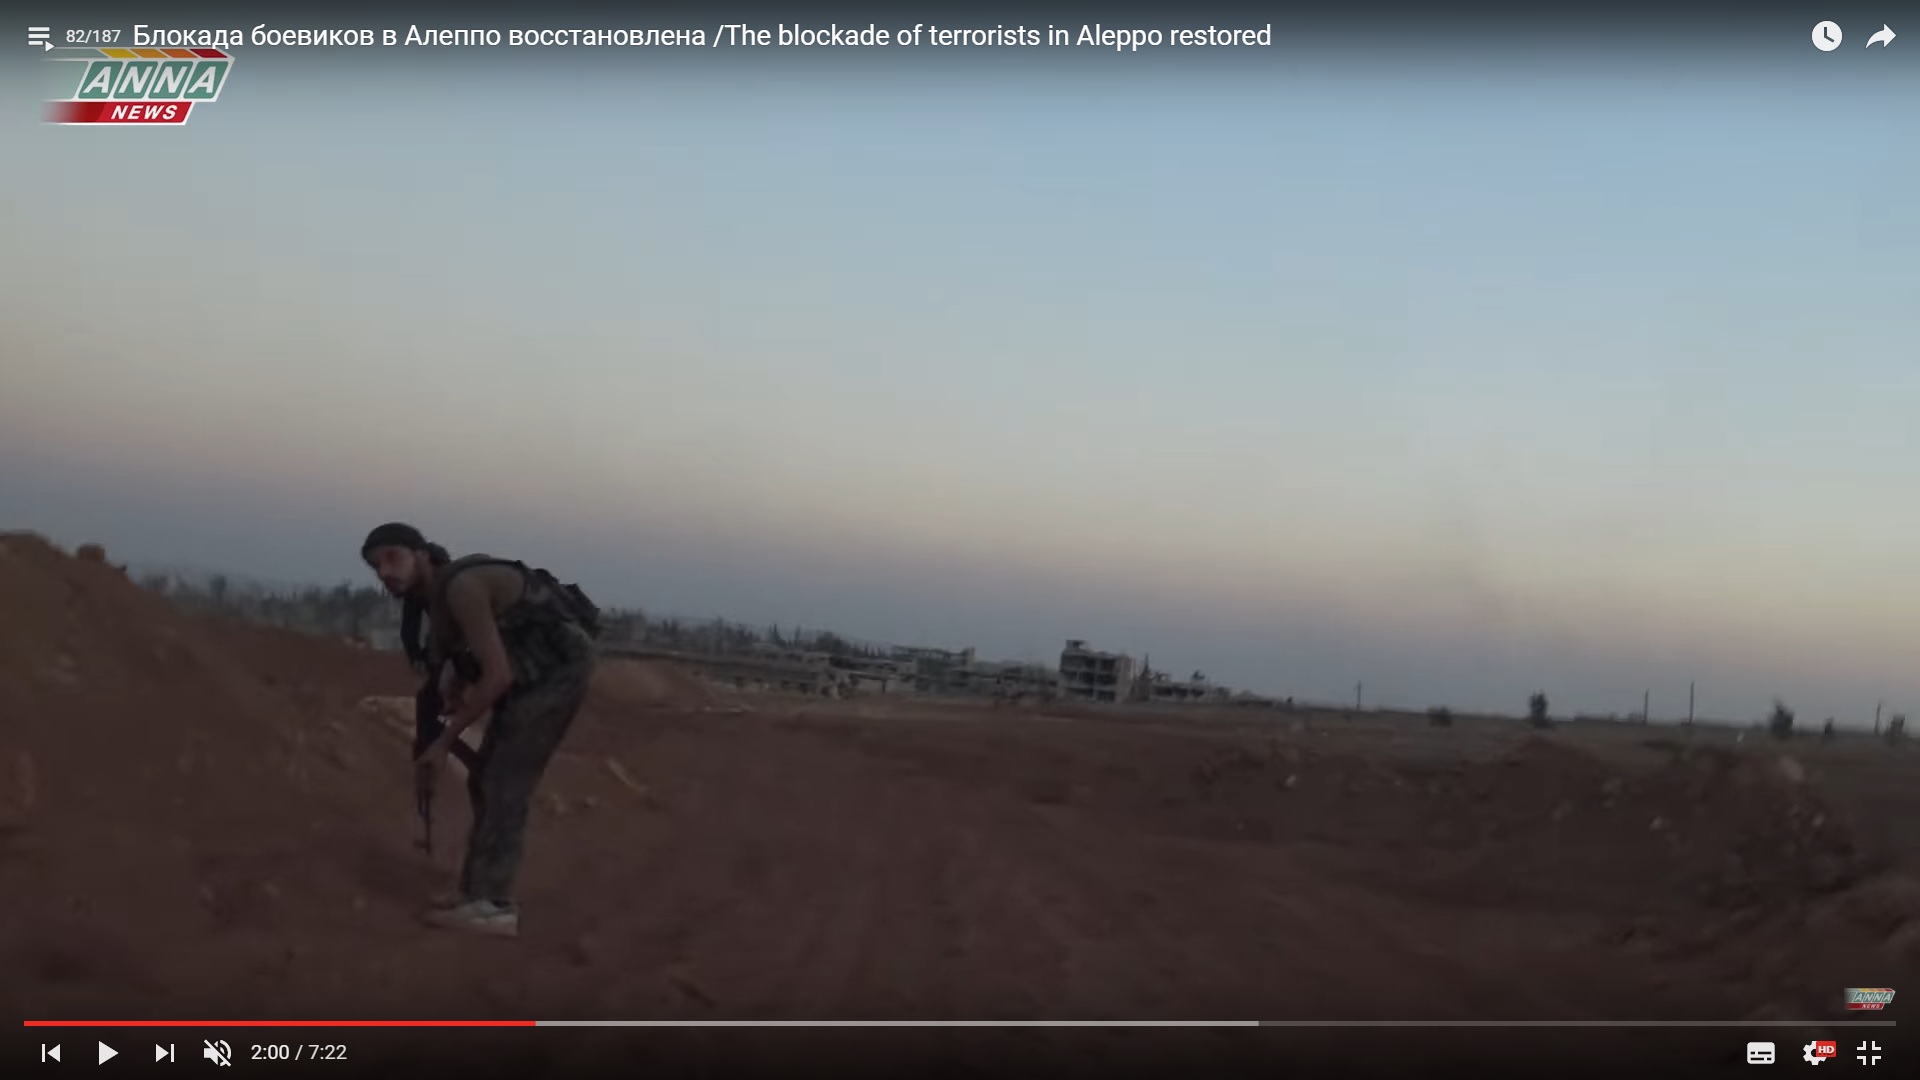
When the vehicle reached a high place, it came under fire. However, the SPG round glanced from the vehicle.

Detailed Analysis Of Battle For Ramouseh Artillery Academy In Western Aleppo – Part 4

Click to see the full-size image

Detailed Analysis Of Battle For Ramouseh Artillery Academy In Western Aleppo – Part 4

Click to see the full-size image

This BMP lacked luck.

Detailed Analysis Of Battle For Ramouseh Artillery Academy In Western Aleppo – Part 4

Click to see the full-size image

It’s nice that all finished ok. But some questions appear. Could the command order the Shilka self-propelled gun or battle tanks to suppress militant firing positions the militant-held area around the Yellow House? Was it really needed to send two TV crews through a live fire zone? The two BMP had been already damaged on this road and the militant firing positions were not captured.

Following the incident, the Shilka self-propelled gun started shelling of militant positions.

Detailed Analysis Of Battle For Ramouseh Artillery Academy In Western Aleppo – Part 4

Click to see the full-size image

Detailed Analysis Of Battle For Ramouseh Artillery Academy In Western Aleppo – Part 4

Click to see the full-size image

The artillery college was also shelled.

Detailed Analysis Of Battle For Ramouseh Artillery Academy In Western Aleppo – Part 4

Click to see the full-size image

Detailed Analysis Of Battle For Ramouseh Artillery Academy In Western Aleppo – Part 4

Click to see the full-size image

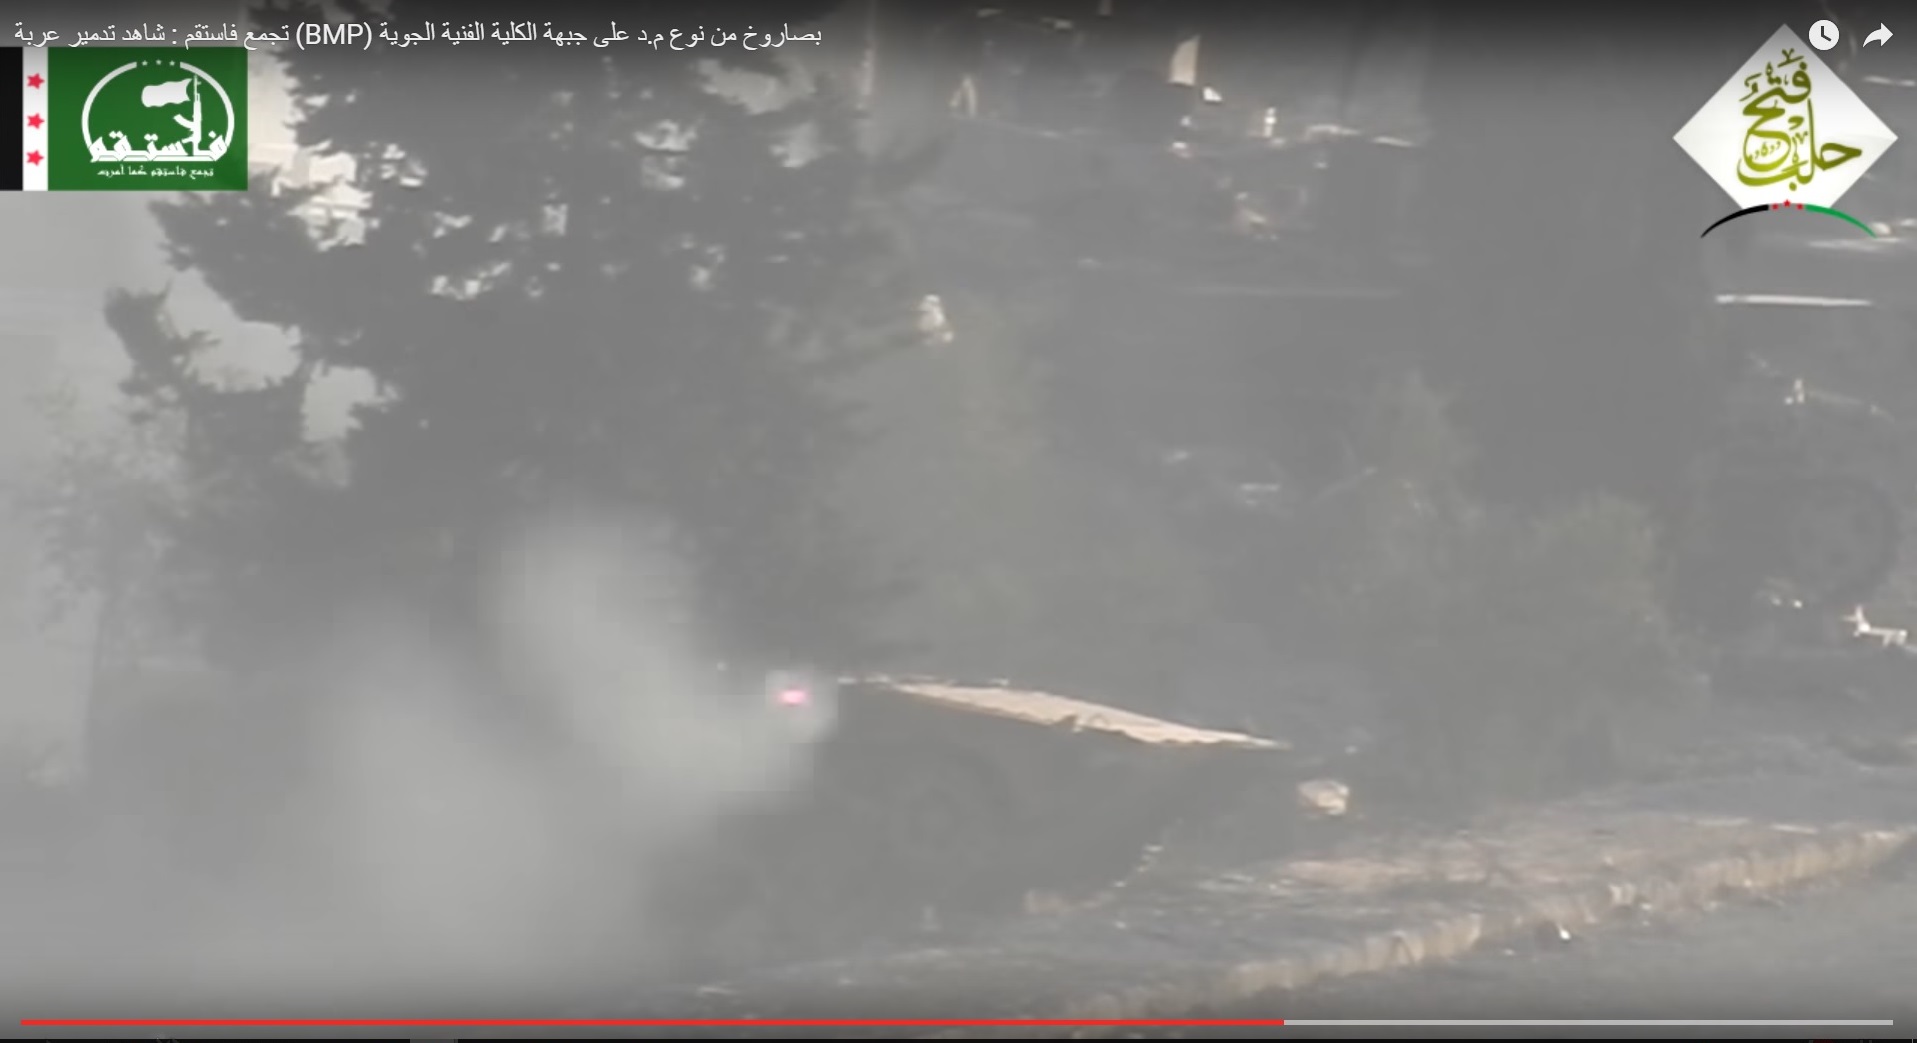
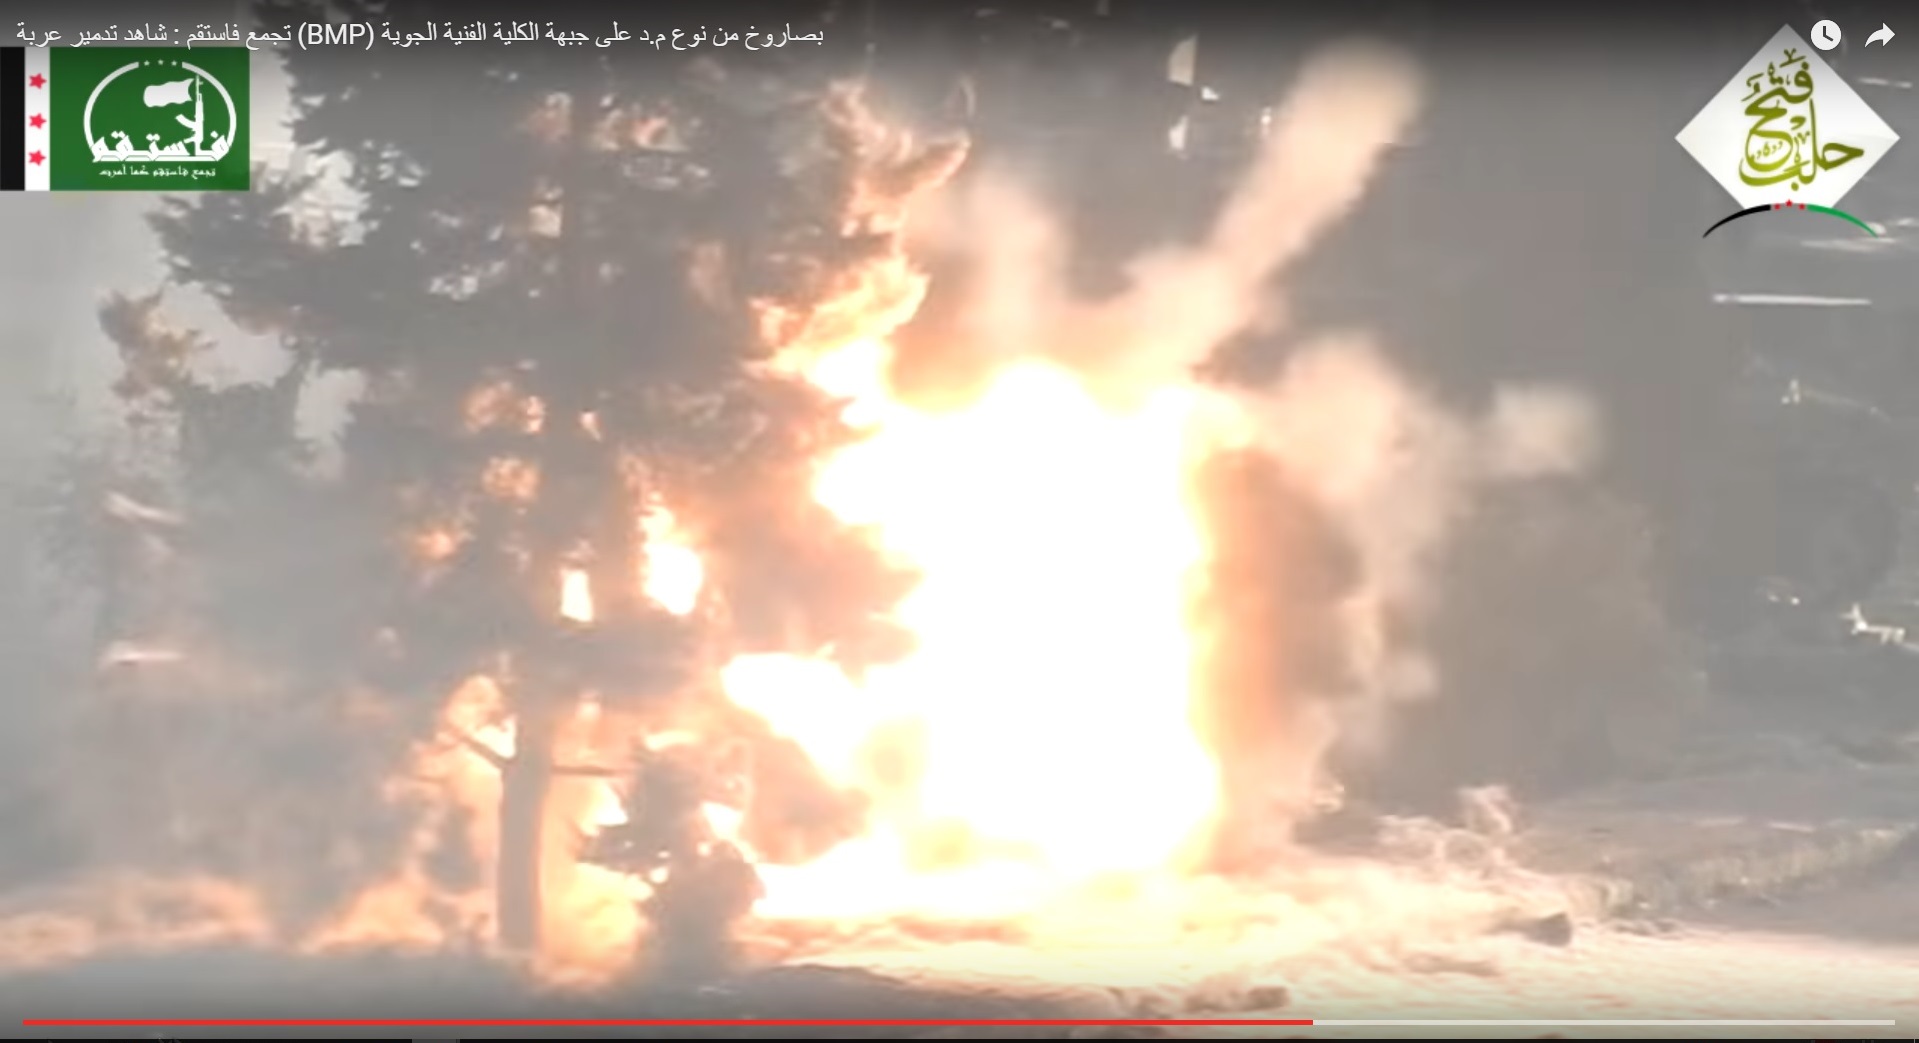
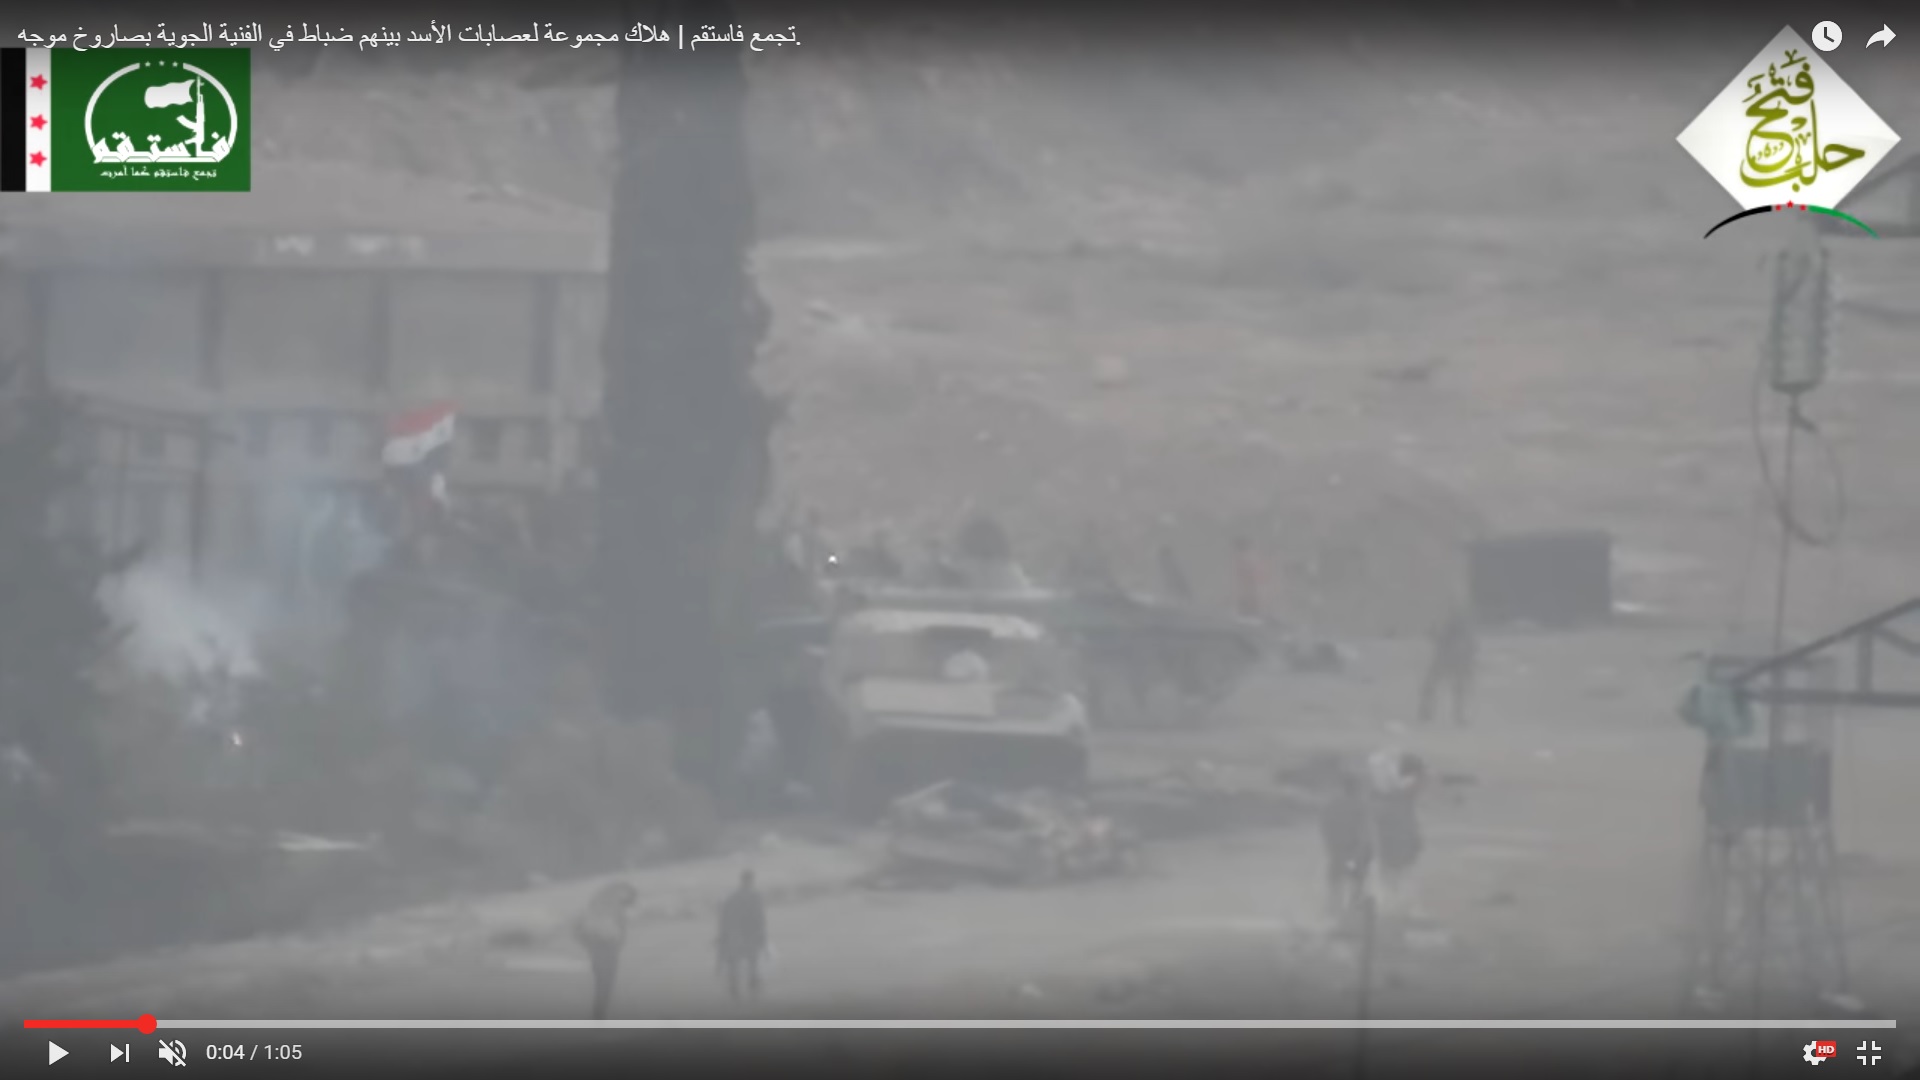
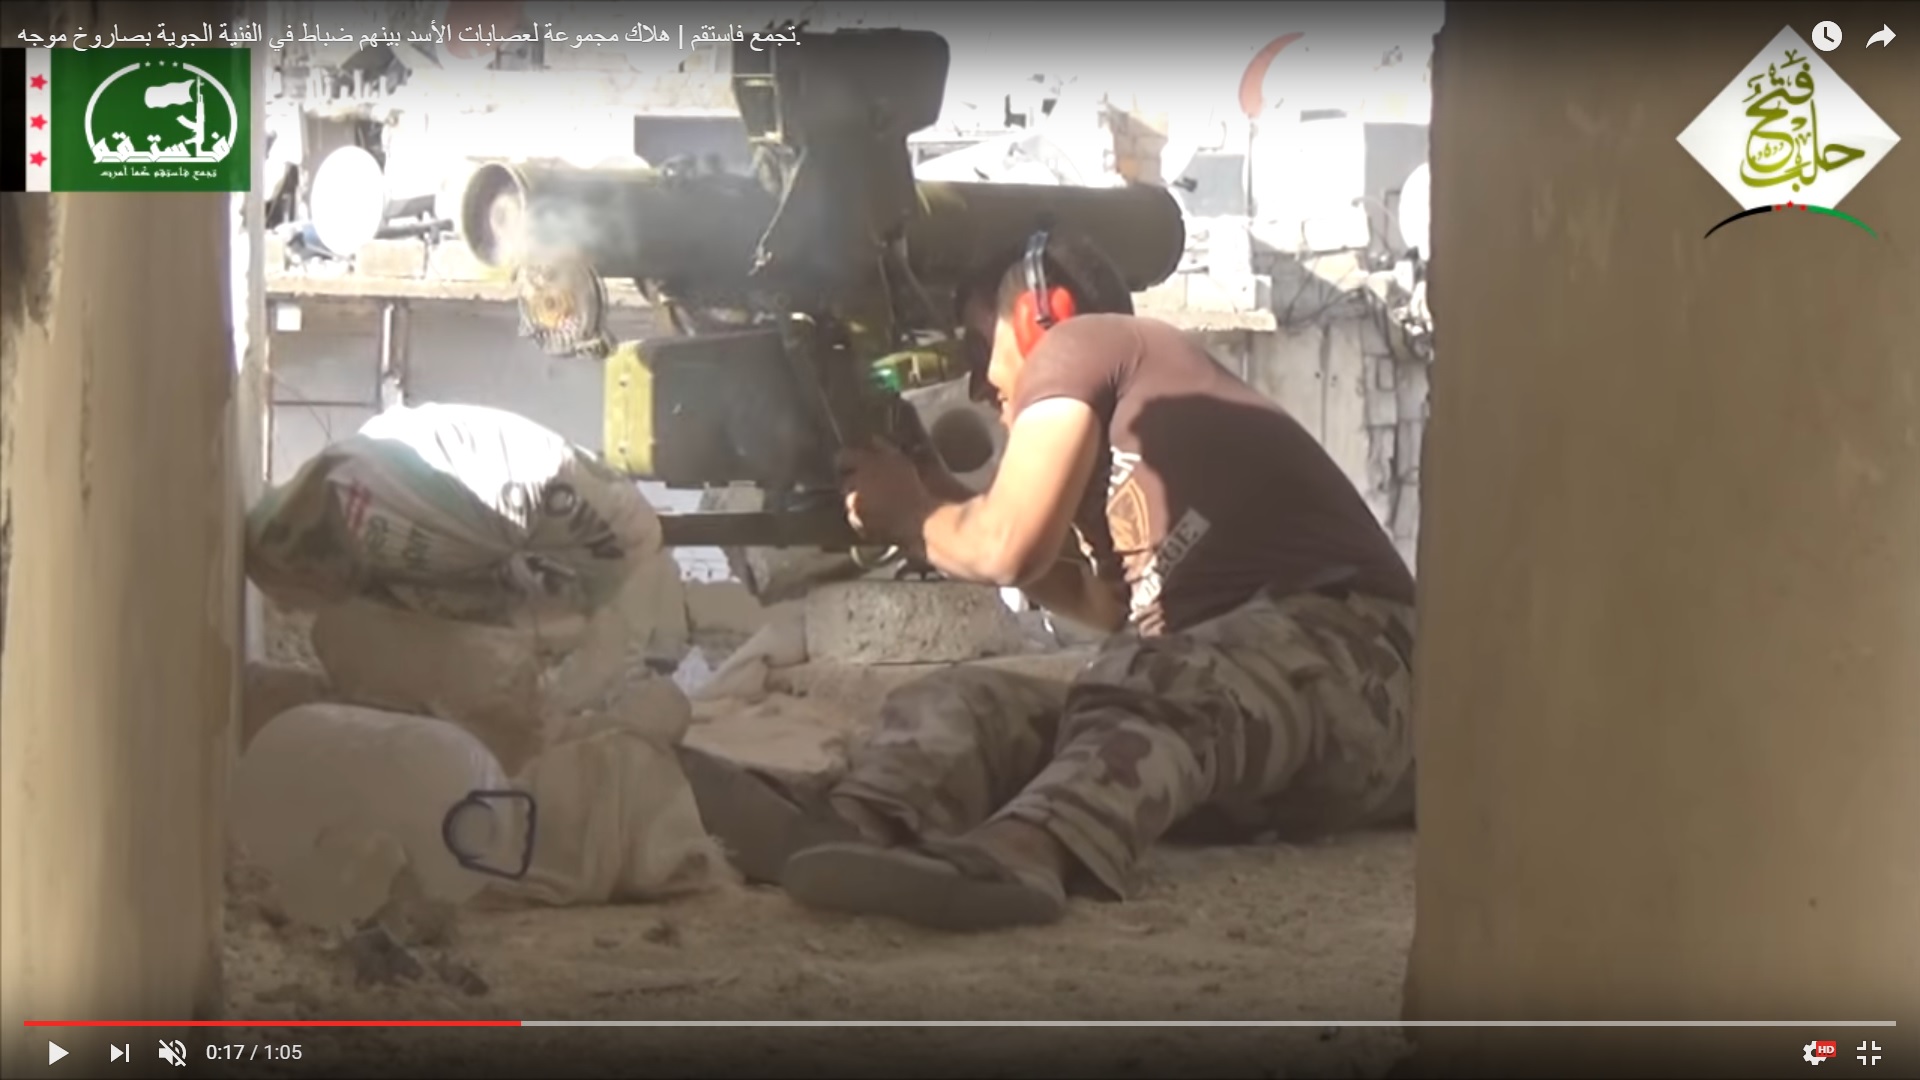
In the evening of the same day, the BMP made another journey to the aviation college. A problem occurred during the return. While the vehicle was preparing to move back, the ATGM crew was preparing for a strike.

Detailed Analysis Of Battle For Ramouseh Artillery Academy In Western Aleppo – Part 4

Click to see the full-size image

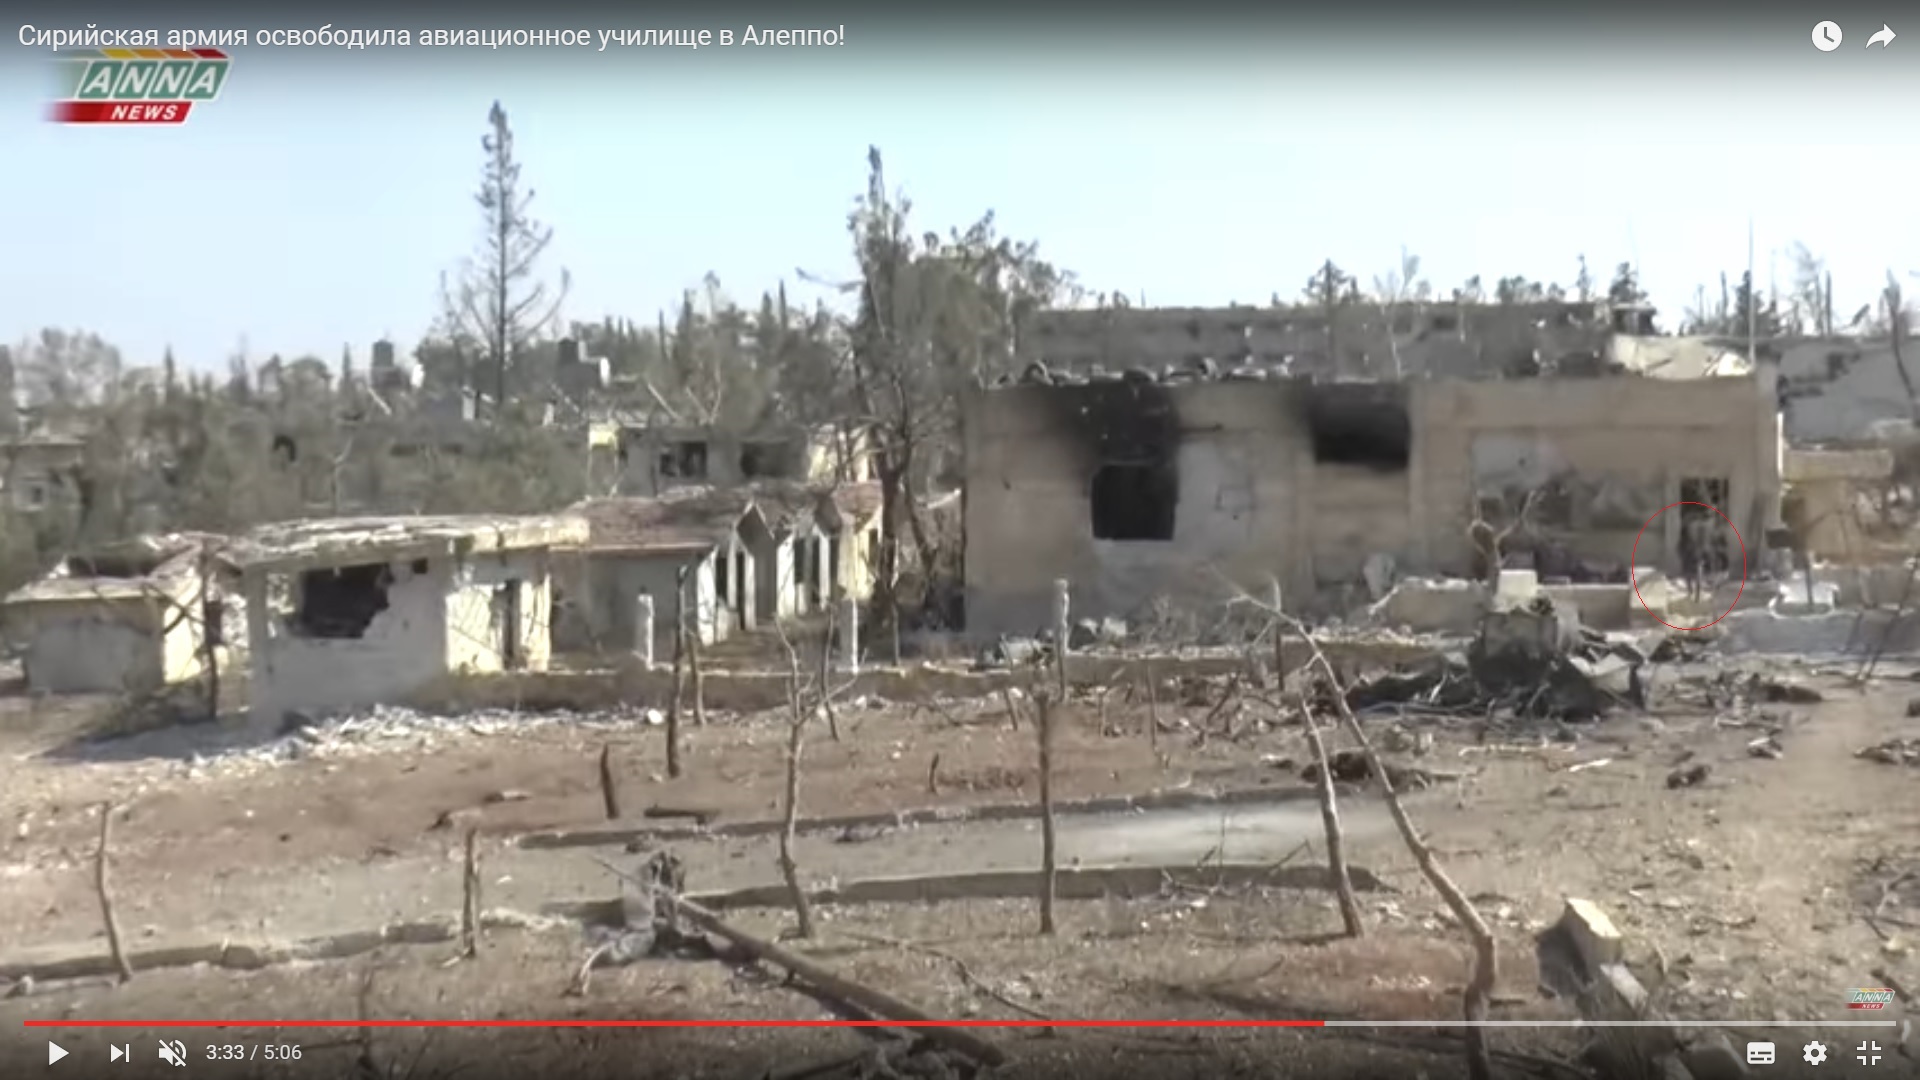
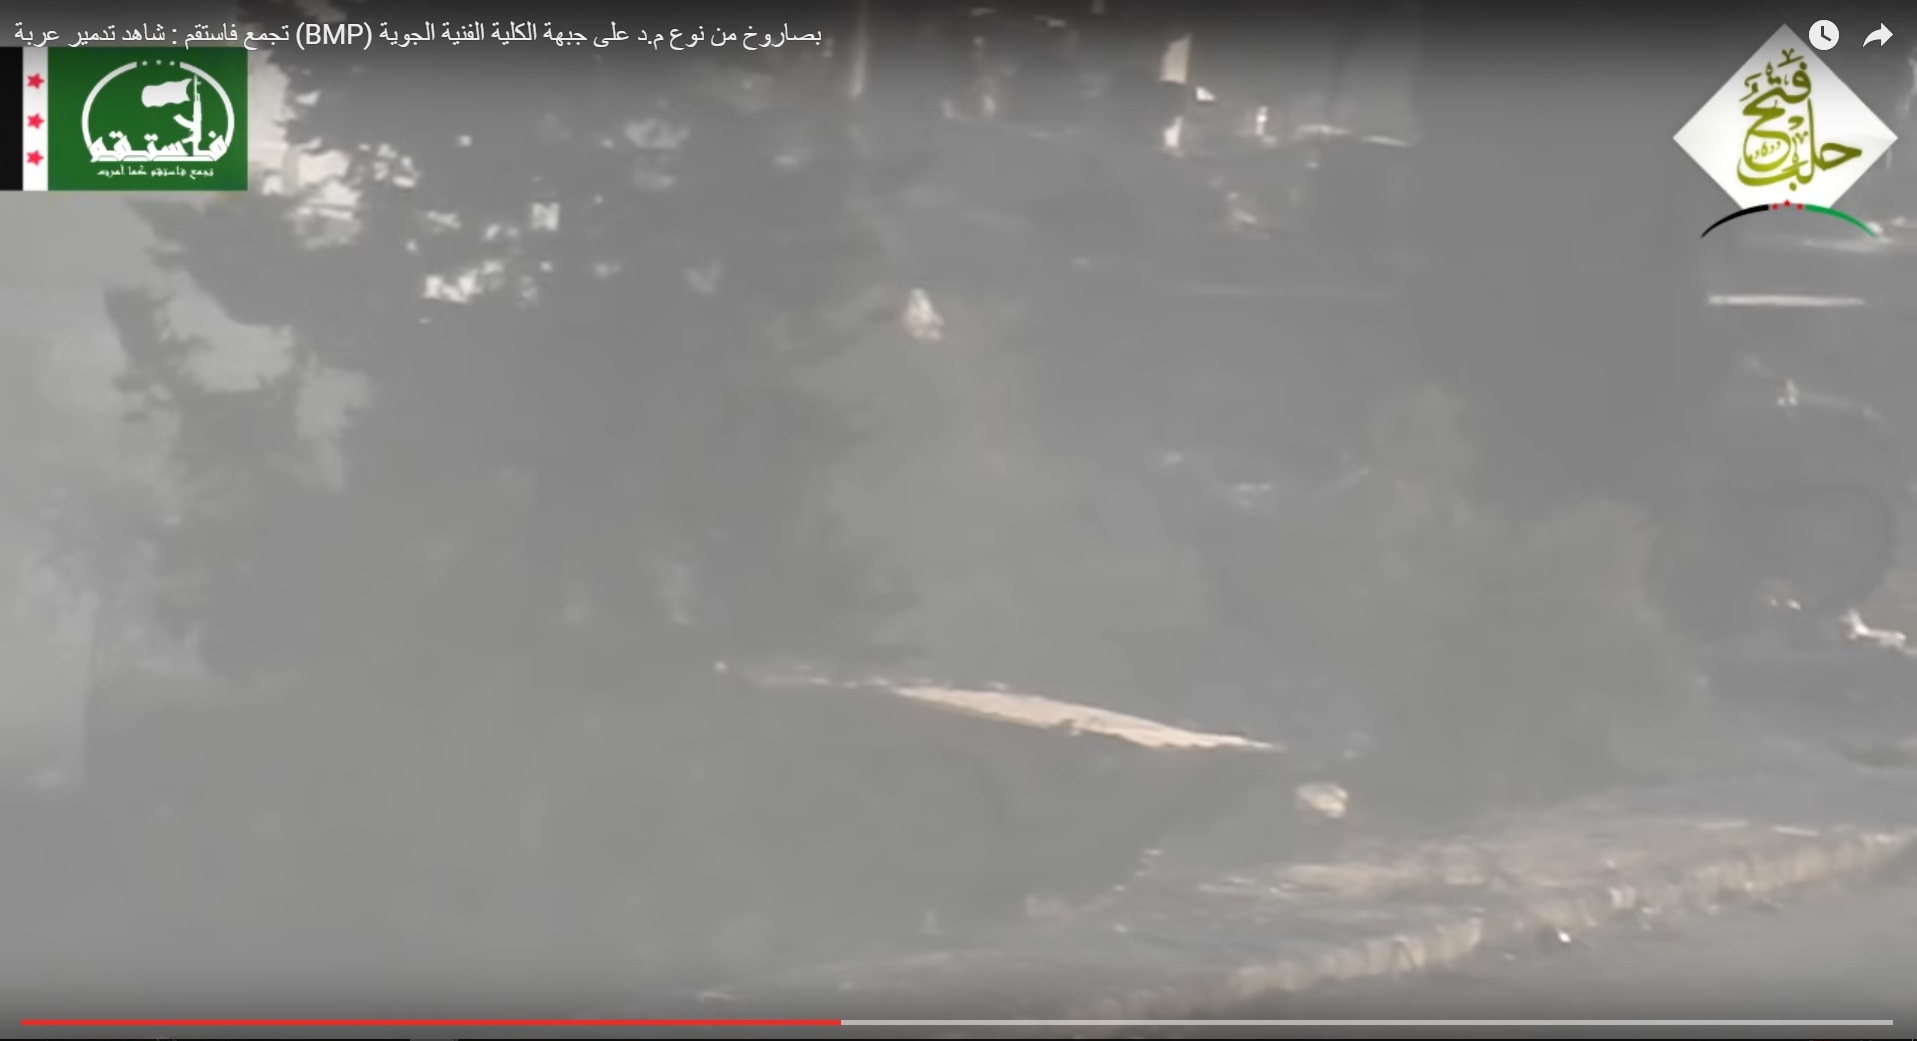
The quality of the video is low but it’s possible to see elements of the academy building and some person near the rear of the BMP vehicle.

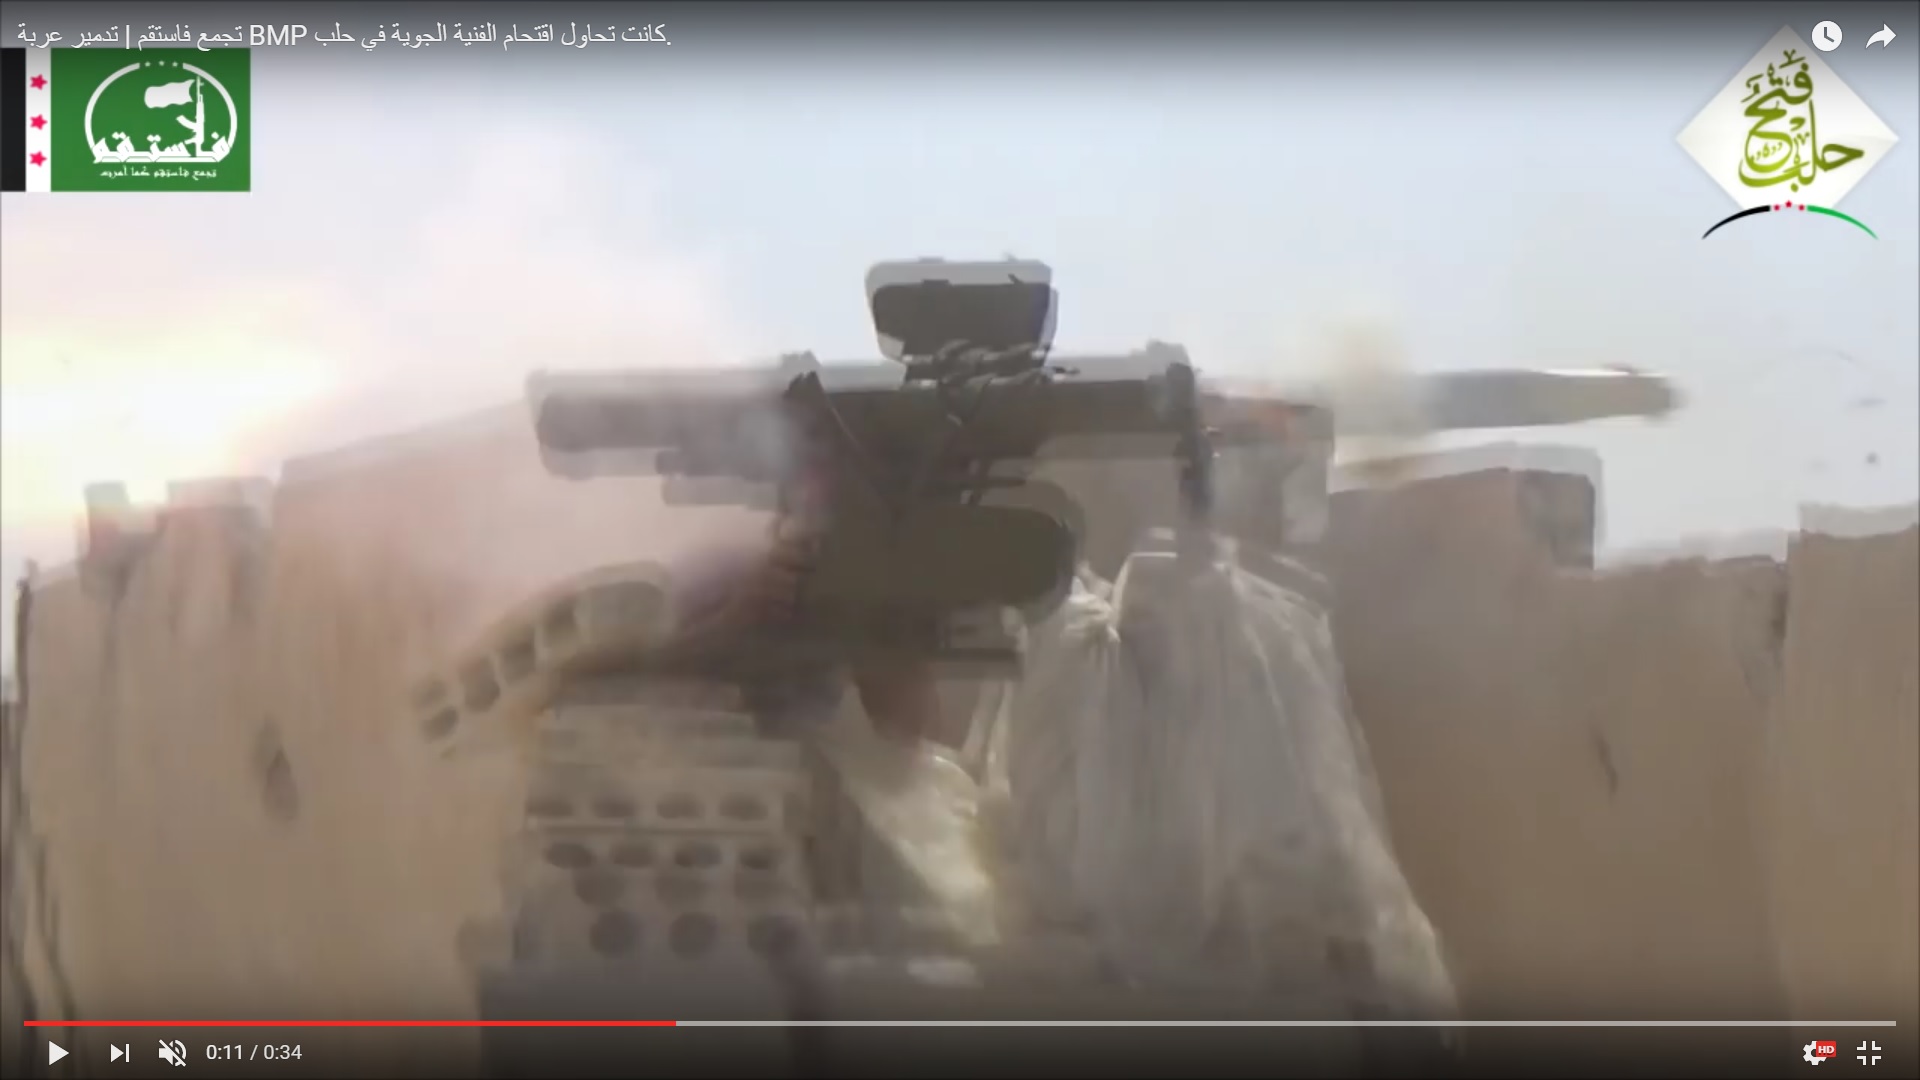
The ATGM was launched.

Detailed Analysis Of Battle For Ramouseh Artillery Academy In Western Aleppo – Part 4

Click to see the full-size image

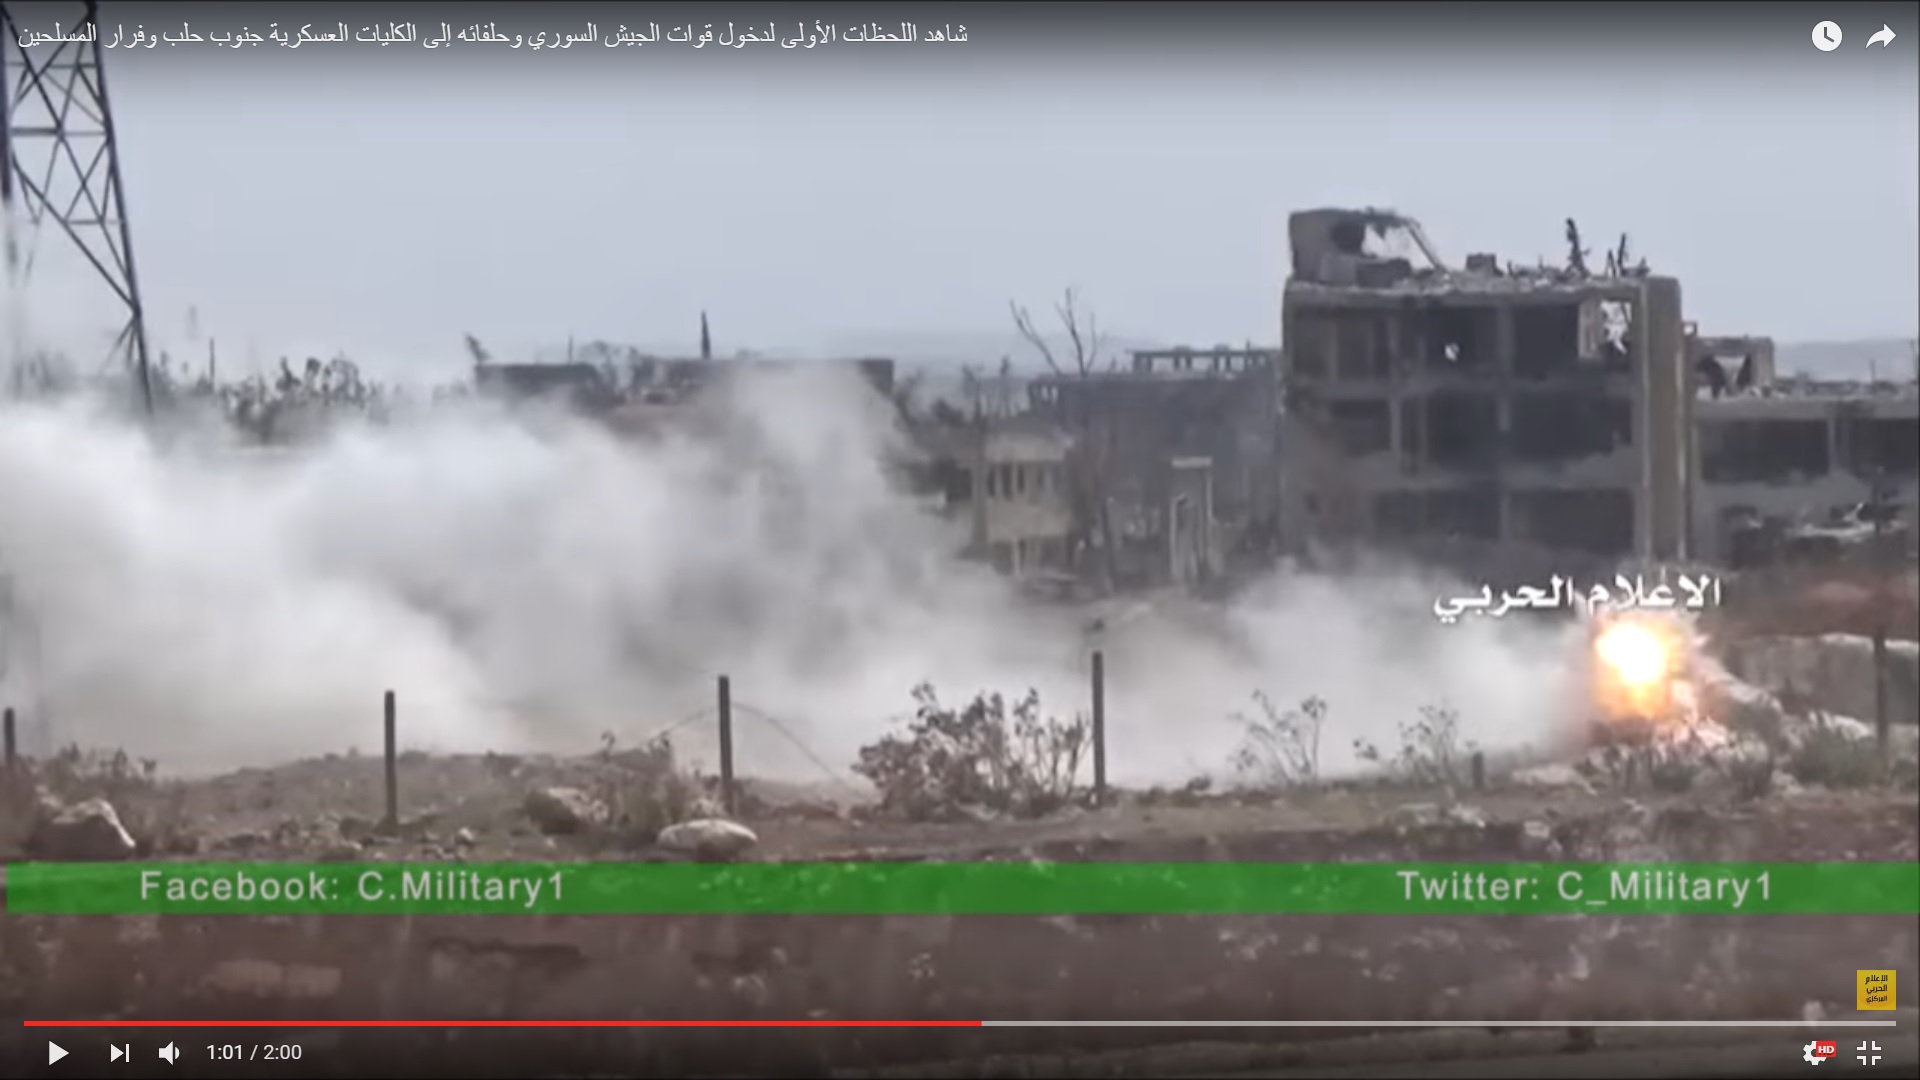
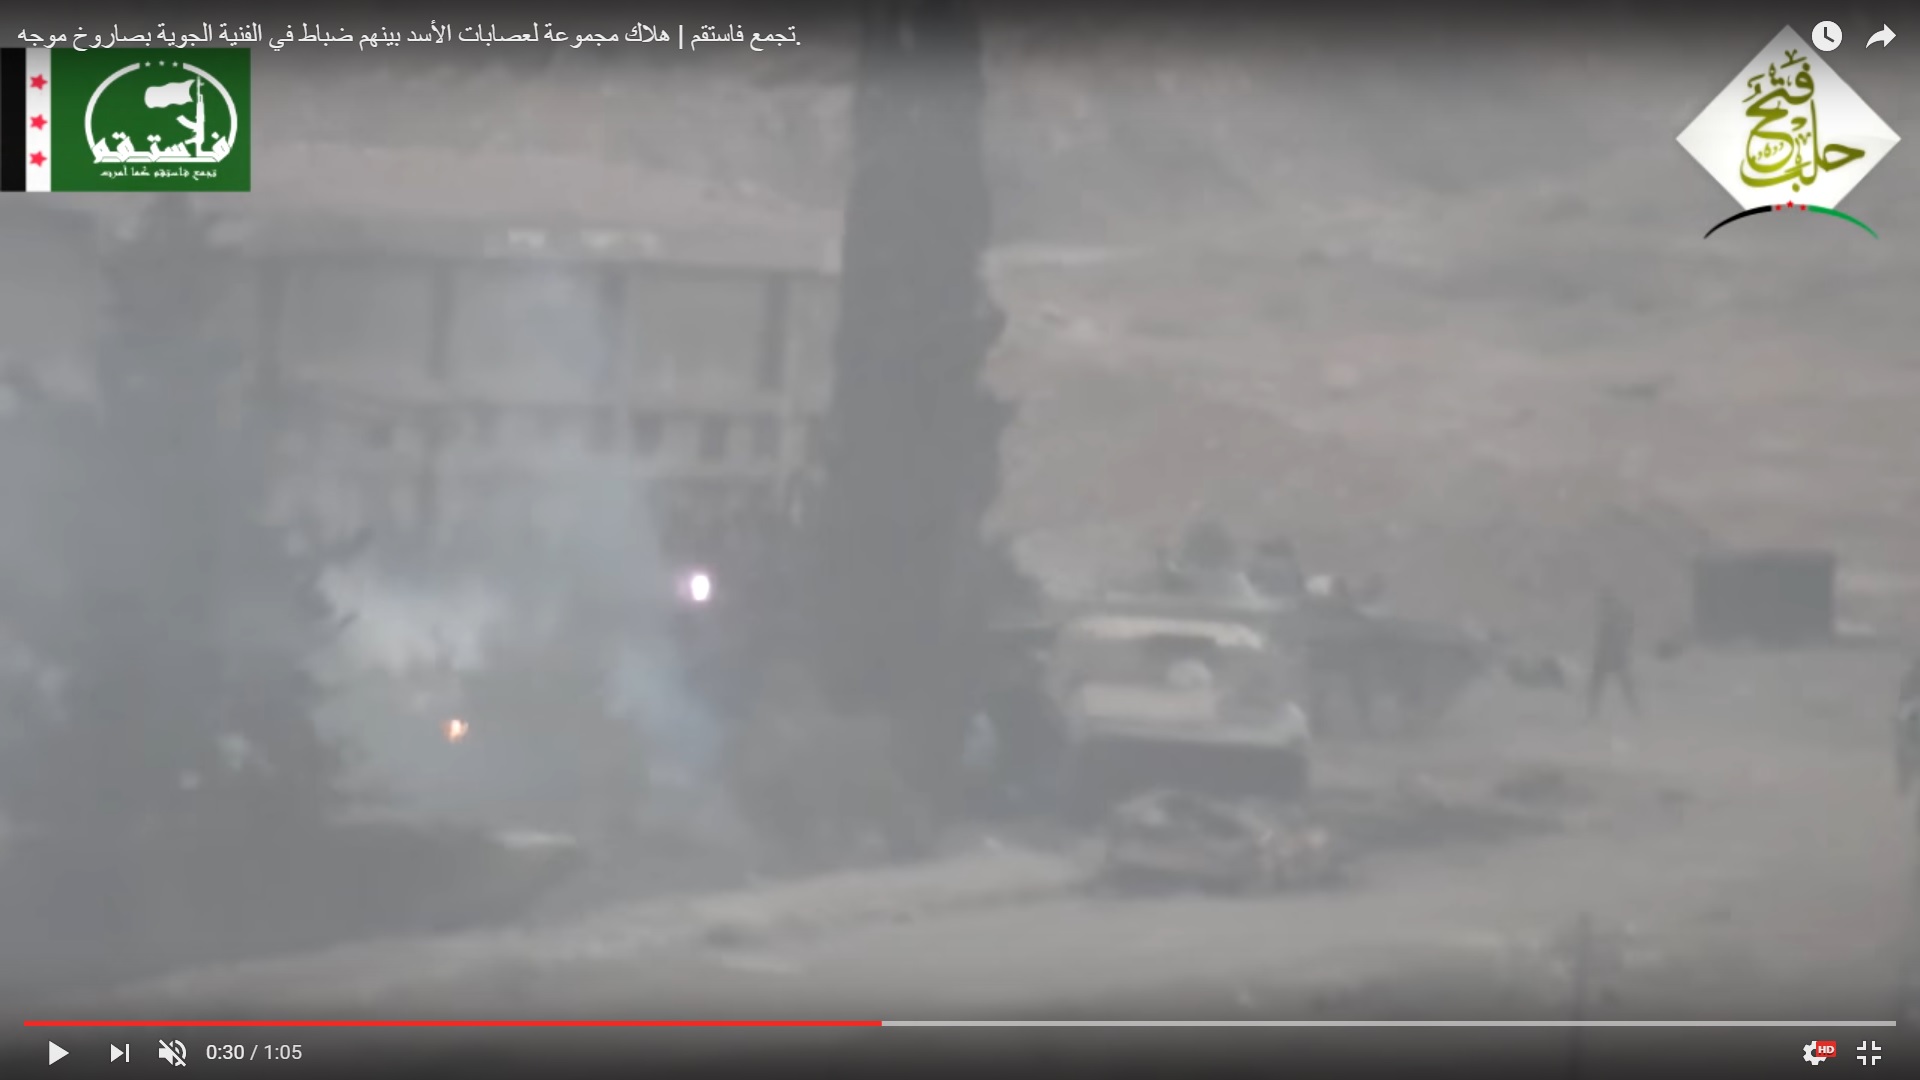
The missile was flying 6-8 seconds from the firing position to the target. The BMP driver used this time in order to avoid the missile hit.

Detailed Analysis Of Battle For Ramouseh Artillery Academy In Western Aleppo – Part 4

Click to see the full-size image

The fast start and the manoeuvring allowed to avoid a direct hit.

Detailed Analysis Of Battle For Ramouseh Artillery Academy In Western Aleppo – Part 4

Click to see the full-size image

Detailed Analysis Of Battle For Ramouseh Artillery Academy In Western Aleppo – Part 4

Click to see the full-size image

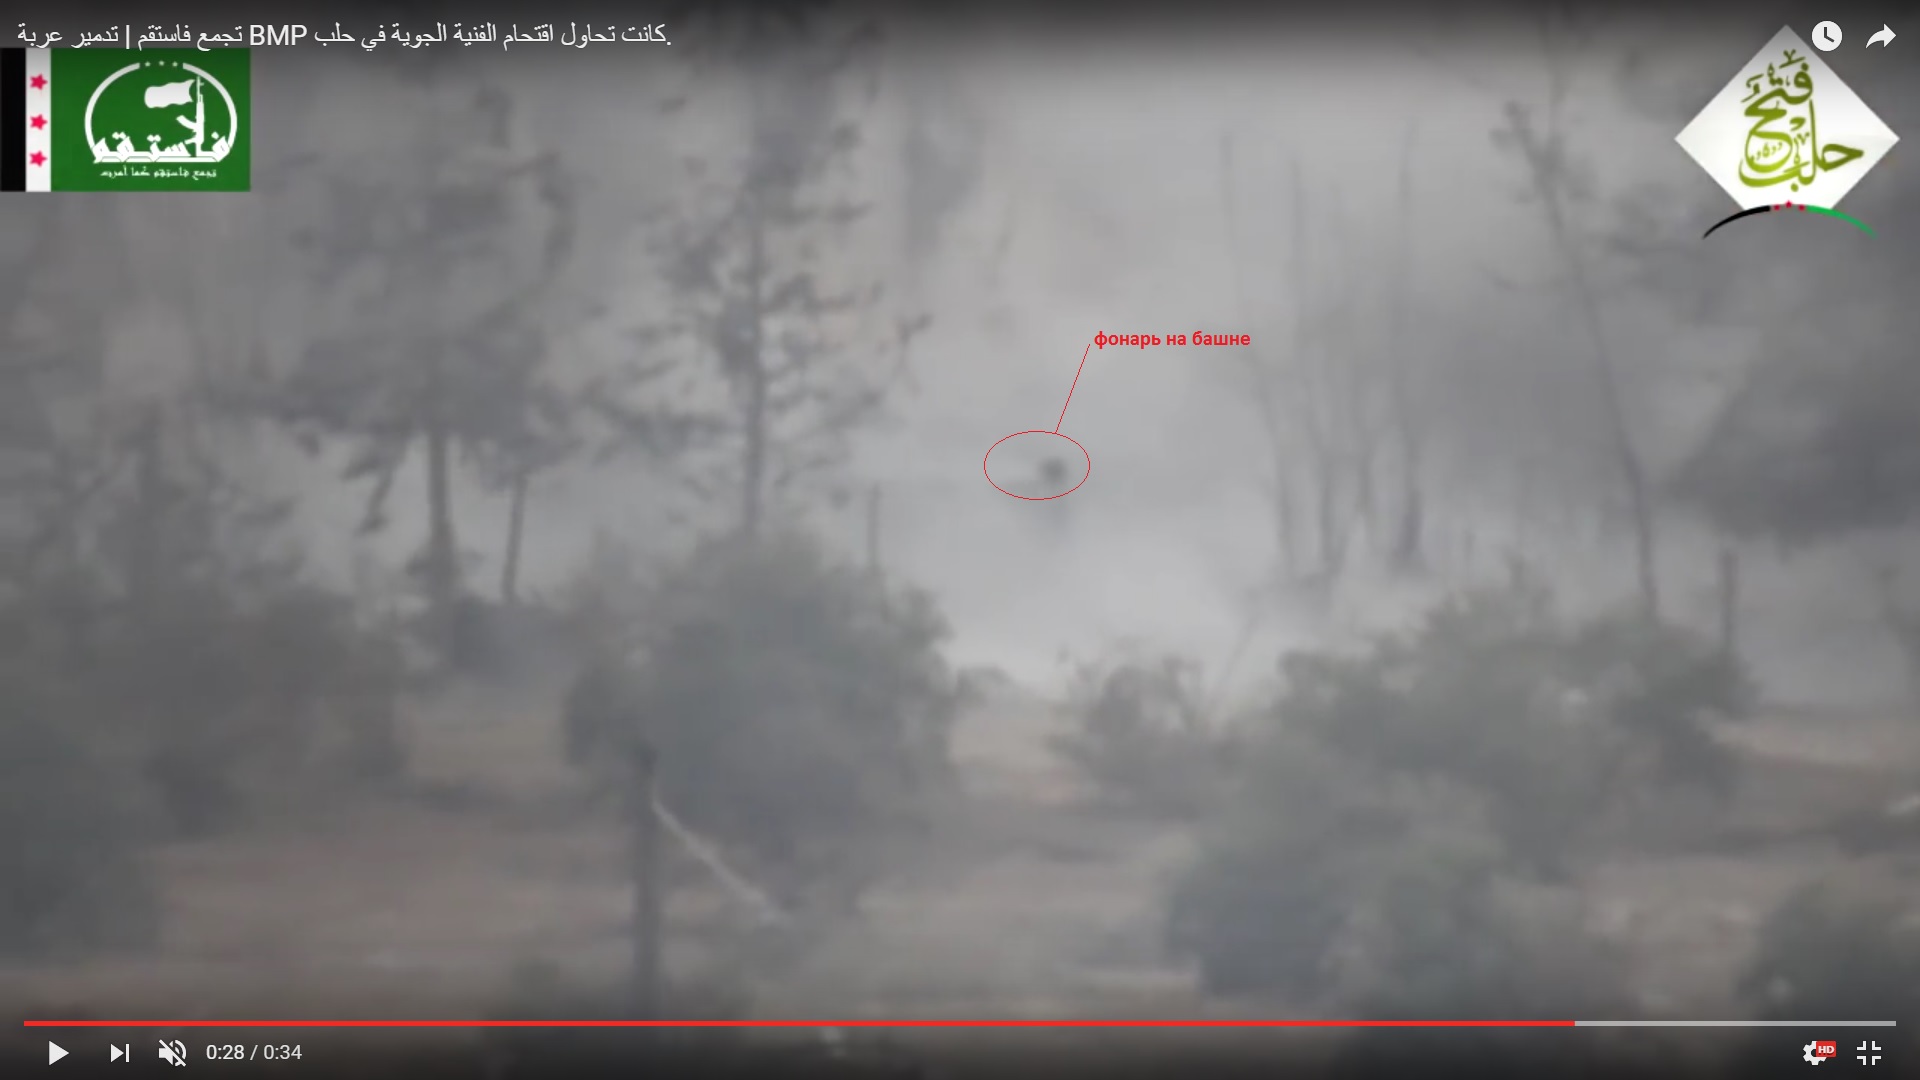
The vehicle continued moving through the clouds. Red circle shows a lamp on the tower.

Detailed Analysis Of Battle For Ramouseh Artillery Academy In Western Aleppo – Part 4

Click to see the full-size image

It’s clear that the manoeuvring was result of the characteristics of the road. They were not a skillful attempt to avoid the missile. They key role played the moment when the vehicle started moving.

On September 1, the situation was relatively calm. Government forces continued artillery strikes and airstrikes on the artillery college. The pumping station near the artillery college was heavily damaged. Meanhile, government forces were concentrating means and measures and militants didn’t likely have resources for major counter-attacks. During the night, government forces evacauted the damaged T-72 battle tank. Active developments took place on September 2.

Controlling the partly captured Yellow Building and the nearby buildings, militants were able to shell a supply line to government troops in the aviation college. This is why government forces attempted to solve this problem.

The two-storey buildings were the main obstruction for taking full control over the Yellow Building. They overlooked the area near the Yellow Building and were enough solid to remain under the shelling.

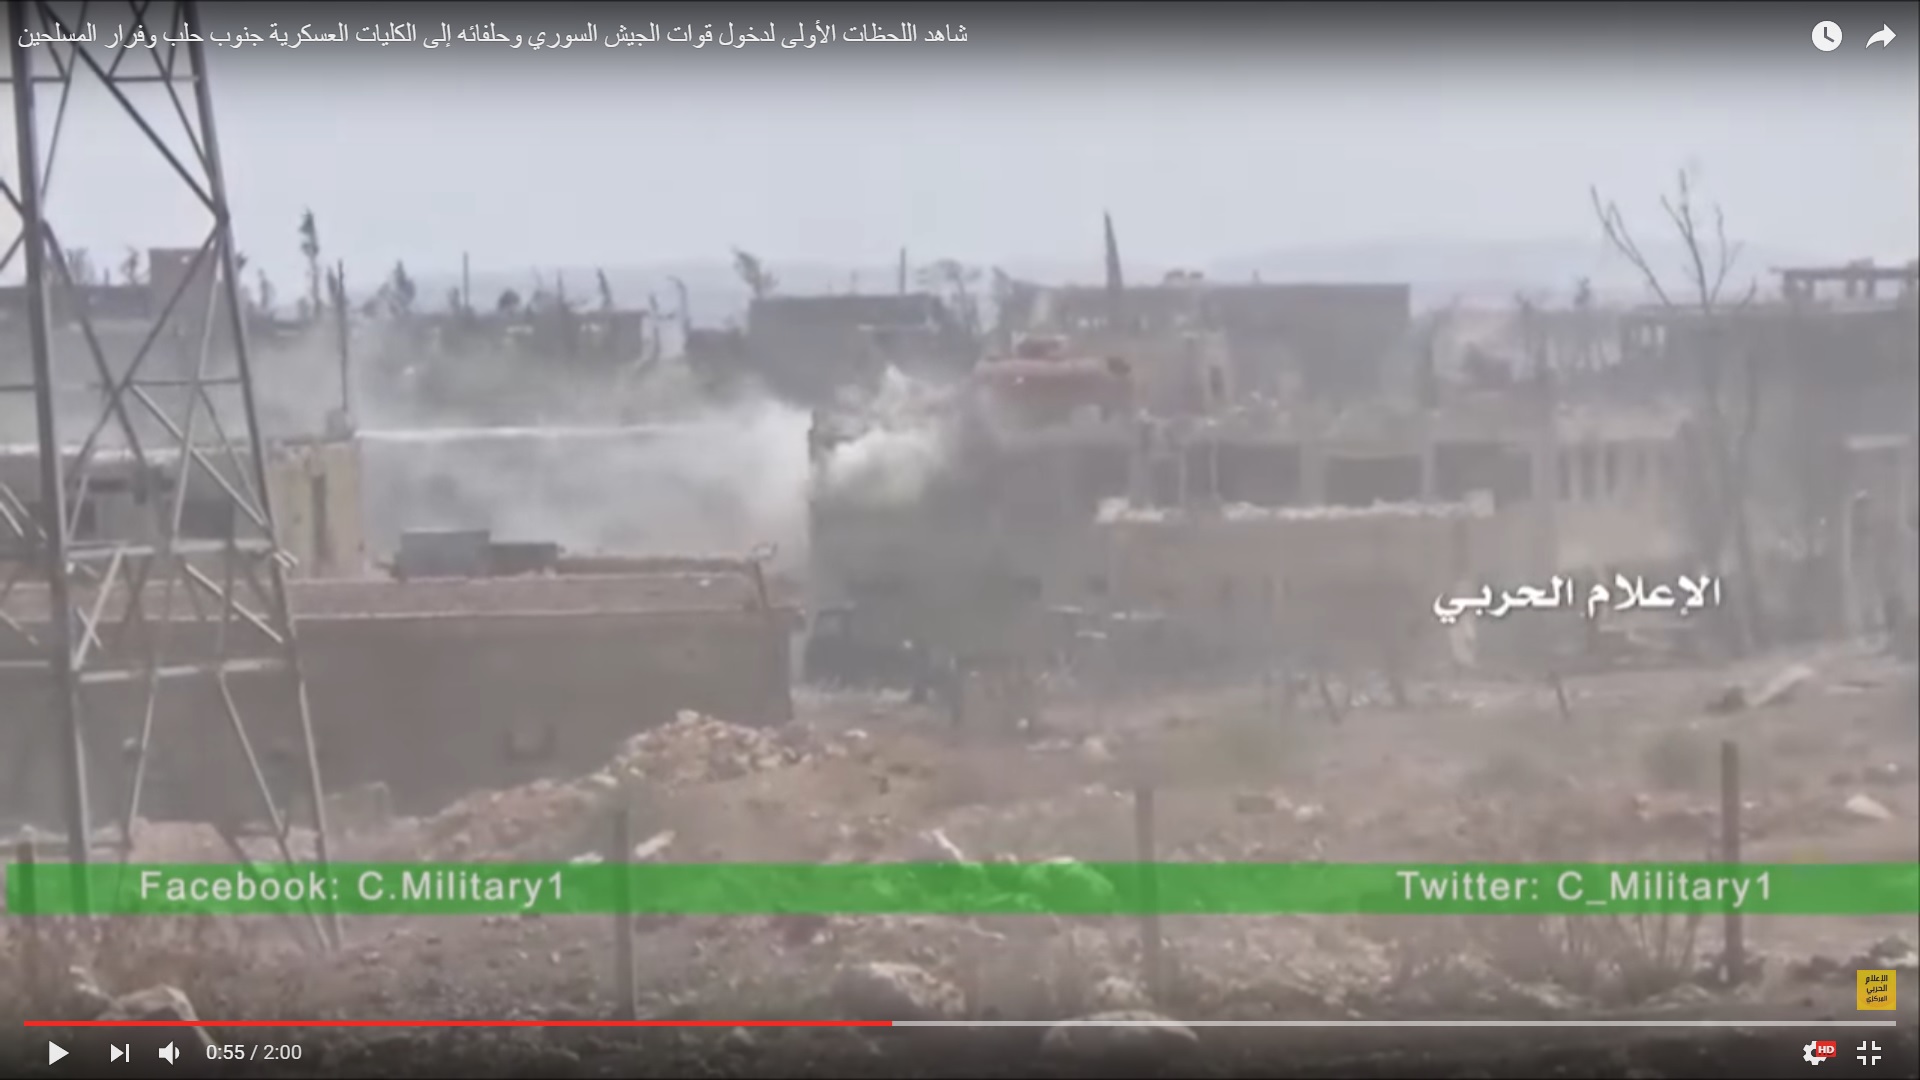
The advance started when the Shilka self-propelled gun launched shelling of these buildings.

Detailed Analysis Of Battle For Ramouseh Artillery Academy In Western Aleppo – Part 4

Click to see the full-size image

Detailed Analysis Of Battle For Ramouseh Artillery Academy In Western Aleppo – Part 4

Click to see the full-size image

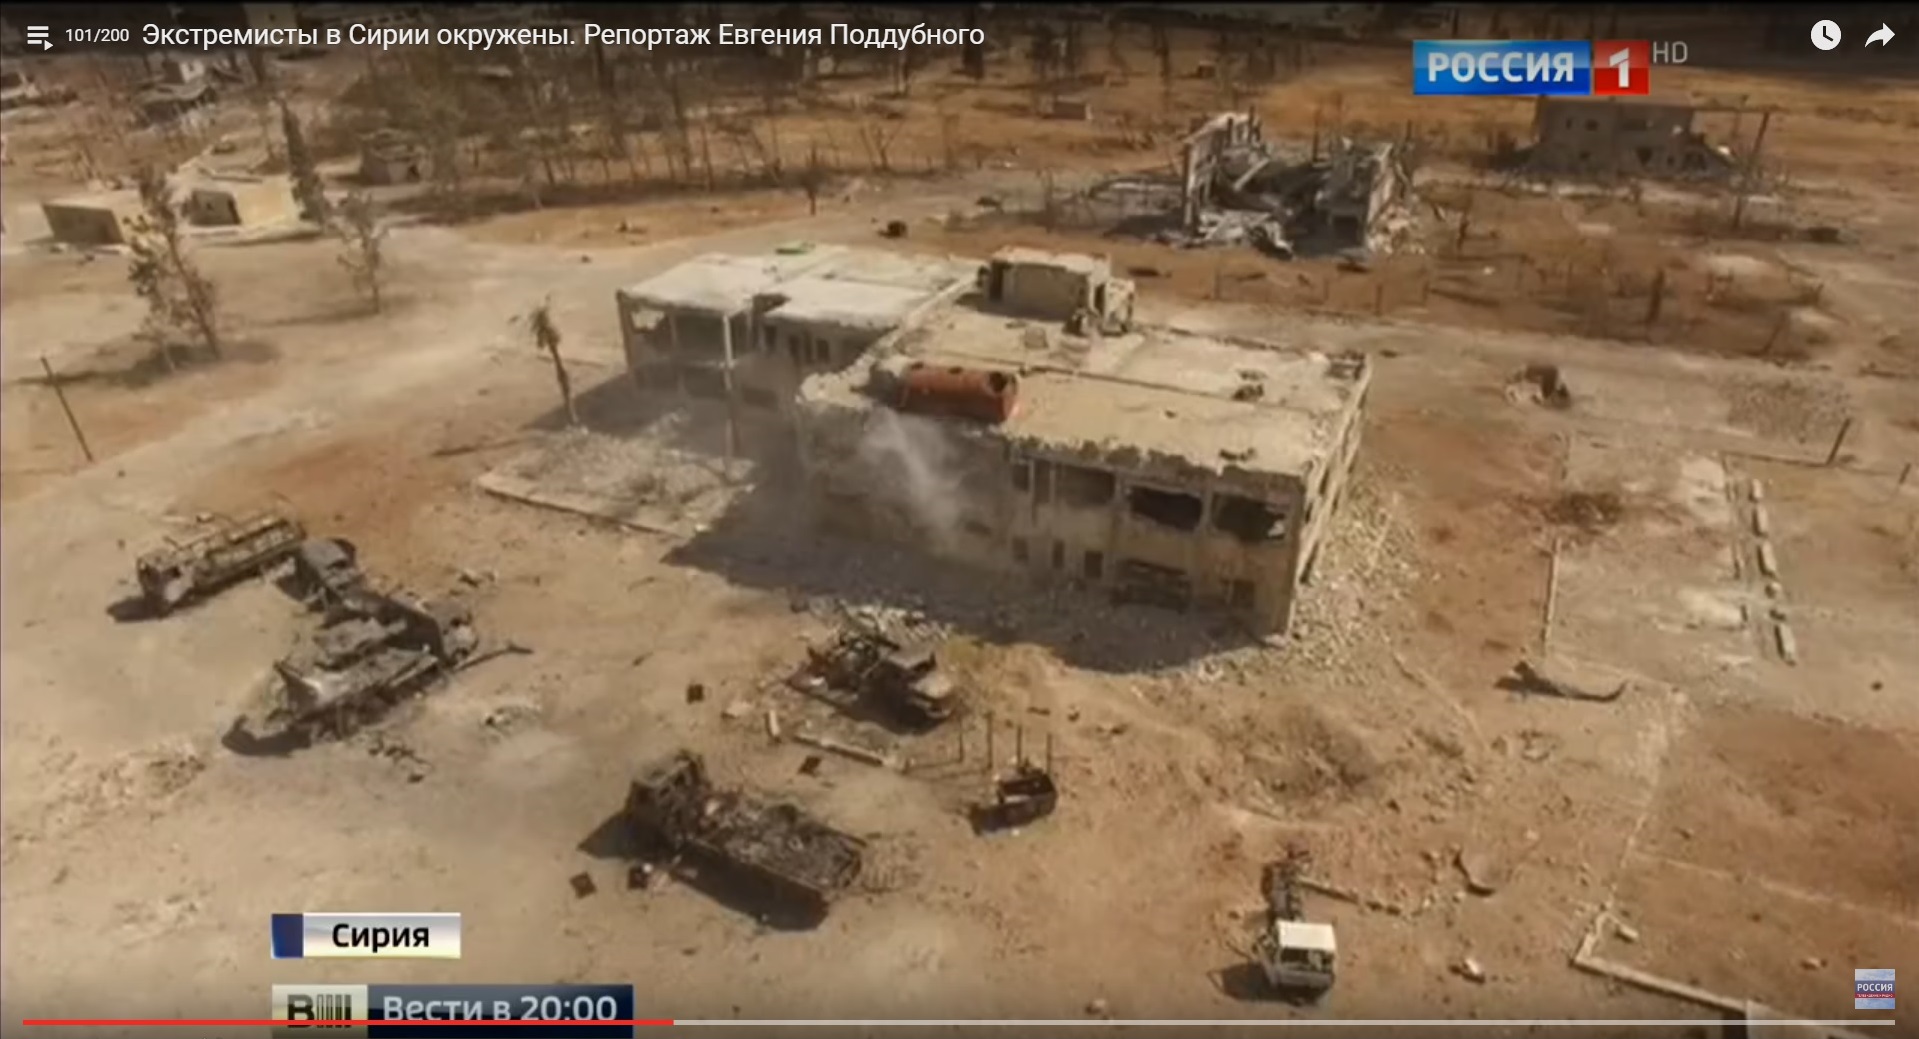
A drone video allows to see the same moment.

Detailed Analysis Of Battle For Ramouseh Artillery Academy In Western Aleppo – Part 4

Click to see the full-size image

An impact of the Shilka’s shelling.

Detailed Analysis Of Battle For Ramouseh Artillery Academy In Western Aleppo – Part 4

Click to see the full-size image

Detailed Analysis Of Battle For Ramouseh Artillery Academy In Western Aleppo – Part 4

Click to see the full-size image

Detailed Analysis Of Battle For Ramouseh Artillery Academy In Western Aleppo – Part 4

Click to see the full-size image

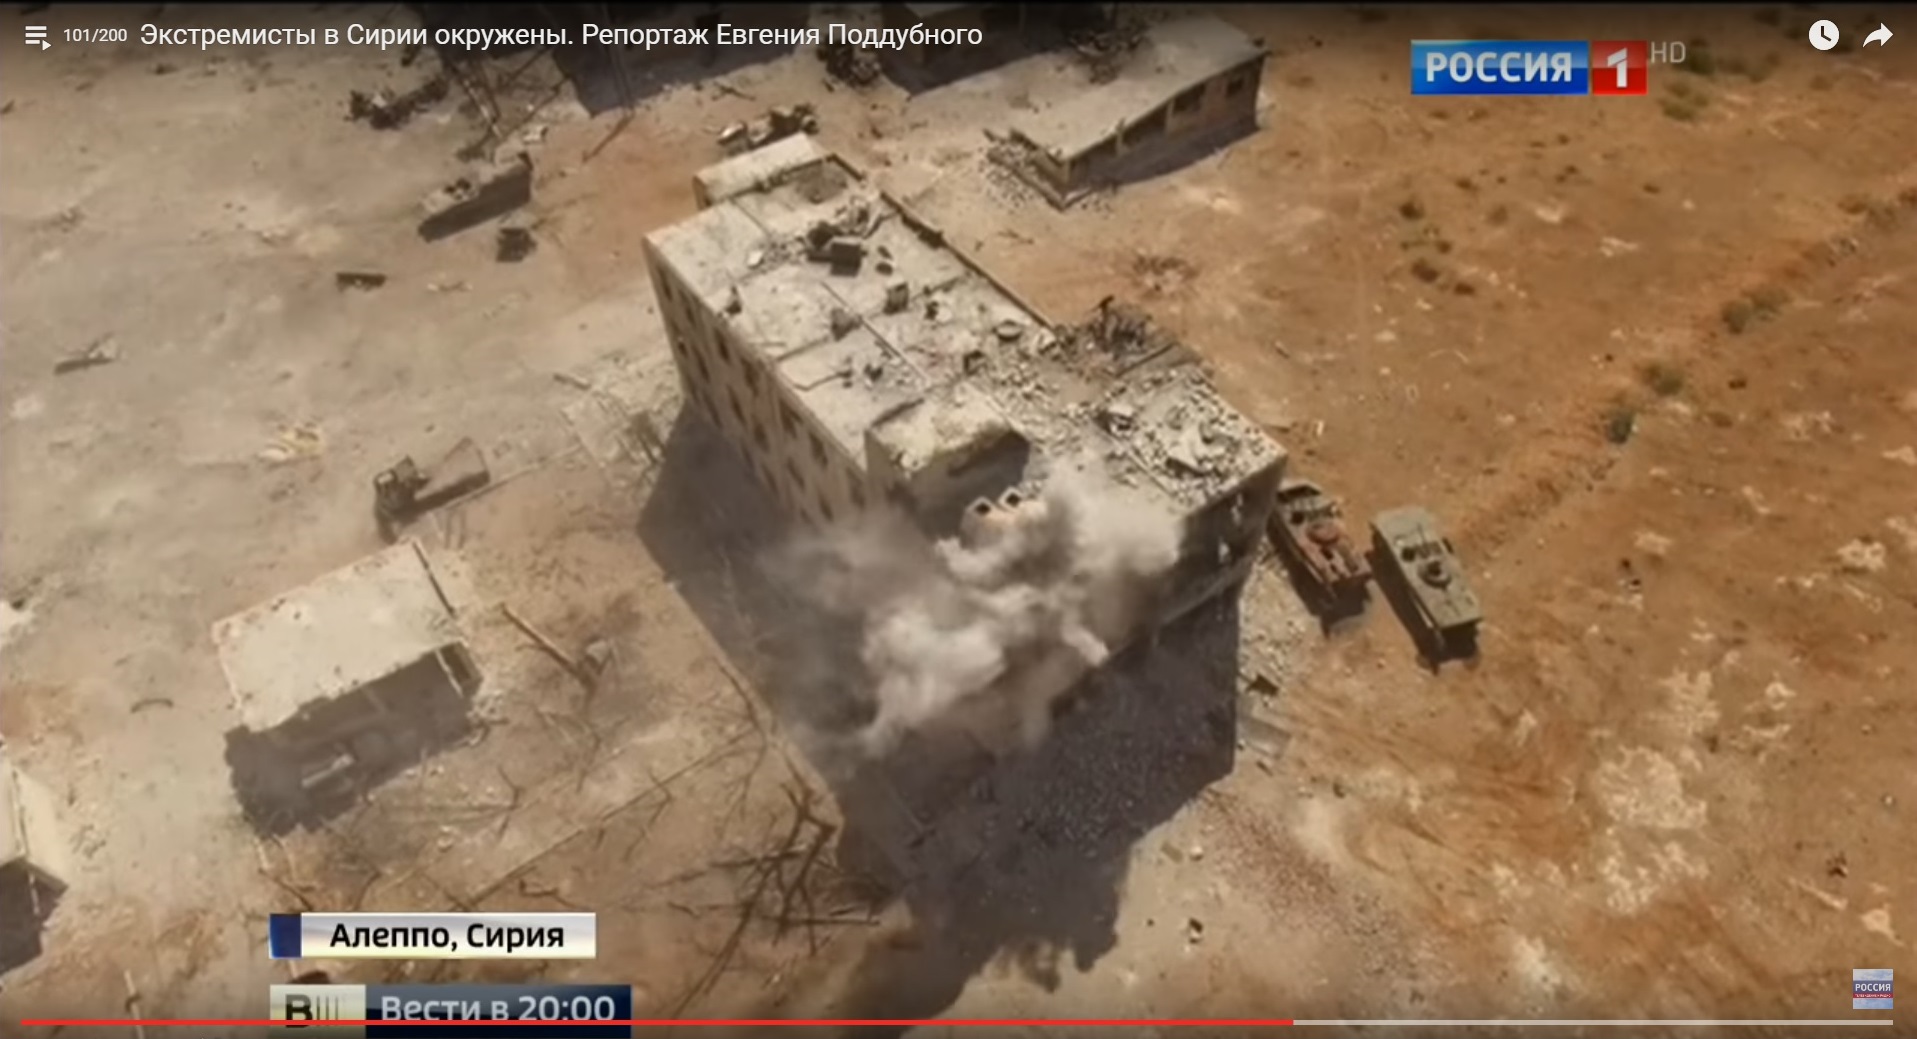
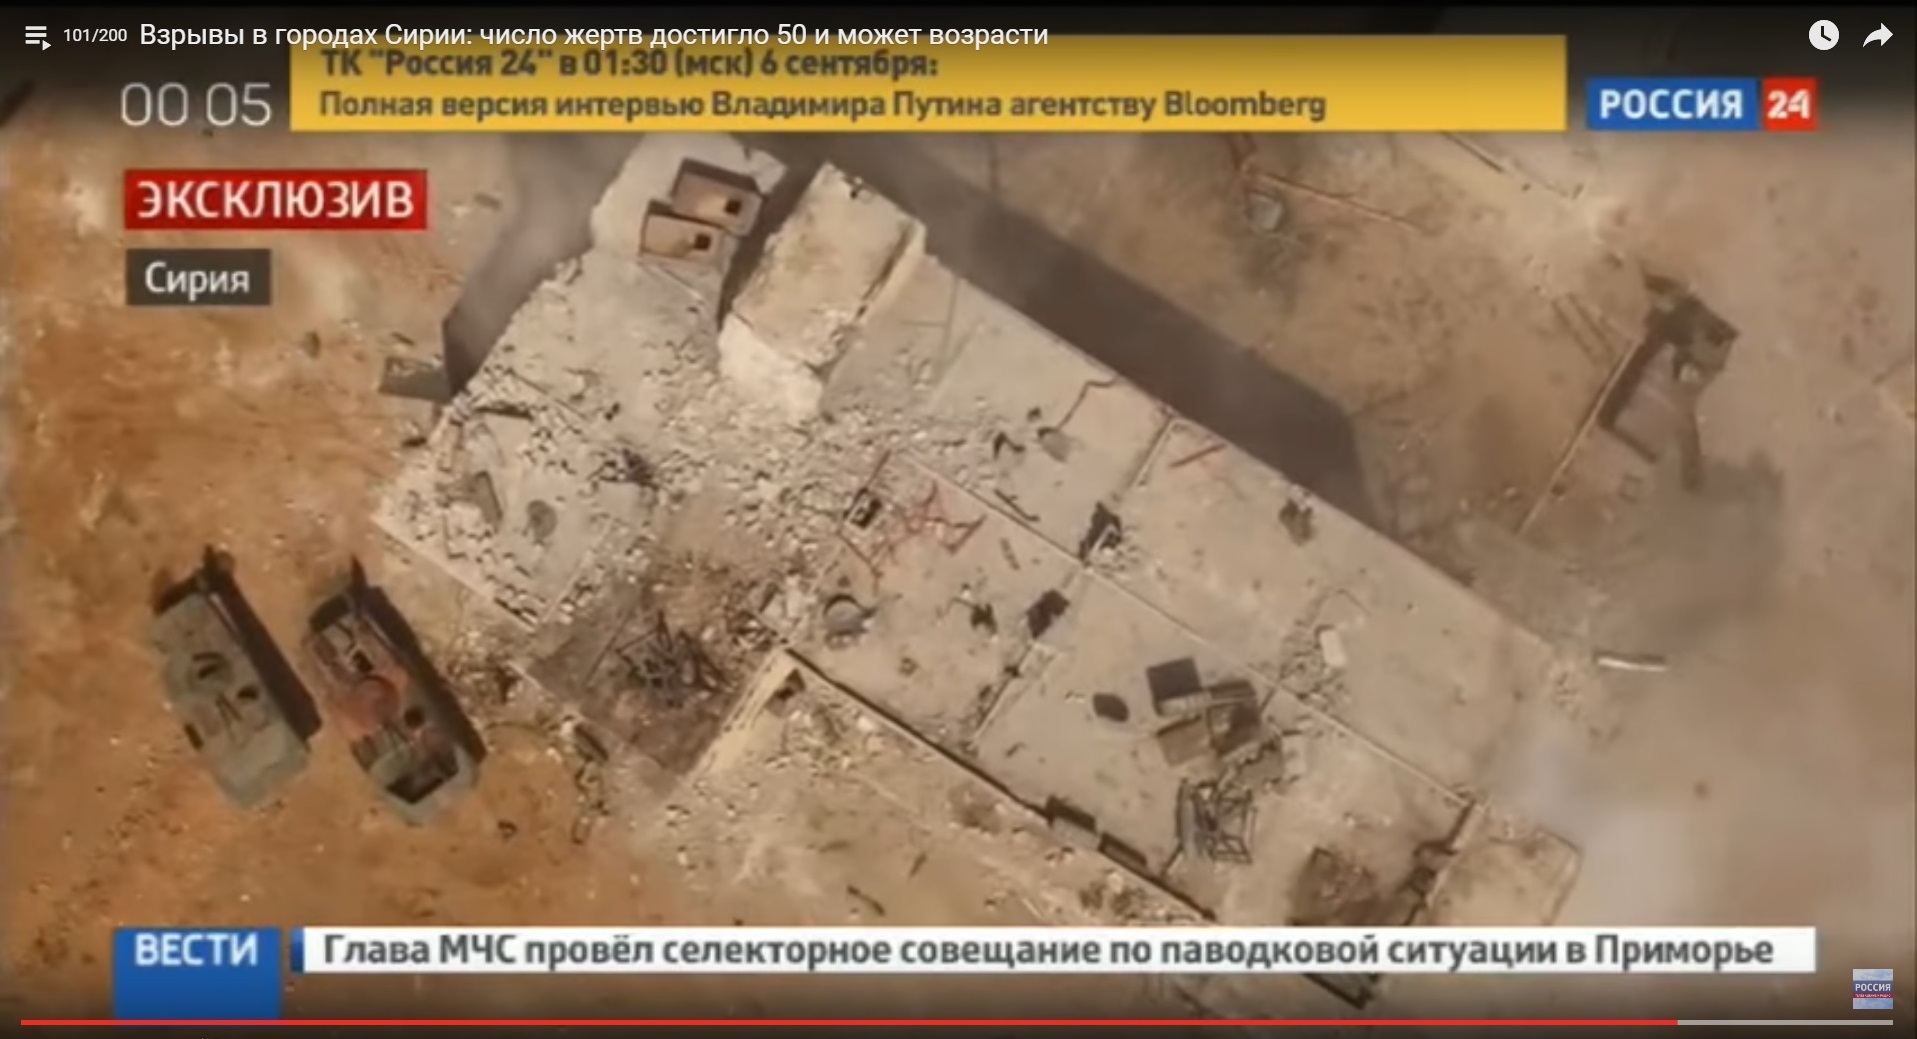
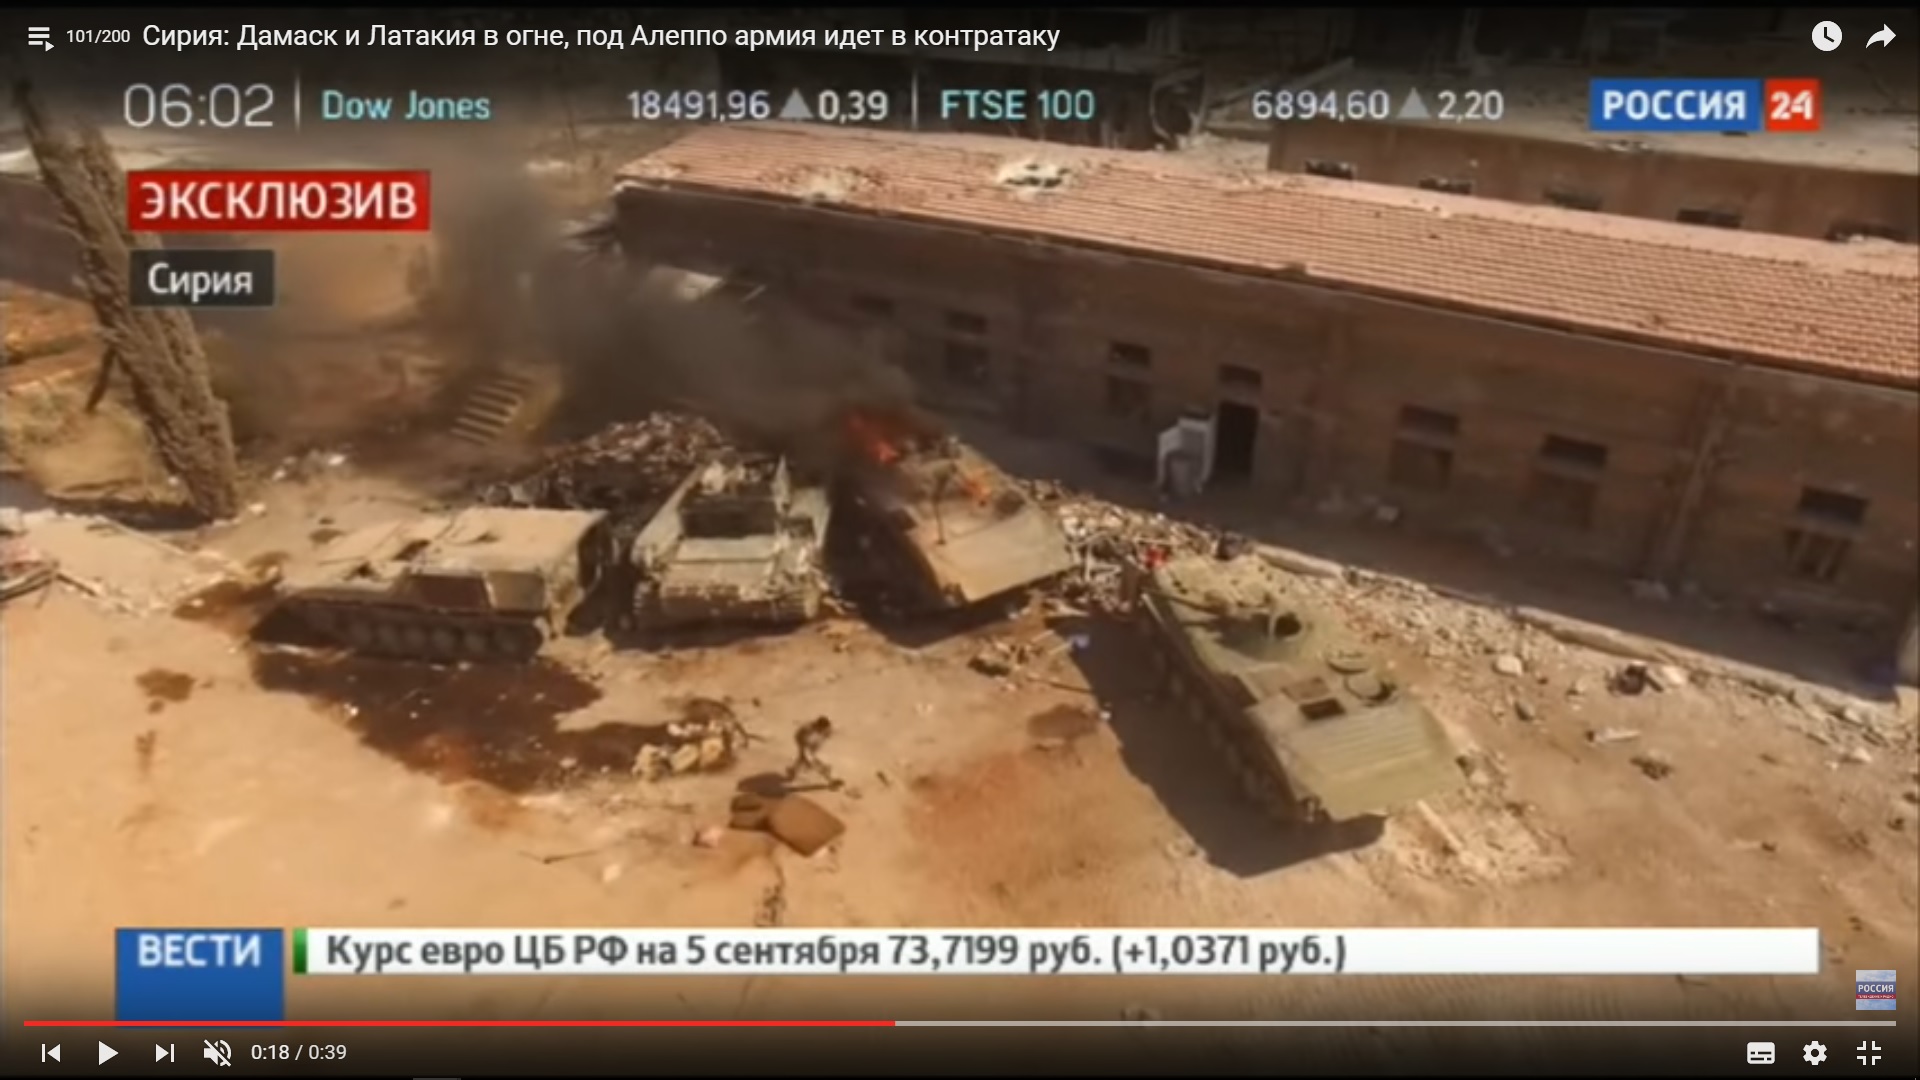
The Yellow Building could be found by the two damaged BMP vehicles near it.

Detailed Analysis Of Battle For Ramouseh Artillery Academy In Western Aleppo – Part 4

Click to see the full-size image

Three BMP vehicles were deployed to strengthen government forces in the Ramouseh Artillery Academy complex. The first reached the depot. The second reached the dining facility. The third reached the Yellow Building and when it was moving back the vehicle was hit from the direction of the garage and stopped.

Detailed Analysis Of Battle For Ramouseh Artillery Academy In Western Aleppo – Part 4

Click to see the full-size image

Following the hit at the BMP vehicle, the shelling of the nearby buildings increased with heavy machine guns.

Detailed Analysis Of Battle For Ramouseh Artillery Academy In Western Aleppo – Part 4

Click to see the full-size image

The fire hit the top floors of the Yellow Building.

Detailed Analysis Of Battle For Ramouseh Artillery Academy In Western Aleppo – Part 4

Click to see the full-size image

Detailed Analysis Of Battle For Ramouseh Artillery Academy In Western Aleppo – Part 4

Click to see the full-size image

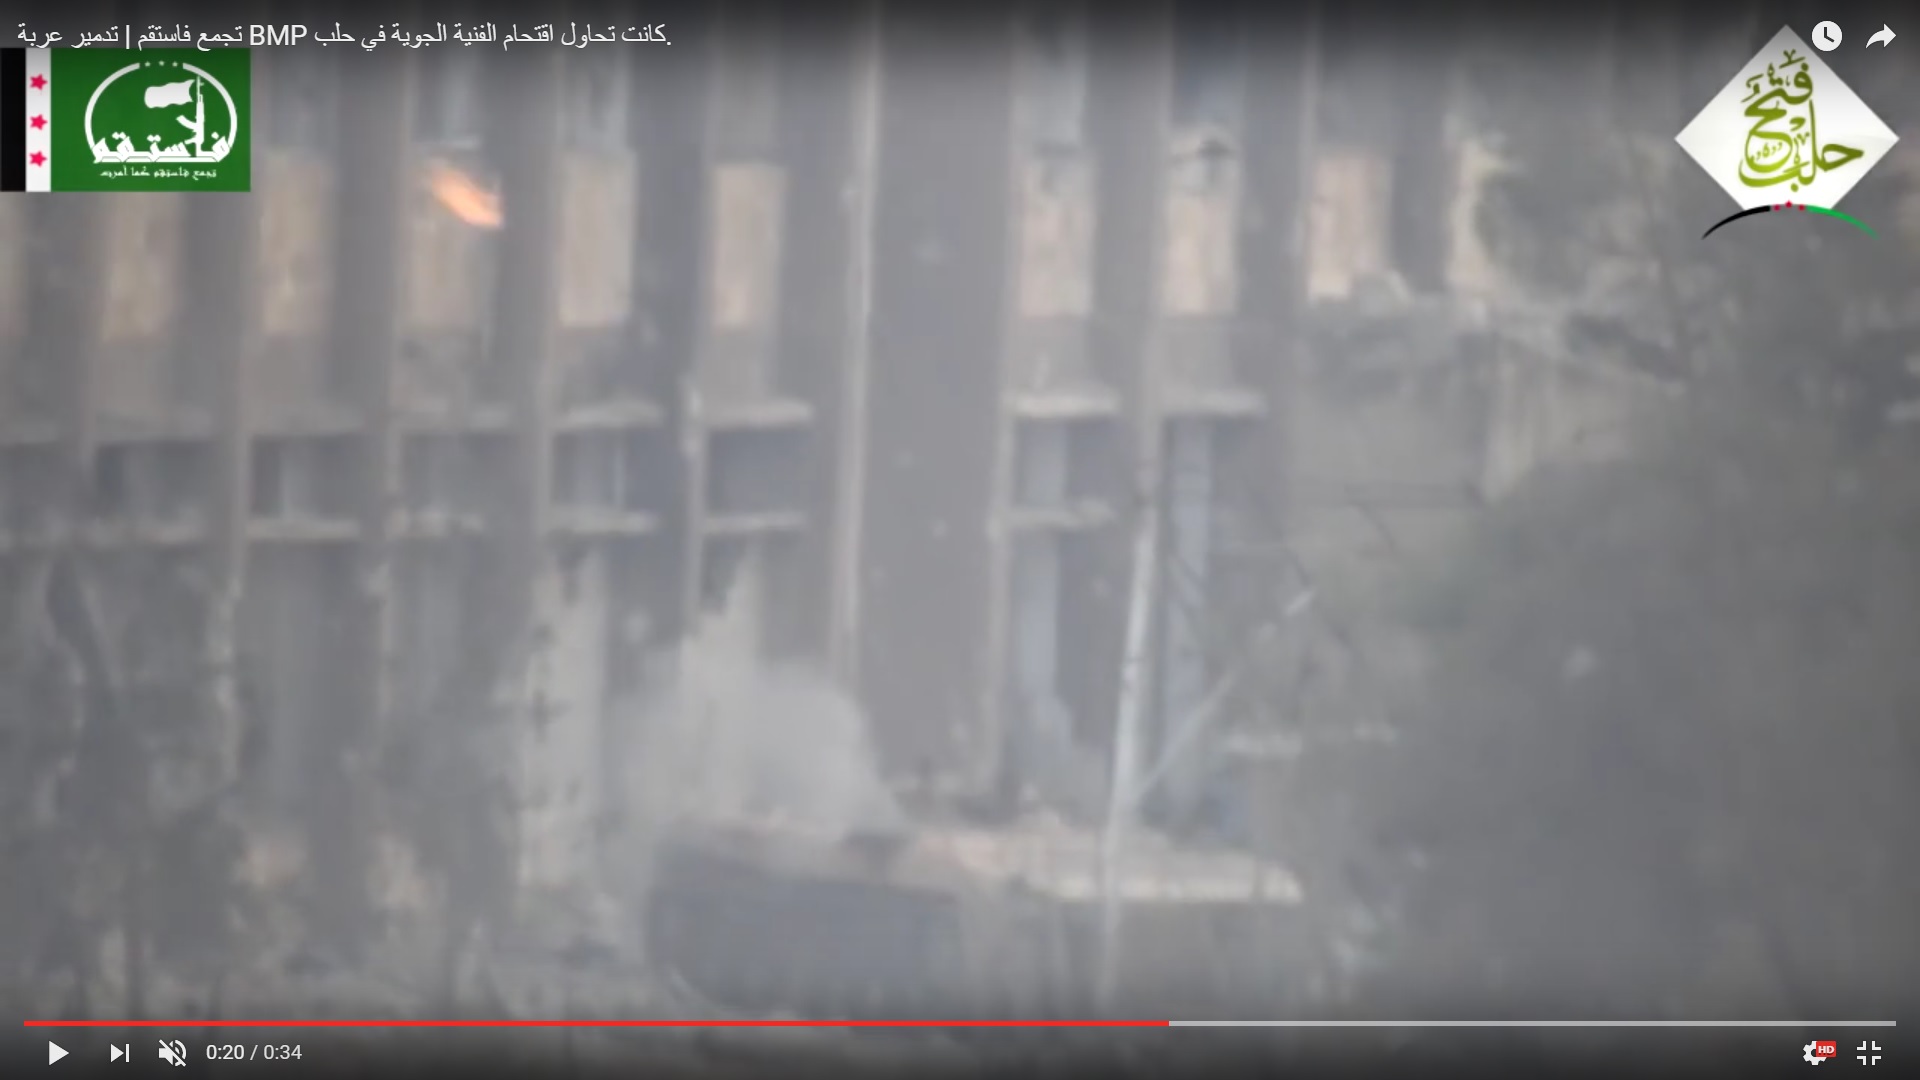
The Shilka self-propelled gun’s shelling peneterated the Yellow Building.

Detailed Analysis Of Battle For Ramouseh Artillery Academy In Western Aleppo – Part 4

Click to see the full-size image

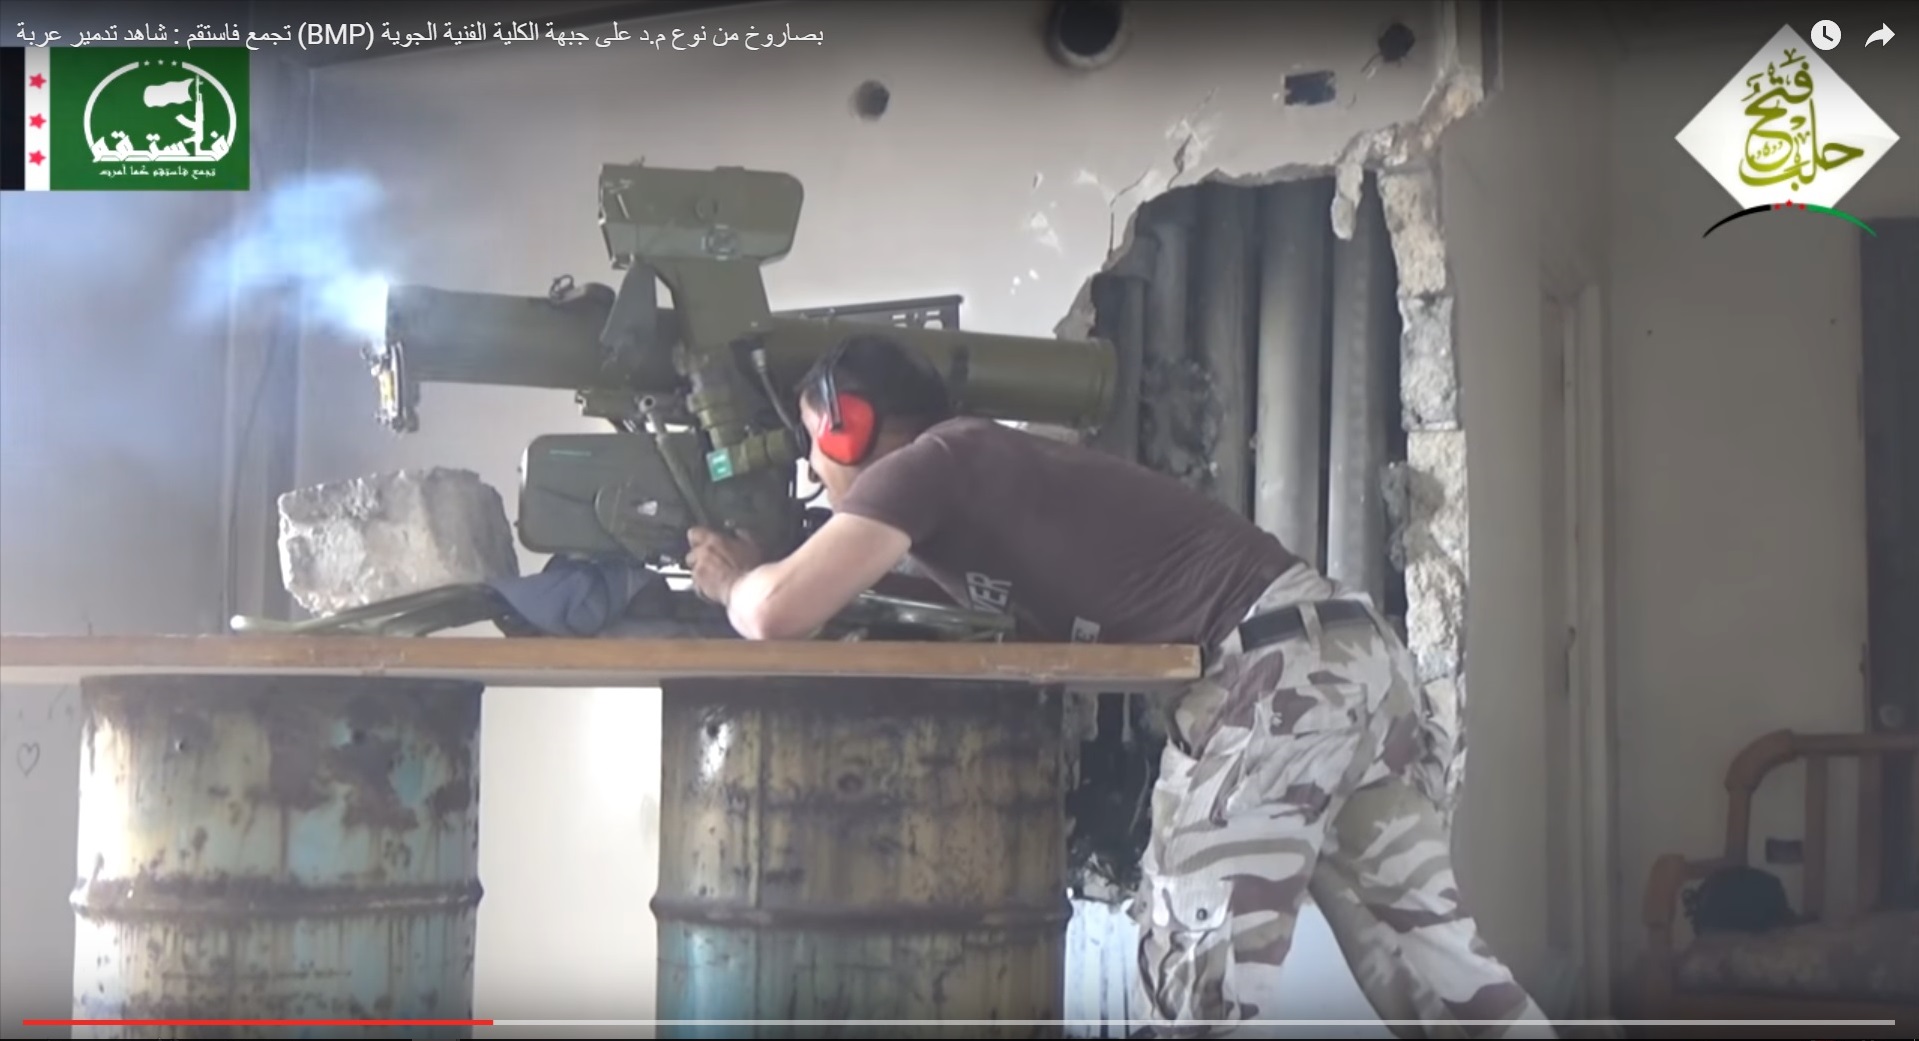
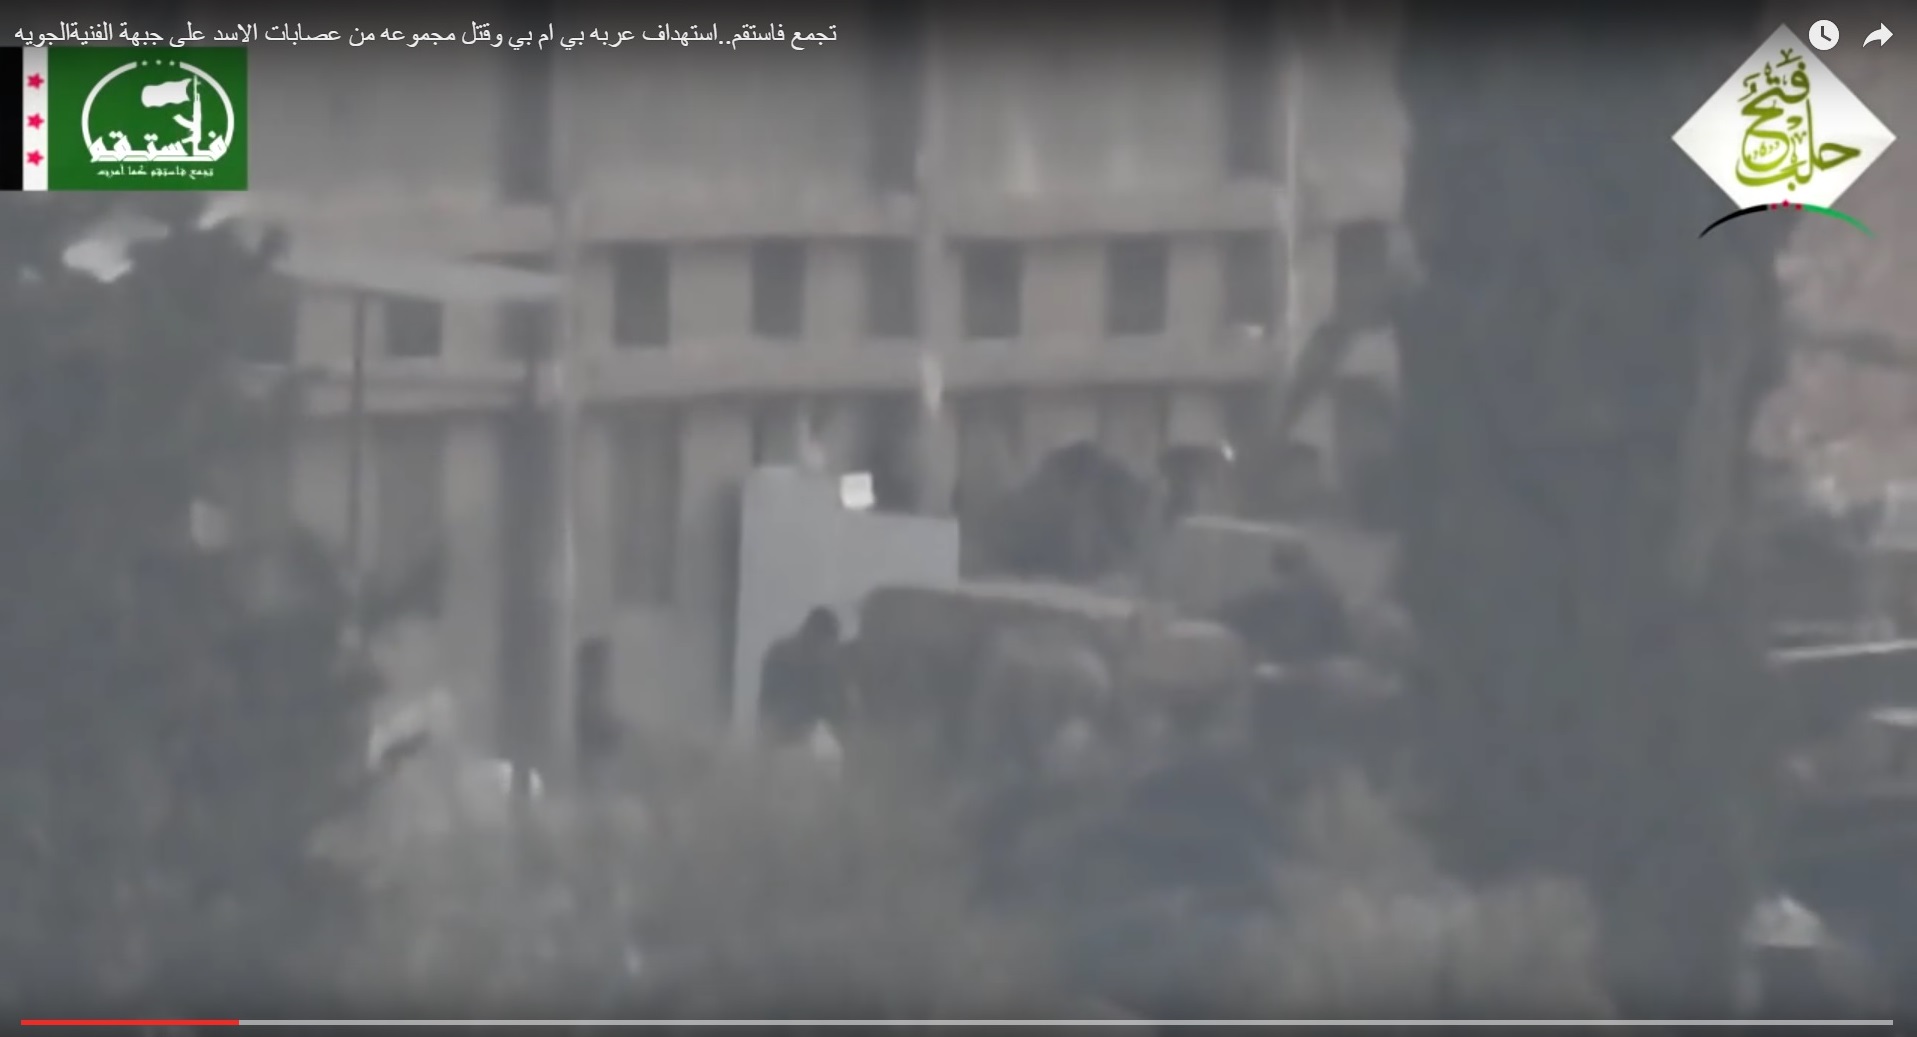
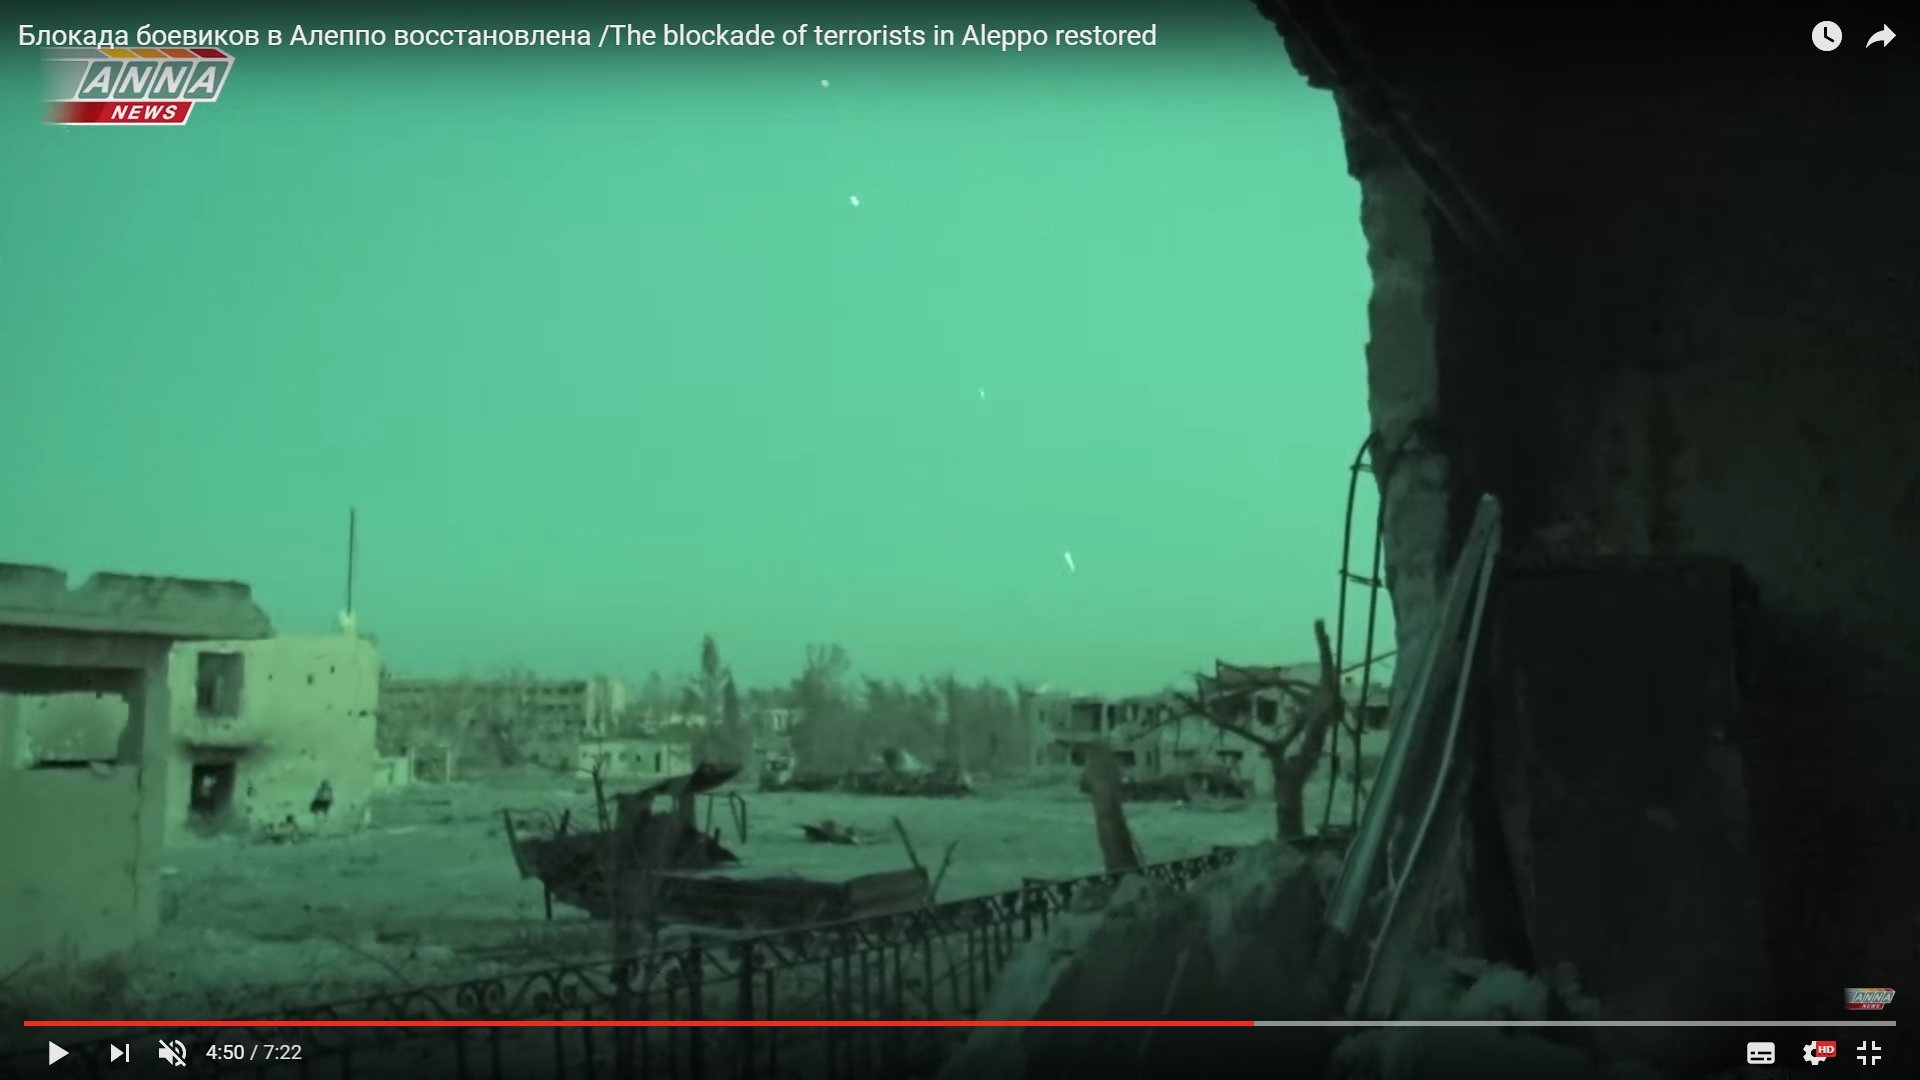
Meanwhile, the ATGM crew is searching for another target.

Detailed Analysis Of Battle For Ramouseh Artillery Academy In Western Aleppo – Part 4

Click to see the full-size image

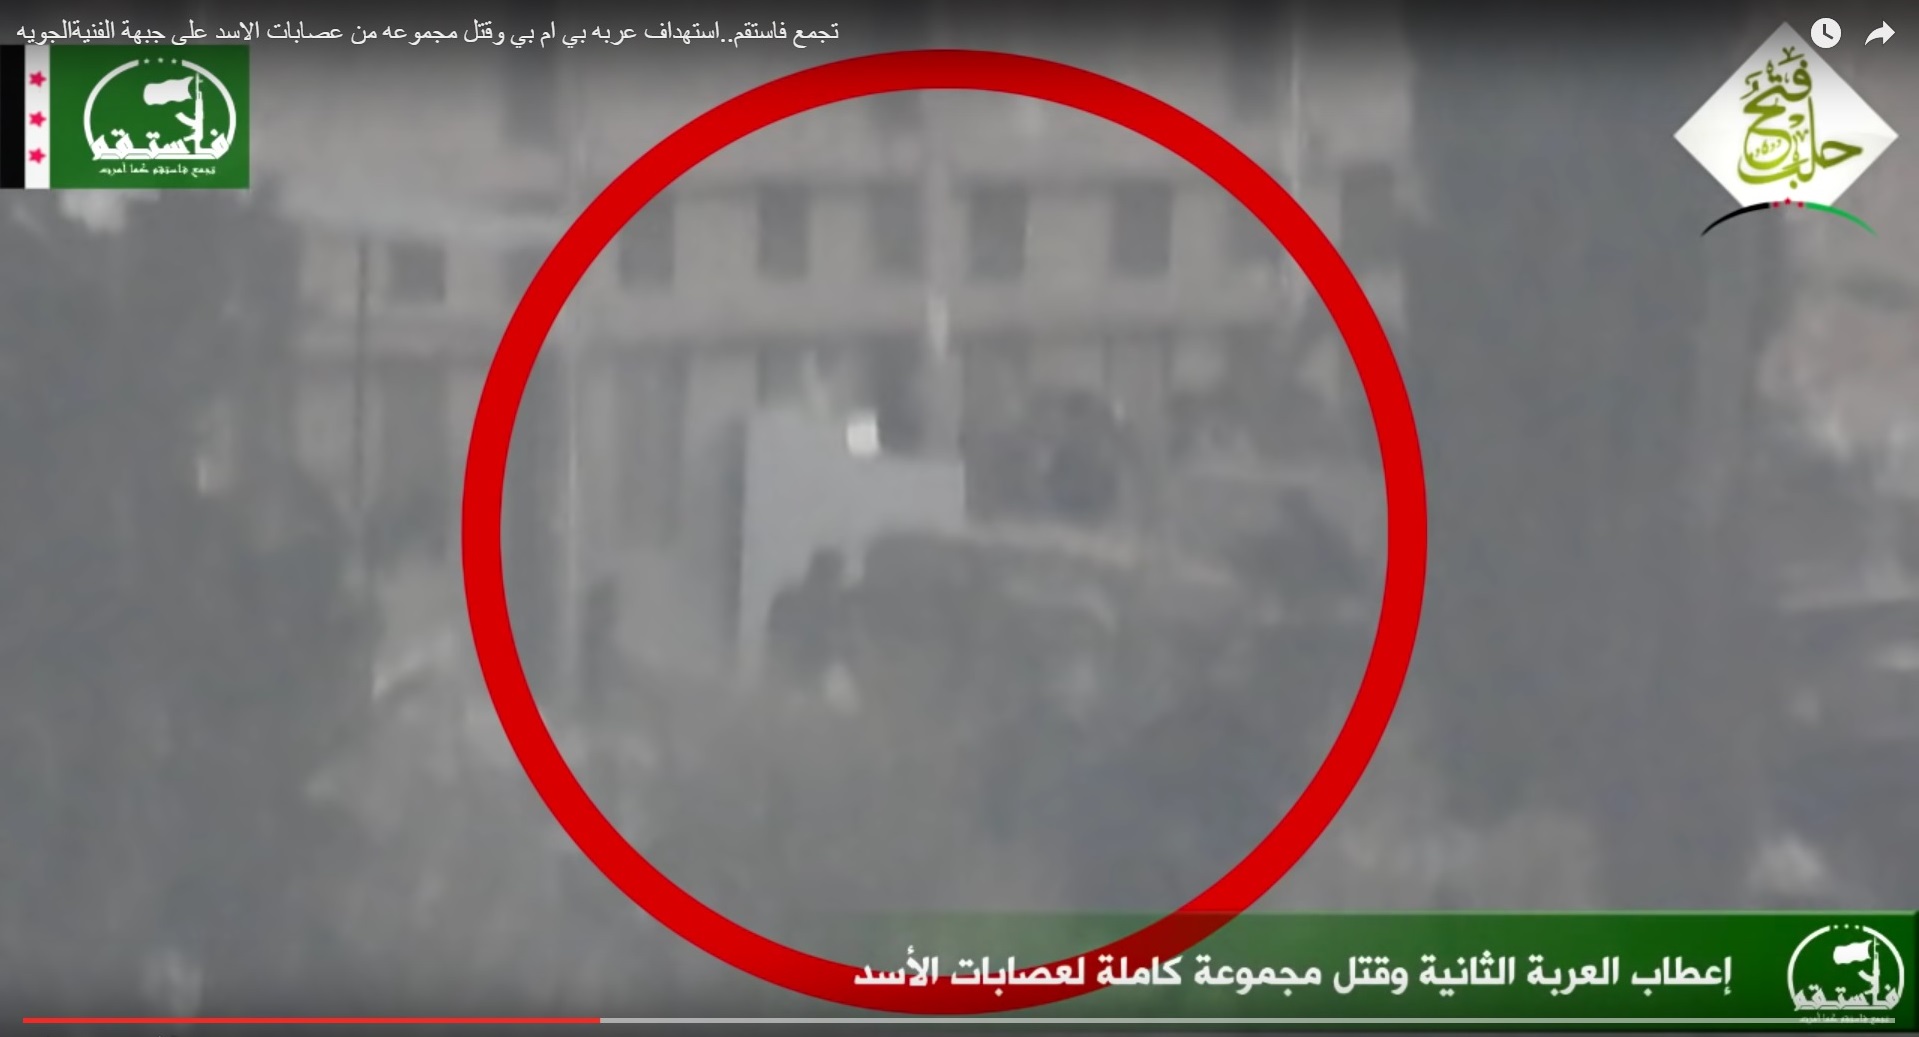
The BMP vehicle near the dining facility became it. We also could see an armoured recovery vehicle, the tower of the BMP-2 vehicle with opened hatches and a soldier on the steps.

Detailed Analysis Of Battle For Ramouseh Artillery Academy In Western Aleppo – Part 4

Click to see the full-size image

Detailed Analysis Of Battle For Ramouseh Artillery Academy In Western Aleppo – Part 4

Click to see the full-size image

The hit.

Detailed Analysis Of Battle For Ramouseh Artillery Academy In Western Aleppo – Part 4

Click to see the full-size image

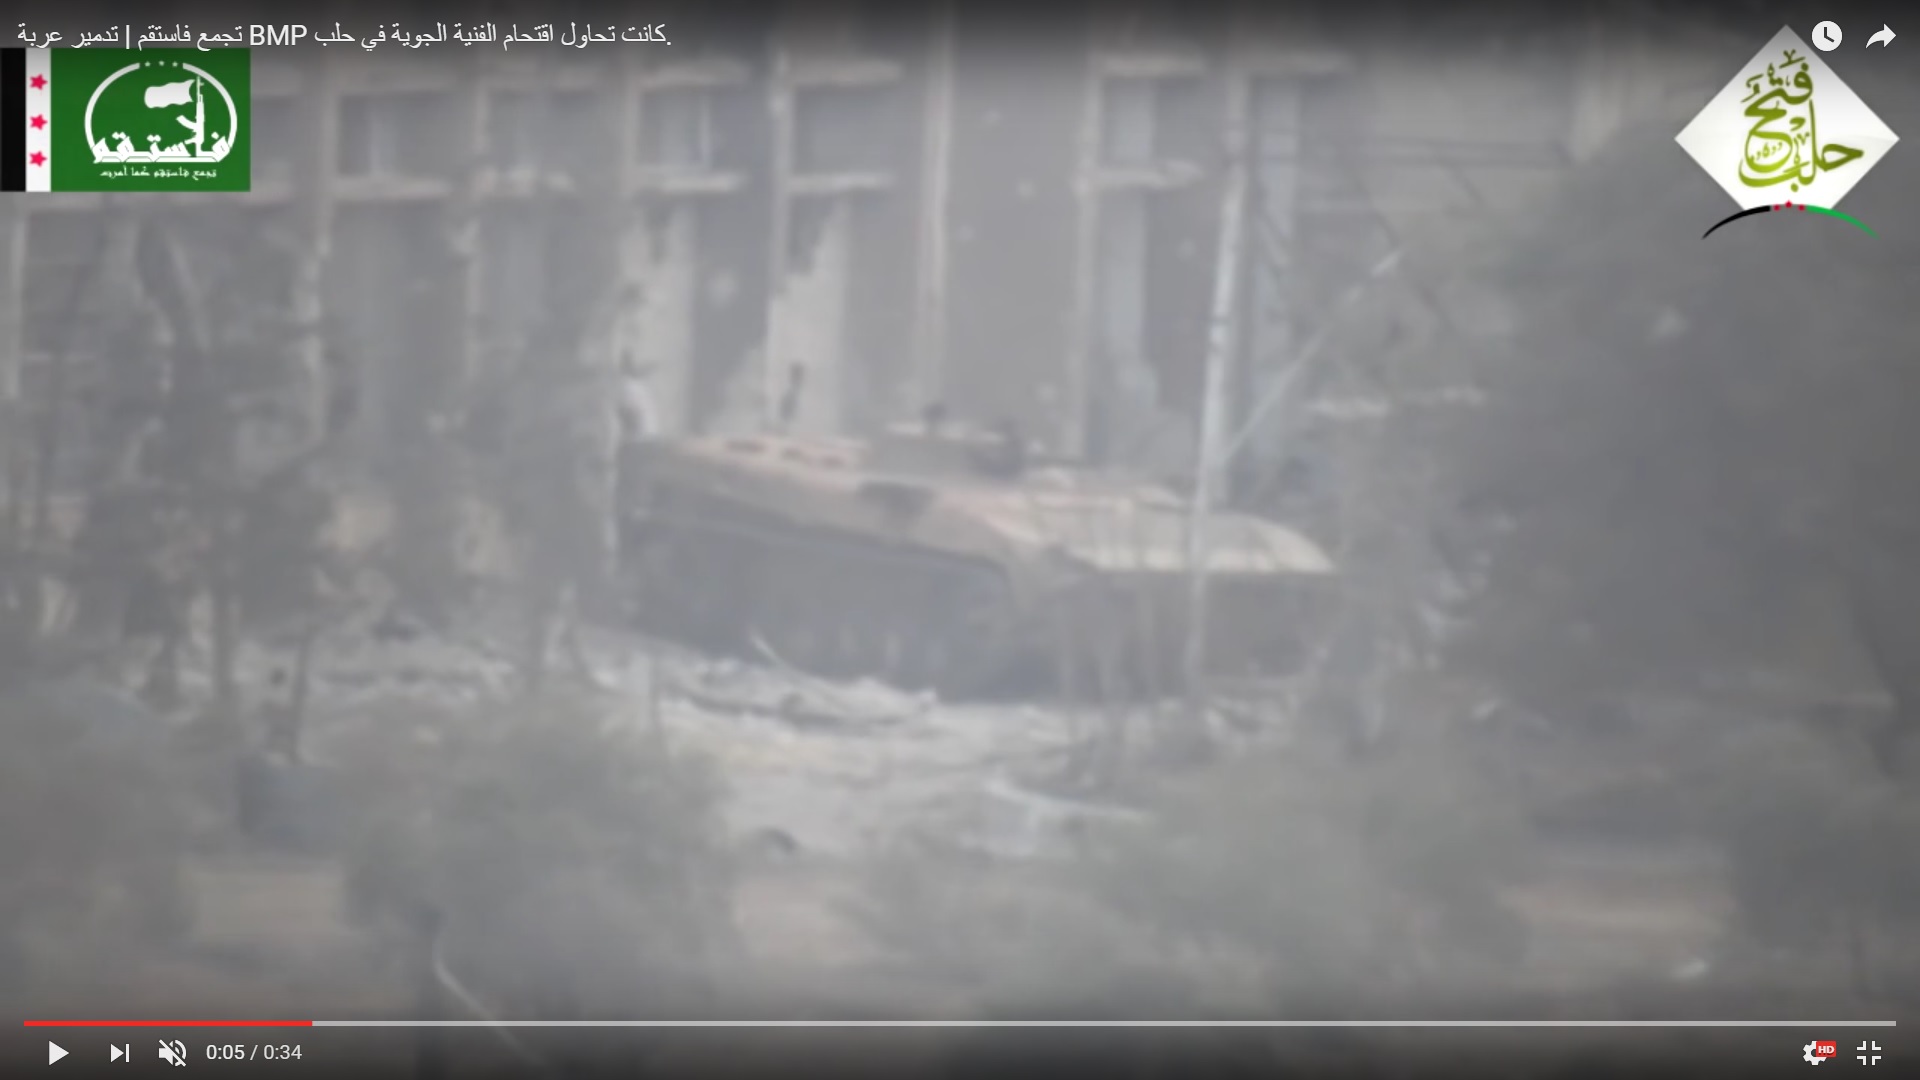
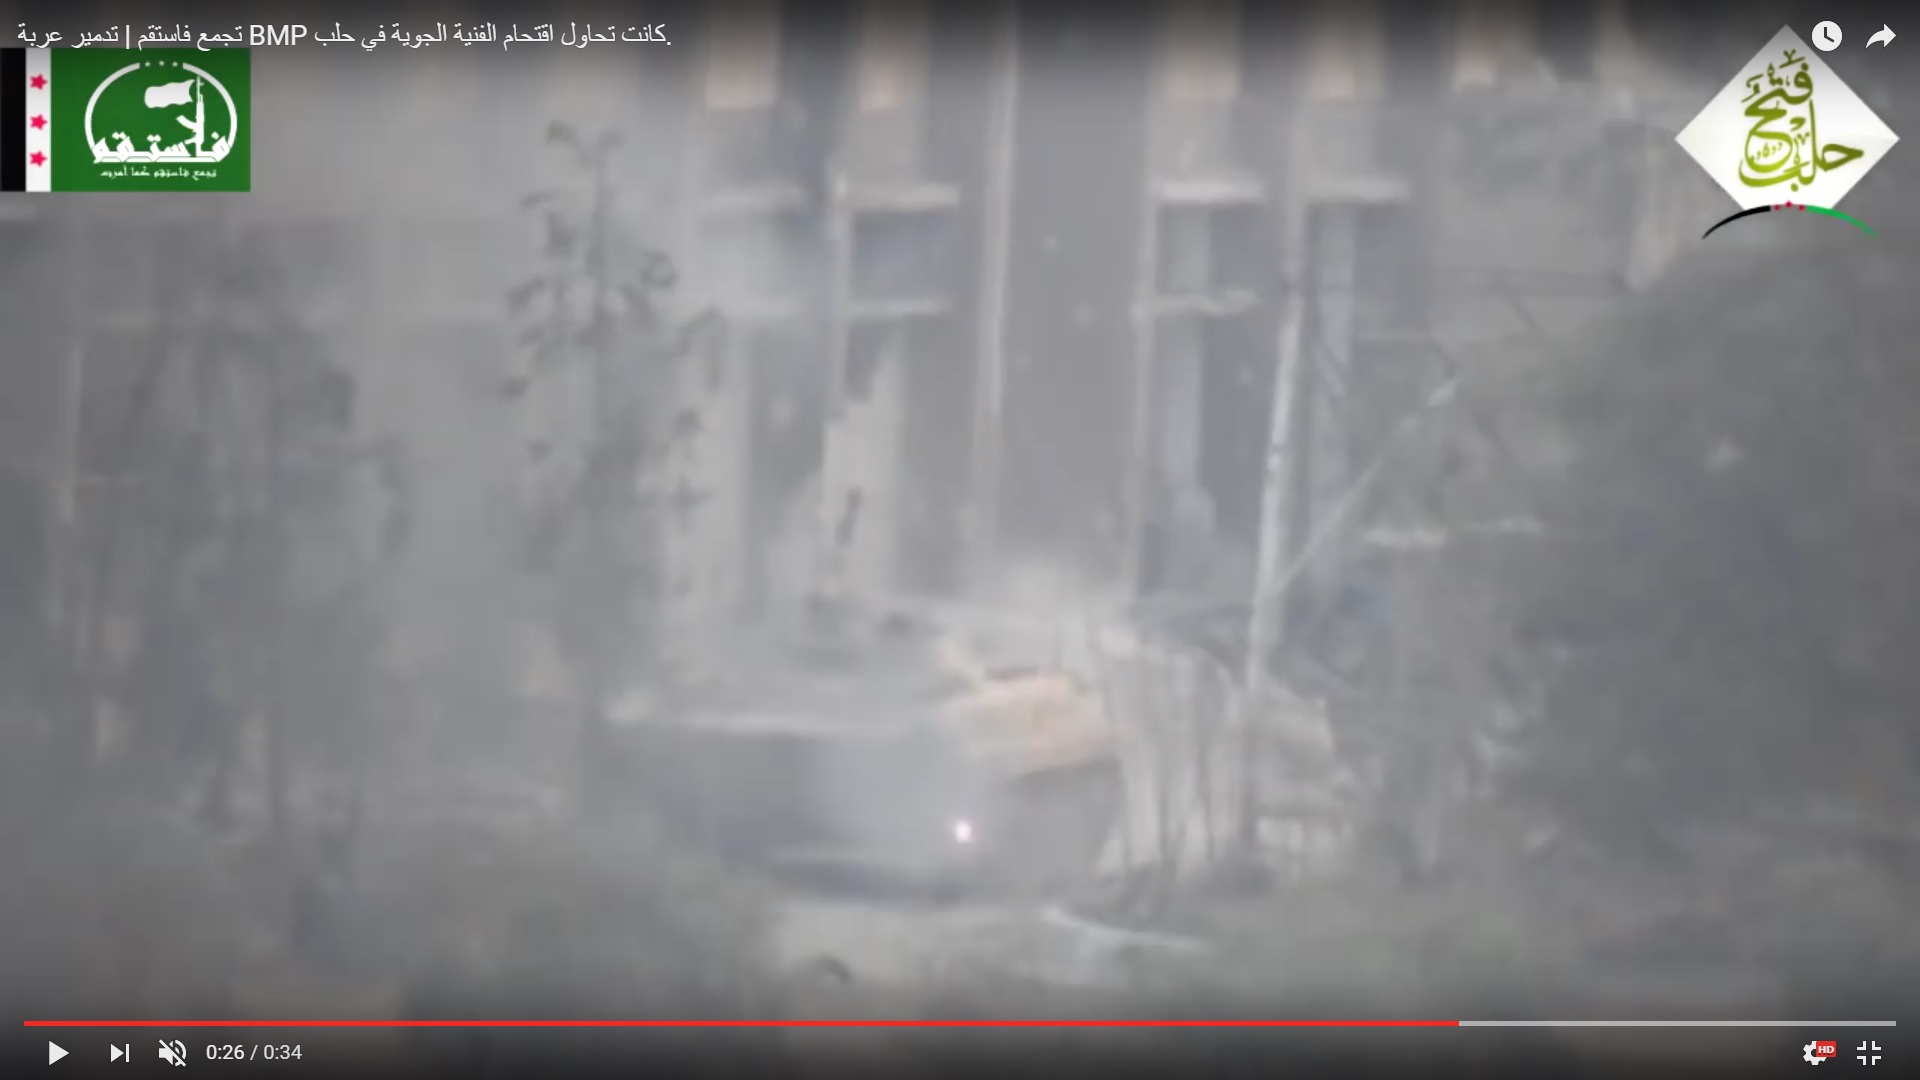
The missile hit the right side of the vehicle. There was no fire. Nonetheless, the BMP motor is located in this part of the vehicle. So, the BMP was likely heavily damaged.

Units deployed in the complex needed supplies. Thus, another BMP vehicle was deployed.

Detailed Analysis Of Battle For Ramouseh Artillery Academy In Western Aleppo – Part 4

Click to see the full-size image

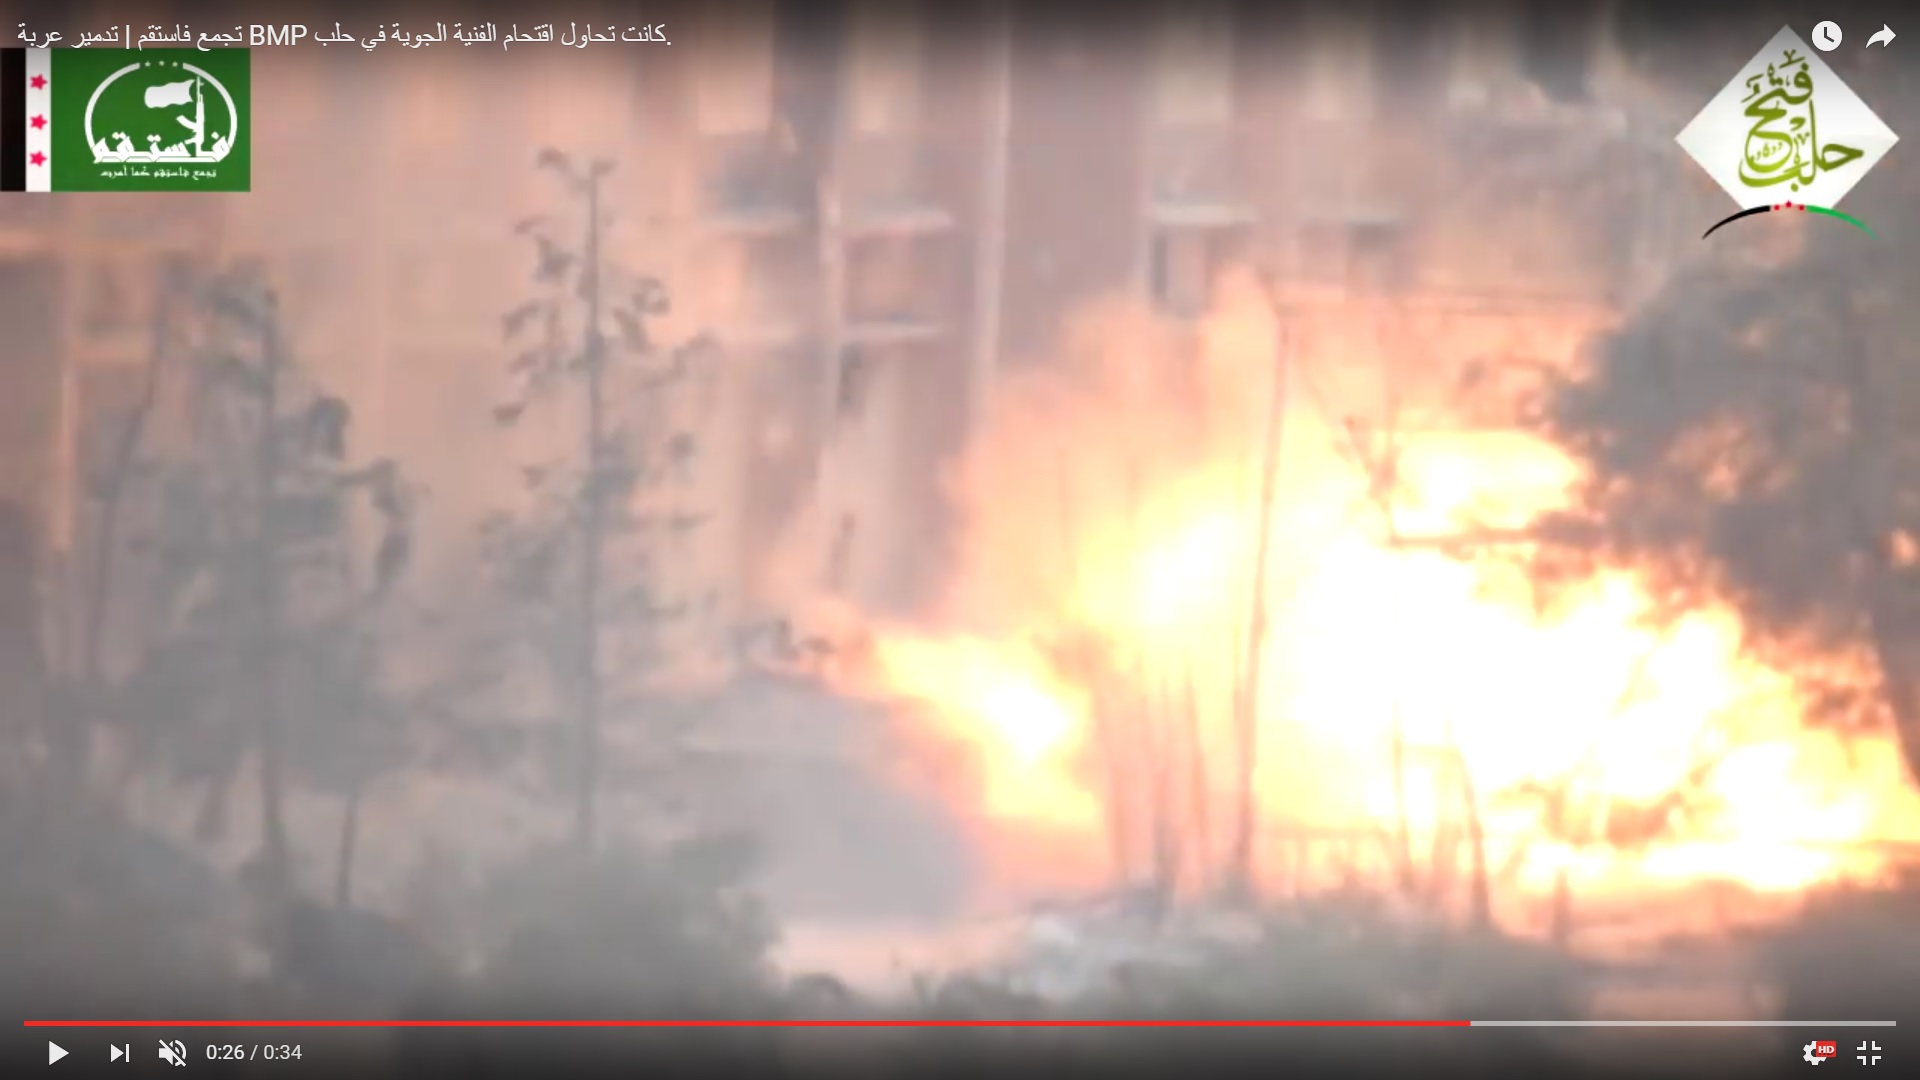
The results of the day: Two BMP were damaged, a new one was deployed.

Detailed Analysis Of Battle For Ramouseh Artillery Academy In Western Aleppo – Part 4

Click to see the full-size image

Meanwhile, the ATGM crew was ready for another shot.

Detailed Analysis Of Battle For Ramouseh Artillery Academy In Western Aleppo – Part 4

Click to see the full-size image

A busy work was taking place near the steps. The newly arrived BMP vehicle was unloading. One soldier was near the damaged BMP-2 vehicle and another  was at its armour. Most likely, this disoriented the ATGM gunner: militants believed the soldiers were near the newlly arrived vehicle.

Detailed Analysis Of Battle For Ramouseh Artillery Academy In Western Aleppo – Part 4

Click to see the full-size image

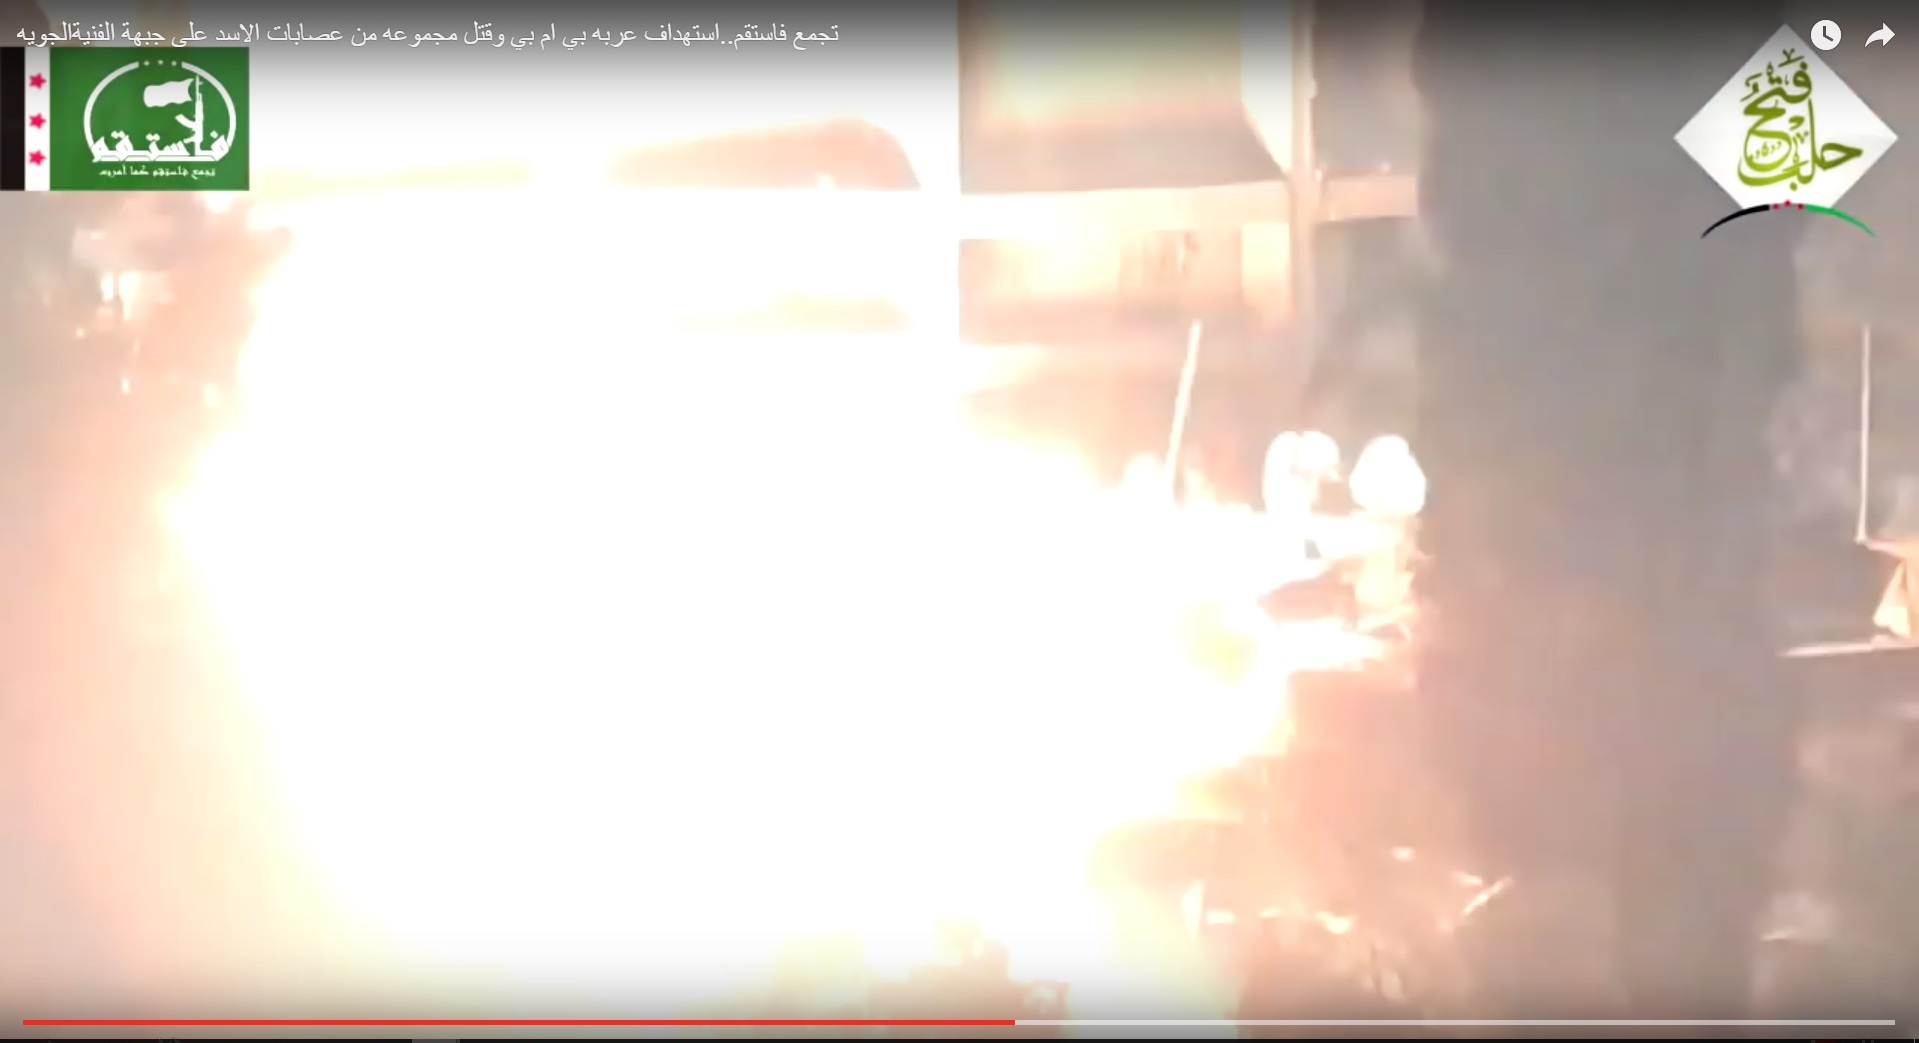
Another hit.

Detailed Analysis Of Battle For Ramouseh Artillery Academy In Western Aleppo – Part 4

Click to see the full-size image

The vehicle started burning.

Detailed Analysis Of Battle For Ramouseh Artillery Academy In Western Aleppo – Part 4

Click to see the full-size image

In turn, government forces resumed shelling of the garage with machine guns.

Detailed Analysis Of Battle For Ramouseh Artillery Academy In Western Aleppo – Part 4

Click to see the full-size image

The recently arrived BMP vehicle moved back. The BMP-1 vehicle remained near the burning BMP-2 vehicle. Maybe the BMP driver was injured or he bewared an explosion of the ammunition load in the burning vehicle.

Detailed Analysis Of Battle For Ramouseh Artillery Academy In Western Aleppo – Part 4

Click to see the full-size image

A drone look at the situation.

Detailed Analysis Of Battle For Ramouseh Artillery Academy In Western Aleppo – Part 4

Click to see the full-size image

A look at the same site in the morning on September 3.

Detailed Analysis Of Battle For Ramouseh Artillery Academy In Western Aleppo – Part 4

Click to see the full-size image

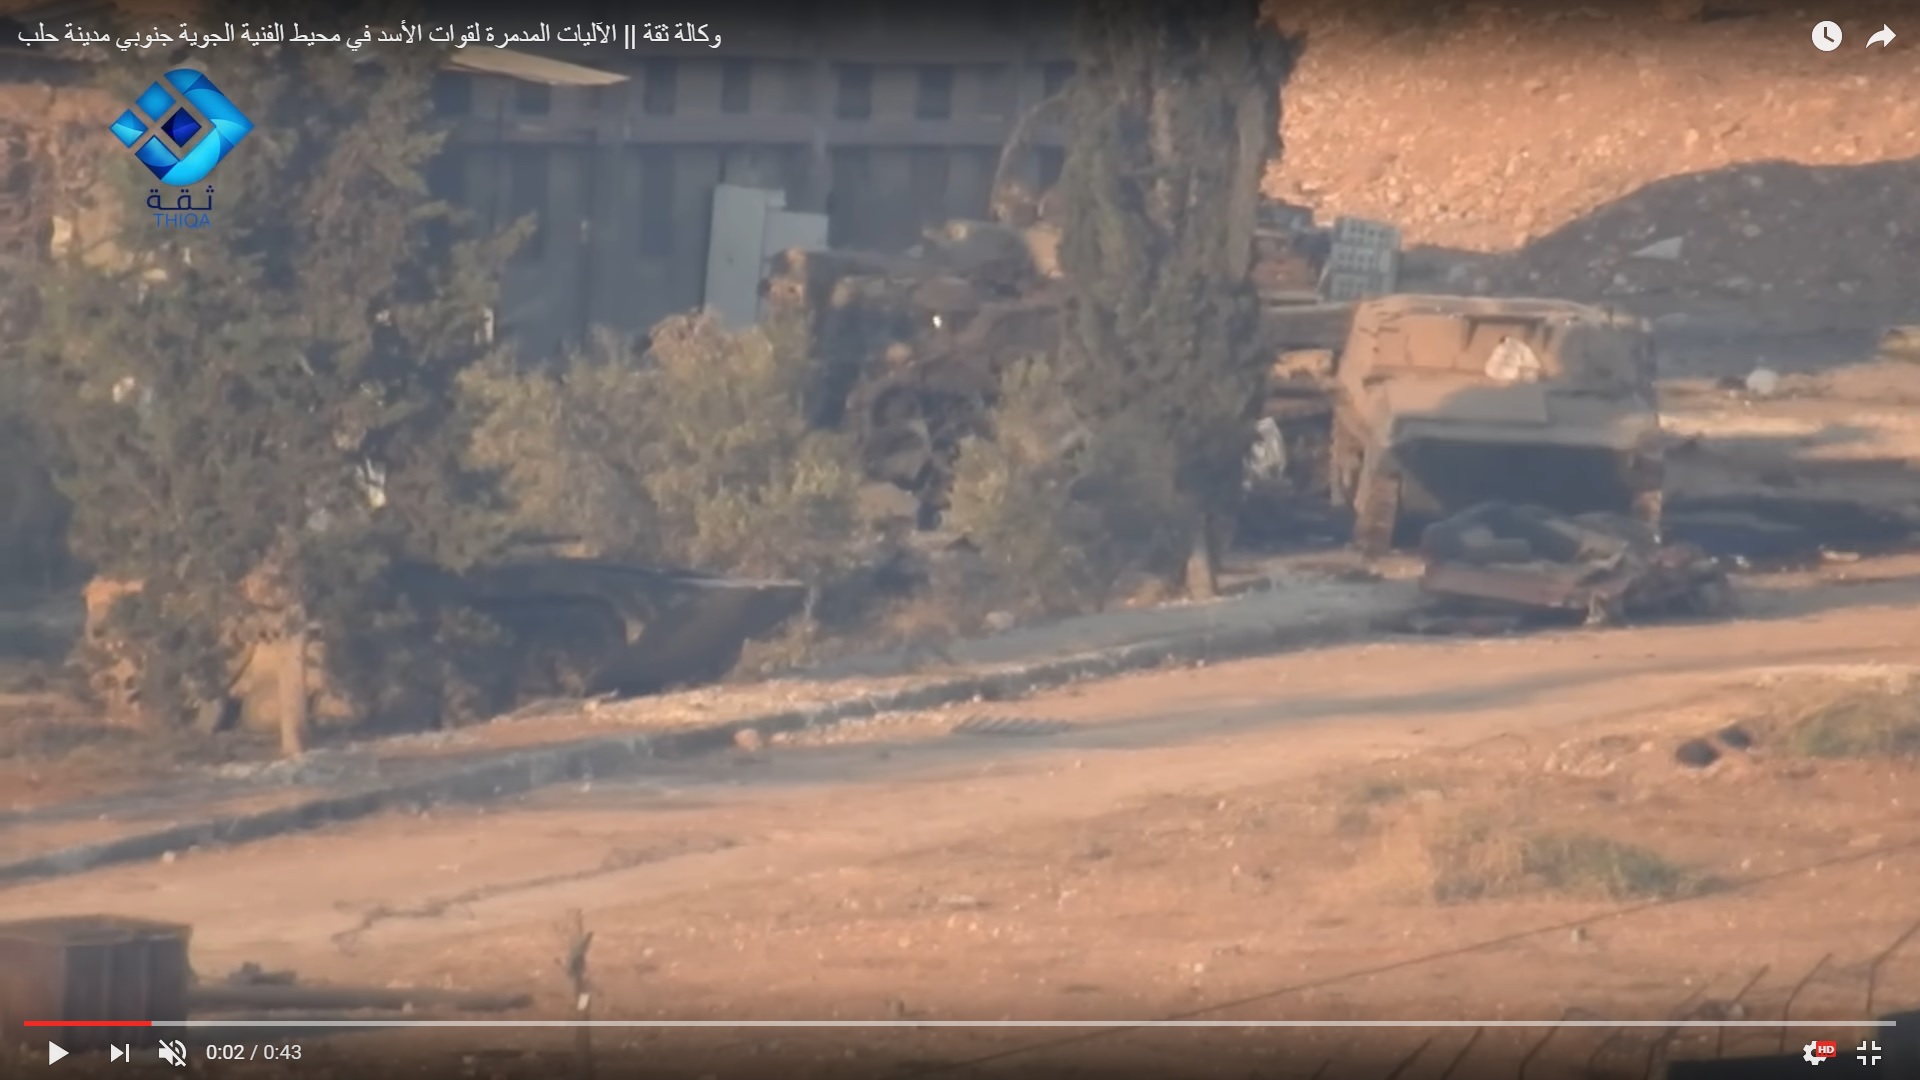
We could see the BVP-1 AMB-S vehicle, the wreckage of the red and white jeeps, and the rear of the BMP-2 vehicle with opened hatches. The armoured recovery vehicle was near behind a tree. The damaged BMP-1 vehicle is on the foreground of the image near another tree.

Another BMP-1 vehicle was en route to the depot.

Detailed Analysis Of Battle For Ramouseh Artillery Academy In Western Aleppo – Part 4

Click to see the full-size image

Its rear hatch was opened and the vehicle lacked a hood.

It looks like government forces took a pause after the recent losses. No active military developments took place during the day. Another offensive attempt took place on the night of Sptember 3 to 4. The offensive was launched in the direction of the Ramouseh neighborhood and the artillery college. Meanwhile, the Tiger Forces advanced from the Um Al Qara hill into the area of the armament college.

Detailed Analysis Of Battle For Ramouseh Artillery Academy In Western Aleppo – Part 4

Click to see the full-size image

Militants opened a harassing mortar fire on the military dirt road and the nearby area of the Hamadaniyah neighborhood.

Detailed Analysis Of Battle For Ramouseh Artillery Academy In Western Aleppo – Part 4

Click to see the full-size image

The further government advance became slower. The BMP-1 vehicle continued shuttle voyages to the aviation college.

Detailed Analysis Of Battle For Ramouseh Artillery Academy In Western Aleppo – Part 4

Click to see the full-size image

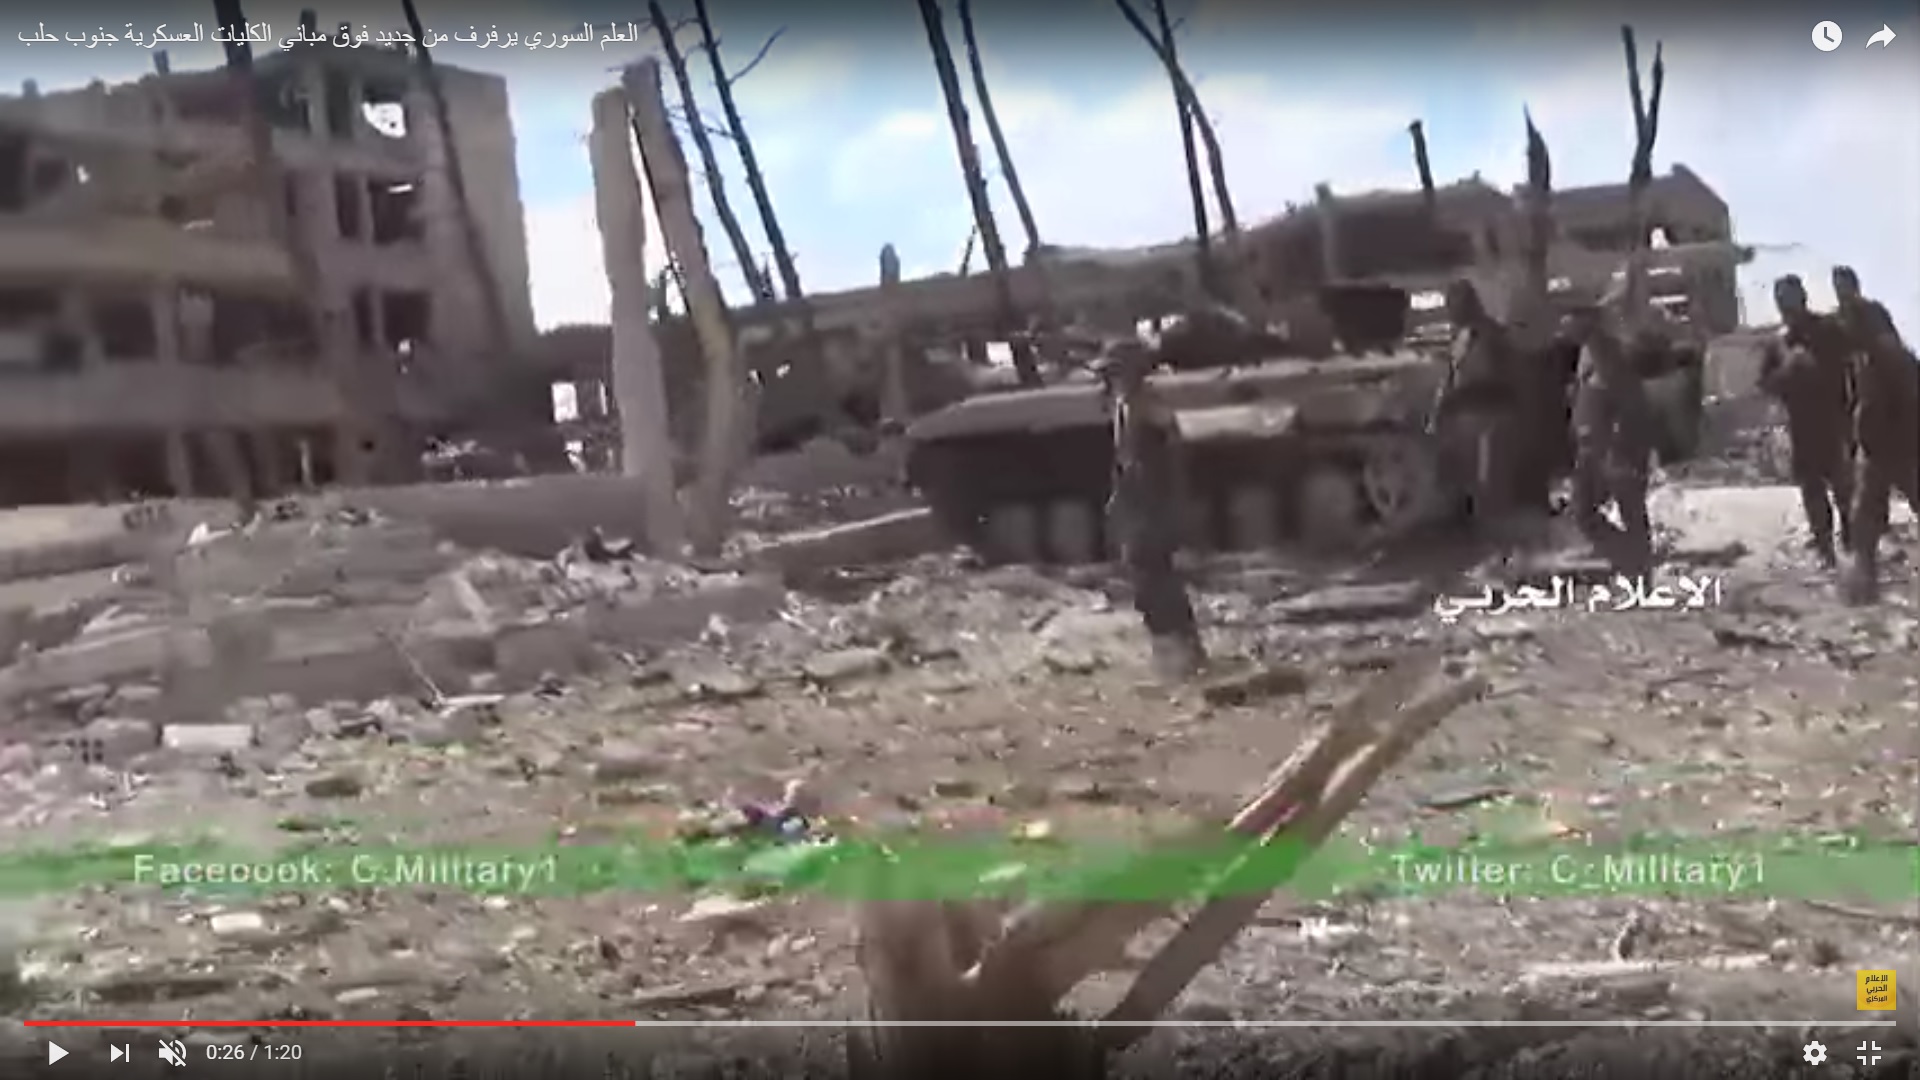
The Yellow Building and the nearby buildings were captured and the BMP was moving with an opened hatch. The damaged BMP vehicles were evacuated from the road. The burned and damaged BMP vehicles remained near the Yellow Building.

Detailed Analysis Of Battle For Ramouseh Artillery Academy In Western Aleppo – Part 4

Click to see the full-size image

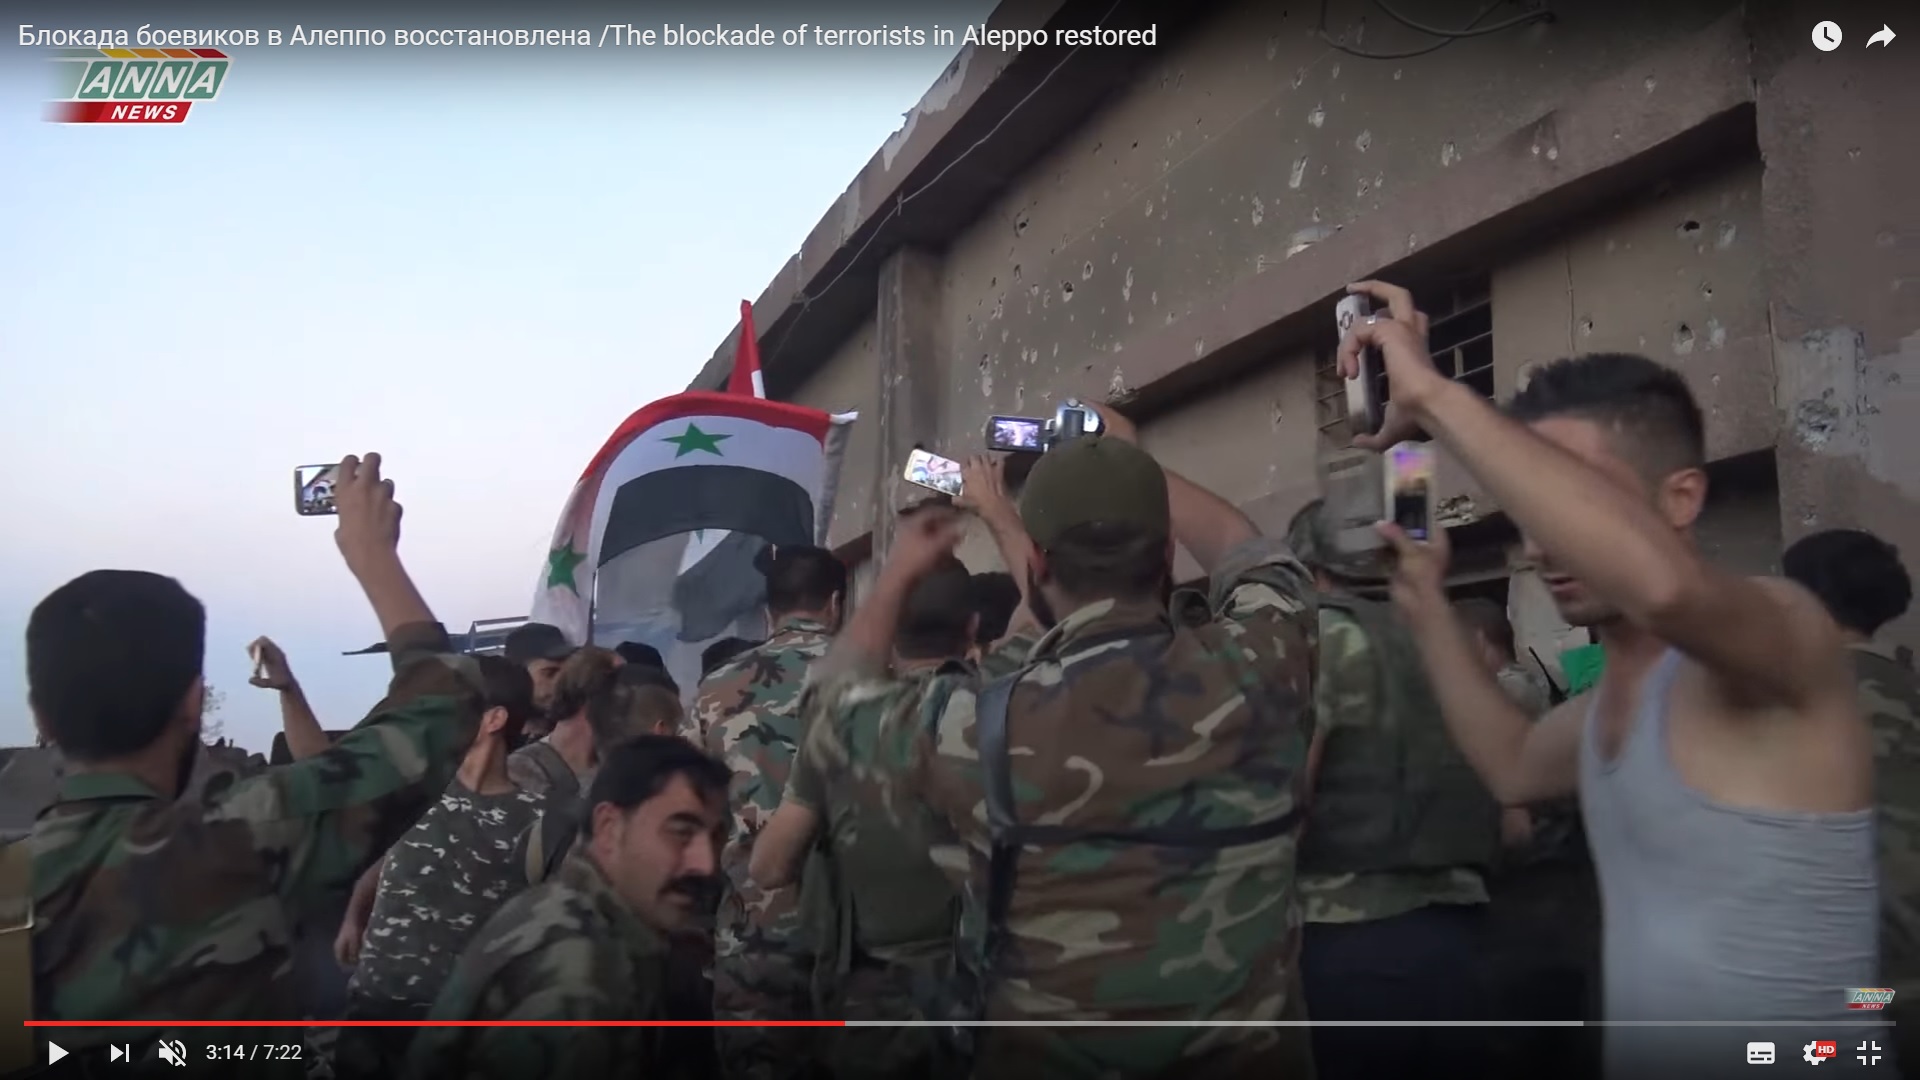
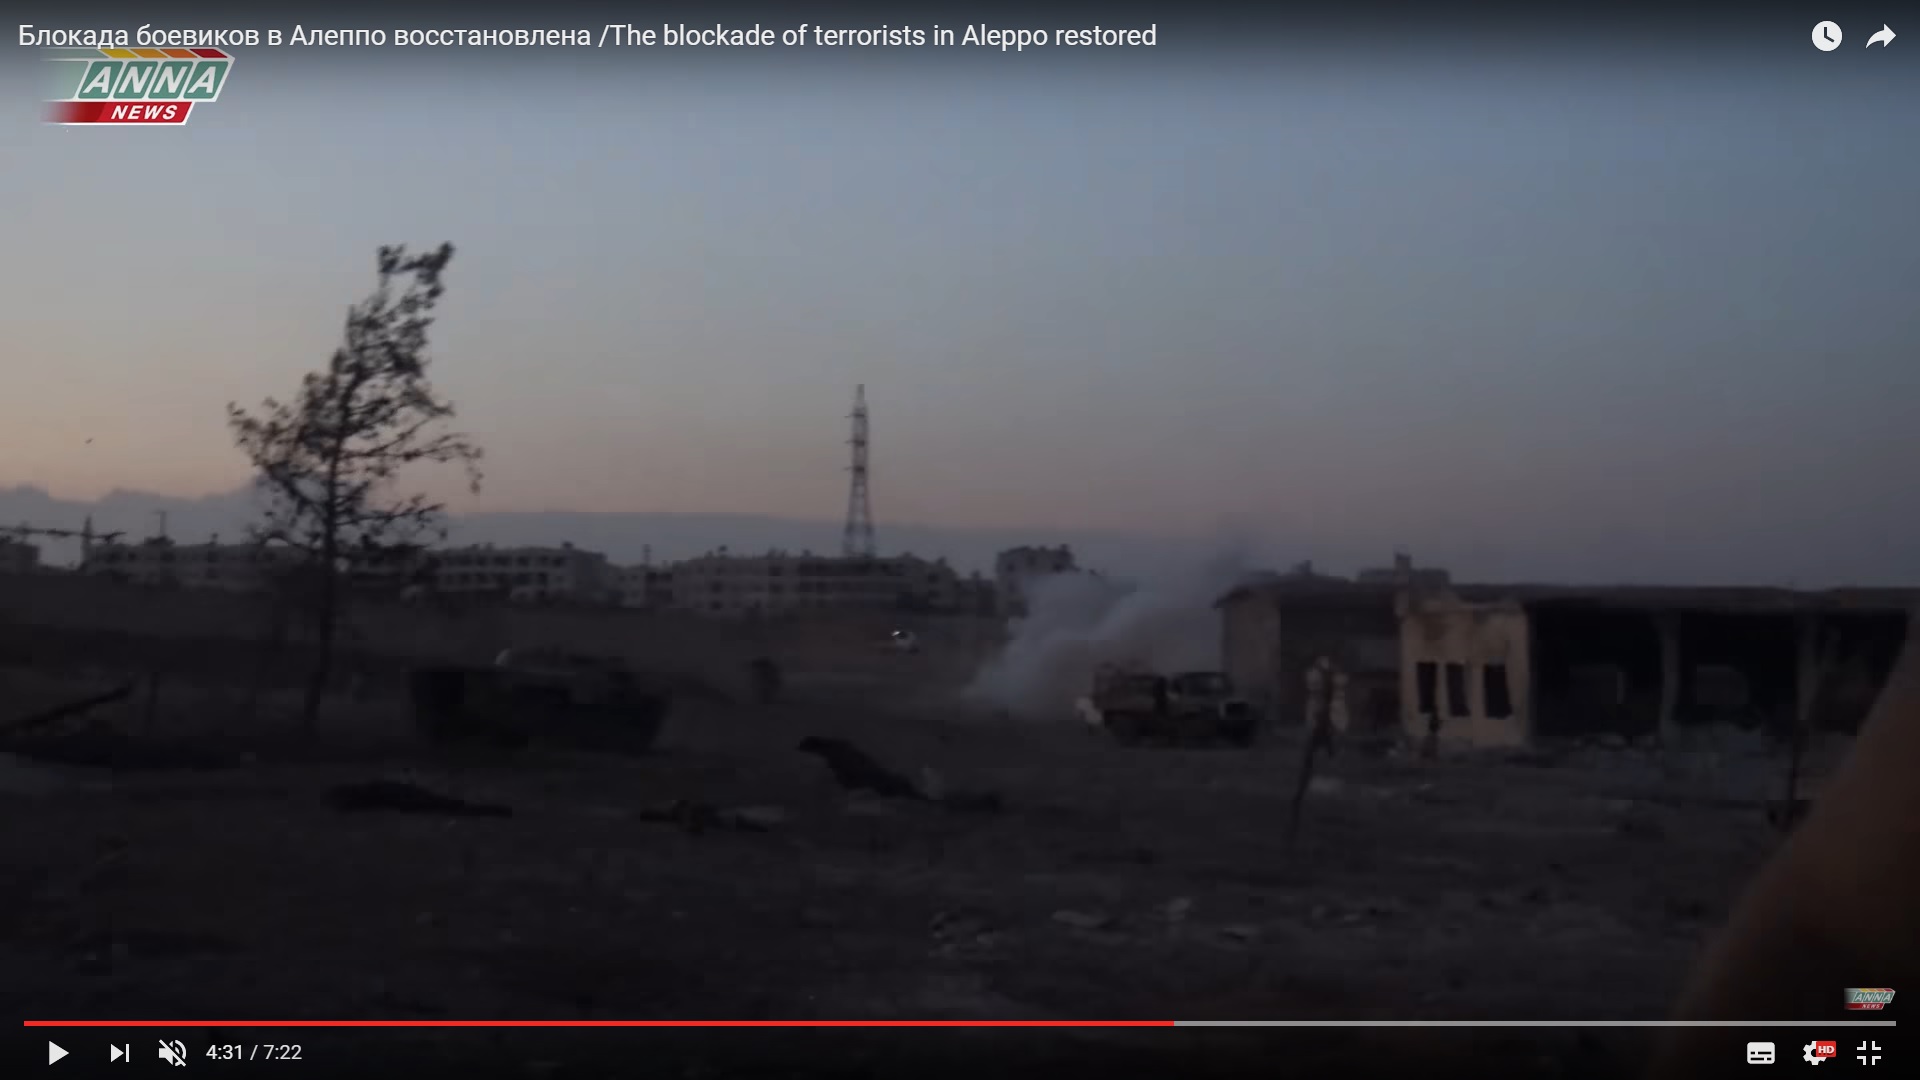
The ANNA News crew was near the area closer to the evening and…

Detailed Analysis Of Battle For Ramouseh Artillery Academy In Western Aleppo – Part 4

Click to see the full-size image

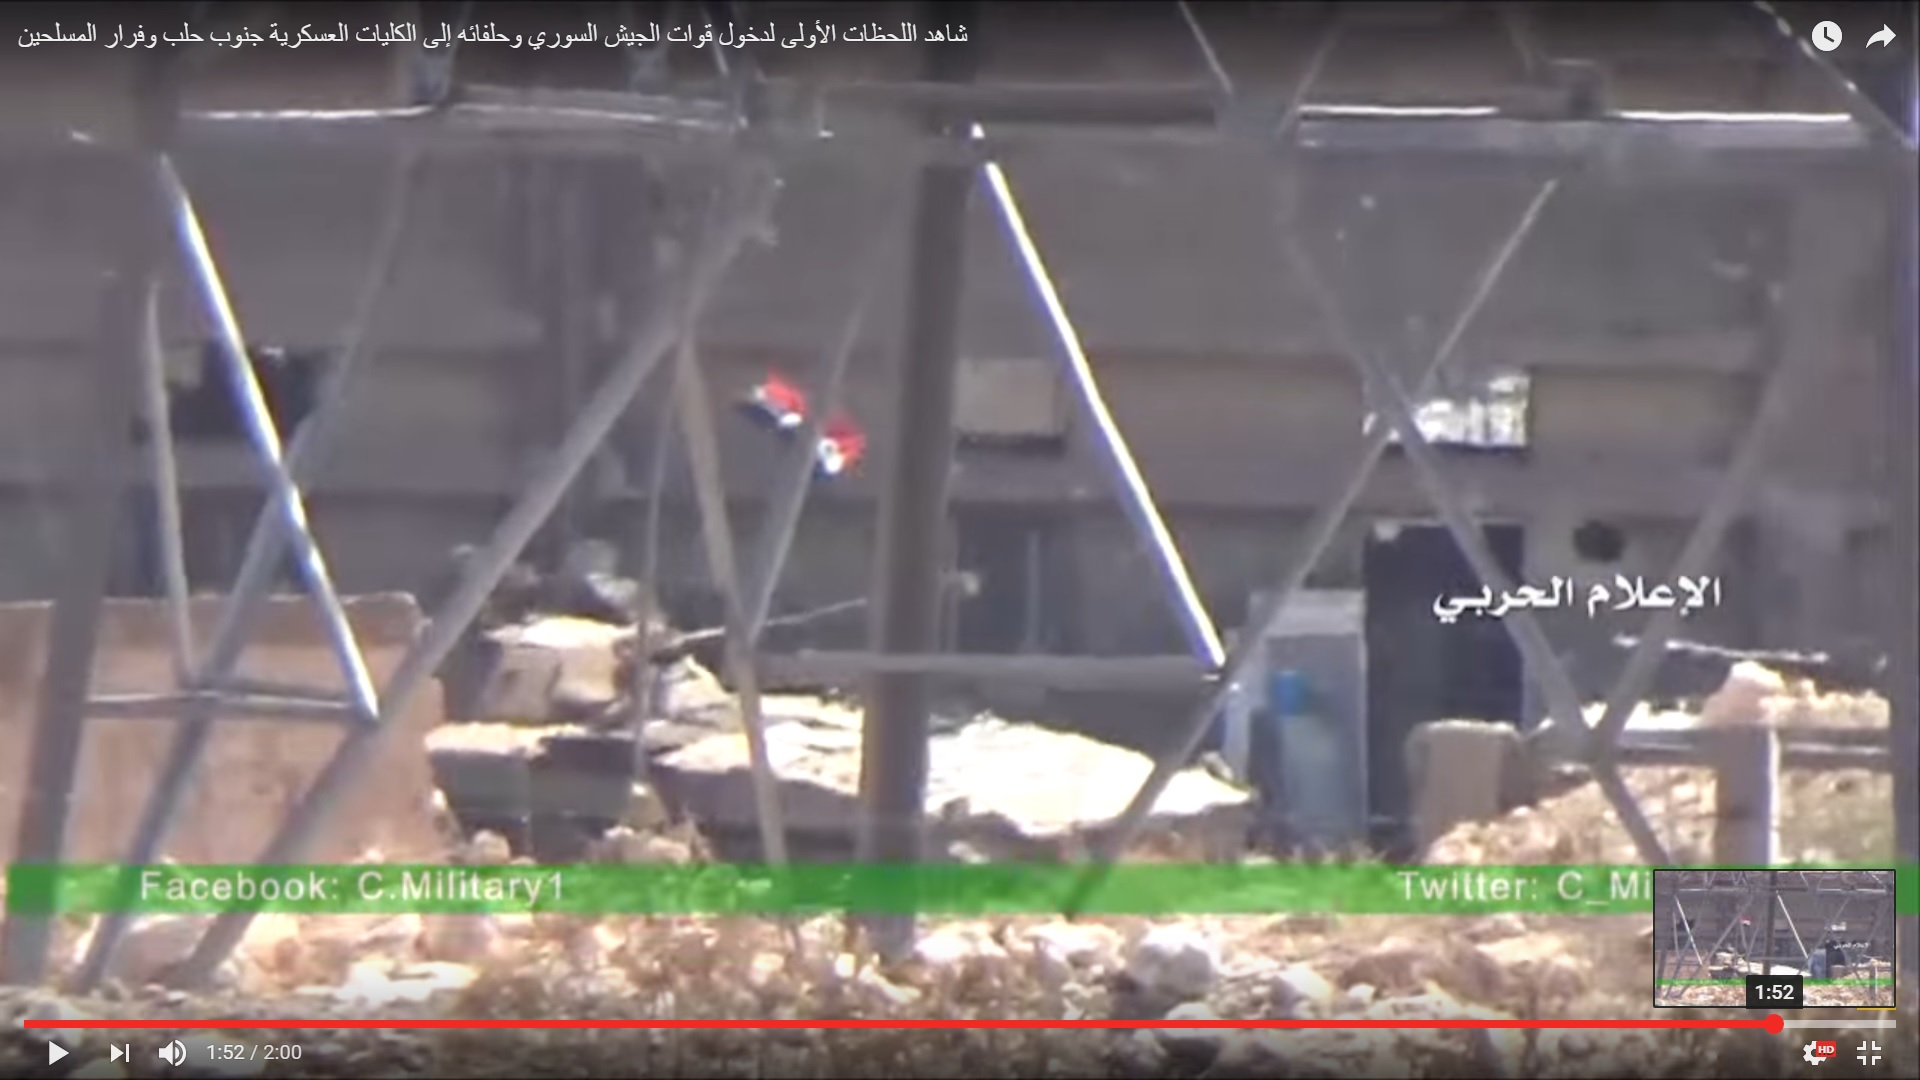
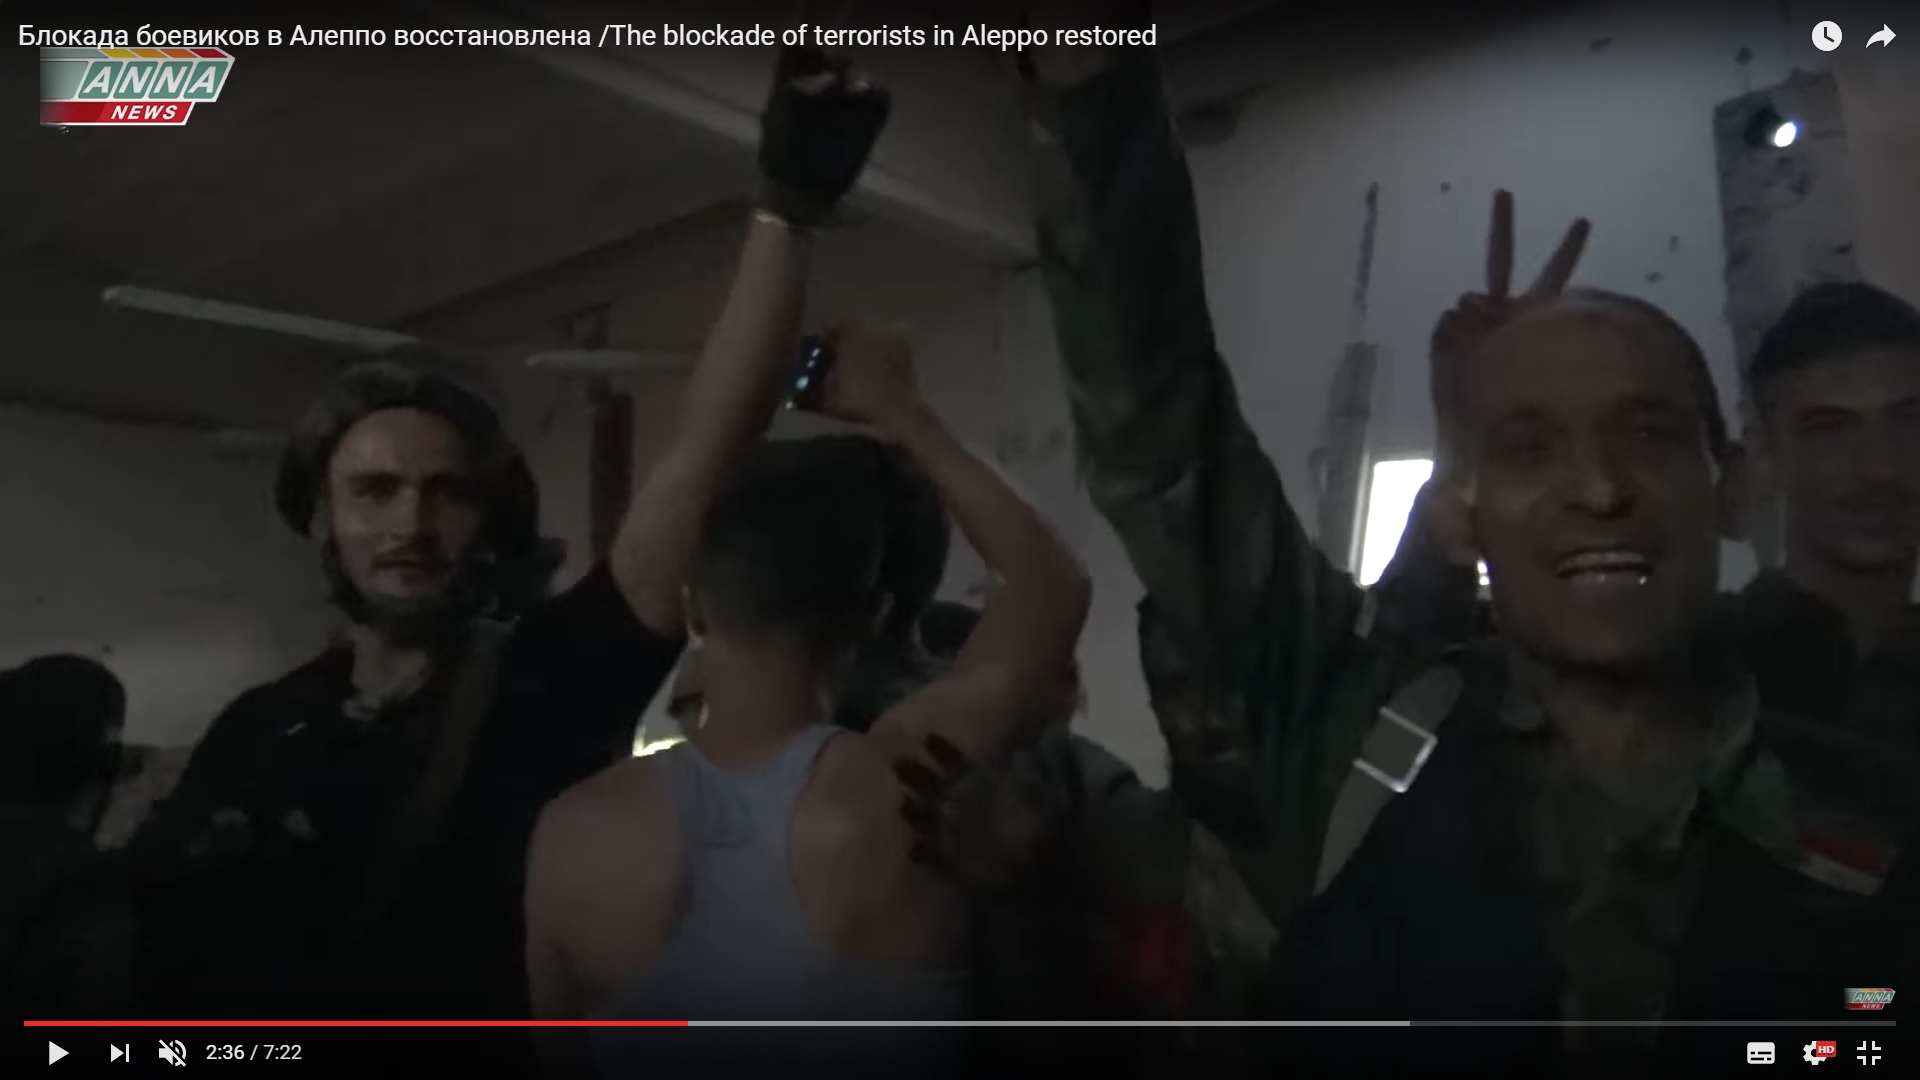
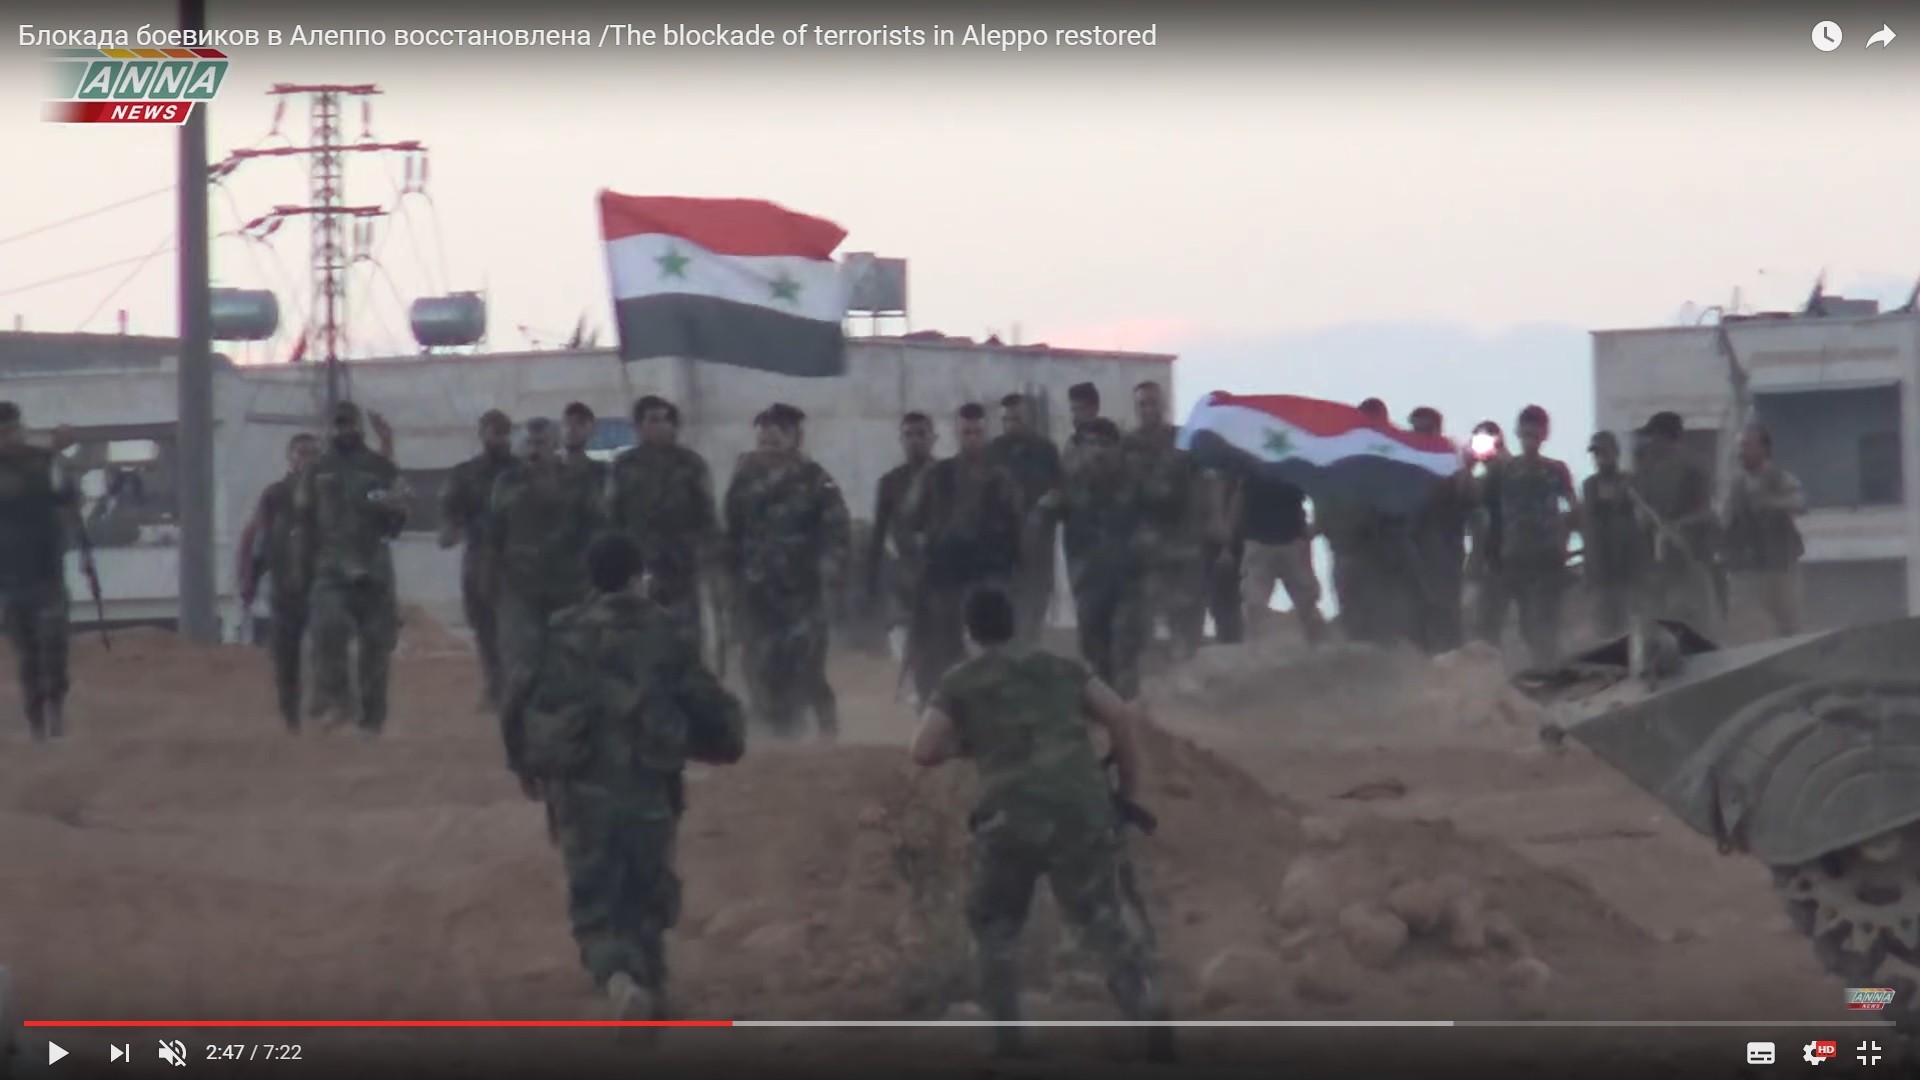
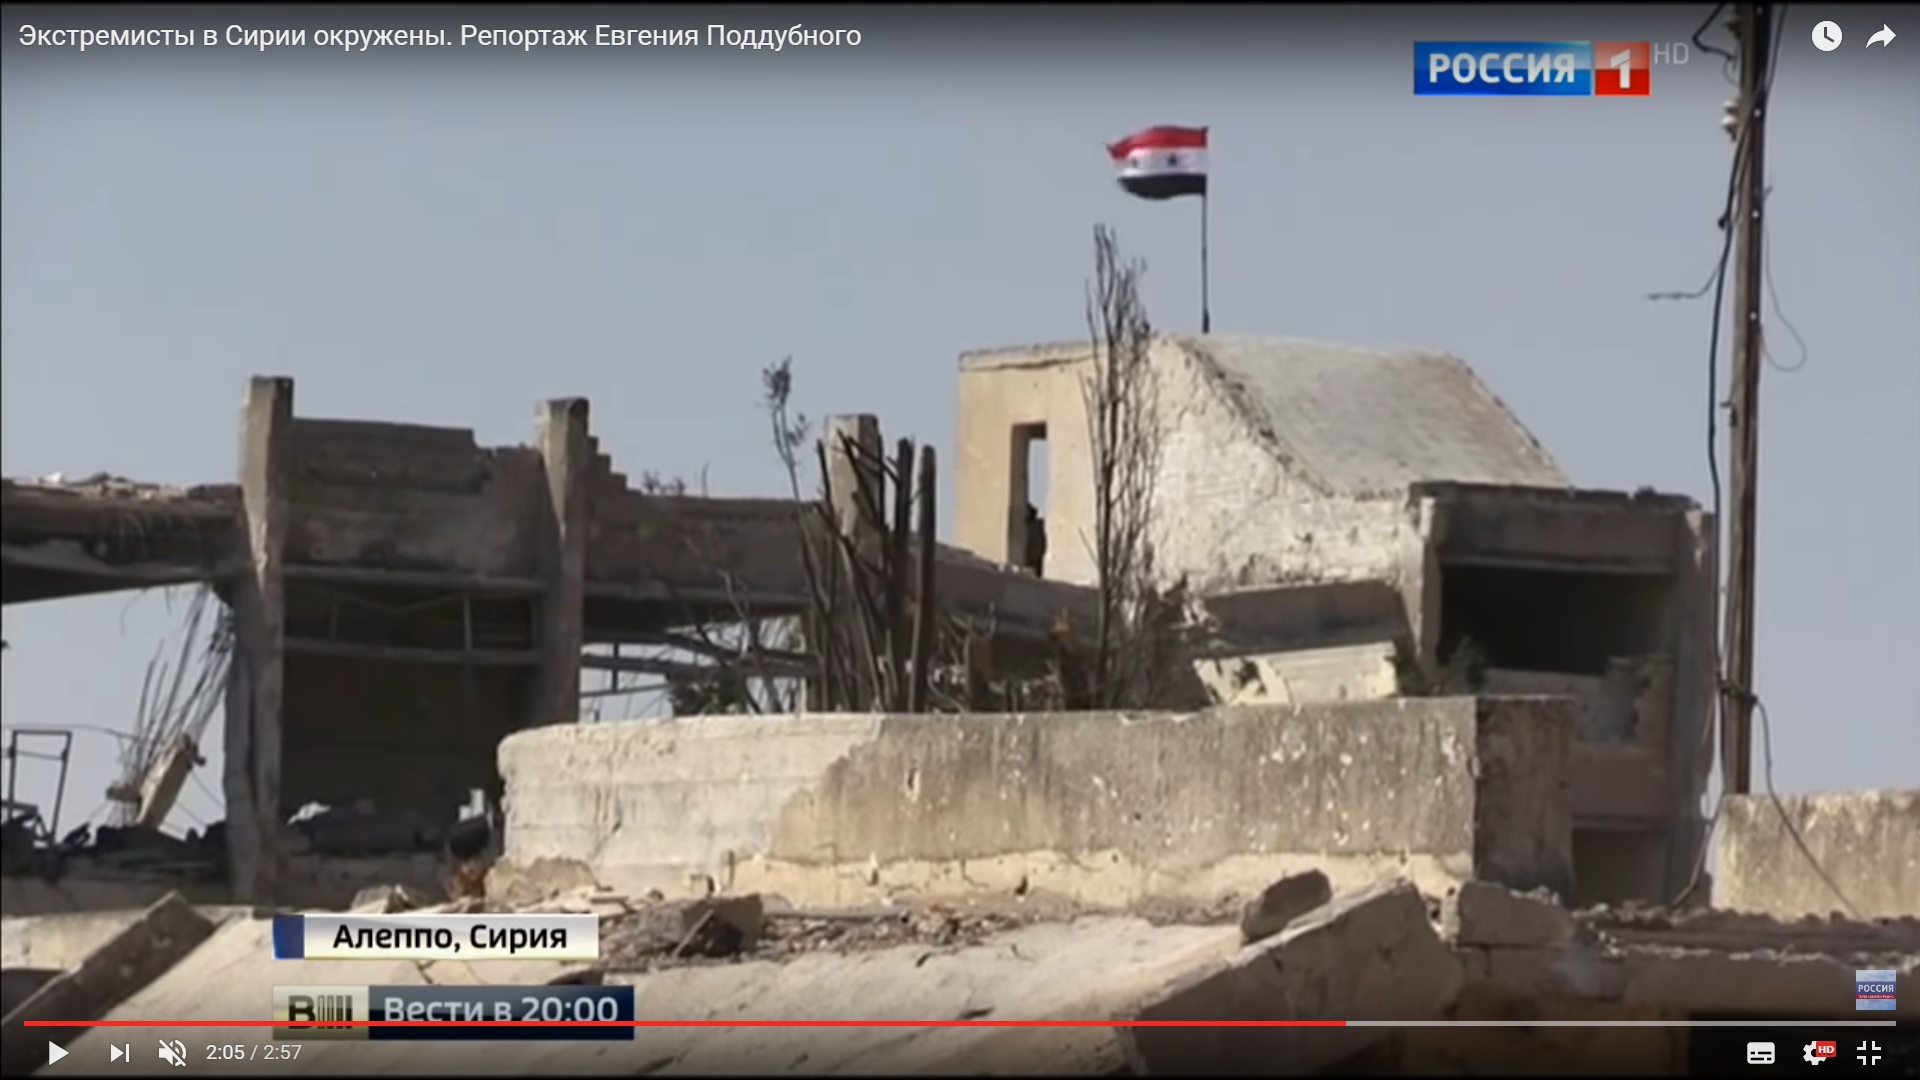
A Syrian flag was spotted at the steps. The Tiger Forces reached the artillery college and linked up with government troops advancing from the Hamadaniyah neighborhood.

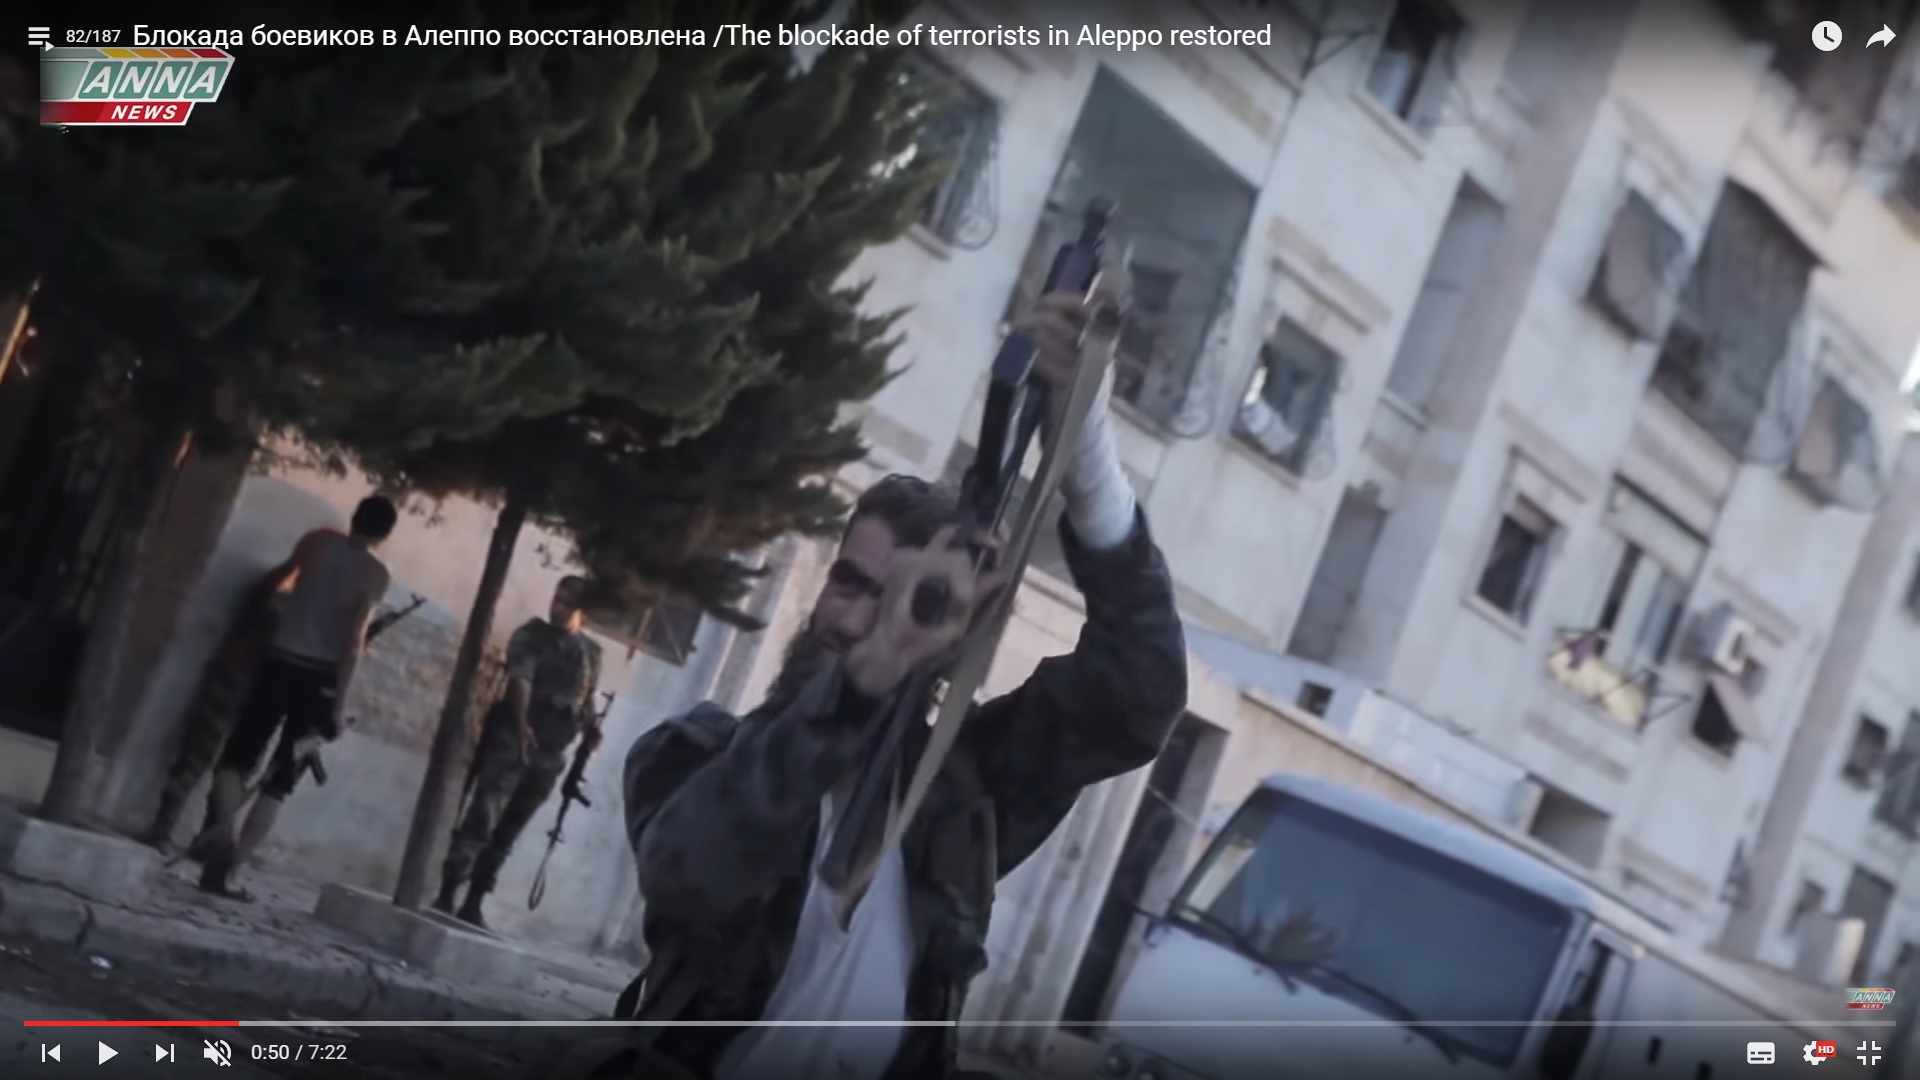
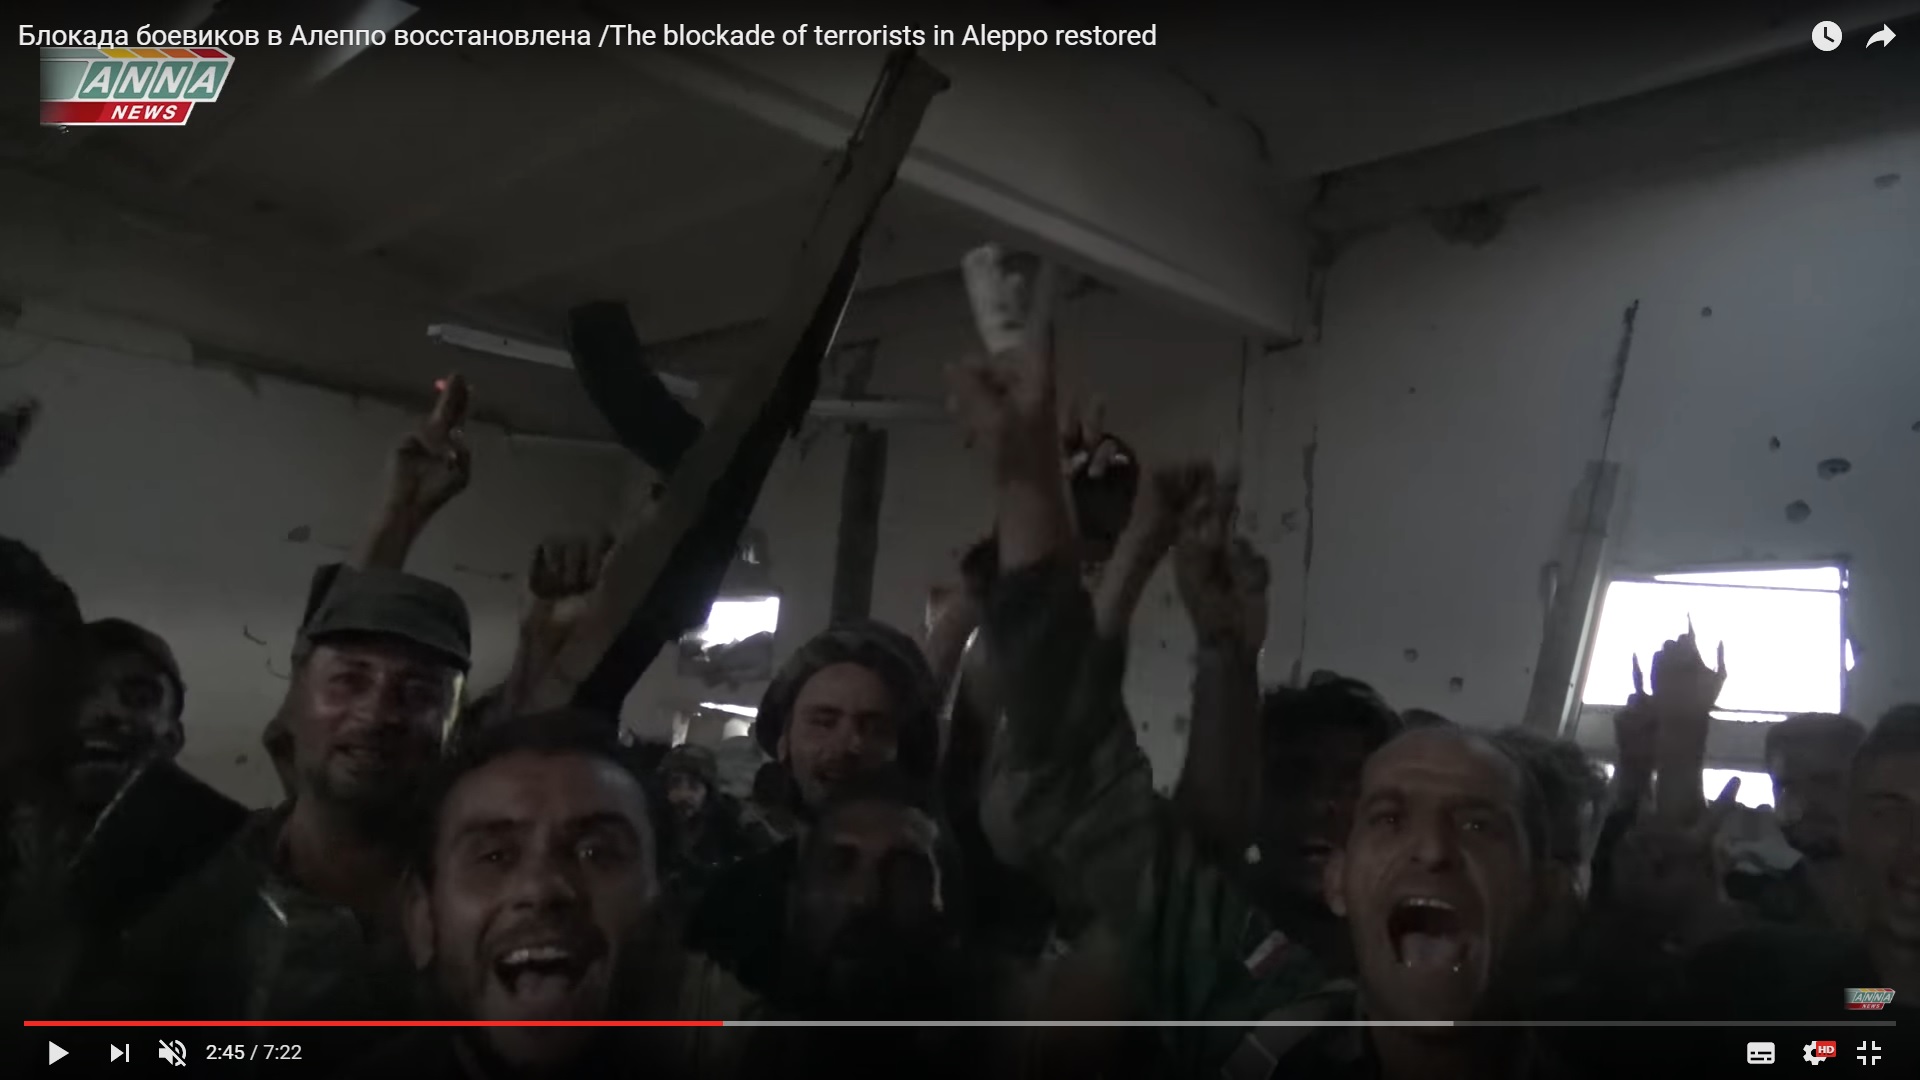
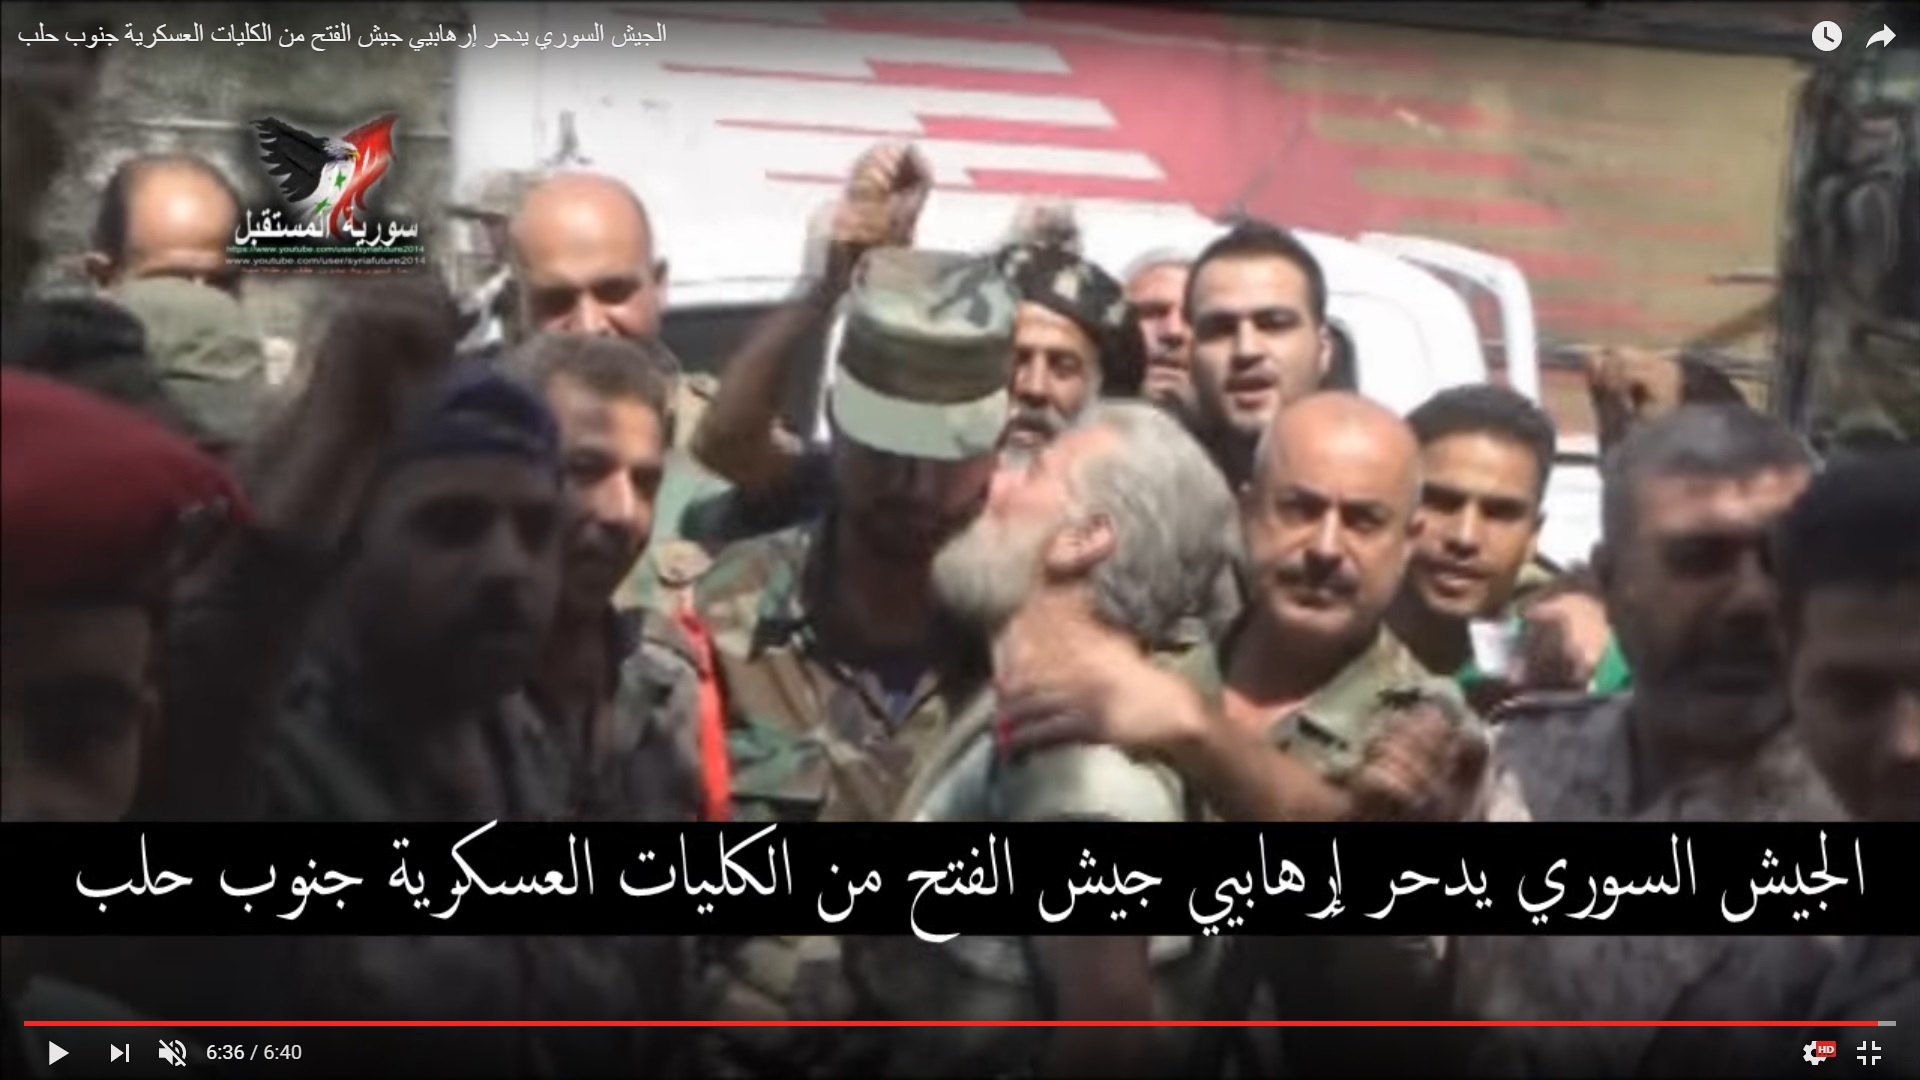
Soldiers celebrated firing in the air.

Detailed Analysis Of Battle For Ramouseh Artillery Academy In Western Aleppo – Part 4

Click to see the full-size image

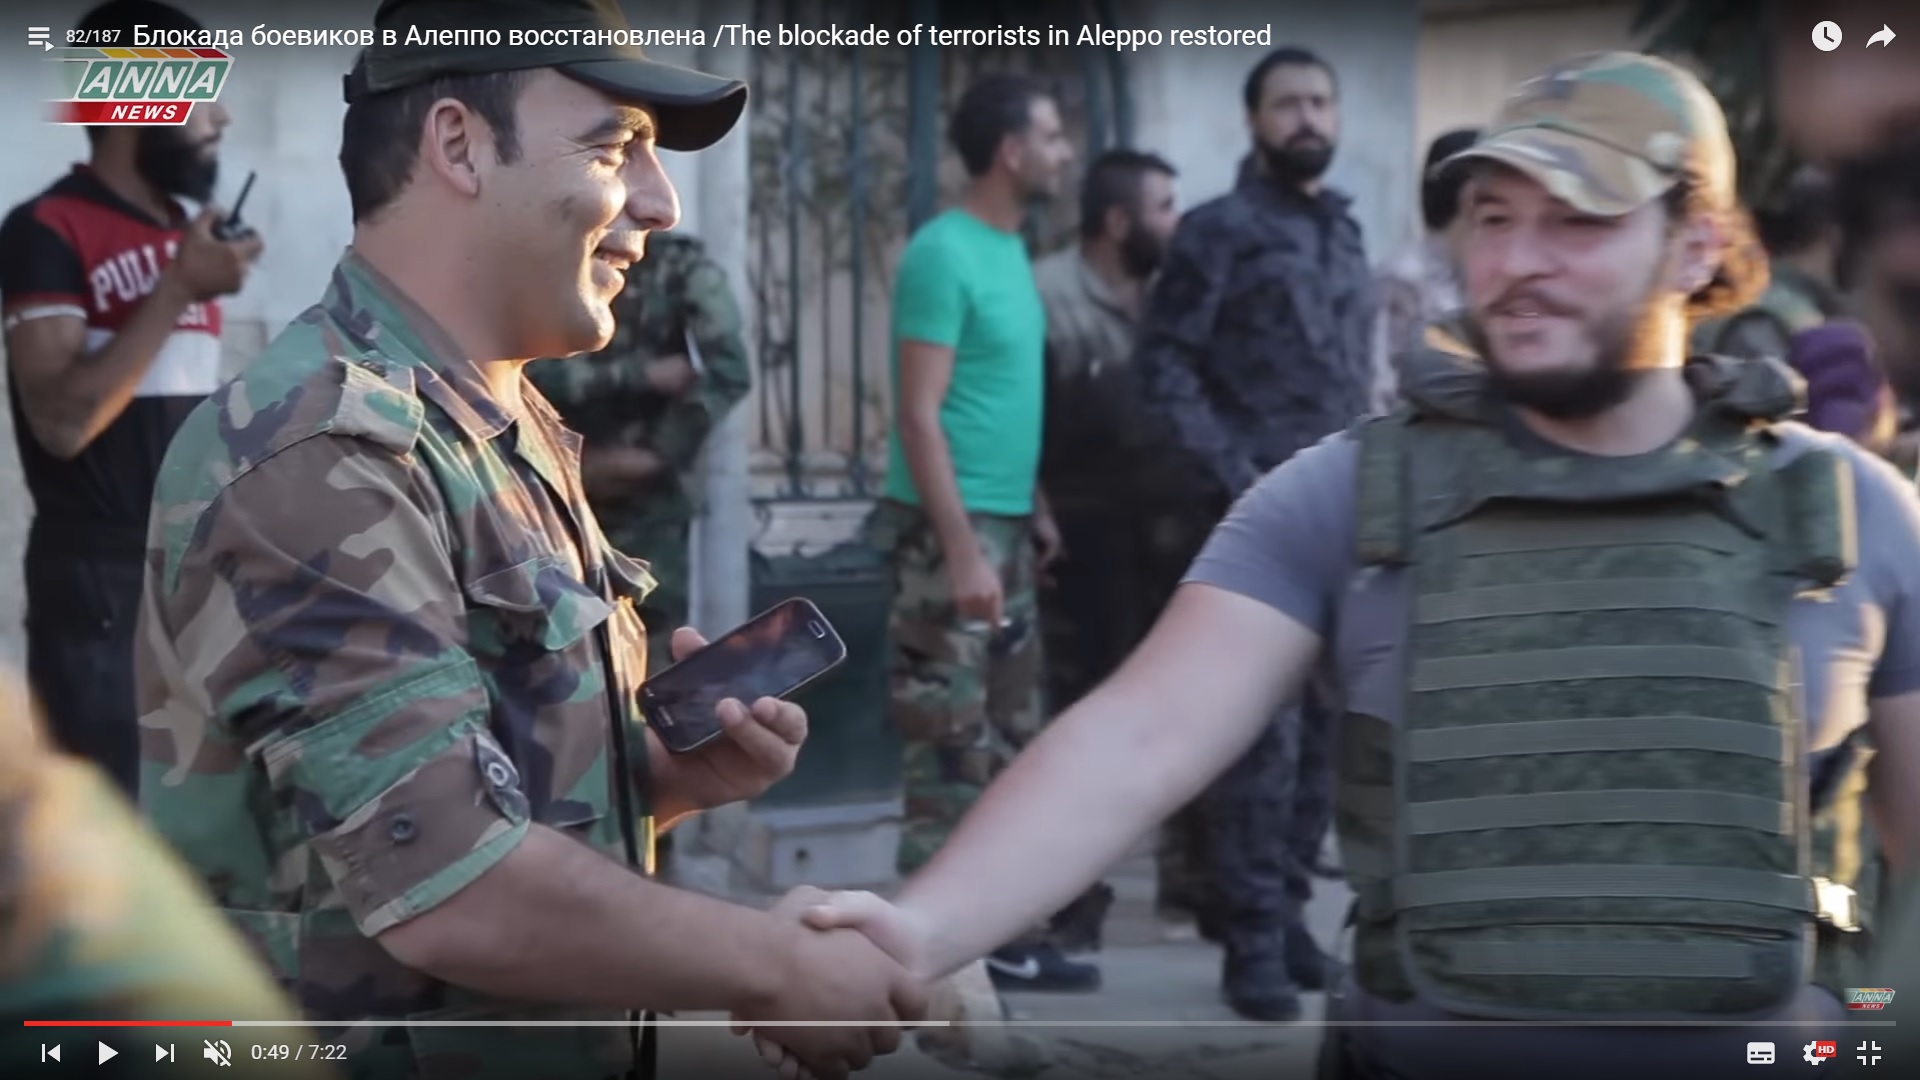
People were congratulating each other.

Detailed Analysis Of Battle For Ramouseh Artillery Academy In Western Aleppo – Part 4

Click to see the full-size image

The BMP-1 vehicle reached the yard. A covered truck moved to the depot.

Detailed Analysis Of Battle For Ramouseh Artillery Academy In Western Aleppo – Part 4

Click to see the full-size image

This vehicle avoided a hit on August 31 and survived on September 2. (when many BMP vehicles were hit) But the question is why does the BMP need a gunner if no BMP fires at militants during voyages. Probably, the answer is that the second member of the crew helps to unload the vehicle and replases the driver if it’s needed.

The BMP evacuated bodies of the dead soldiers.

Detailed Analysis Of Battle For Ramouseh Artillery Academy In Western Aleppo – Part 4

Click to see the full-size image

Journalists along with soldiers move to the aviation college.

Detailed Analysis Of Battle For Ramouseh Artillery Academy In Western Aleppo – Part 4

Click to see the full-size image

A high ground on the road allows to see the Yellow Building.

Detailed Analysis Of Battle For Ramouseh Artillery Academy In Western Aleppo – Part 4

Click to see the full-size image

The Yellow Building was the main firing position used by militants to shell government forces moving on the road.

The building was under the control of the army, but soldiers were bowing down on the road.

Detailed Analysis Of Battle For Ramouseh Artillery Academy In Western Aleppo – Part 4

Click to see the full-size image

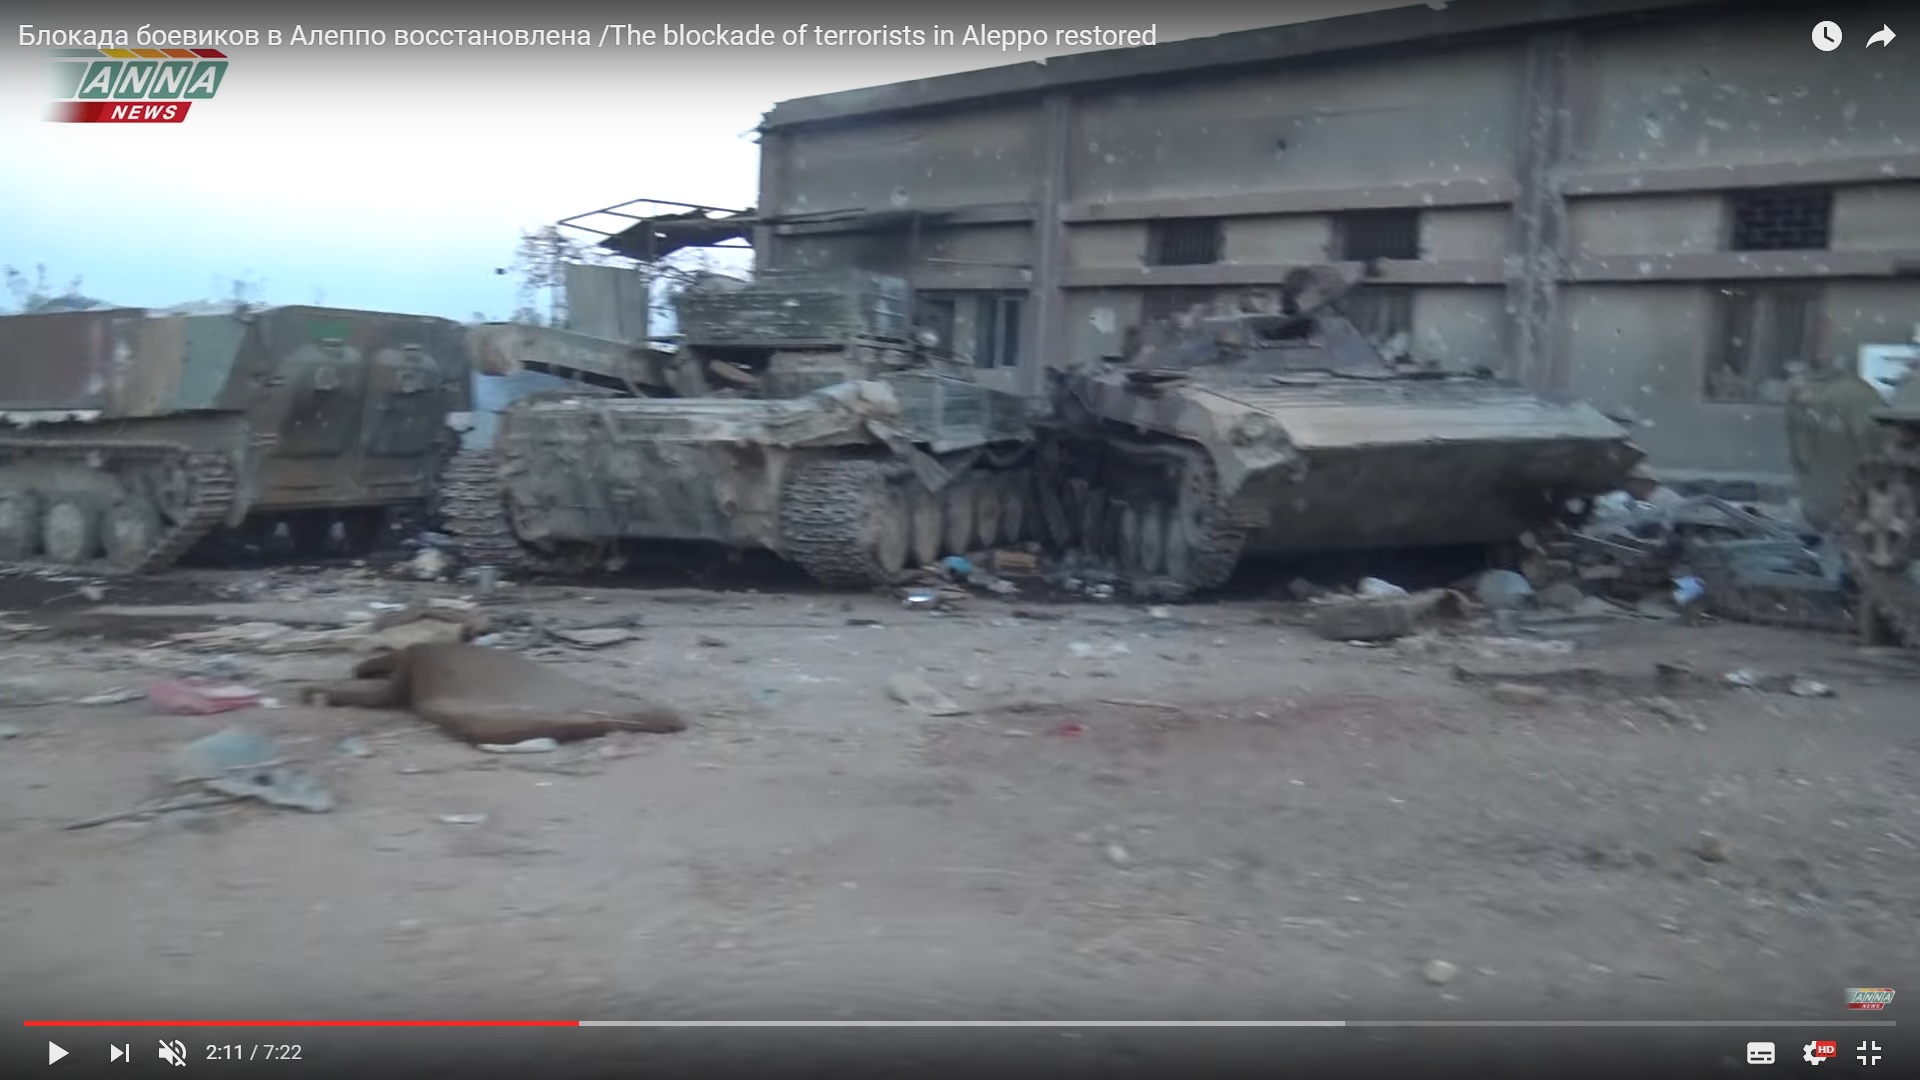
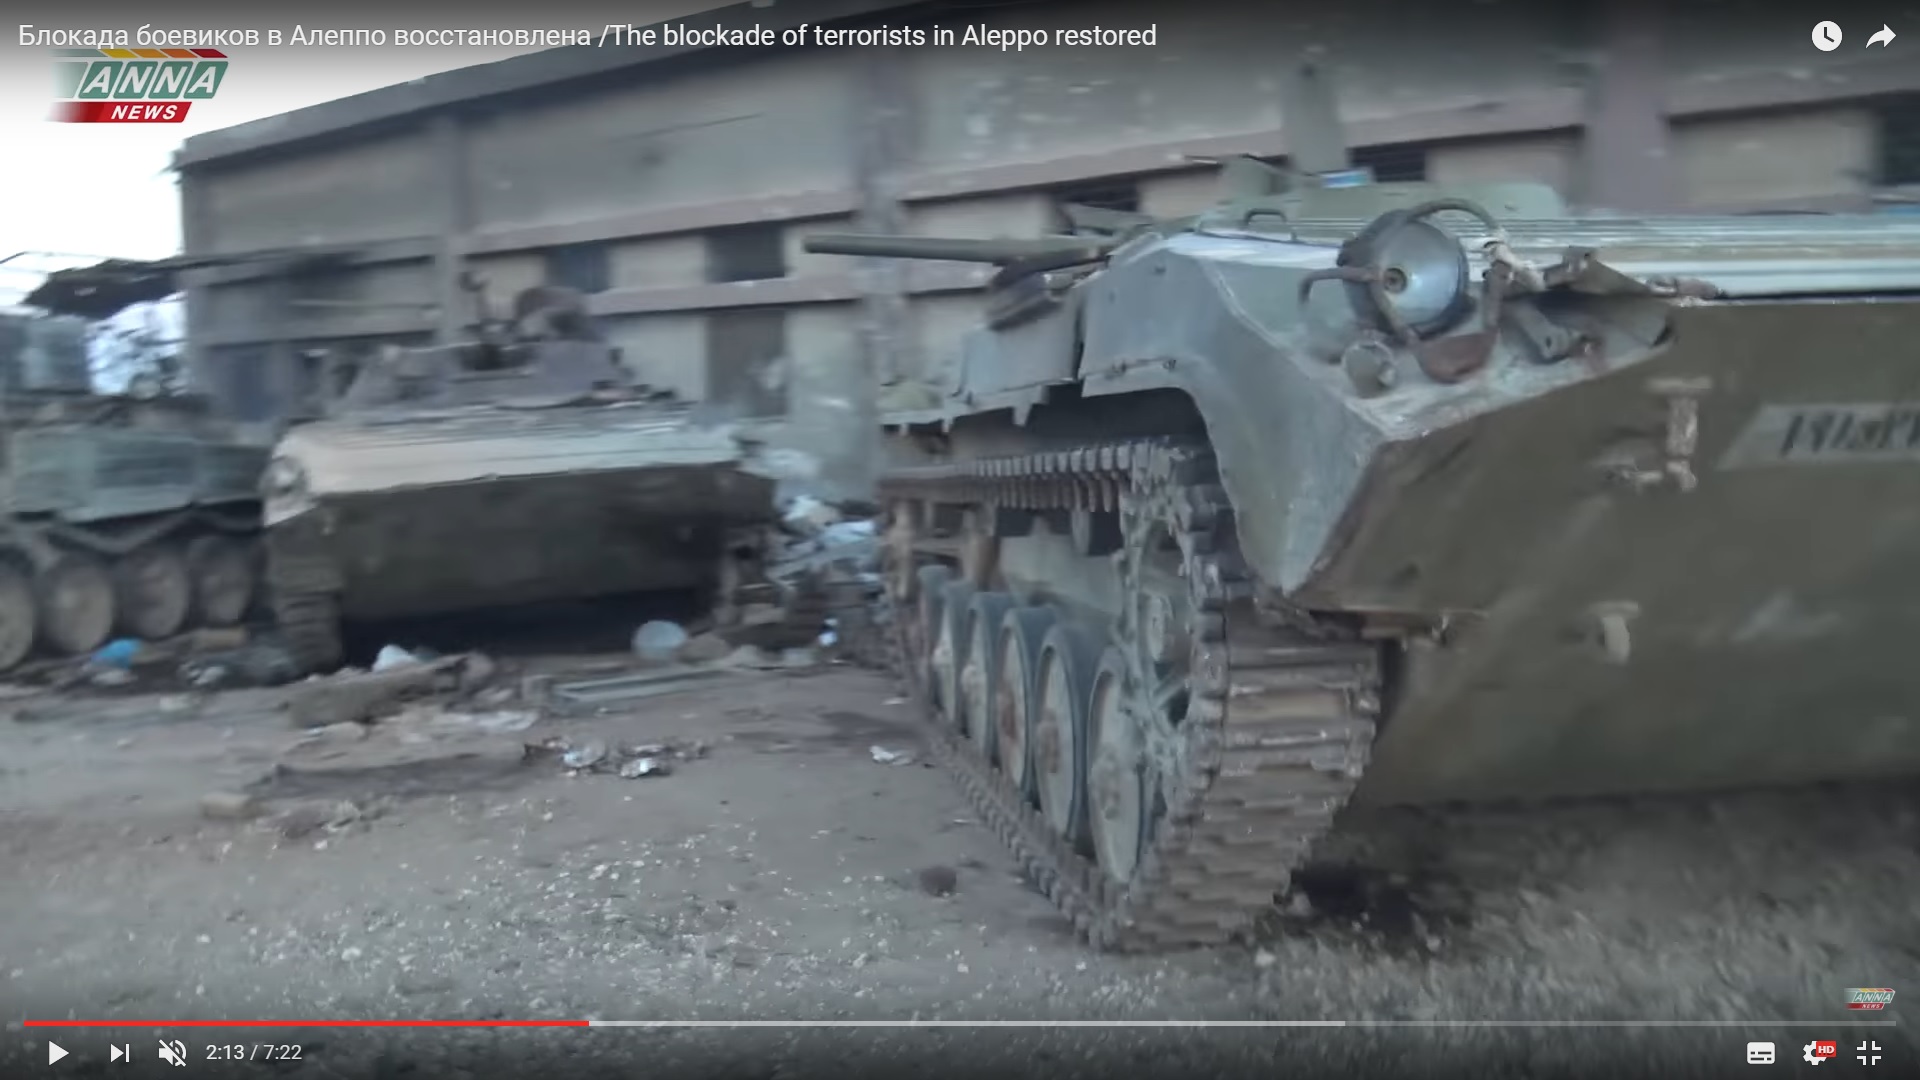
The damaged vehicles were still in the area near the depot. The truck was behind the corner of the building.

Detailed Analysis Of Battle For Ramouseh Artillery Academy In Western Aleppo – Part 4

Click to see the full-size image

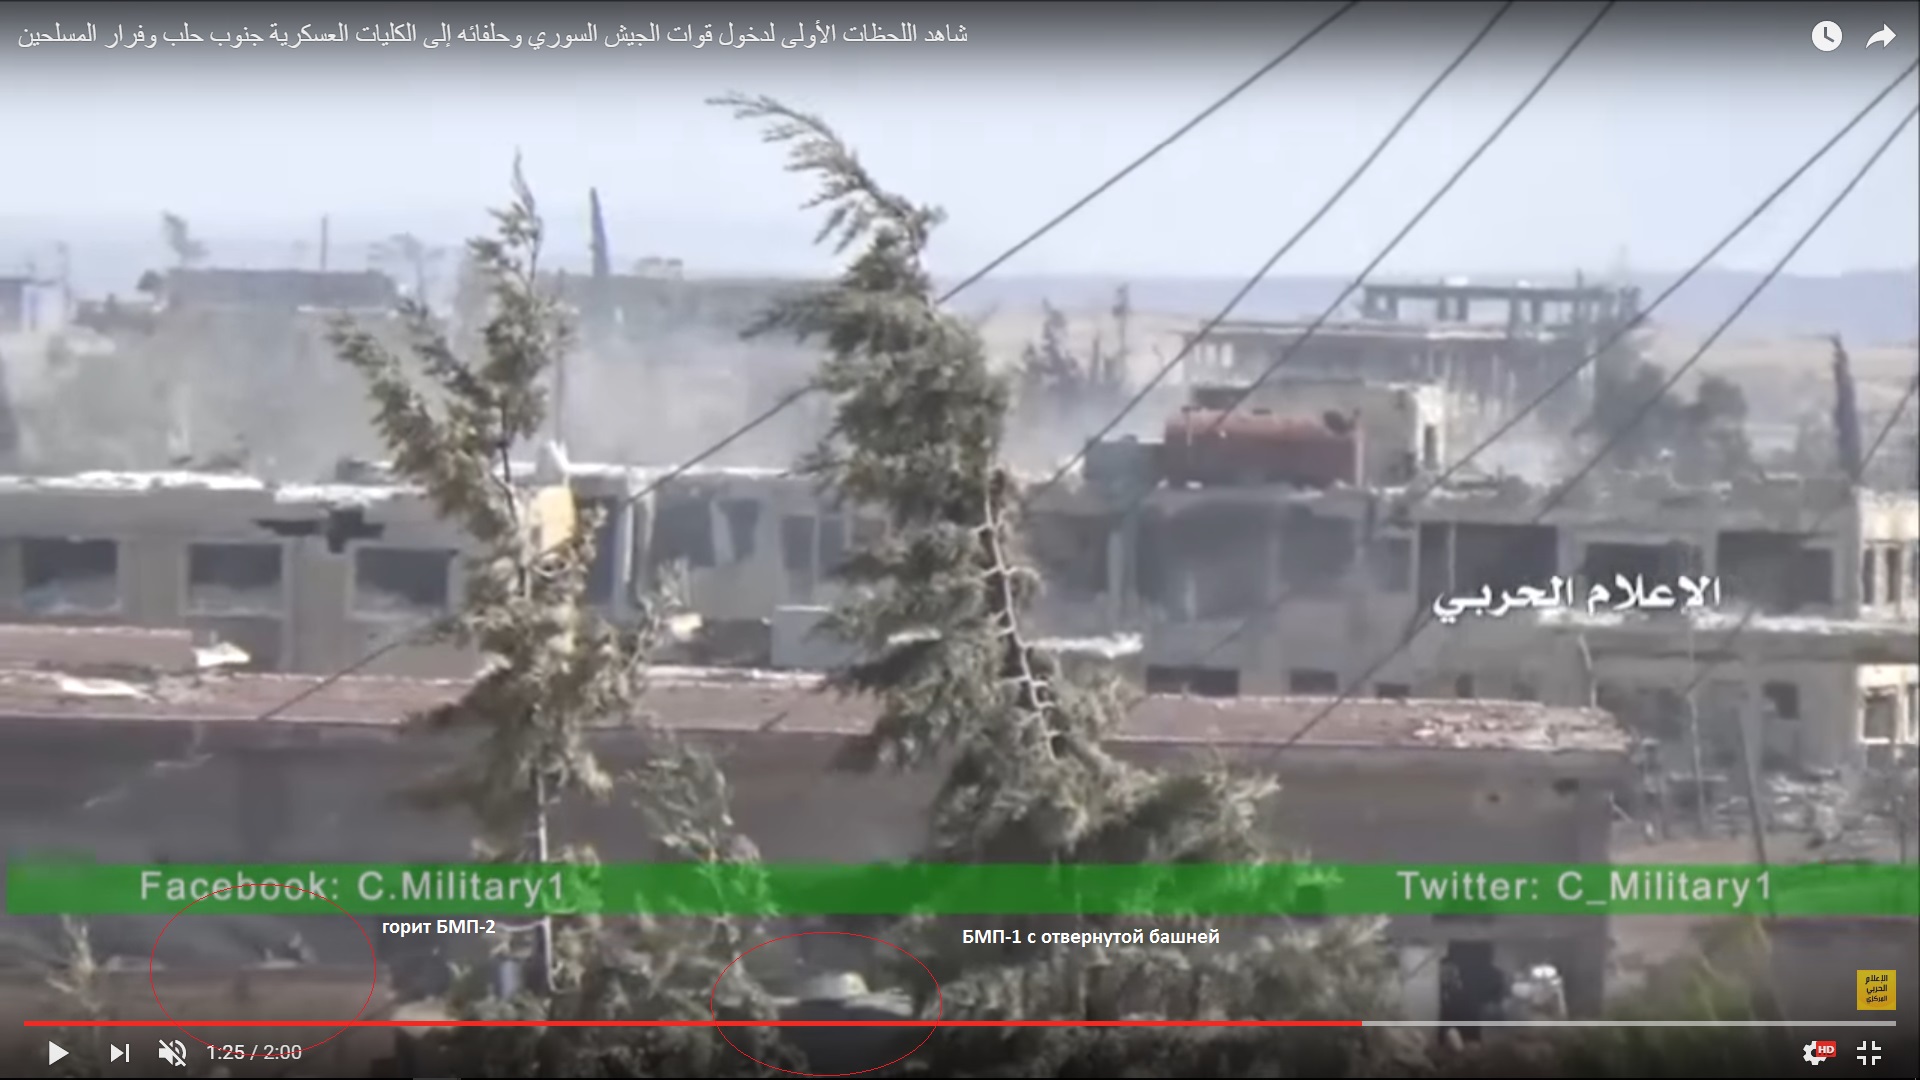
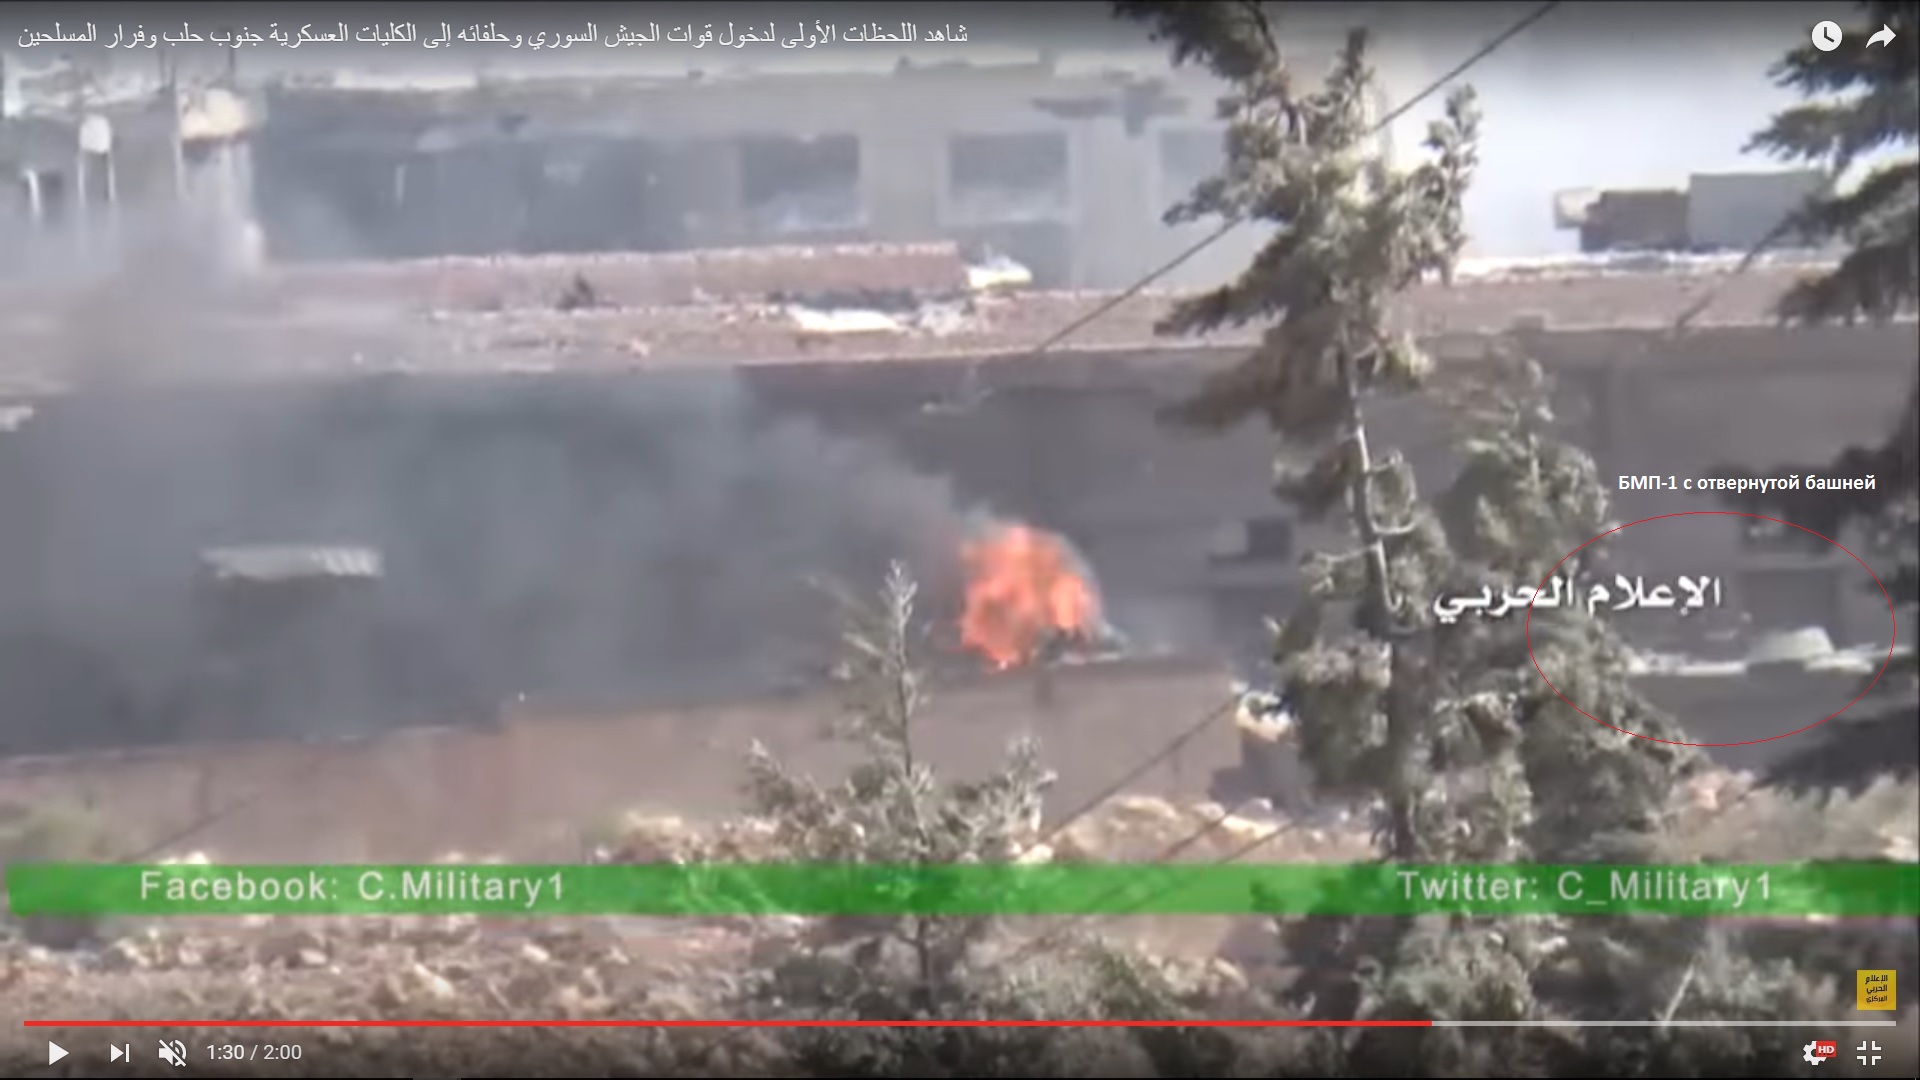
The BVP-1 AMB-S vehicle, the armoured recovery vehicle and the BMP-2 vehicle. The BMP-1 vehicle with a turned tower also remained there. Oil stains could be seen near it.

Detailed Analysis Of Battle For Ramouseh Artillery Academy In Western Aleppo – Part 4

Click to see the full-size image

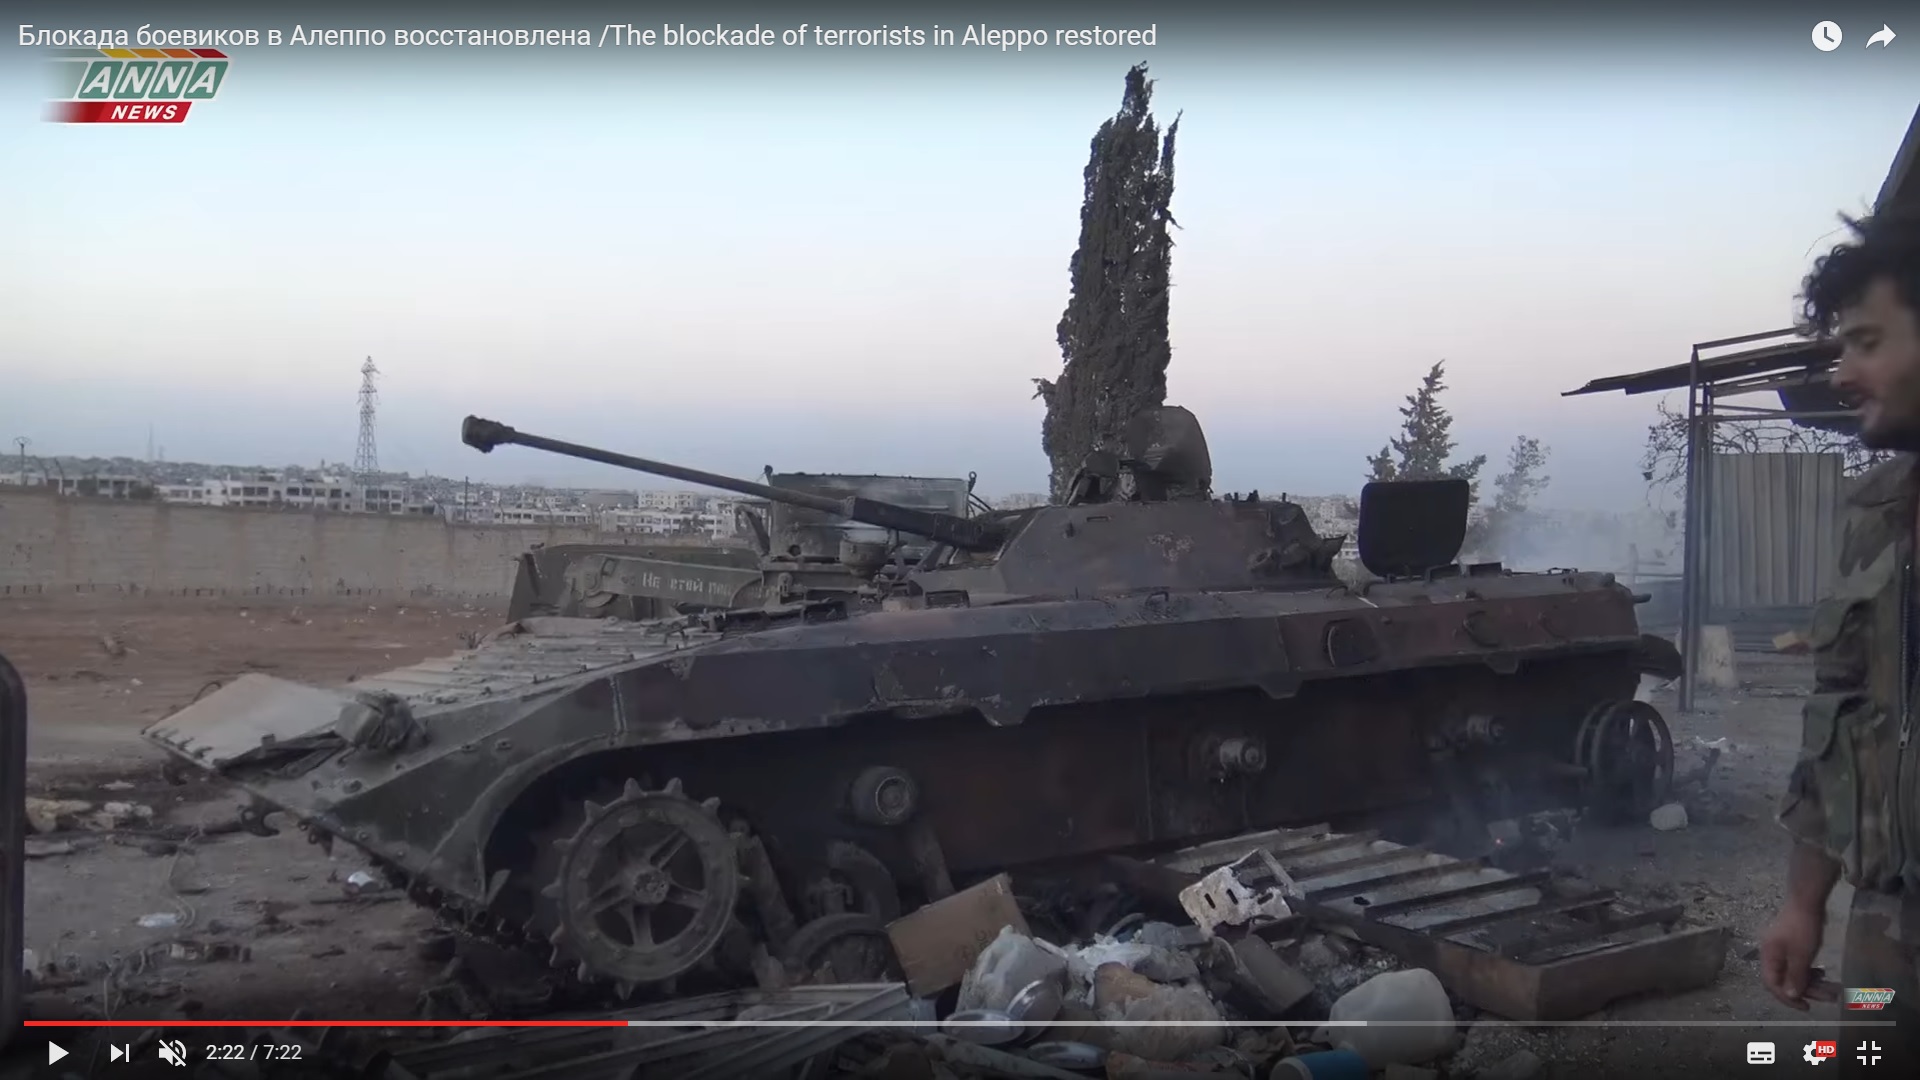
A closer look at the burned BMP-2 vehicle.

Detailed Analysis Of Battle For Ramouseh Artillery Academy In Western Aleppo – Part 4

Click to see the full-size image

Russian words could be seen on the side of the armoured recovery vehicle.

Journalists and soldiers entered the depot.

Detailed Analysis Of Battle For Ramouseh Artillery Academy In Western Aleppo – Part 4

Click to see the full-size image

“Syria! Russia!”

Detailed Analysis Of Battle For Ramouseh Artillery Academy In Western Aleppo – Part 4

Click to see the full-size image

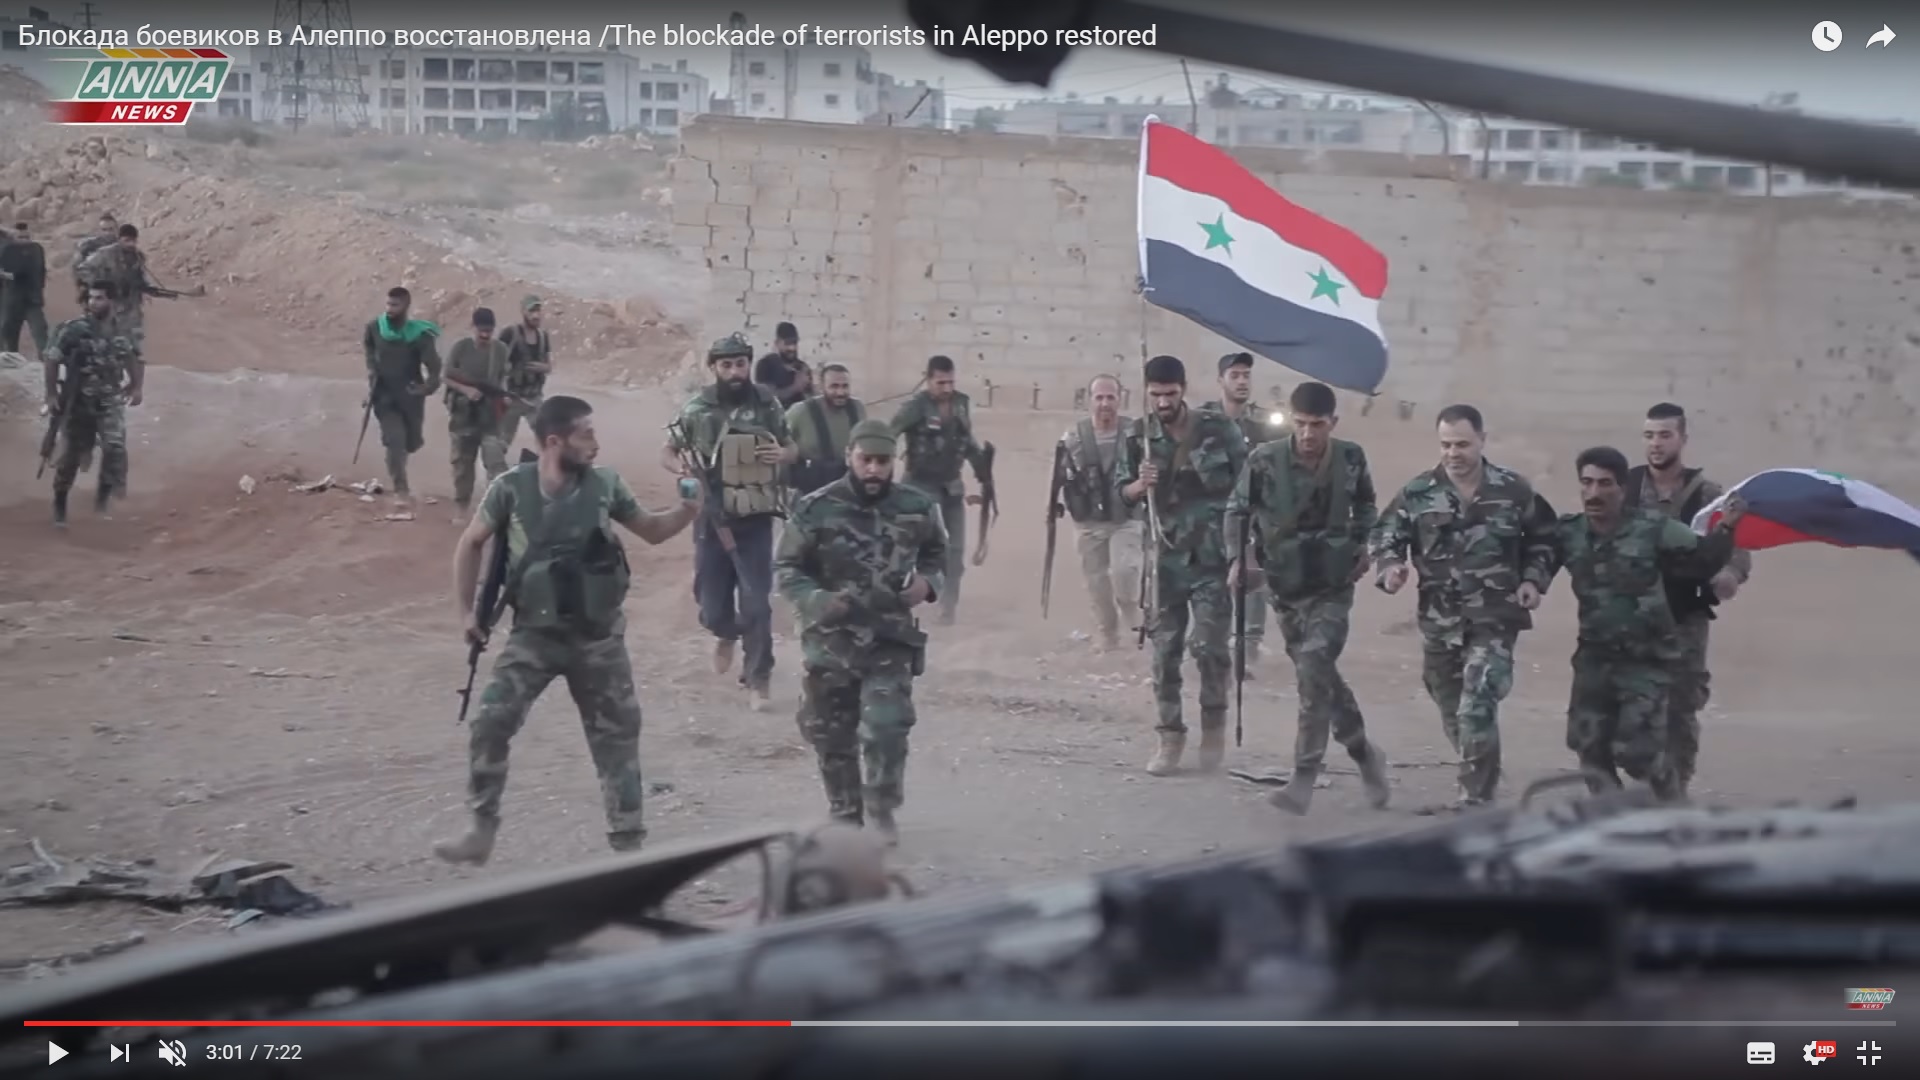
A big group of soldiers was moving from Hamadaniyah.

Detailed Analysis Of Battle For Ramouseh Artillery Academy In Western Aleppo – Part 4

Click to see the full-size image

Some command staff were likely arriving. (two flags, many journalists)

Detailed Analysis Of Battle For Ramouseh Artillery Academy In Western Aleppo – Part 4

Click to see the full-size image

The group reached the steps.

Detailed Analysis Of Battle For Ramouseh Artillery Academy In Western Aleppo – Part 4

Click to see the full-size image

It should be noted that many people forecasted that something would happen and took their phones.

Meanwhile, militants that were preparing to leave the area noted the noise.

Detailed Analysis Of Battle For Ramouseh Artillery Academy In Western Aleppo – Part 4

Click to see the full-size image

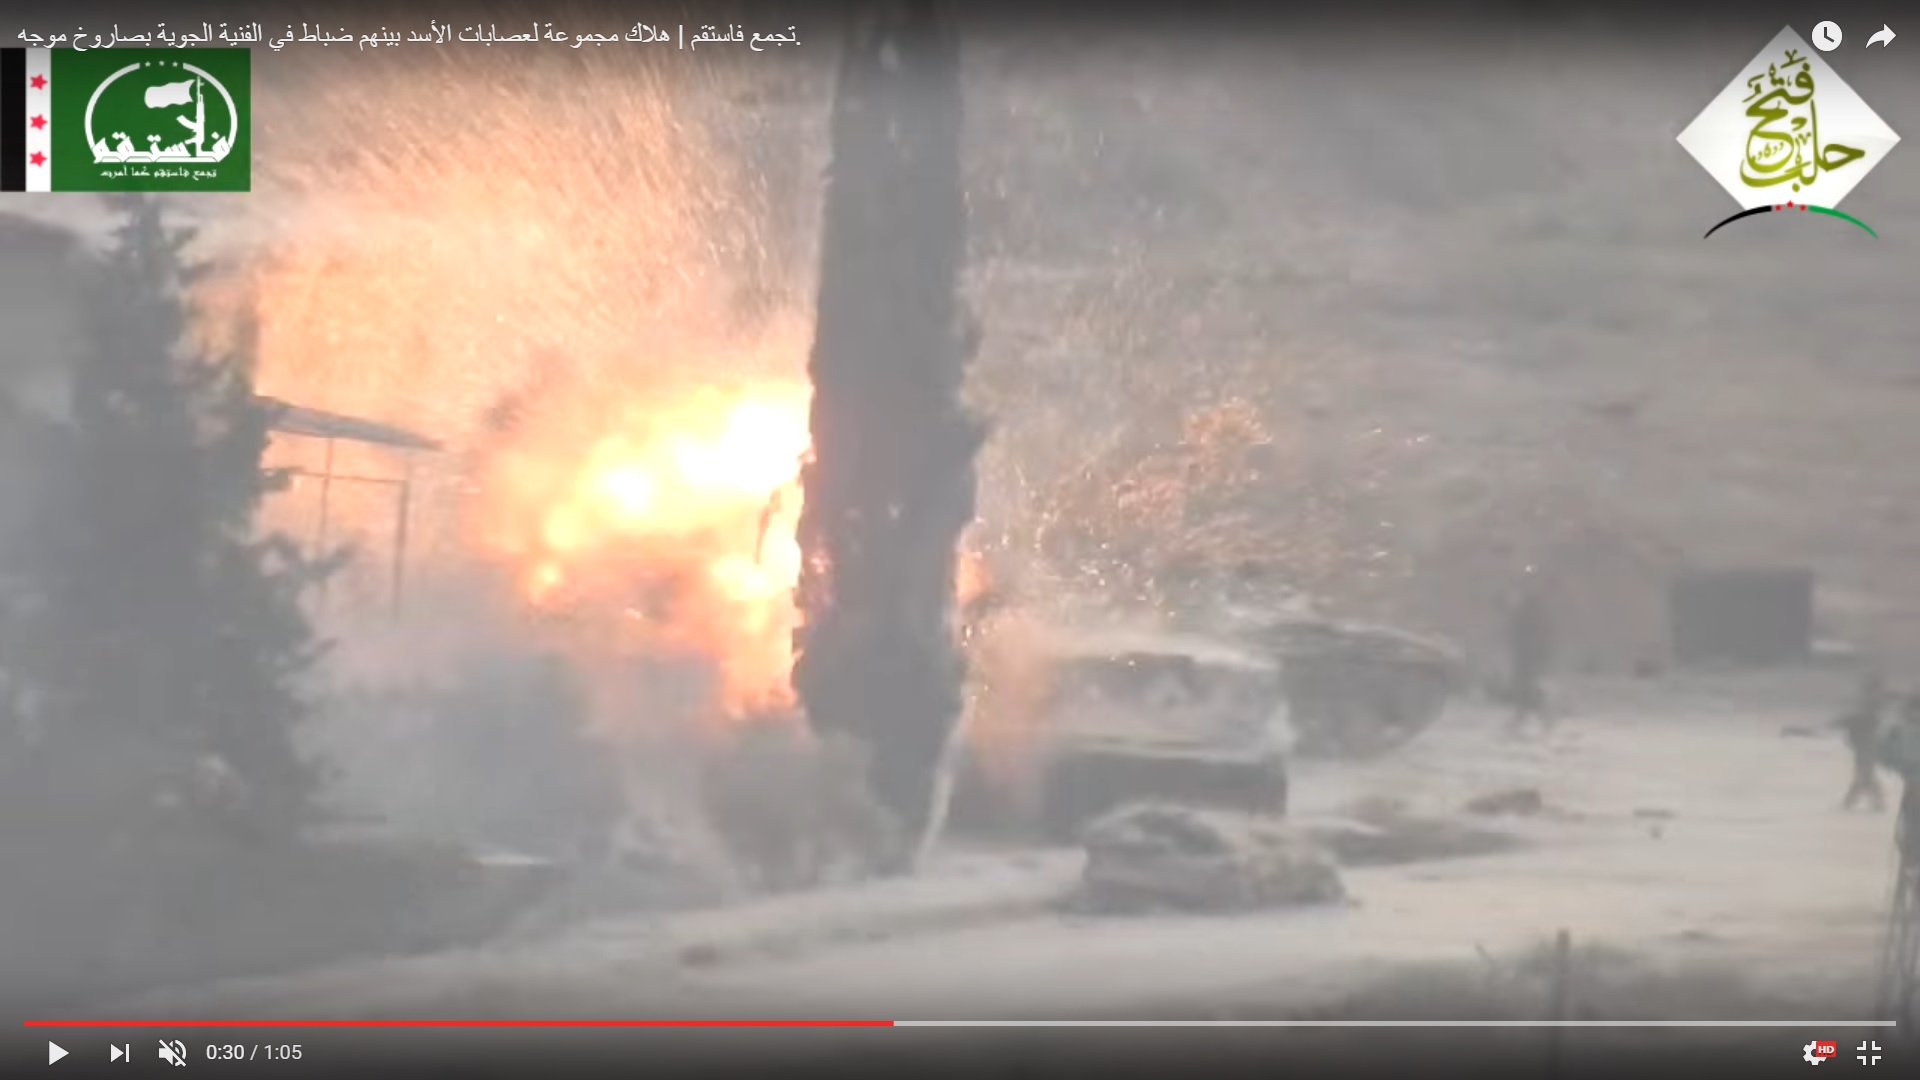
And launched a missile at a group of soldiers near the depot.

Detailed Analysis Of Battle For Ramouseh Artillery Academy In Western Aleppo – Part 4

Click to see the full-size image

Nonetheless, a majority of soldiers entered the building.

Detailed Analysis Of Battle For Ramouseh Artillery Academy In Western Aleppo – Part 4

Click to see the full-size image

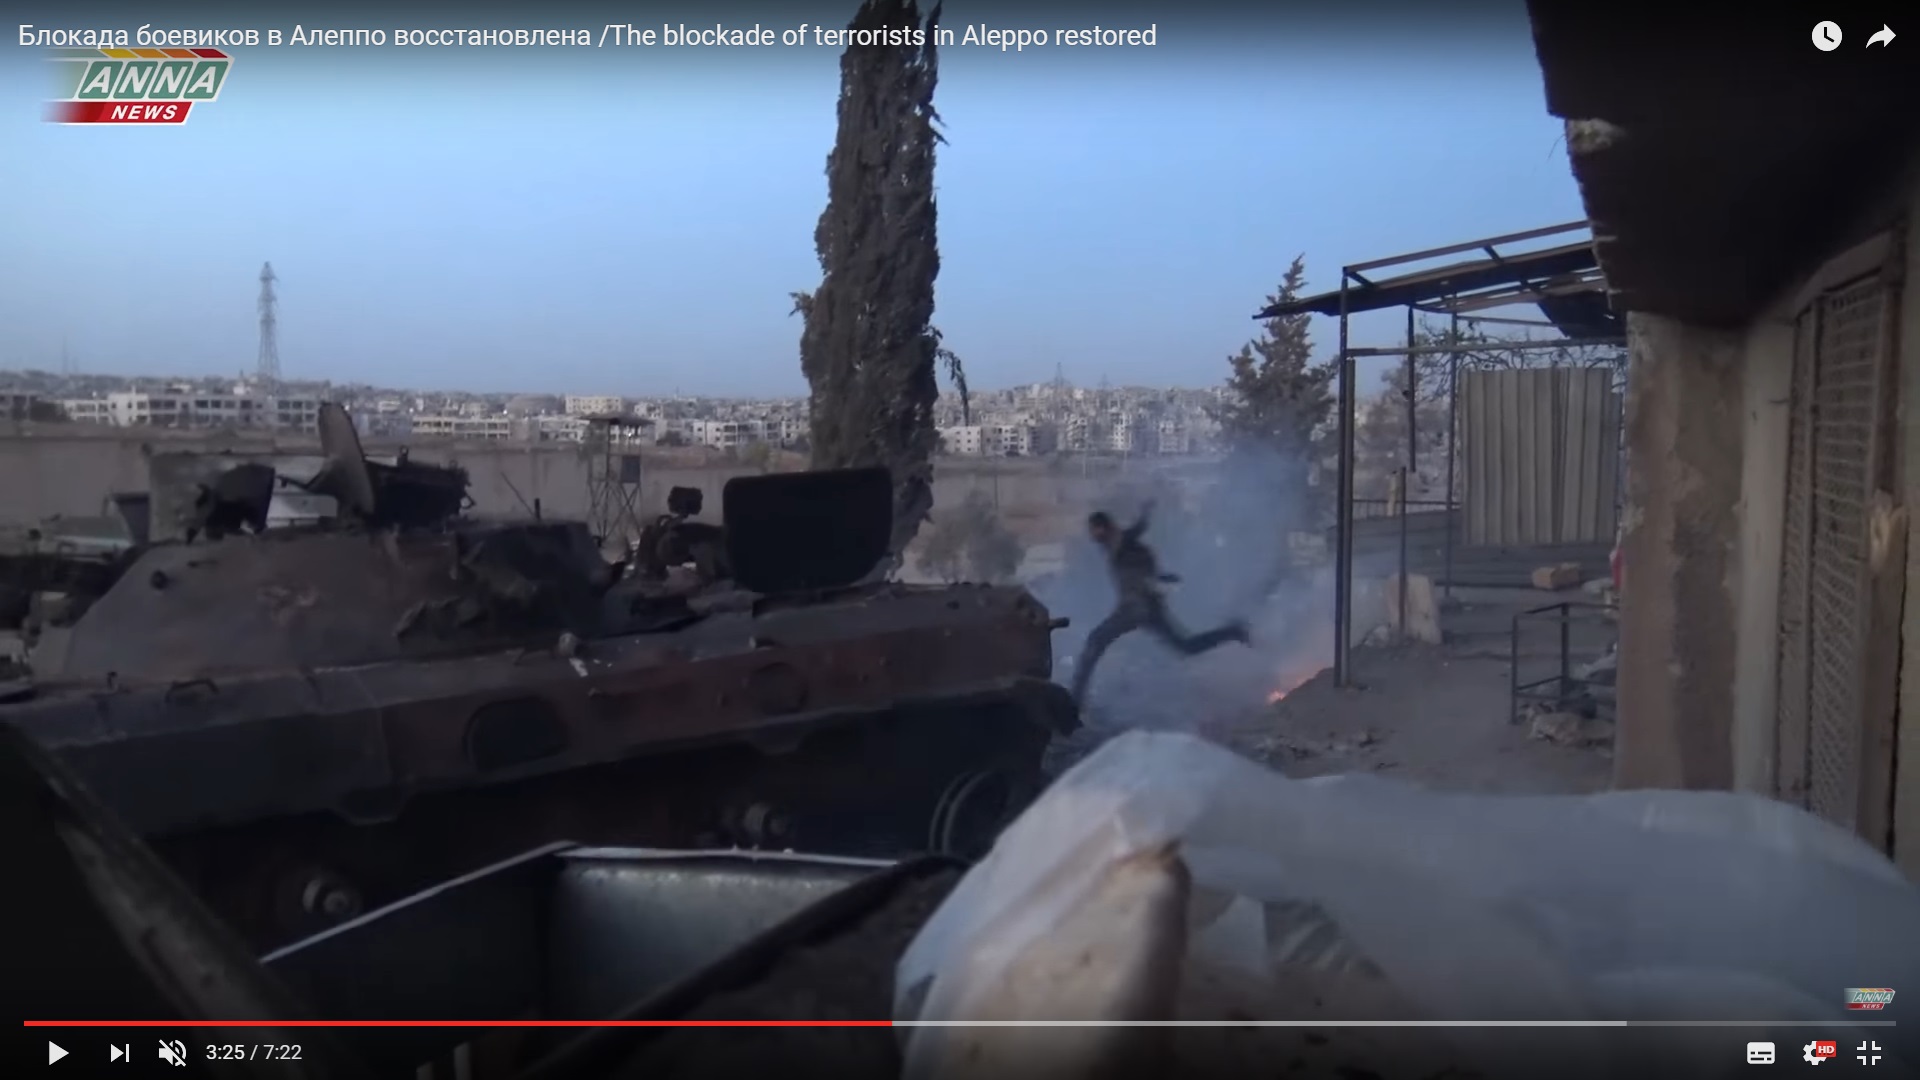
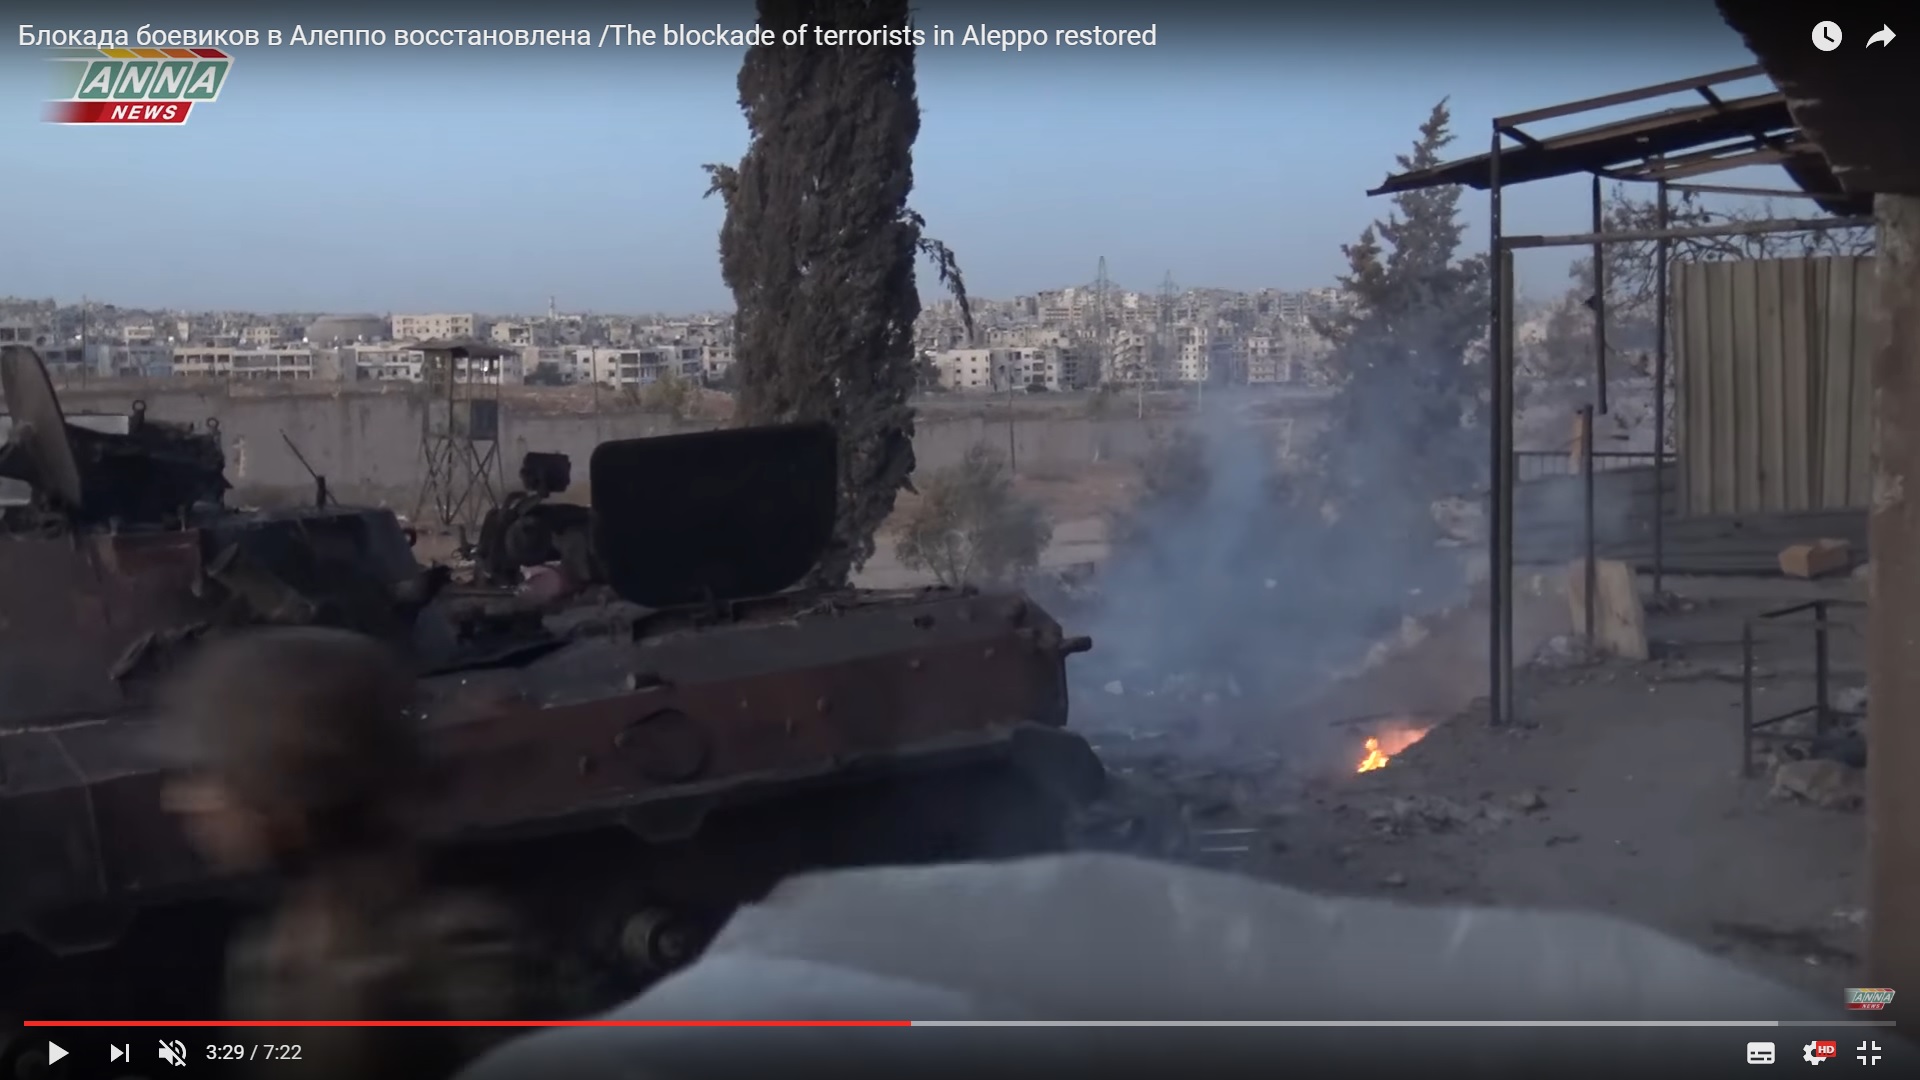
A light in the left corner of the image is a bonfire.

The hit.

Detailed Analysis Of Battle For Ramouseh Artillery Academy In Western Aleppo – Part 4

Click to see the full-size image

The missile likely hit a group of the damaged vehicles. It’s not clear what vehicle was hit but probably it was the BMP-2. ANNA News journalists also believed that the BMP-2 was the target, but they filmed the bonefire.

Detailed Analysis Of Battle For Ramouseh Artillery Academy In Western Aleppo – Part 4

Click to see the full-size image

Detailed Analysis Of Battle For Ramouseh Artillery Academy In Western Aleppo – Part 4

Click to see the full-size image

One soldier was killed.

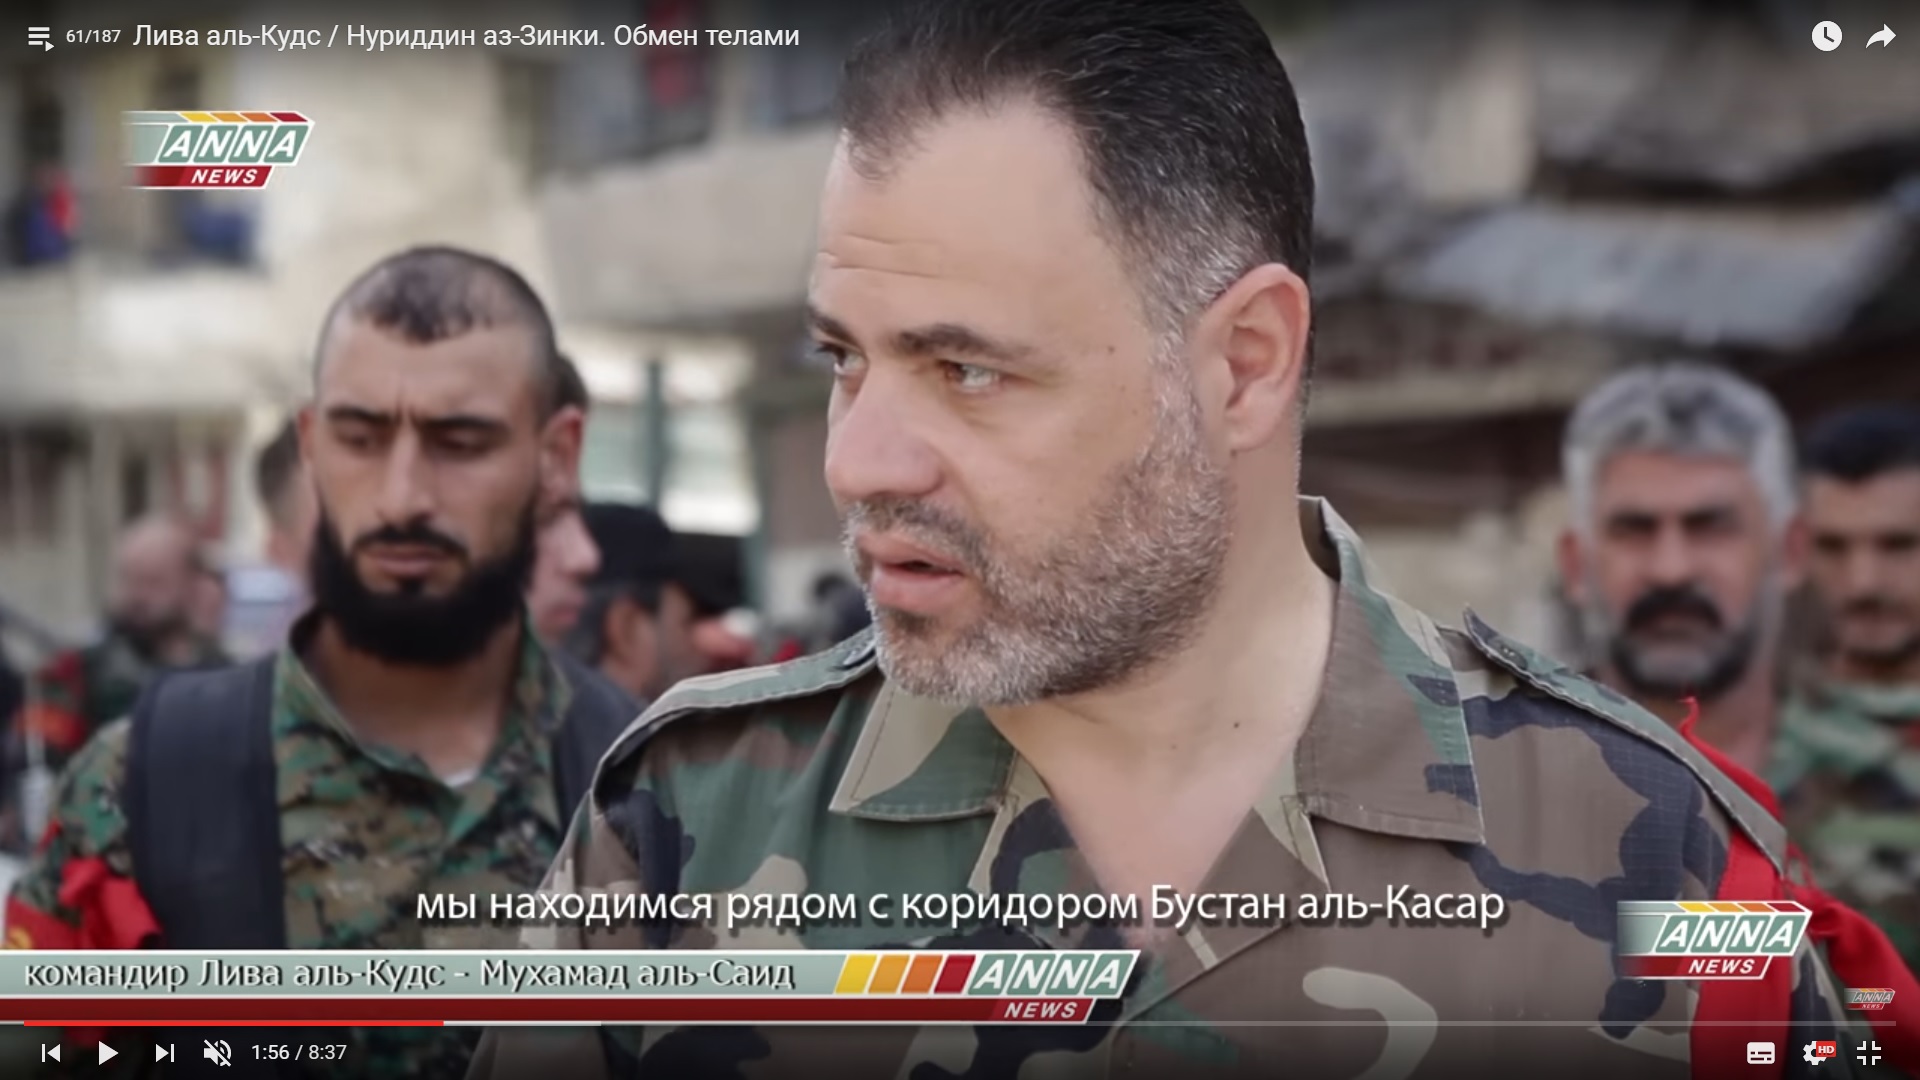
The commander was not injured. He participated in a body swap in October.

Detailed Analysis Of Battle For Ramouseh Artillery Academy In Western Aleppo – Part 4

Click to see the full-size image

The same person was filmed in the Handarat camp.

Detailed Analysis Of Battle For Ramouseh Artillery Academy In Western Aleppo – Part 4

Click to see the full-size image

ANNA News journalists were also ok. The well-known BMP arrived the area.

Detailed Analysis Of Battle For Ramouseh Artillery Academy In Western Aleppo – Part 4

Click to see the full-size image

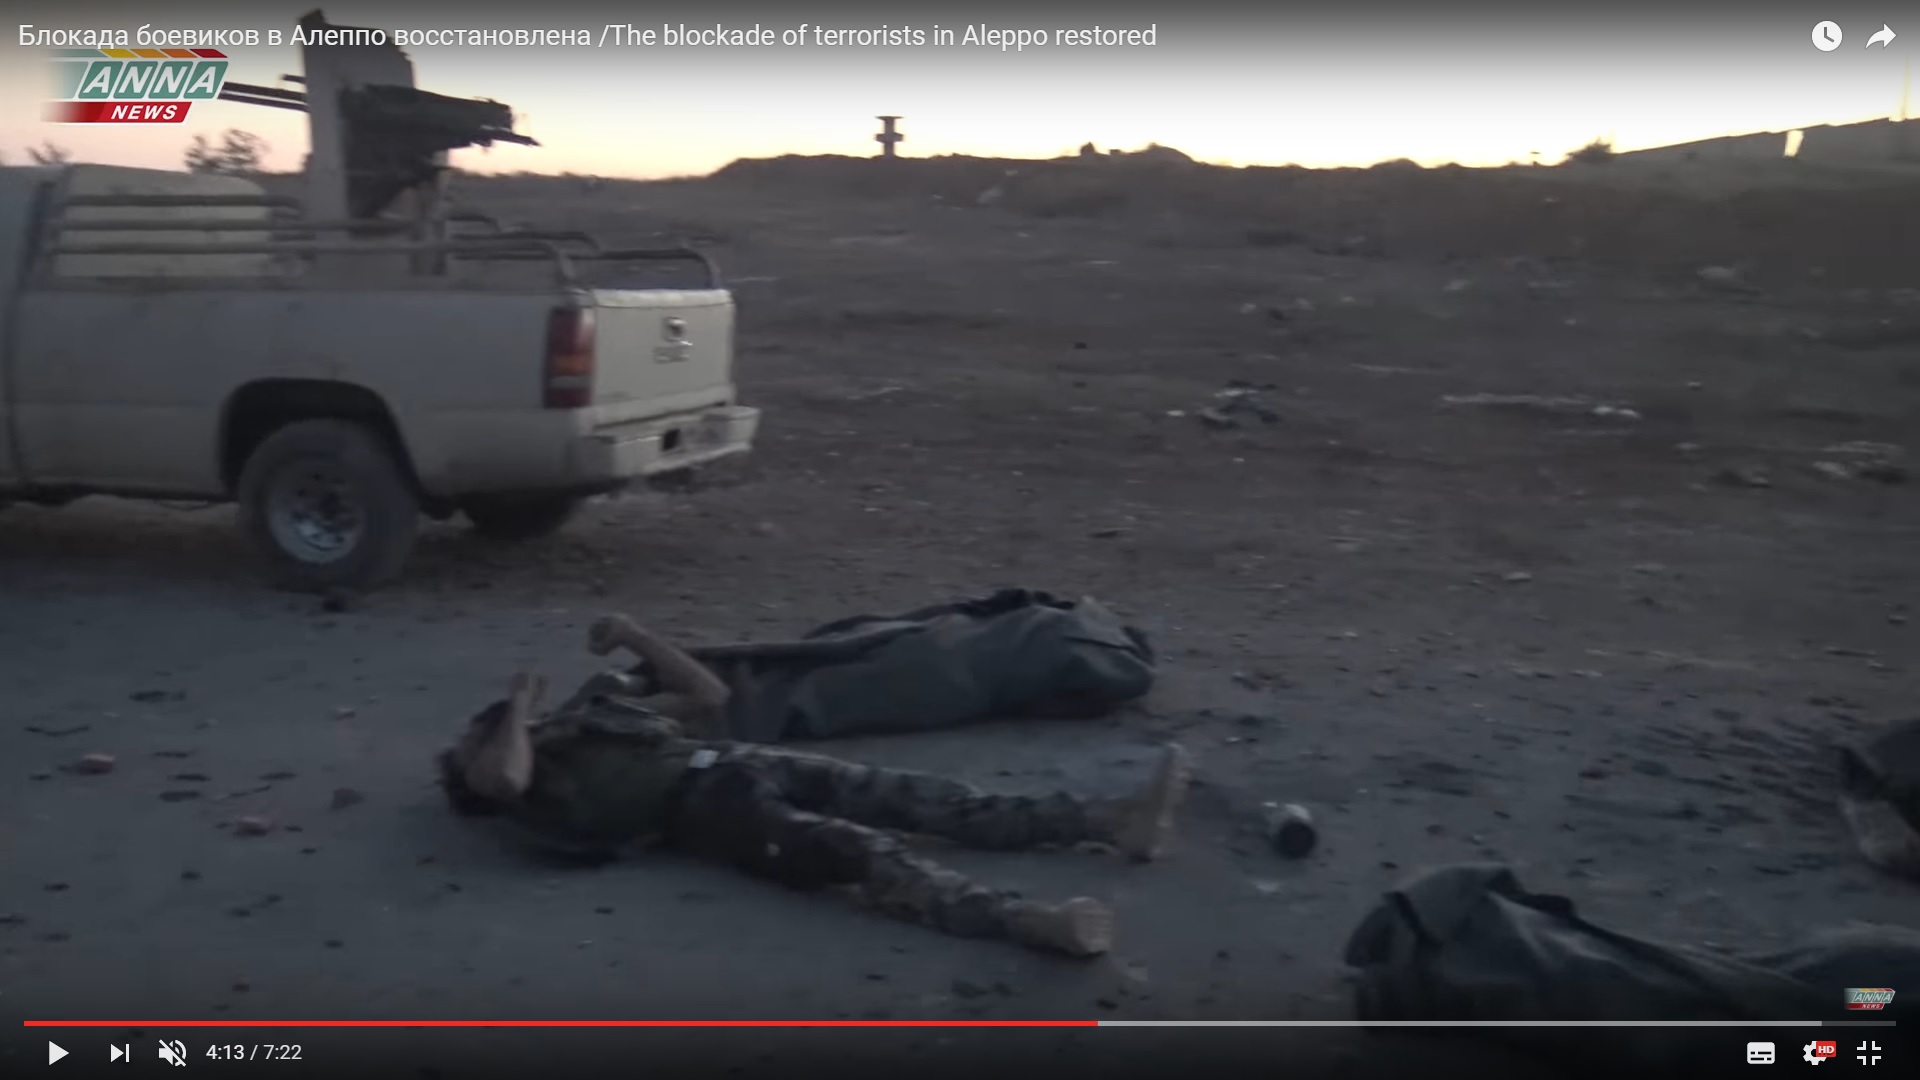
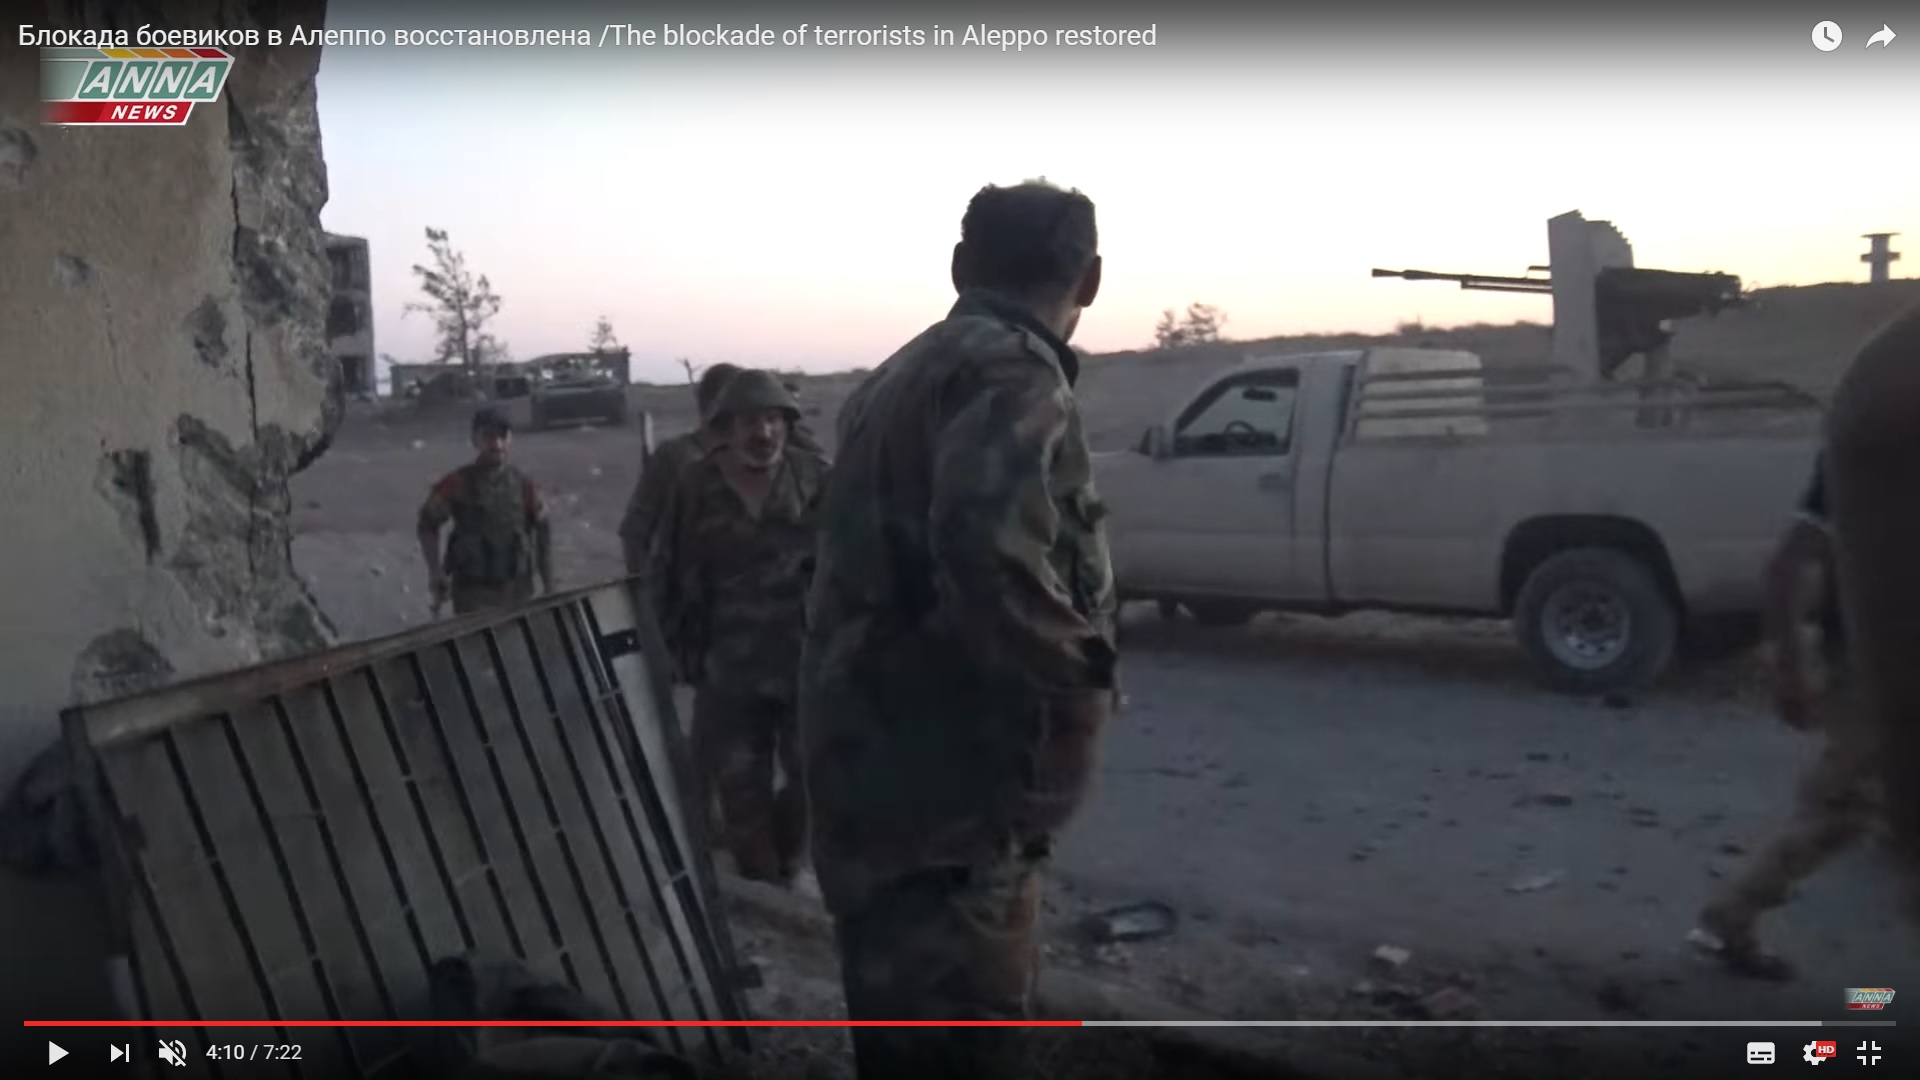
Bodies of the dead soldiers were prepared for an evacuation.

Detailed Analysis Of Battle For Ramouseh Artillery Academy In Western Aleppo – Part 4

Click to see the full-size image

The person killed during the last ATGM strike was not in a body bag.

Journalists moved to the Yellow Building.

Detailed Analysis Of Battle For Ramouseh Artillery Academy In Western Aleppo – Part 4

Click to see the full-size image

The BMP moved to the corner of the depot to take the bodies and became the target of another ATGM strike.

Detailed Analysis Of Battle For Ramouseh Artillery Academy In Western Aleppo – Part 4

Click to see the full-size image

Nonetheless, the missile missed. There were no reports about casualties among the troops.

The shots fired from the area of the armament college could be seen in the air. Government forces were celebrating.

Detailed Analysis Of Battle For Ramouseh Artillery Academy In Western Aleppo – Part 4

Click to see the full-size image

Militants were shelling the lost area from the 1070 Apartment Apartment Project.

Detailed Analysis Of Battle For Ramouseh Artillery Academy In Western Aleppo – Part 4

Click to see the full-size image

Liwa al-Quds fighters were also satisfied.

Detailed Analysis Of Battle For Ramouseh Artillery Academy In Western Aleppo – Part 4

Click to see the full-size image

This was the end of the battle for the Artillery Academy complex. Let’s take a look at the battlefield next morning.

The BVP-1 AMB-S vehicle was moved from the depot to the road. This means it could be recovered.

Detailed Analysis Of Battle For Ramouseh Artillery Academy In Western Aleppo – Part 4

Click to see the full-size image

The burned BMP vehicle remained near the Yellow Building. Another vehicle was evacuated.

Detailed Analysis Of Battle For Ramouseh Artillery Academy In Western Aleppo – Part 4

Click to see the full-size image

A look at the Hamadaniyah neighborhood.

Detailed Analysis Of Battle For Ramouseh Artillery Academy In Western Aleppo – Part 4

Click to see the full-size image

Detailed Analysis Of Battle For Ramouseh Artillery Academy In Western Aleppo – Part 4

Click to see the full-size image

The police UAZ vehicle was near the Yellow Building. The damaged BMP vehicle was absent near the building. The damaged BMP-1 vehicle was also removed from the road between the Yellow Building and the depot.

Detailed Analysis Of Battle For Ramouseh Artillery Academy In Western Aleppo – Part 4

Click to see the full-size image

Detailed Analysis Of Battle For Ramouseh Artillery Academy In Western Aleppo – Part 4

Click to see the full-size image

A look from the other side: the Yellow Building, the damaged Hell Cannon, the damaged BVP-1 AMB-S vehicle and two government fighters.

Detailed Analysis Of Battle For Ramouseh Artillery Academy In Western Aleppo – Part 4

Click to see the full-size image

The same Hell Cannon.

Detailed Analysis Of Battle For Ramouseh Artillery Academy In Western Aleppo – Part 4

Click to see the full-size image

The same BVP-1 AMB-S vehicle.

Detailed Analysis Of Battle For Ramouseh Artillery Academy In Western Aleppo – Part 4

Click to see the full-size image

A look at the Yellow Building from the side of militants.

Detailed Analysis Of Battle For Ramouseh Artillery Academy In Western Aleppo – Part 4

Click to see the full-size image

There were holes in the roof from artillery strikes and holes on the first floor made by militants for entering the building.

Government troops invited journalists inside.

Detailed Analysis Of Battle For Ramouseh Artillery Academy In Western Aleppo – Part 4

Click to see the full-size image

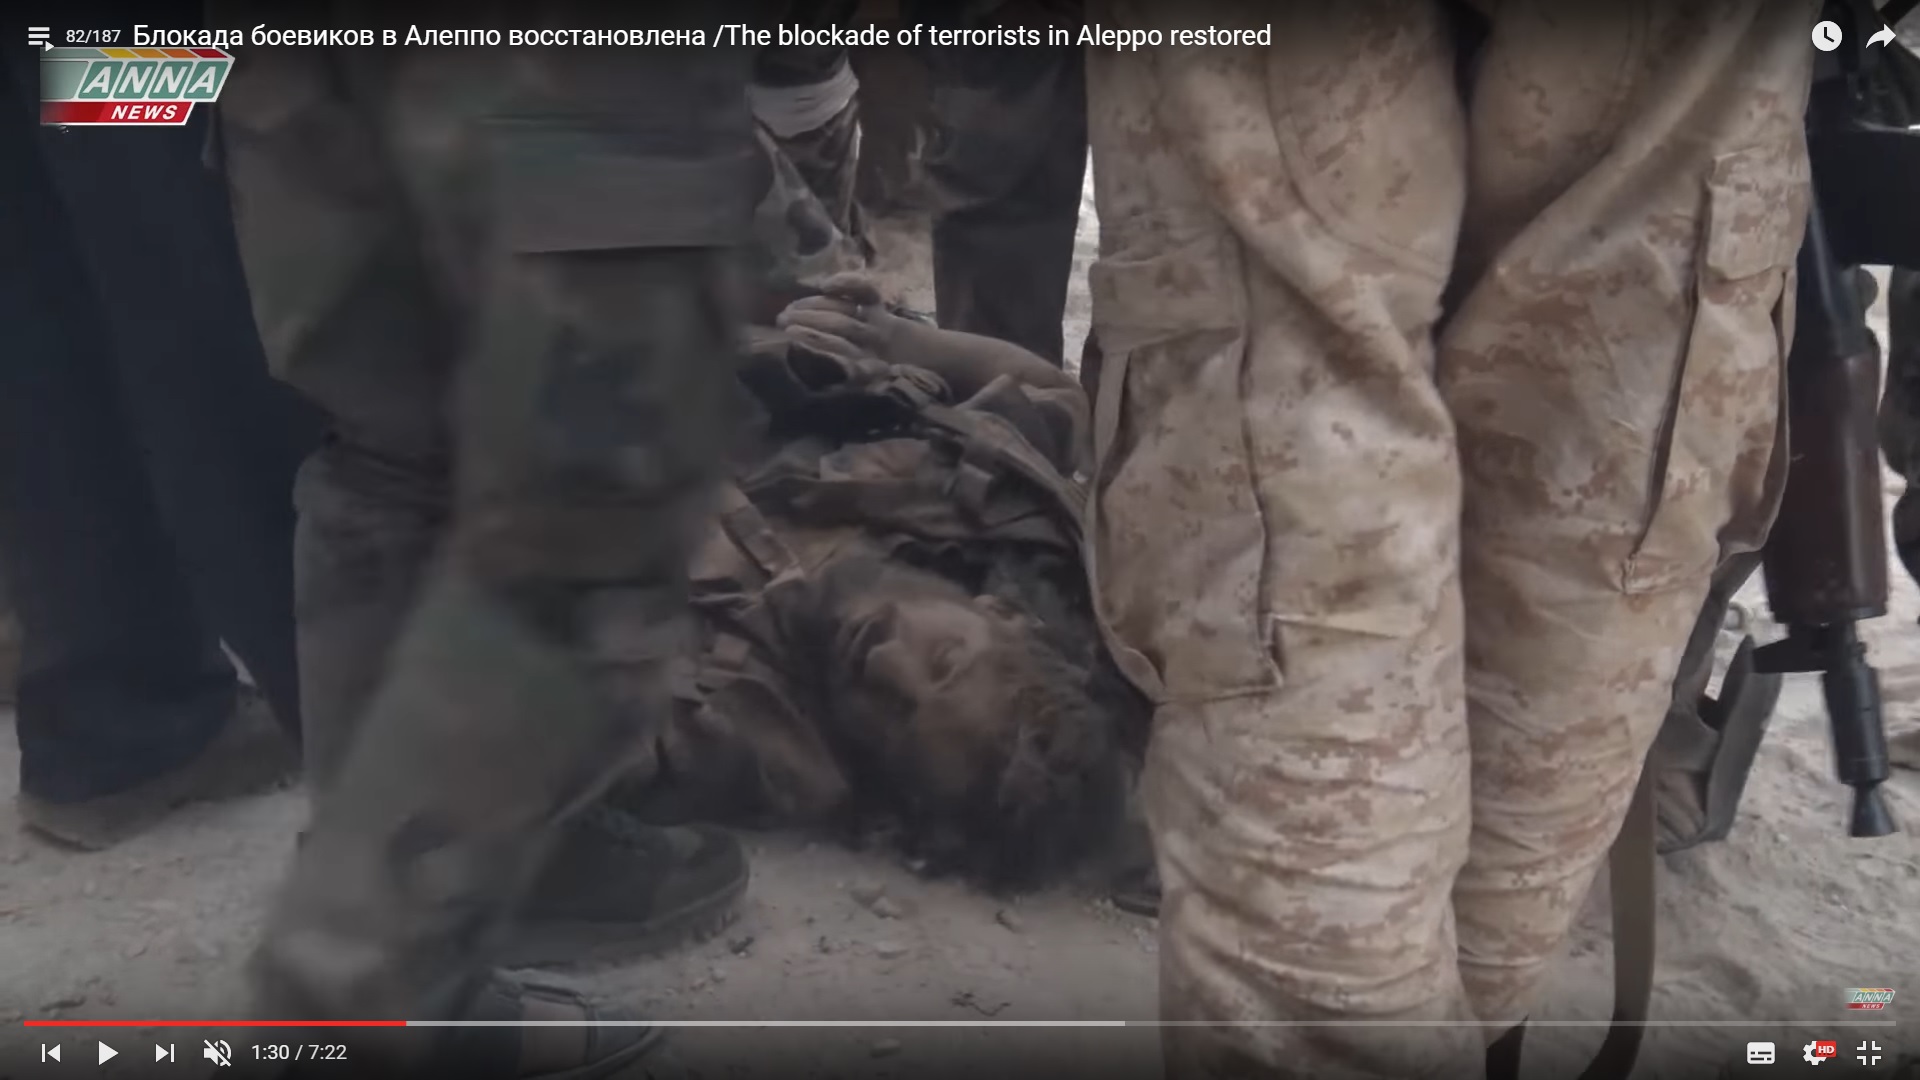
There were many bodies.

Detailed Analysis Of Battle For Ramouseh Artillery Academy In Western Aleppo – Part 4

Click to see the full-size image

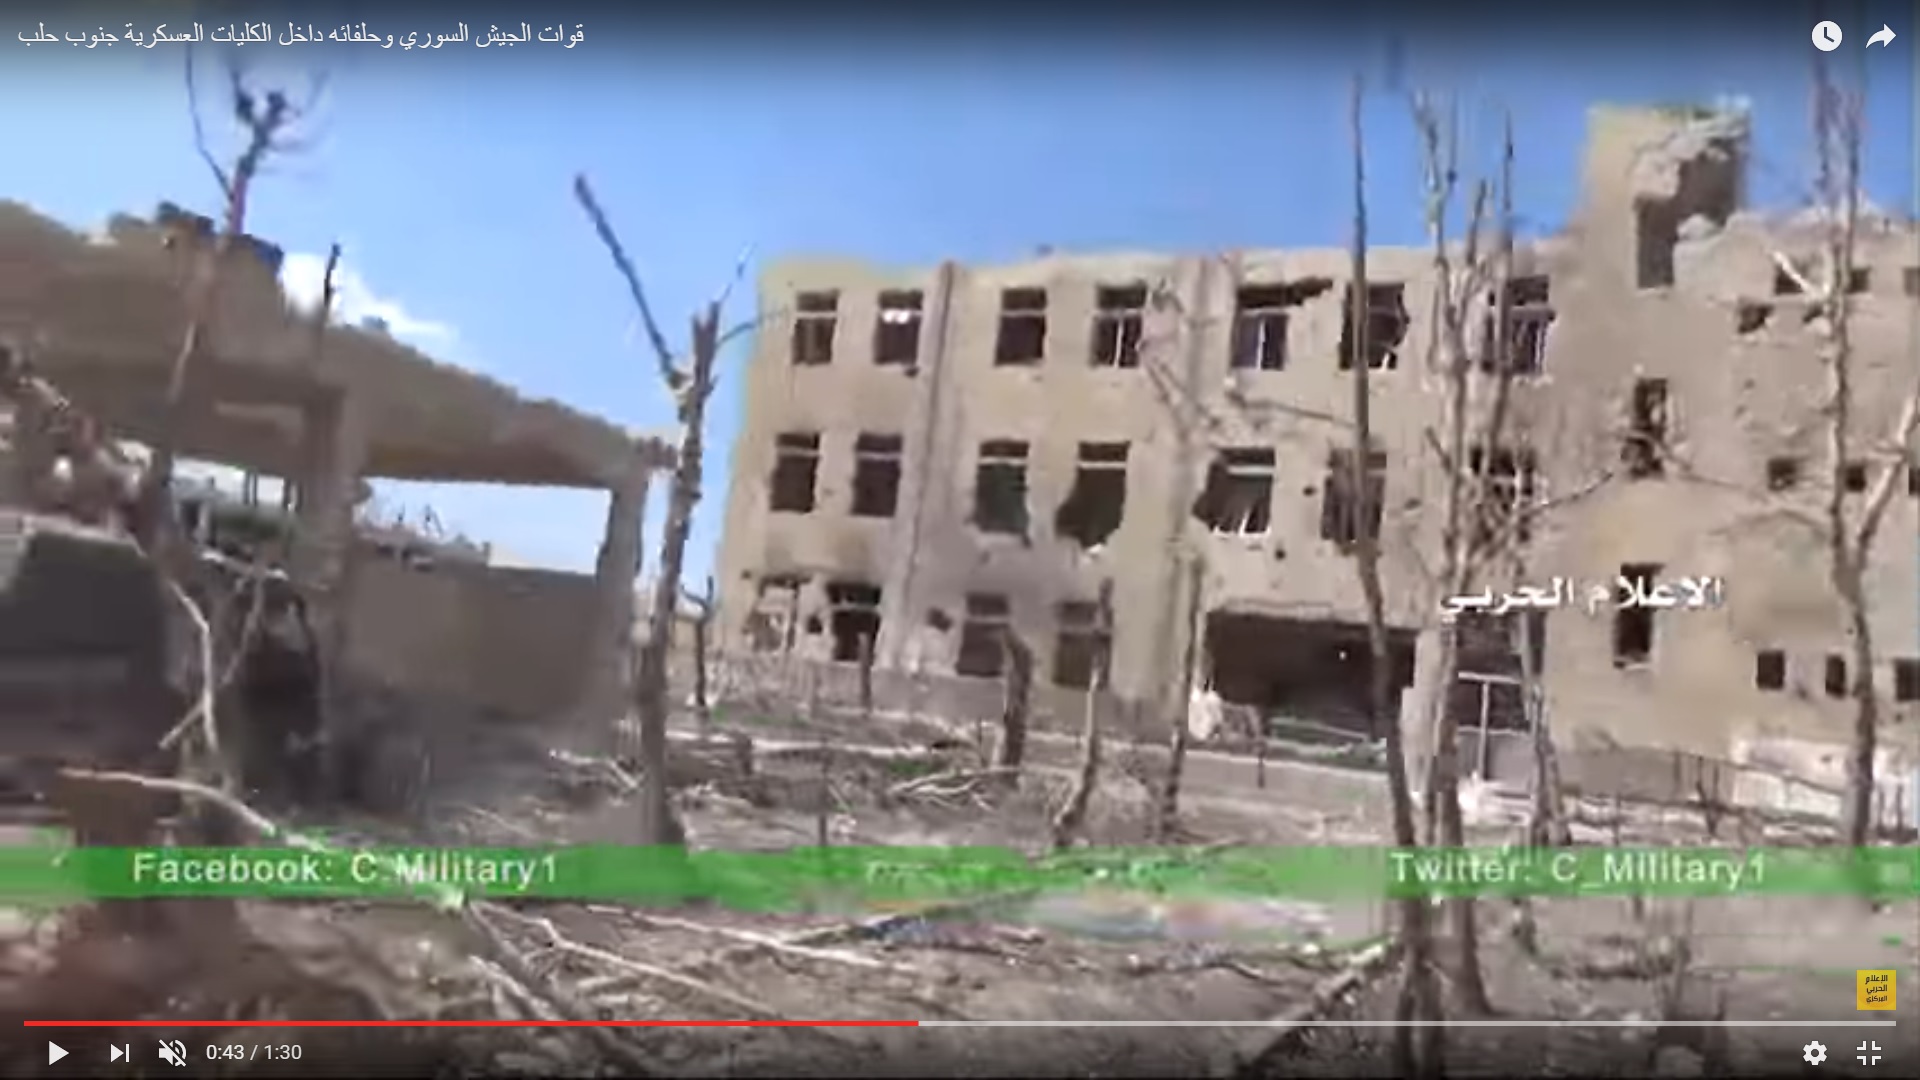
A look at the destroyed building of the artillery college and the Hikmah school behind it.

Detailed Analysis Of Battle For Ramouseh Artillery Academy In Western Aleppo – Part 4

Click to see the full-size image

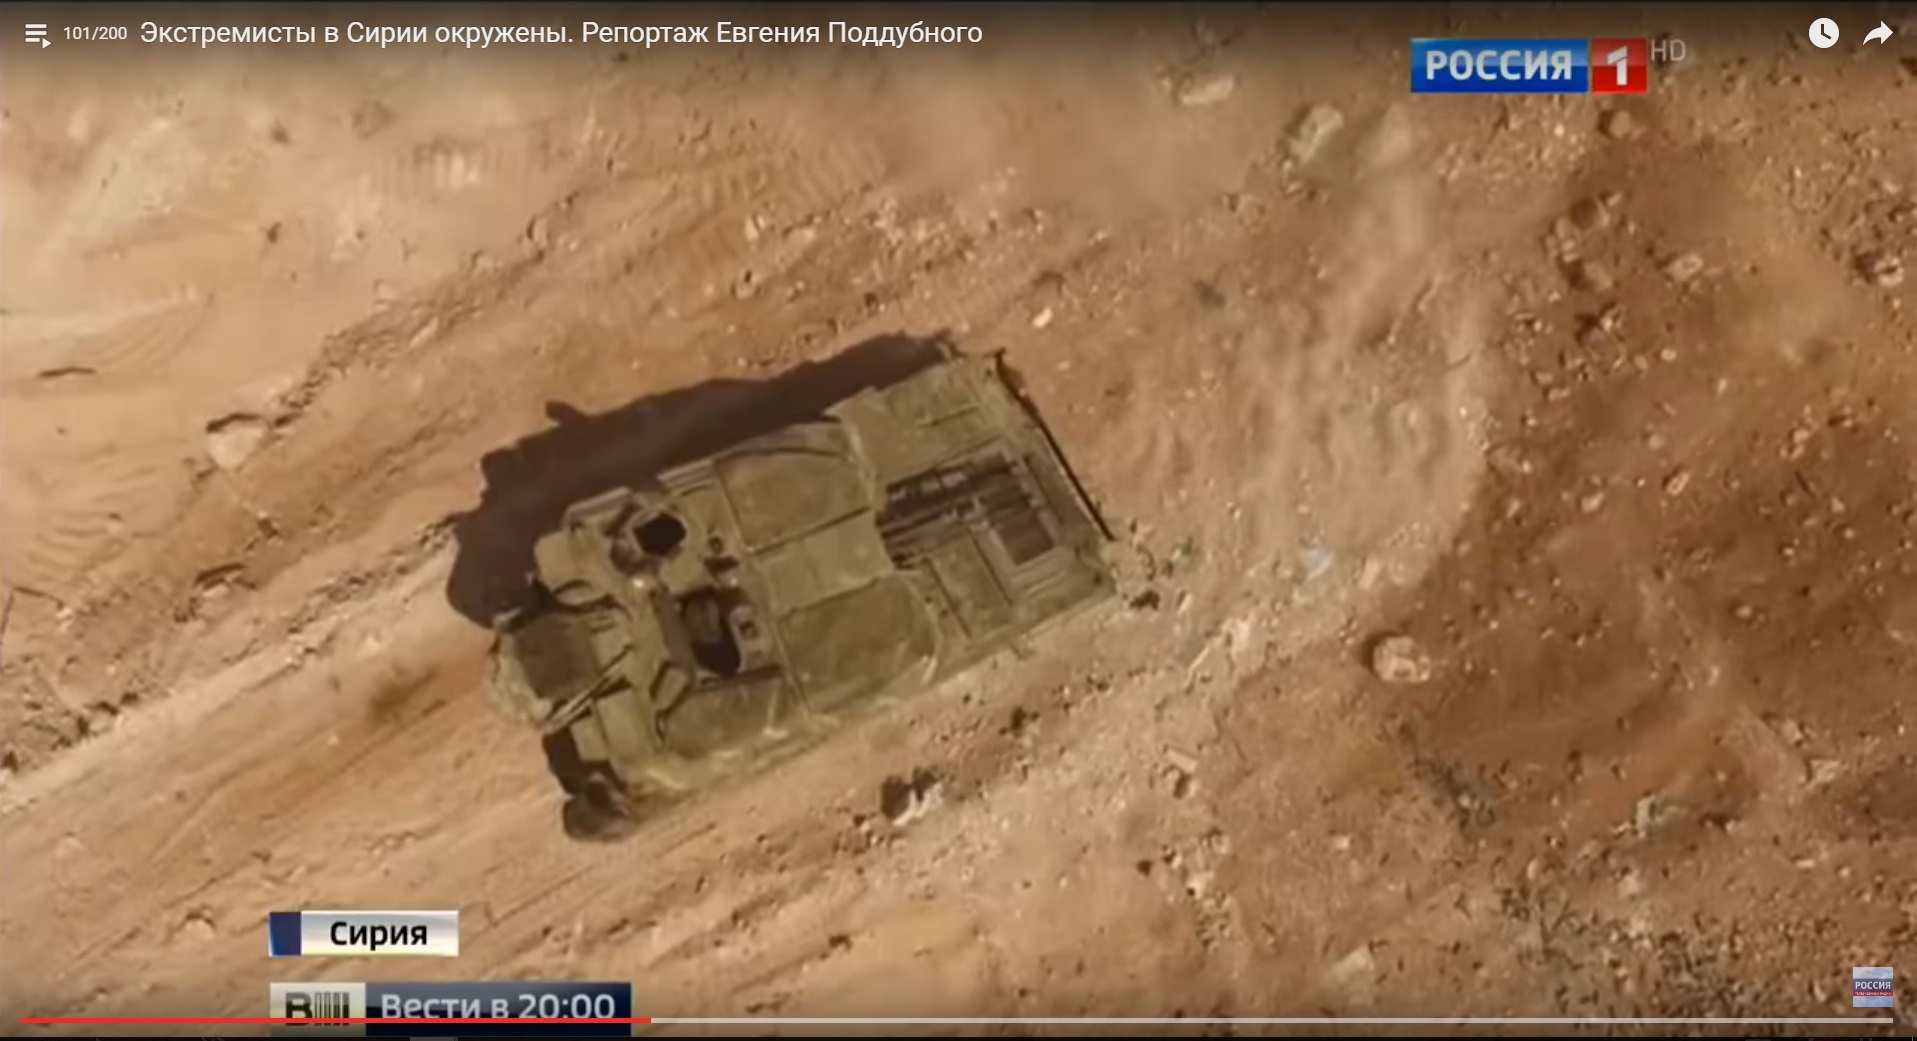
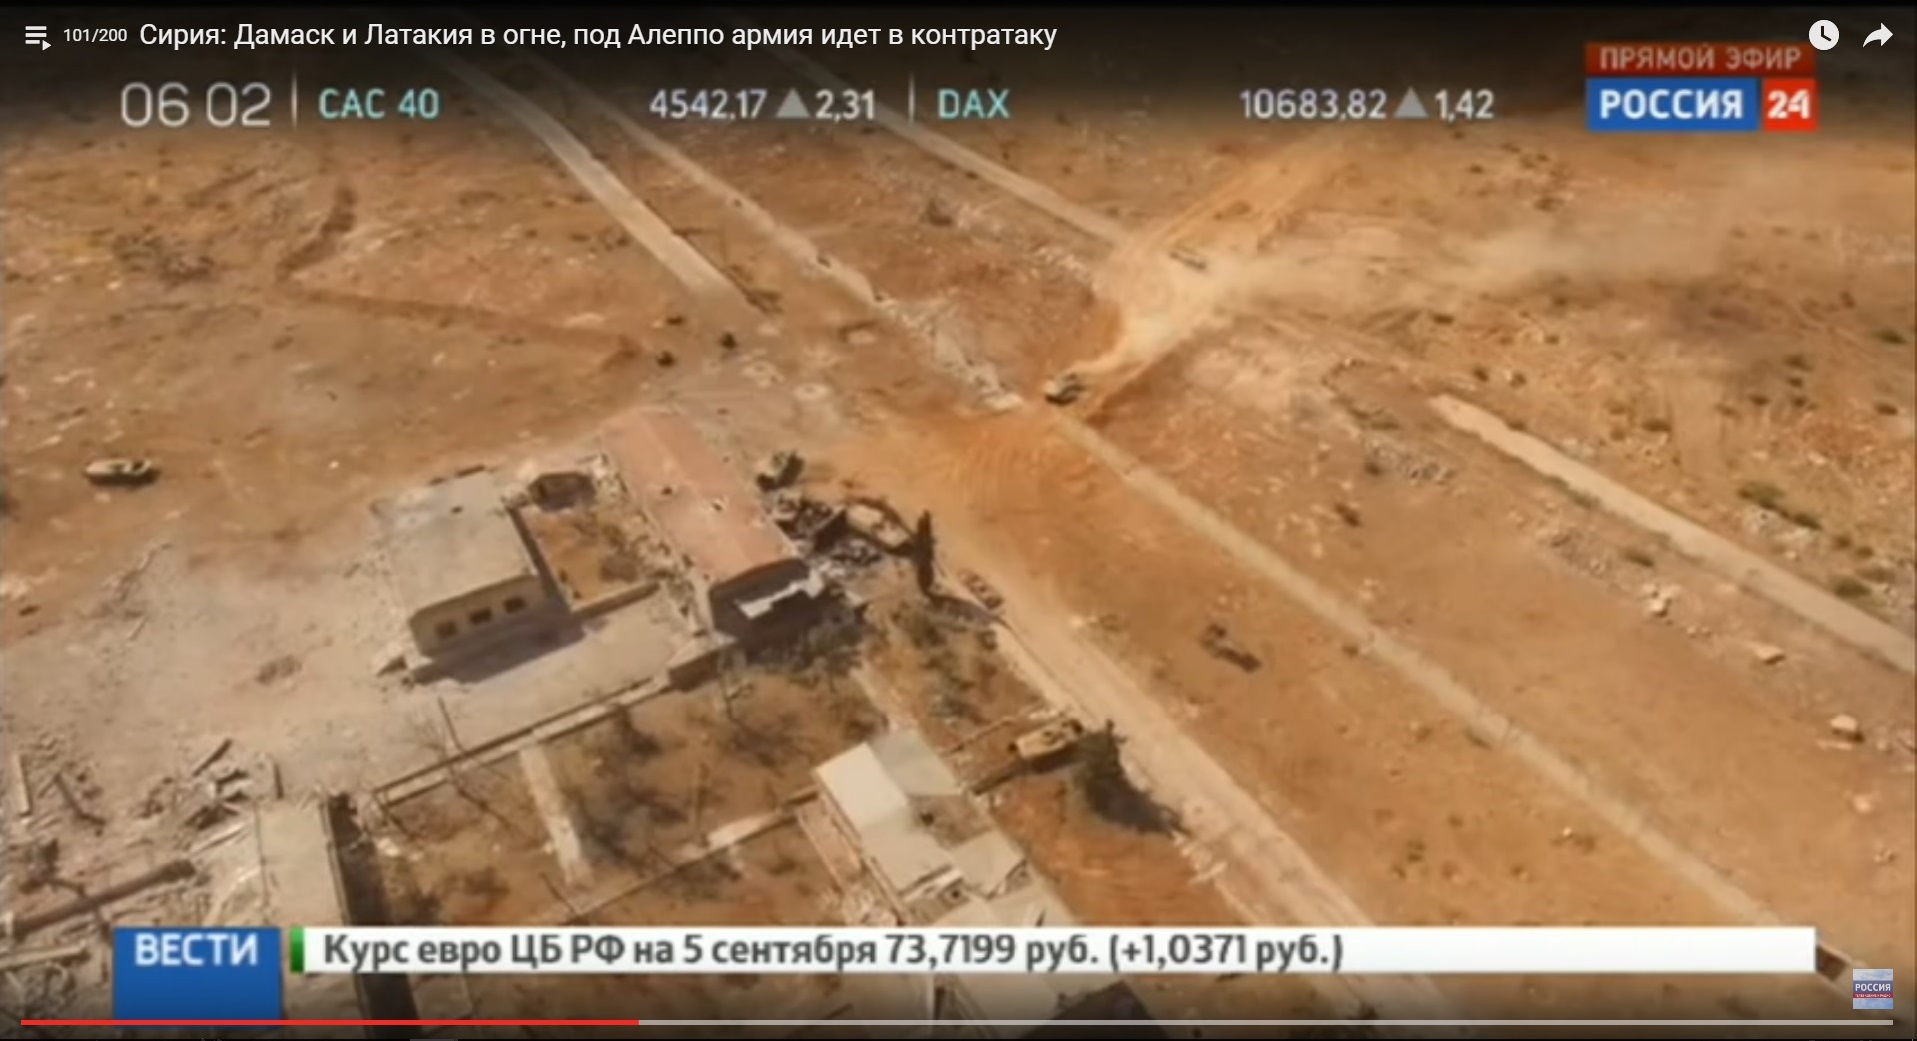
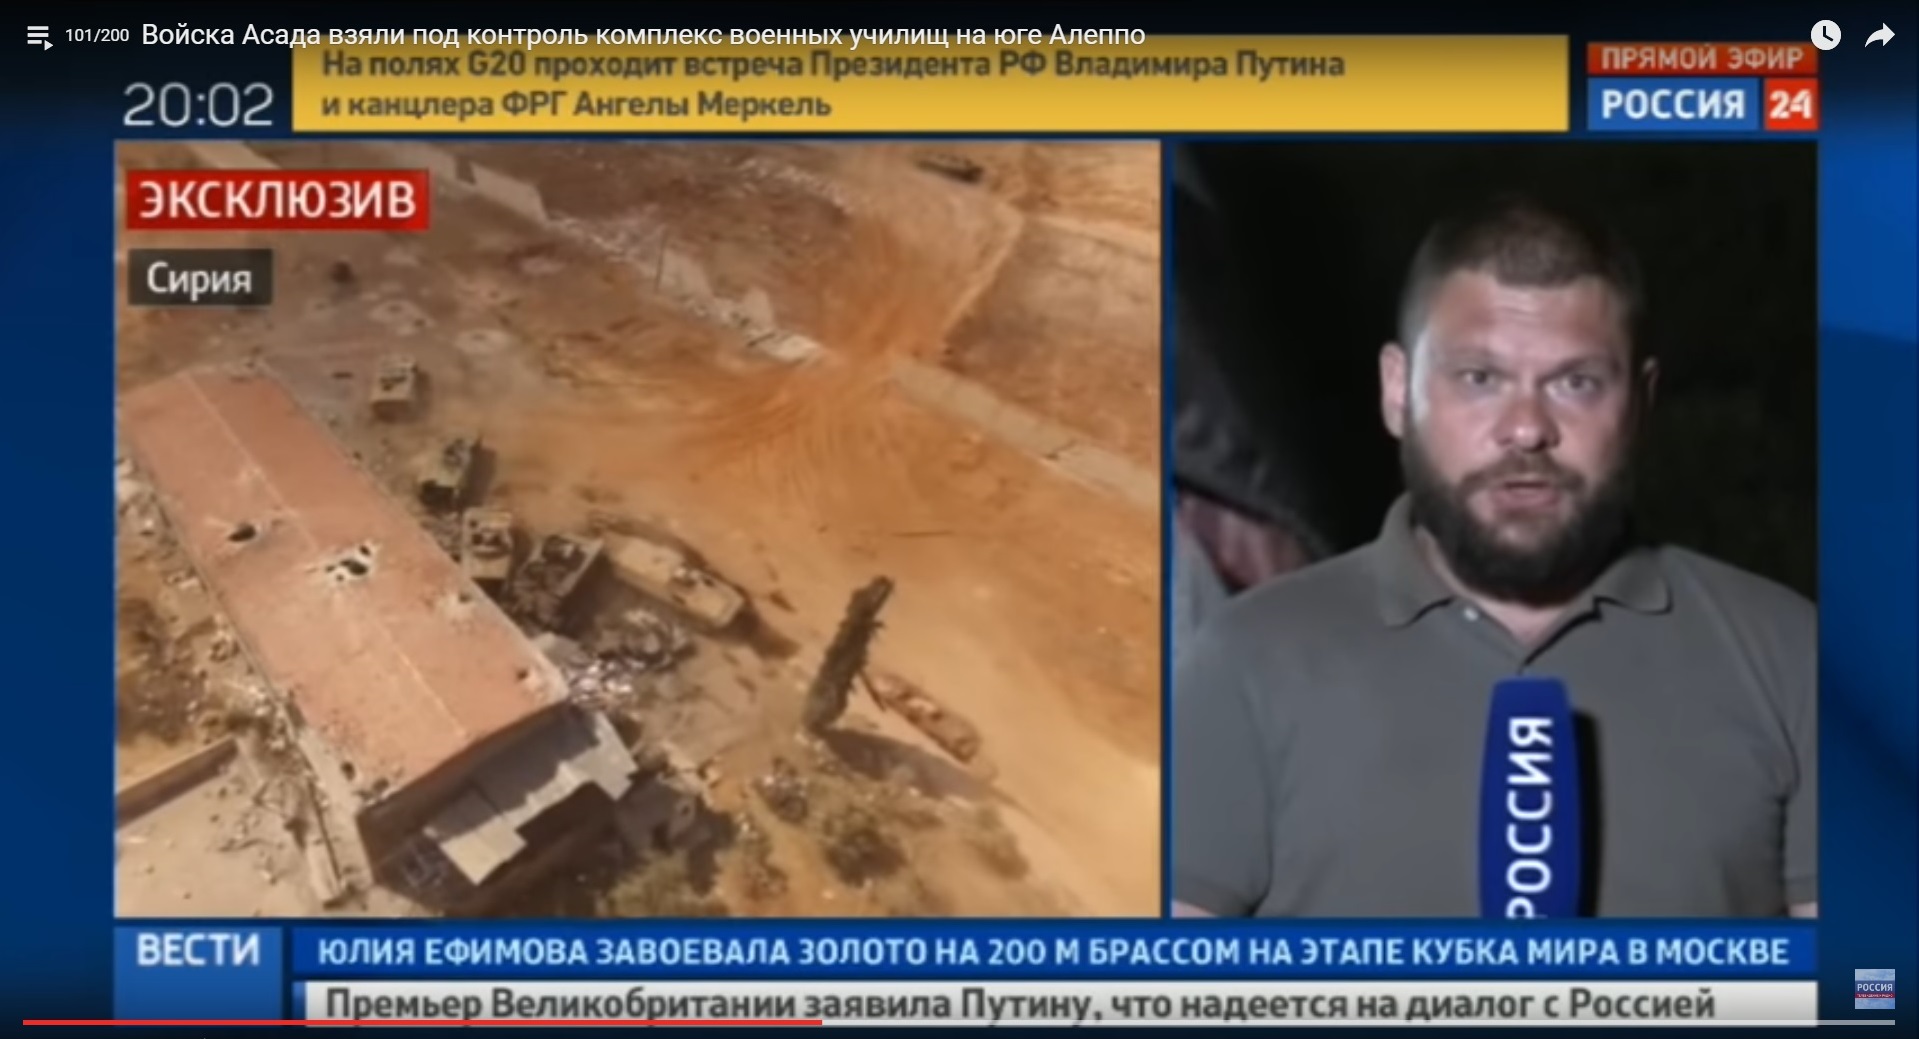
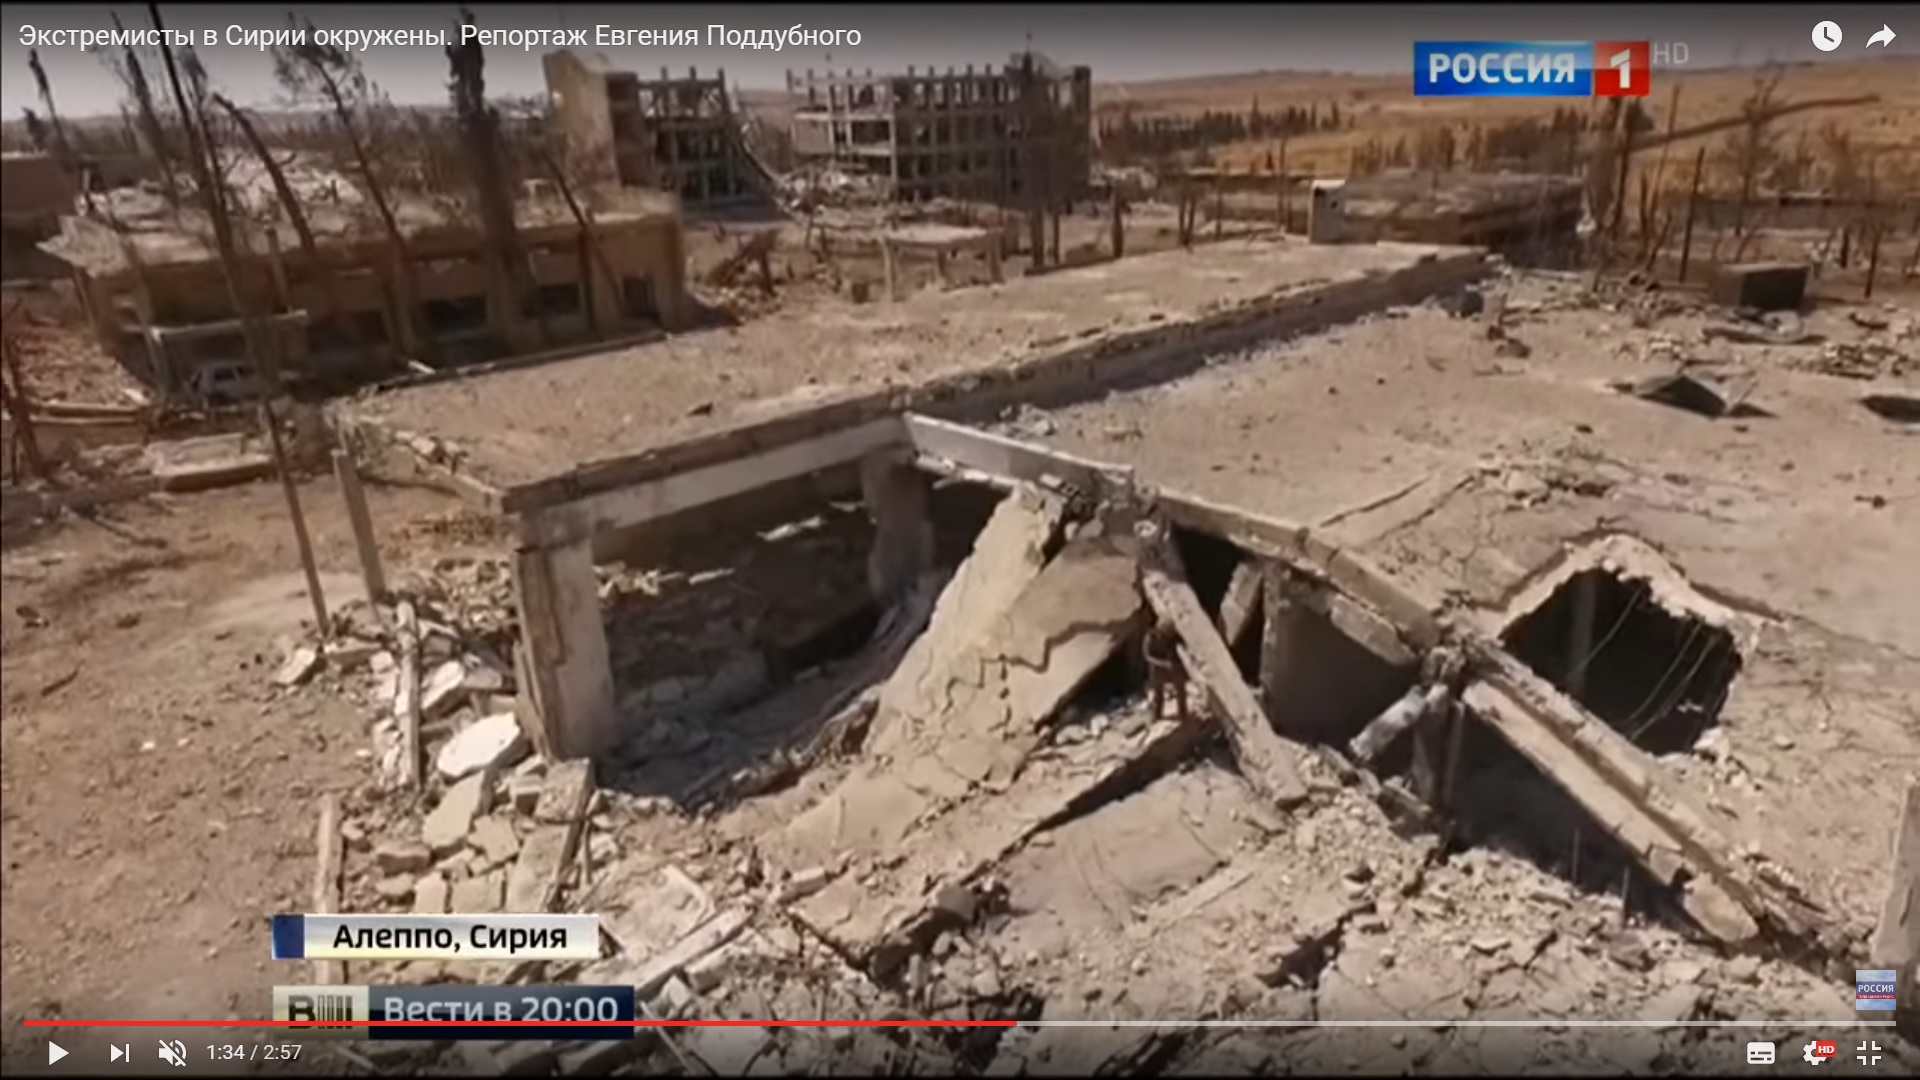
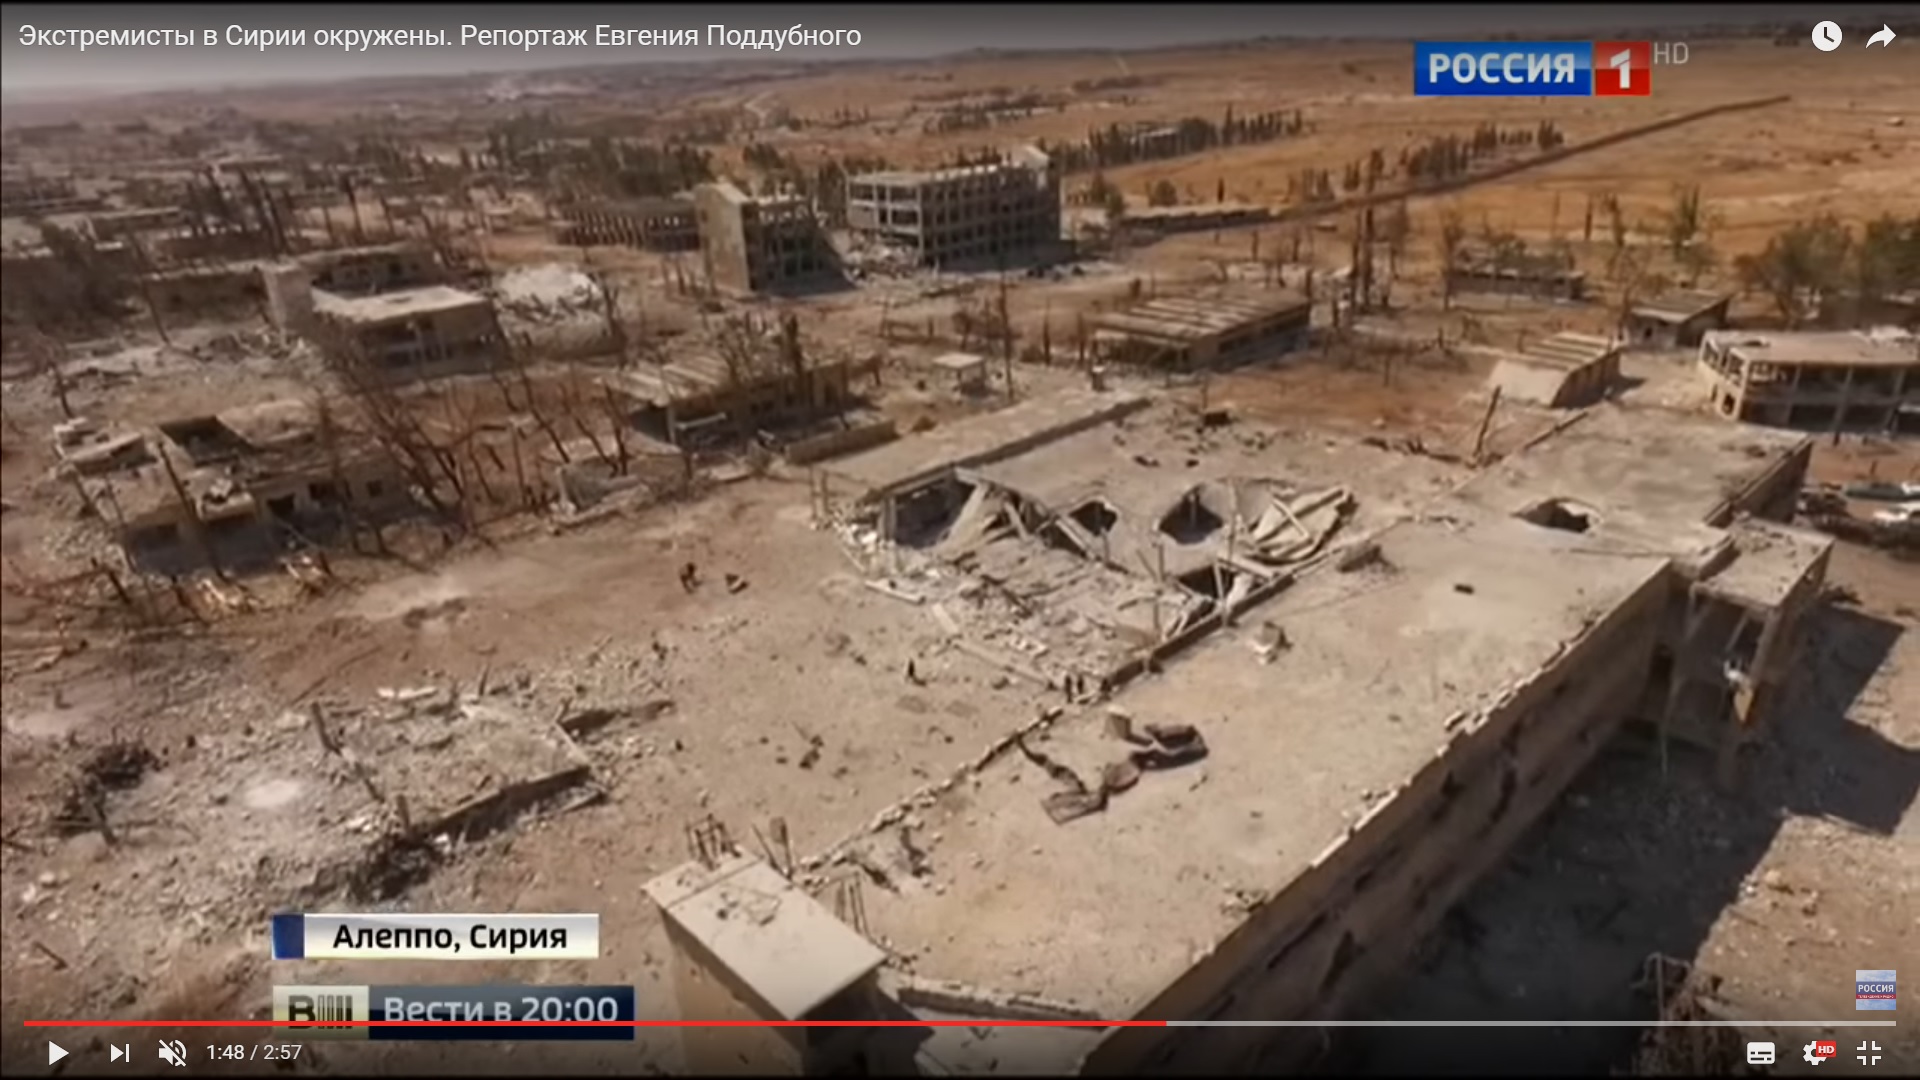
A look at the same area from a drone belonging to the Russia1 TV channel crew.

Detailed Analysis Of Battle For Ramouseh Artillery Academy In Western Aleppo – Part 4

Click to see the full-size image

Detailed Analysis Of Battle For Ramouseh Artillery Academy In Western Aleppo – Part 4

Click to see the full-size image

We could see Eugene Poddybniy and a white jeep hidden under the shed.

The damaged building of the artillery college and a look at the direction of the 1070 Apartment Project.

Detailed Analysis Of Battle For Ramouseh Artillery Academy In Western Aleppo – Part 4

Click to see the full-size image

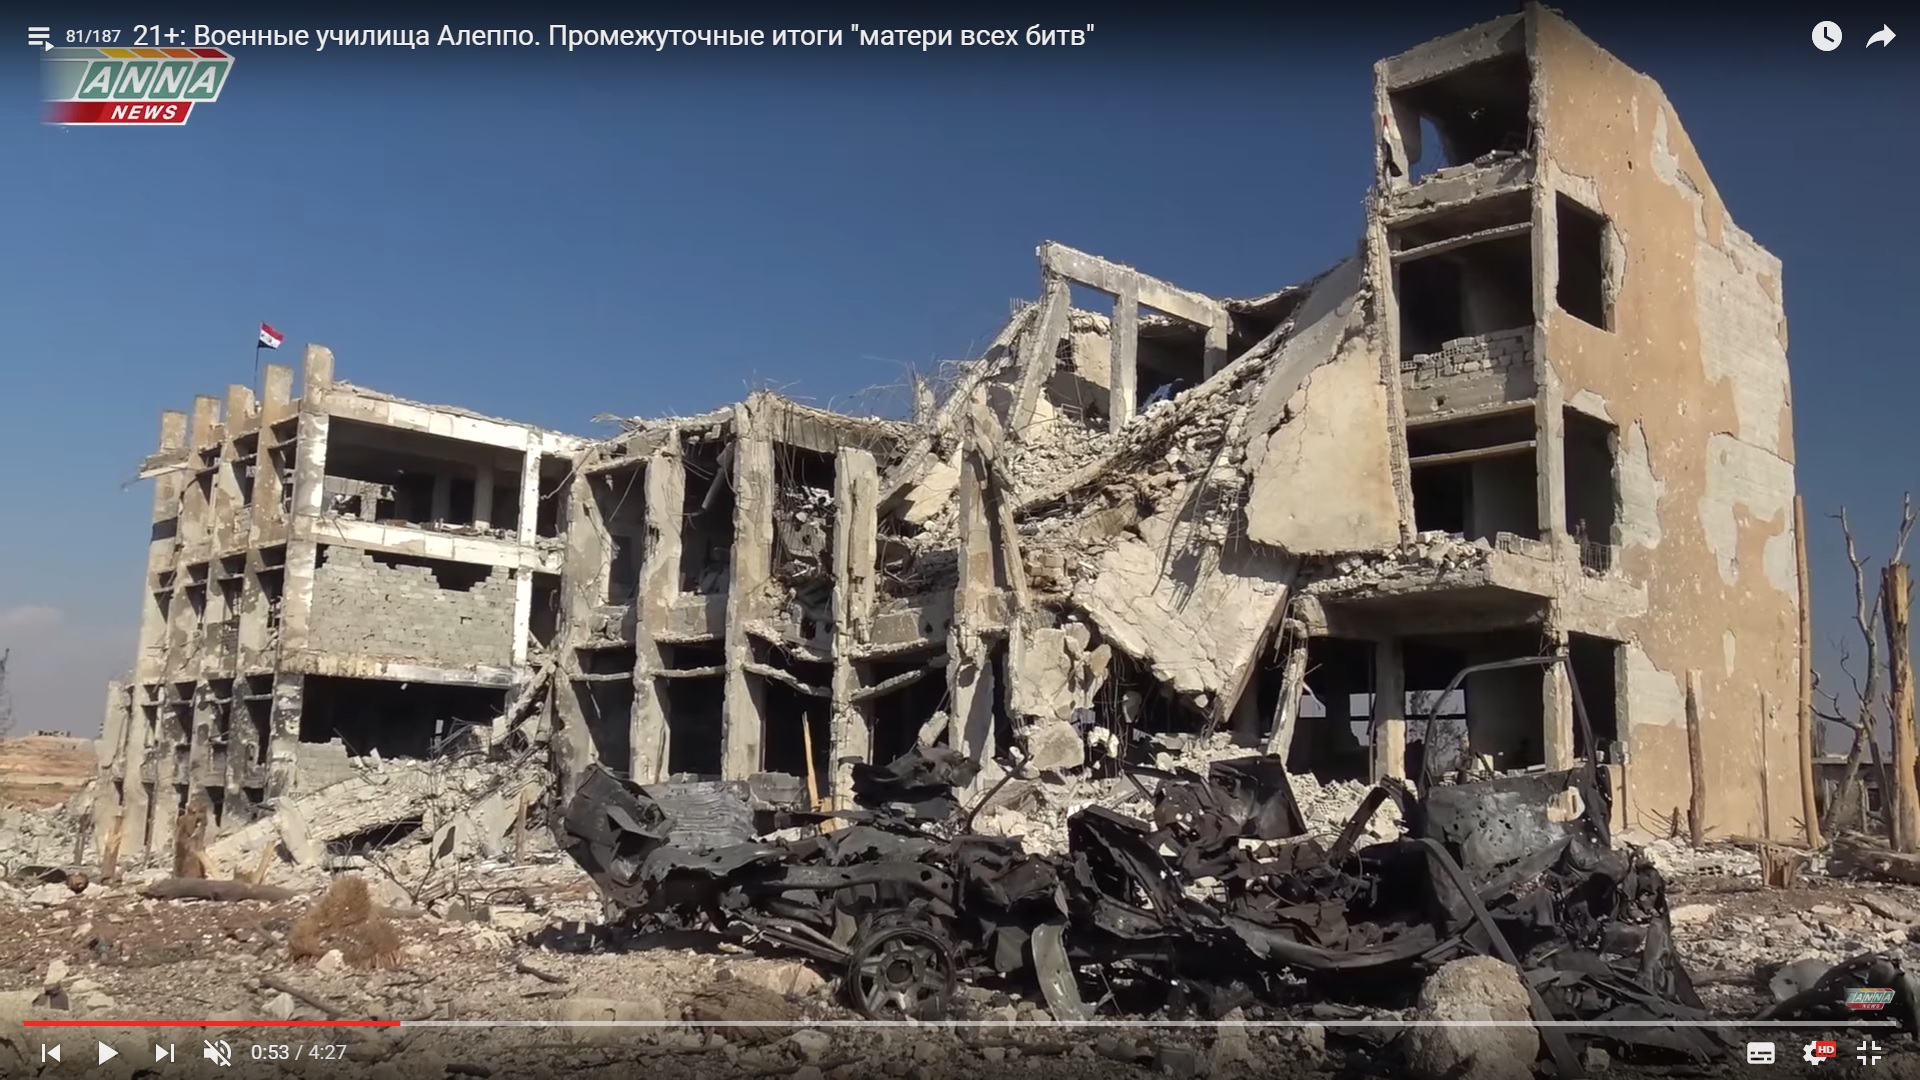
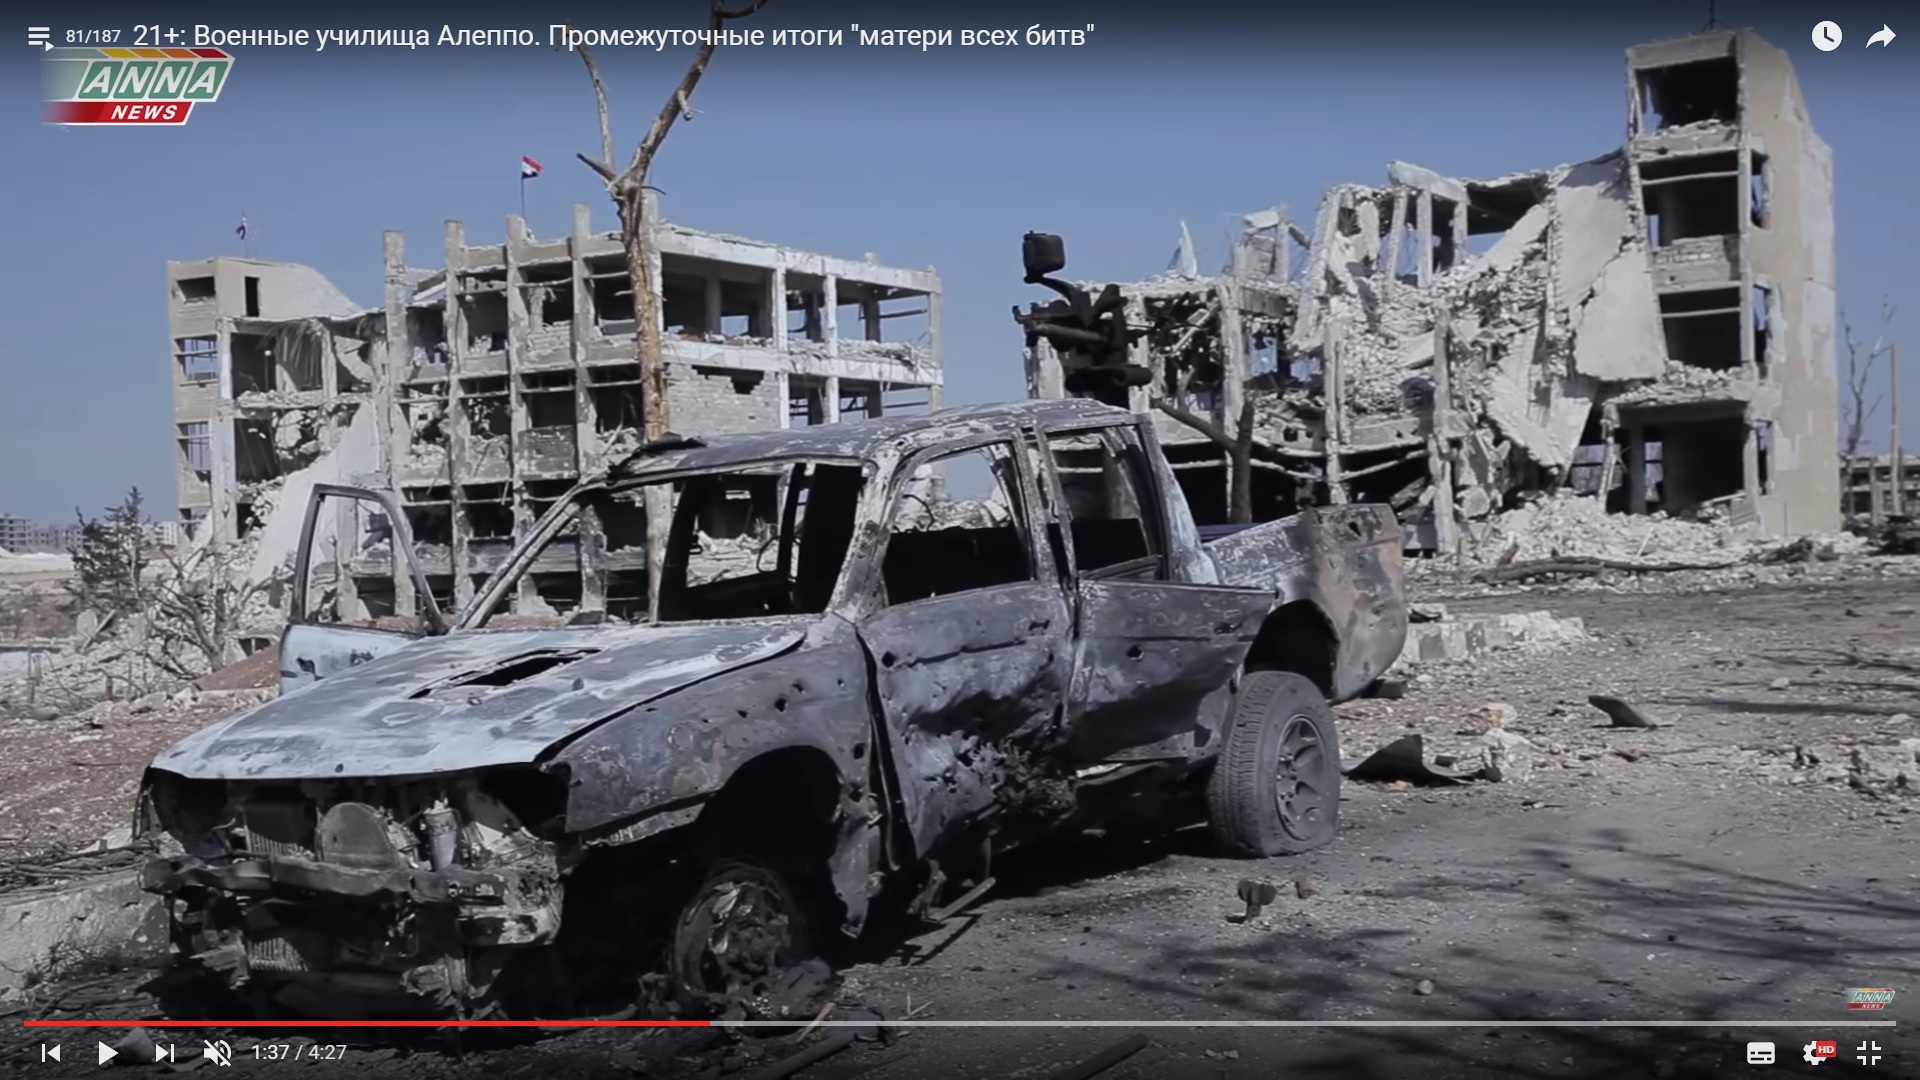
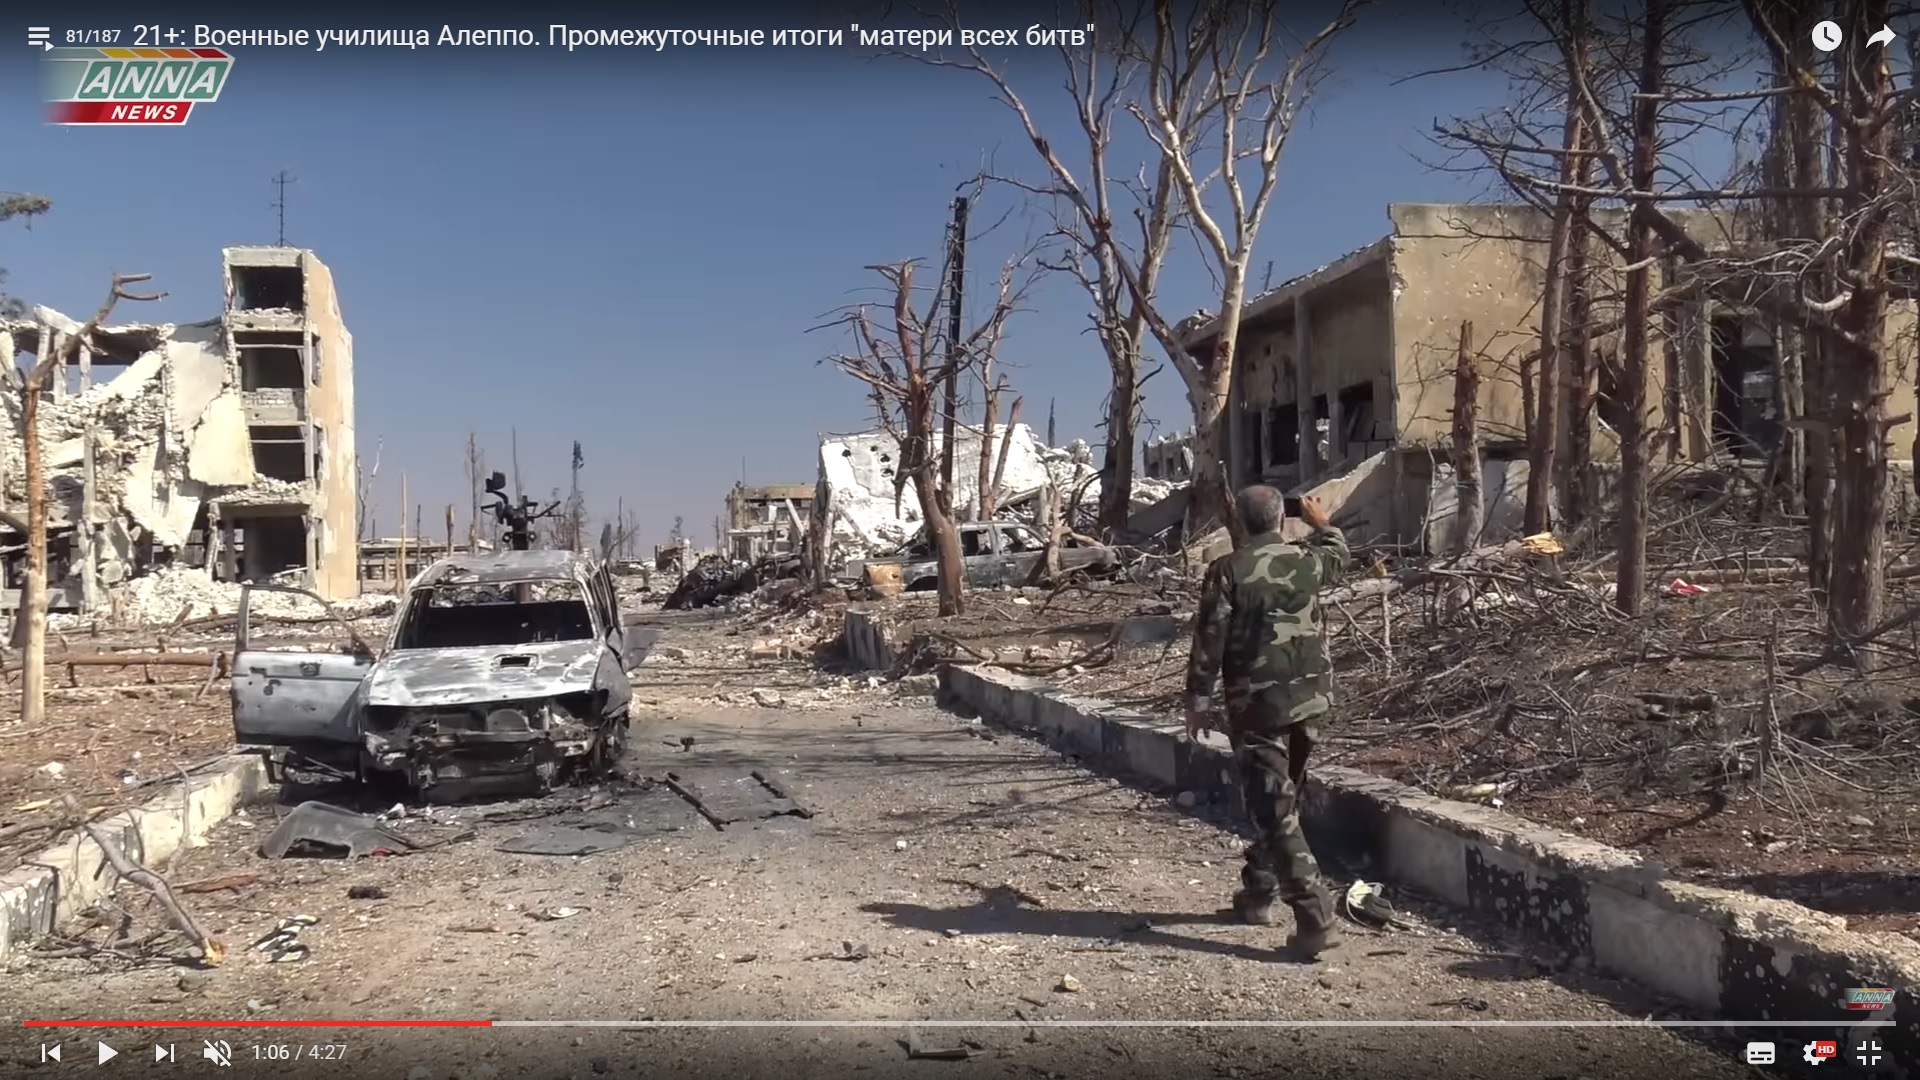
The same place – the burned vehicle.

Detailed Analysis Of Battle For Ramouseh Artillery Academy In Western Aleppo – Part 4

Click to see the full-size image

Another look at the same vehicle near the artillery college. Another burned vehicle could be seen behind it.

Detailed Analysis Of Battle For Ramouseh Artillery Academy In Western Aleppo – Part 4

Click to see the full-size image

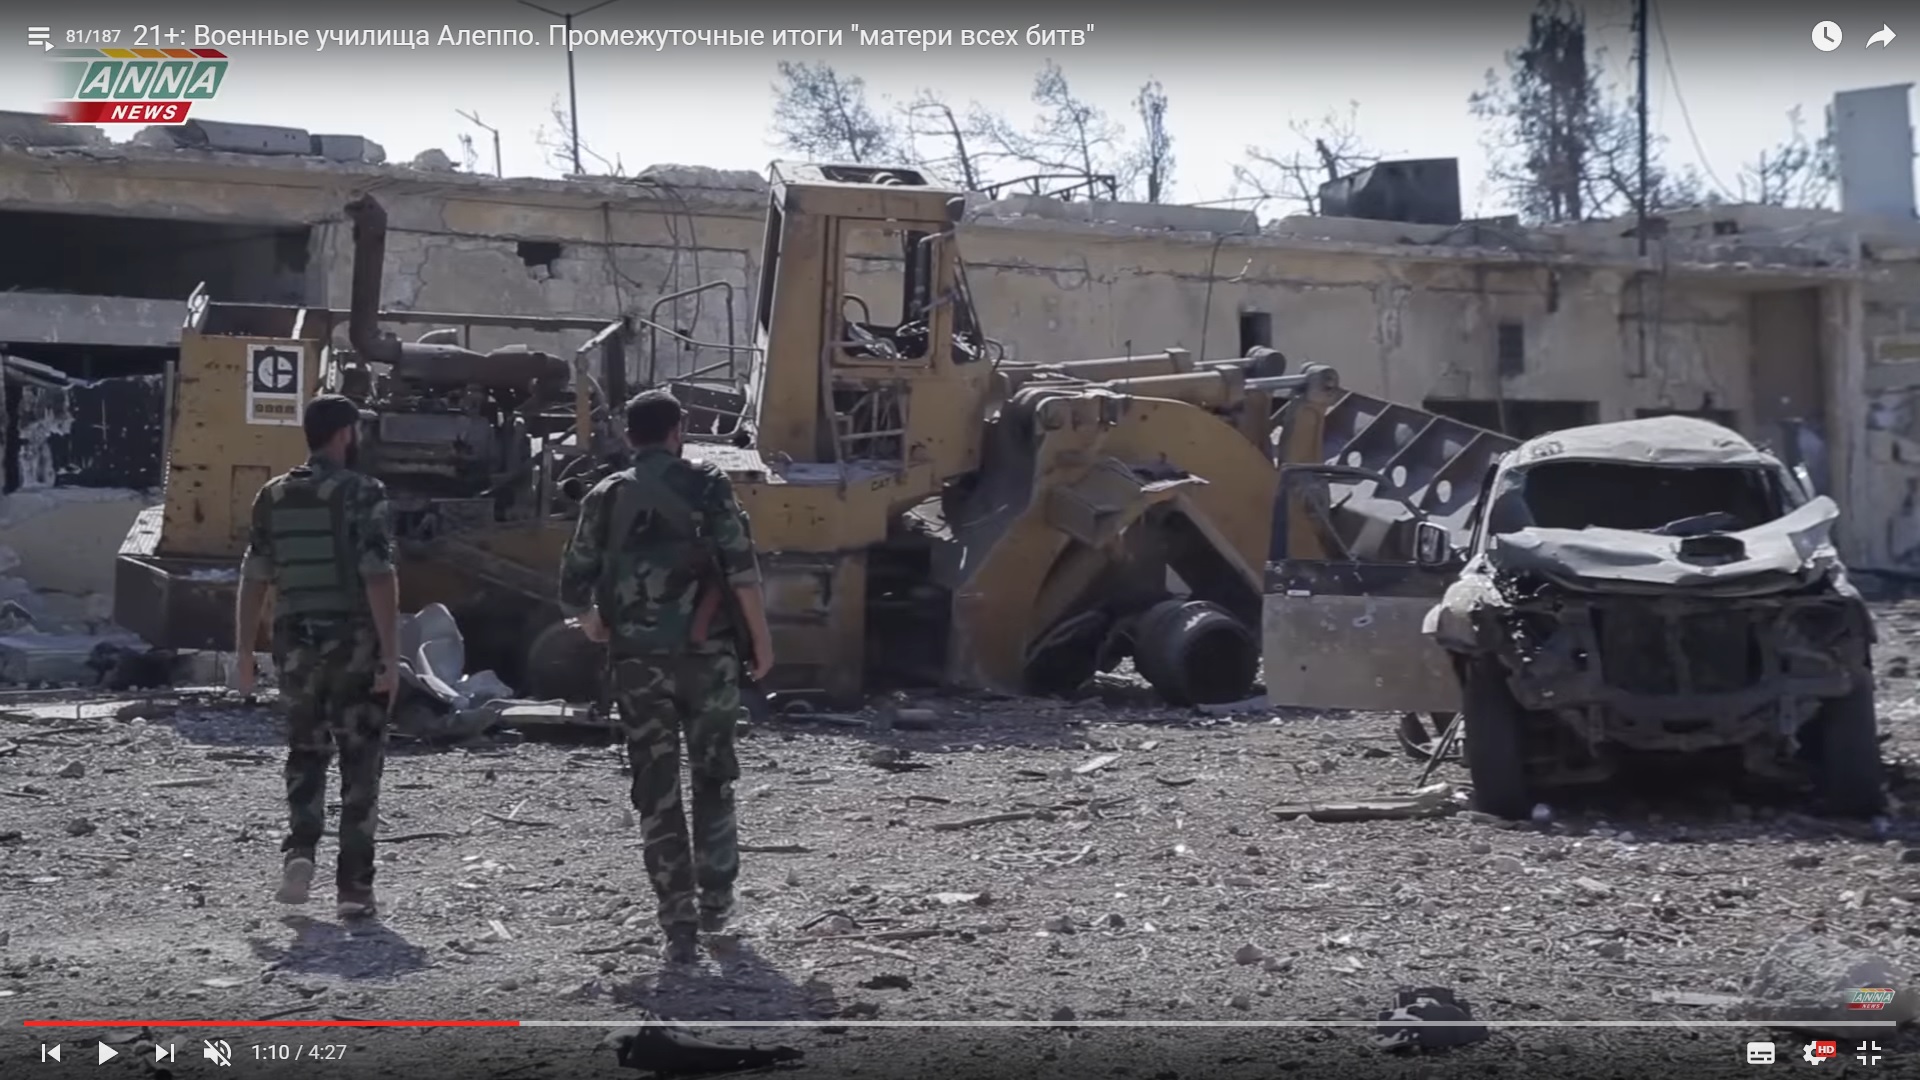
A damaged bulldozer that could be seen from a drone on August 5.

Detailed Analysis Of Battle For Ramouseh Artillery Academy In Western Aleppo – Part 4

Click to see the full-size image

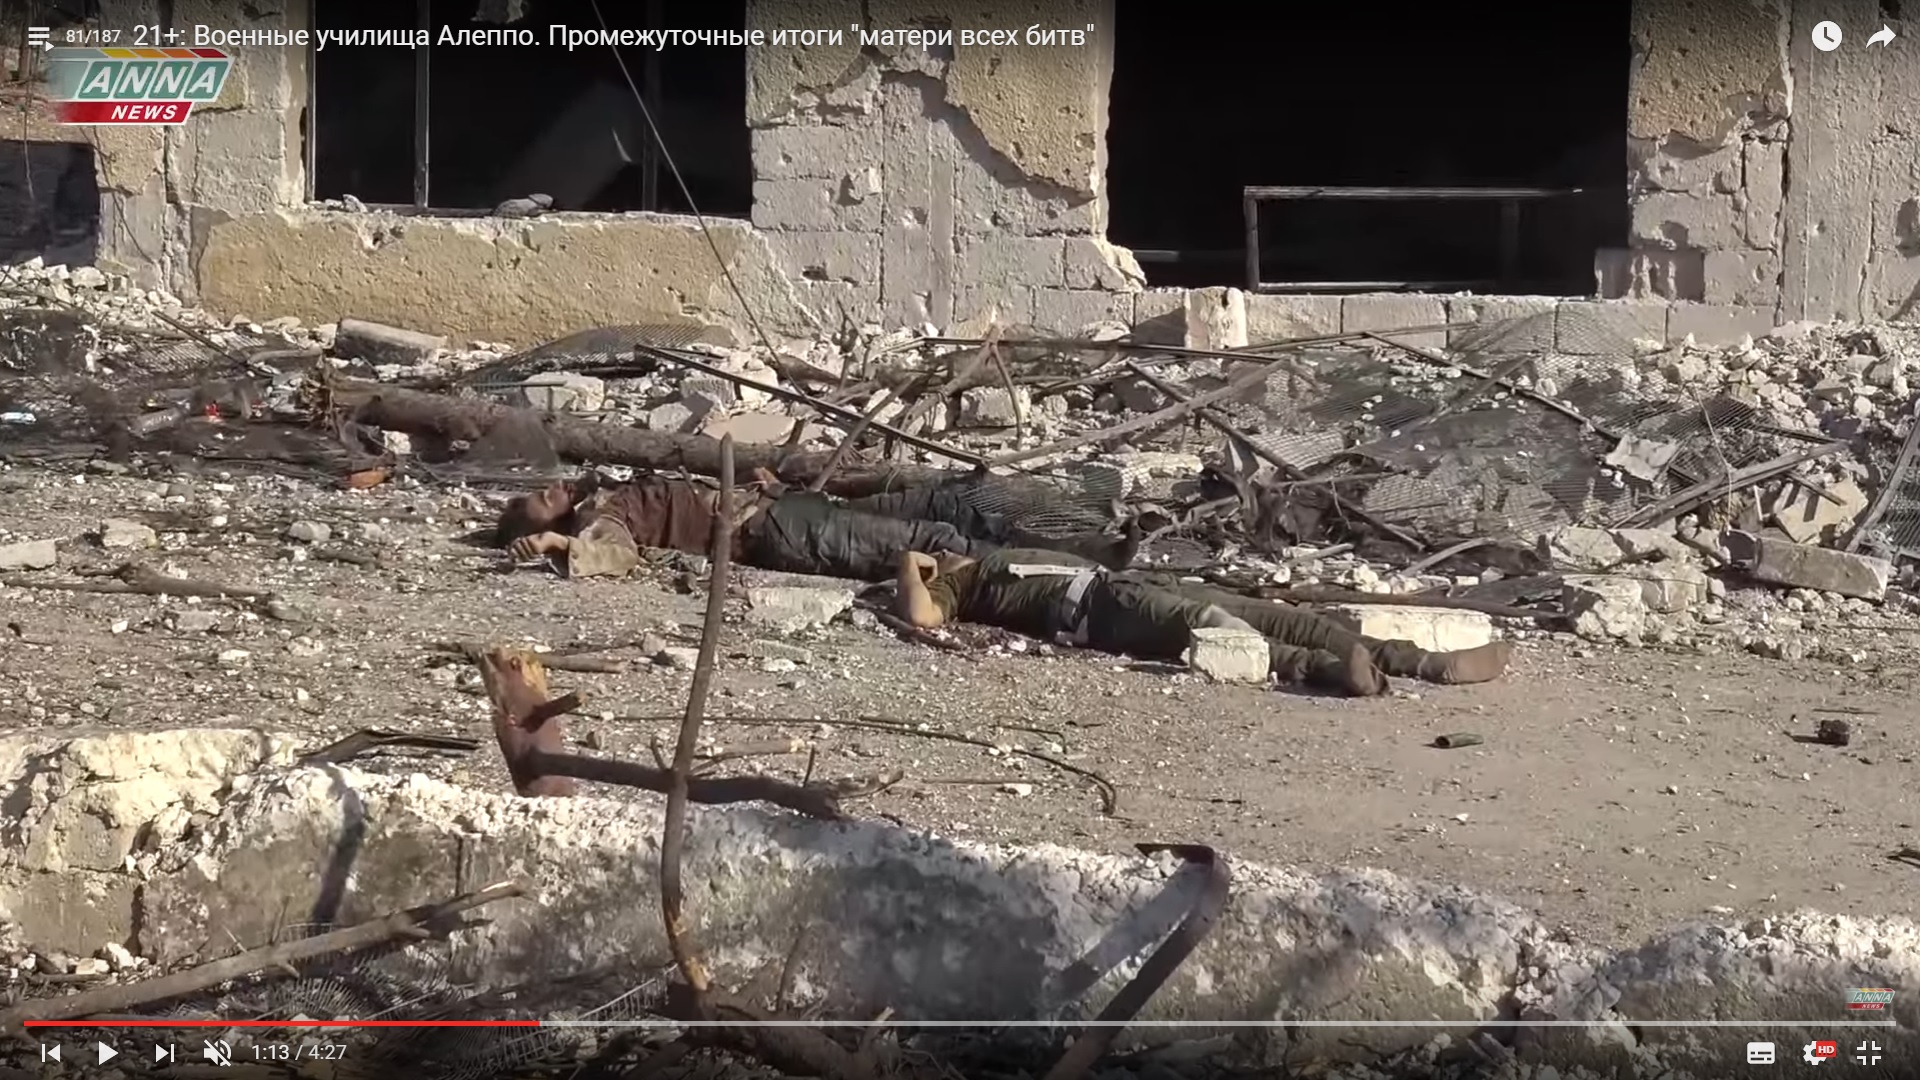
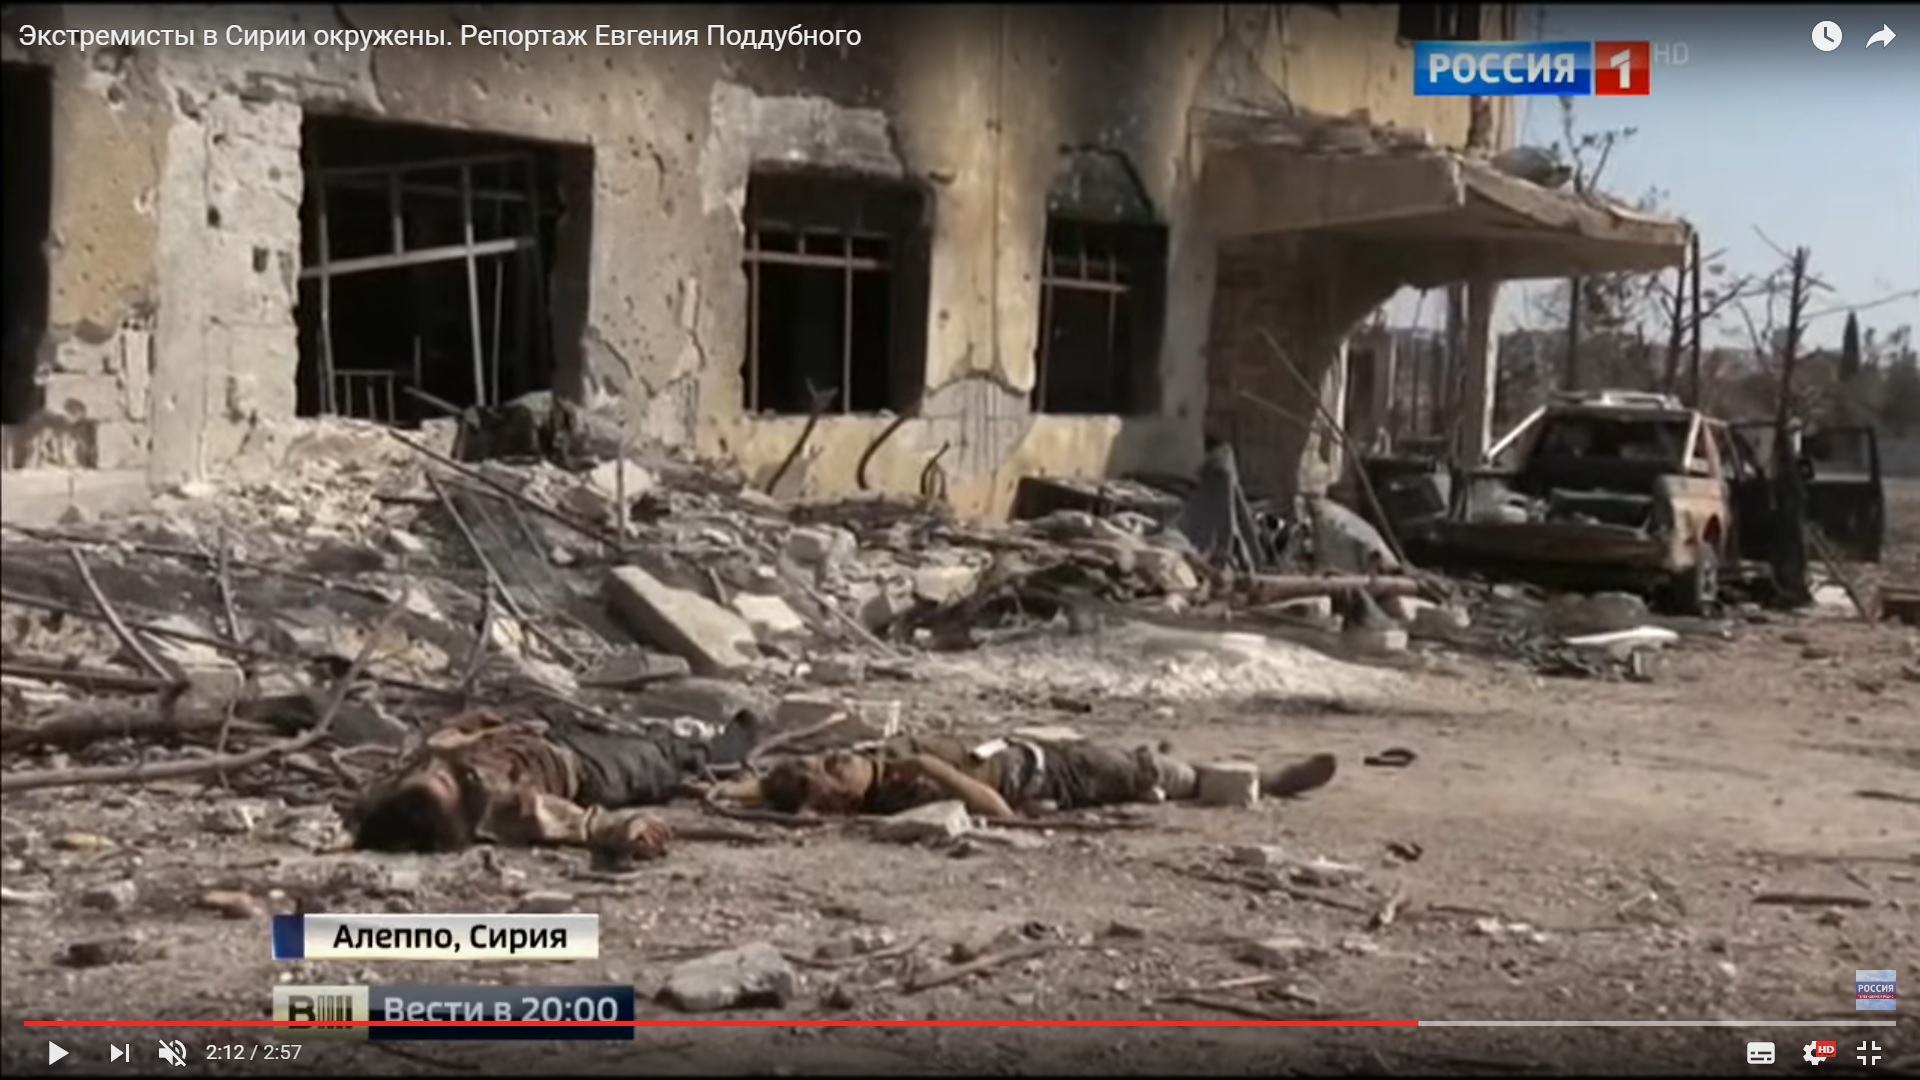
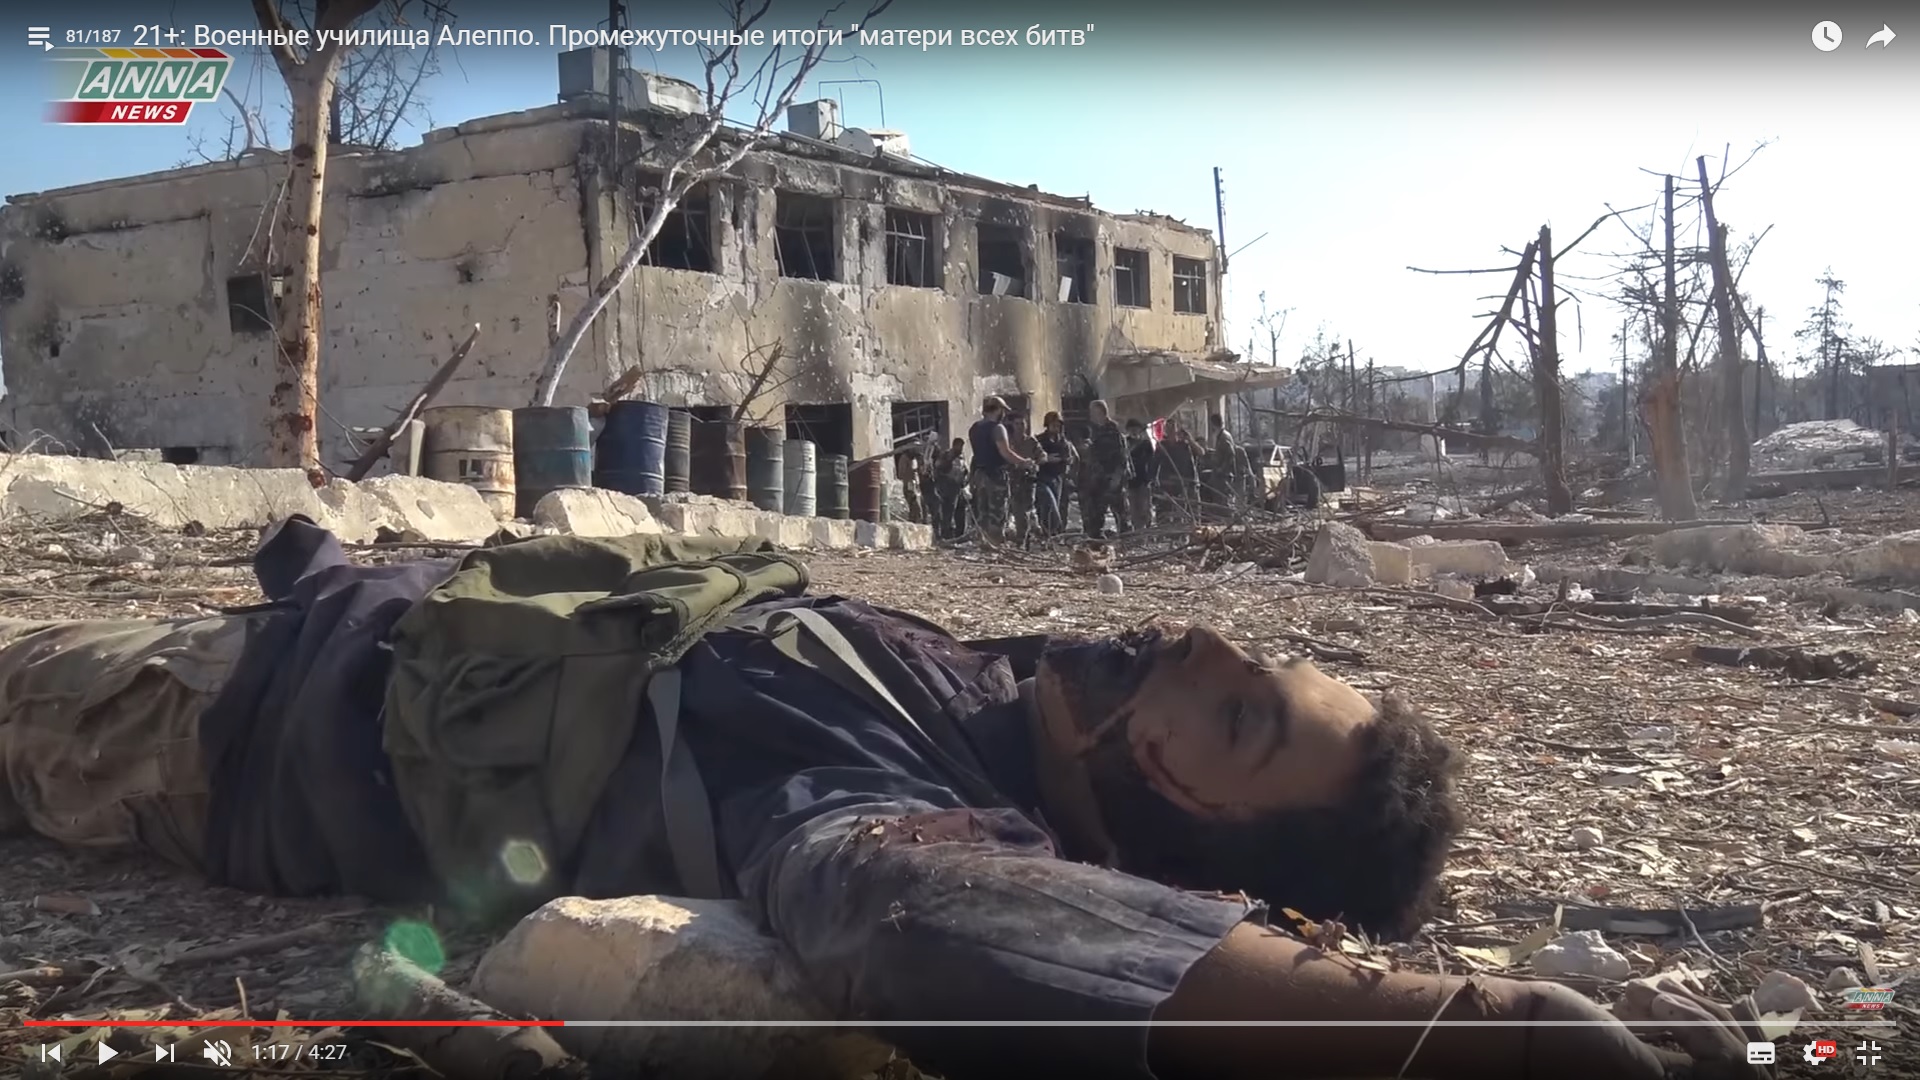
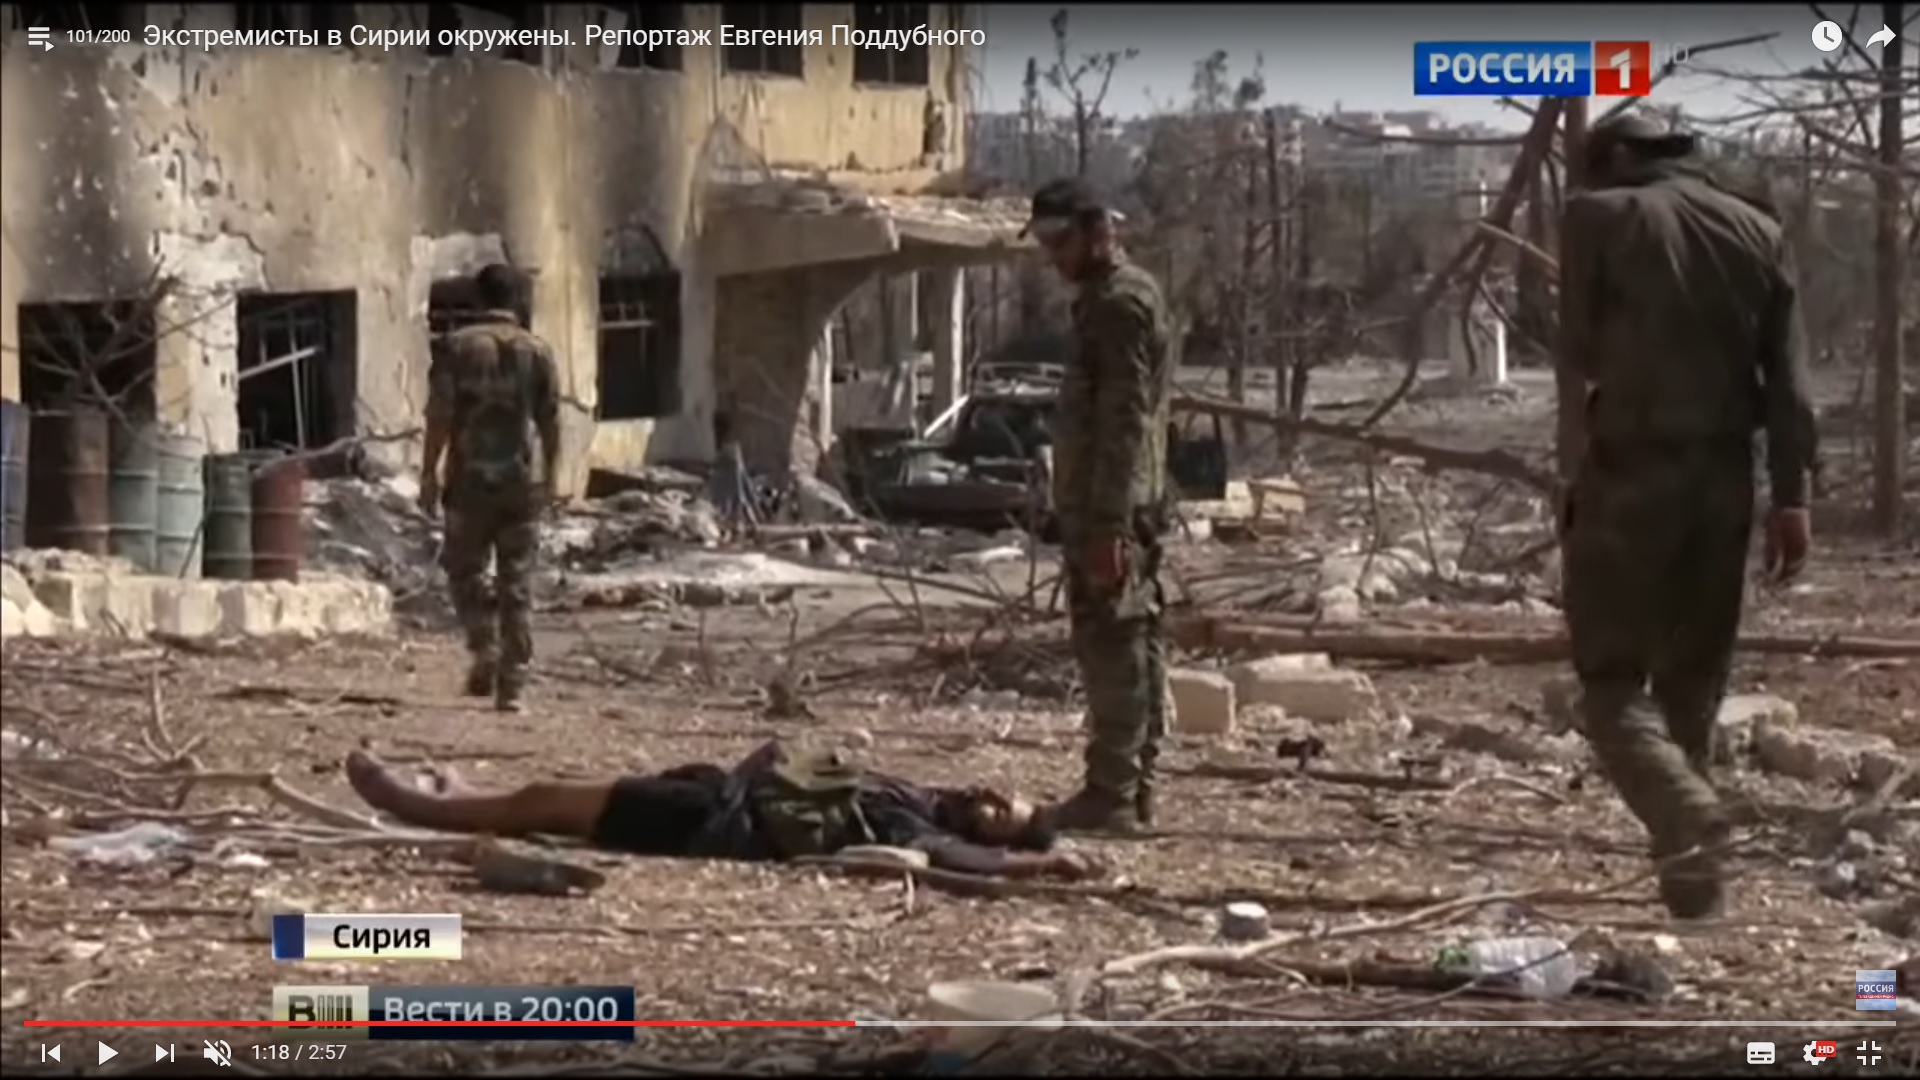
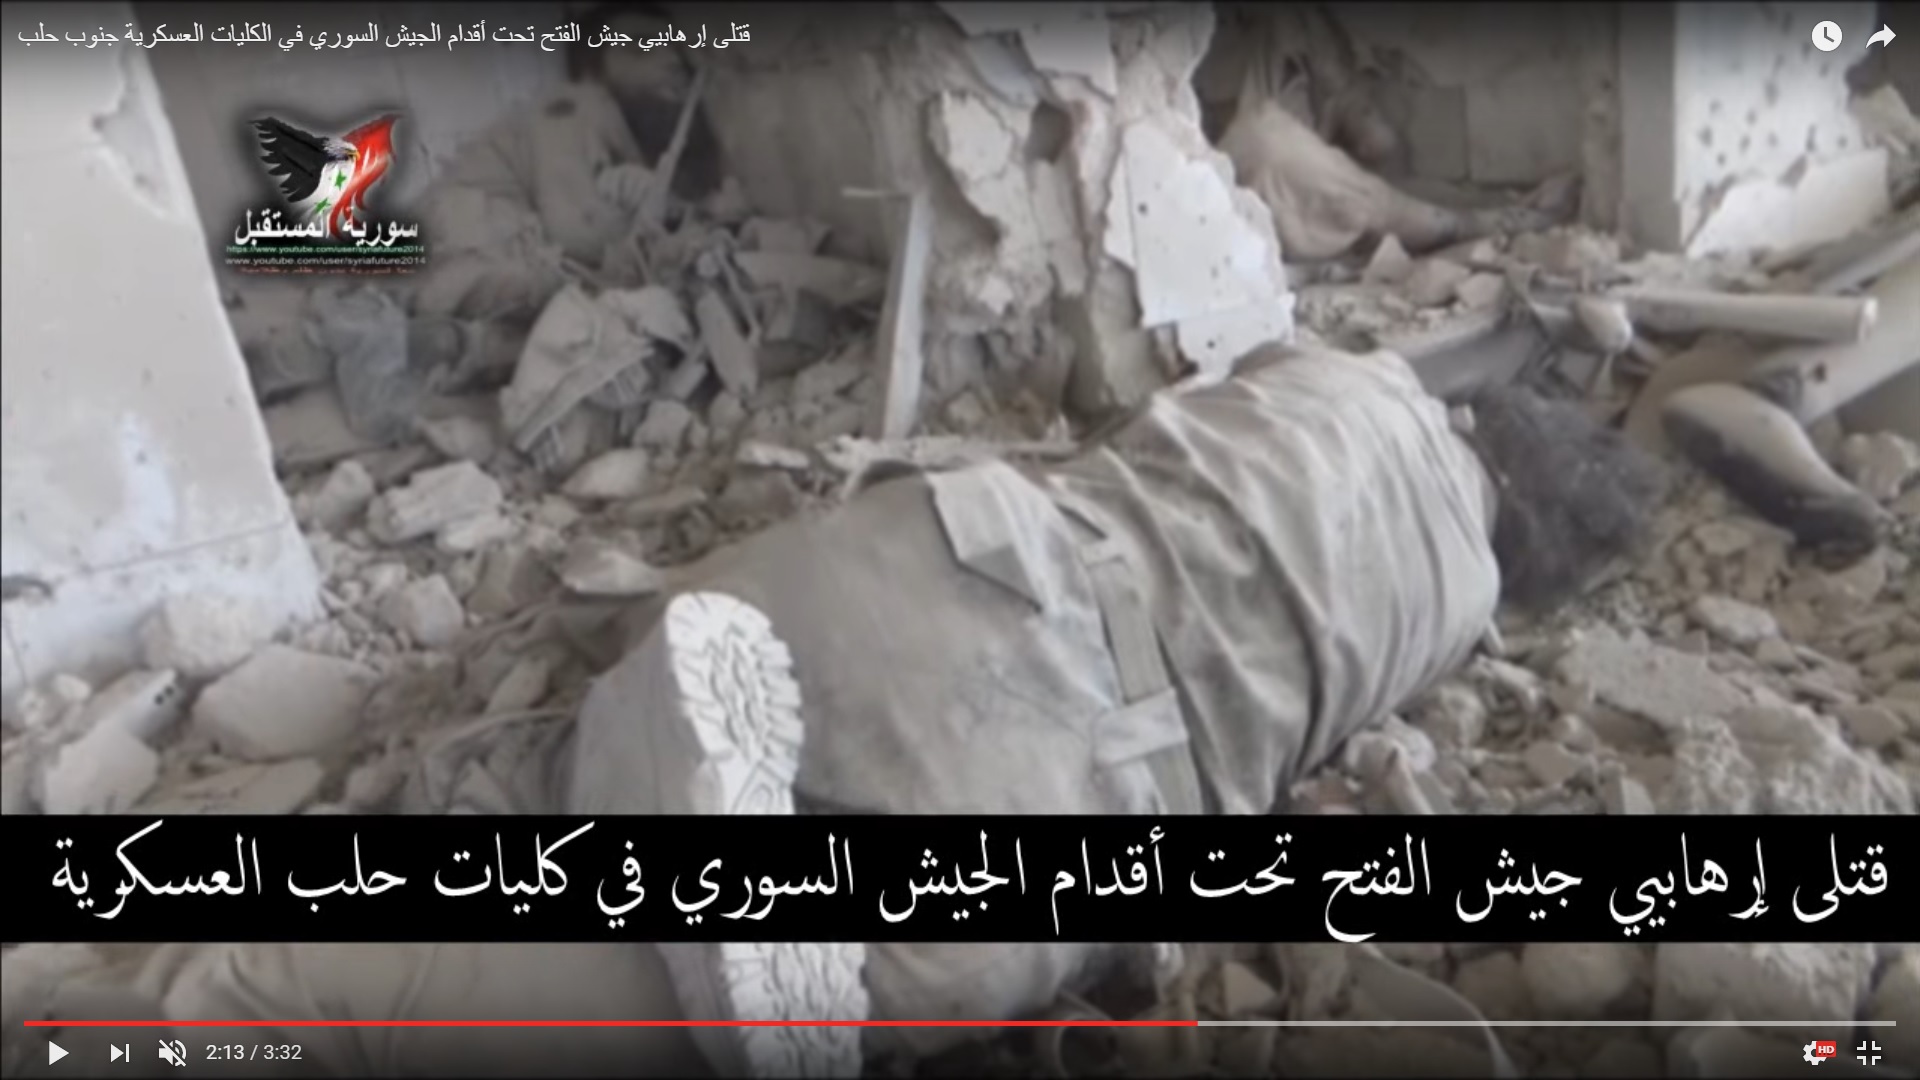
Dead bodies.

Detailed Analysis Of Battle For Ramouseh Artillery Academy In Western Aleppo – Part 4

Click to see the full-size image

Detailed Analysis Of Battle For Ramouseh Artillery Academy In Western Aleppo – Part 4

Click to see the full-size image

Detailed Analysis Of Battle For Ramouseh Artillery Academy In Western Aleppo – Part 4

Click to see the full-size image

Another body at the same area.

Detailed Analysis Of Battle For Ramouseh Artillery Academy In Western Aleppo – Part 4

Click to see the full-size image

Detailed Analysis Of Battle For Ramouseh Artillery Academy In Western Aleppo – Part 4

Click to see the full-size image

Another was inside the ruins.

Detailed Analysis Of Battle For Ramouseh Artillery Academy In Western Aleppo – Part 4

Click to see the full-size image

The buildings didn’t defend militants from artillery strikes.

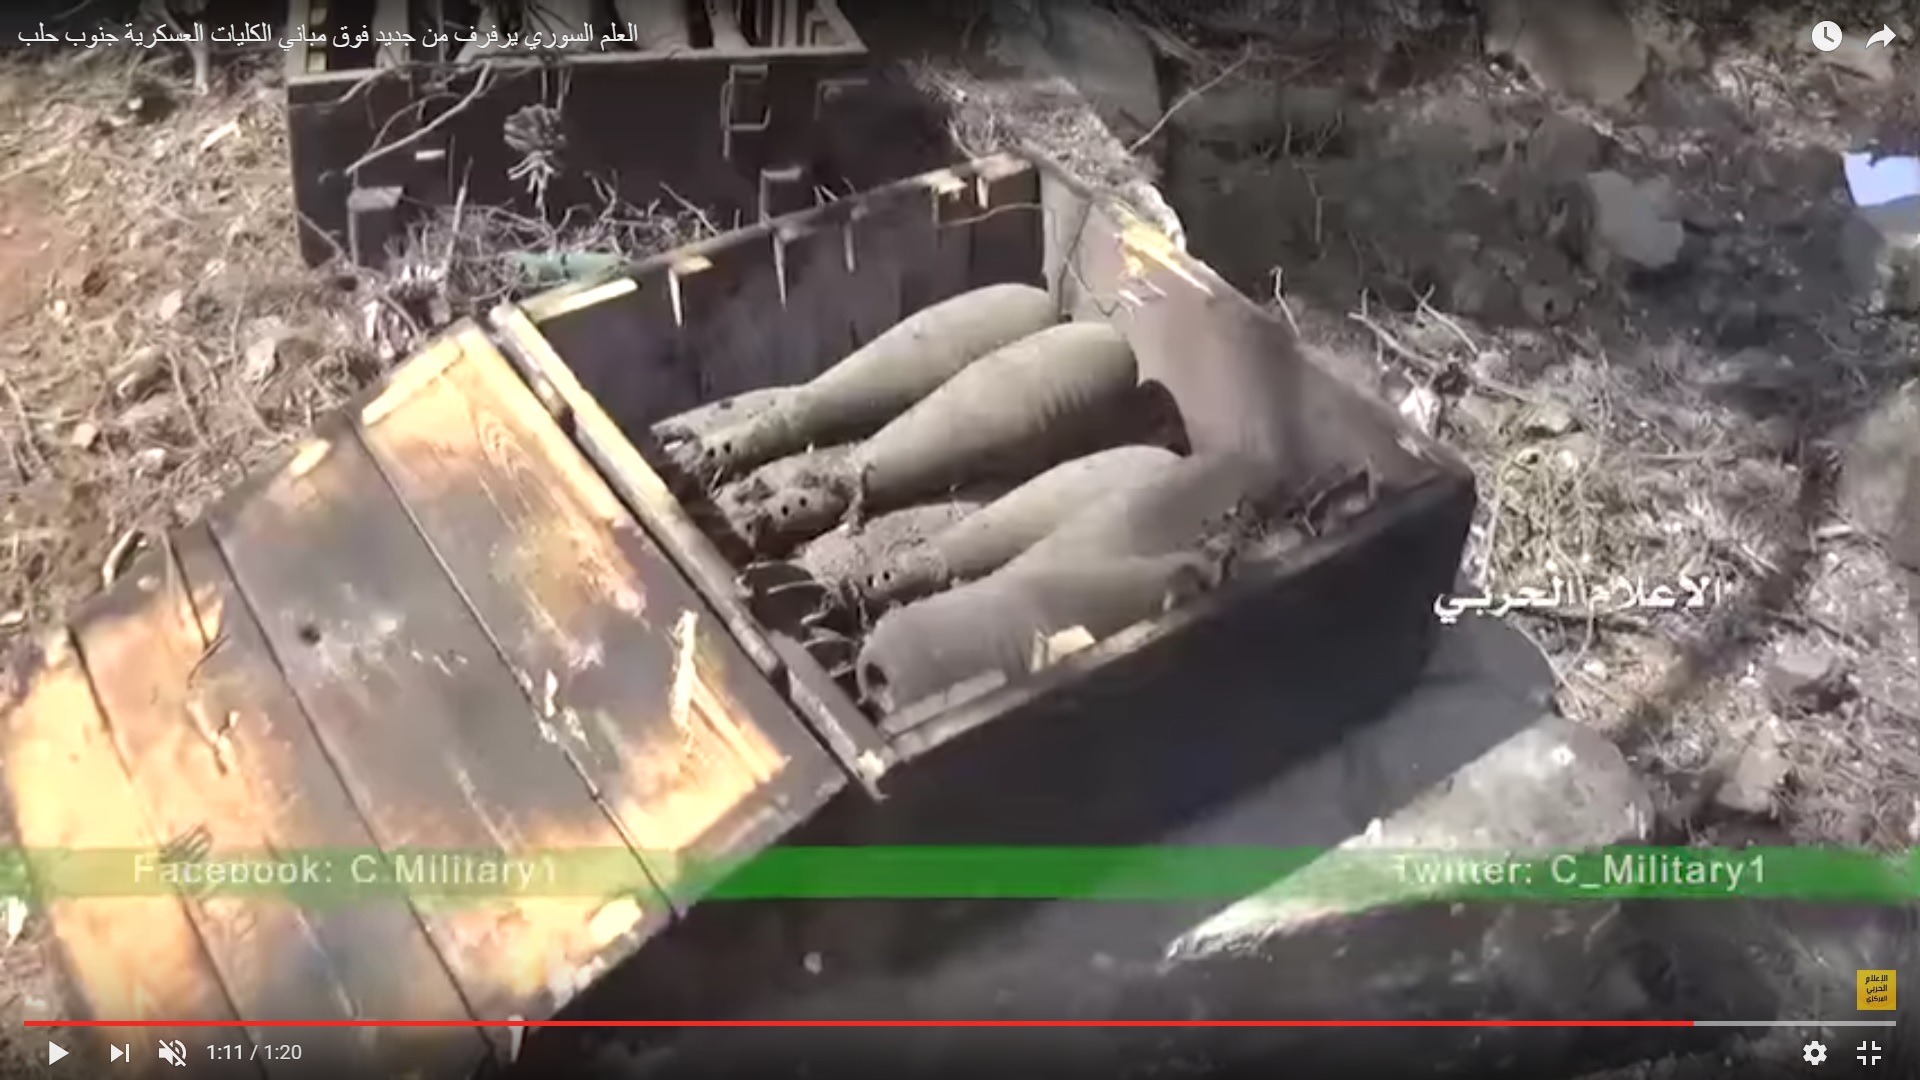
This was a mortar position of militants.

Detailed Analysis Of Battle For Ramouseh Artillery Academy In Western Aleppo – Part 4

Click to see the full-size image

The destroyed building near the depot.

Detailed Analysis Of Battle For Ramouseh Artillery Academy In Western Aleppo – Part 4

Click to see the full-size image

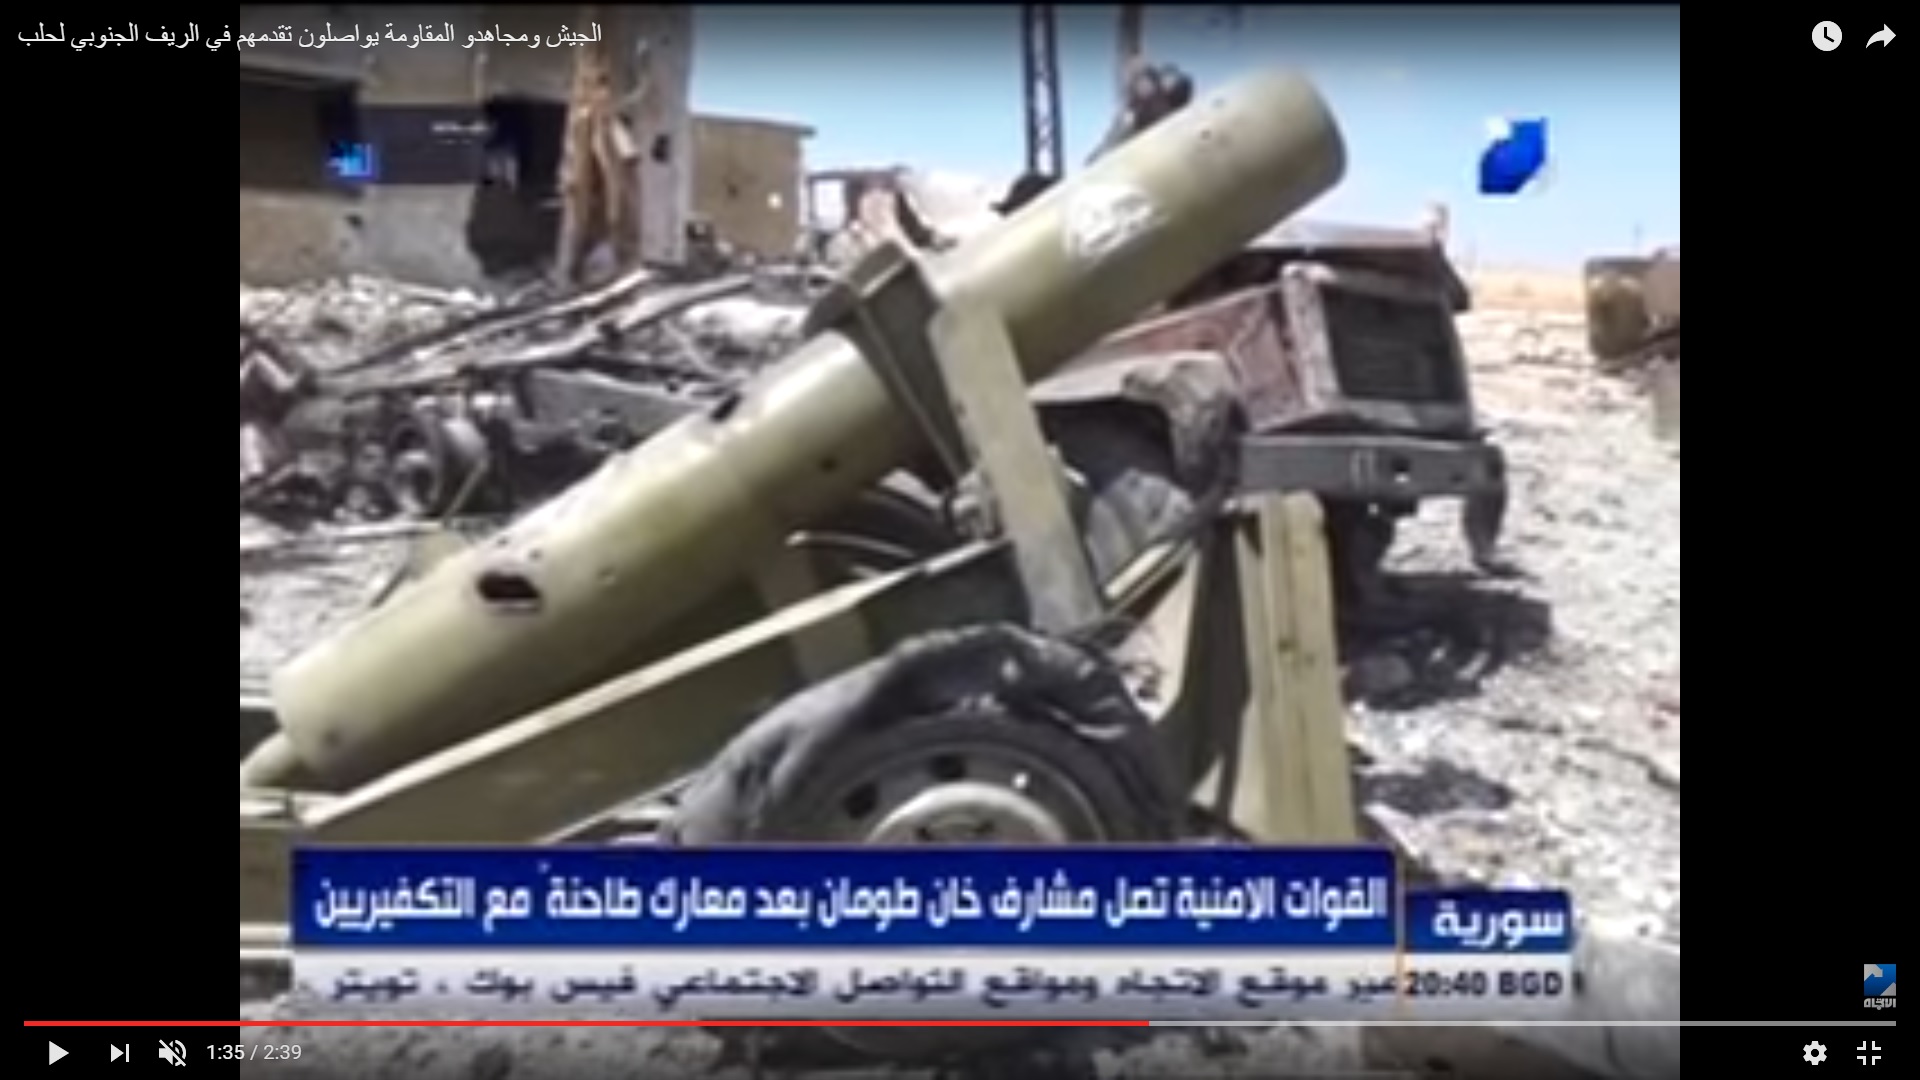
The wreckage of the container with submunitions.

Detailed Analysis Of Battle For Ramouseh Artillery Academy In Western Aleppo – Part 4

Click to see the full-size image

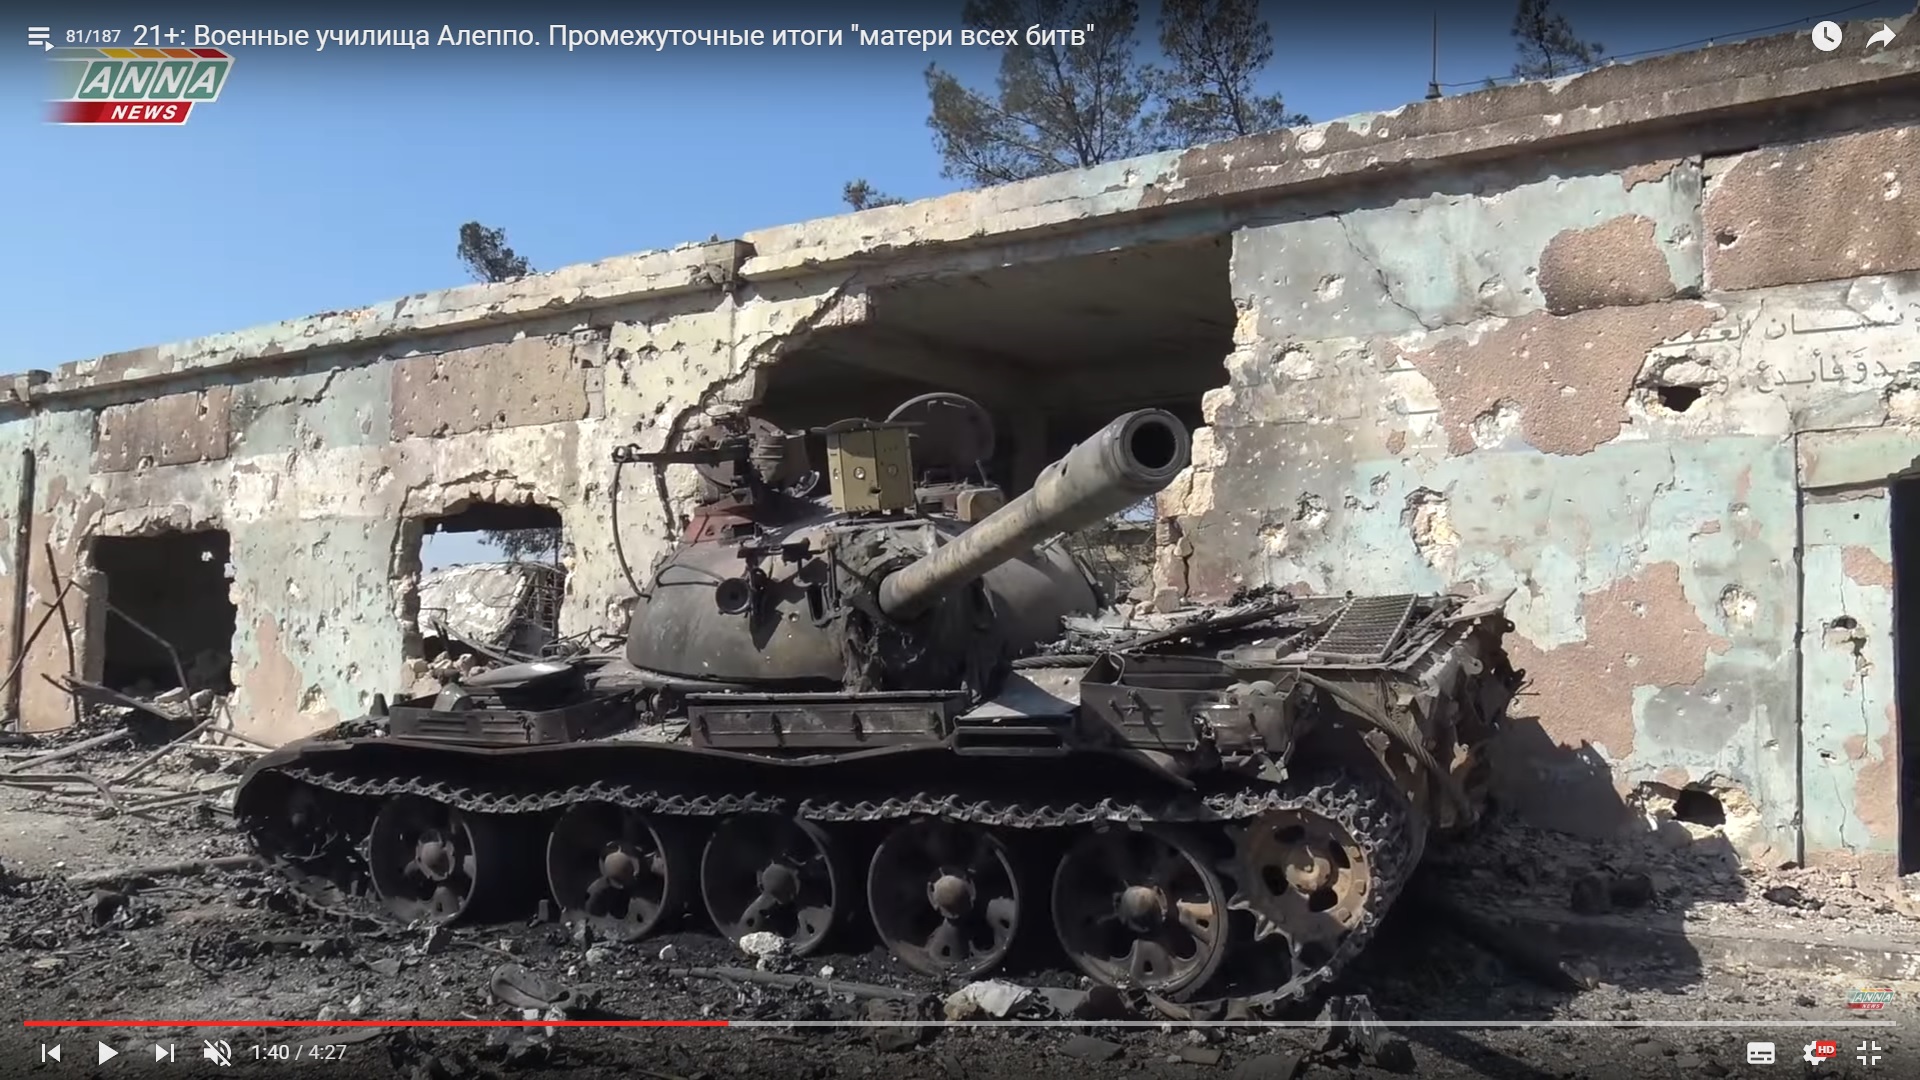
The burned tank remained at the same place.

Detailed Analysis Of Battle For Ramouseh Artillery Academy In Western Aleppo – Part 4

Click to see the full-size image

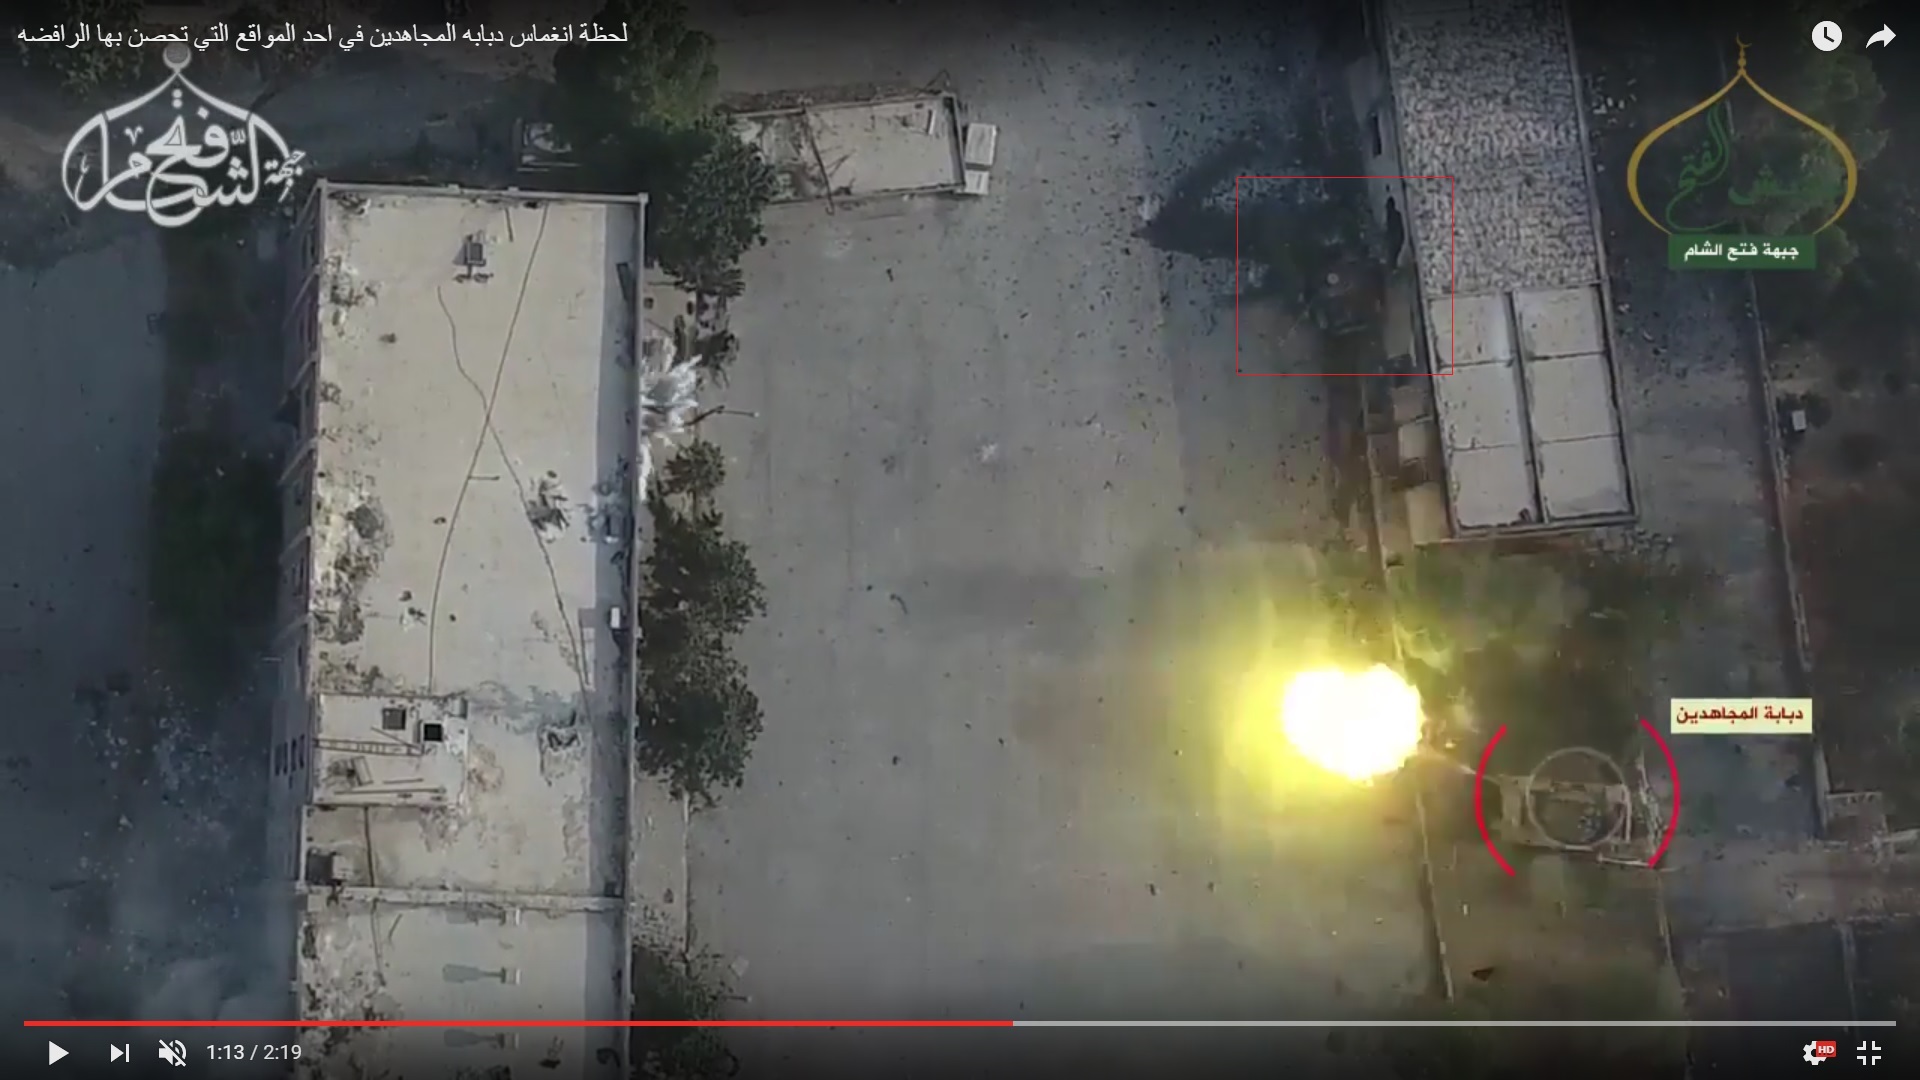
The August 7 video showed the same tank. (red square)

Detailed Analysis Of Battle For Ramouseh Artillery Academy In Western Aleppo – Part 4

Click to see the full-size image

Detailed Analysis Of Battle For Ramouseh Artillery Academy In Western Aleppo – Part 4

Click to see the full-size image

The burned BMP vehicle was at the armament college.

Detailed Analysis Of Battle For Ramouseh Artillery Academy In Western Aleppo – Part 4

Click to see the full-size image

The same vehicle.

Detailed Analysis Of Battle For Ramouseh Artillery Academy In Western Aleppo – Part 4

Click to see the full-size image

Detailed Analysis Of Battle For Ramouseh Artillery Academy In Western Aleppo – Part 4

Click to see the full-size image

The August 5 video also shows it.

Detailed Analysis Of Battle For Ramouseh Artillery Academy In Western Aleppo – Part 4

Click to see the full-size image

Detailed Analysis Of Battle For Ramouseh Artillery Academy In Western Aleppo – Part 4

Click to see the full-size image

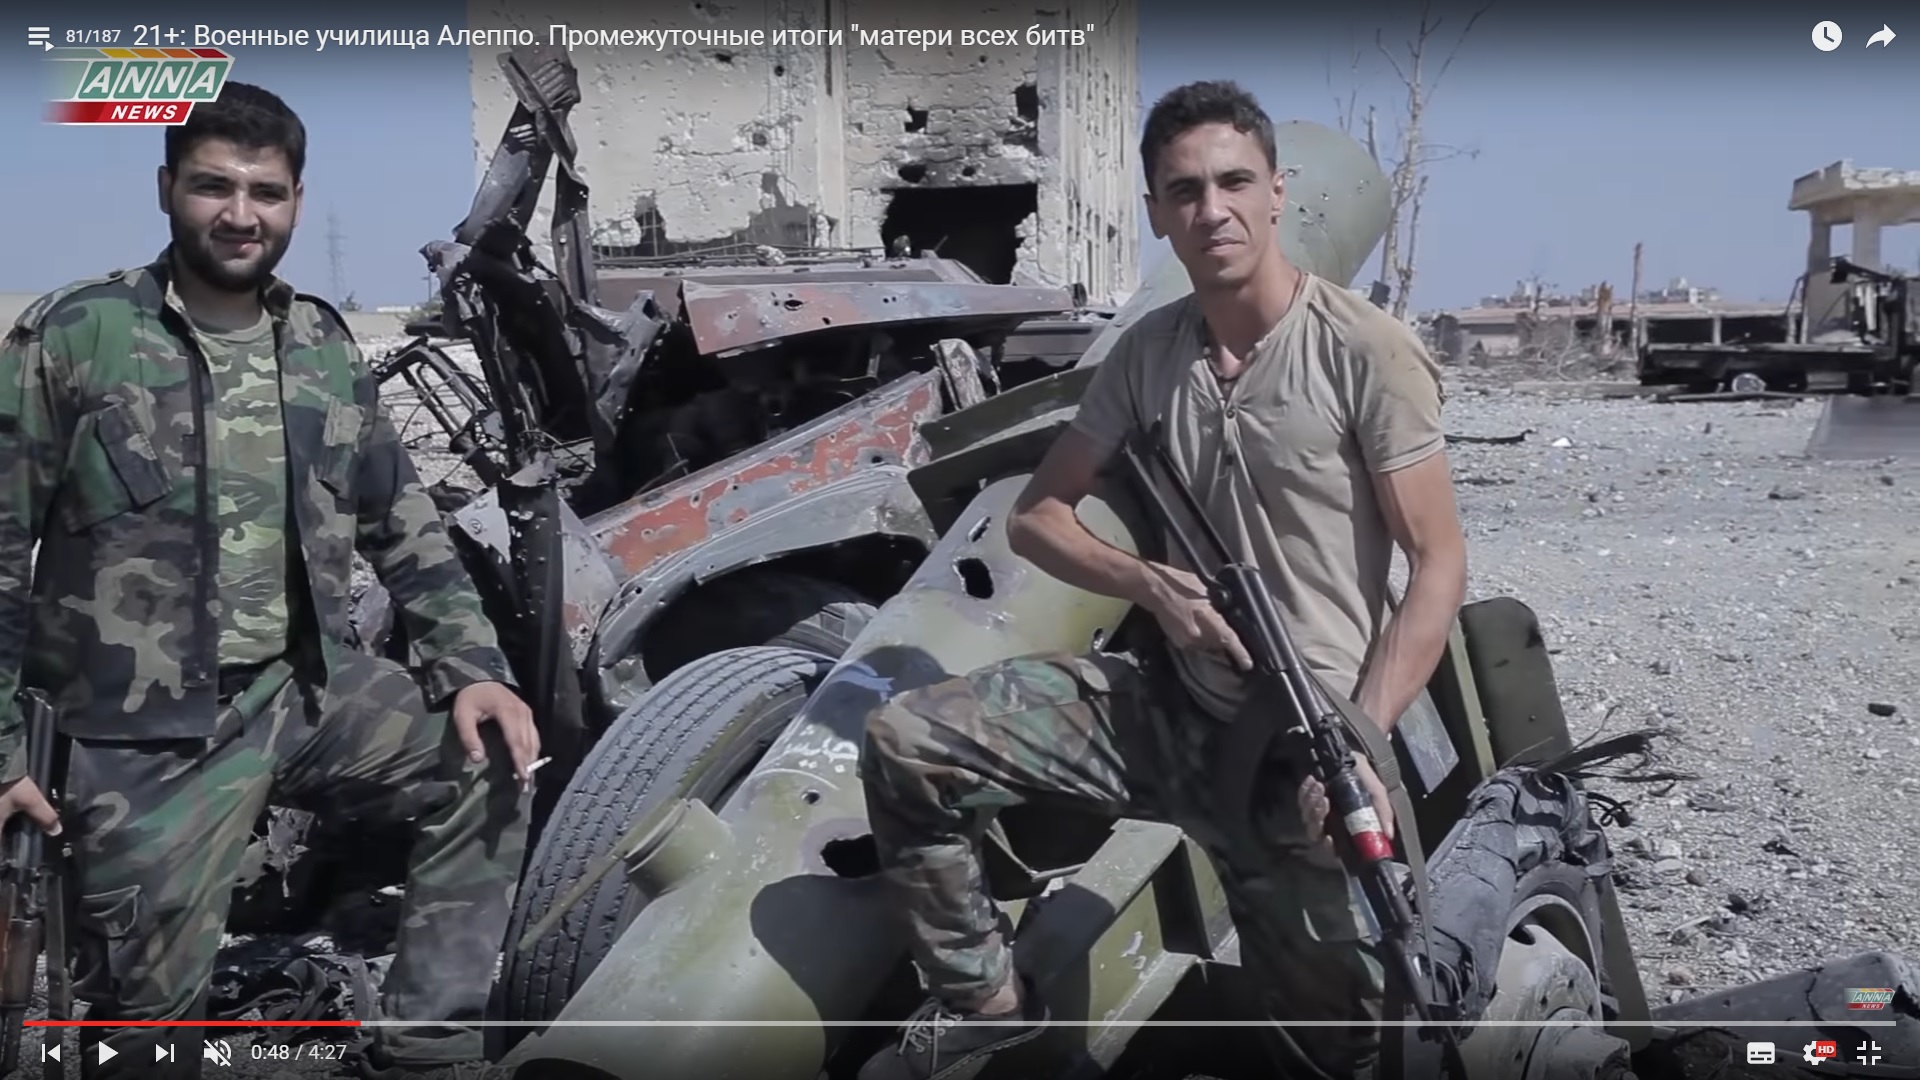
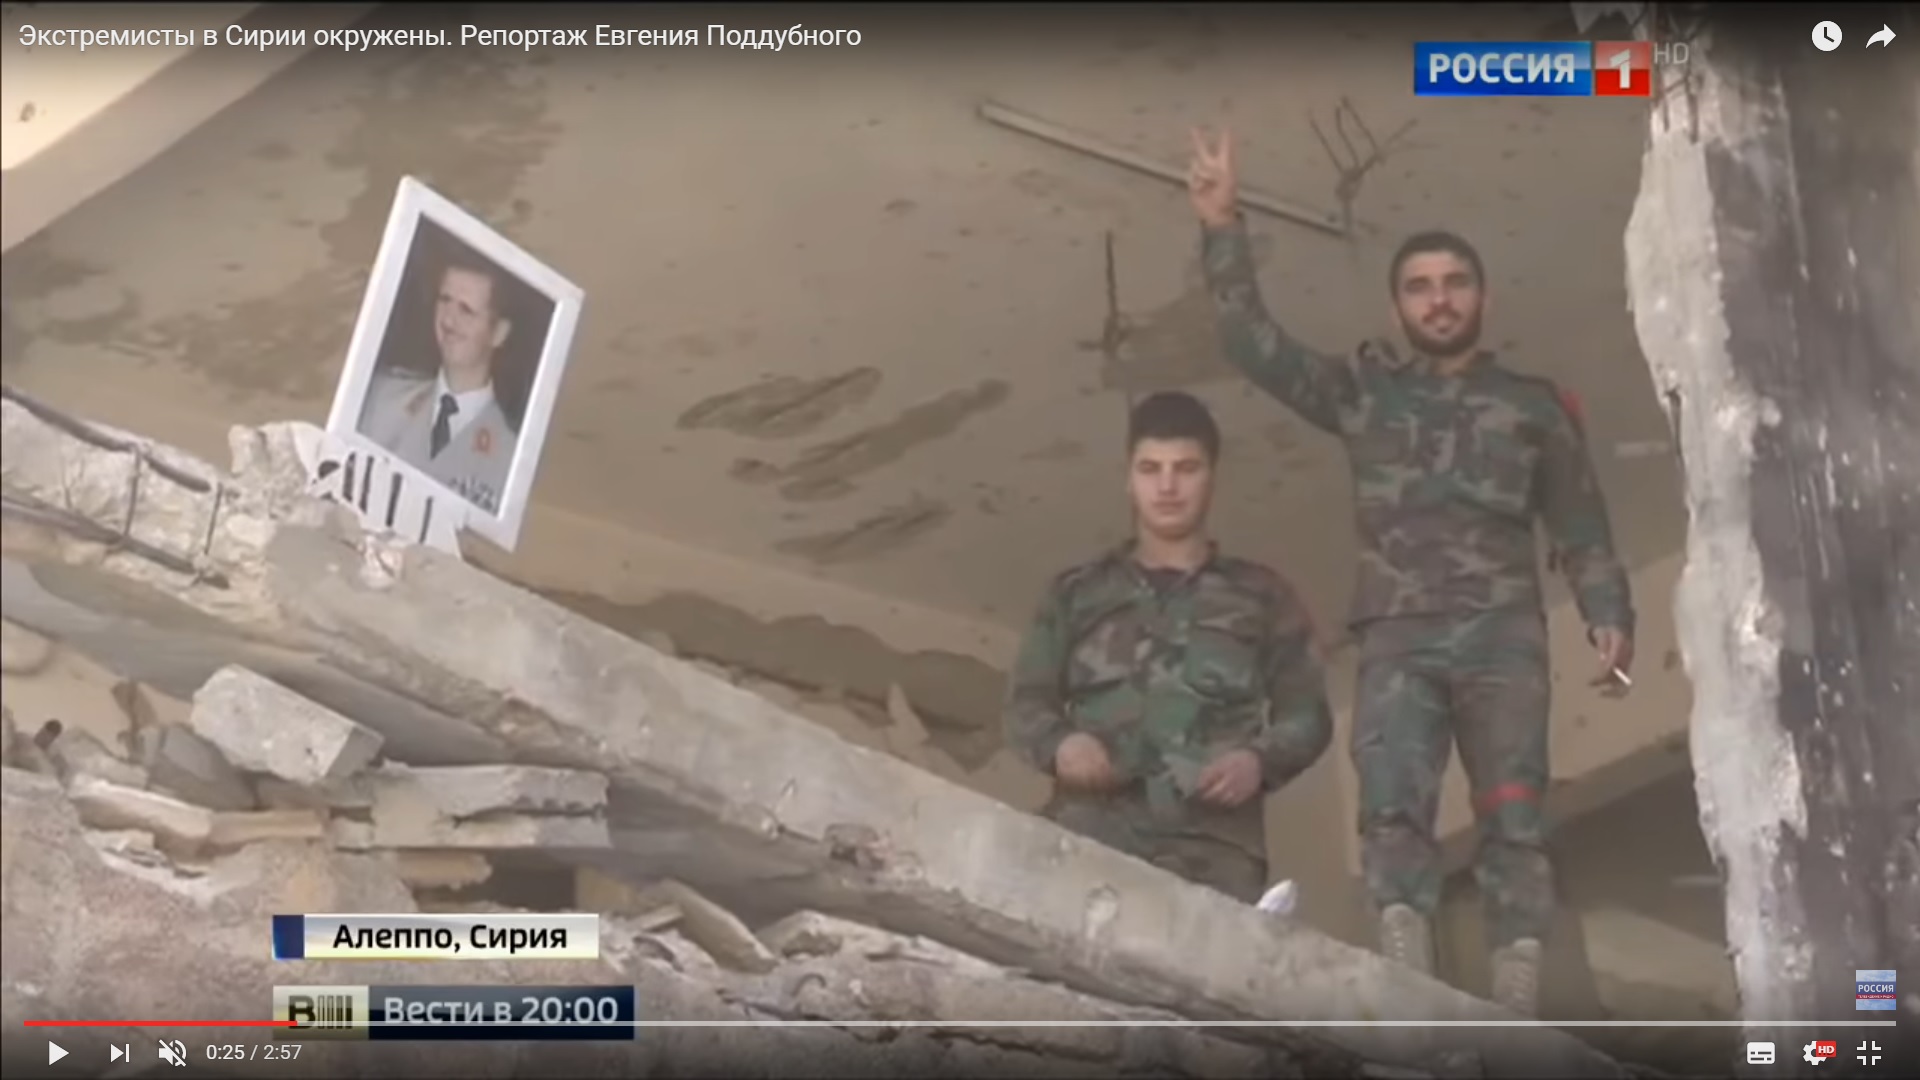
The soldier filmed on August 31 in the aviation college survived during the battle. (He’s with a cigarette)

Detailed Analysis Of Battle For Ramouseh Artillery Academy In Western Aleppo – Part 4

Click to see the full-size image

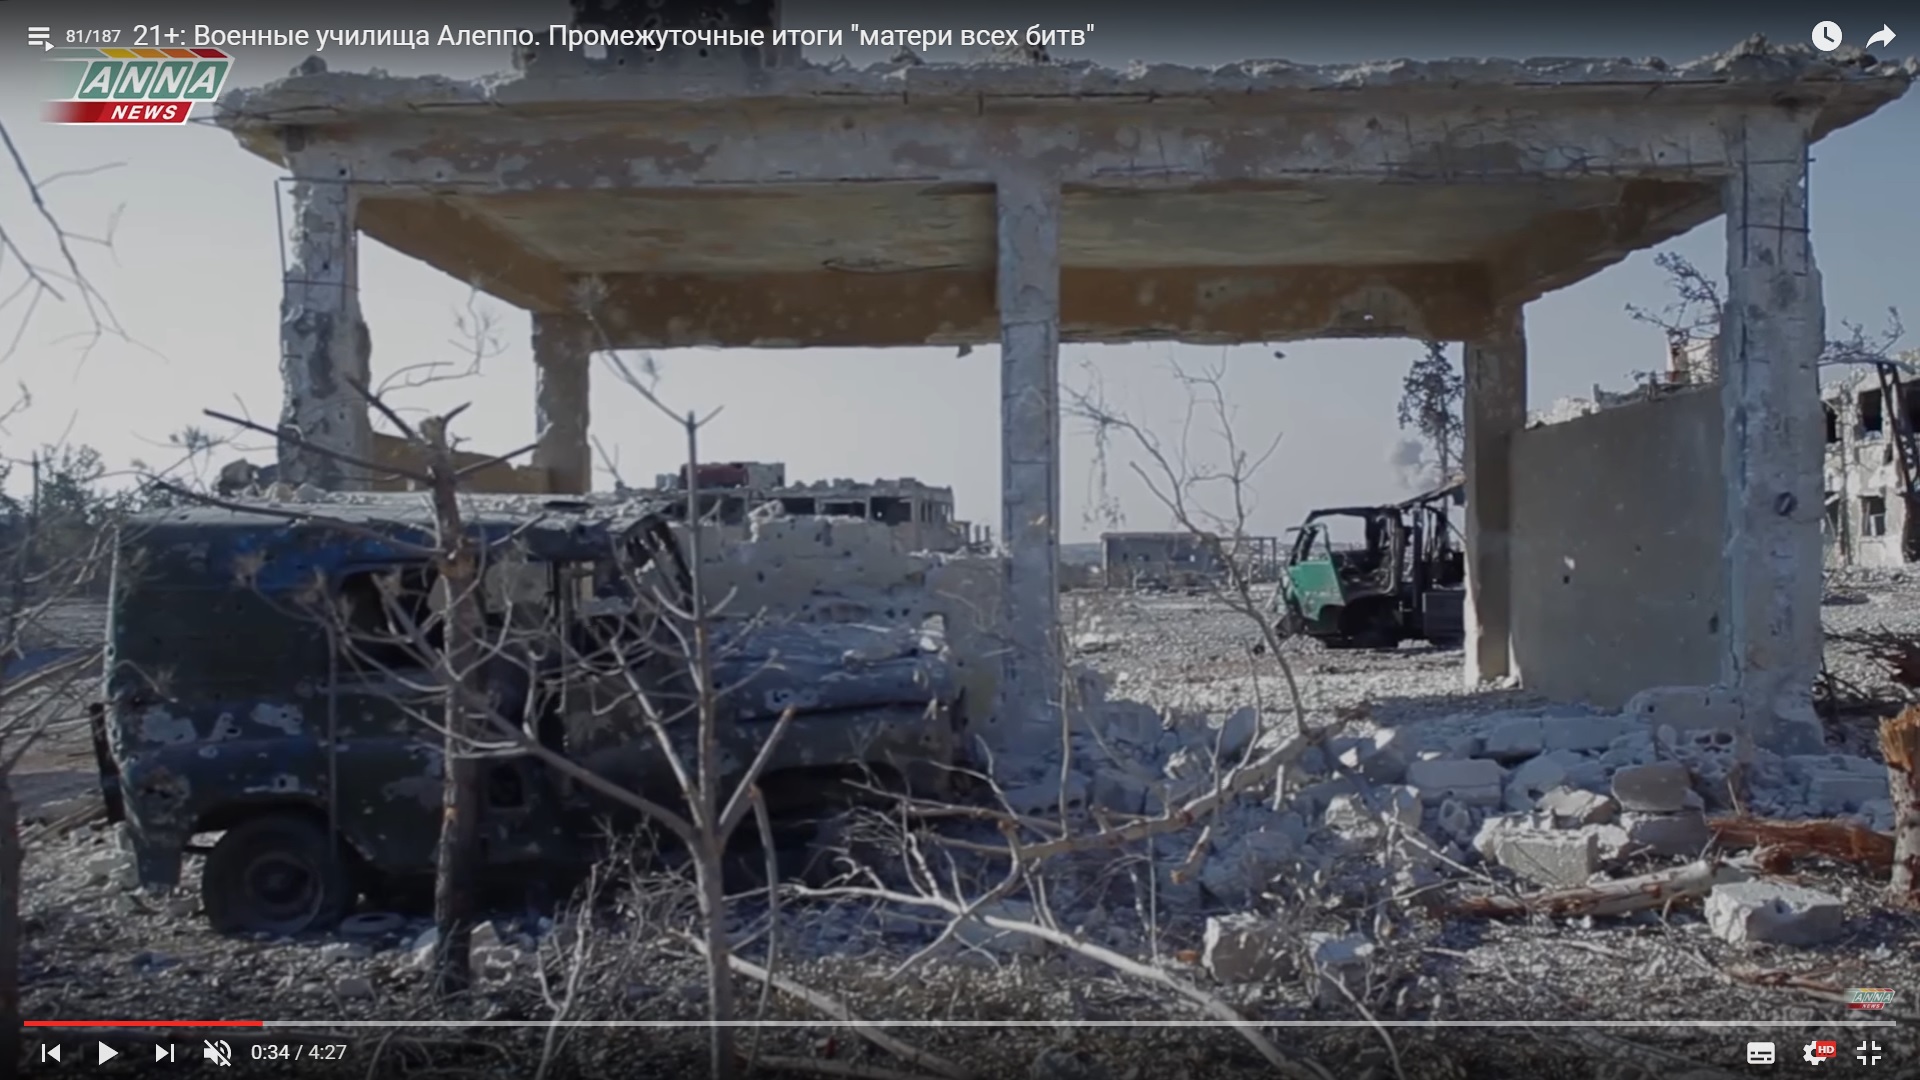
The damaged pumping station.

Detailed Analysis Of Battle For Ramouseh Artillery Academy In Western Aleppo – Part 4

Click to see the full-size image

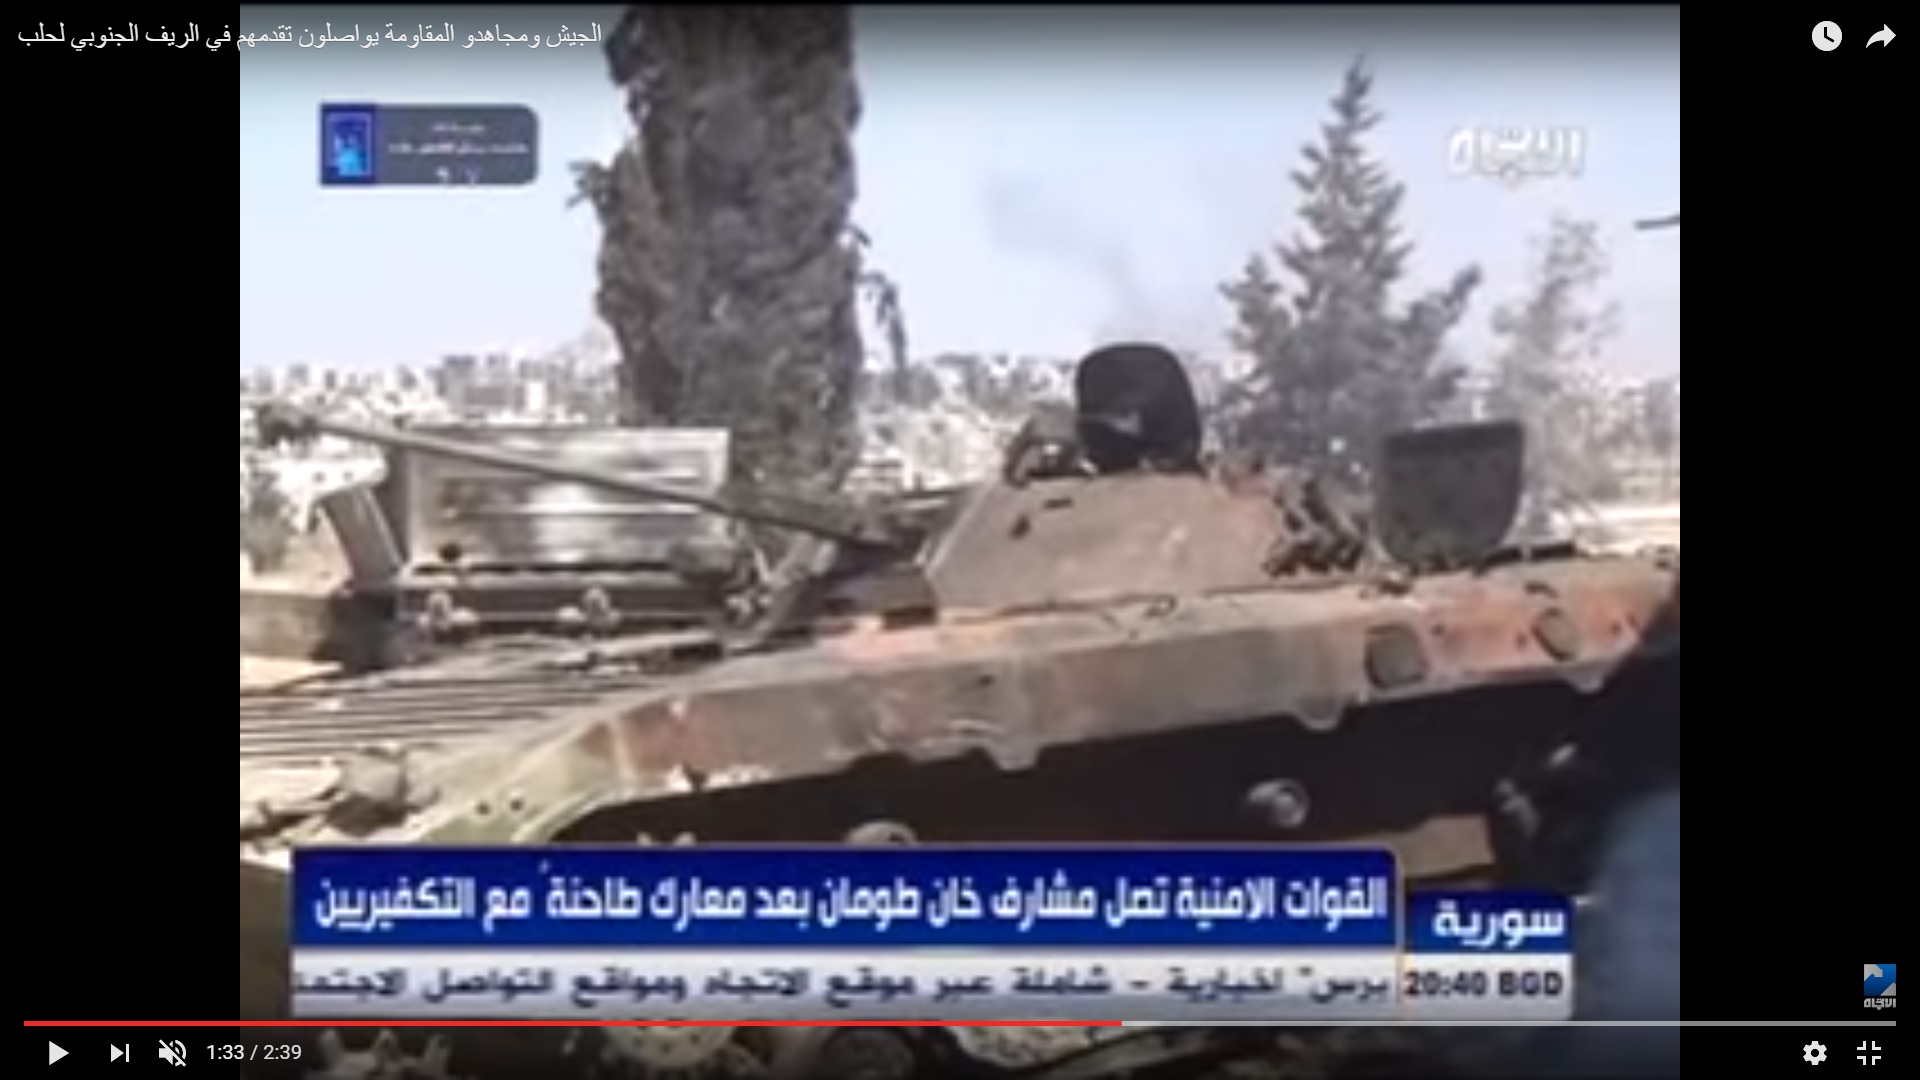
The burned BMP-2 vehicle was near the depot and the armoured recovery vehicle was behind it.

Detailed Analysis Of Battle For Ramouseh Artillery Academy In Western Aleppo – Part 4

Click to see the full-size image

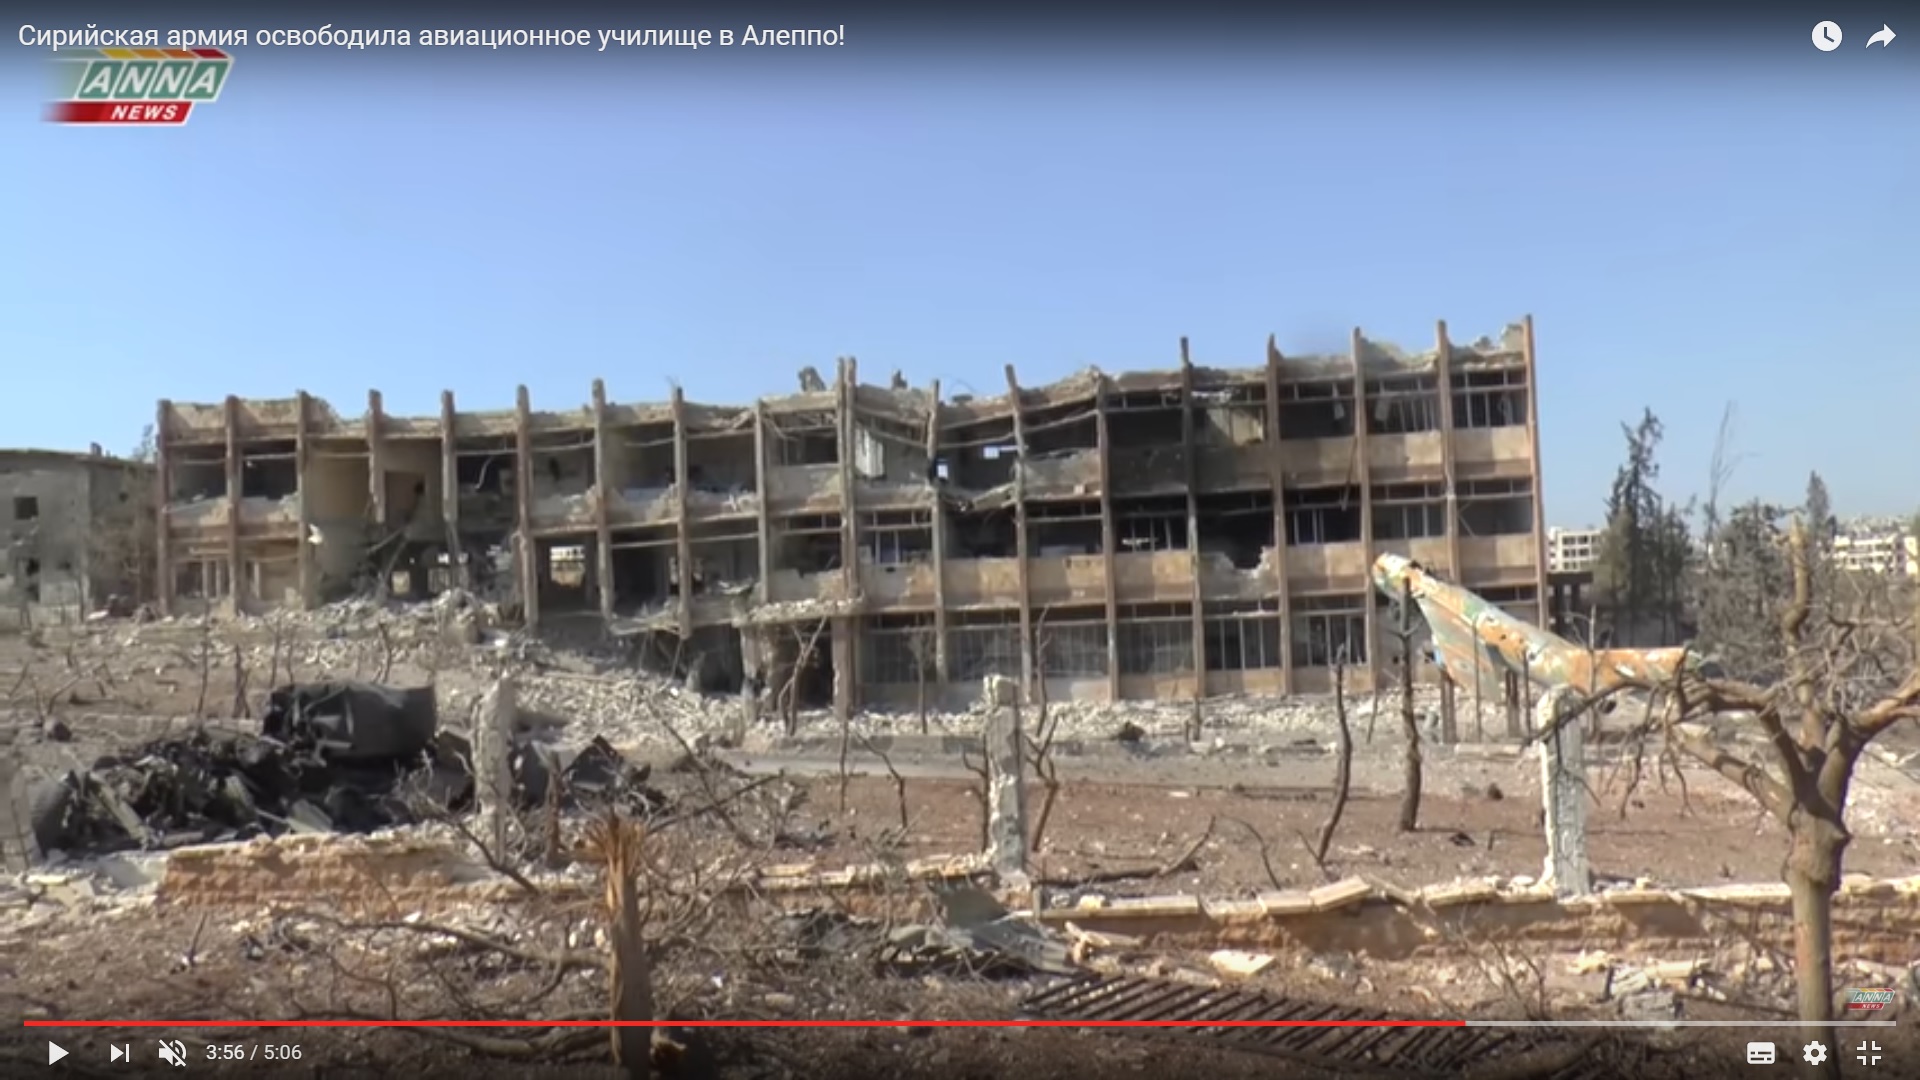
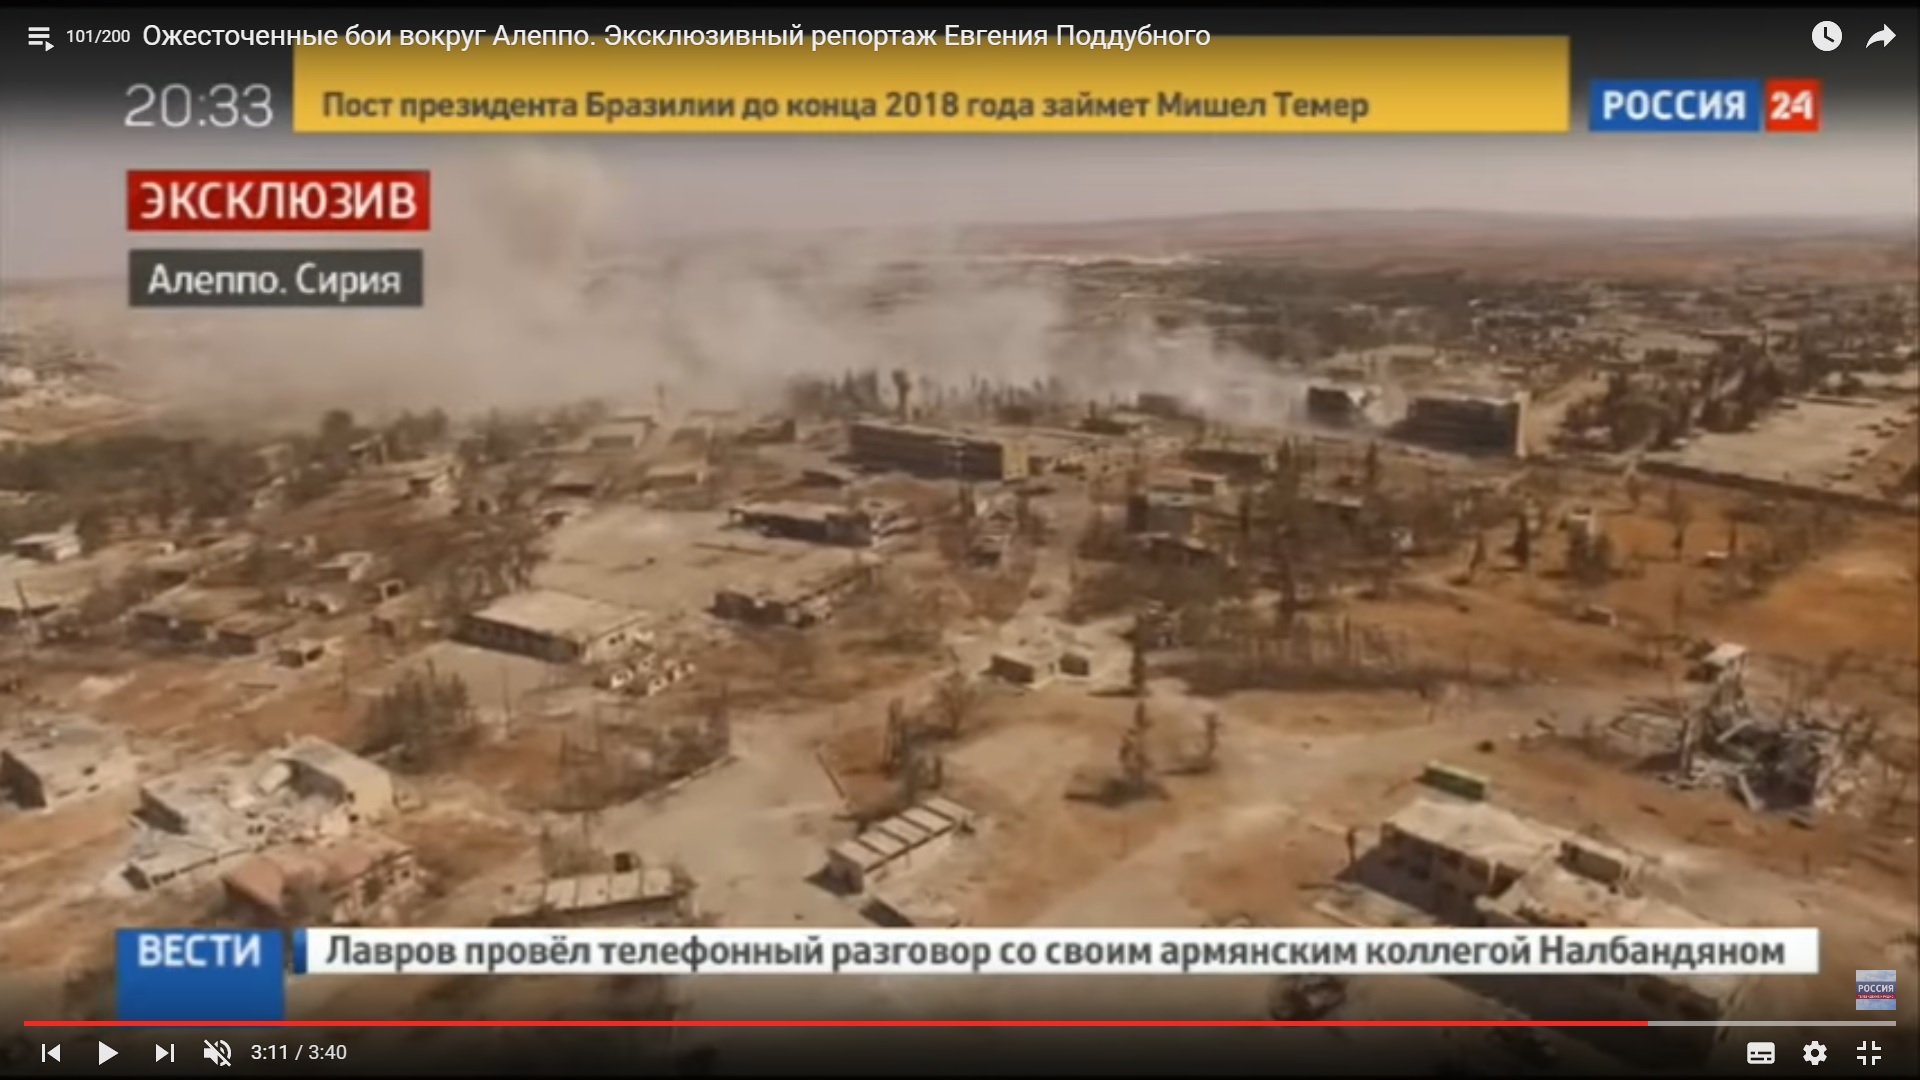
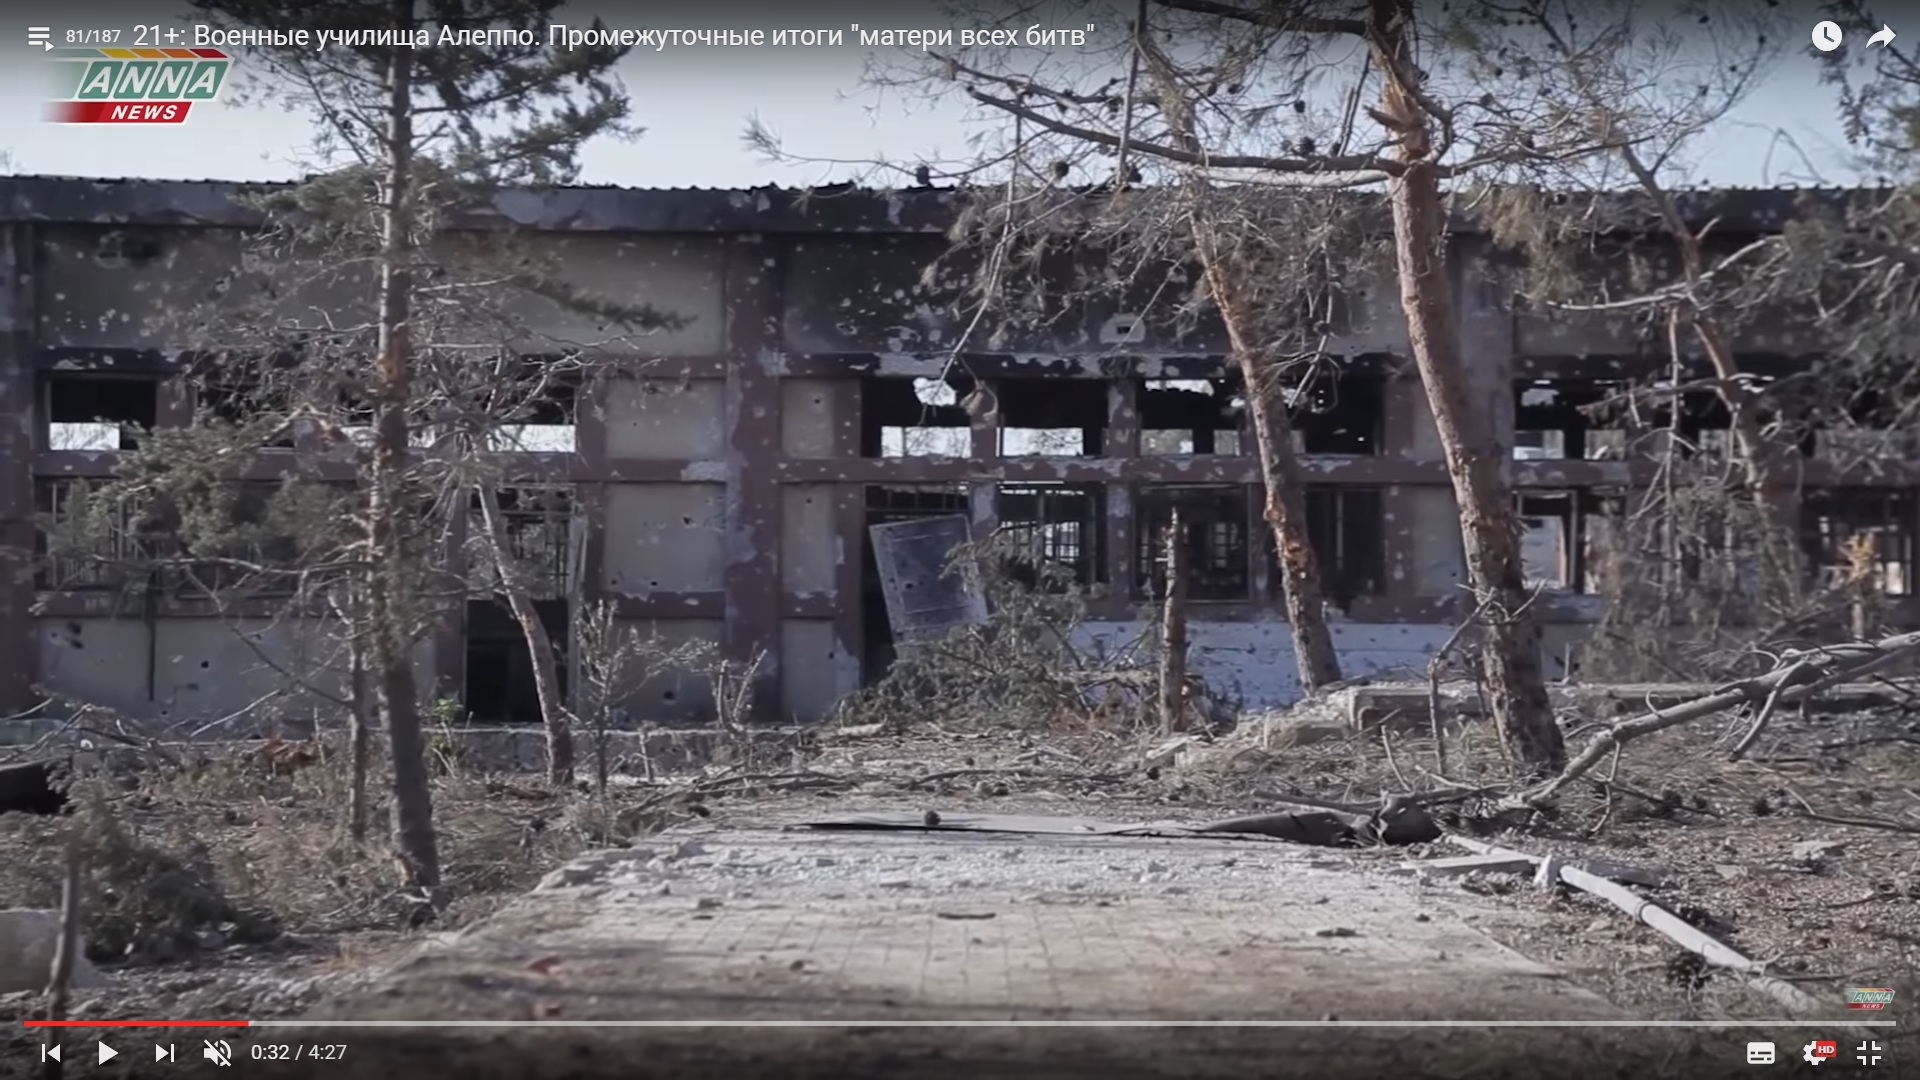
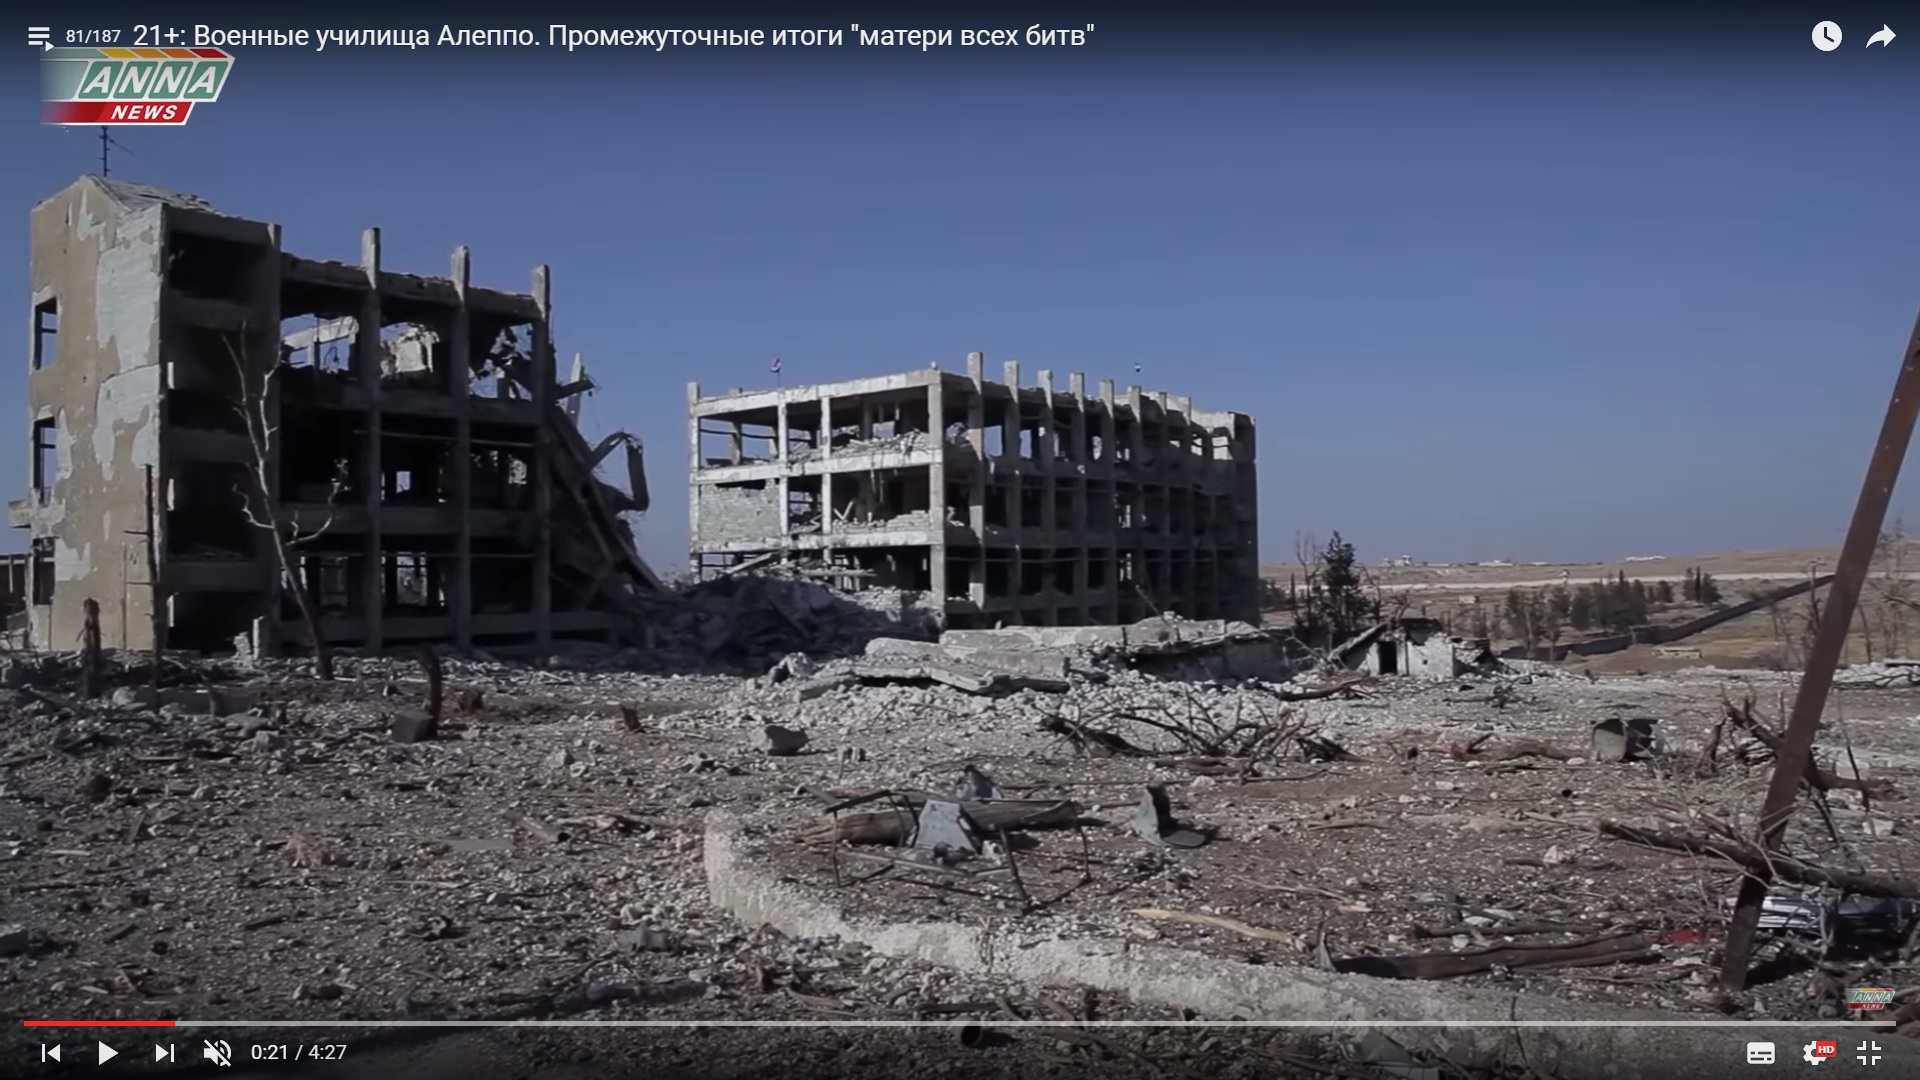
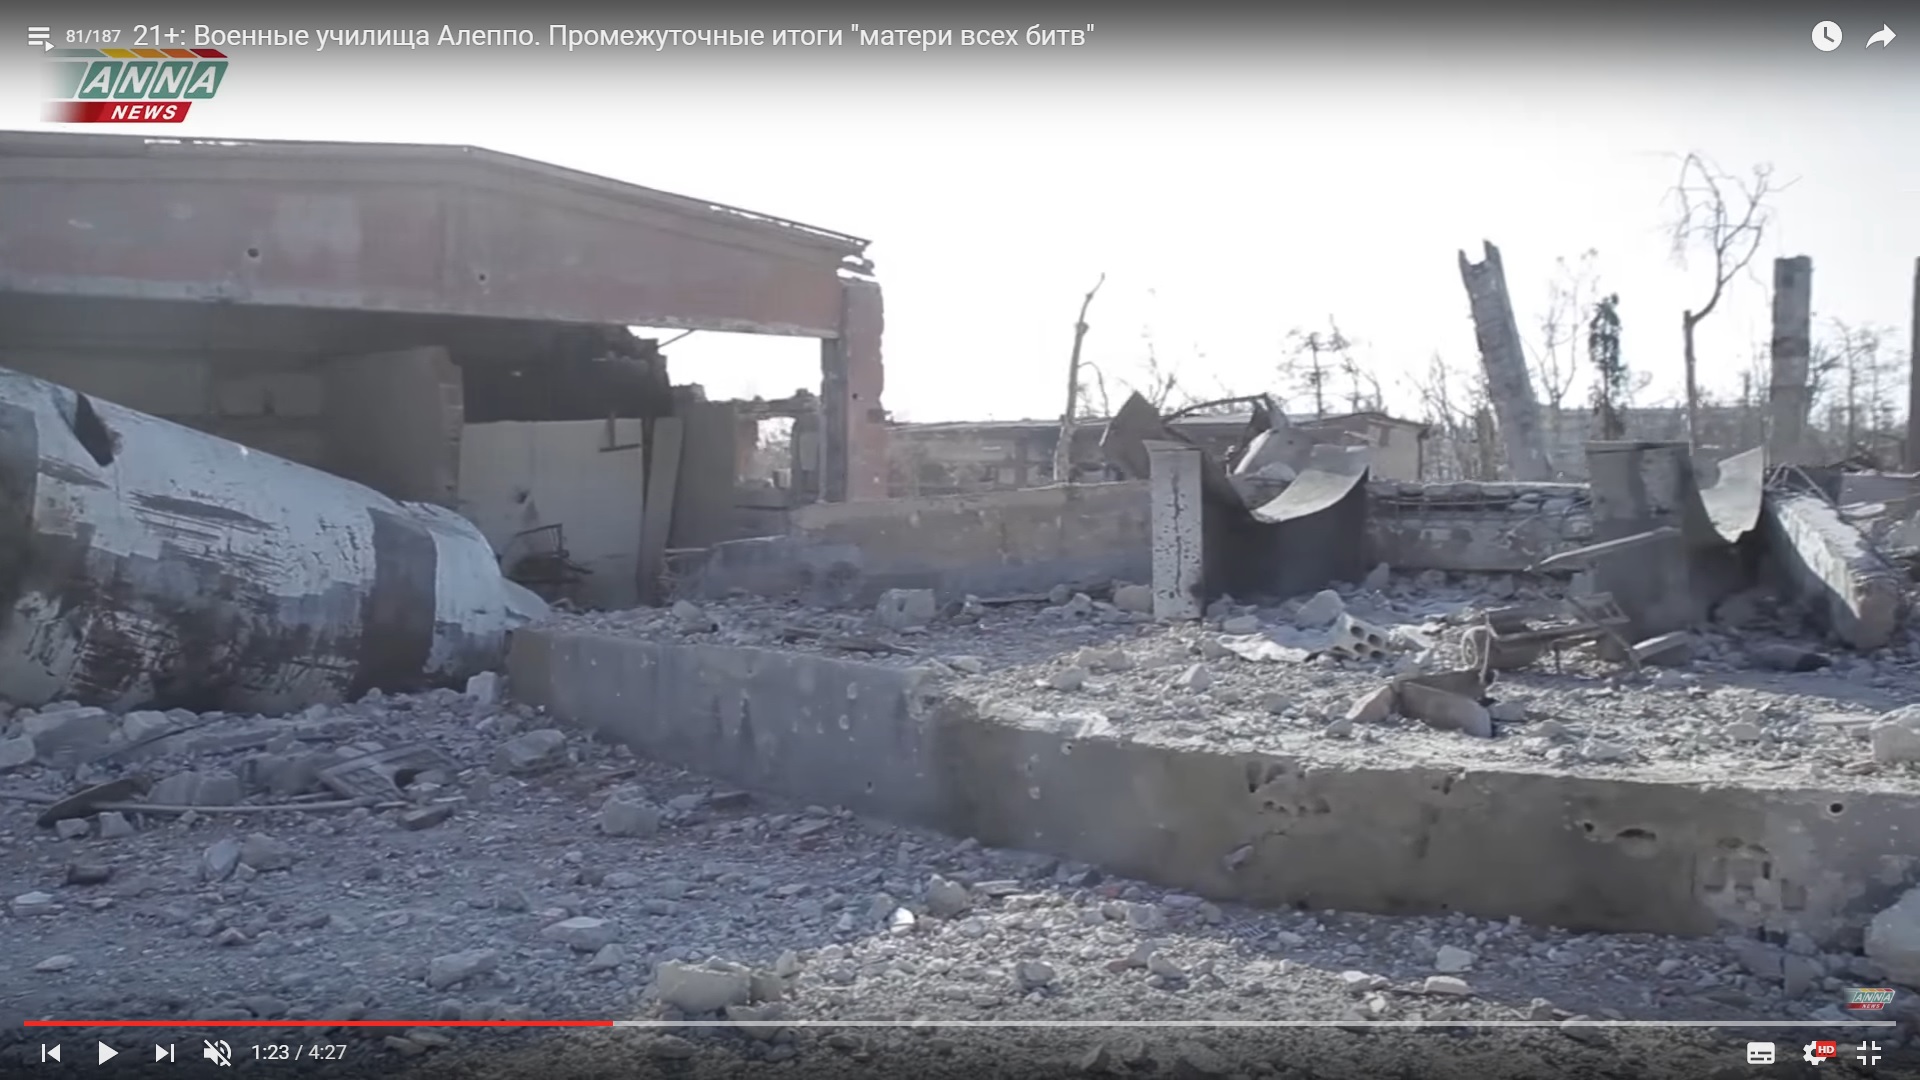
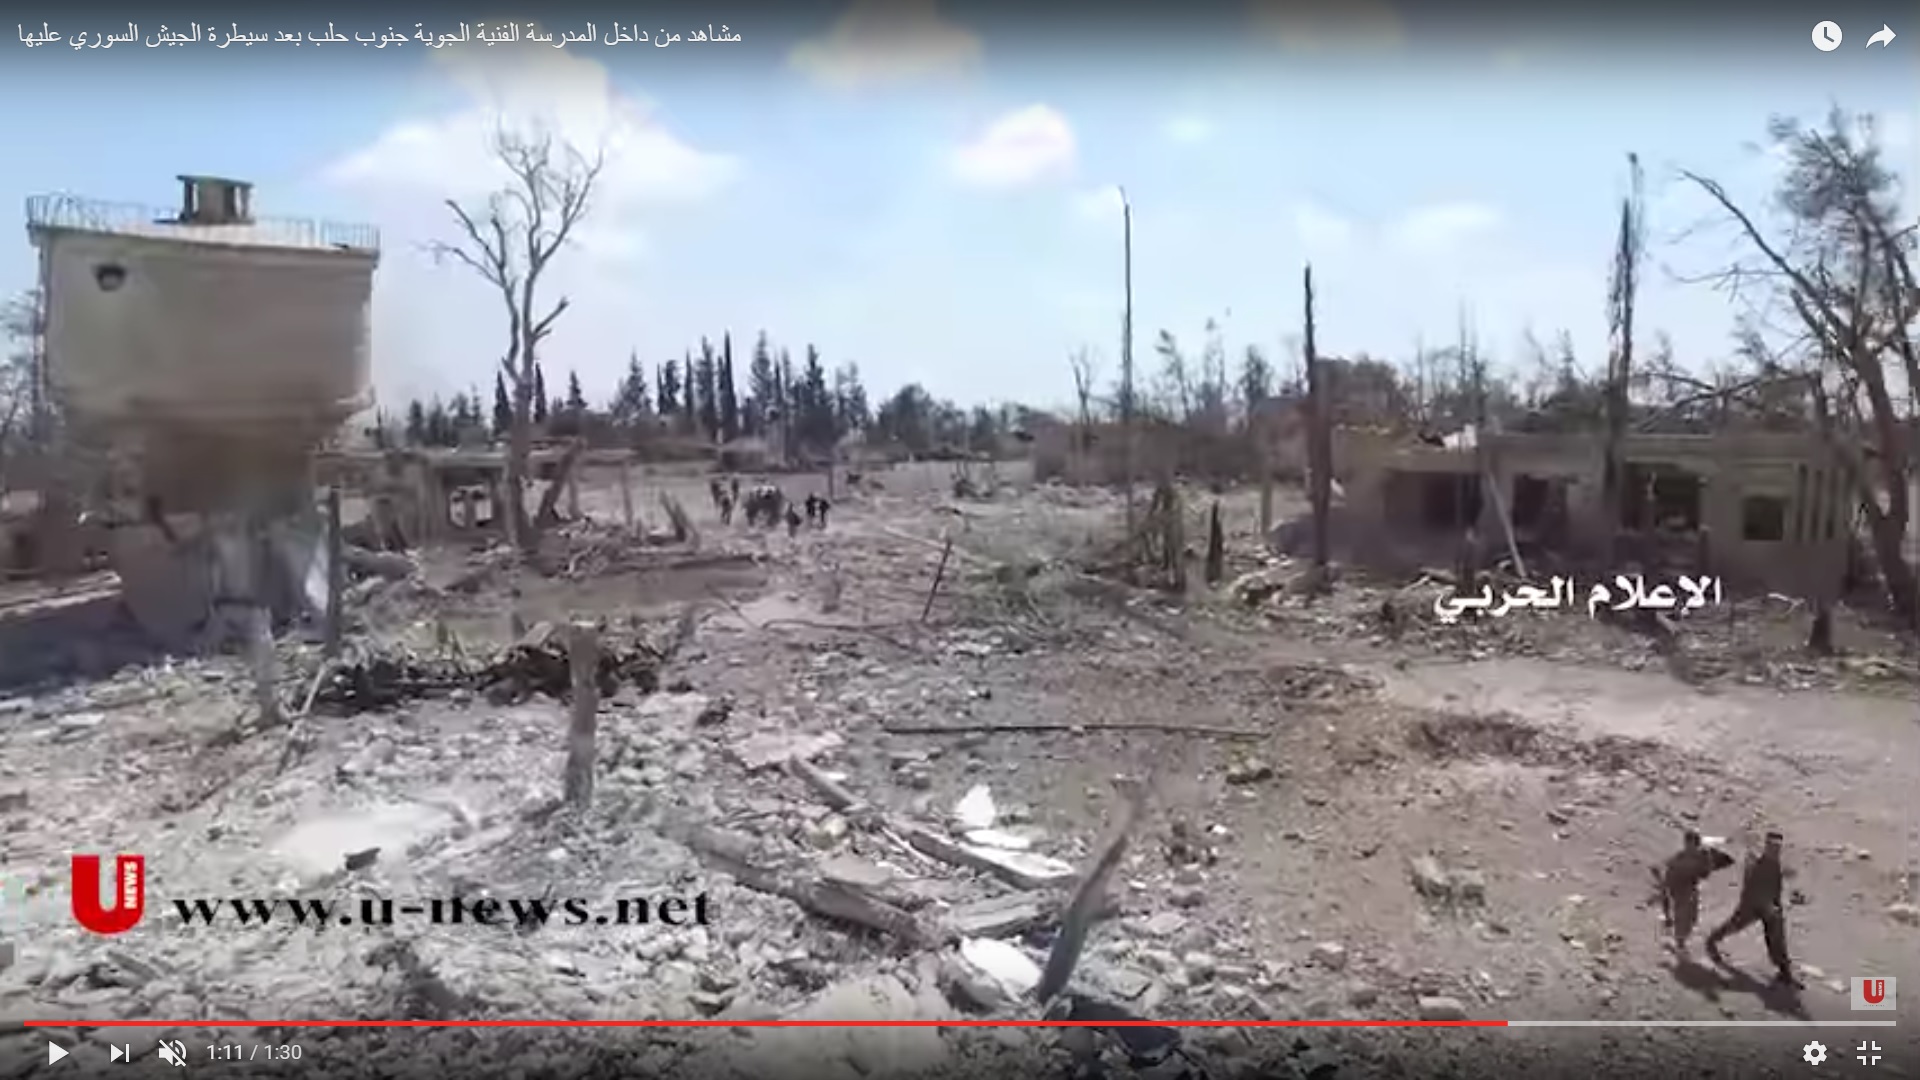
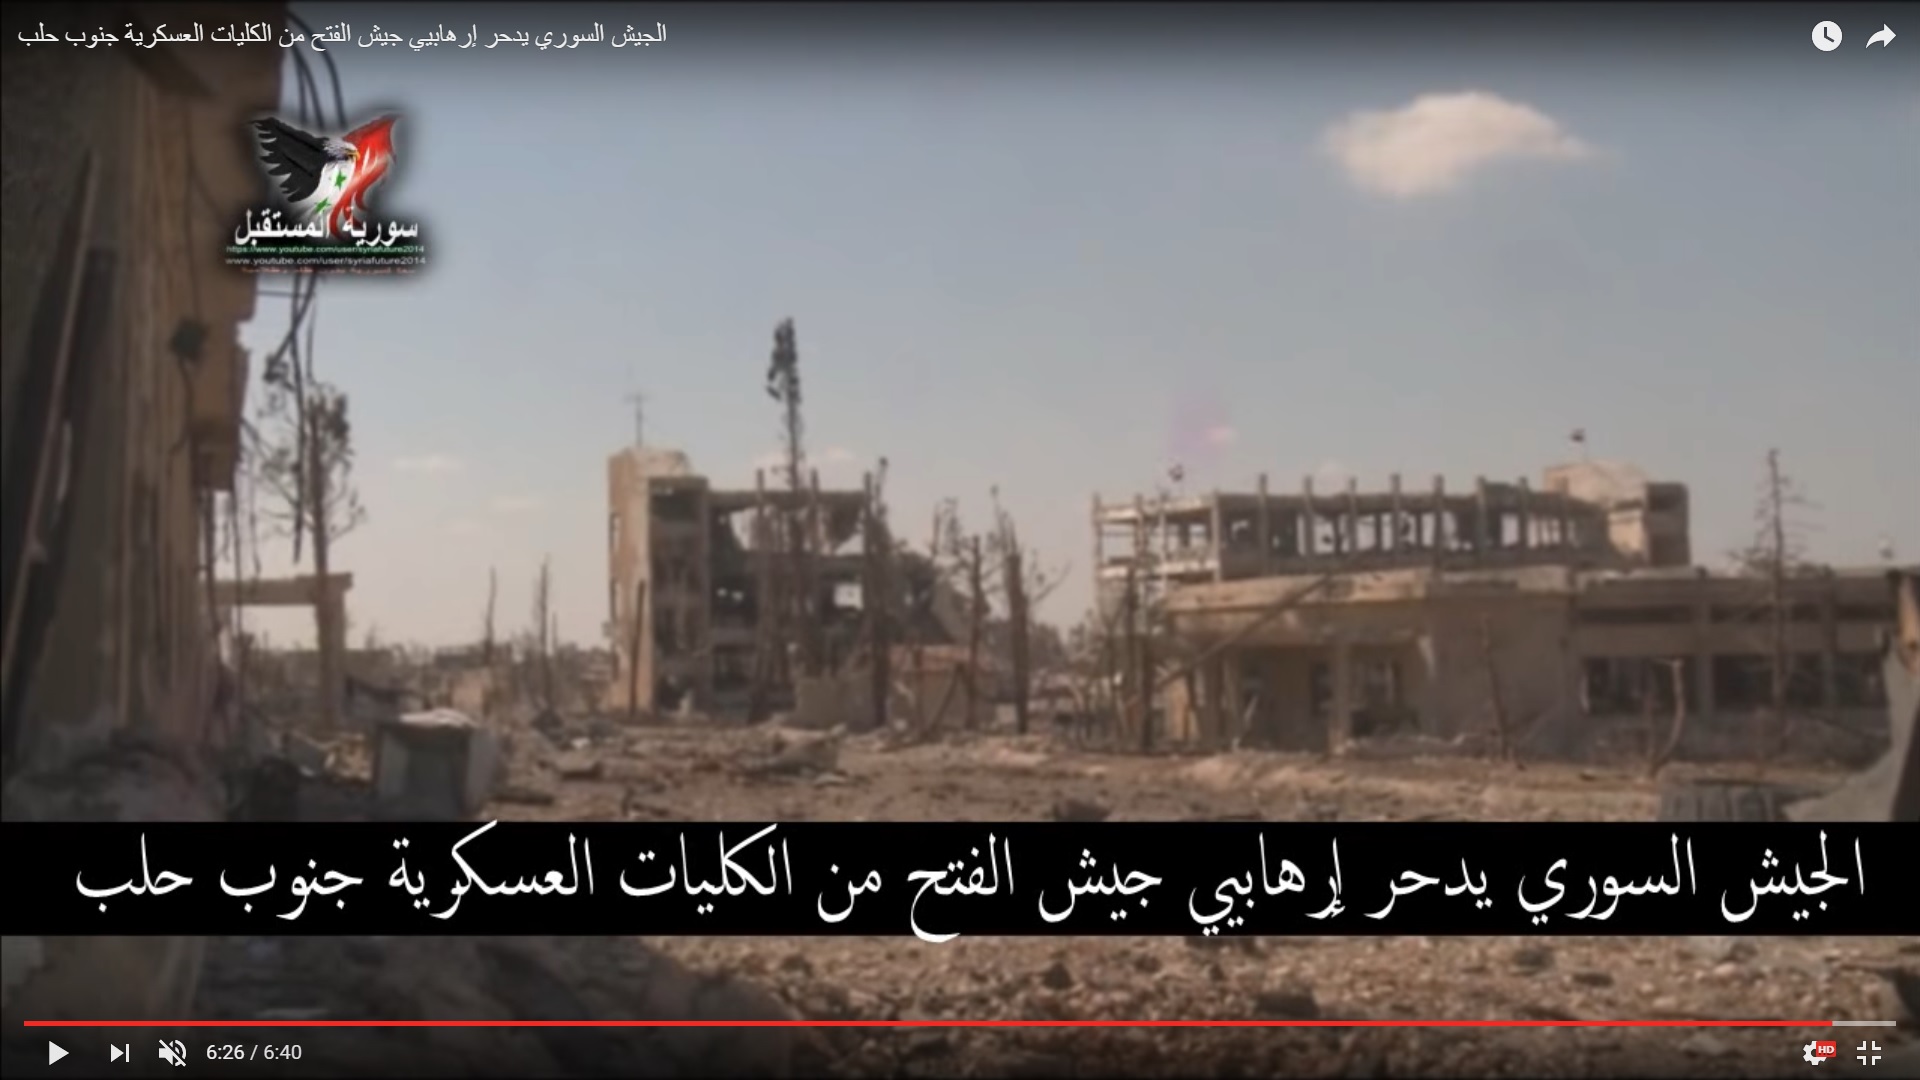
The ruins and the burned trees.

Detailed Analysis Of Battle For Ramouseh Artillery Academy In Western Aleppo – Part 4

Click to see the full-size image

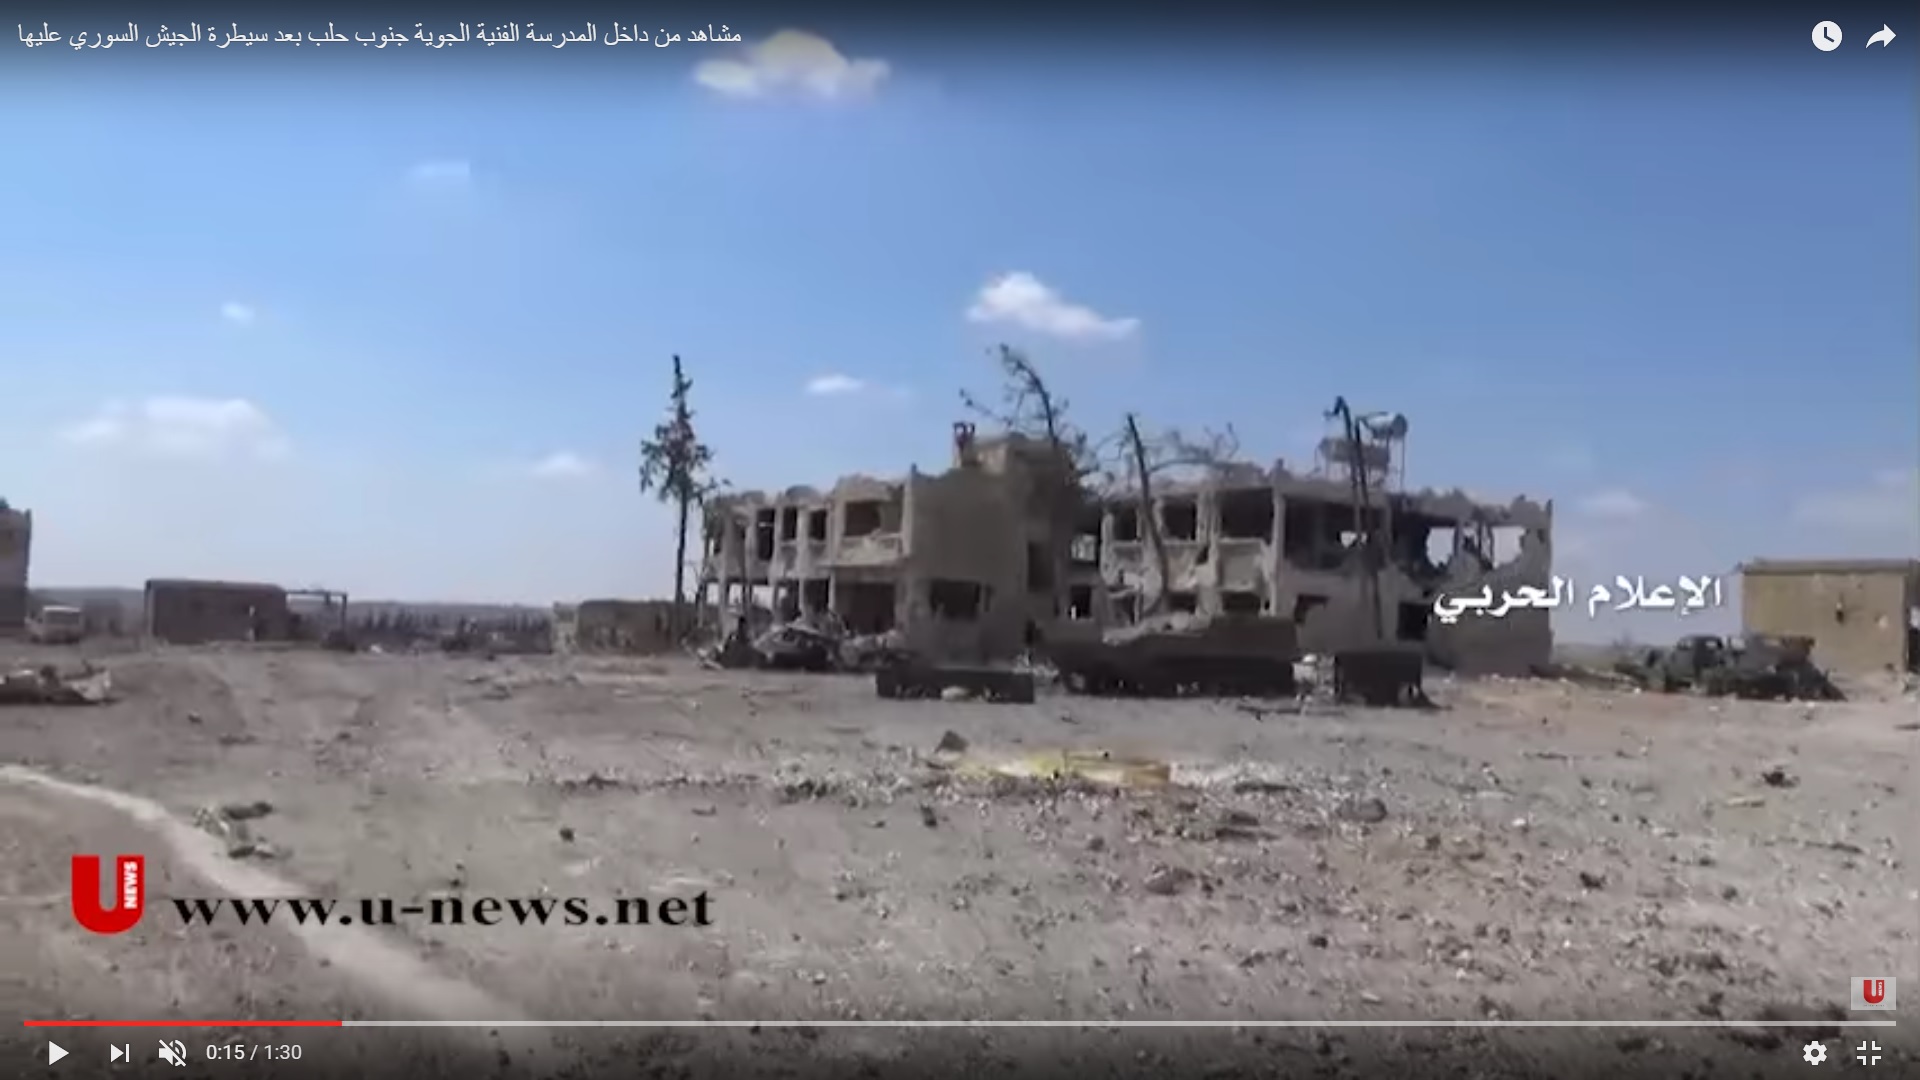
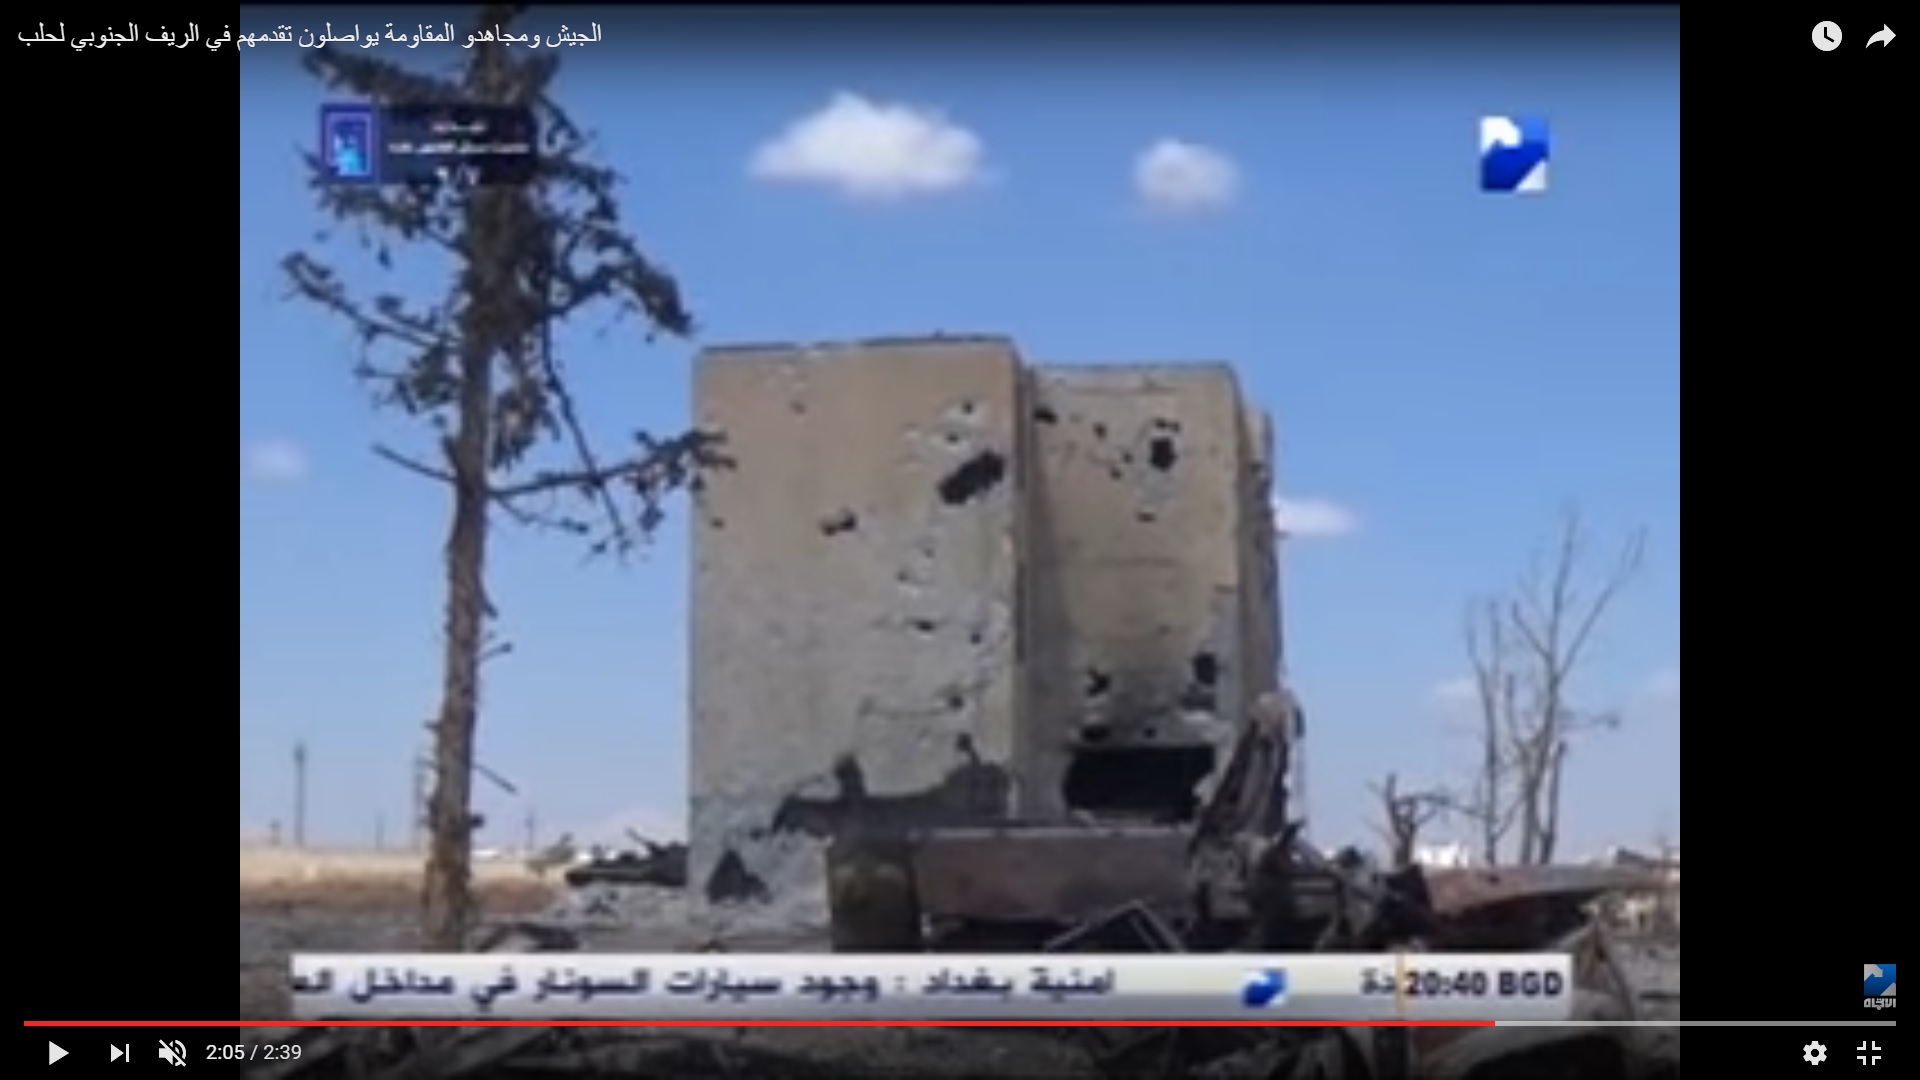
The Artillery Academy complex reminds some place after a preliminary artillery bombardment during the WW1: all buildings were damaged, trees were burned.

Mohammad al Saeed was quite popular among journalists.

Detailed Analysis Of Battle For Ramouseh Artillery Academy In Western Aleppo – Part 4

Click to see the full-size image

Mohammad al Saeed met Suheil al-Hassan (a commander of the Tiger Forces) in the well-known yard in the Hamadaniyah neighborhood.

Detailed Analysis Of Battle For Ramouseh Artillery Academy In Western Aleppo – Part 4

Click to see the full-size image

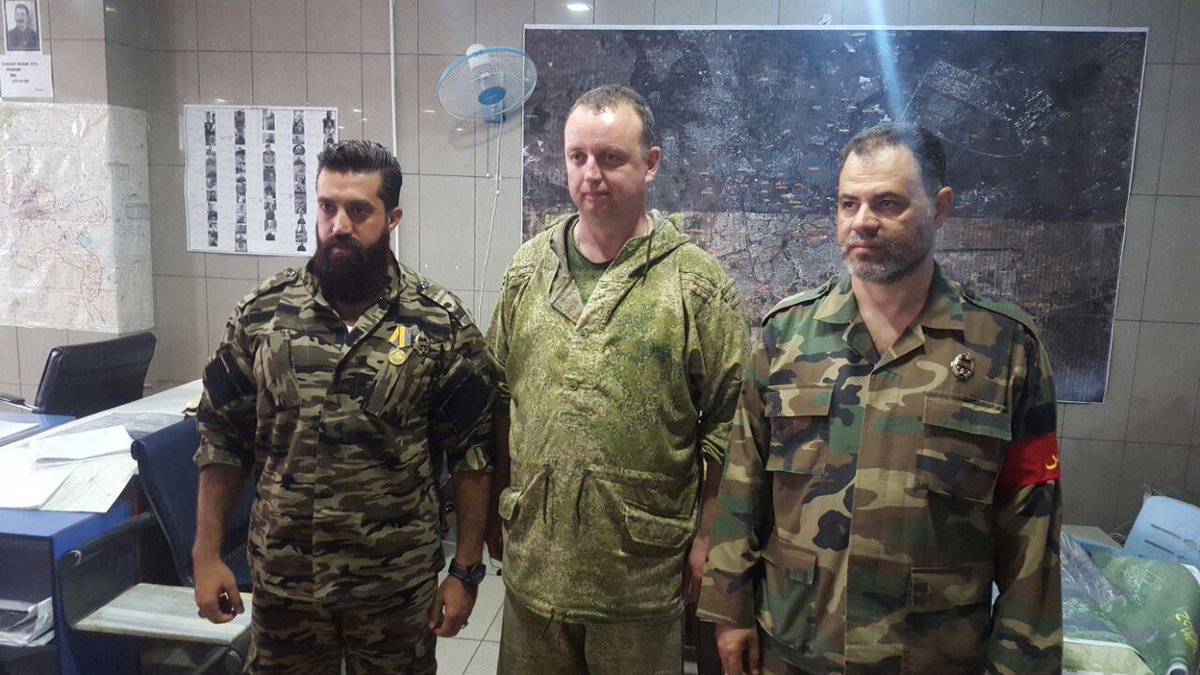
A group photo.

Detailed Analysis Of Battle For Ramouseh Artillery Academy In Western Aleppo – Part 4

Click to see the full-size image

The Russian Defense Ministry estimated high the contribution of Liwa al-Quds to the battle for Aleppo. Mohammad al Saeed and Mohammad Rafi received decorations.

Detailed Analysis Of Battle For Ramouseh Artillery Academy In Western Aleppo – Part 4

Click to see the full-size image

A Syrian flag was placed on the building of the artillery college.

Detailed Analysis Of Battle For Ramouseh Artillery Academy In Western Aleppo – Part 4

Click to see the full-size image

TO BE CONTINUED

Subscribe
Notify of
guest
3 Comments
Oldest
Newest Most Voted
Inline Feedbacks
View all comments
Jakke1899

Wow, another amazing piece which took a lot of work and patience. Hope to see more work from these people!
Иван

There is only last part to go

Fred

Keep them fighting Donald and Vladimir. Its good for arms sales.