Defense site Lostarmour.info released a detailed analysis (LINK) of the battle in the Artillery Academy in western Aleppo in the period between August 6, 2016 and September 5, 2016.
SF provides an abridged translation of the second part (source) of this series. All pics are taken from the original text.
Please, find the English version of the FIRST PART HERE.
THE SECOND PART
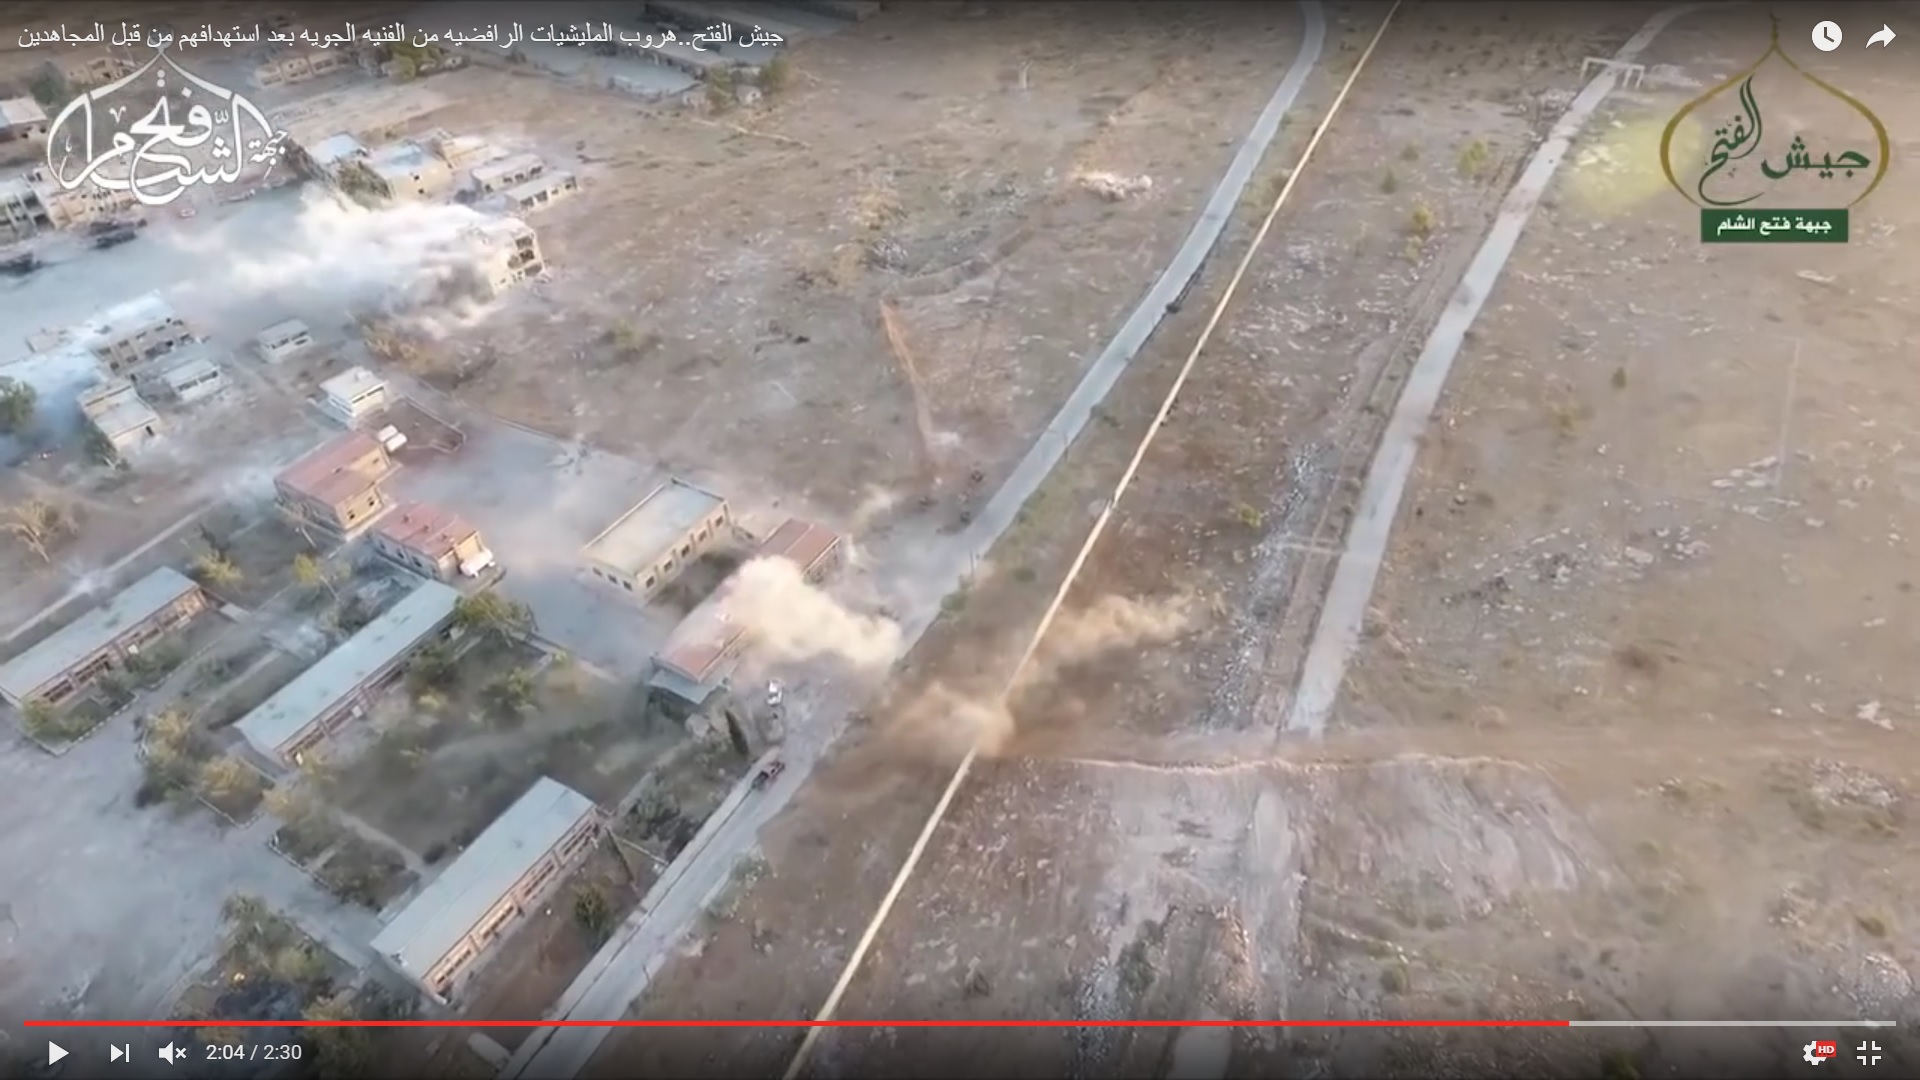
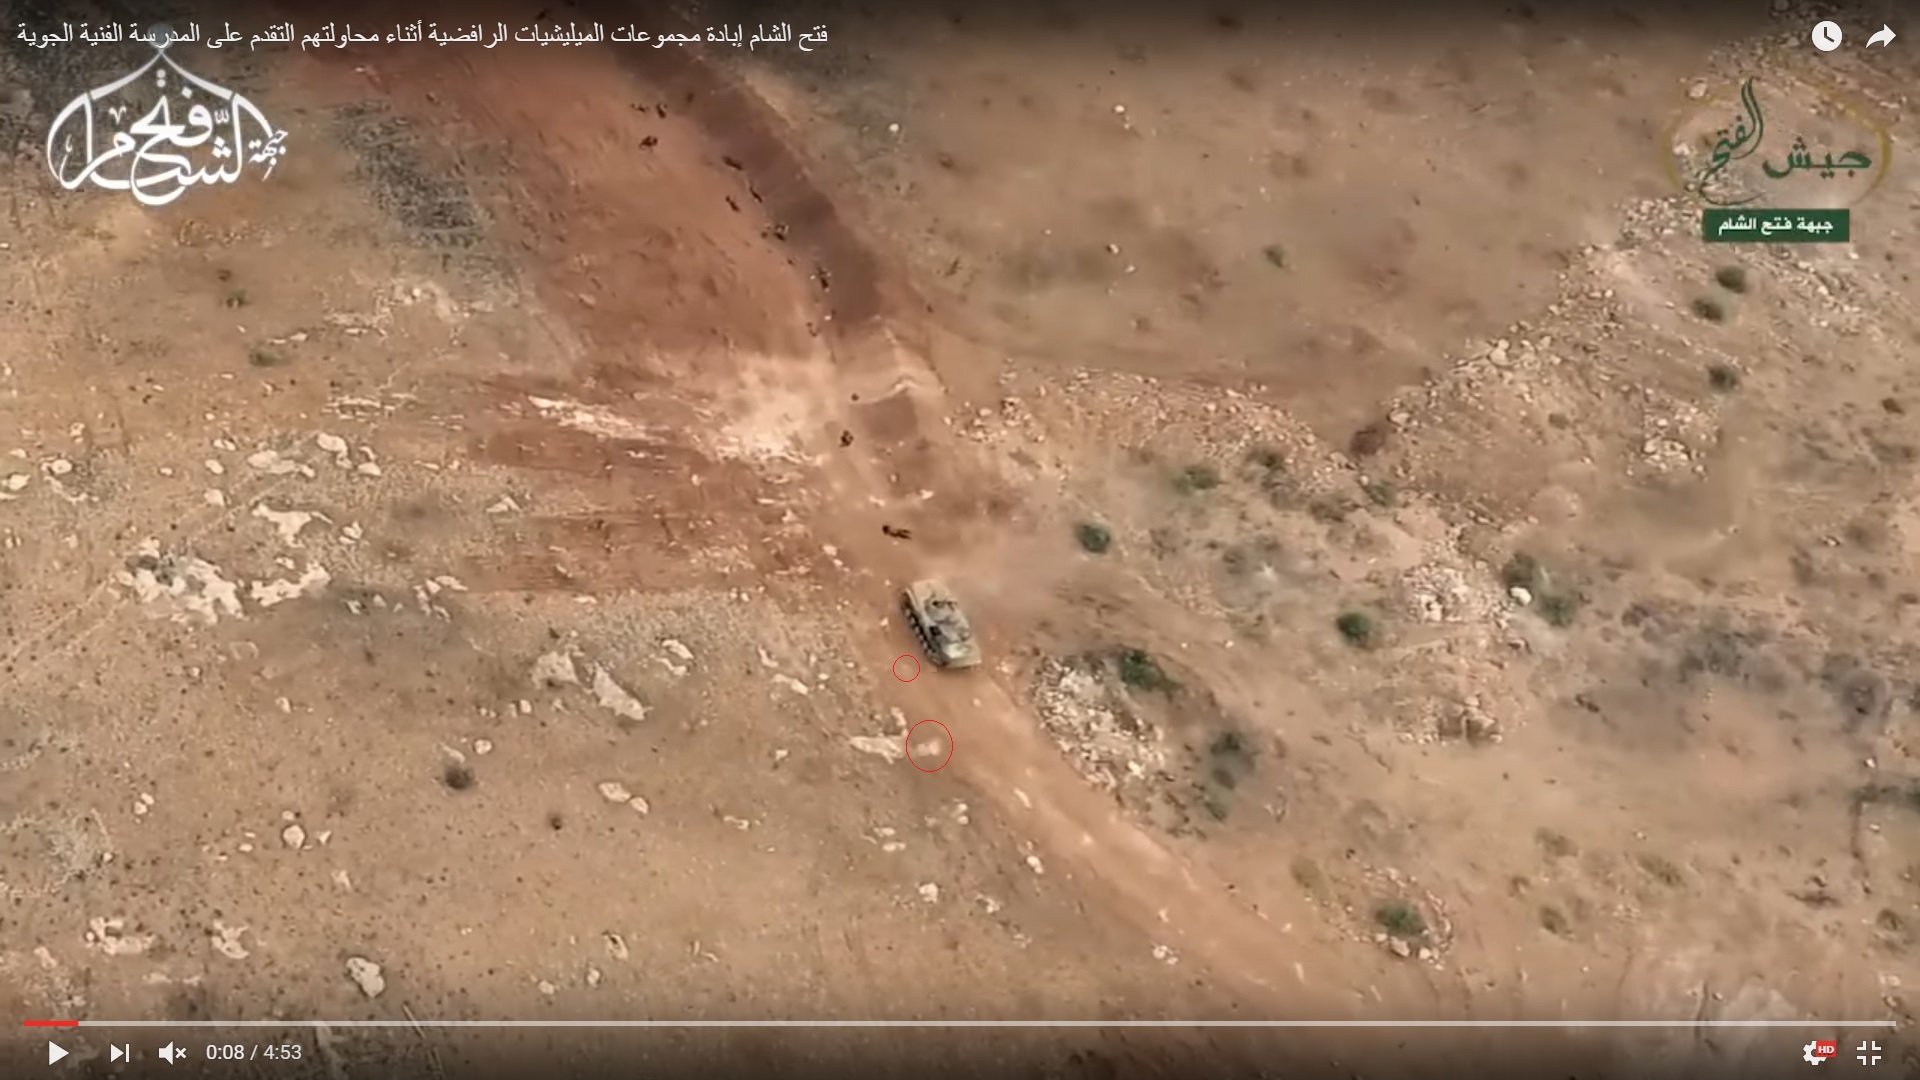
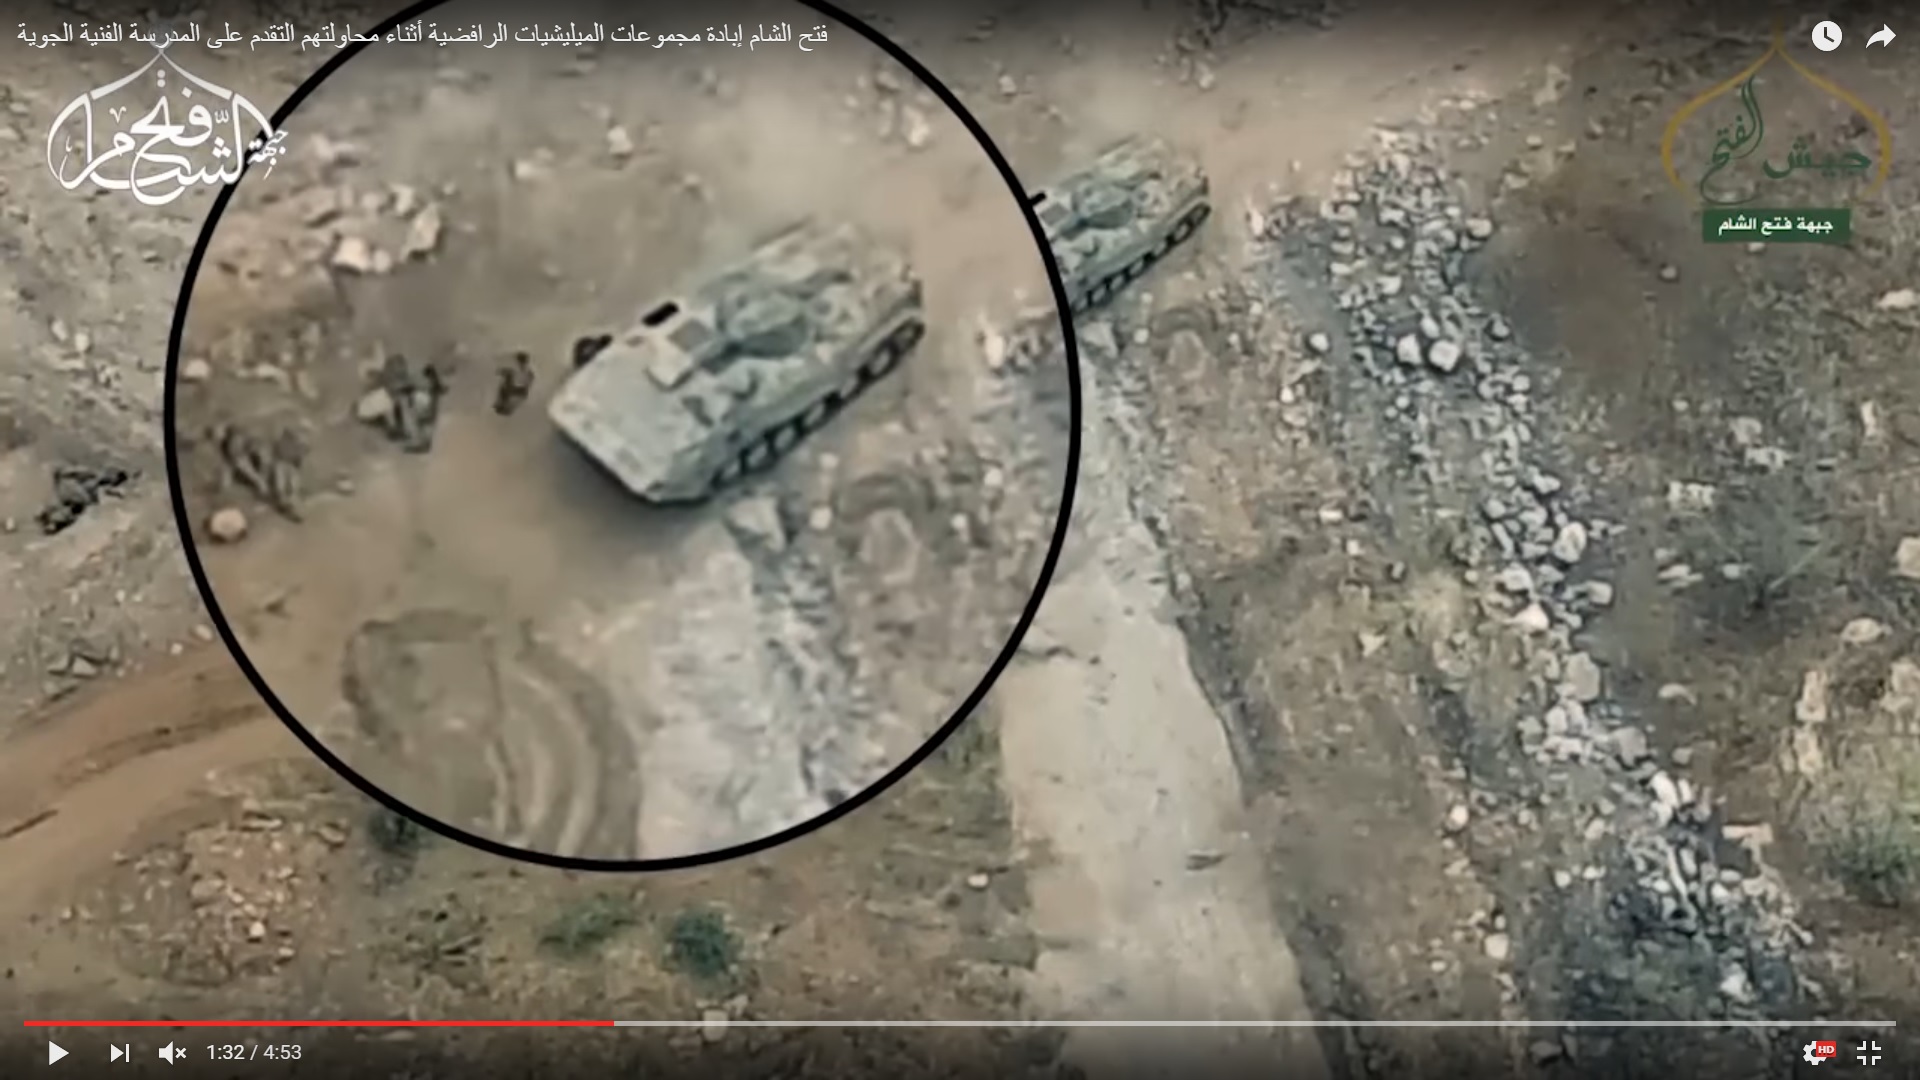
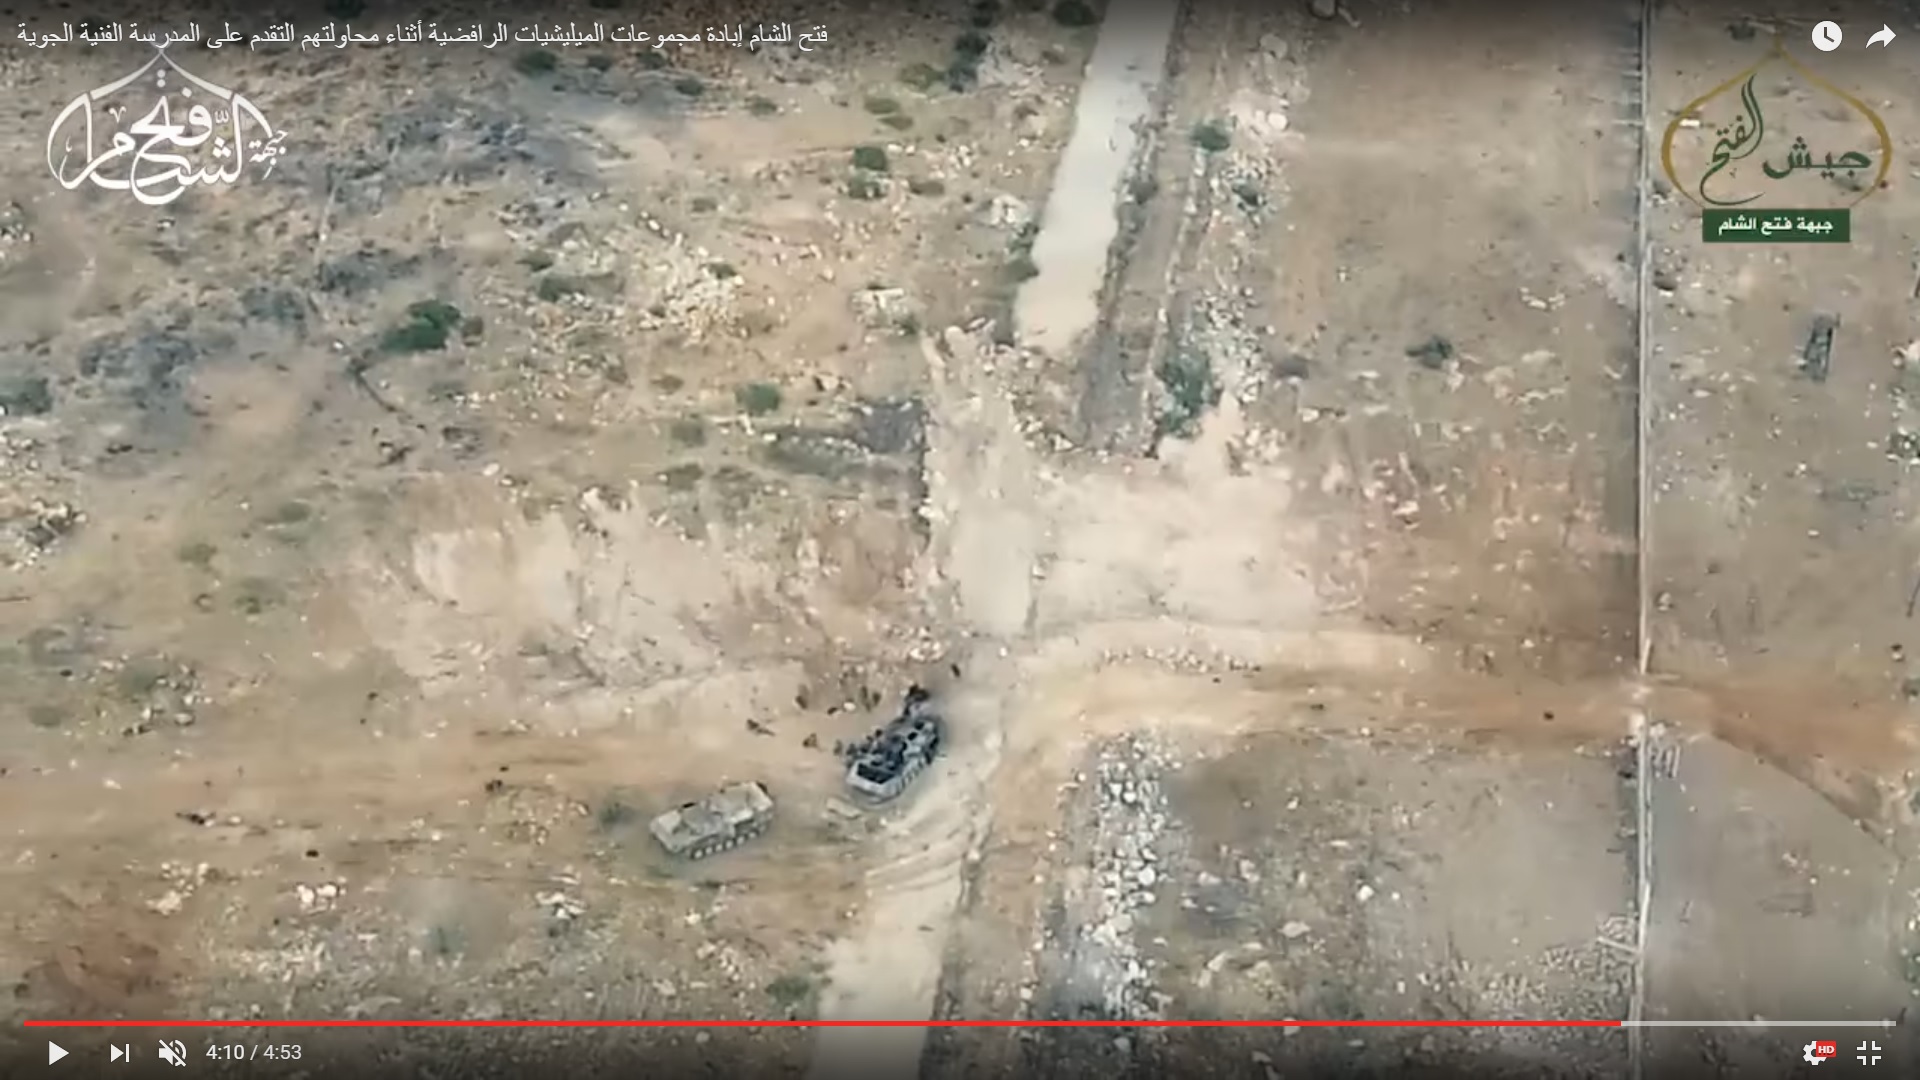
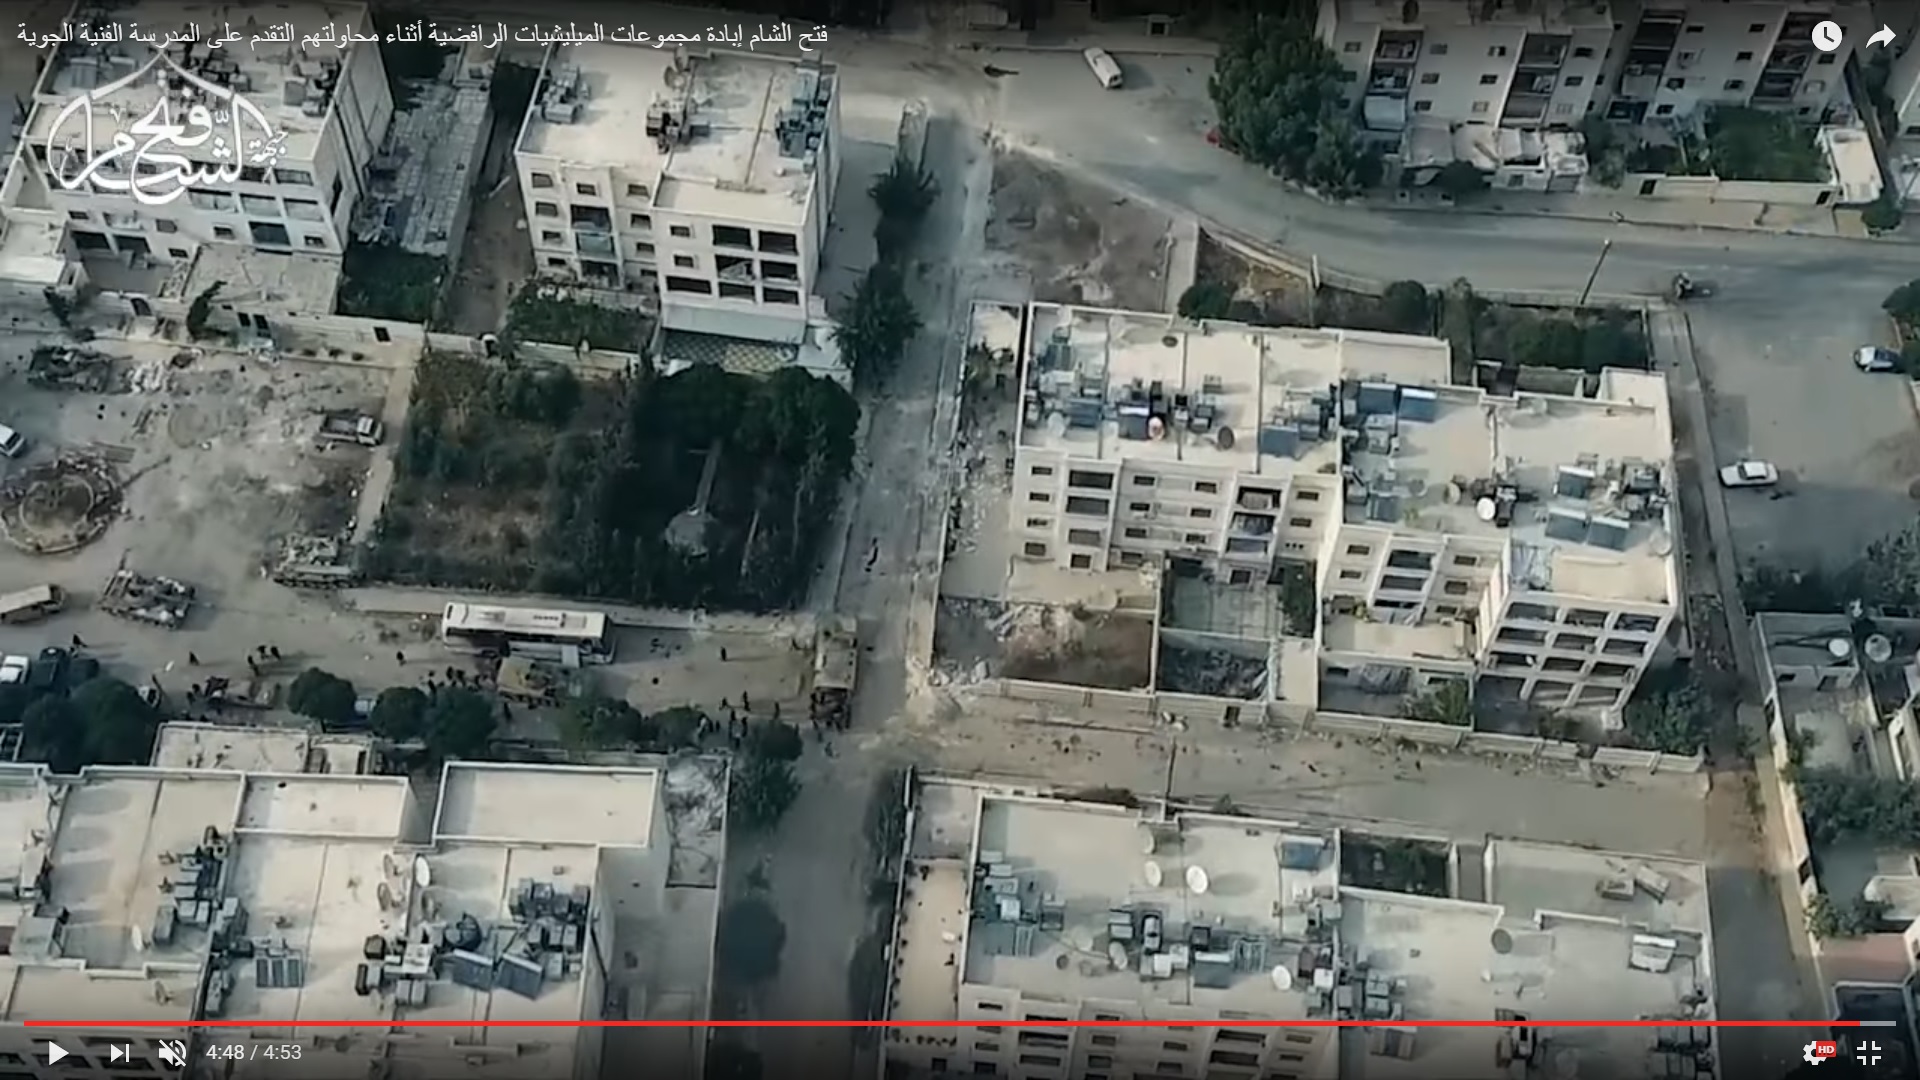
Government forces made another attempt to capture some part of the Ramouseh Artillery Academy area on August 22. A video from the drone allows to see how the government BMP-2 infantry fighting vehicle with an assault force reached the military dirty road.
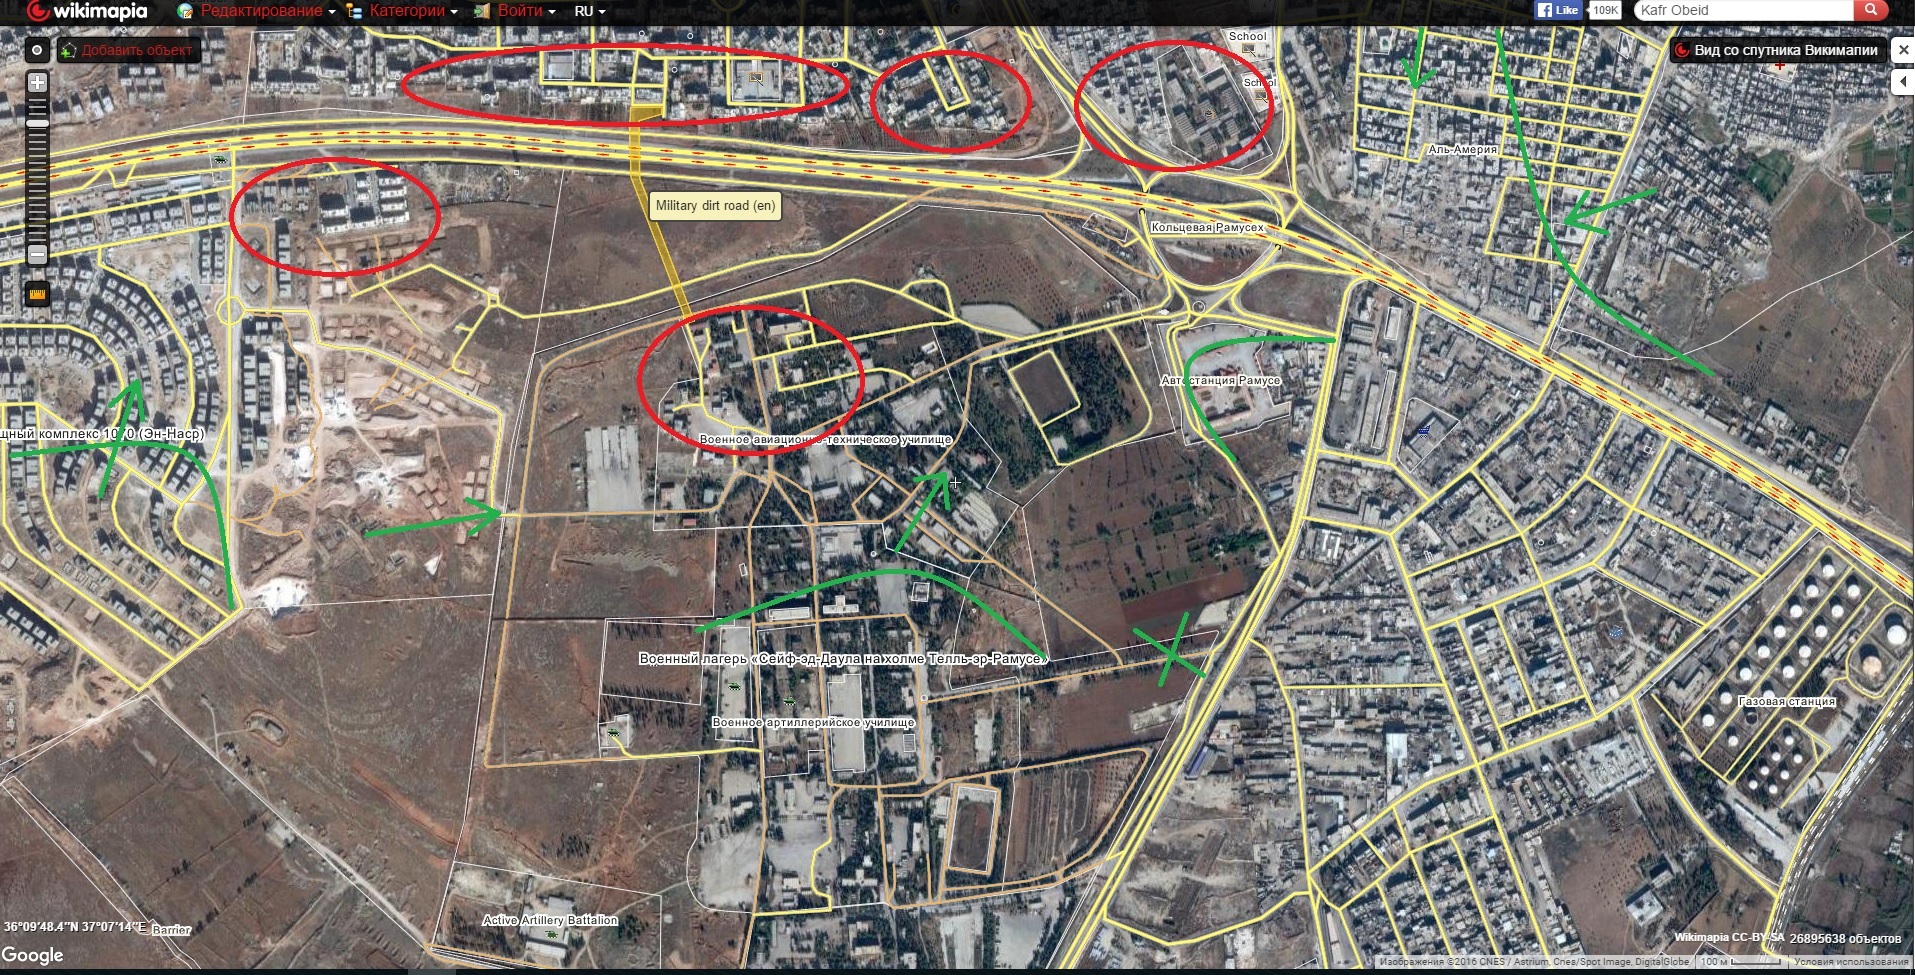
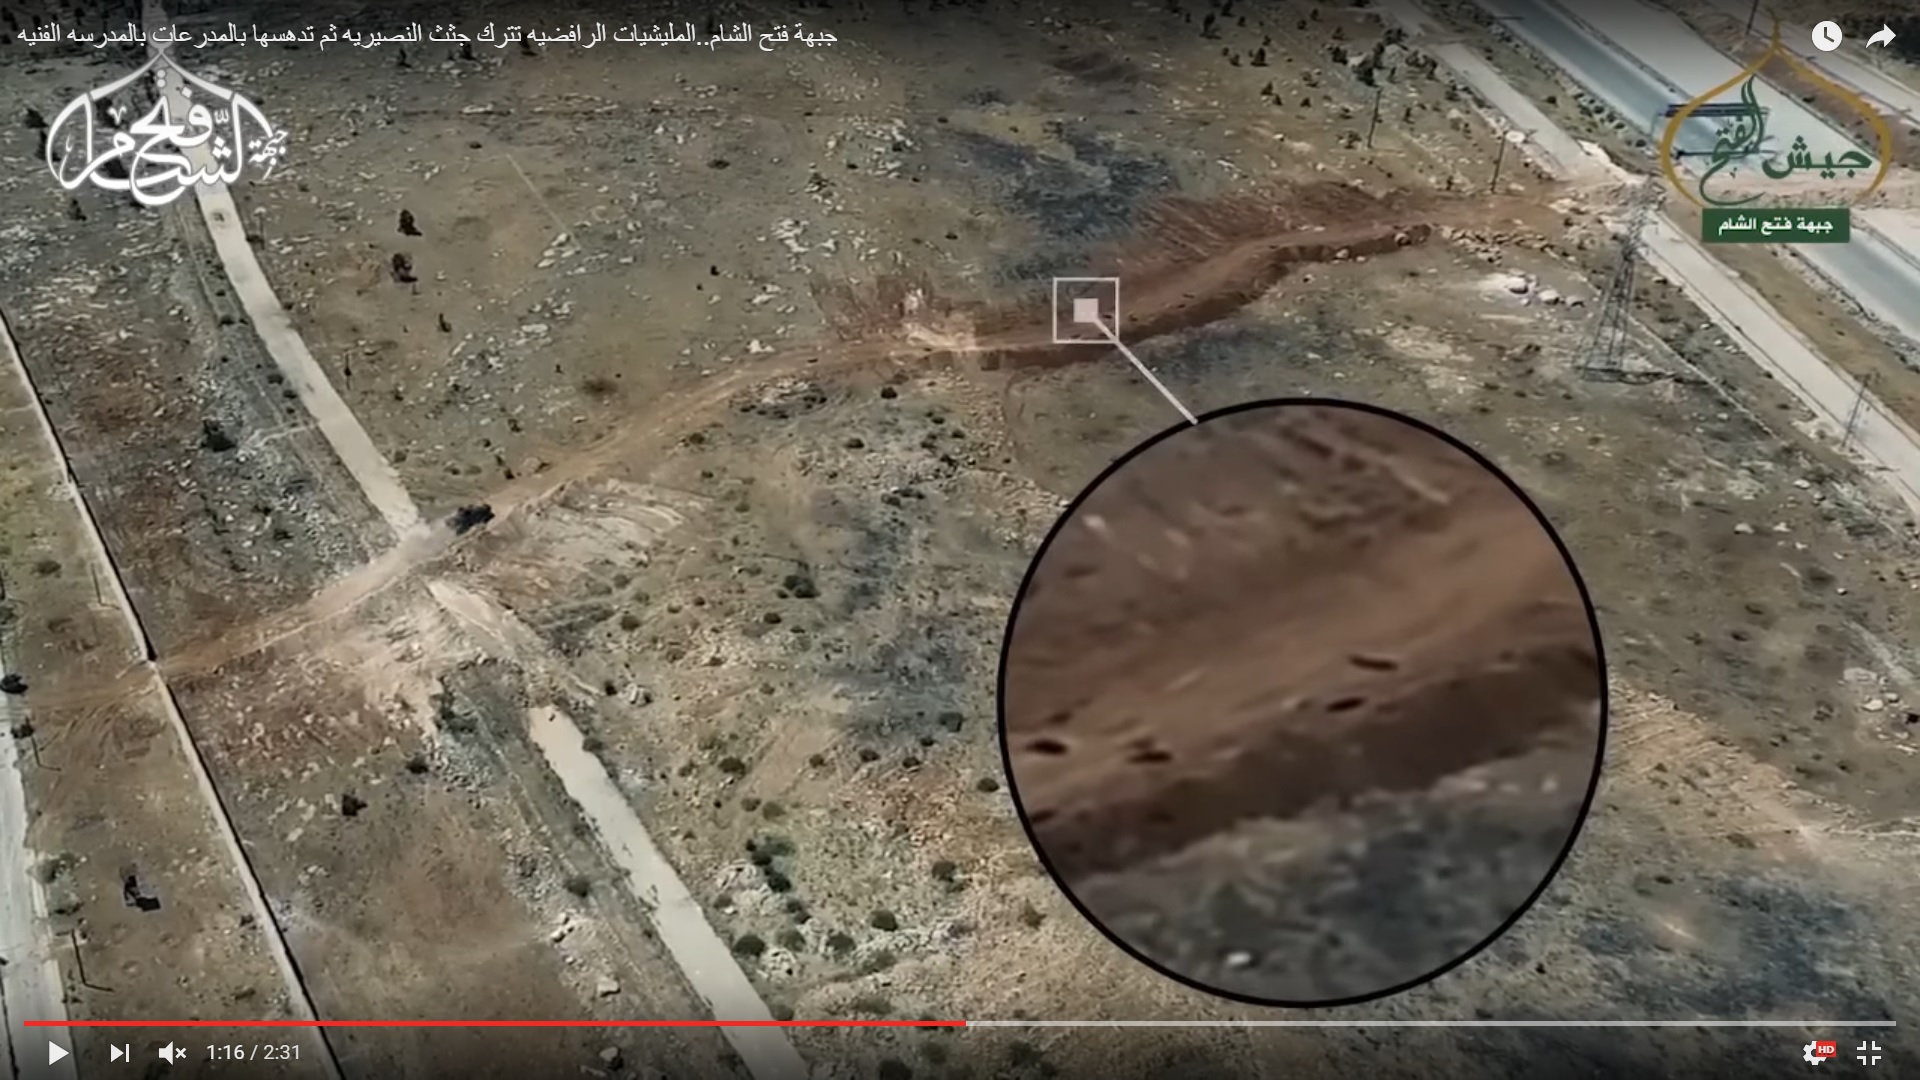
You can see this road on the image below:
Small points on the picture above the map are dead bodies of pro-government fighters.
This time, government forces launched an advance at noon. Most likely, militants did not expected any government advance until the evening. In turn, Syrian army commanders could decide that militants had withdrawn as a result of constant military strikes in the area.
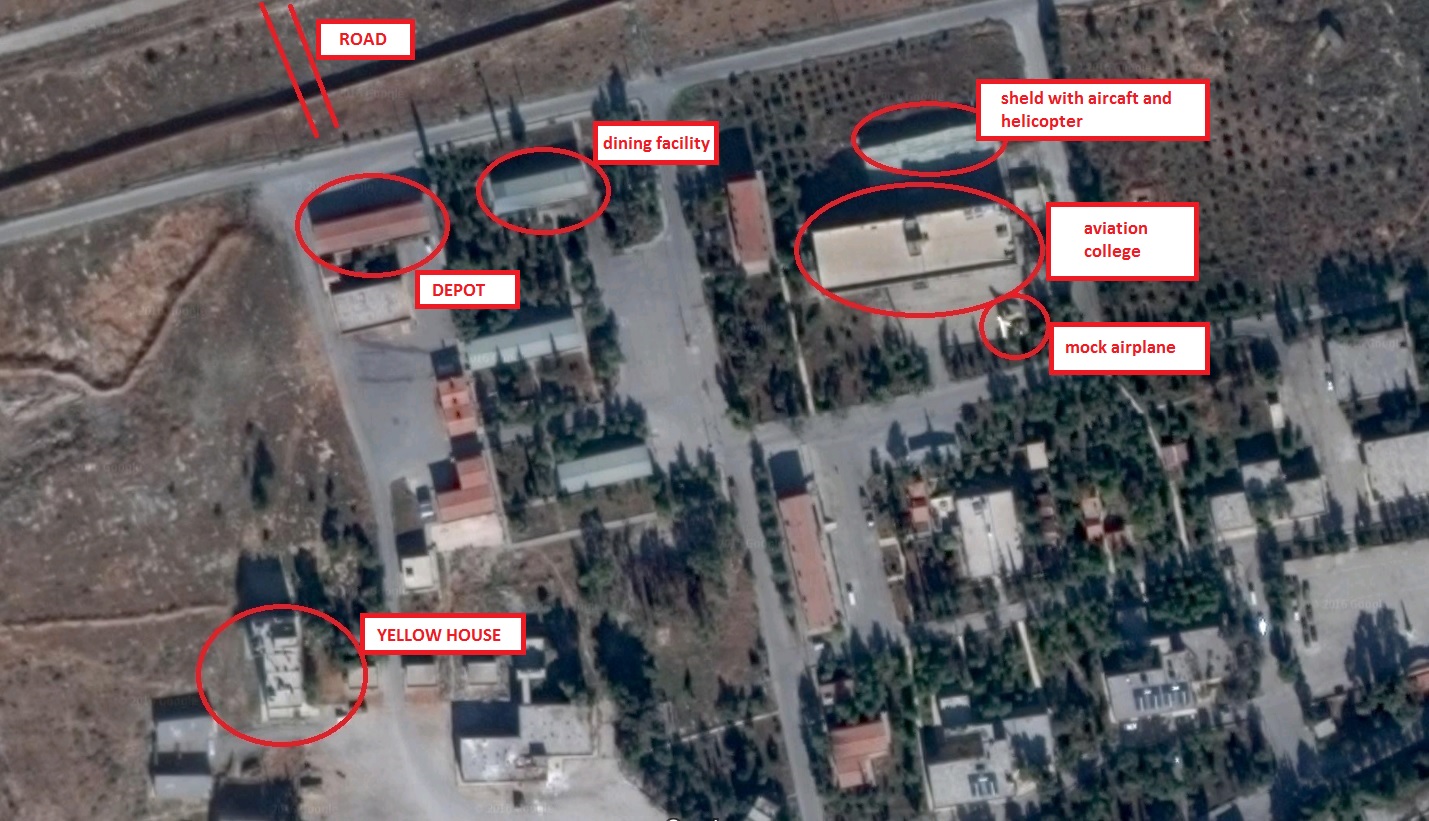
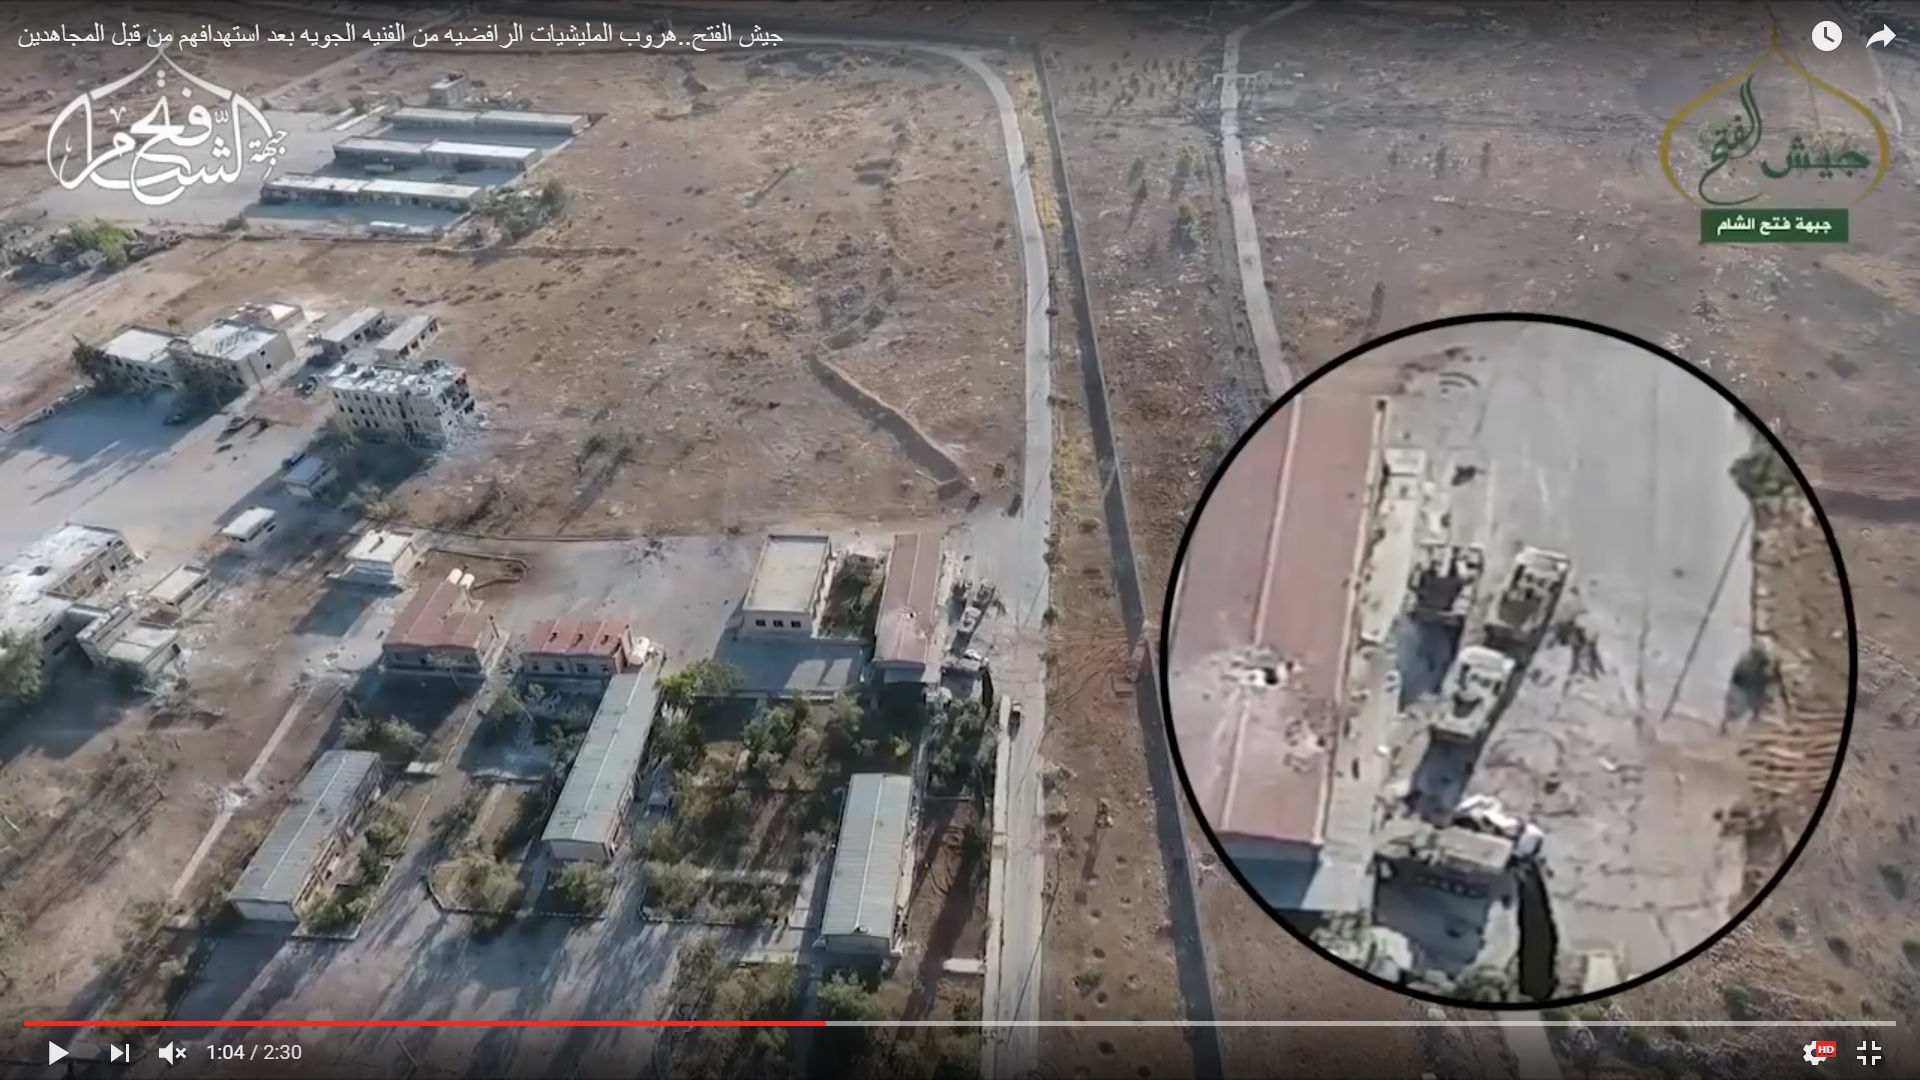
The BMP-2 reached the depot and deployed the assault force.
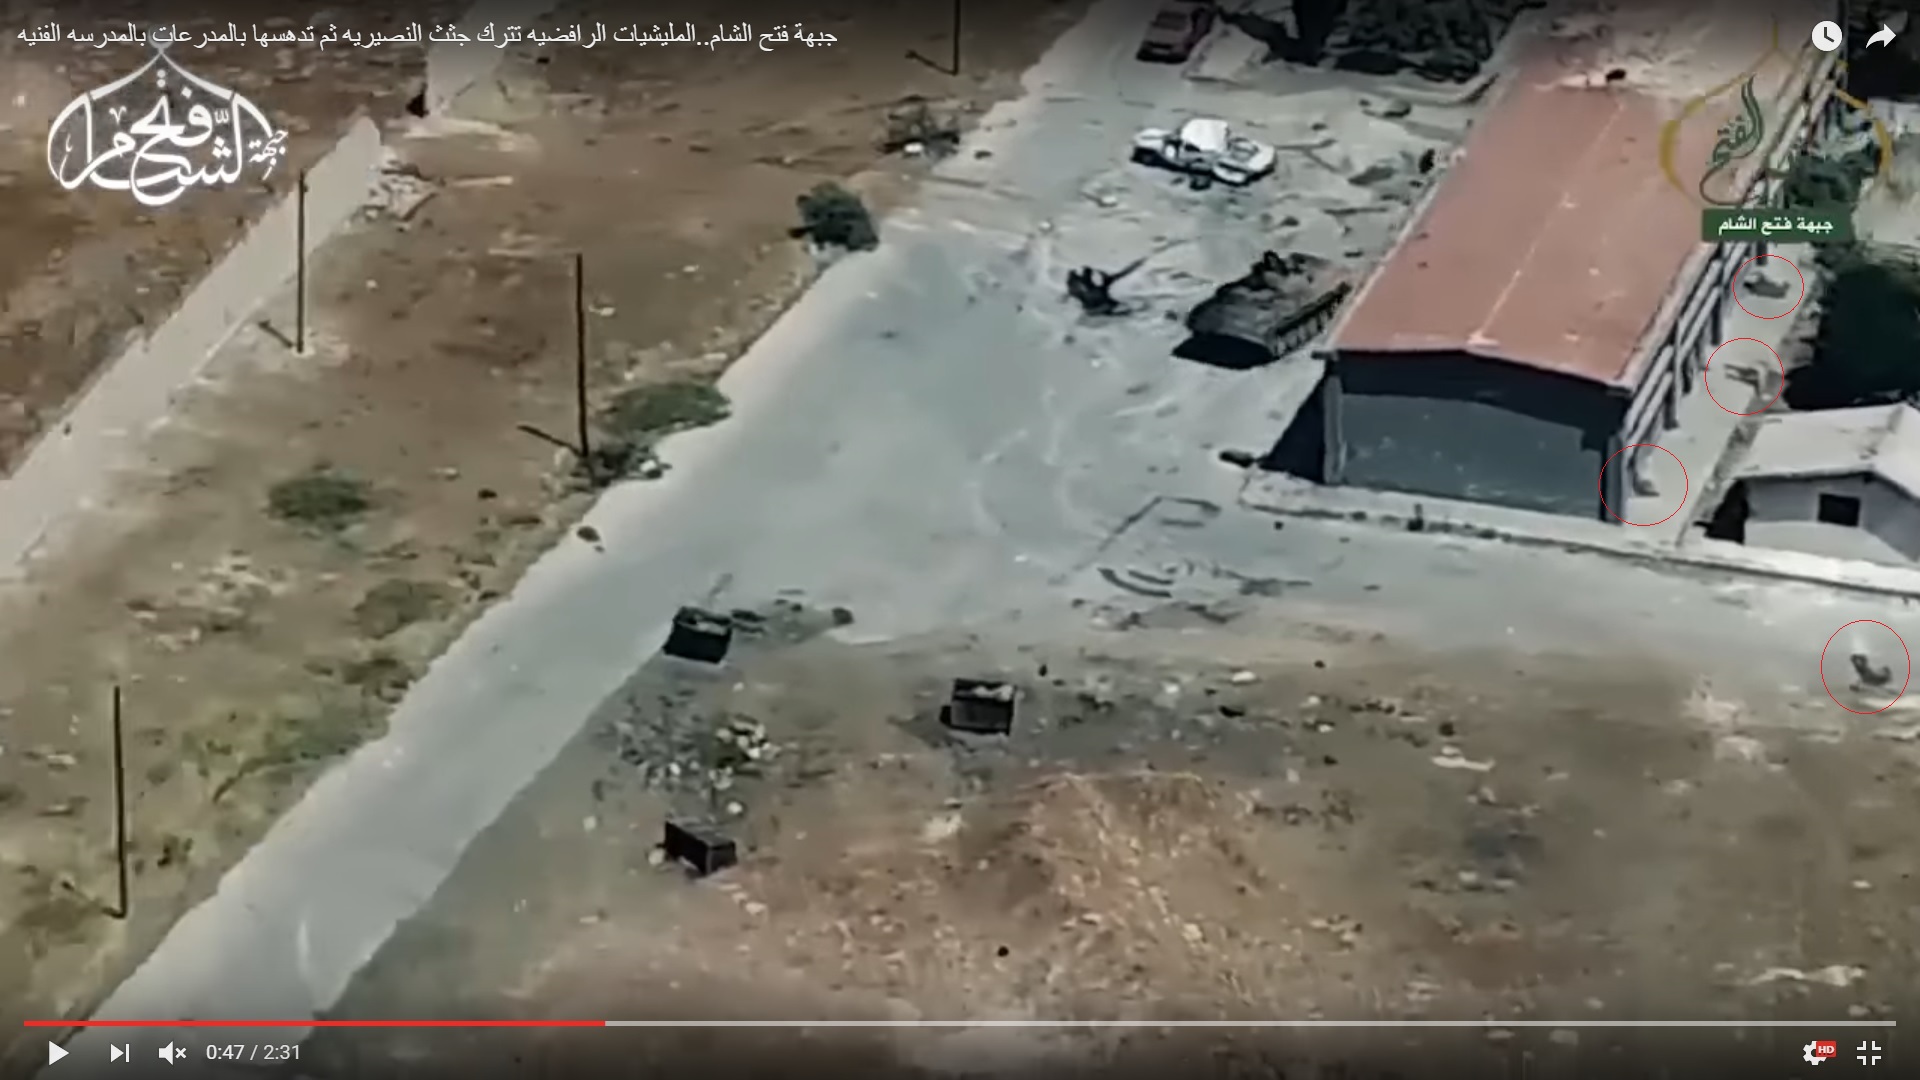
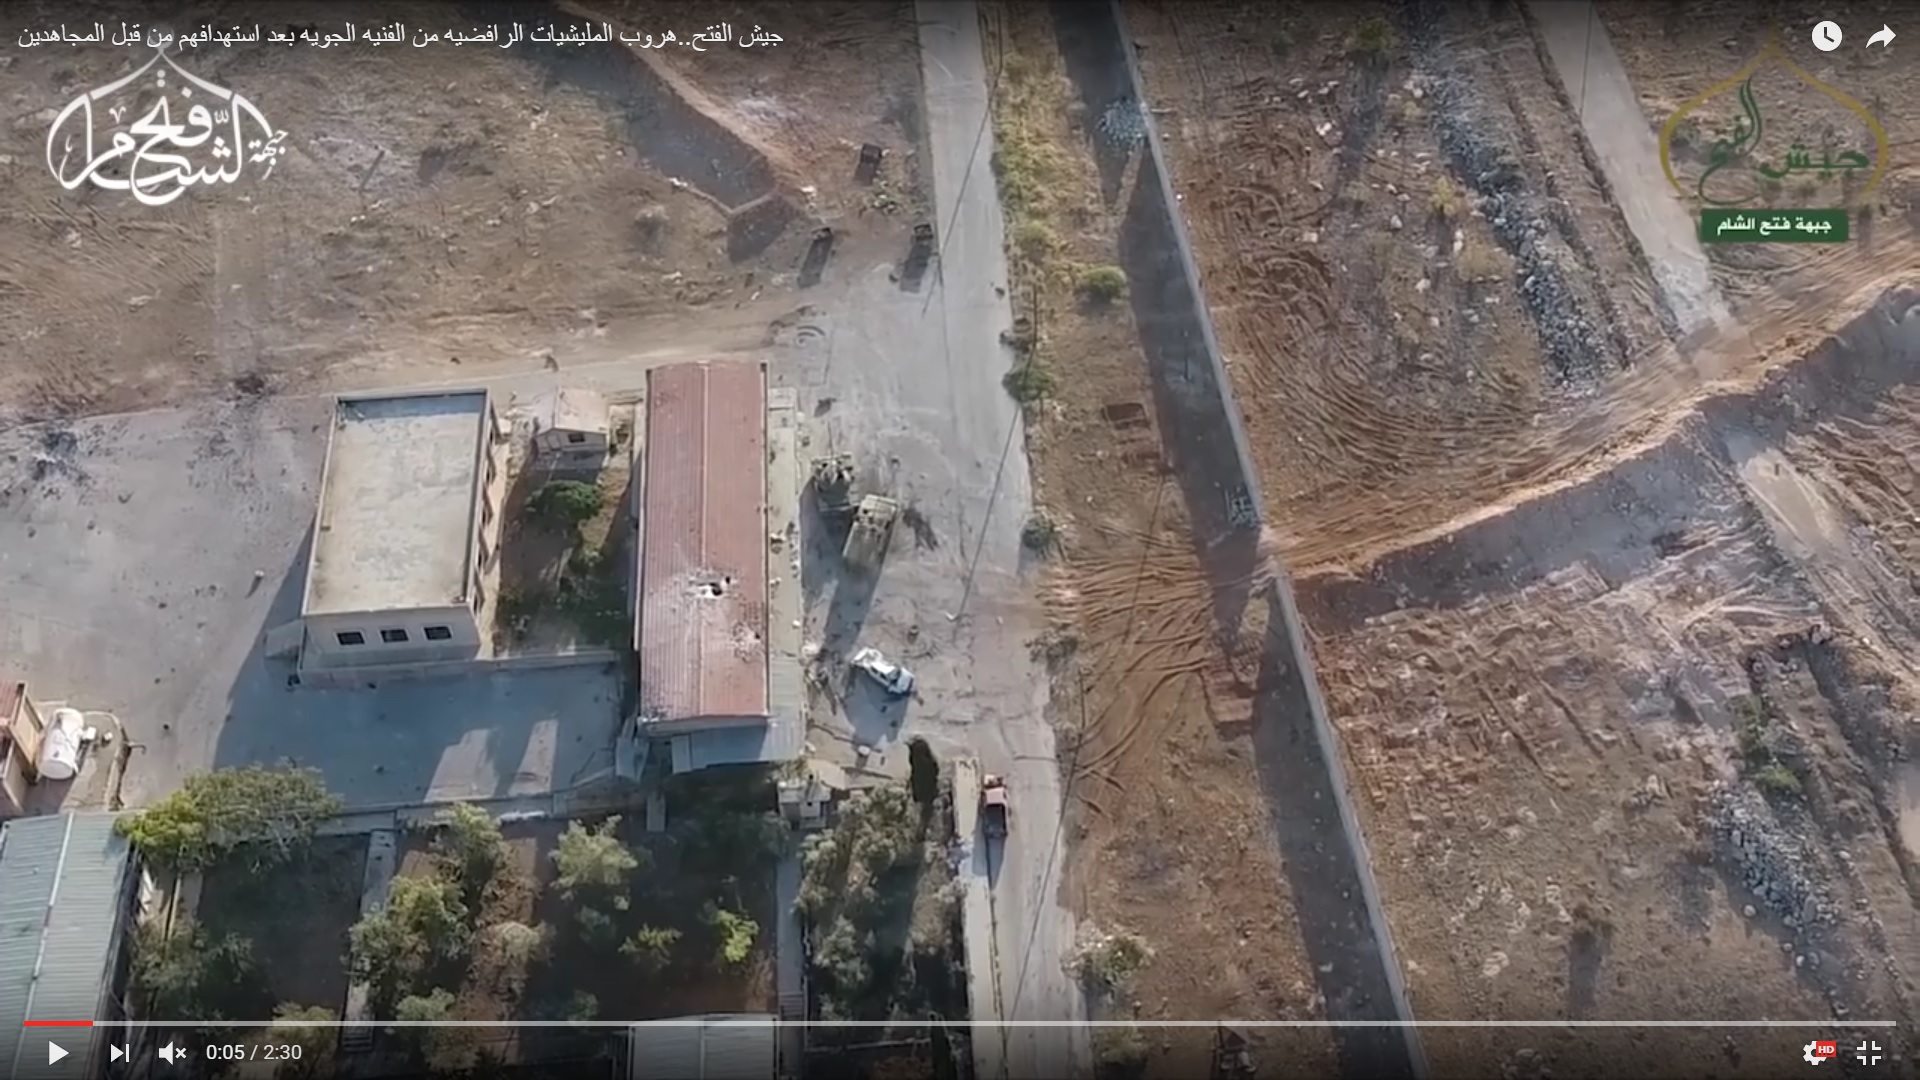
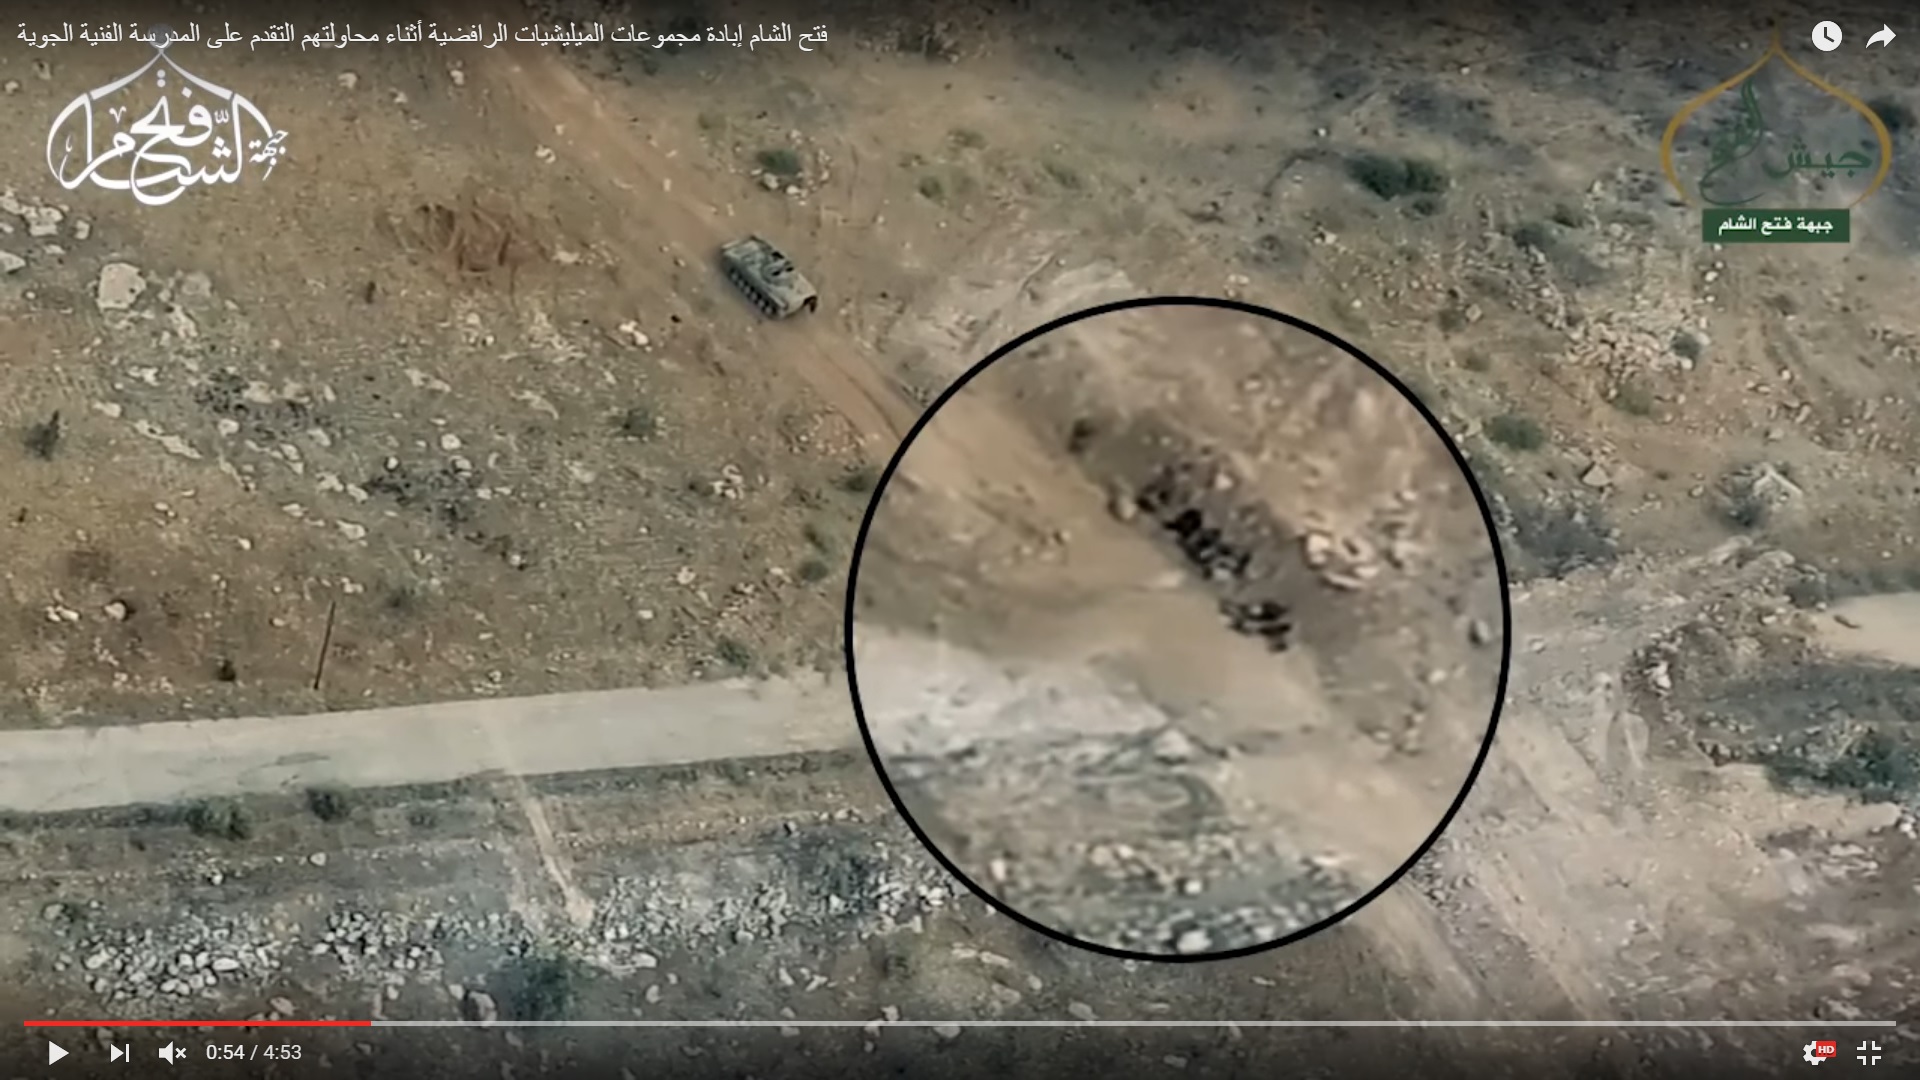
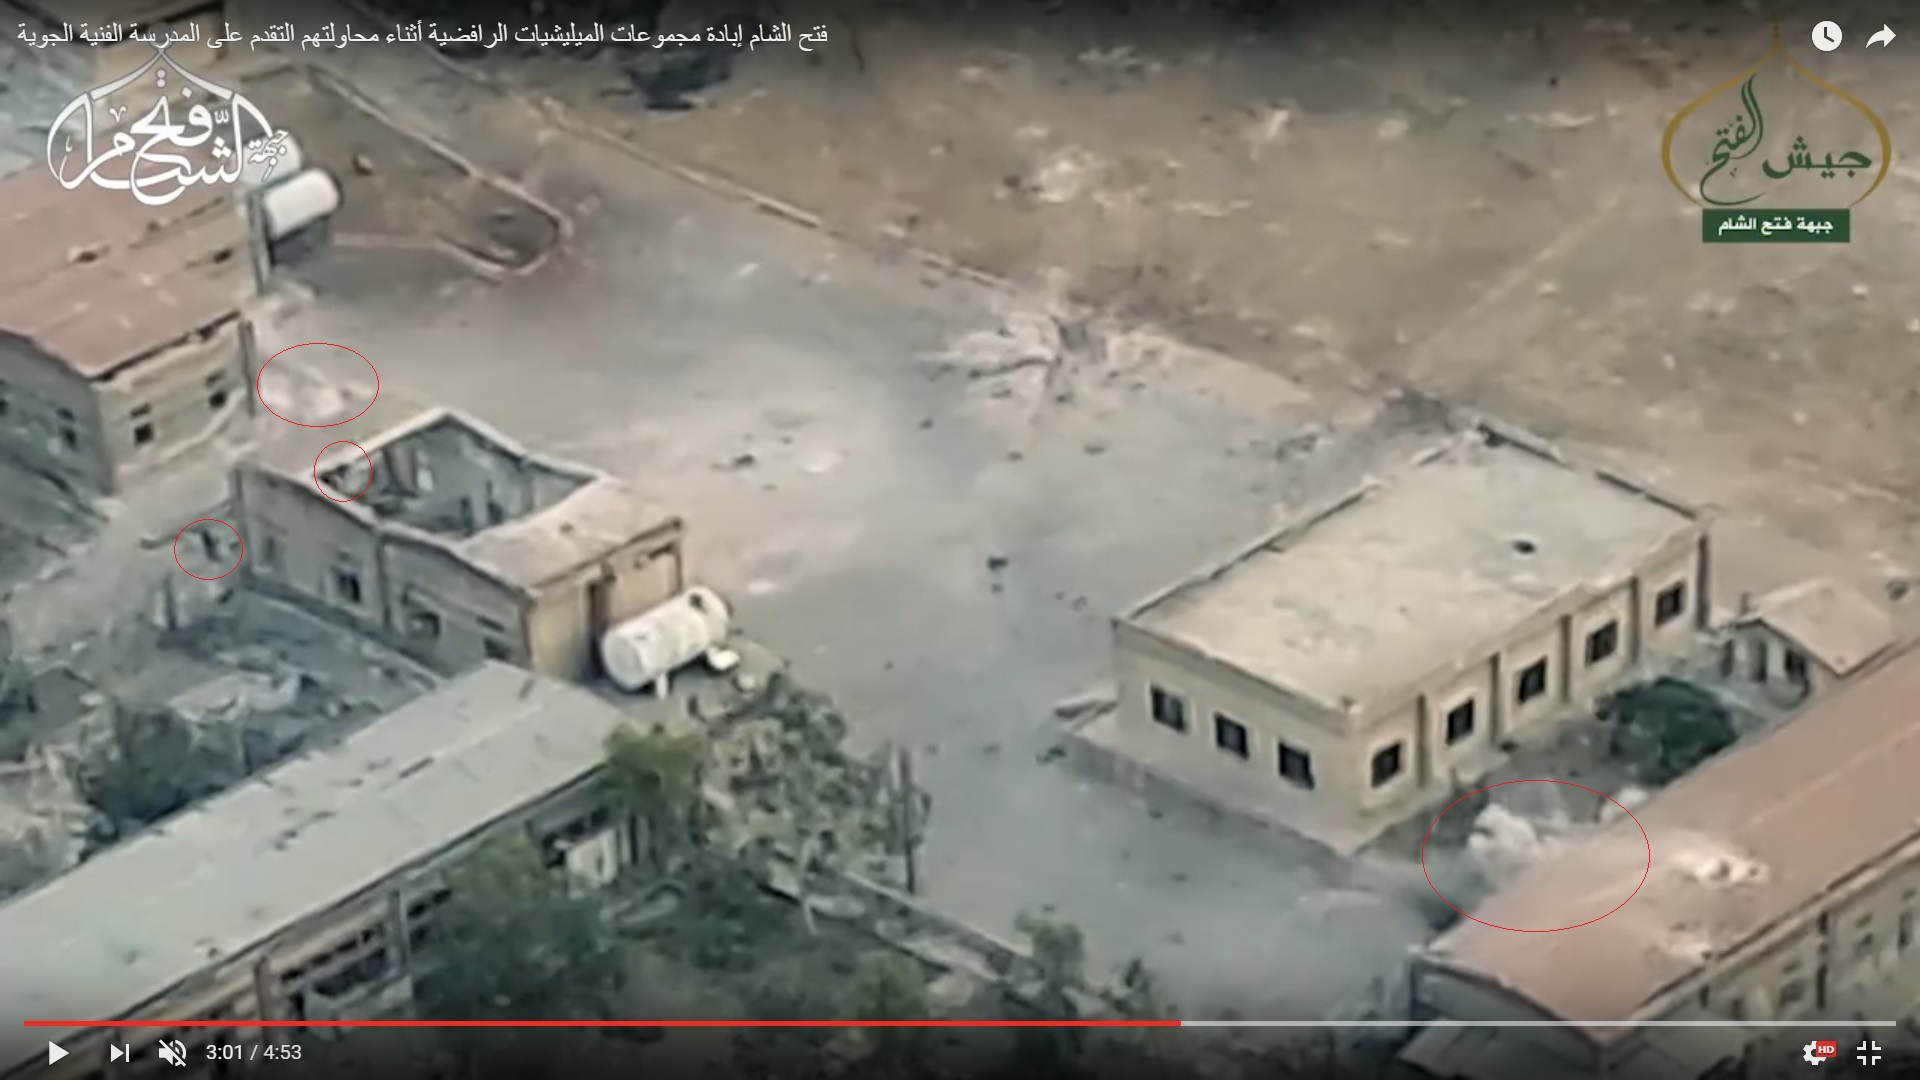
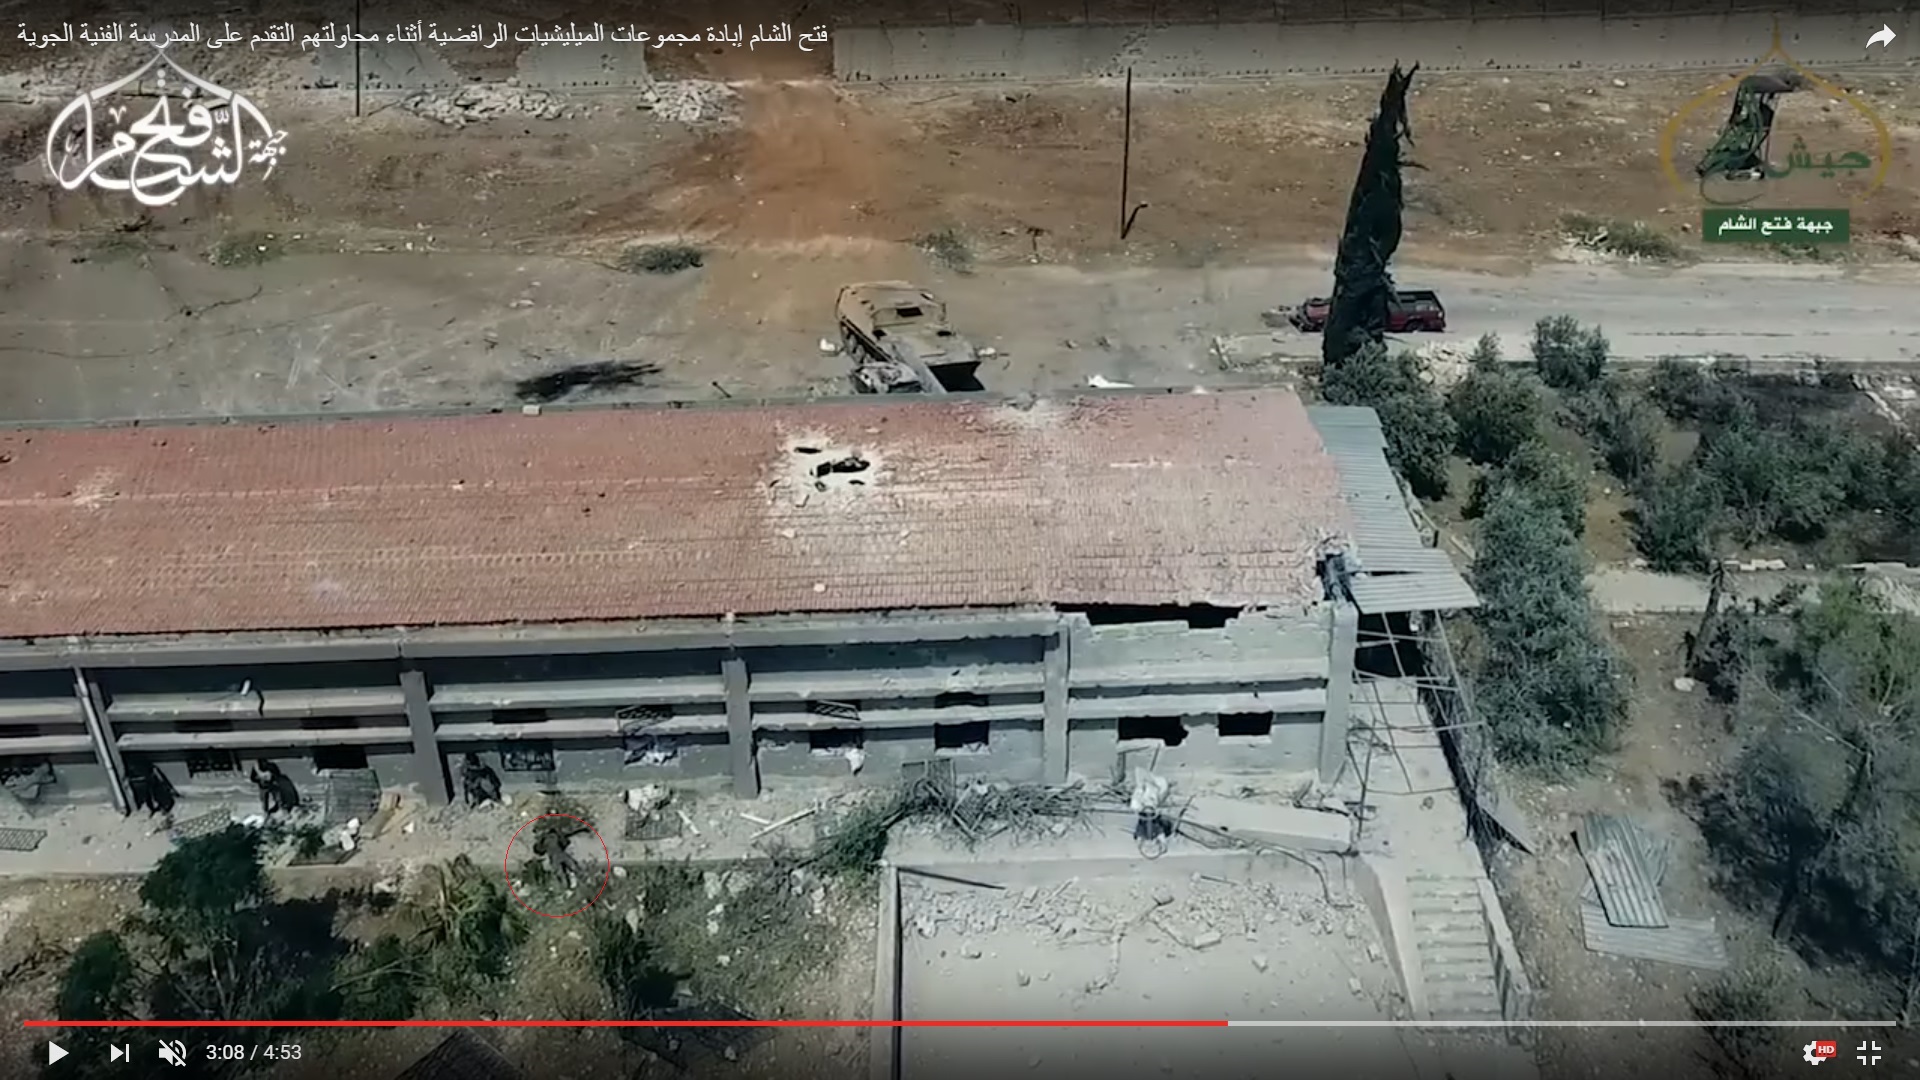
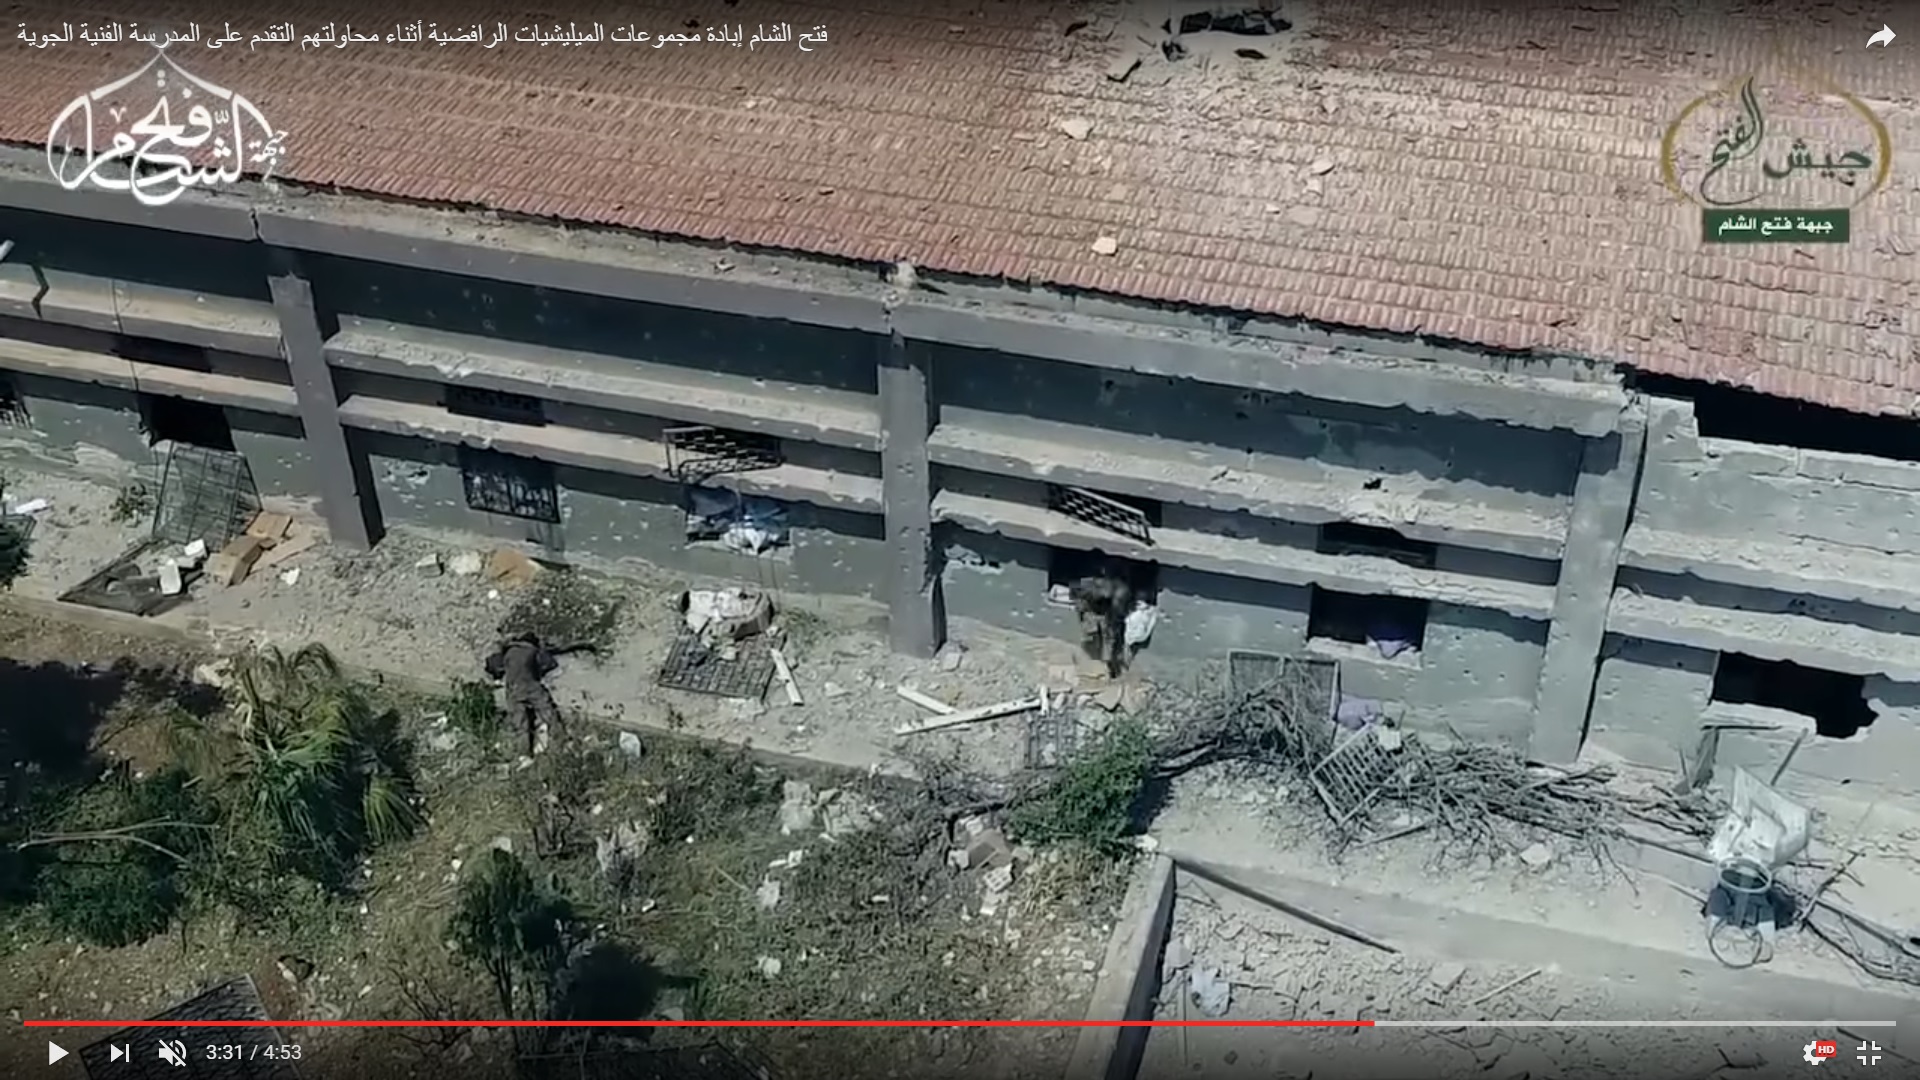
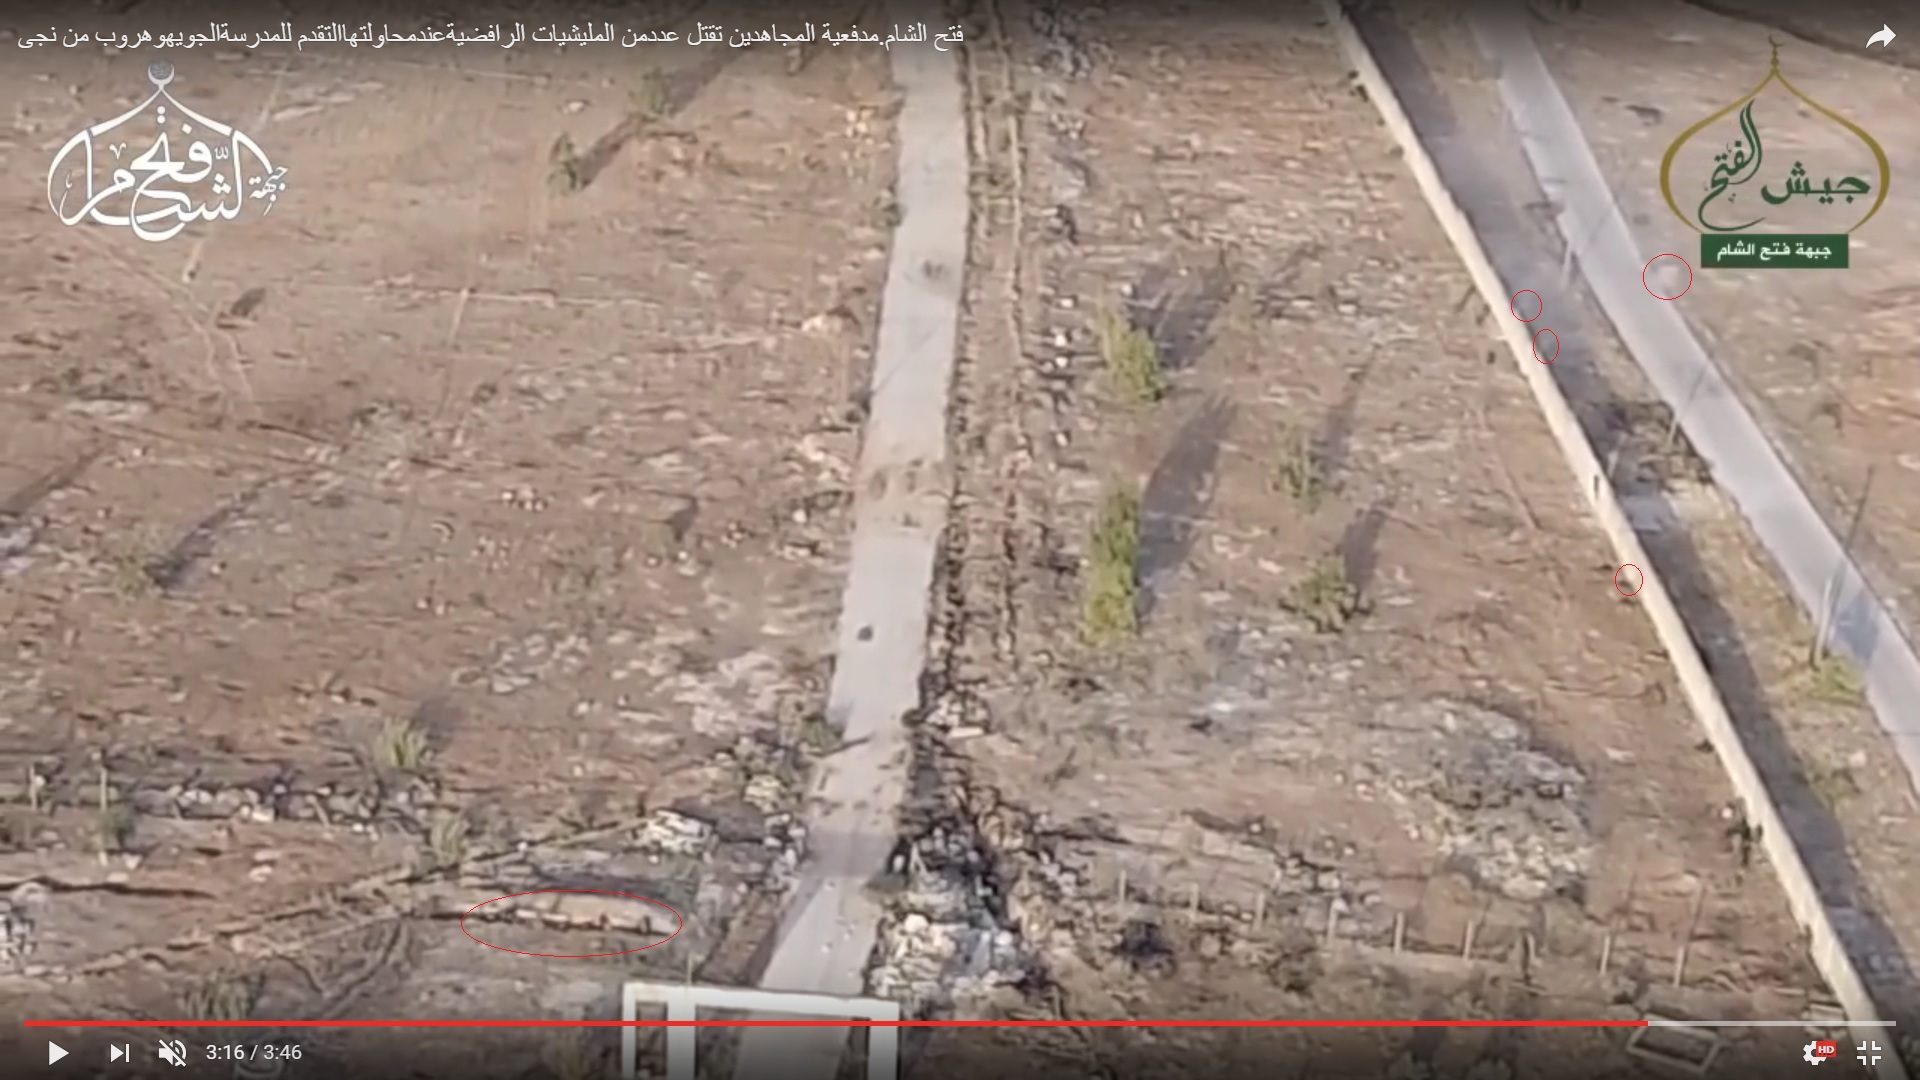
The depot was already damaged – two holes in the roof. But this was not the only news. Red circles show alleged bodies of killed fighters. Considering the place, most likely this could be bodies of dead members of the Jaish al-Fatah militant coalition which was operating in the area. The video quality is very bad. So, it’s hard to say for sure. However, these assumptions have a reason which we will see later.
The BMP-2 moved back to the government-held area for fresh troops. The ‘opposition’ video-maker draws our attention to the bodies on the road.
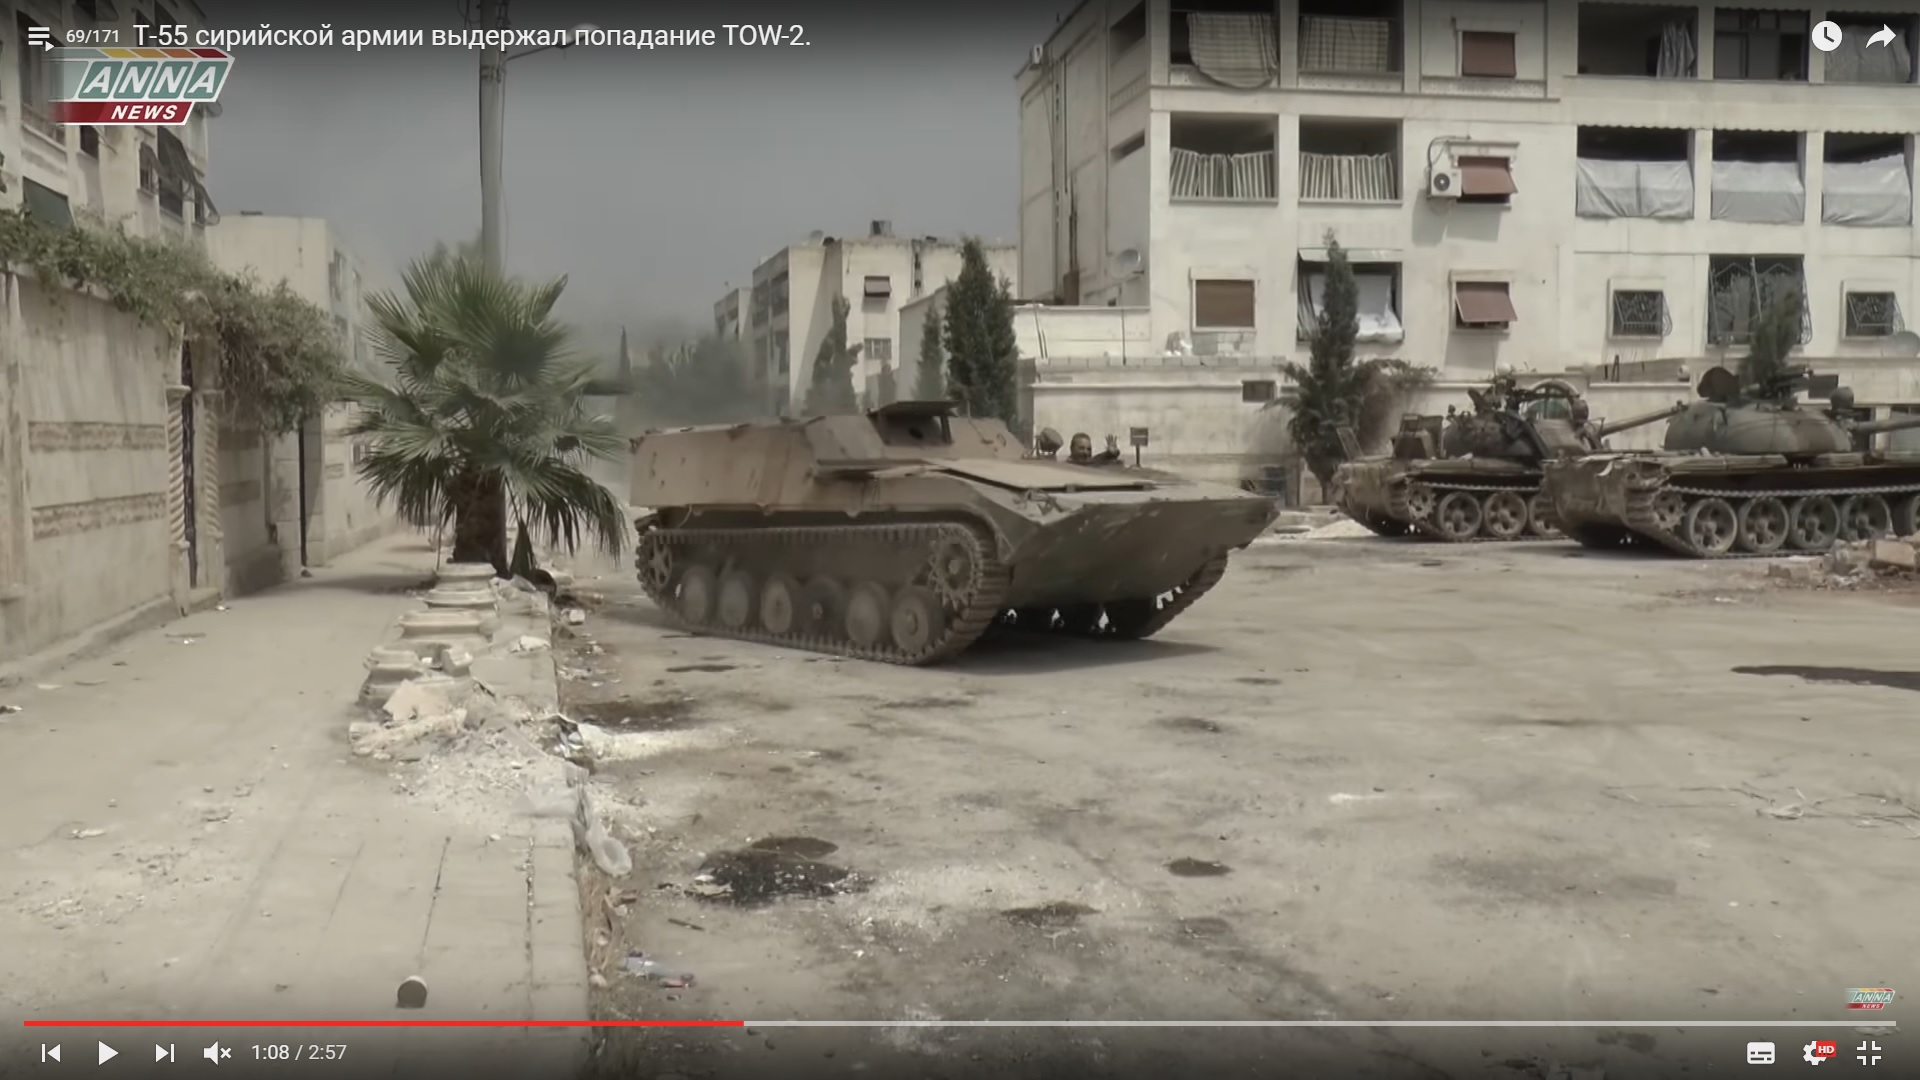
A T-55 battle tank moved to the depot to support troops deployed there. BMP-1 and BVP-1 AMB-S vehicles continued to deploy reinforcements to the area. Government forces seized the dinning facility and continued to advance on the aviation college.
Closer to the evening, militants started to use the area seized by government forces with mortars.
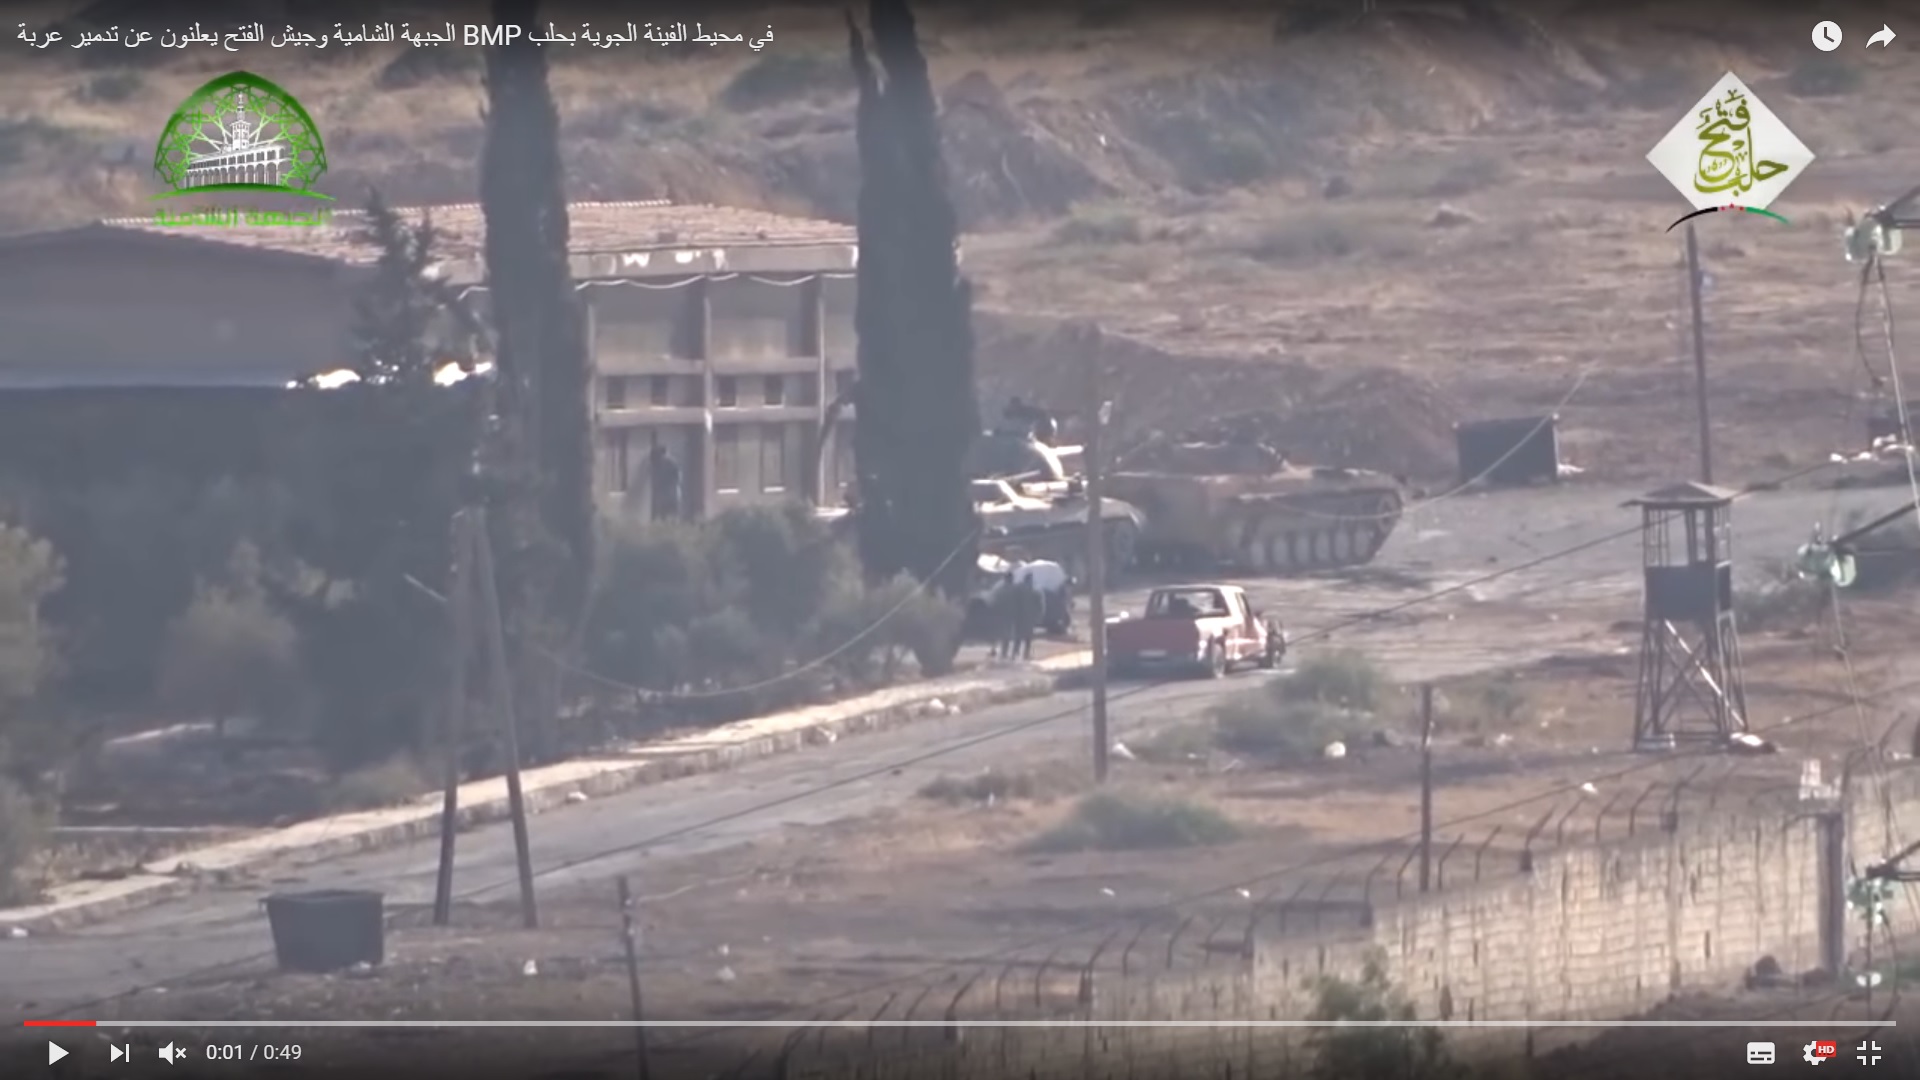
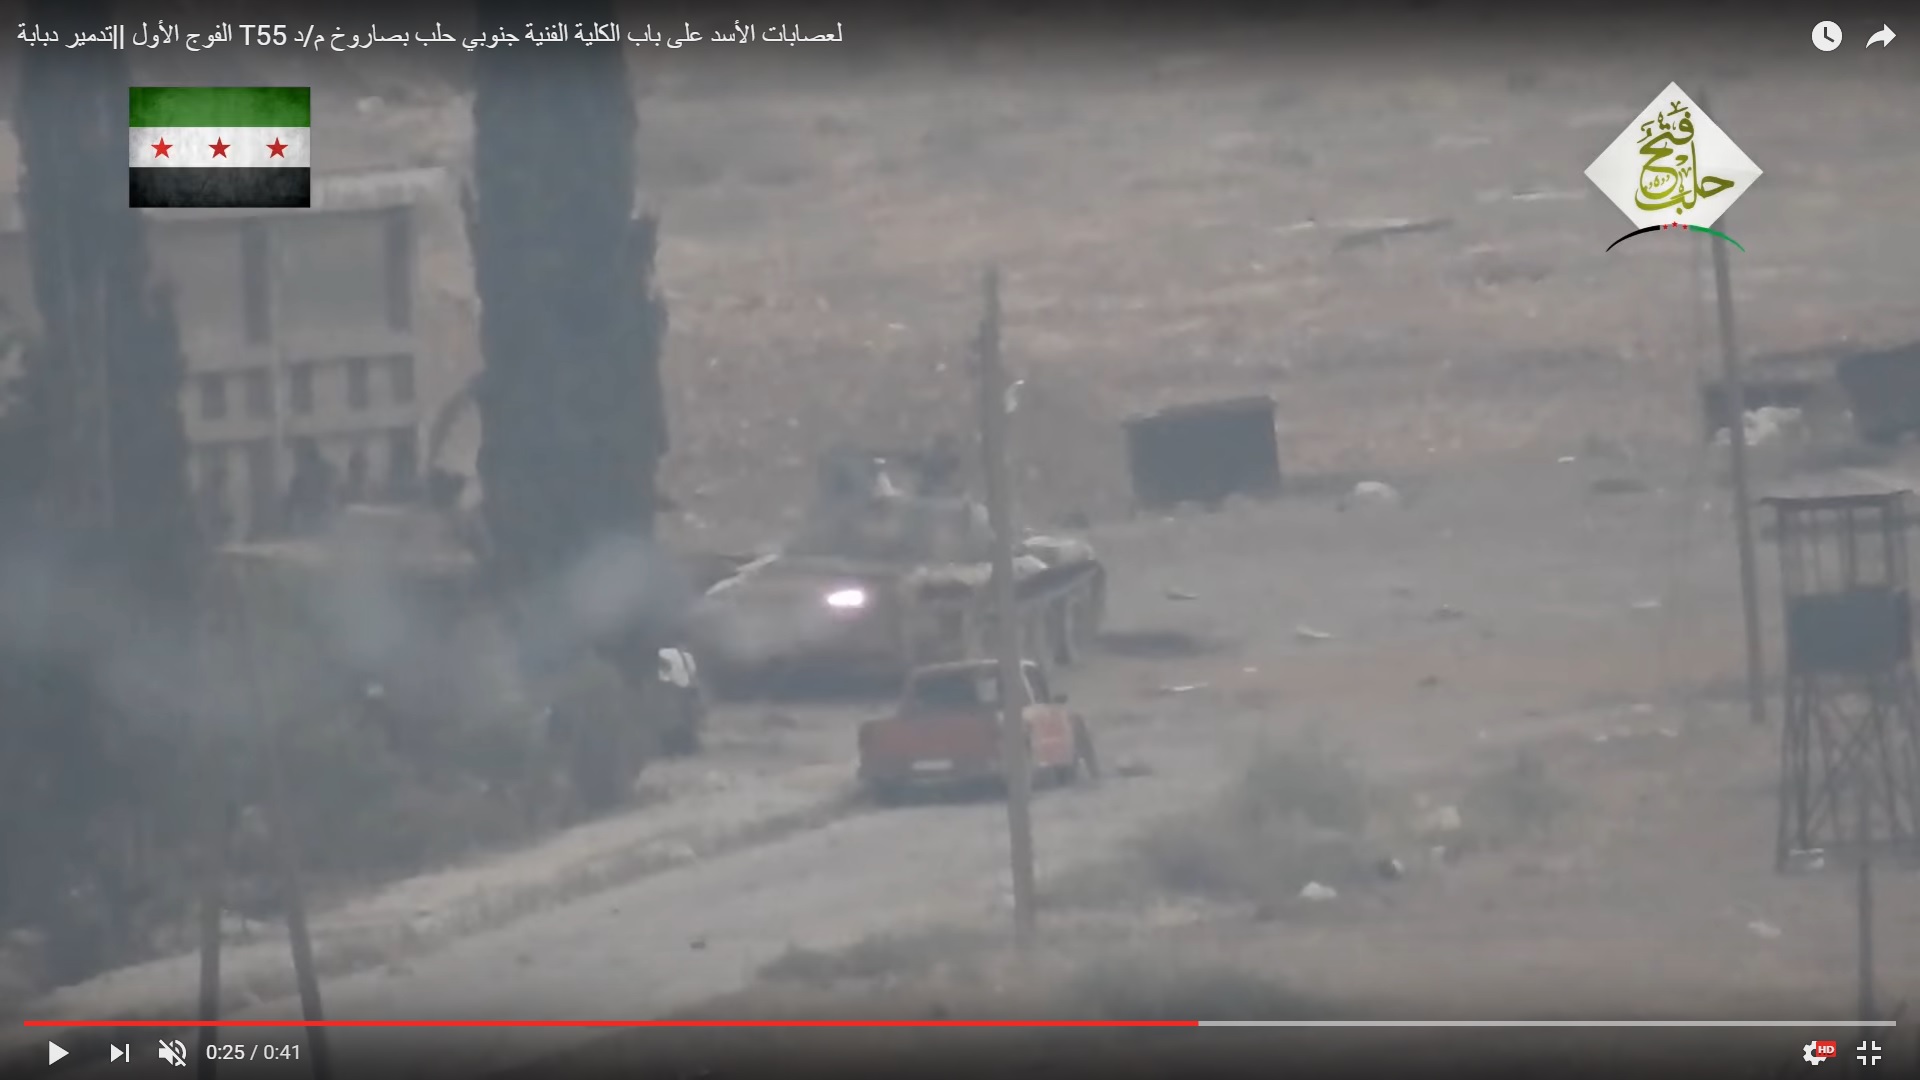
At that moment, the T-55 and the BMP-1 were located near the depot. Then, the BMP-2 arrived the area and stopped near the BMP-1. In few minutes, the T-55 moved to shell the aviation college. Meanwhile, troops decided to shot an RPG in the direction of the Yellow House.
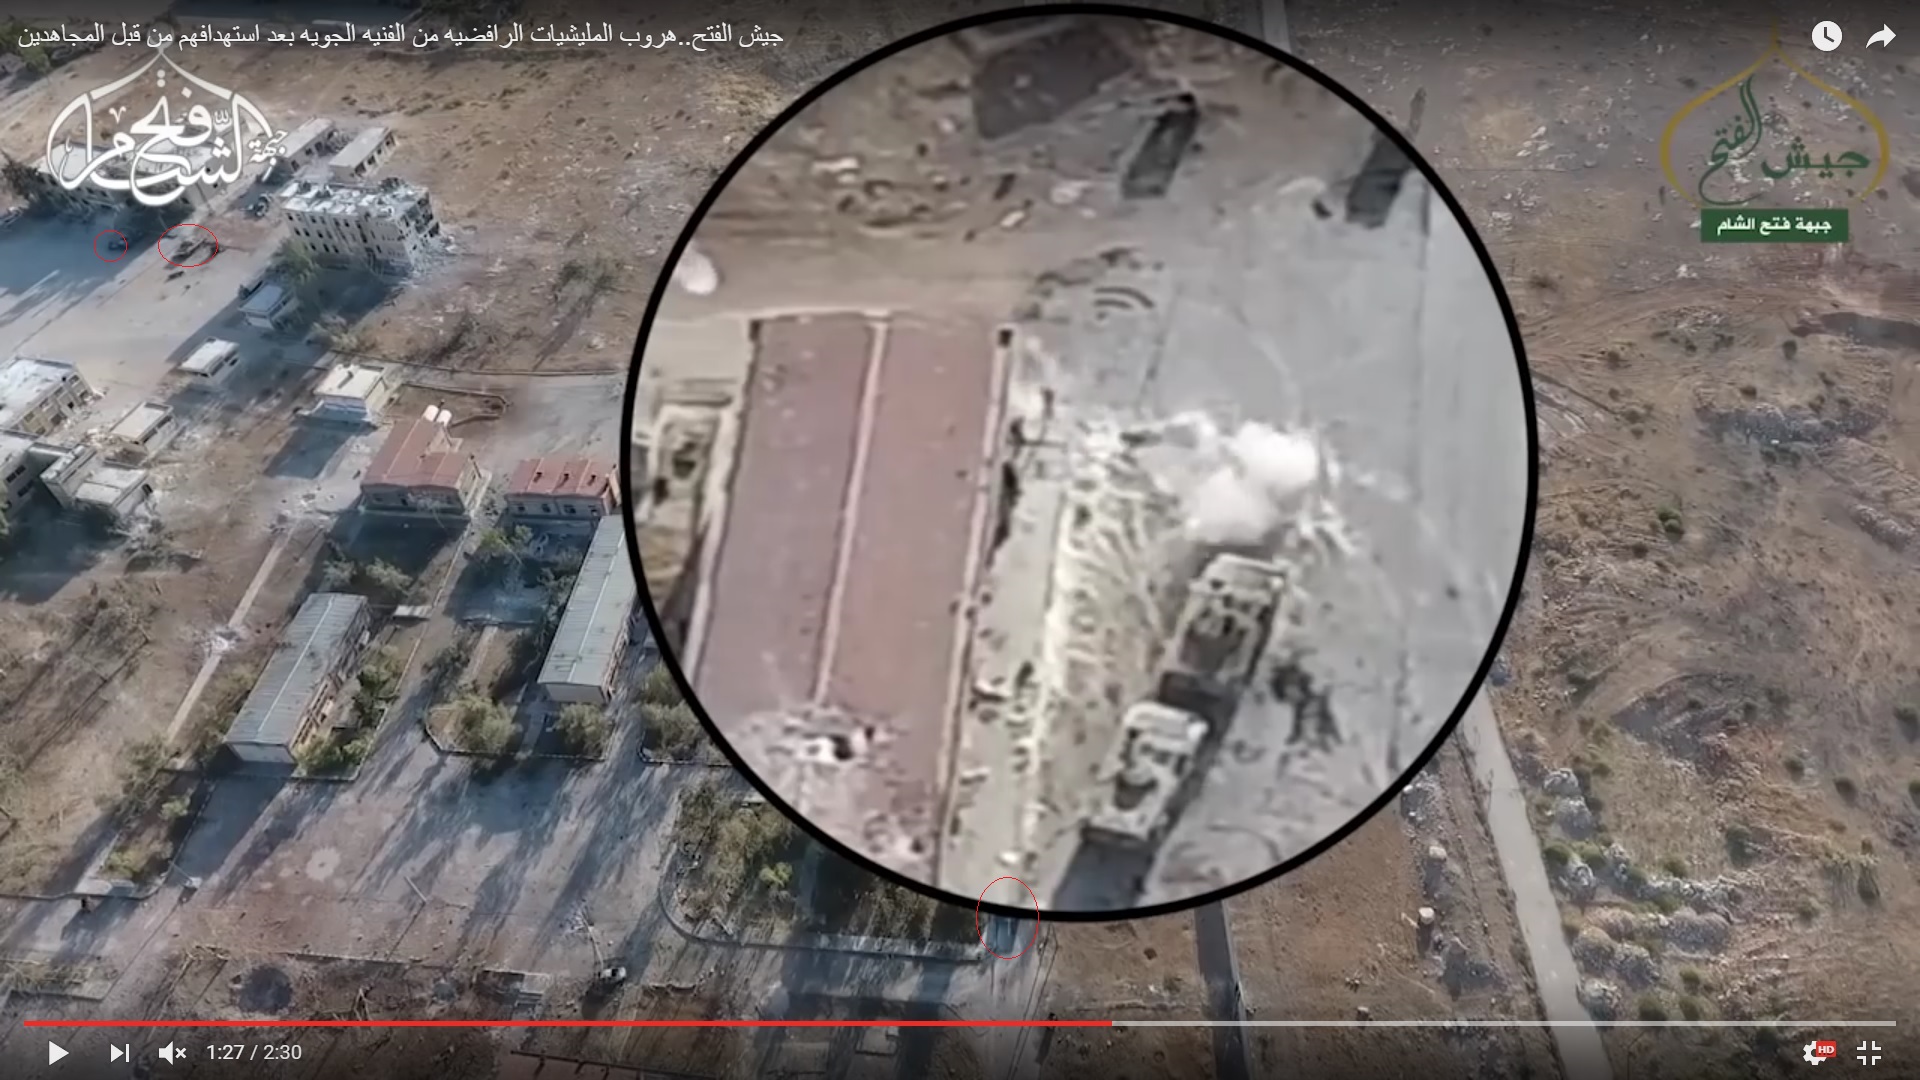
We can see the BMP-1 and BMP-2 vehicles and the T-55 battle tank’s gun near the scaled footage (later, the tank will move to the aviation college), the BVP-1 AMB-S near the Yellow House and a “hell cannon” which would be used by militants against government positions near the Hamadaniyah neighborhood. There a lack of sections at the first, second and third floors in the Yello House.
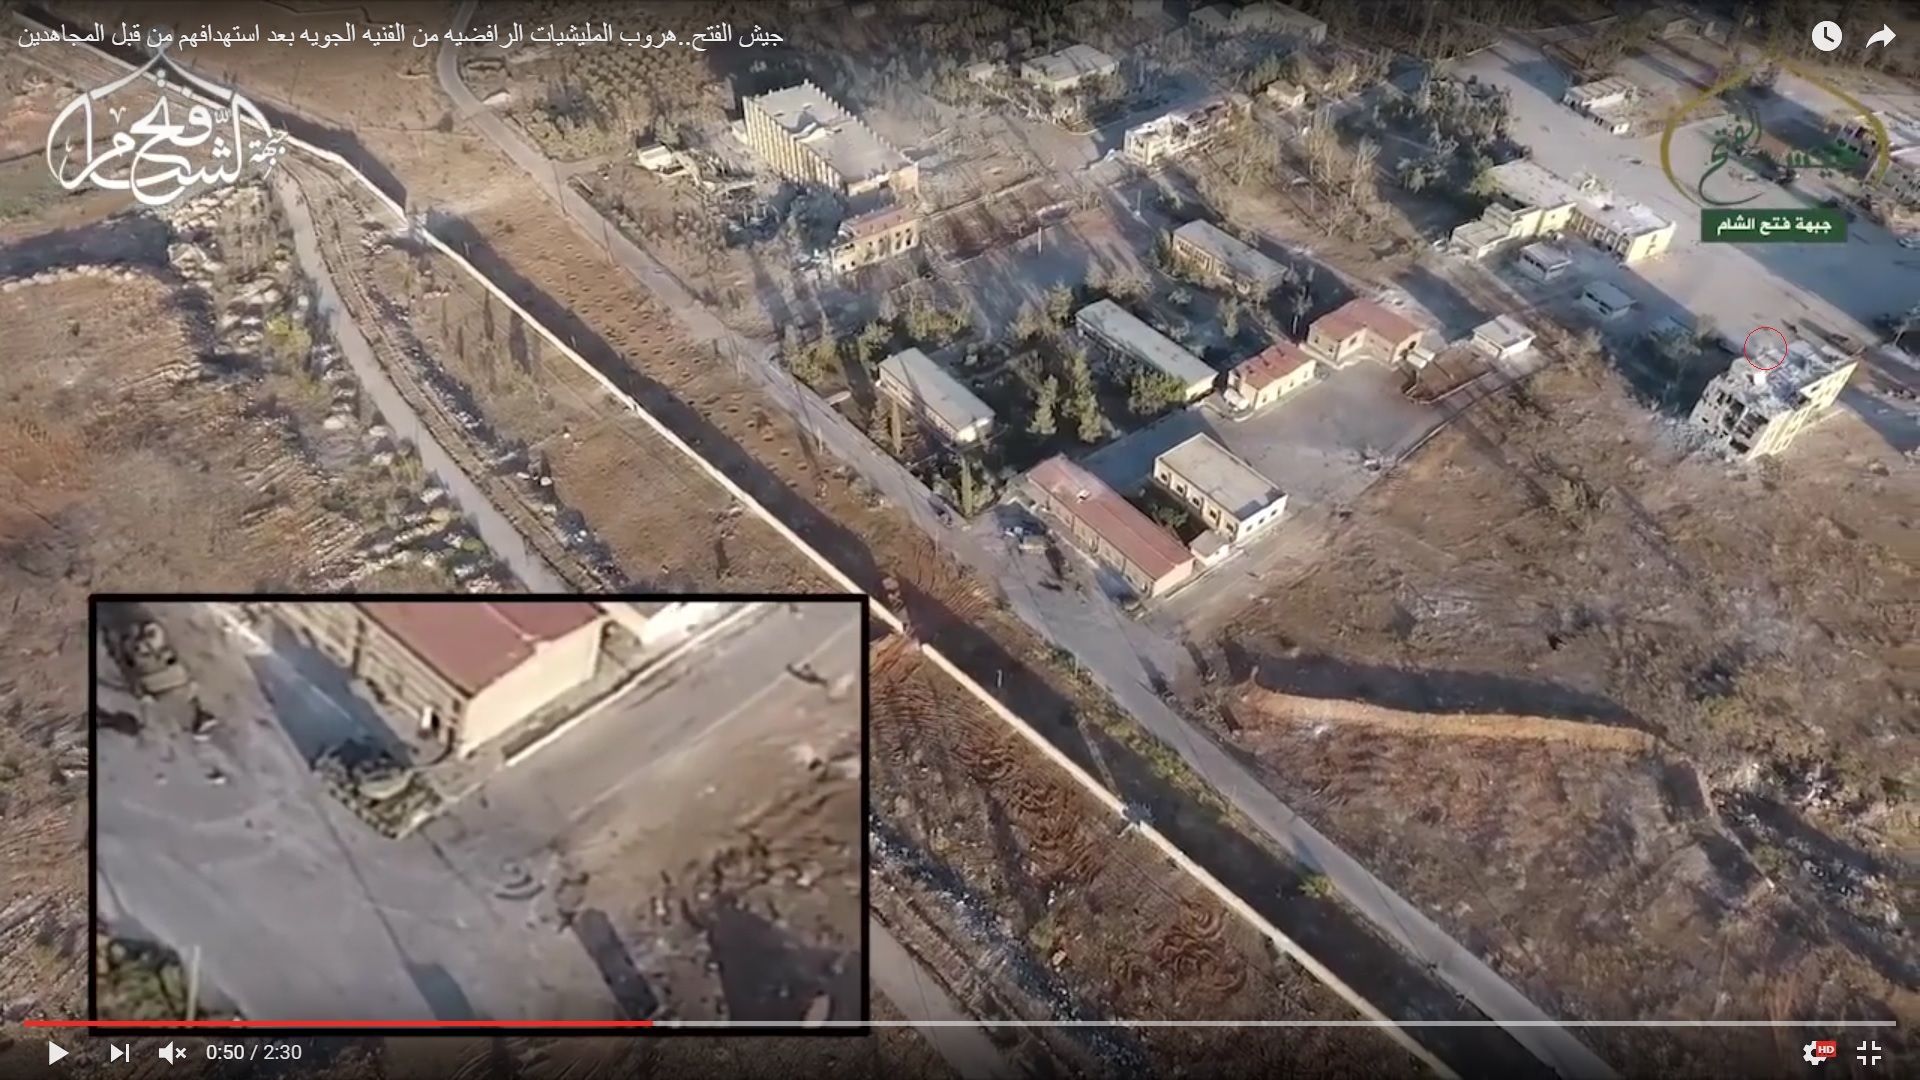
Militant ATGM crews were also near. At that moment, the T-55 returned from the trip to the aviation college and stopped between a ramp and BMP vehiles. Then, the BVP-1 AMB-S stopped near a white pickup.
You also can find a trench with sharp bends in the righ bottom part of the image. This was made to prevent further casualties from constant mortar strikes in the area.
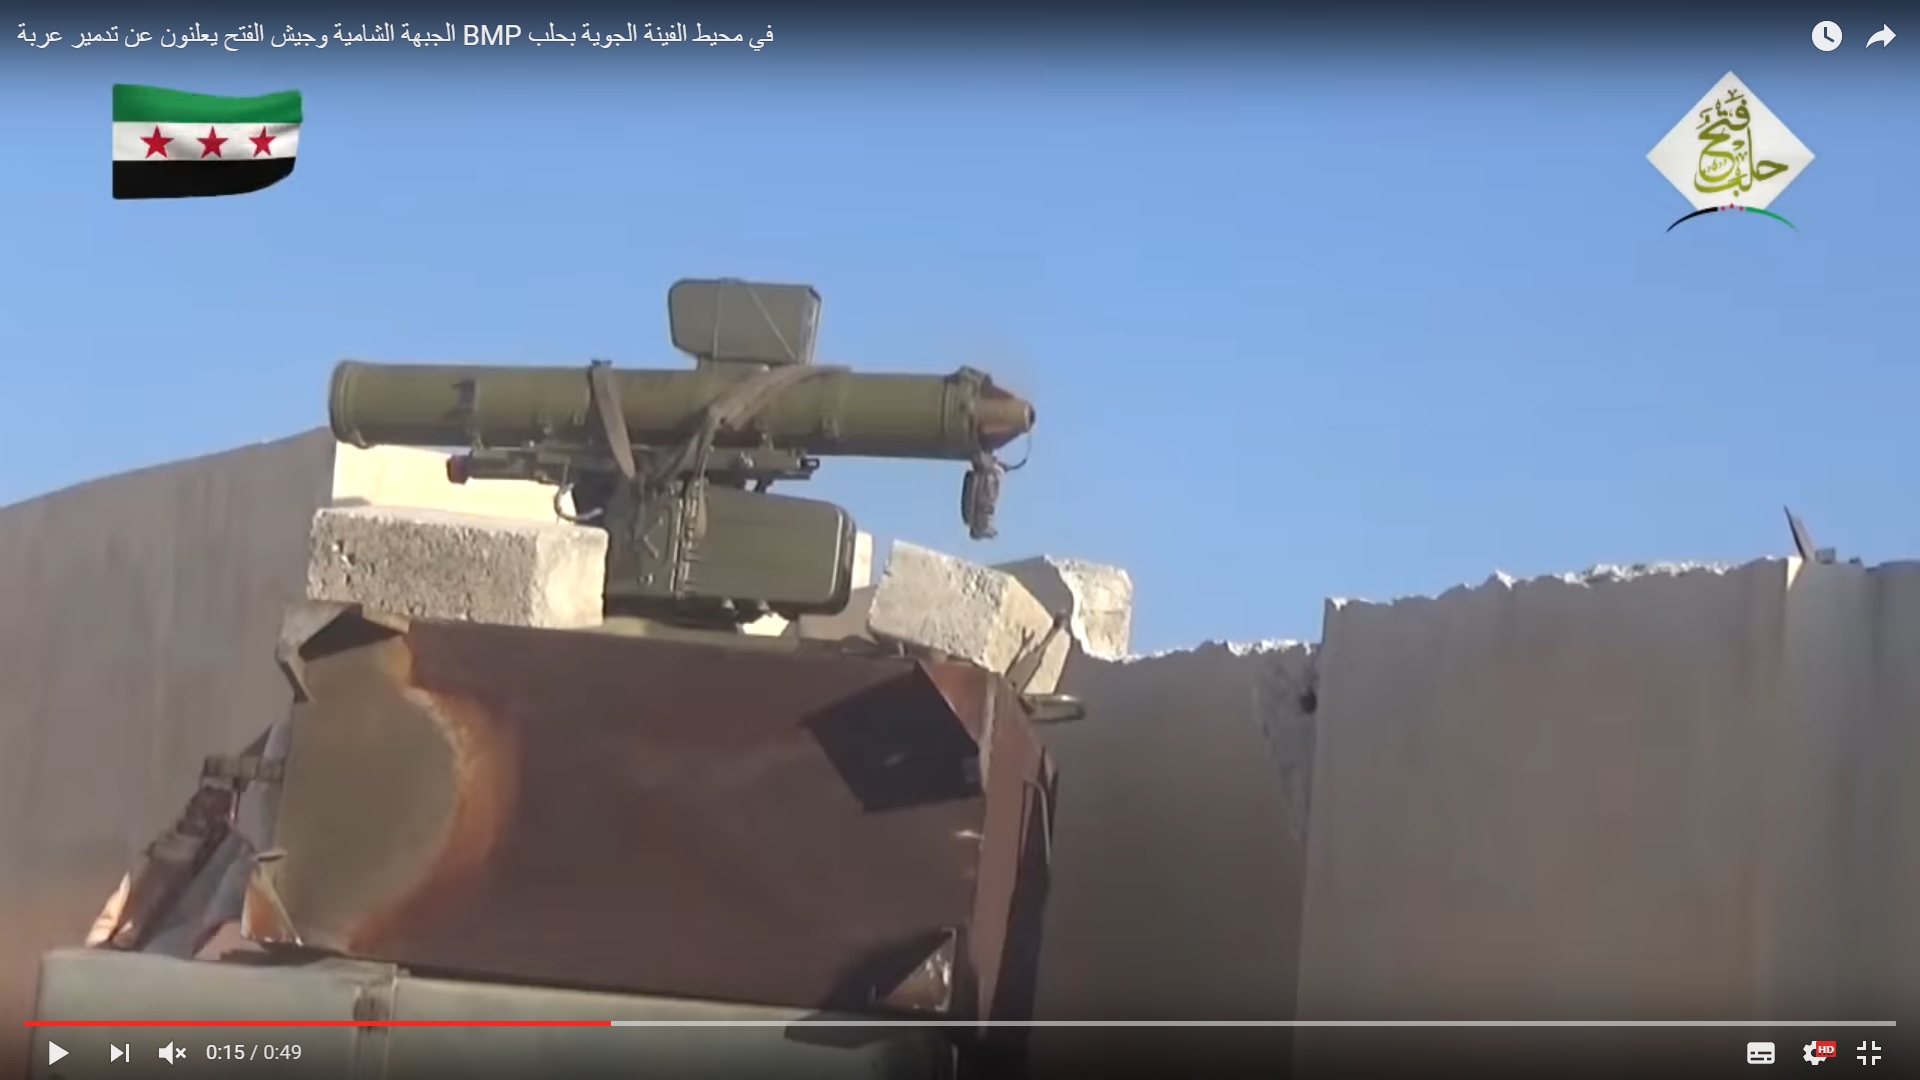
Meanwhile, the militant ATGM crew was preparing for a strike:
A soldier was smoking on the ramp while another one was assisting to an injured friend to reach the depot.
The militant video does not show who launches the missile:
This allows to sell the video to any militant group that then could use it for own PR.
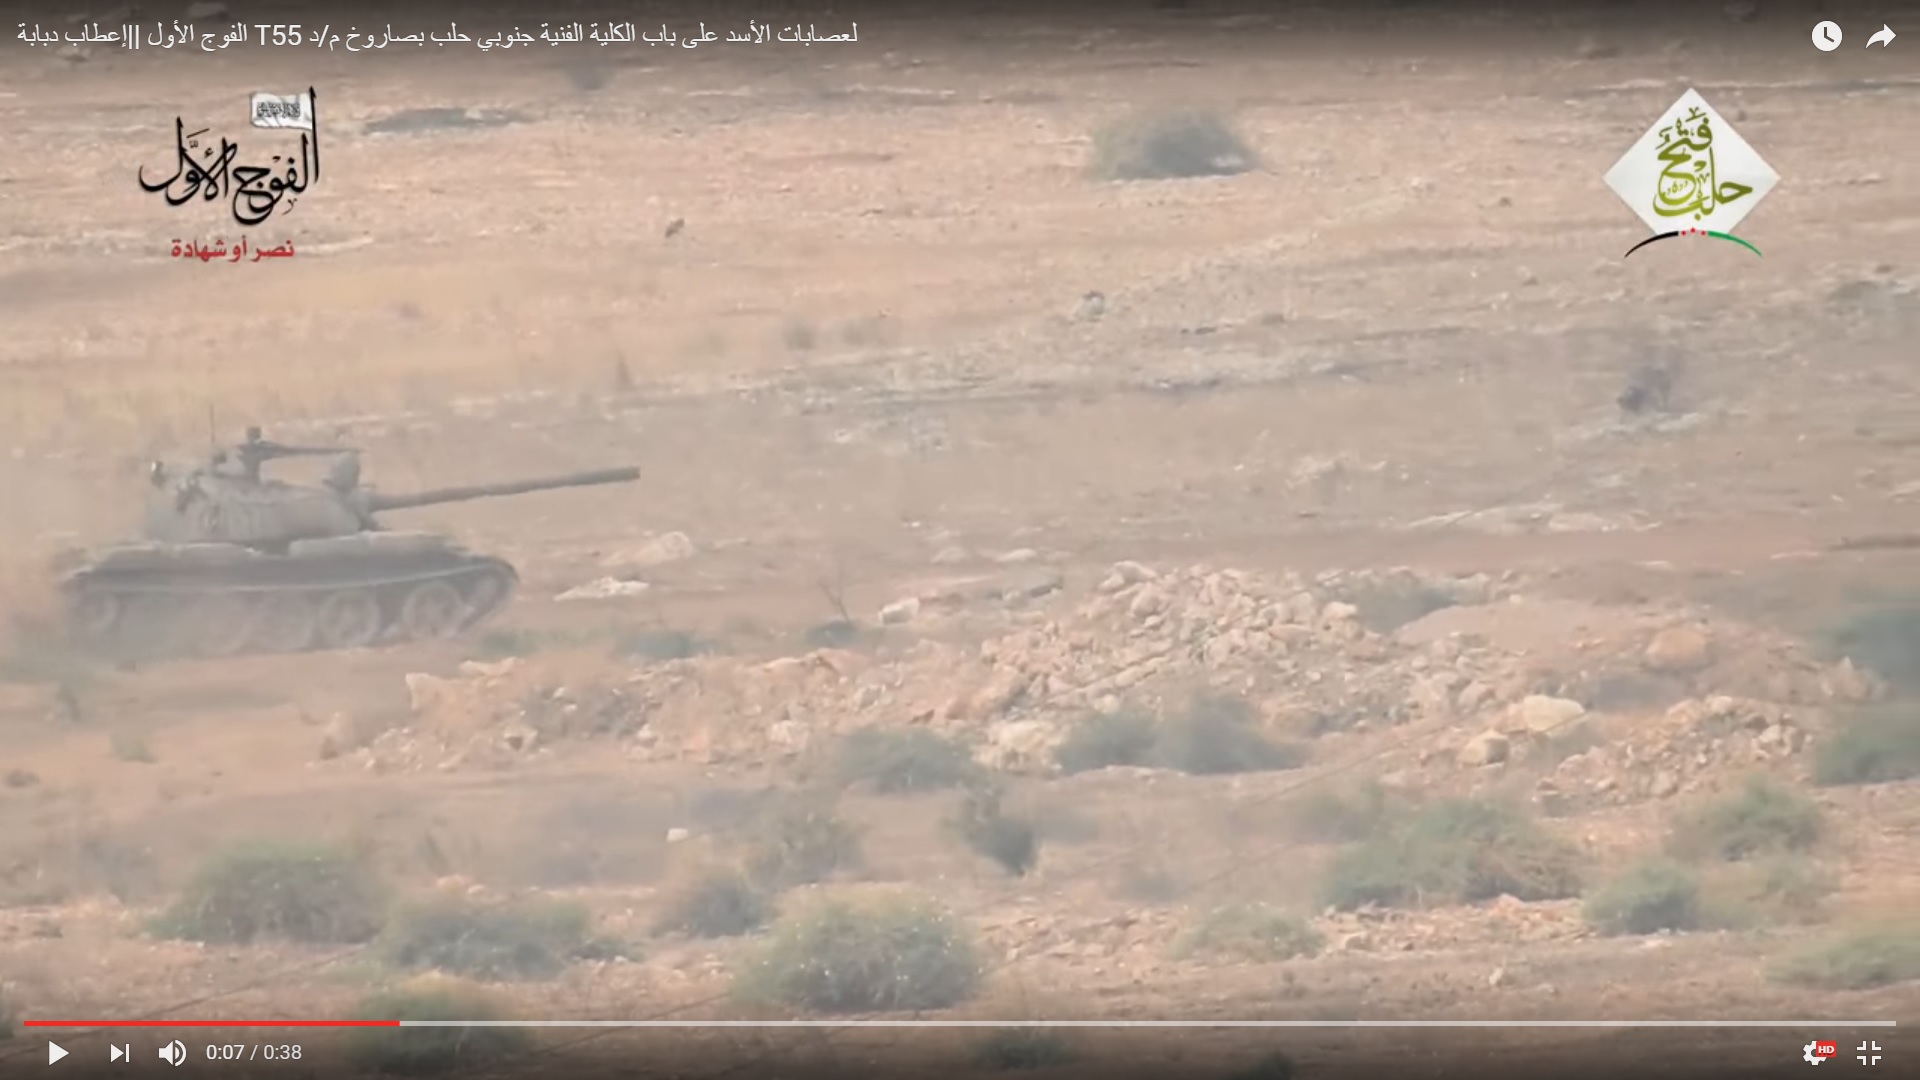
The T-55 had time to move a bit forward after the ATGM launch. Then, the video allows to see an improvised wall consisting of white bags. This is the place where a group of soldiers were firing in the air during the first storm.
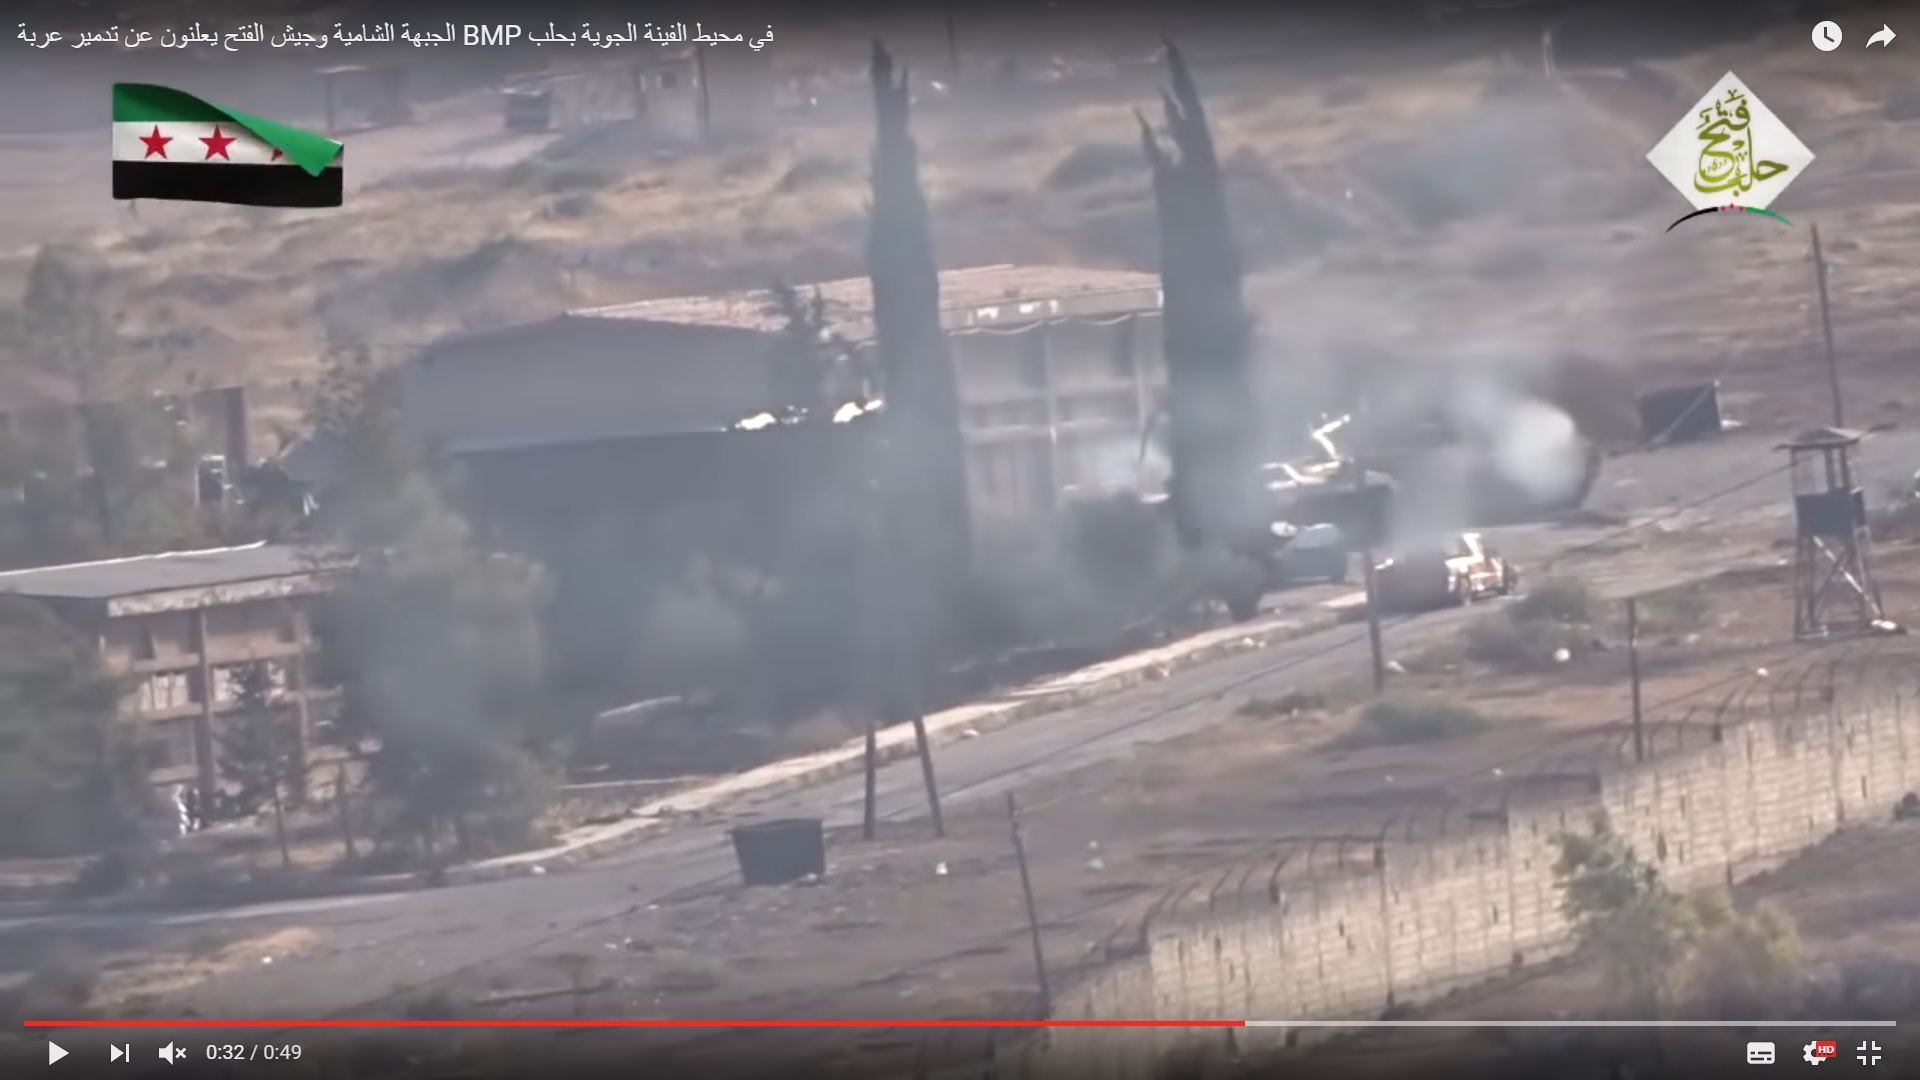
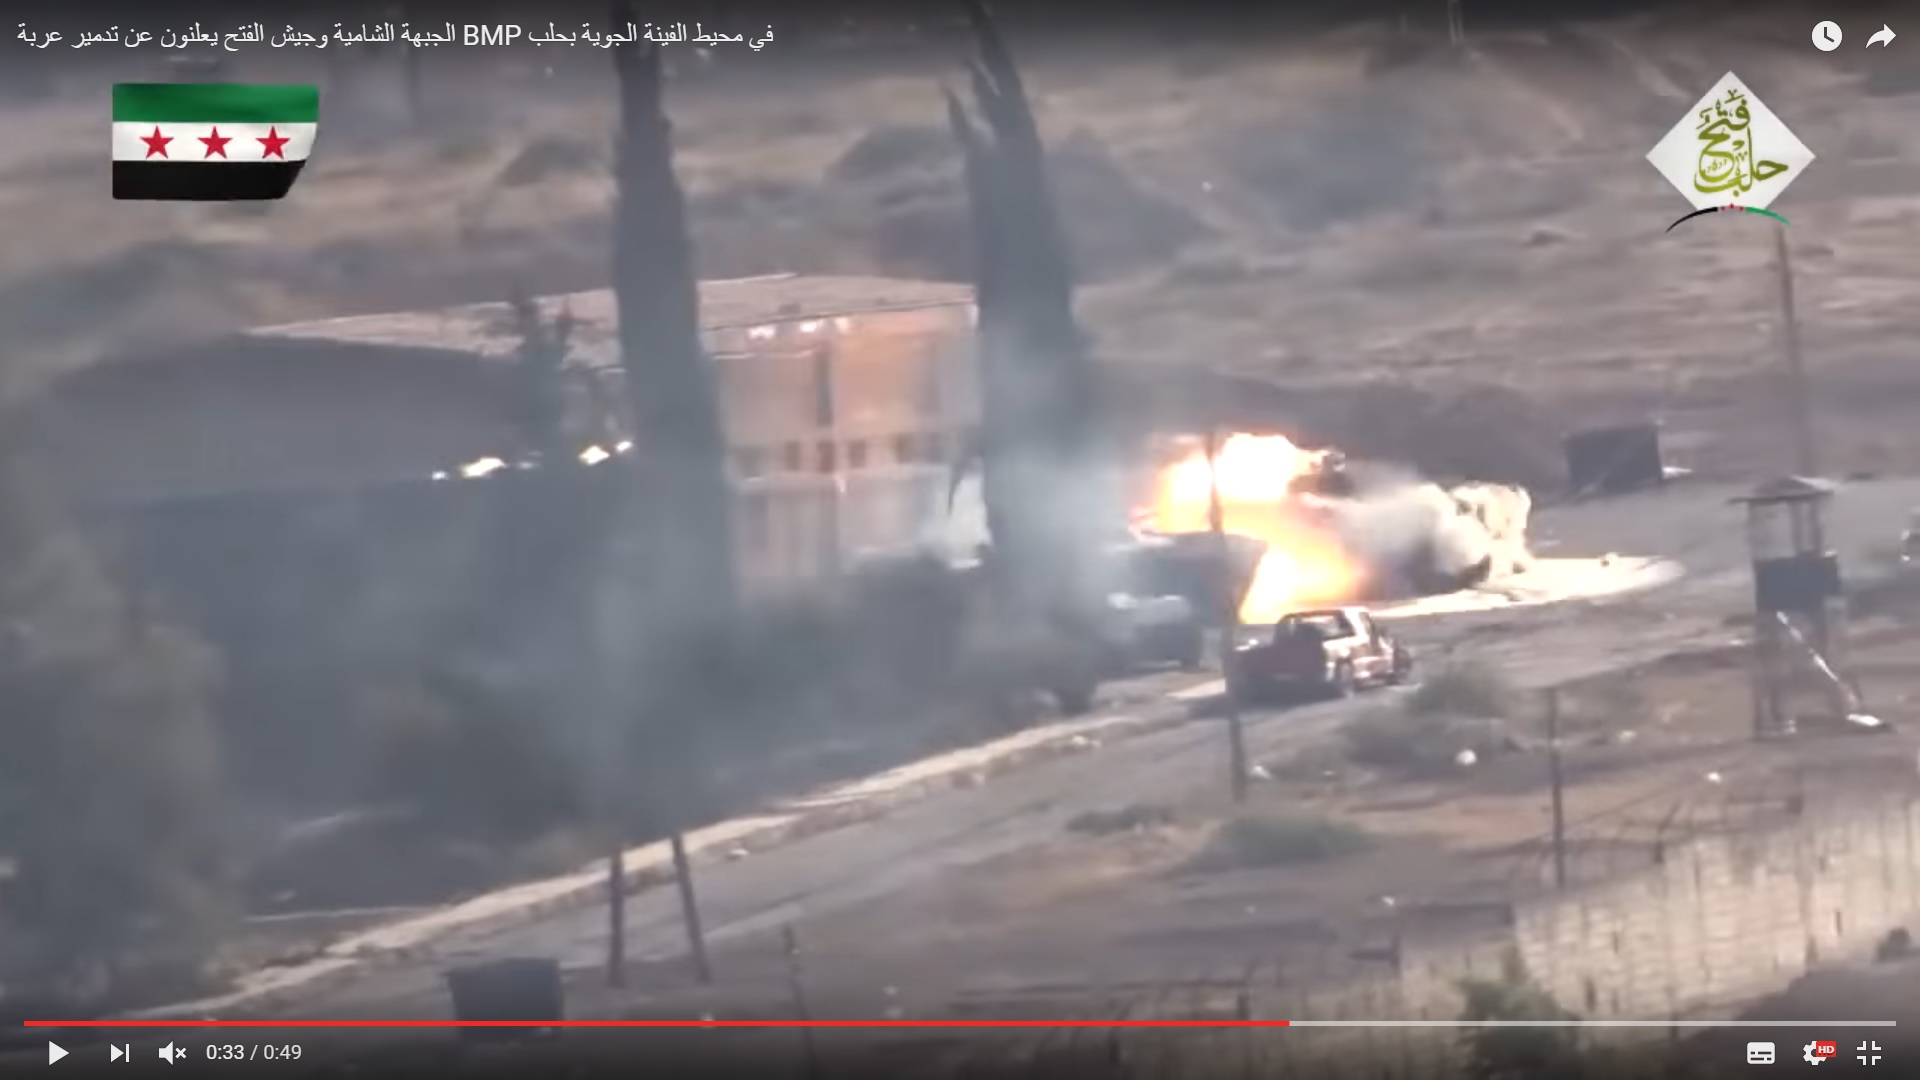
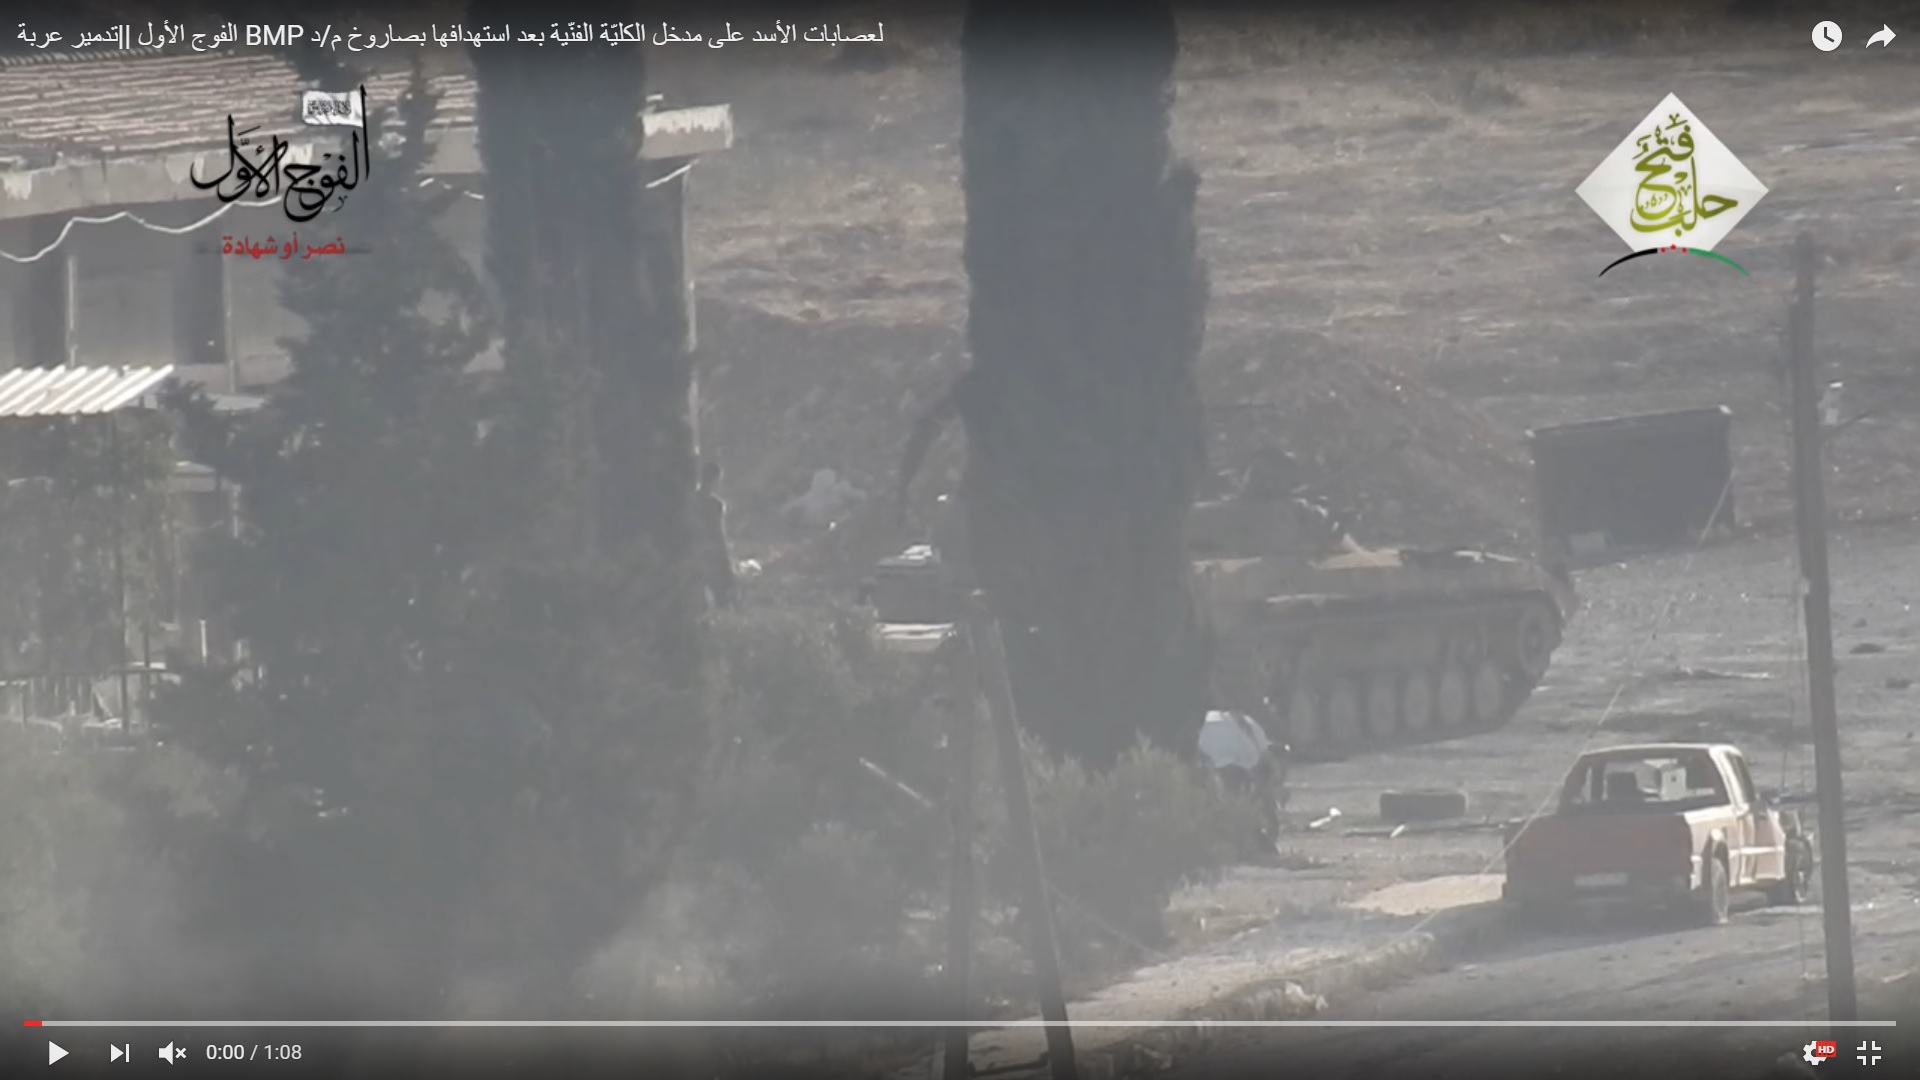
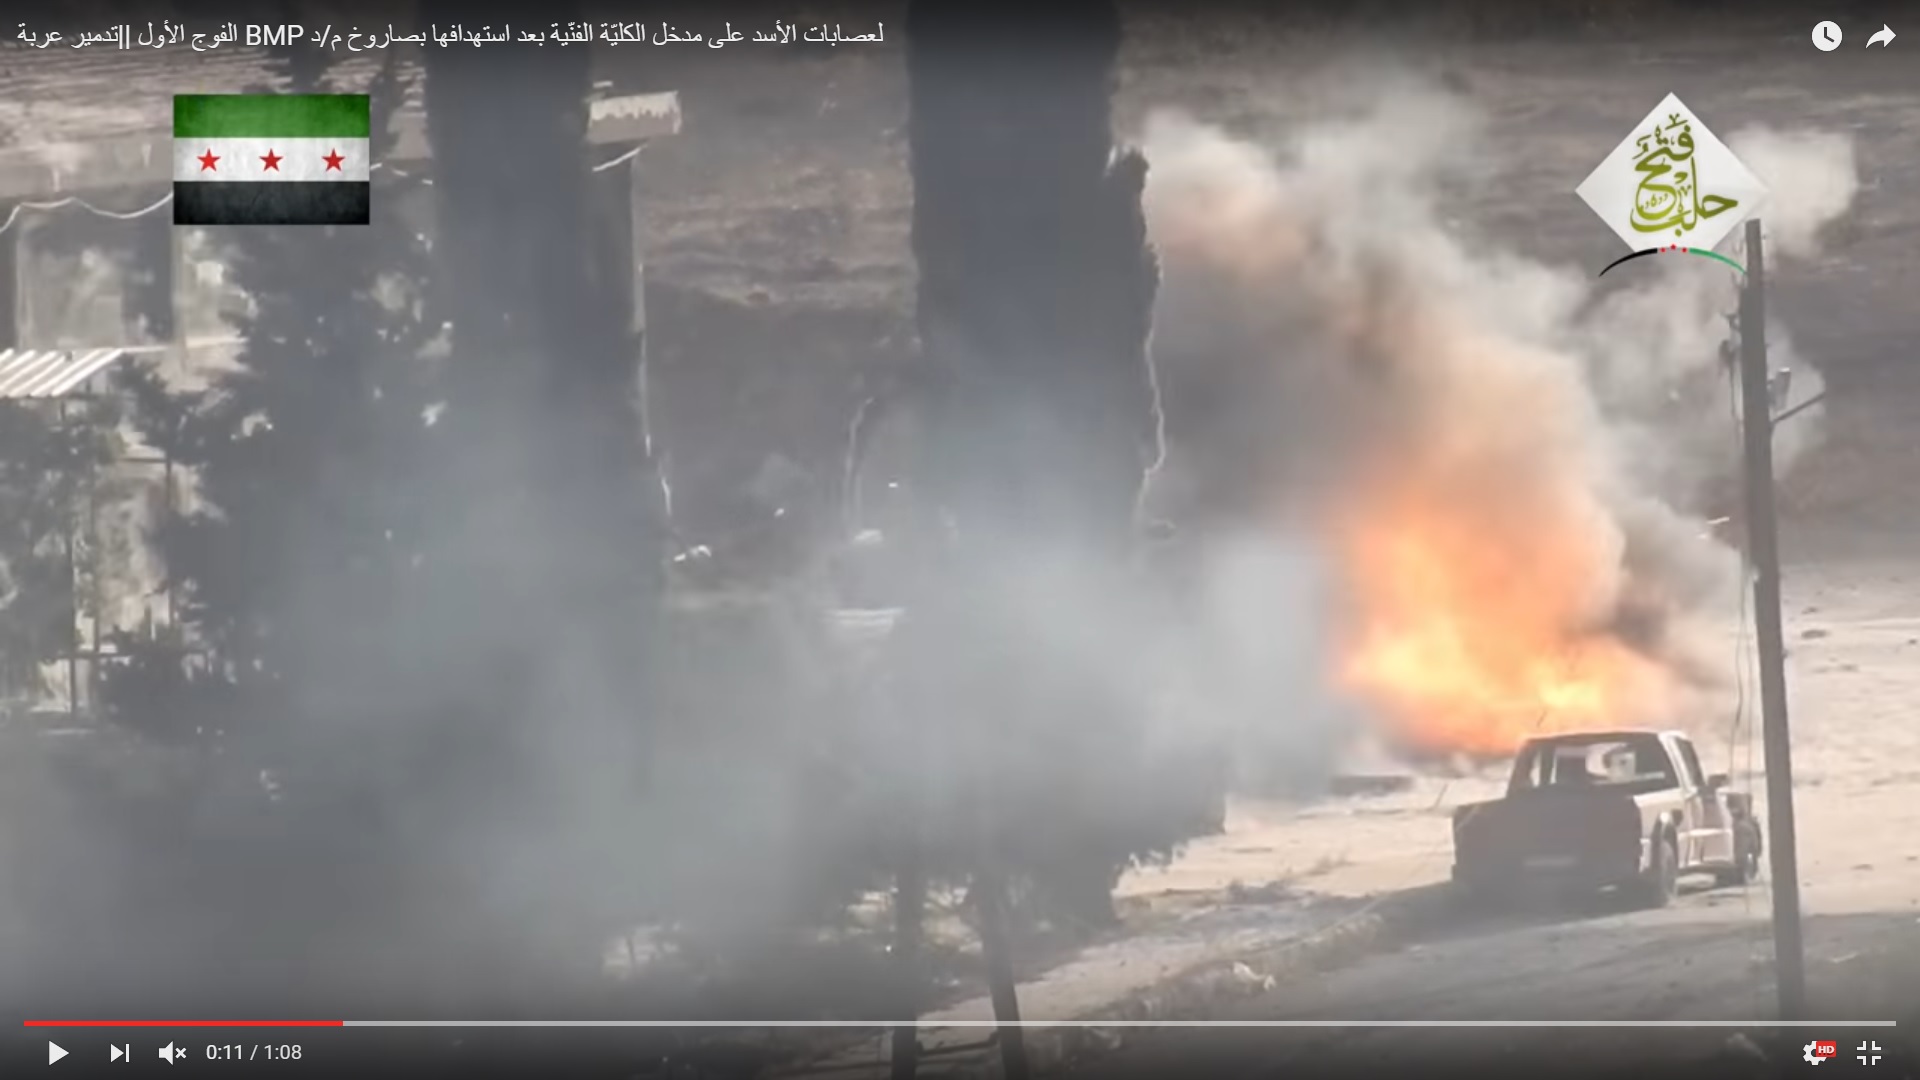
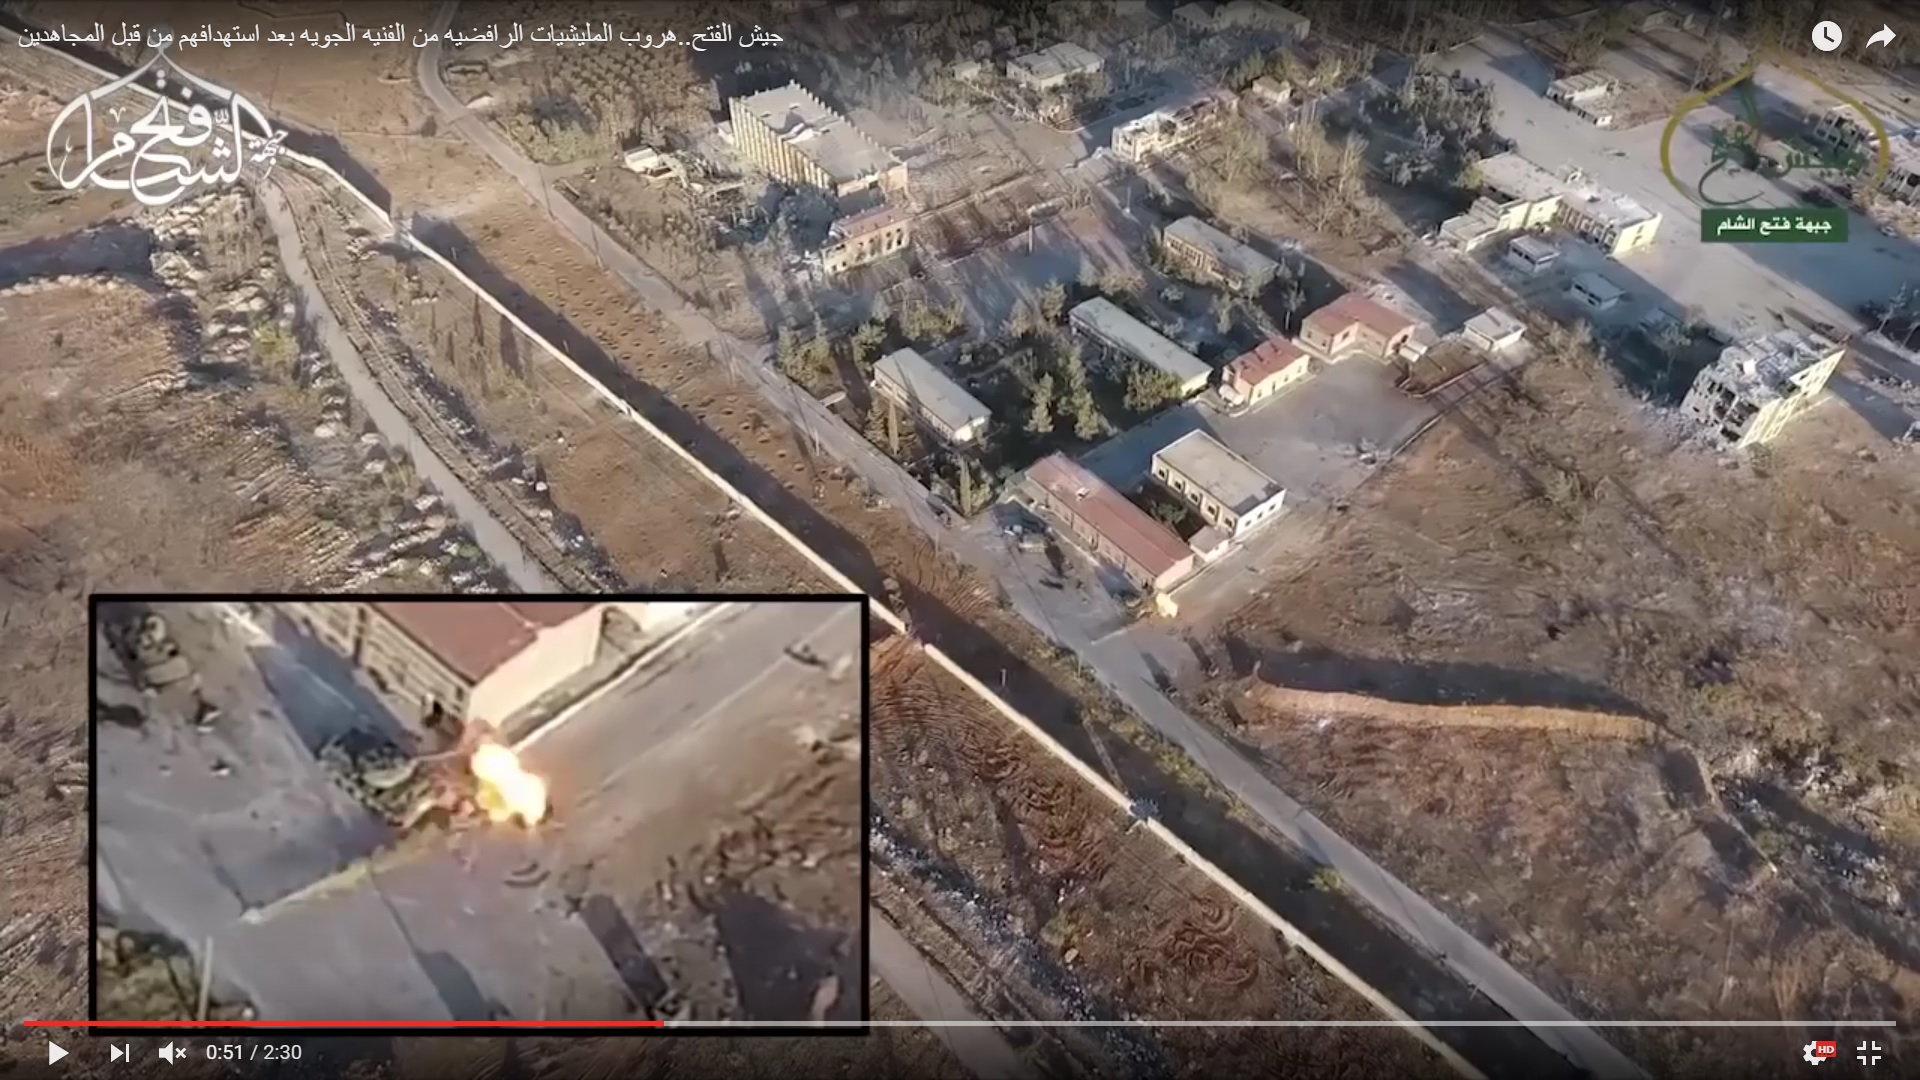
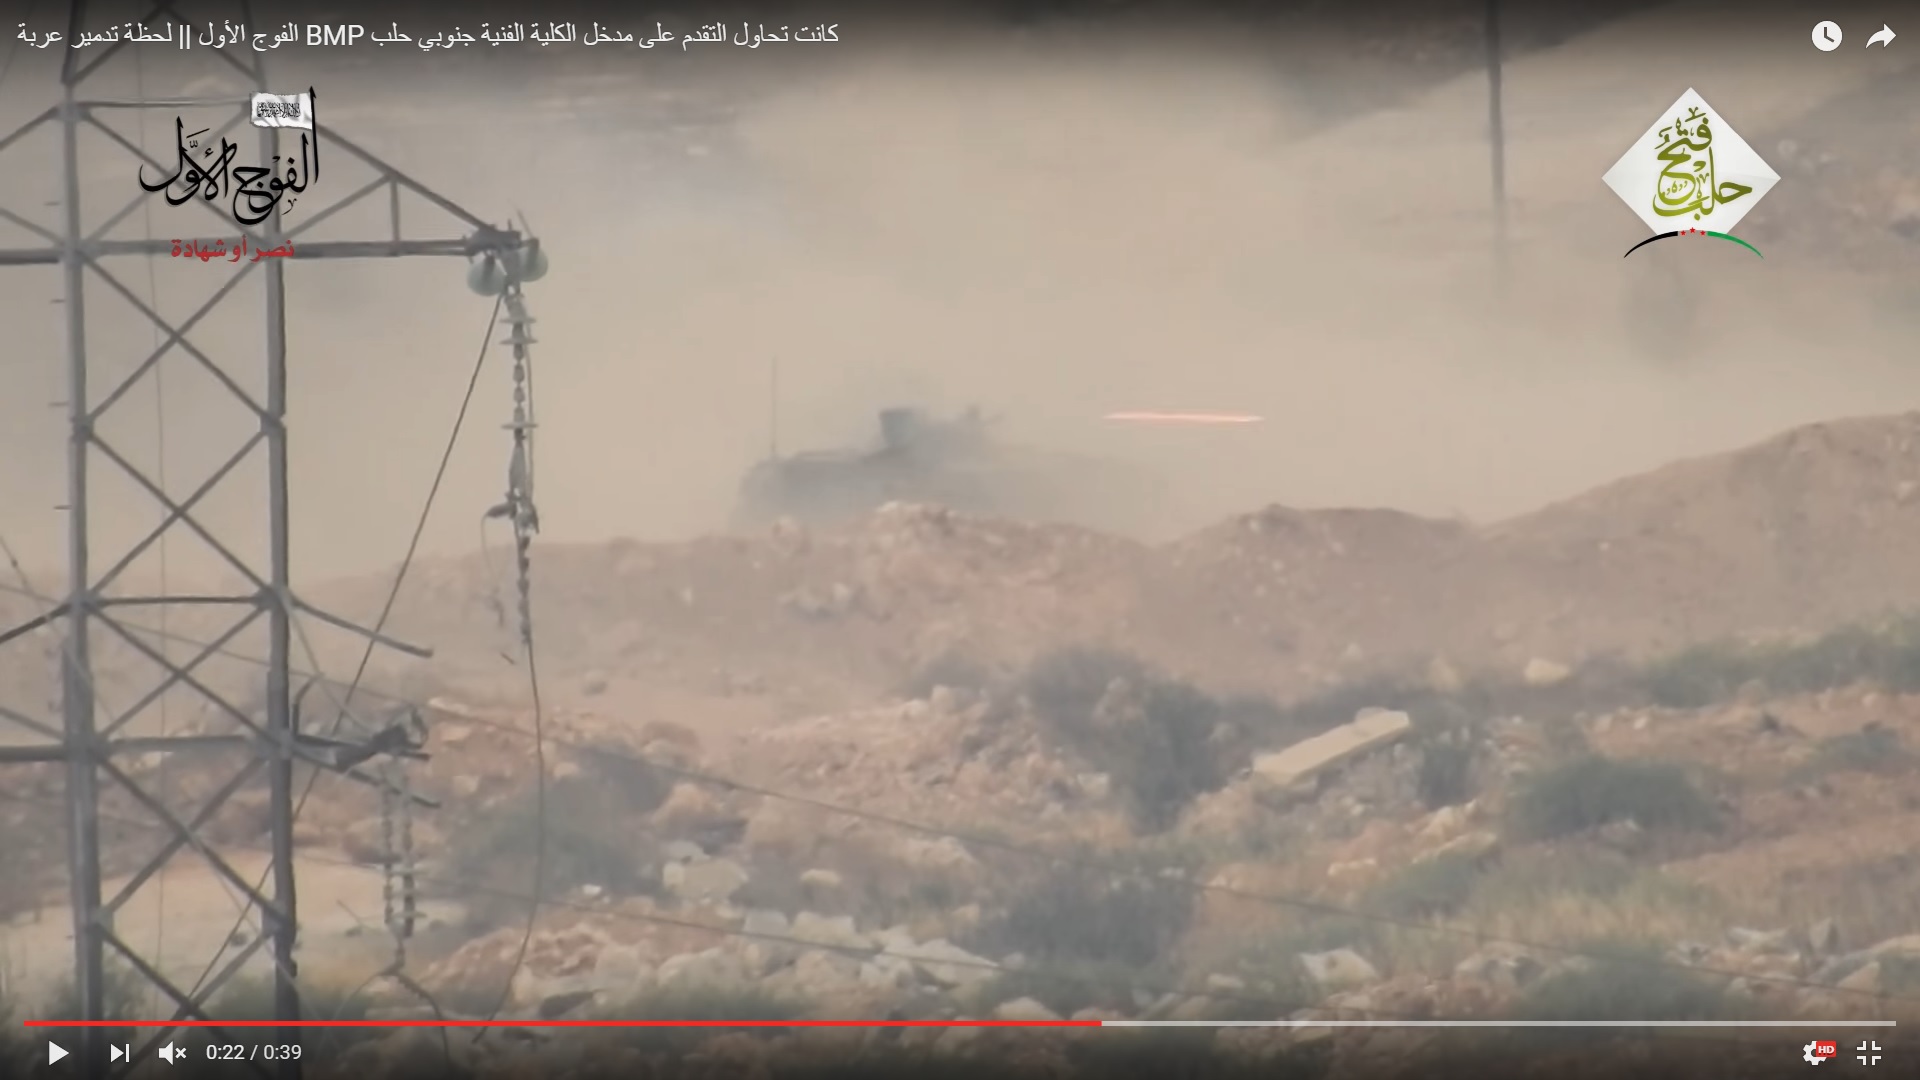
The guided missile hit the BMP-2 vehicle.
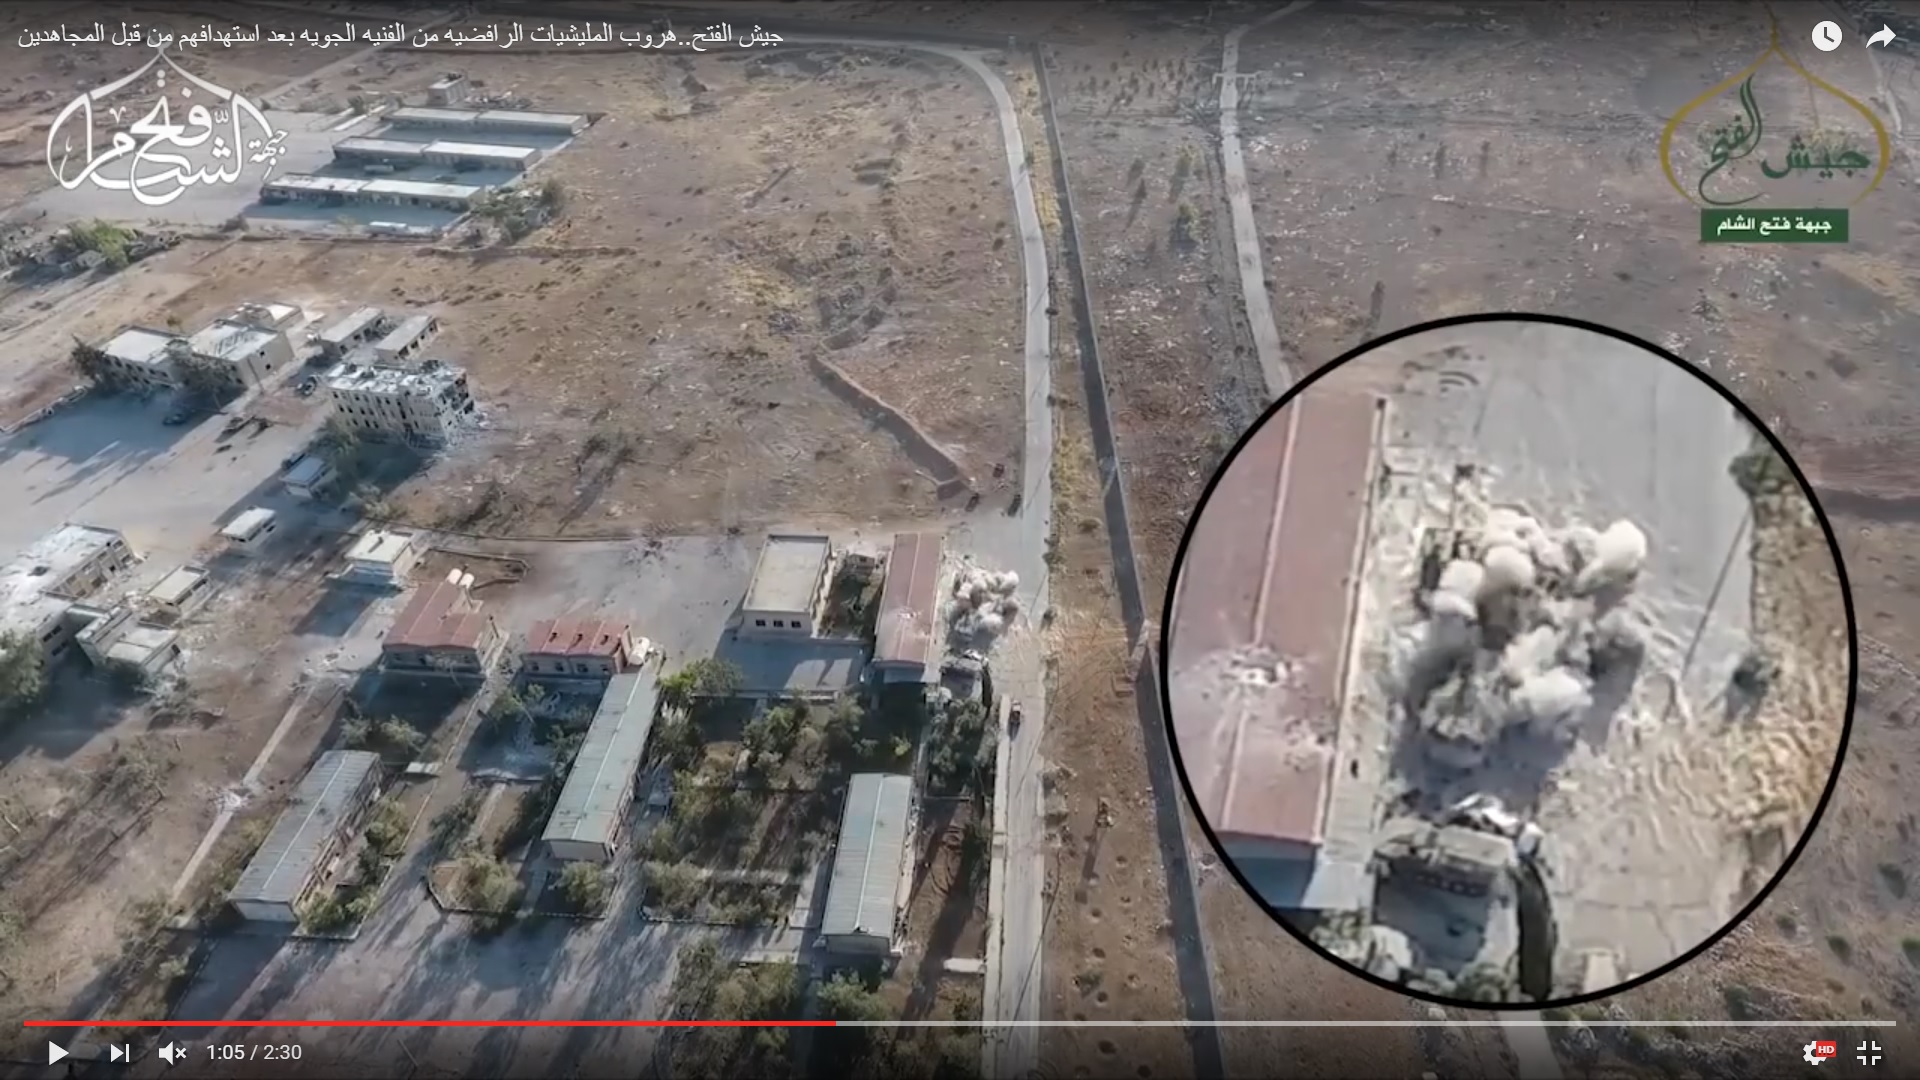
A drone look on the situation:
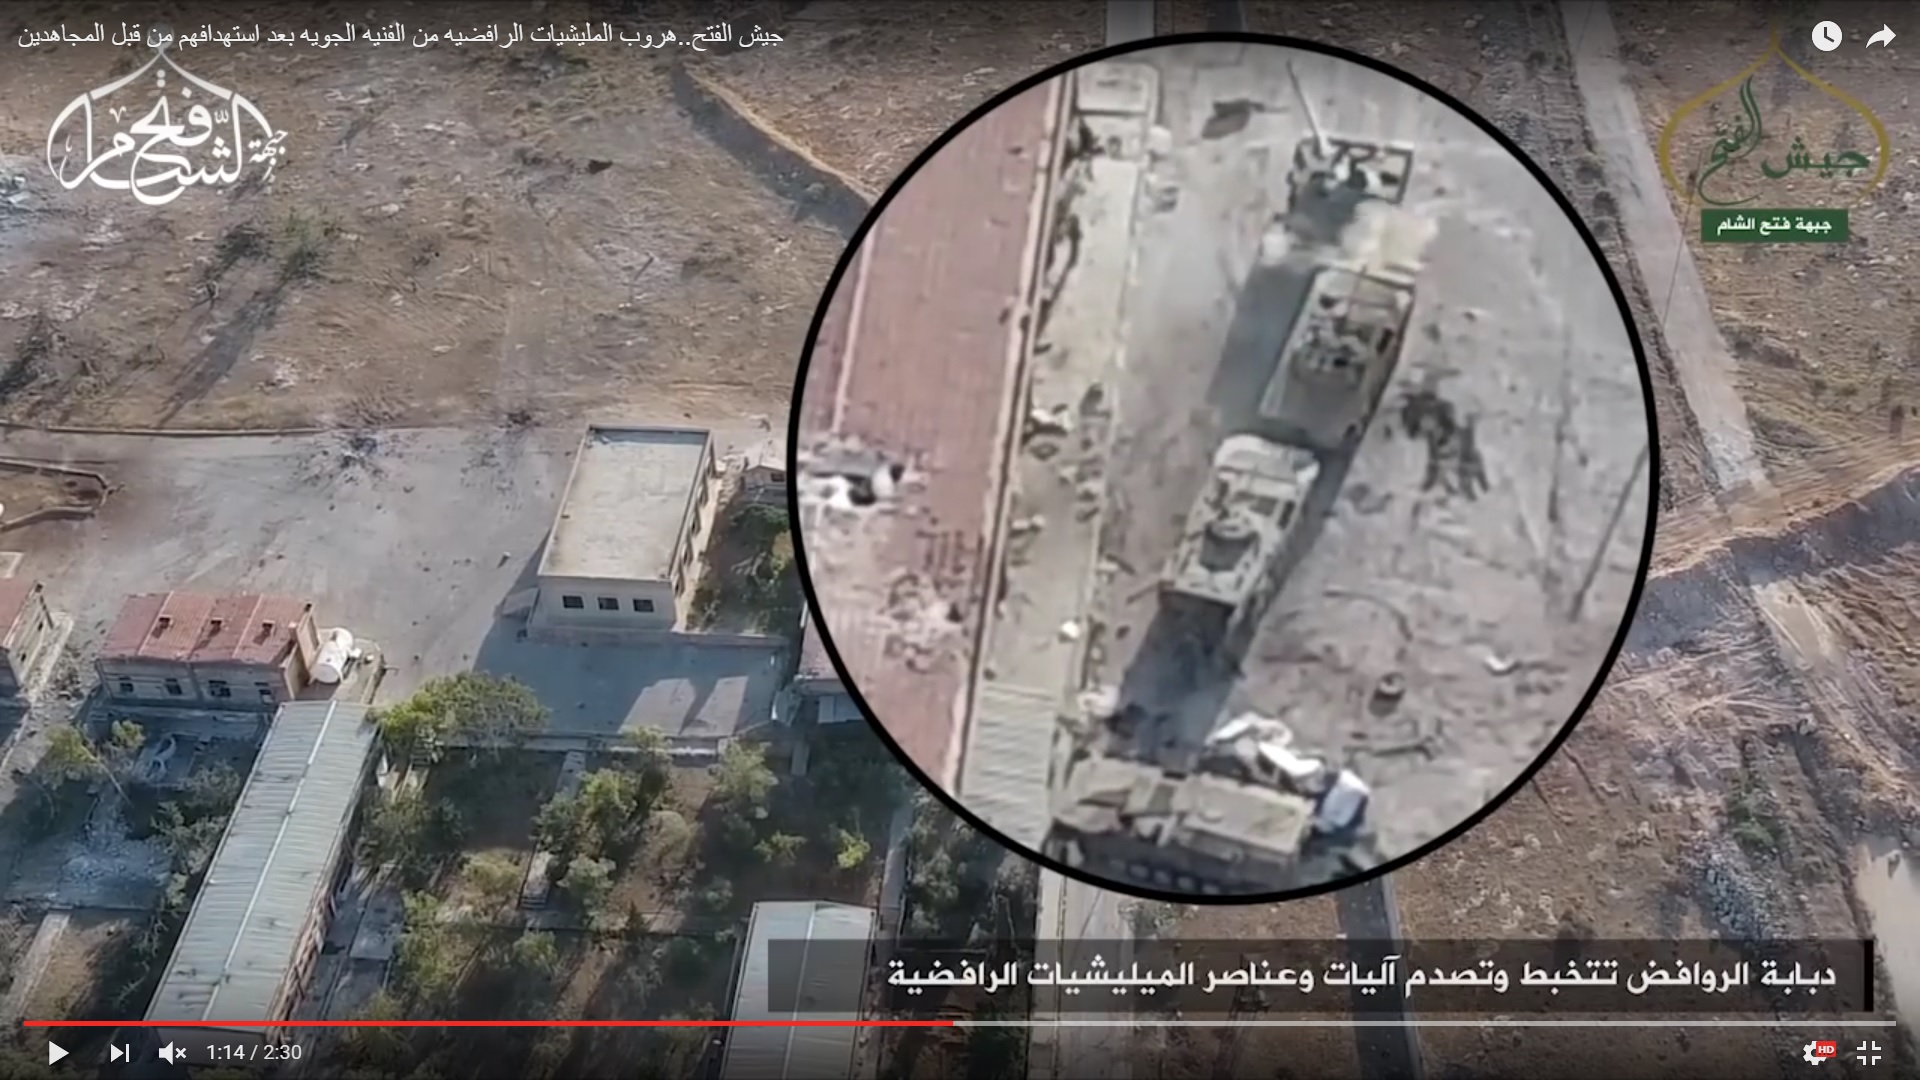
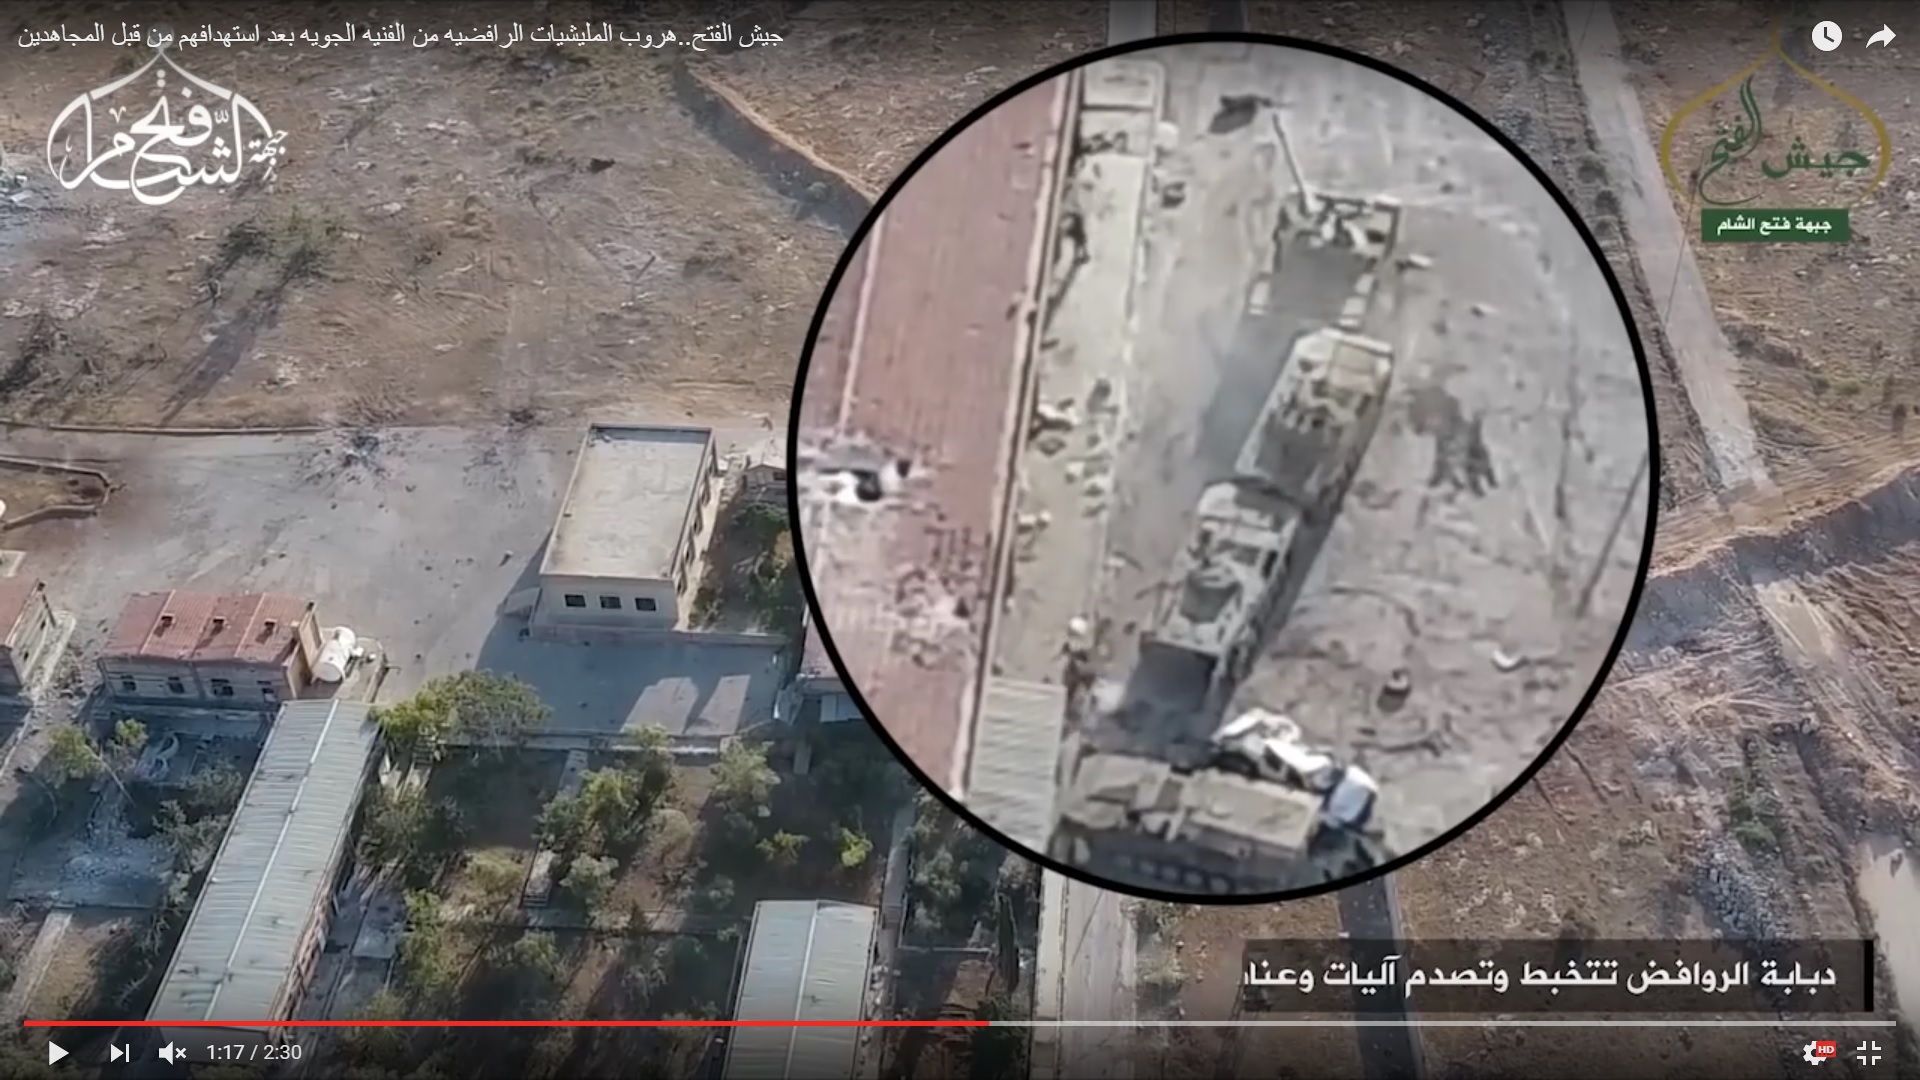
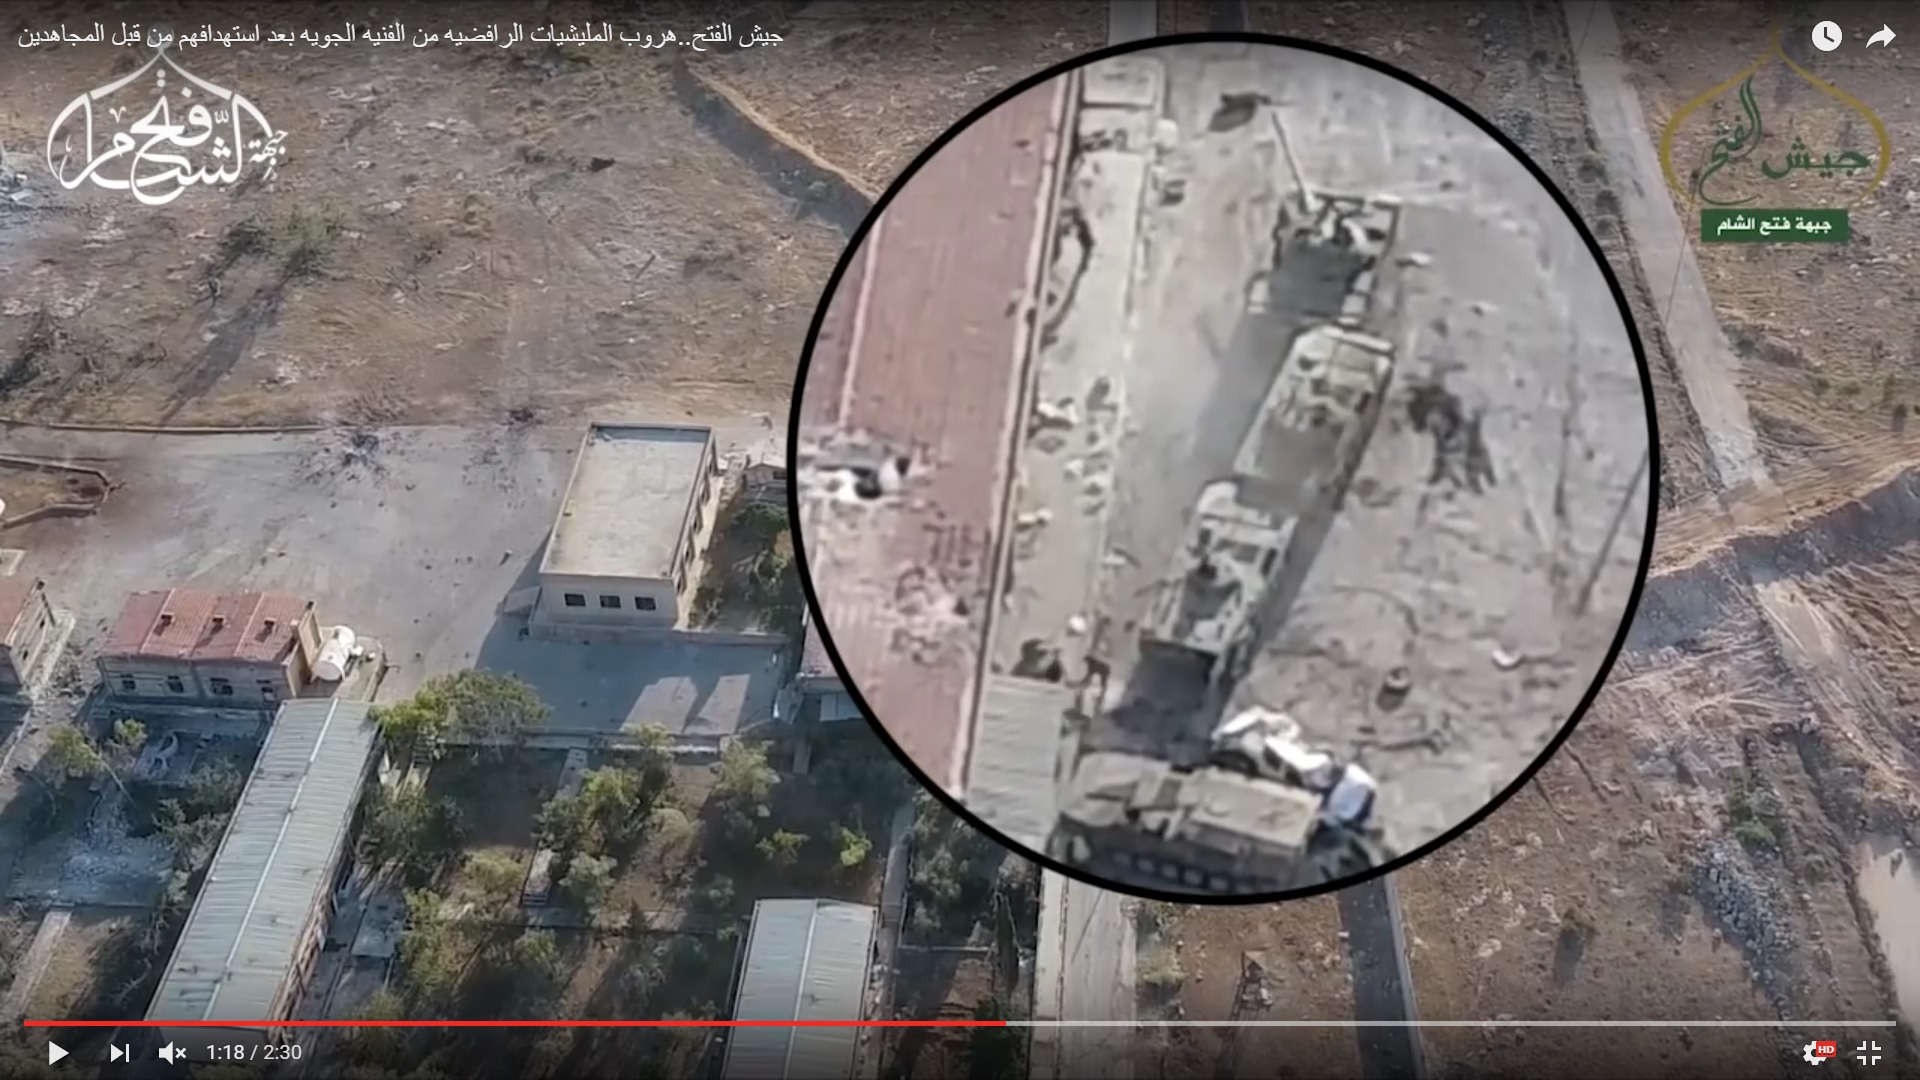
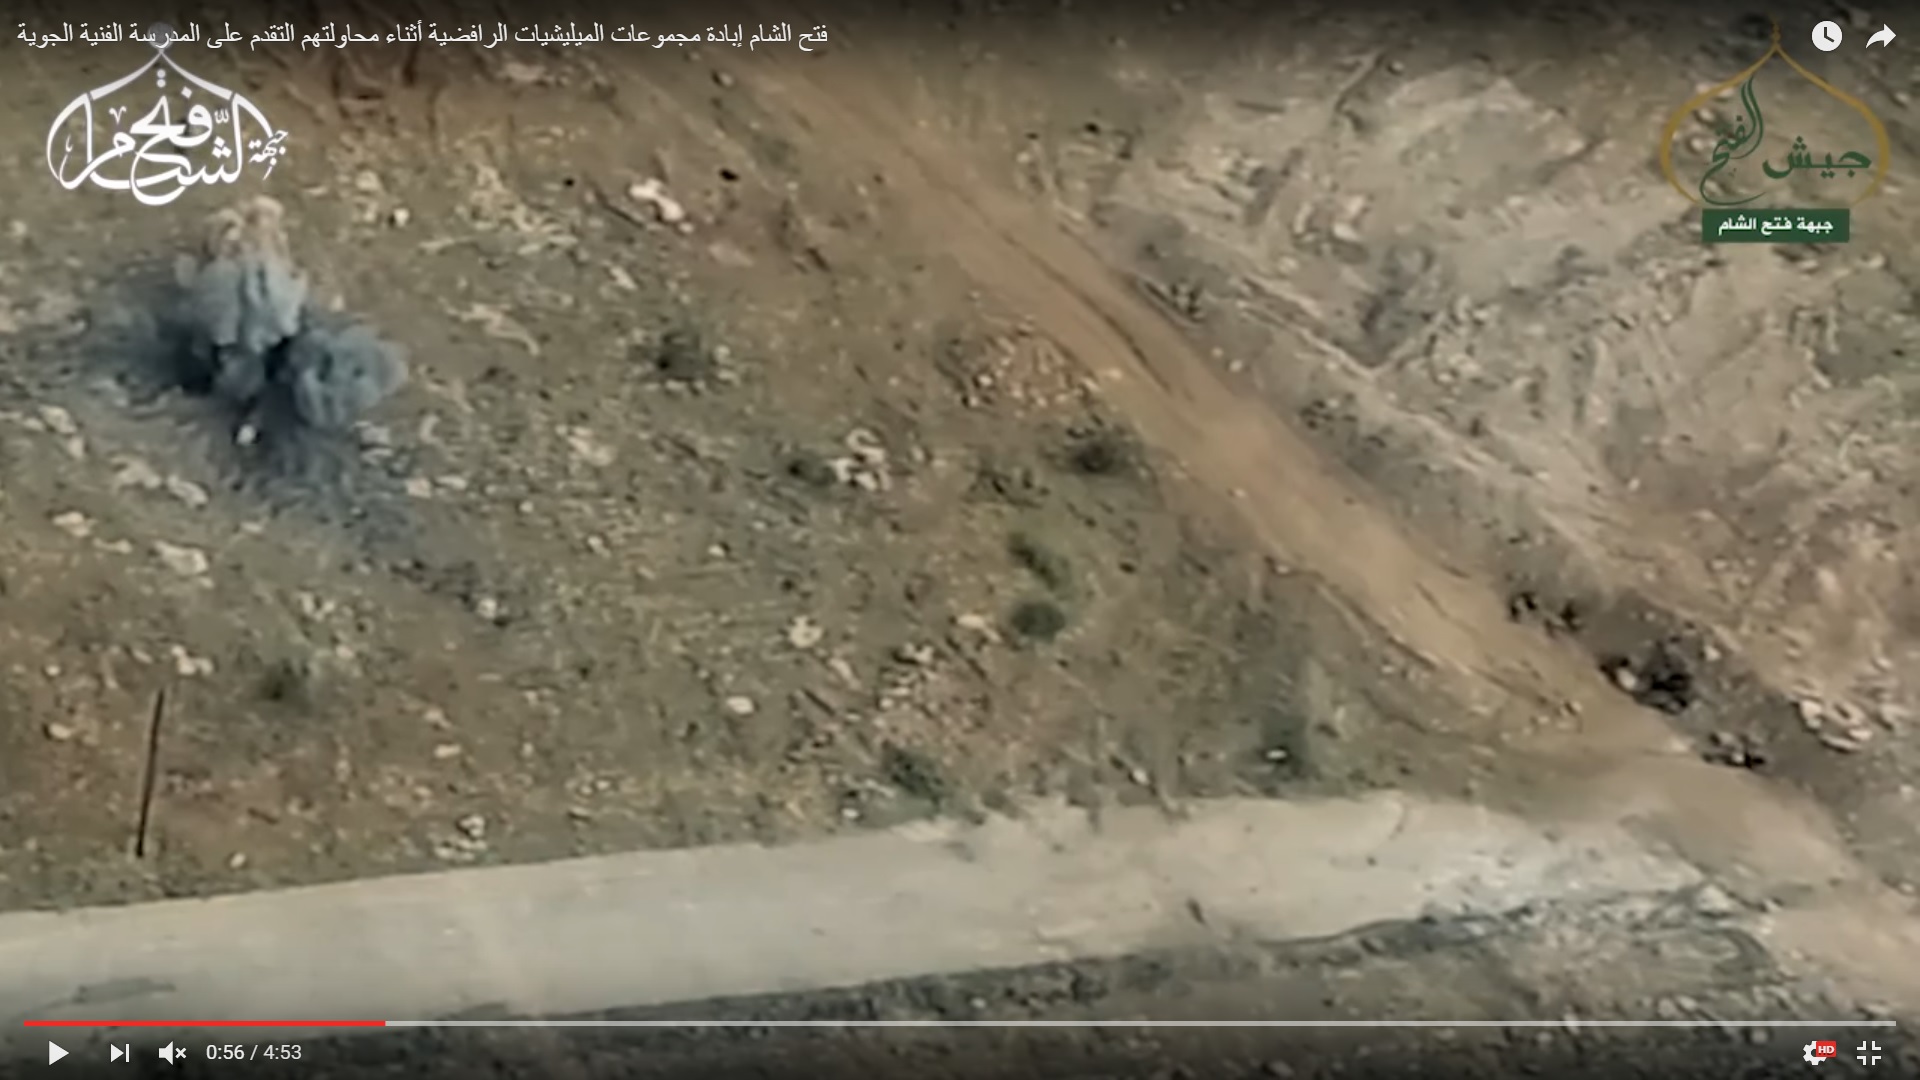
The drone video was created to make an illusion that the BMP-2 vehicle had been hit with mortar rounds, but we know the truth.
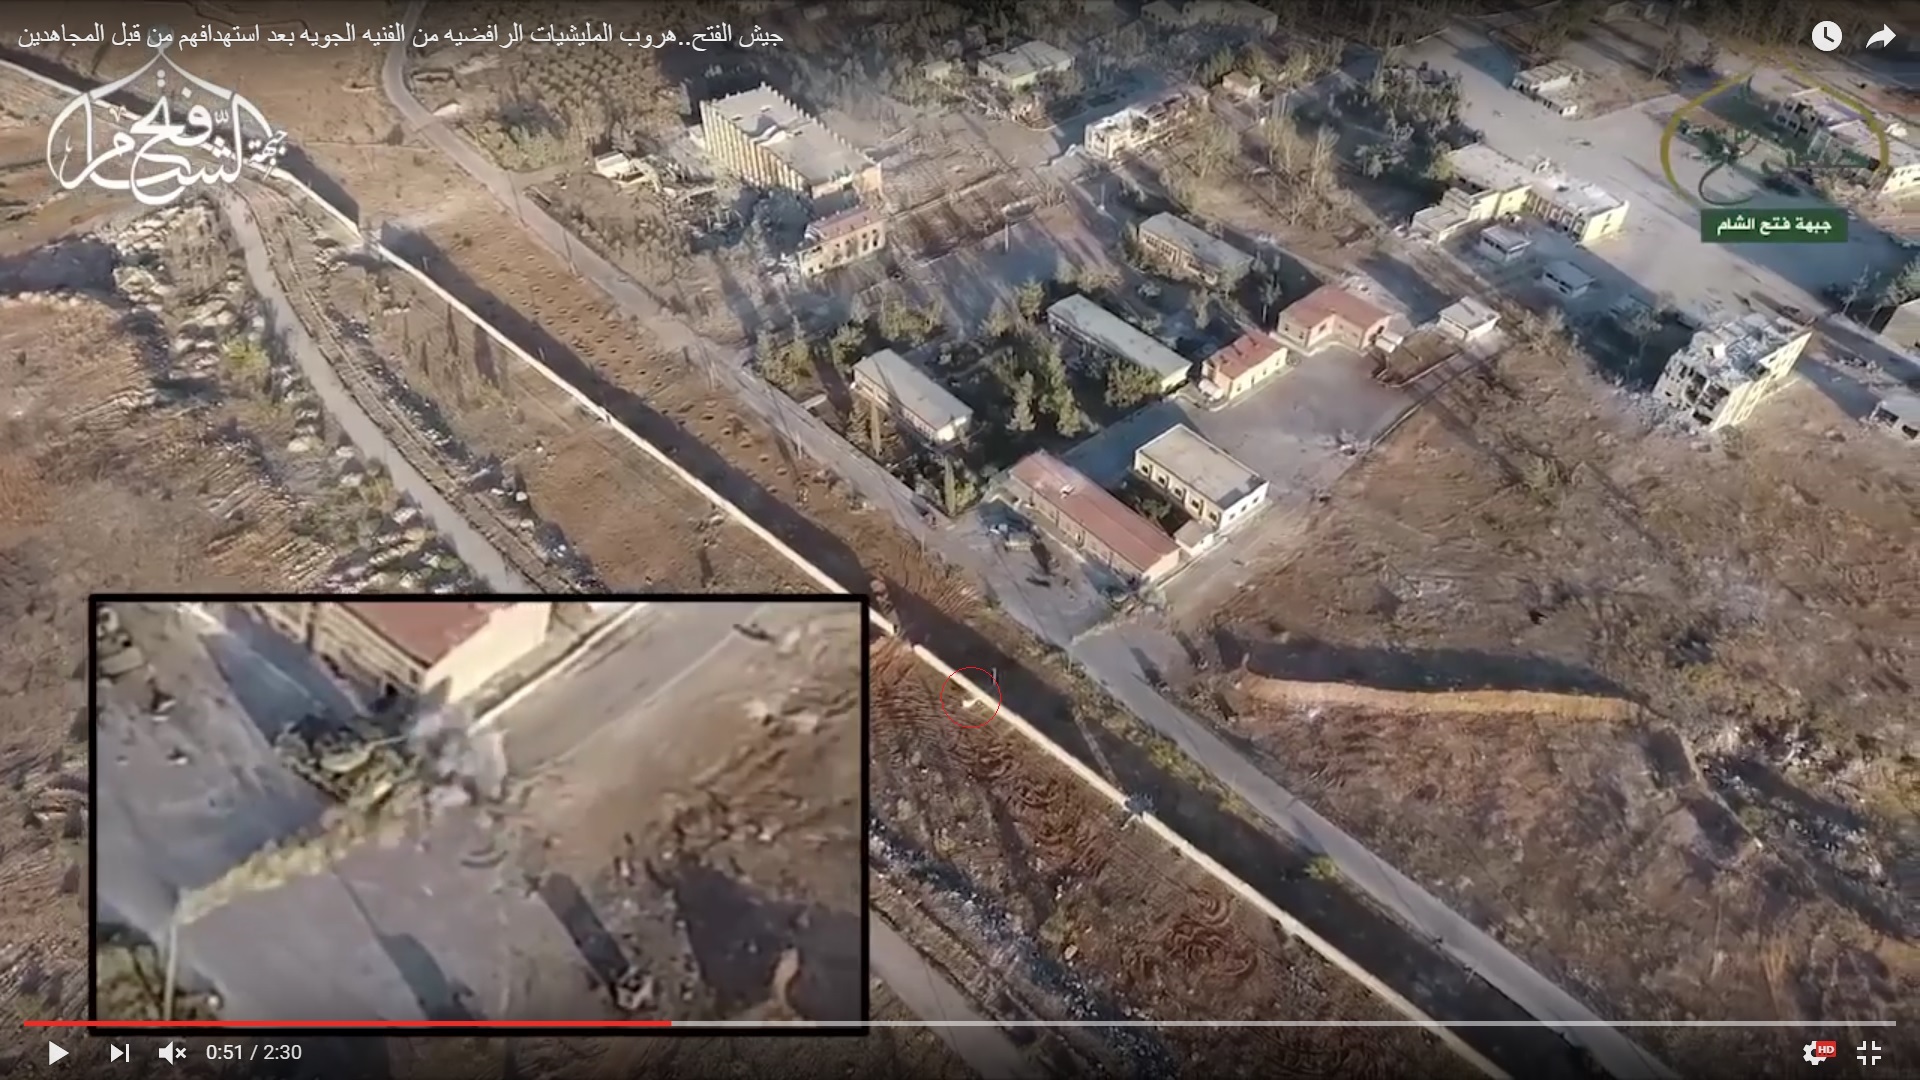
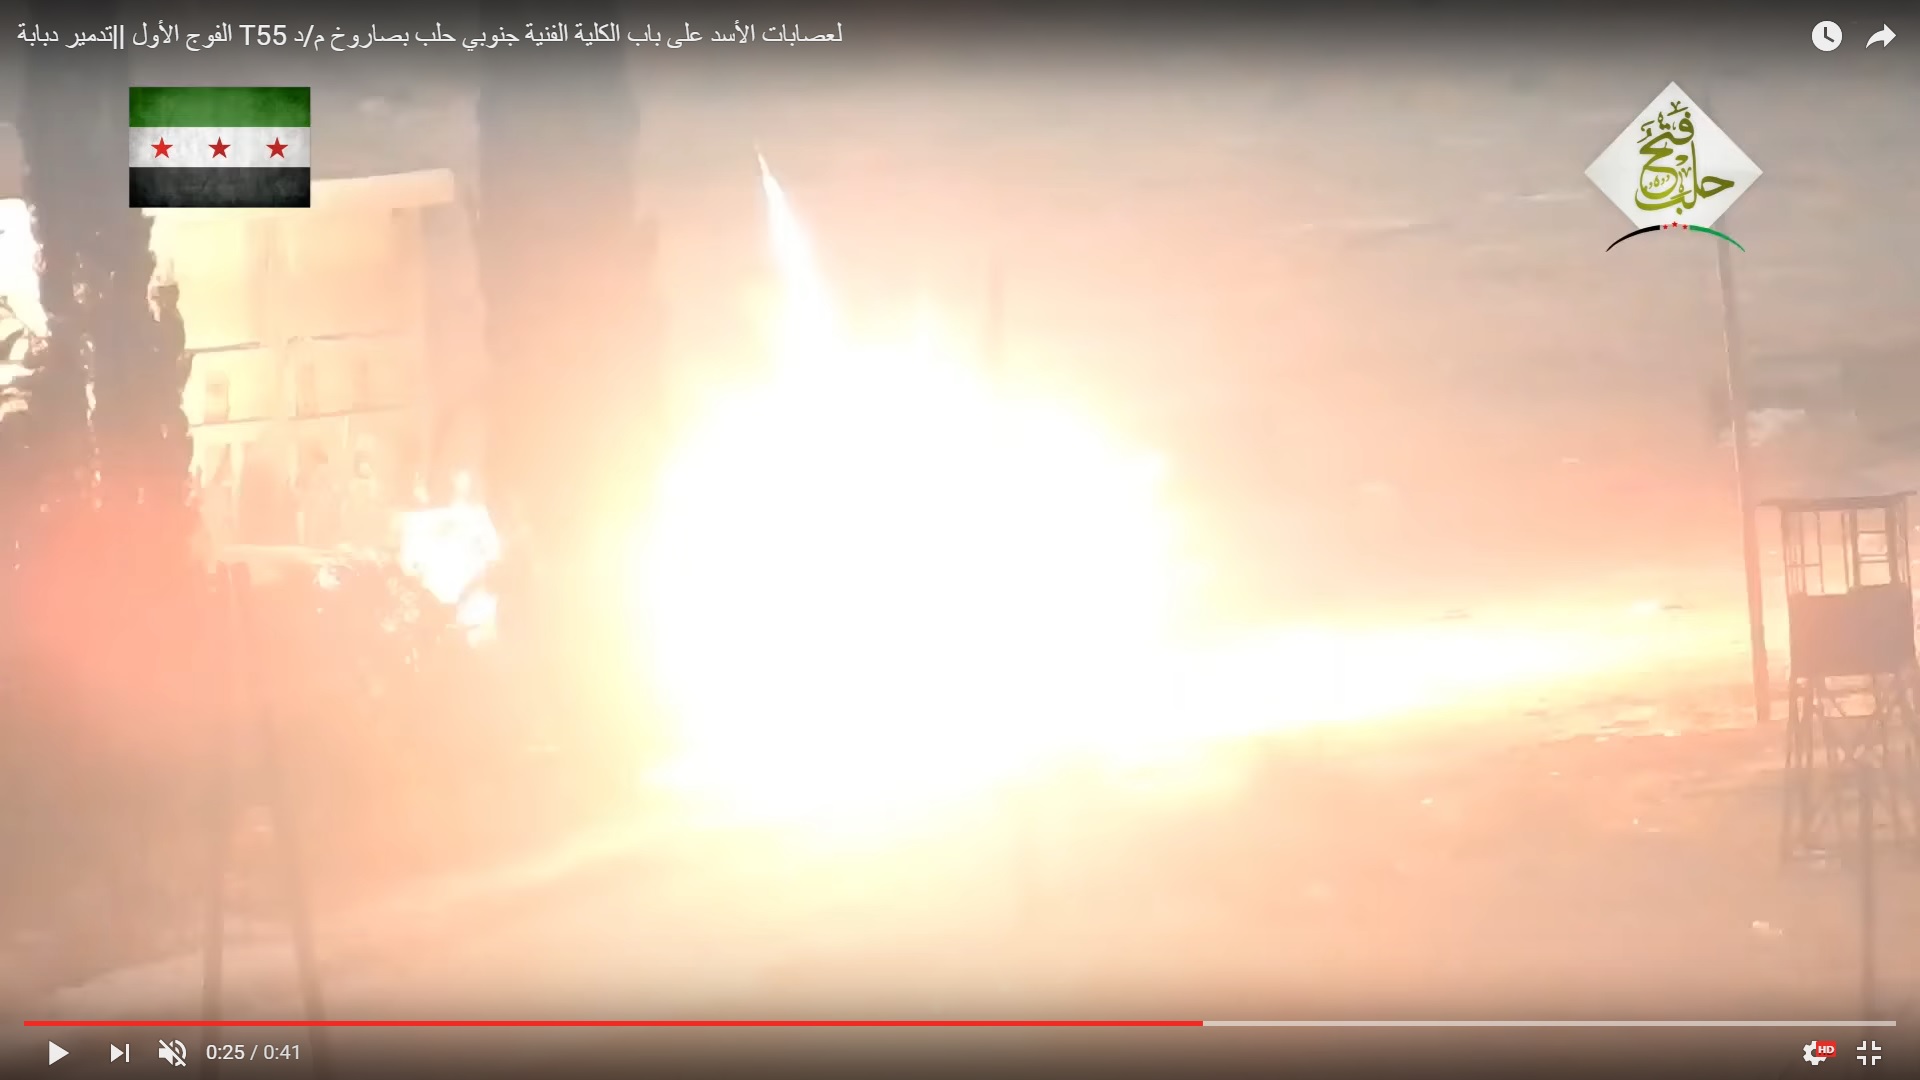
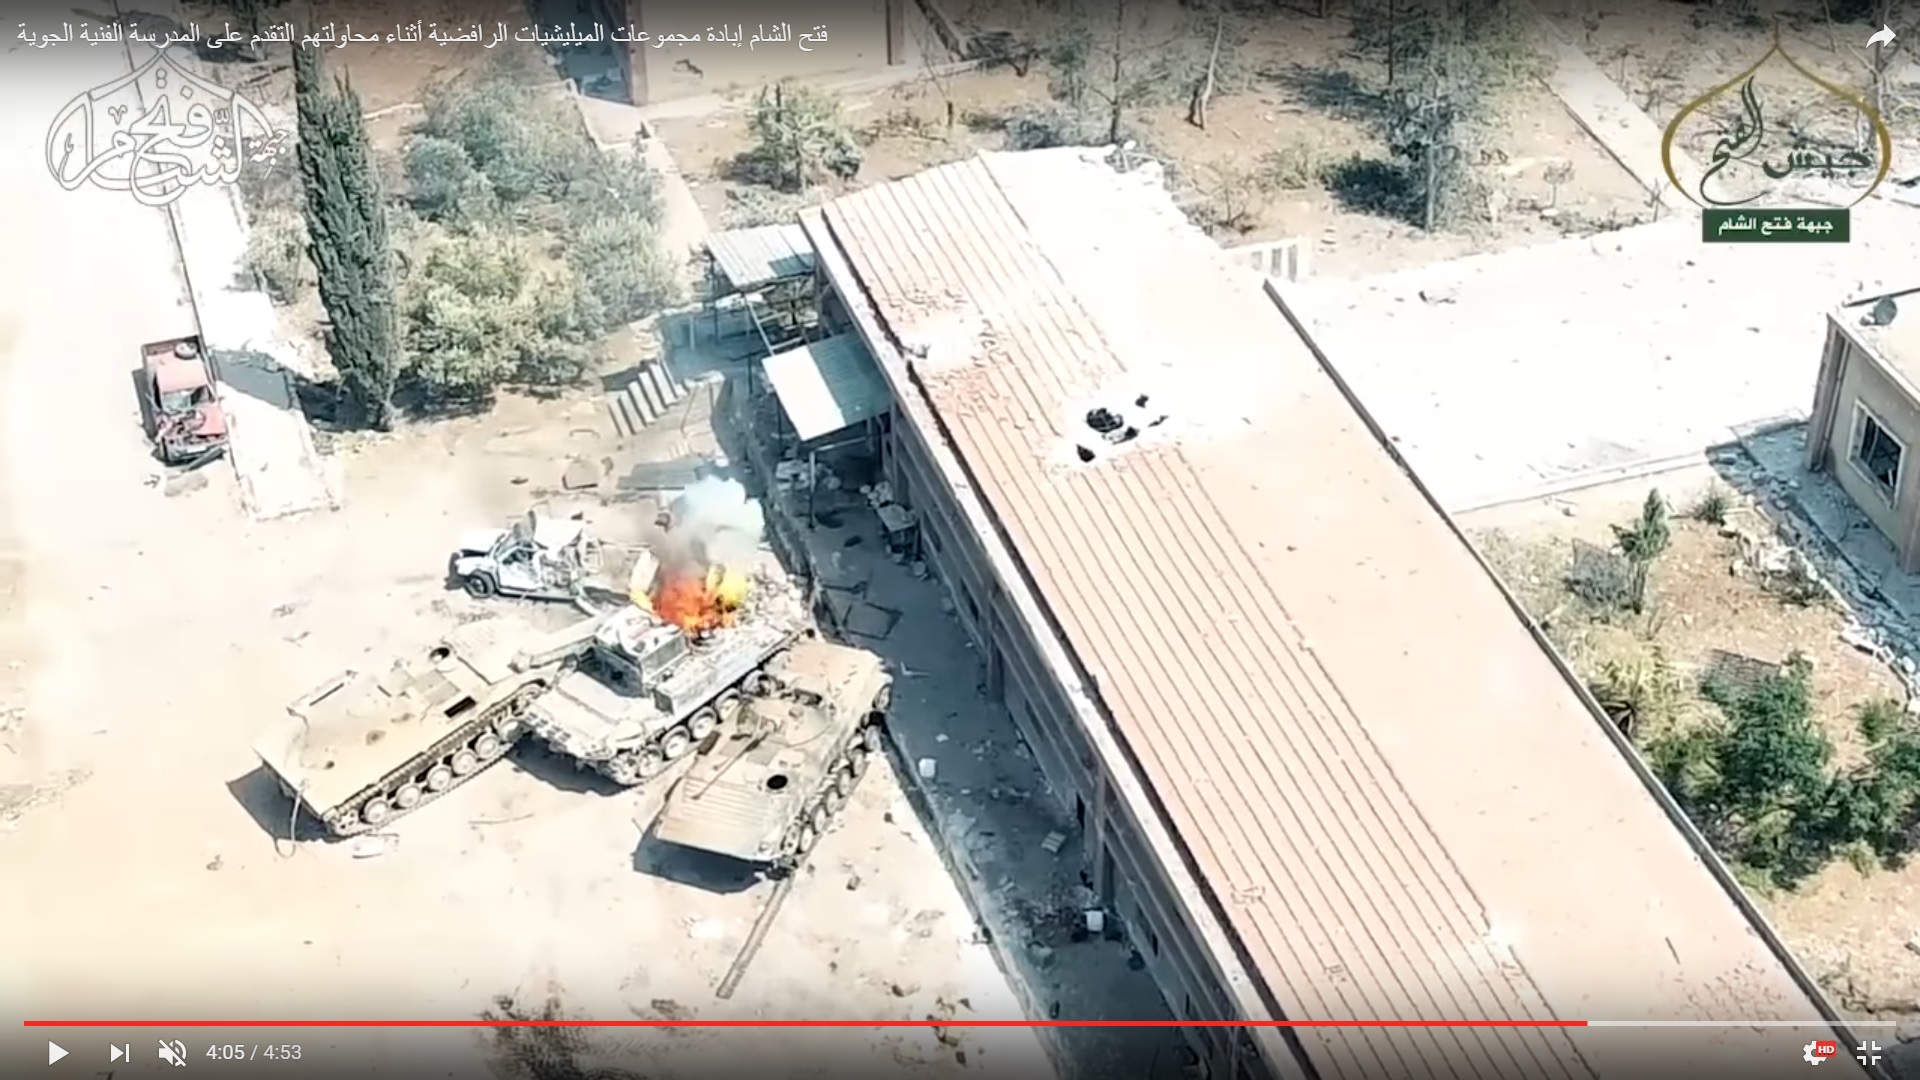
The missile hit in the left rear part of the BMP-2 vehicle, knocking down an apron wheel. The T-55 moved to the aviation college and fired at it once again.
Soldiers fired another RPG in the direction of the Yellow House.
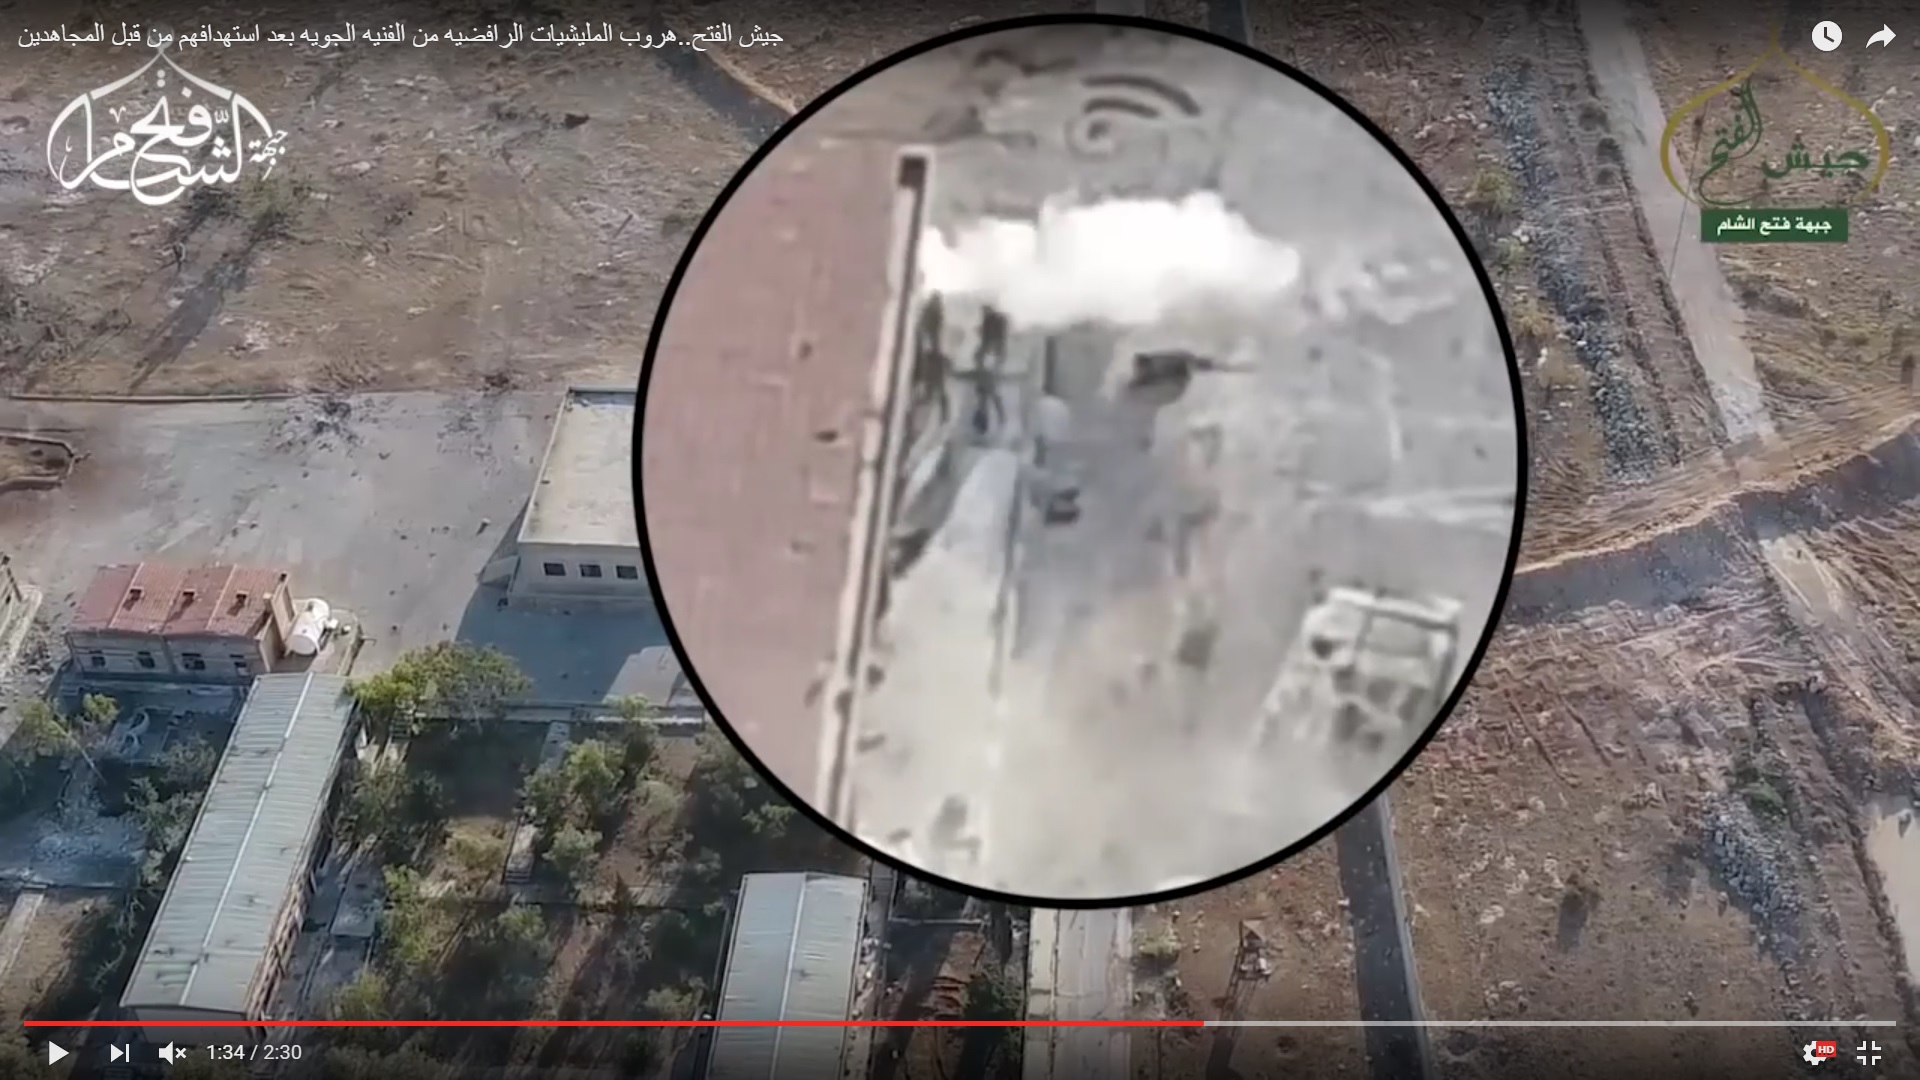
Click to see the full-size imagea
When the T-55 returned to its colleagues, it attempted to part between the ramp and the BMP vehiles, but faced some difficulties.
Here you go:
The tank crashed into the BMP-2:
The tank continued to push the BMP-2 and it crashed into the BMP-1.
A soldier who had been near the BMP-1 fled to the ramp. Another one left the BMP-1. Then, the T-55 tank-driver realised that something was not ok and stopped.
Another soldier left the BMP-1 vehicle and the hatch opened on the BMP-1 turret. A slowpoke at the ramp started to flourish arms, signaling to the tank-driver that he has to stop.
Then, the BMP-1 vehicle moved to the nearby yard. Meanwhile, the ATGM crew got a new missile and started to look for another target.
The ATGM crew was able to see a part of the tank’s rear and a roof of the BVP-1 AMB-S vehicle.
This is why they decided to launch a missile against the BMP-2 vehicle. The missile hit the forward part of the BMP-2. The vehicle emited smoke and the crew run away.
It’s needed to note that this ATGM launch video didn’t show the gunner also.
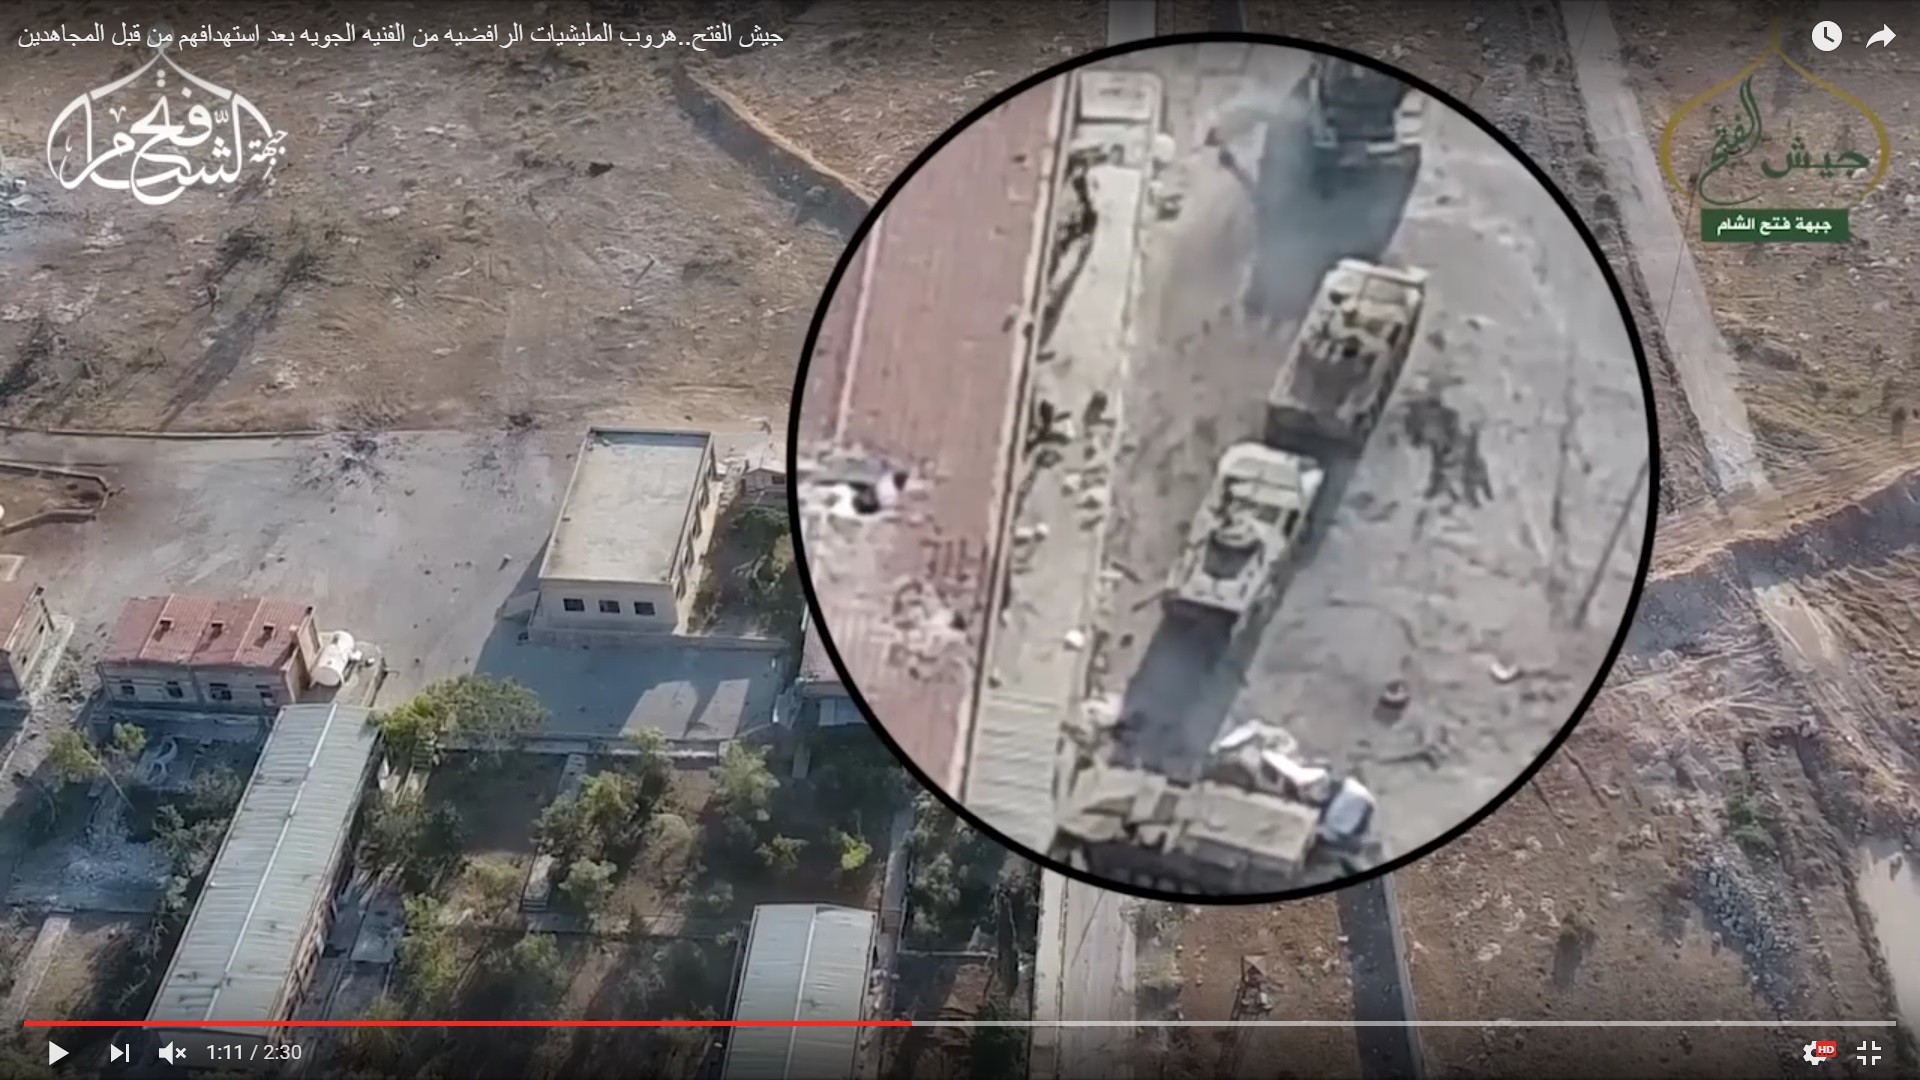
After the ATGM launch, the BVP-1 AMB-S vehicle moved from the area. A drone look after this:
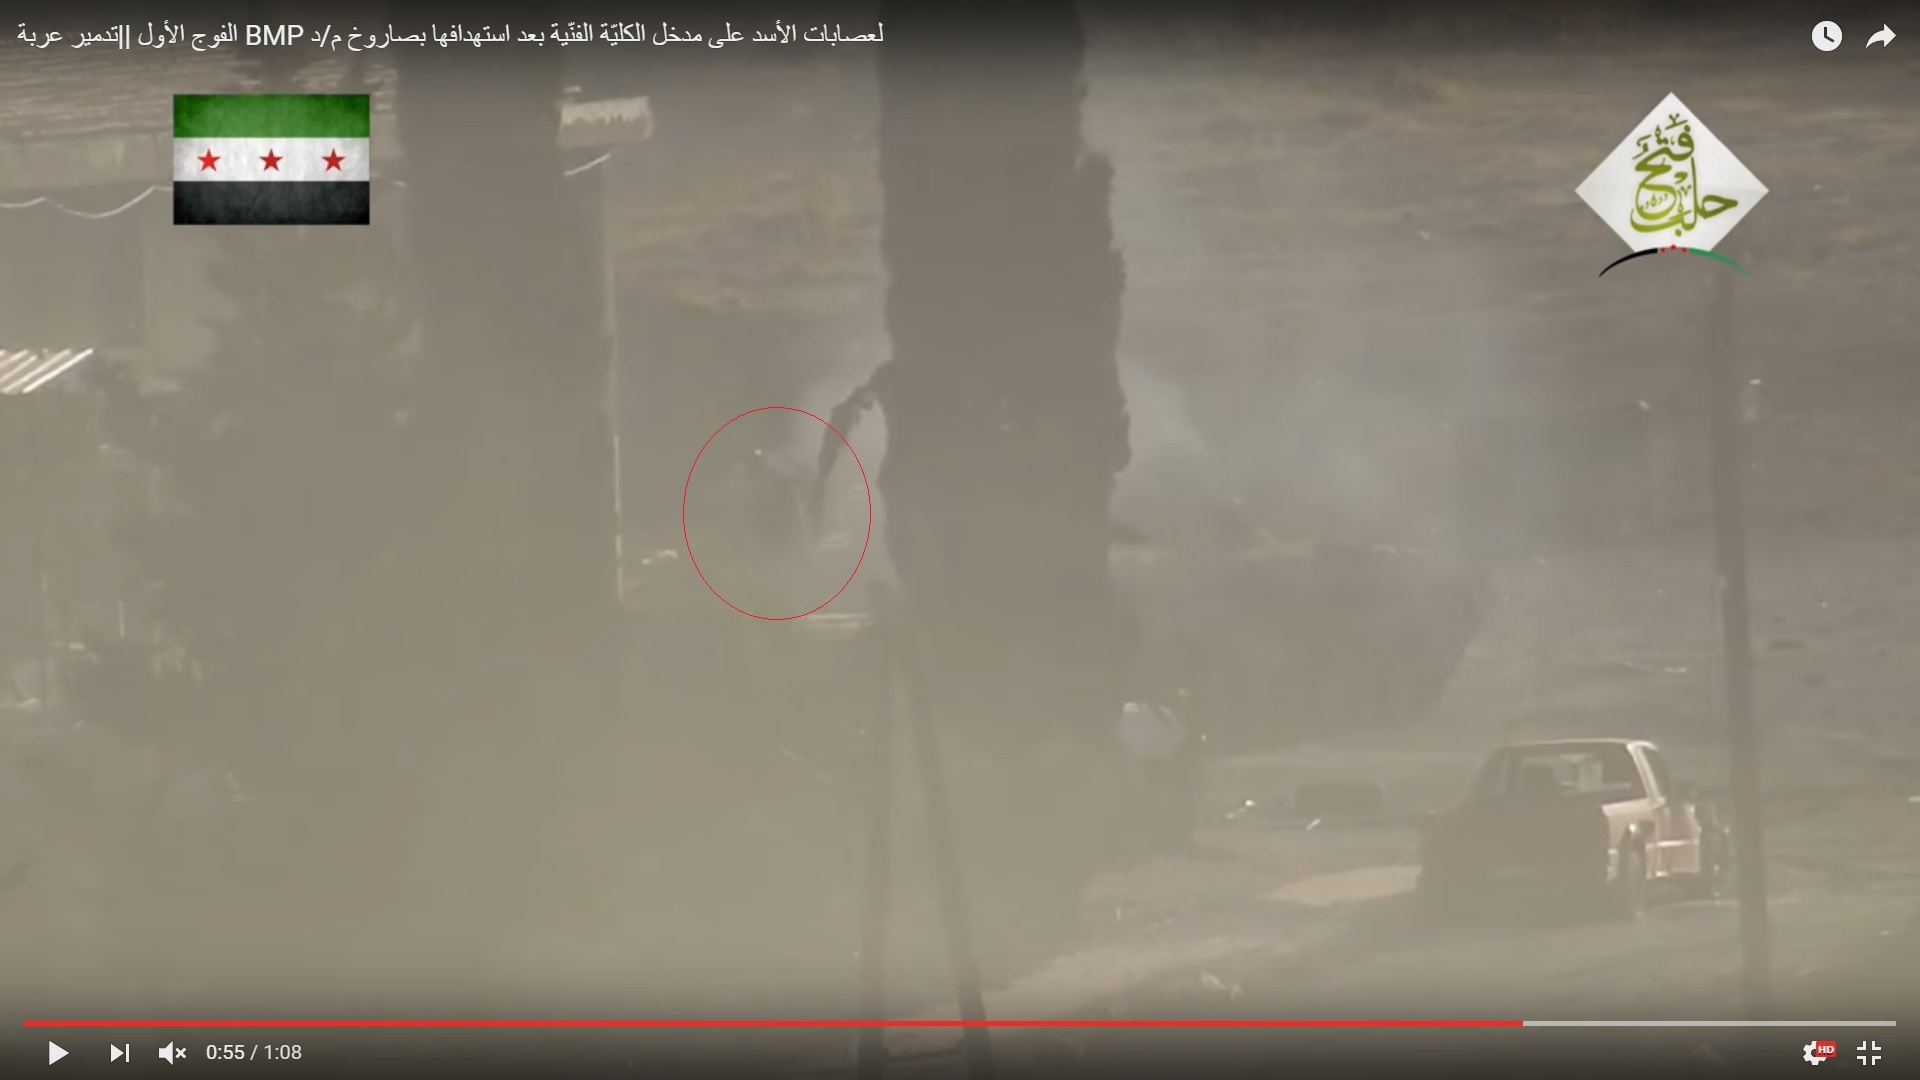
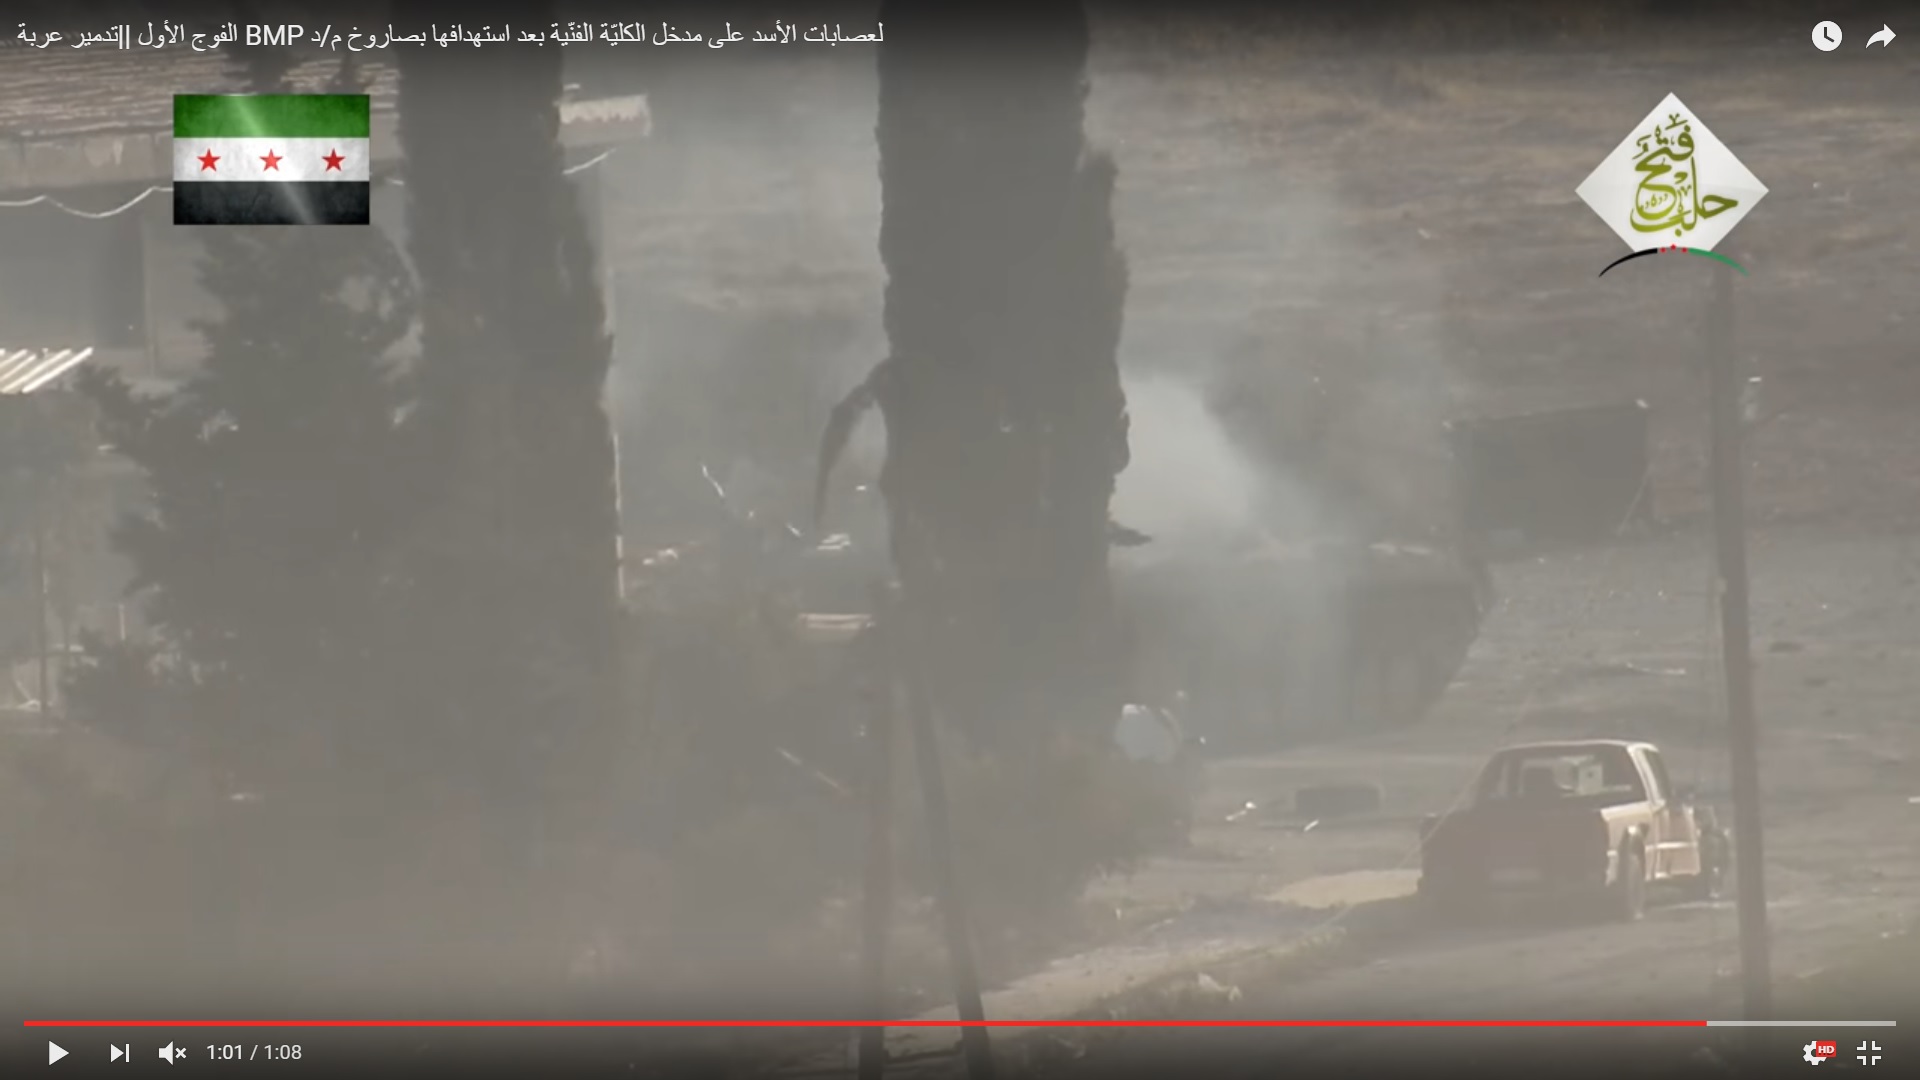
The BMP-2 vehicle was smoking. The crew was likely attempting to prevent a fire situation.
The BVP-1 AMB-S vehicle launched another voyage and a mortar shelling started. But mortar shells didn’t create troubles for the armoured vehicle. Militants were also firing at it.
Most likely, militants were firing from the Yellow House. This is why the T-55 crew got a task to tape the enemy firing position. The T-55 leaned around the corner:
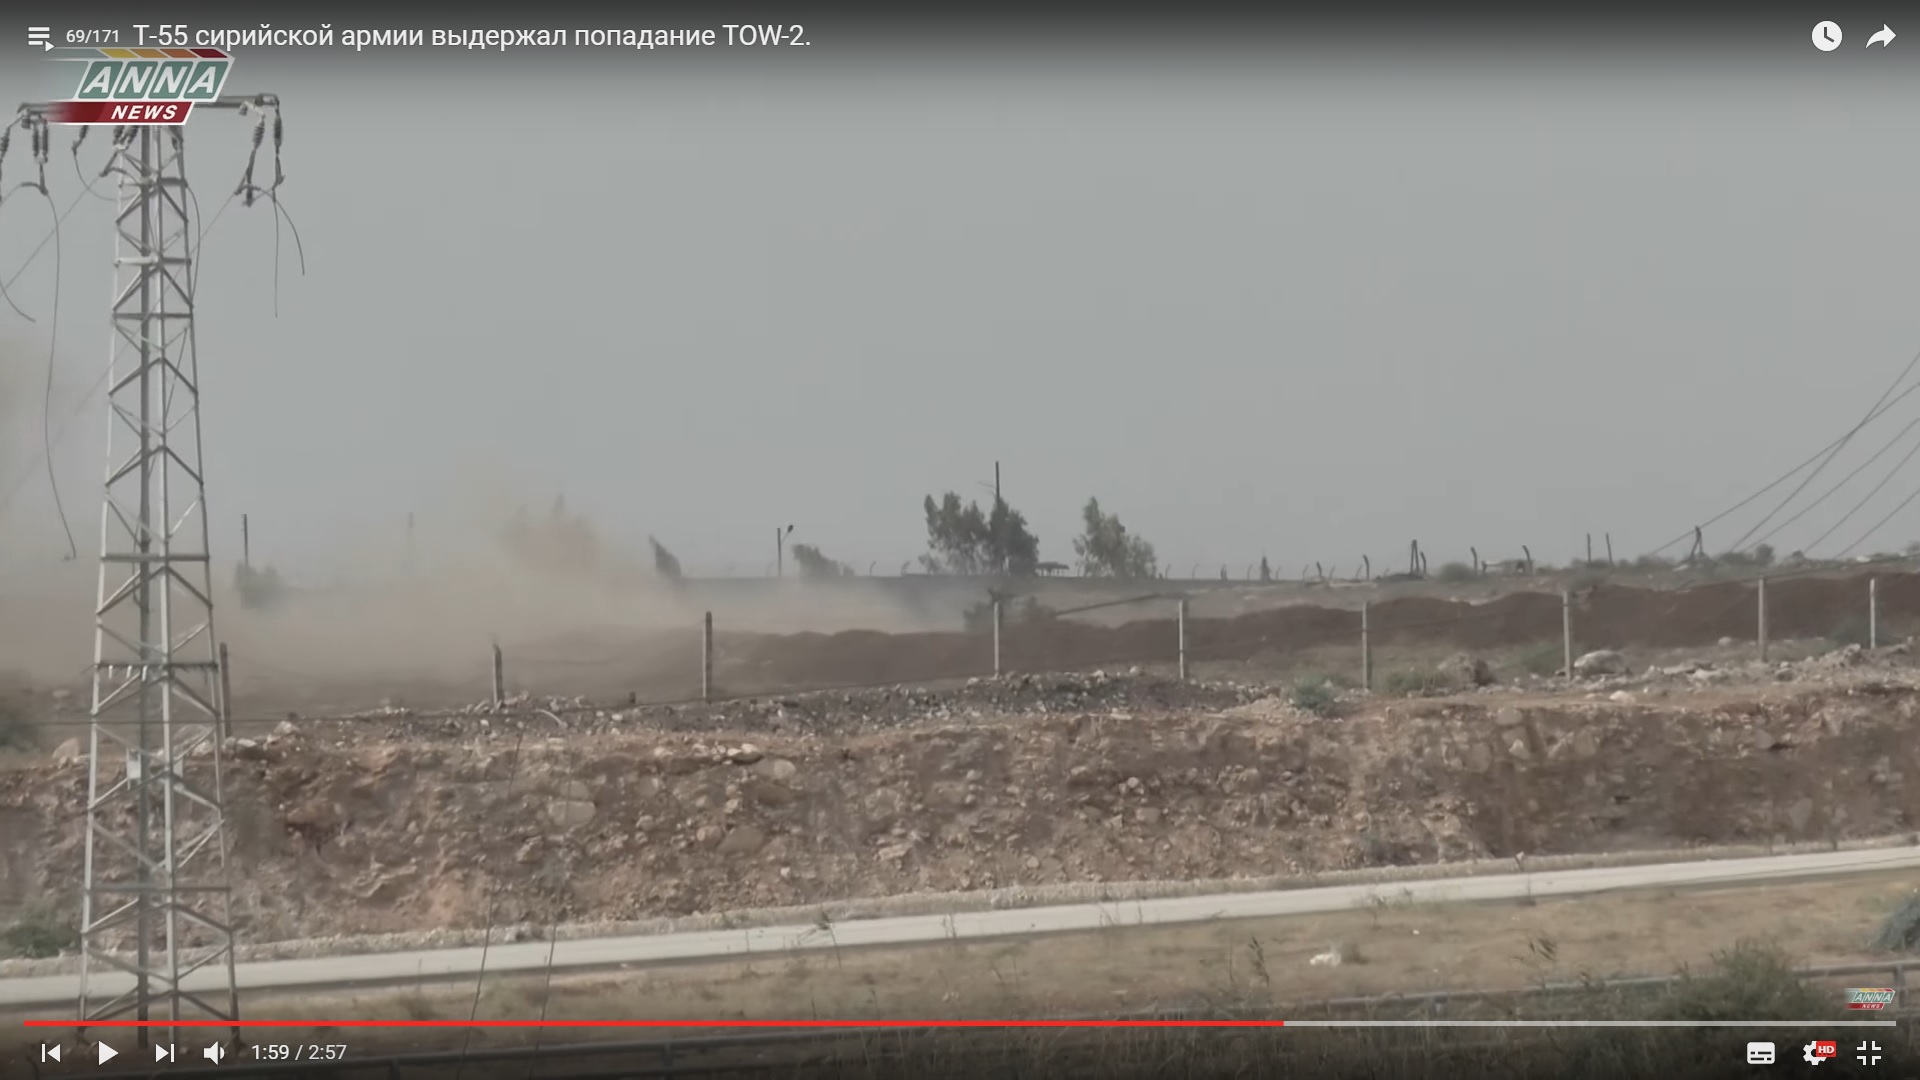
A dust cloud appeared at the corner of the Yellow House and…
…but it missed. The missile hit the road before the tank’s nose.
The mortar shelling increased and the T-55 tank once again leaned around the corner under the cover of the dust and fired few rounds at the Yellow House.
Then, the tank moved back to its base.
The BVP-1 AMB-S vehicle followed the tank, leaving defenders of the depot and the nearby buildings alone with militants and the night.
Militants were firing at the BVP-1 AMB-S vehicle from light weapons without no results.
This was likely the first time when the Syrian army remained in control of some buildings as a result of the day. ANNA News reported about 10 buildings captured by government forces but the reported number was too hight. Militants remained in control of the Yellow House and the aviation college. Furthermore, the Syrian army had not captured any high buildings allowing to control a large area. However, government troops were optimistic and were going to seize the aviation college and the Yellow House and to deploy closer to the Artillery College on the following day.
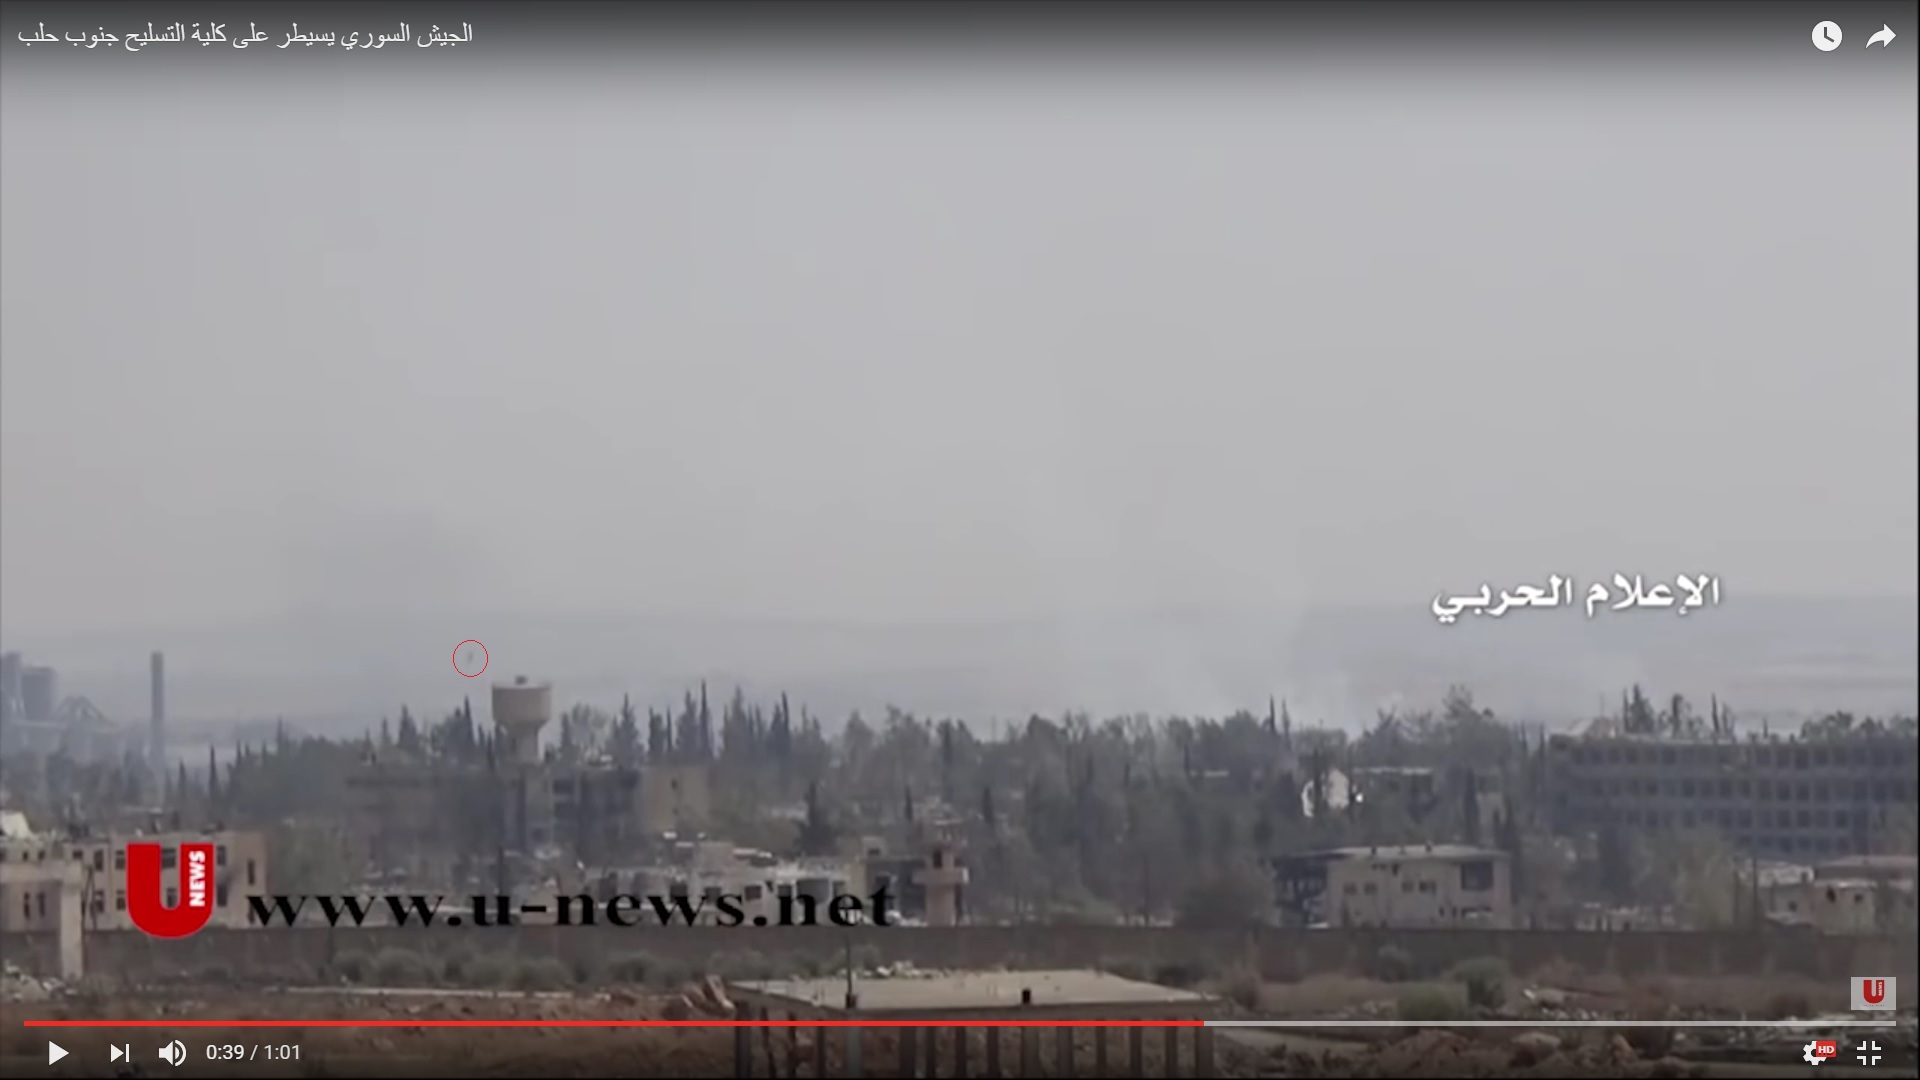
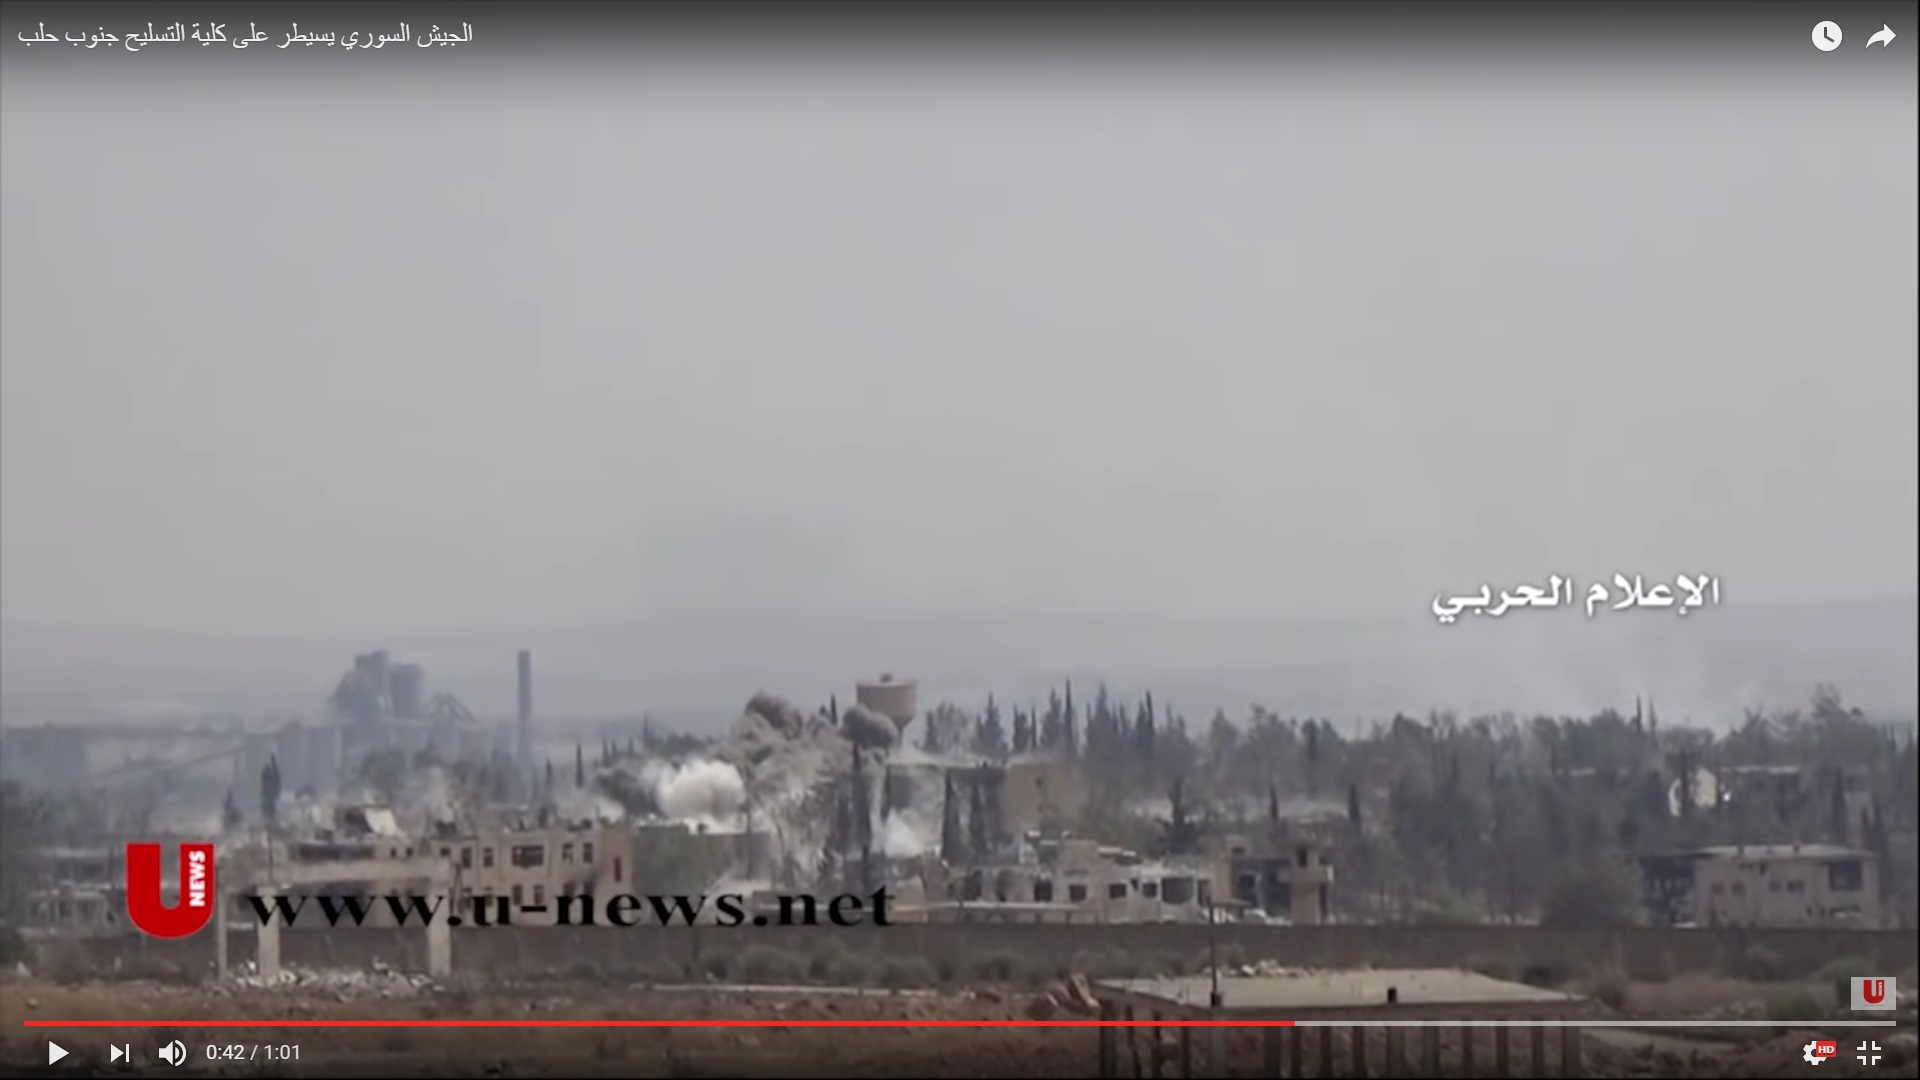
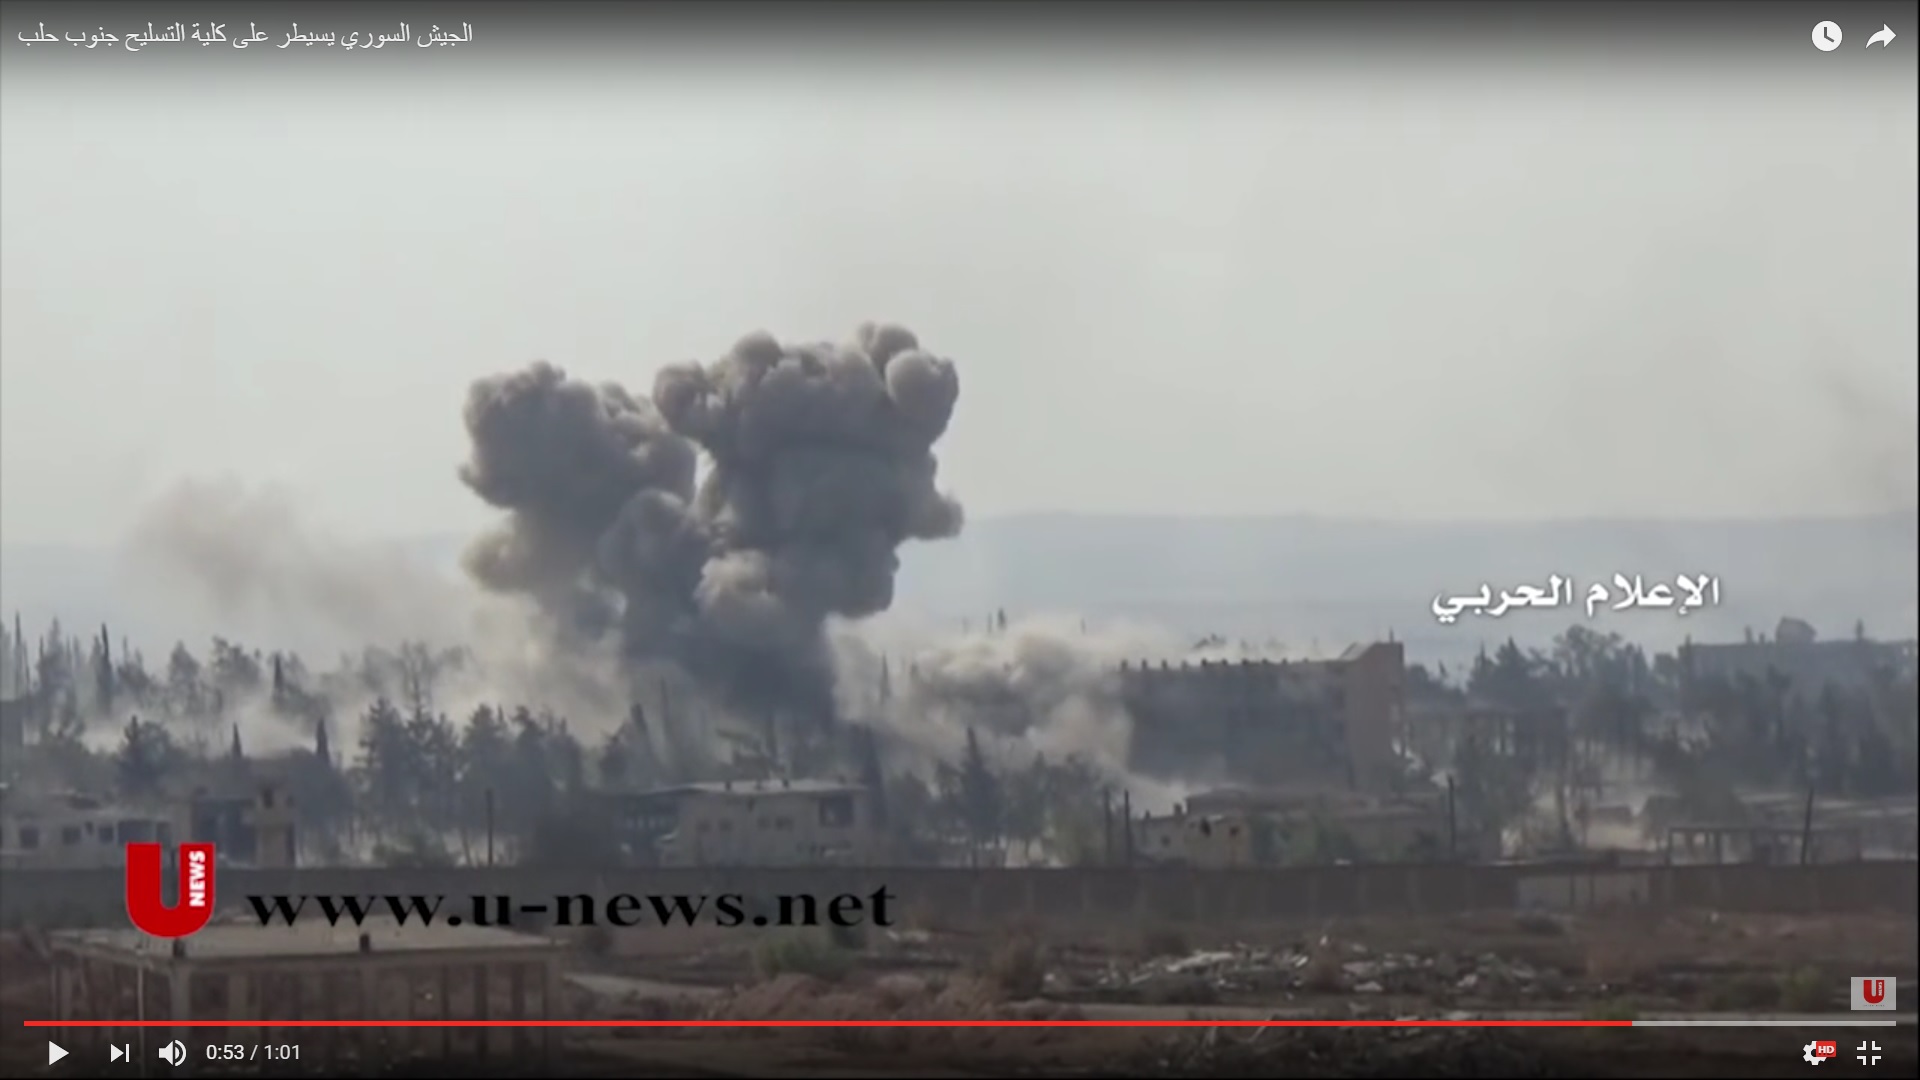
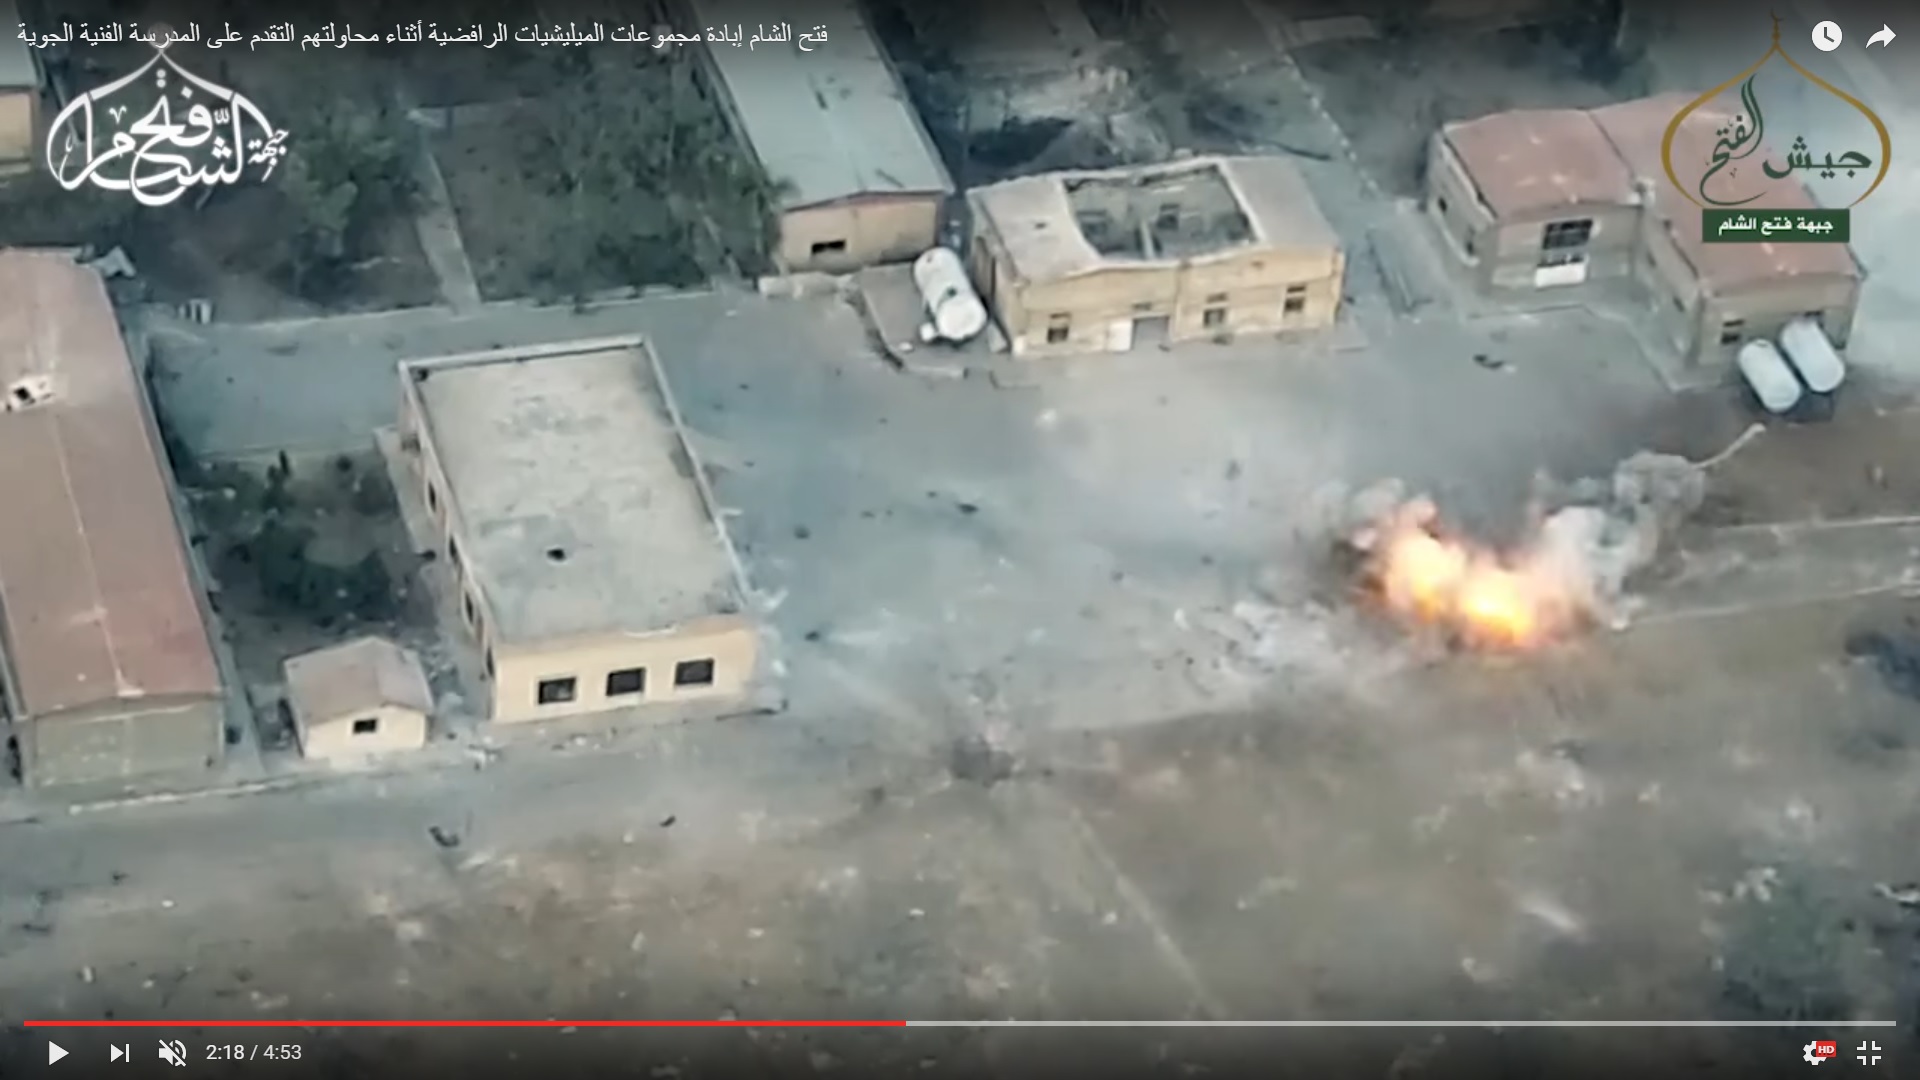
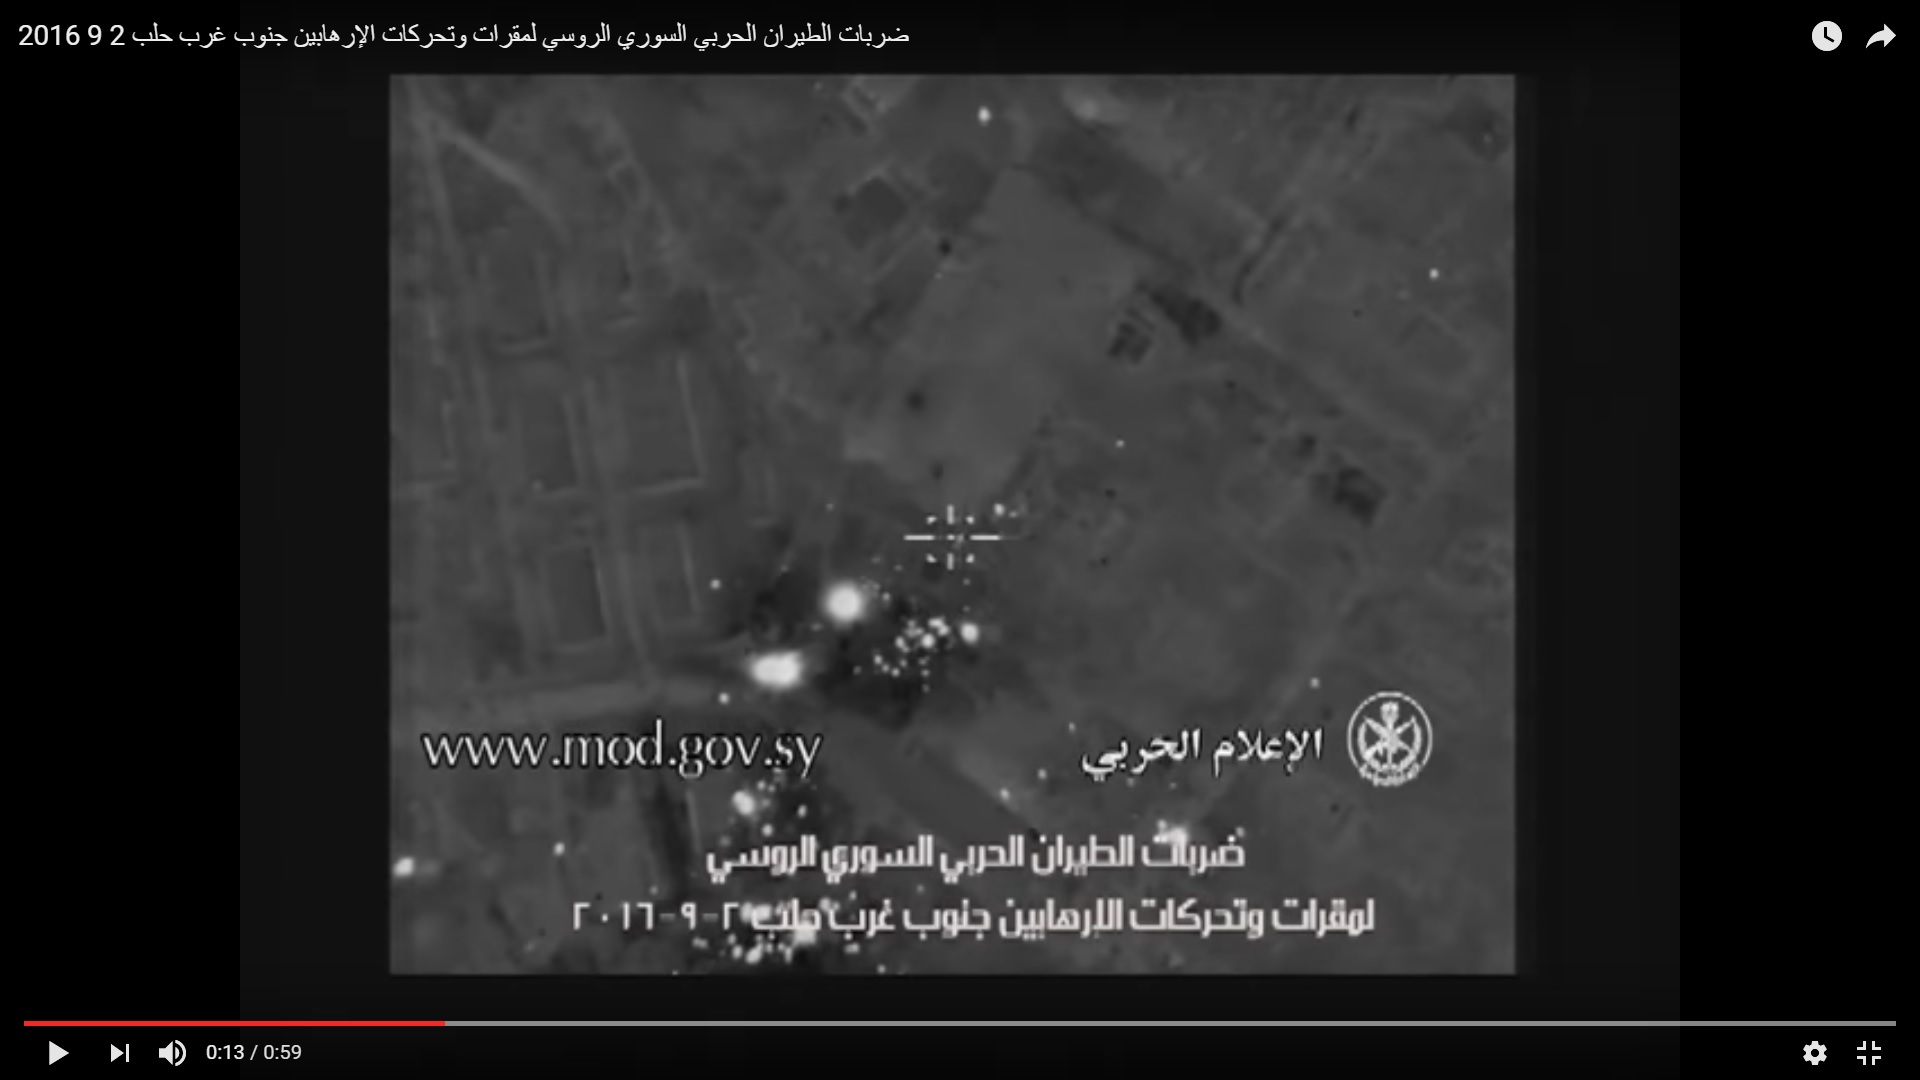
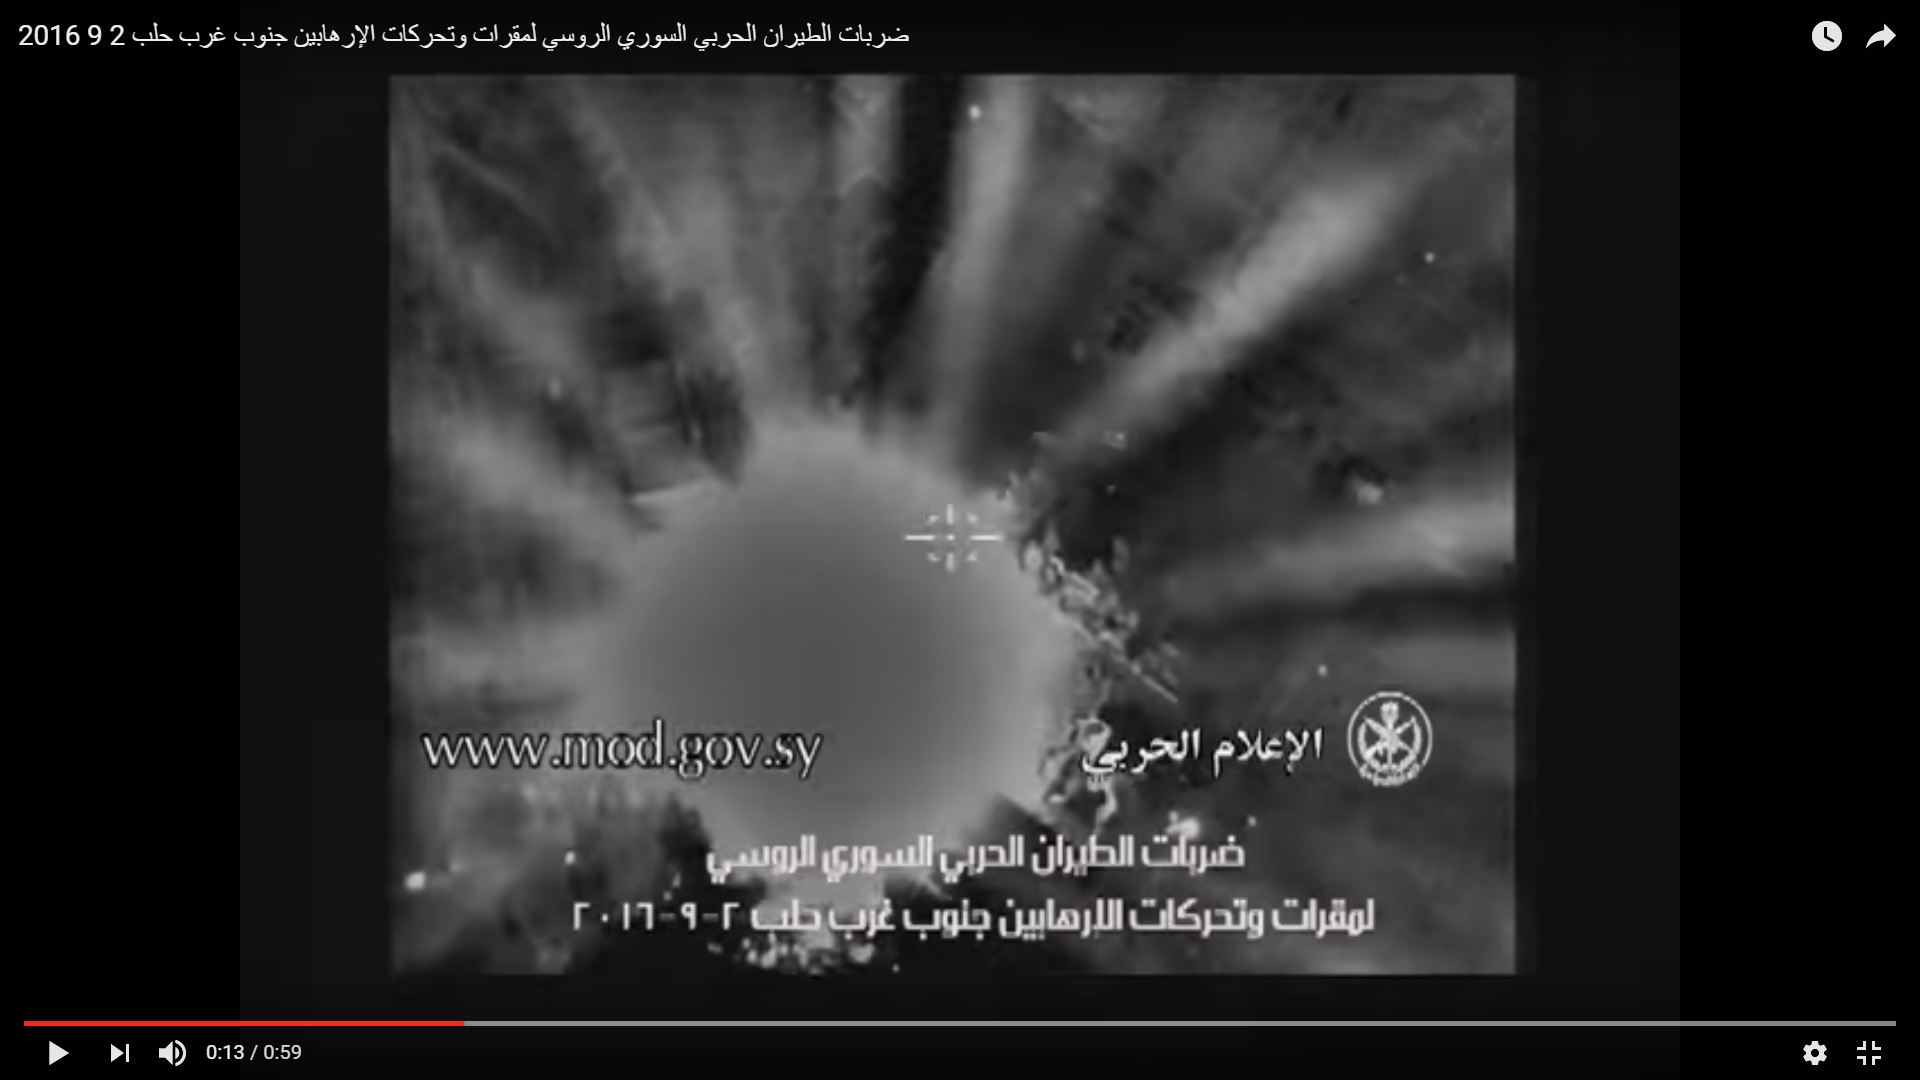
We back to our story on August 25. By this moment, government forces had not been able to achieve any additional gains in the area. Furthermore, they lost all positions captured on August 24. By they way, government troops could retreat from the area without any clashes with militants. About 300m of a technical area surrounds the Ramouseh Artillery Academy complex. So, if there are no loyal troops in the area, artillery units and warplanes are able to pound the complex without a possibility to hit allied units. In any case, the Ramouseh Artillery Base complex was massively bombed by Syrian army artillery units and warplanes during the August 24 night and the August 25 morning. The aviation college was also bombed.
The dining facility was also hit.
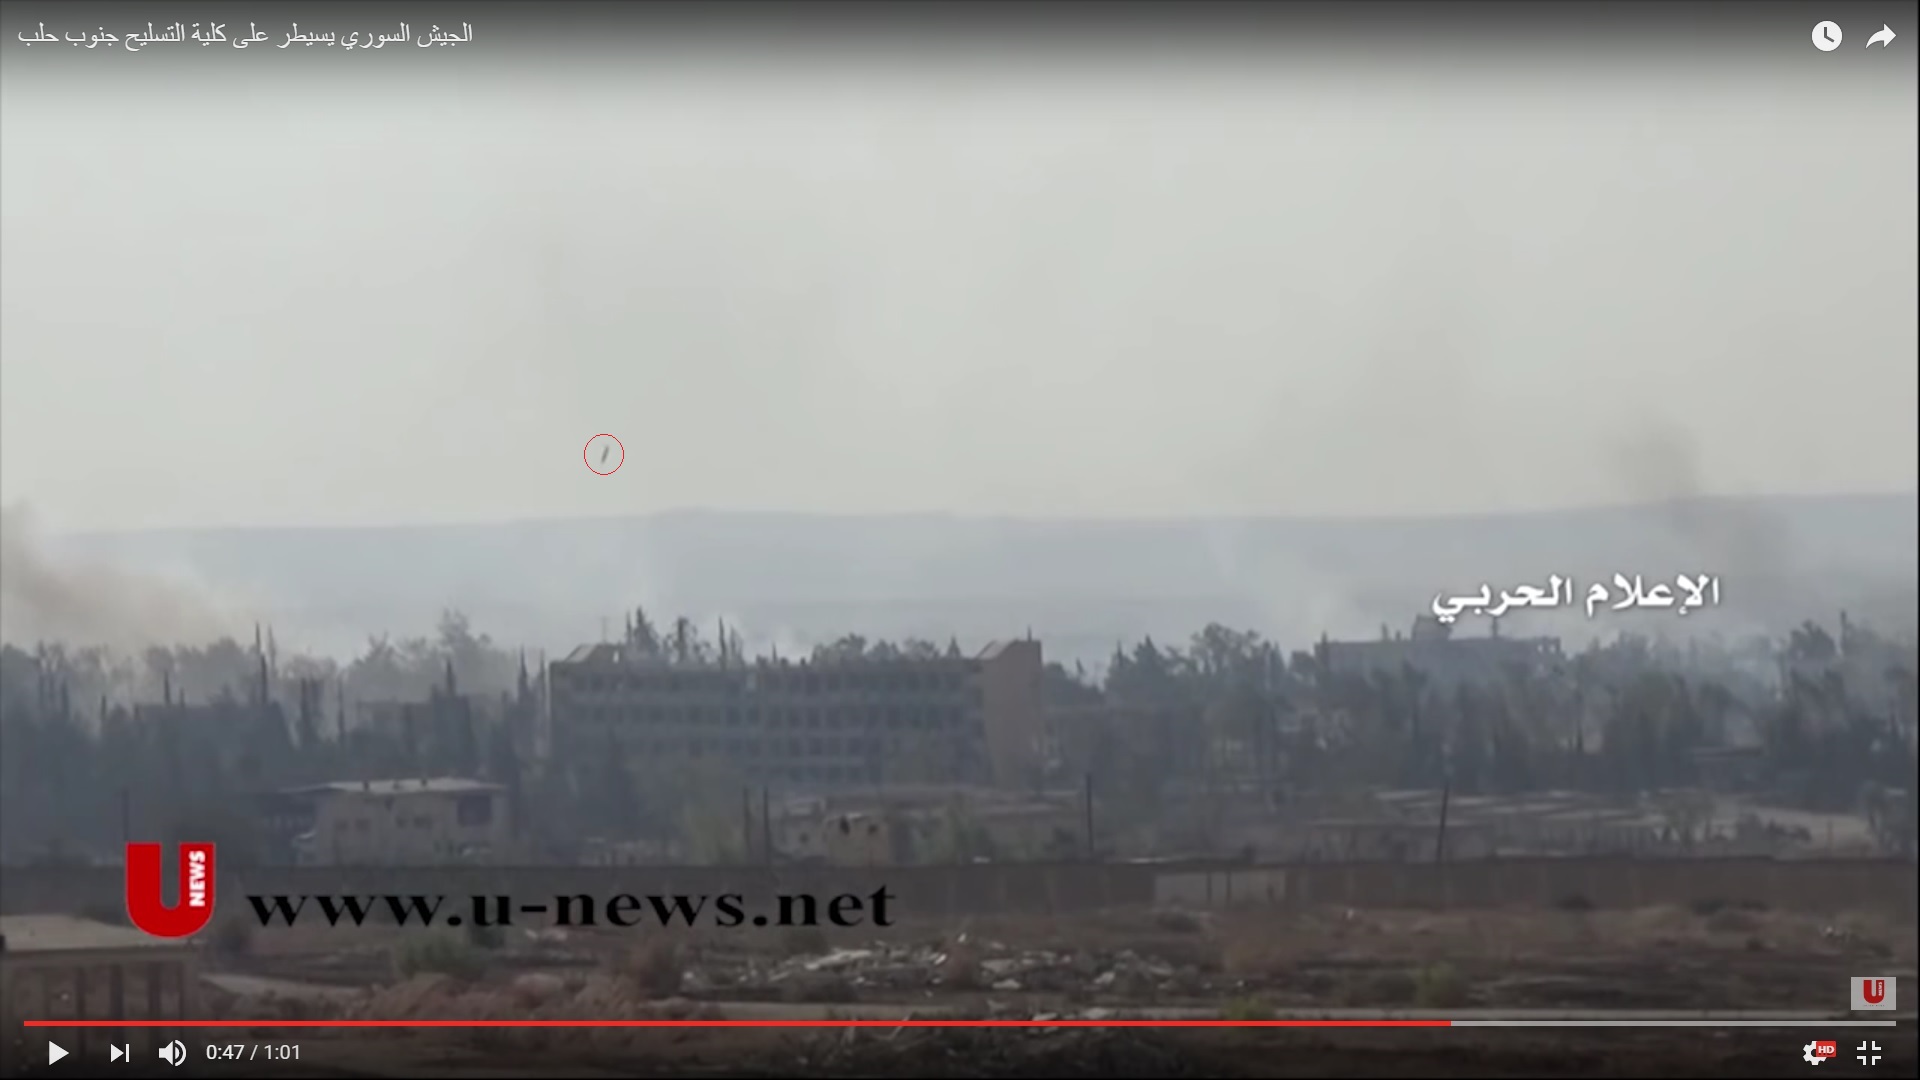
The picture allows to see an object that looks like a body in the air. According to ANNA News, 2 battle tanks and 3 BMP vehicles were involved in the government advance. These two T-55 joined the advance in the August 25 morning.
Some white bags could be seen at one of the tanks. Most likely, it came to the area to replace the tank burned on August 19. Let’s look at it closer.
It could be seen that the tank’s turret is also defended by bars.
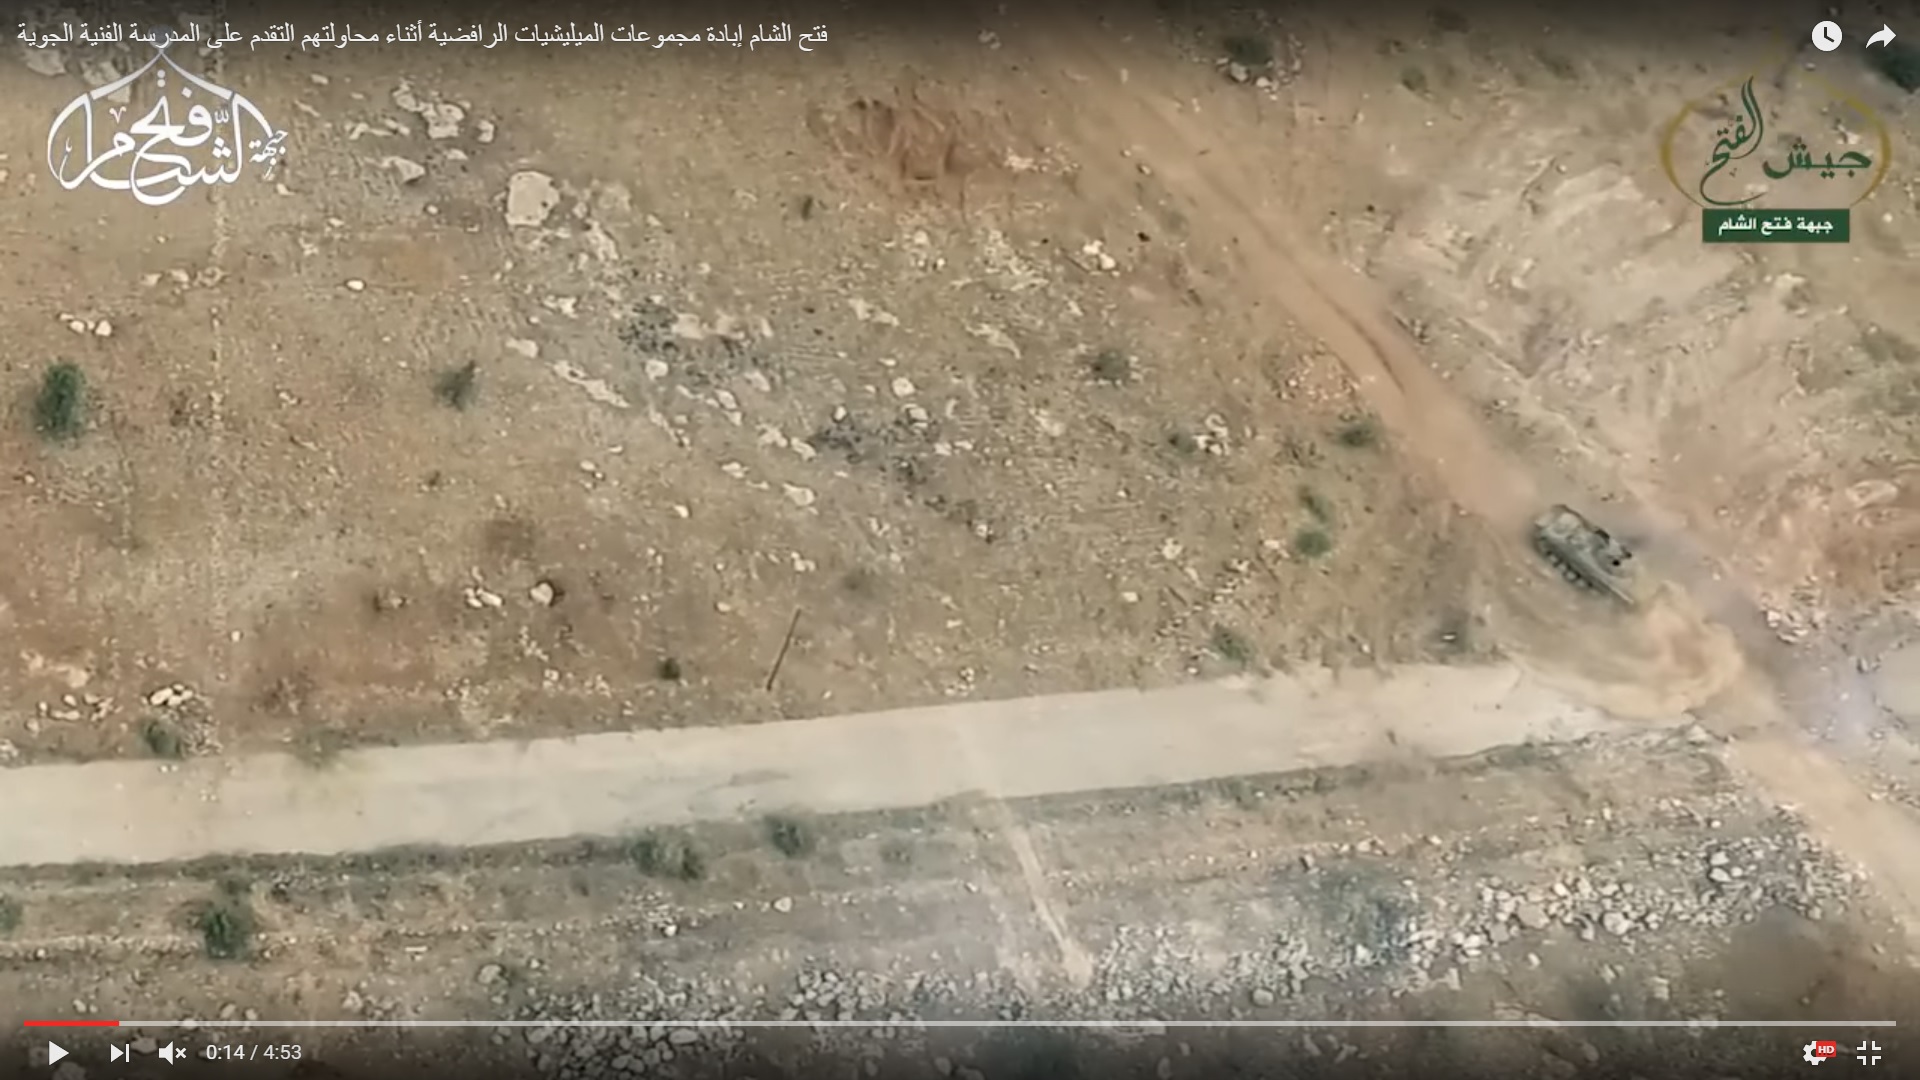
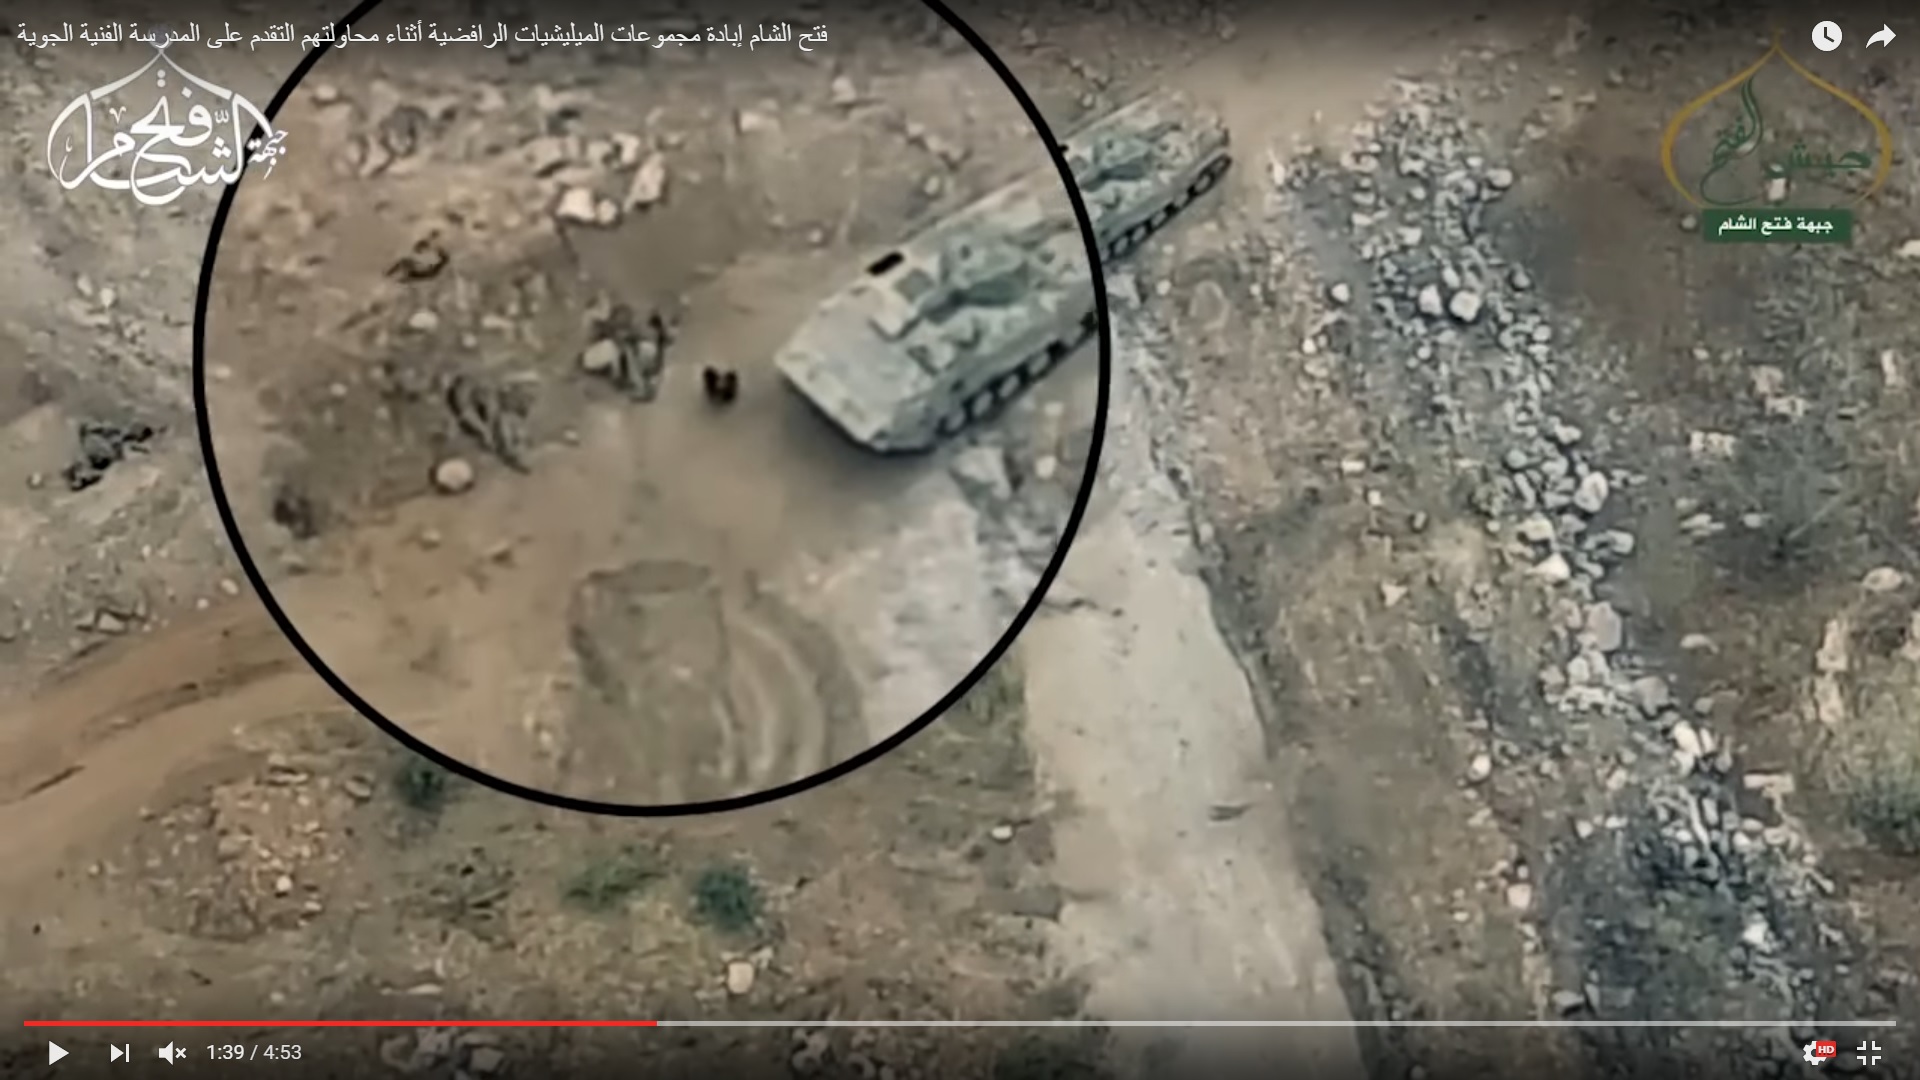
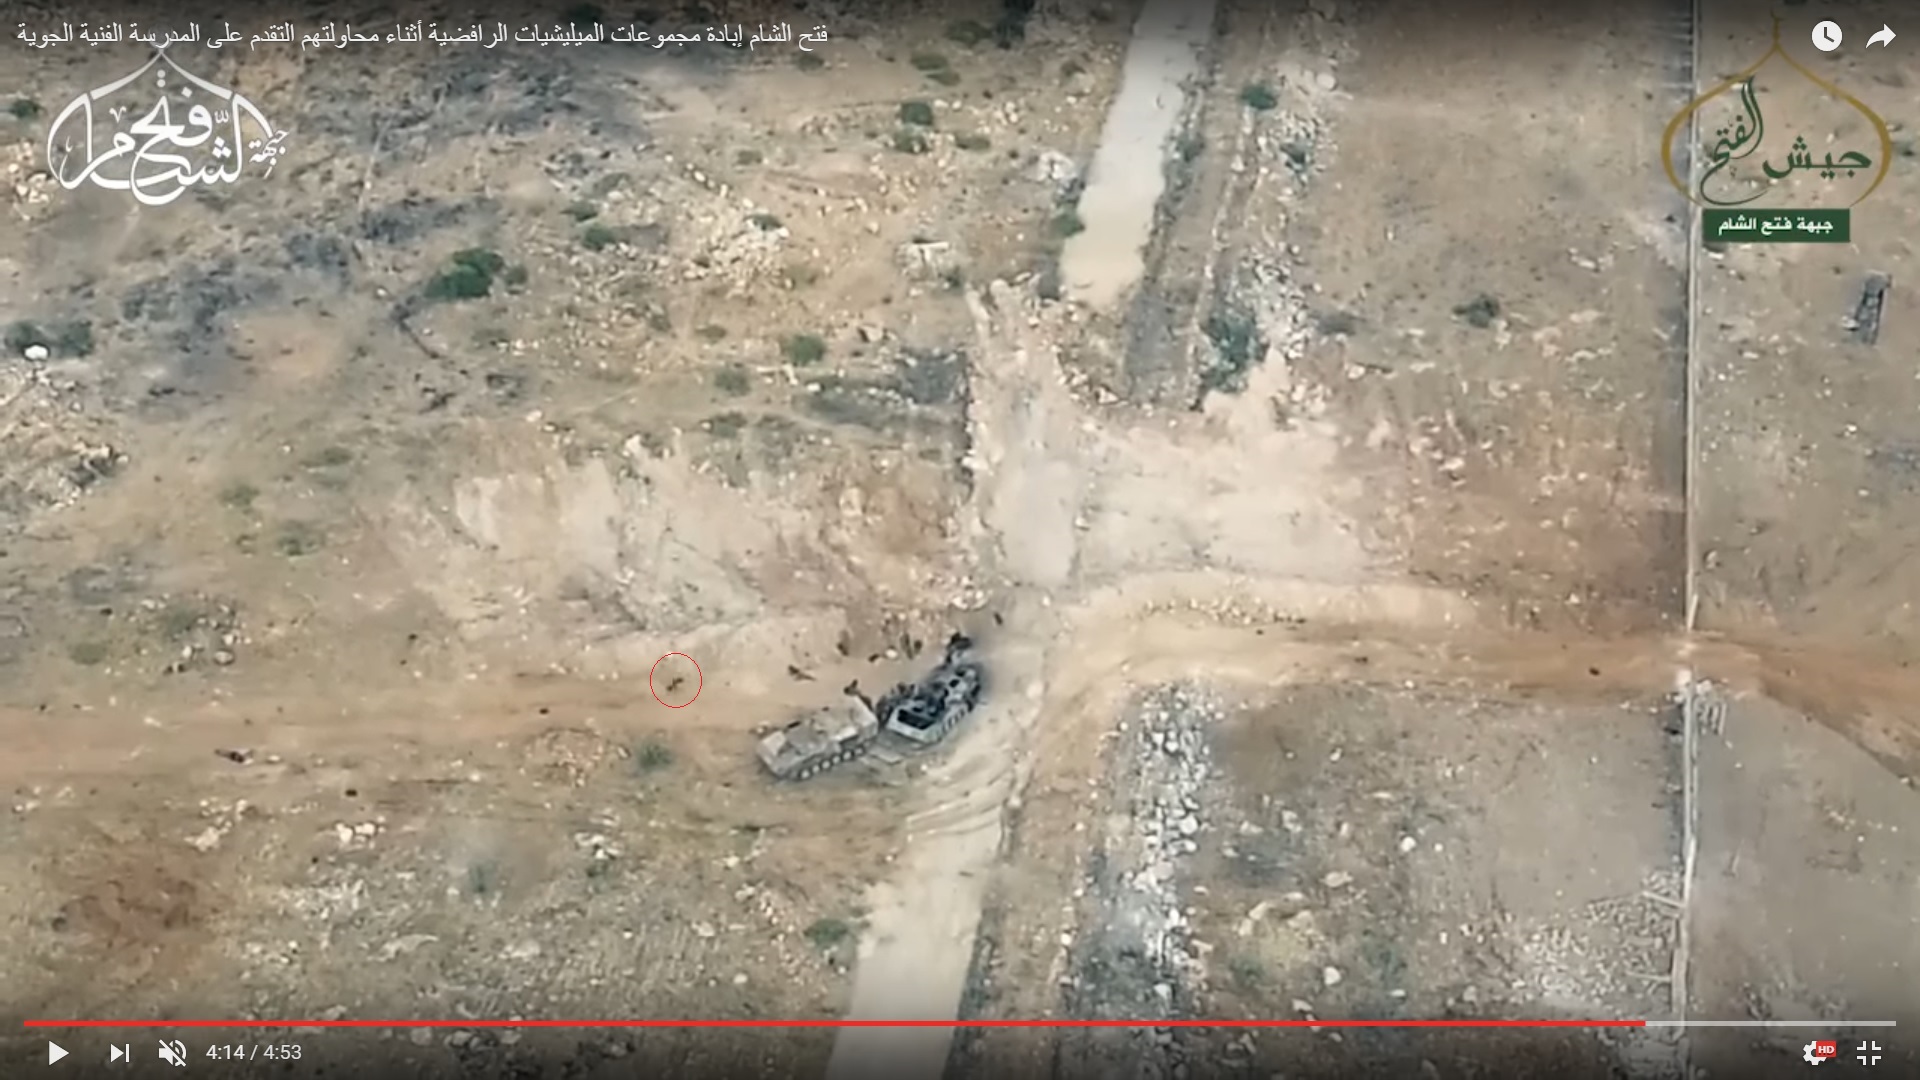
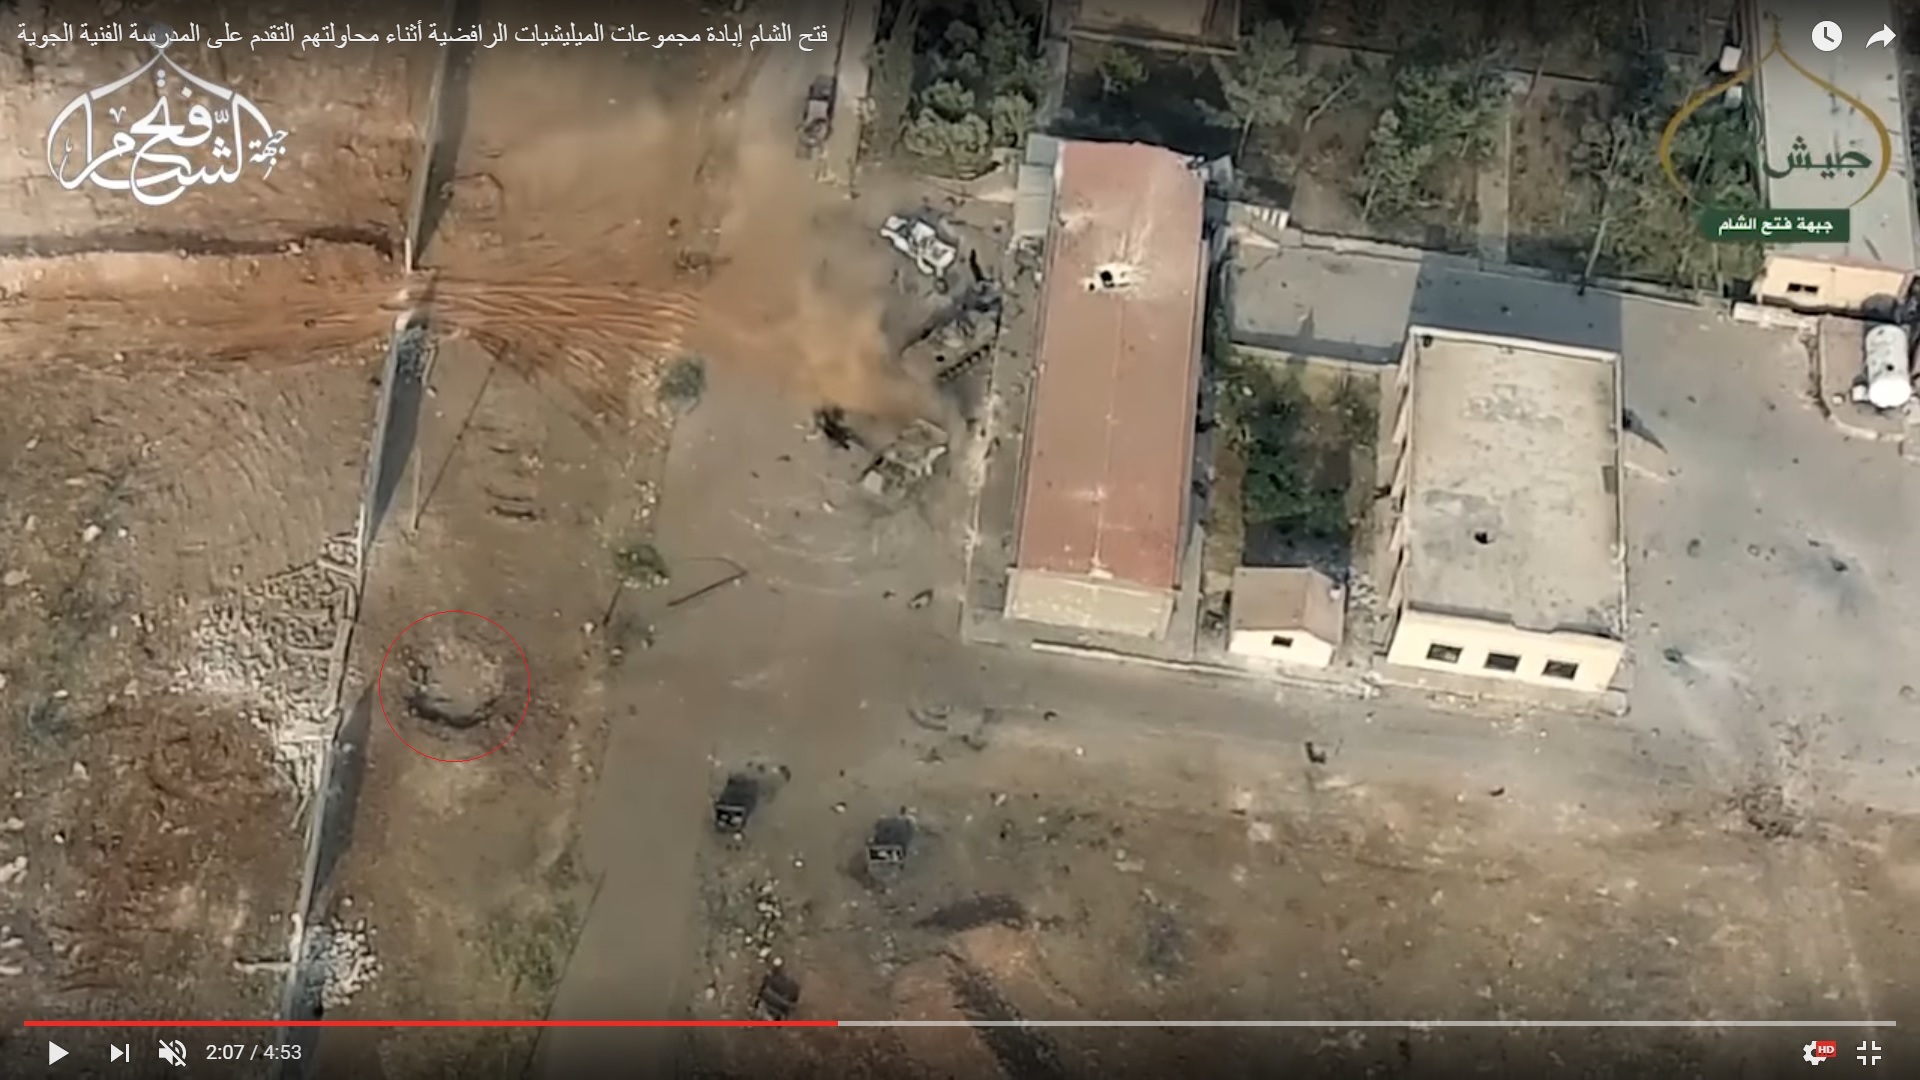
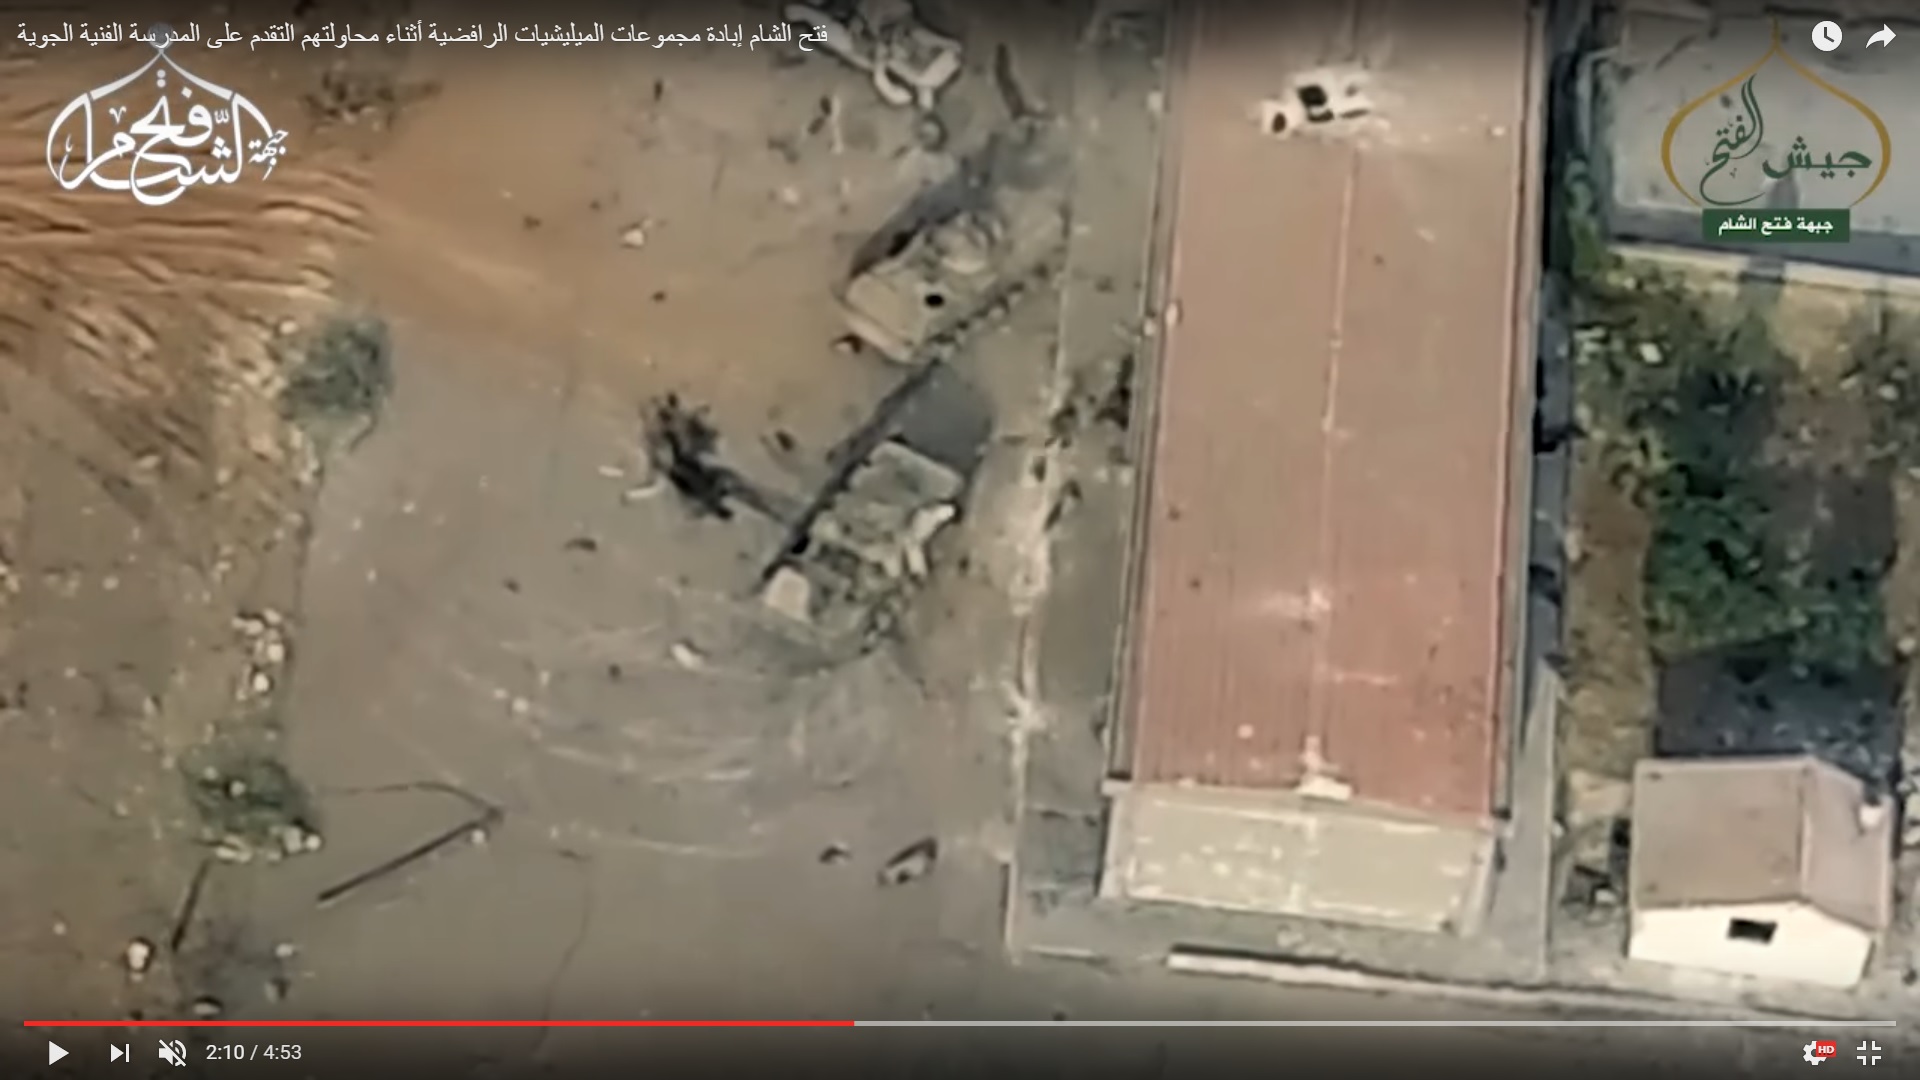
Following the shelling, a BMP-2 with an assault force moved to the depot, using a common way of government forces advances on the Ramouseh Artillery Base complex. Militants responded with machine gun fire (red circles) from the Yellow House.
It also should be noted that one body (located closer to the buildings) has been removed from the road since August 19 and 4 bodies (located closer to the fence) have been added.
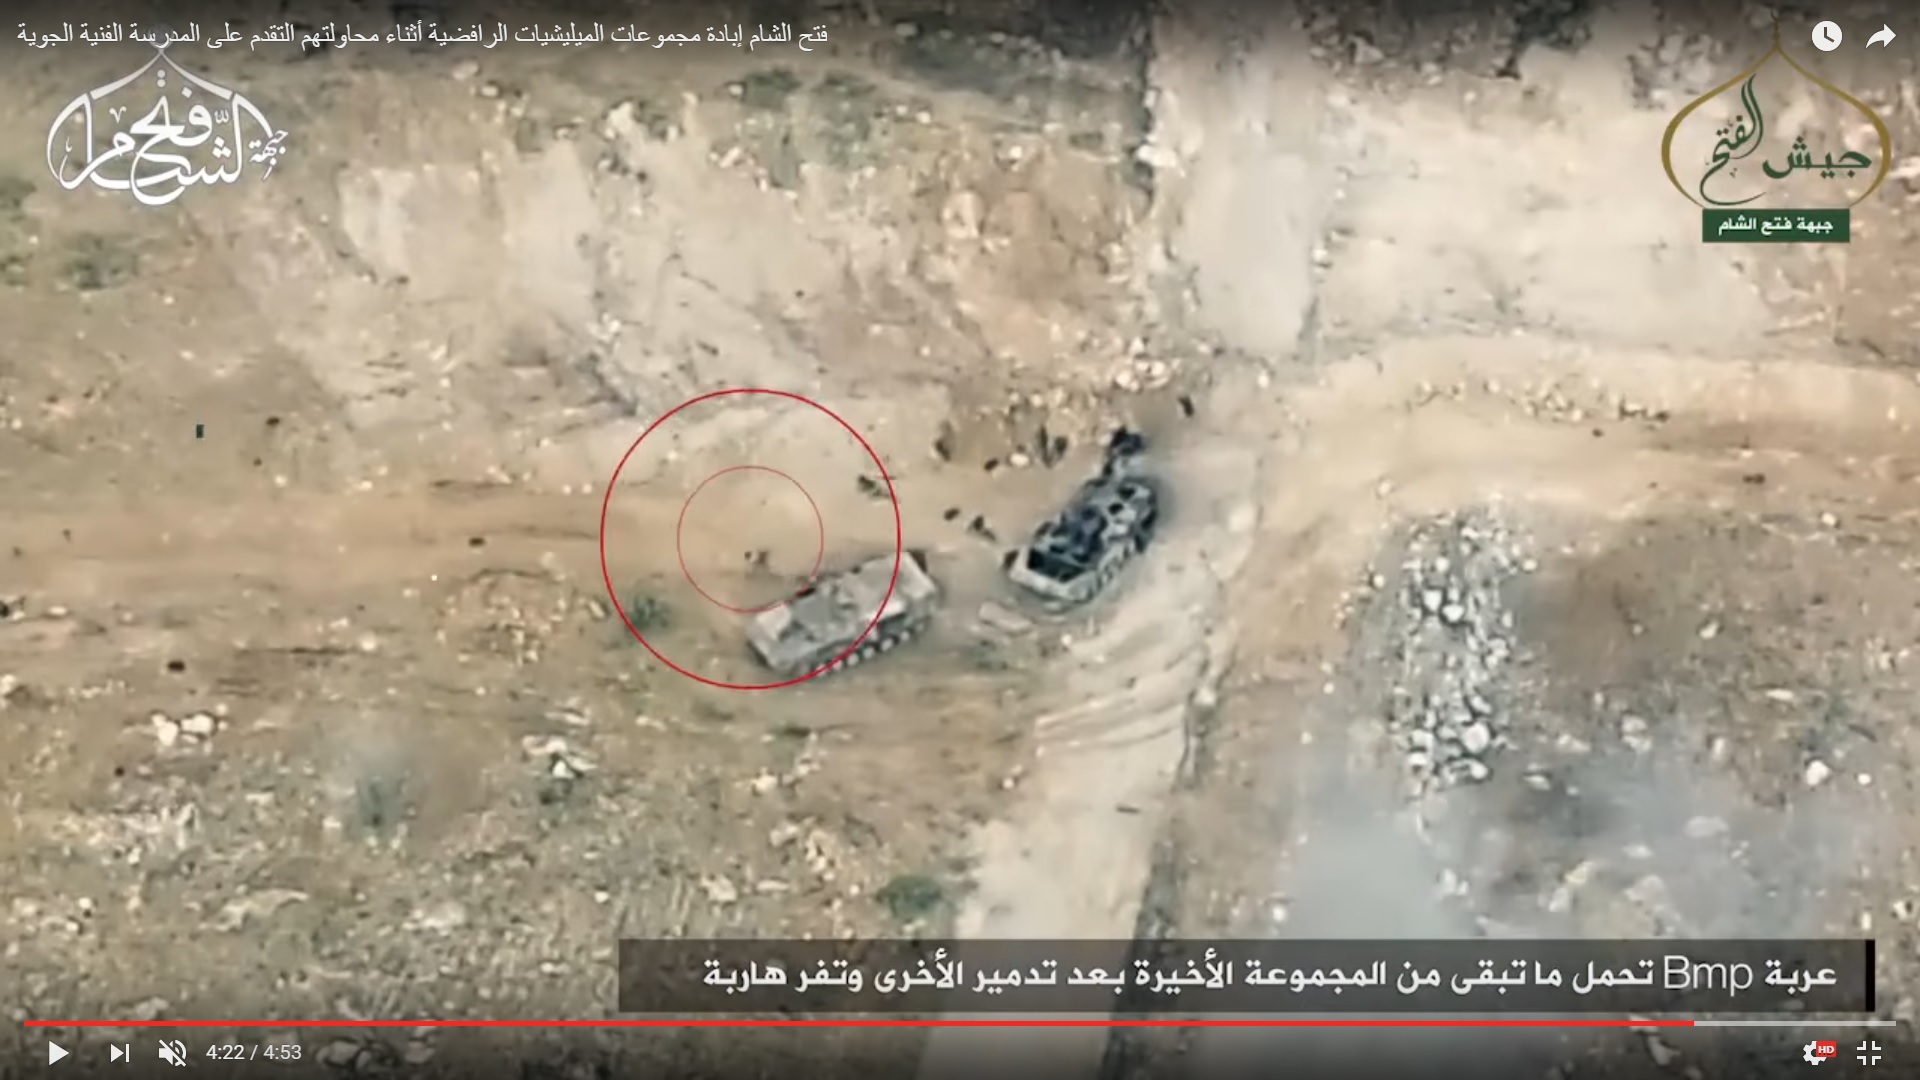
It looks like that the BMP driver lost his nerve as soon as first shots hit the BMP armour. Probably, he imagined how militants were preparing a RPG round to use it against the BMP in the depot area. So, he decided to land the assault force near the last pathway crossing his road to the depot.
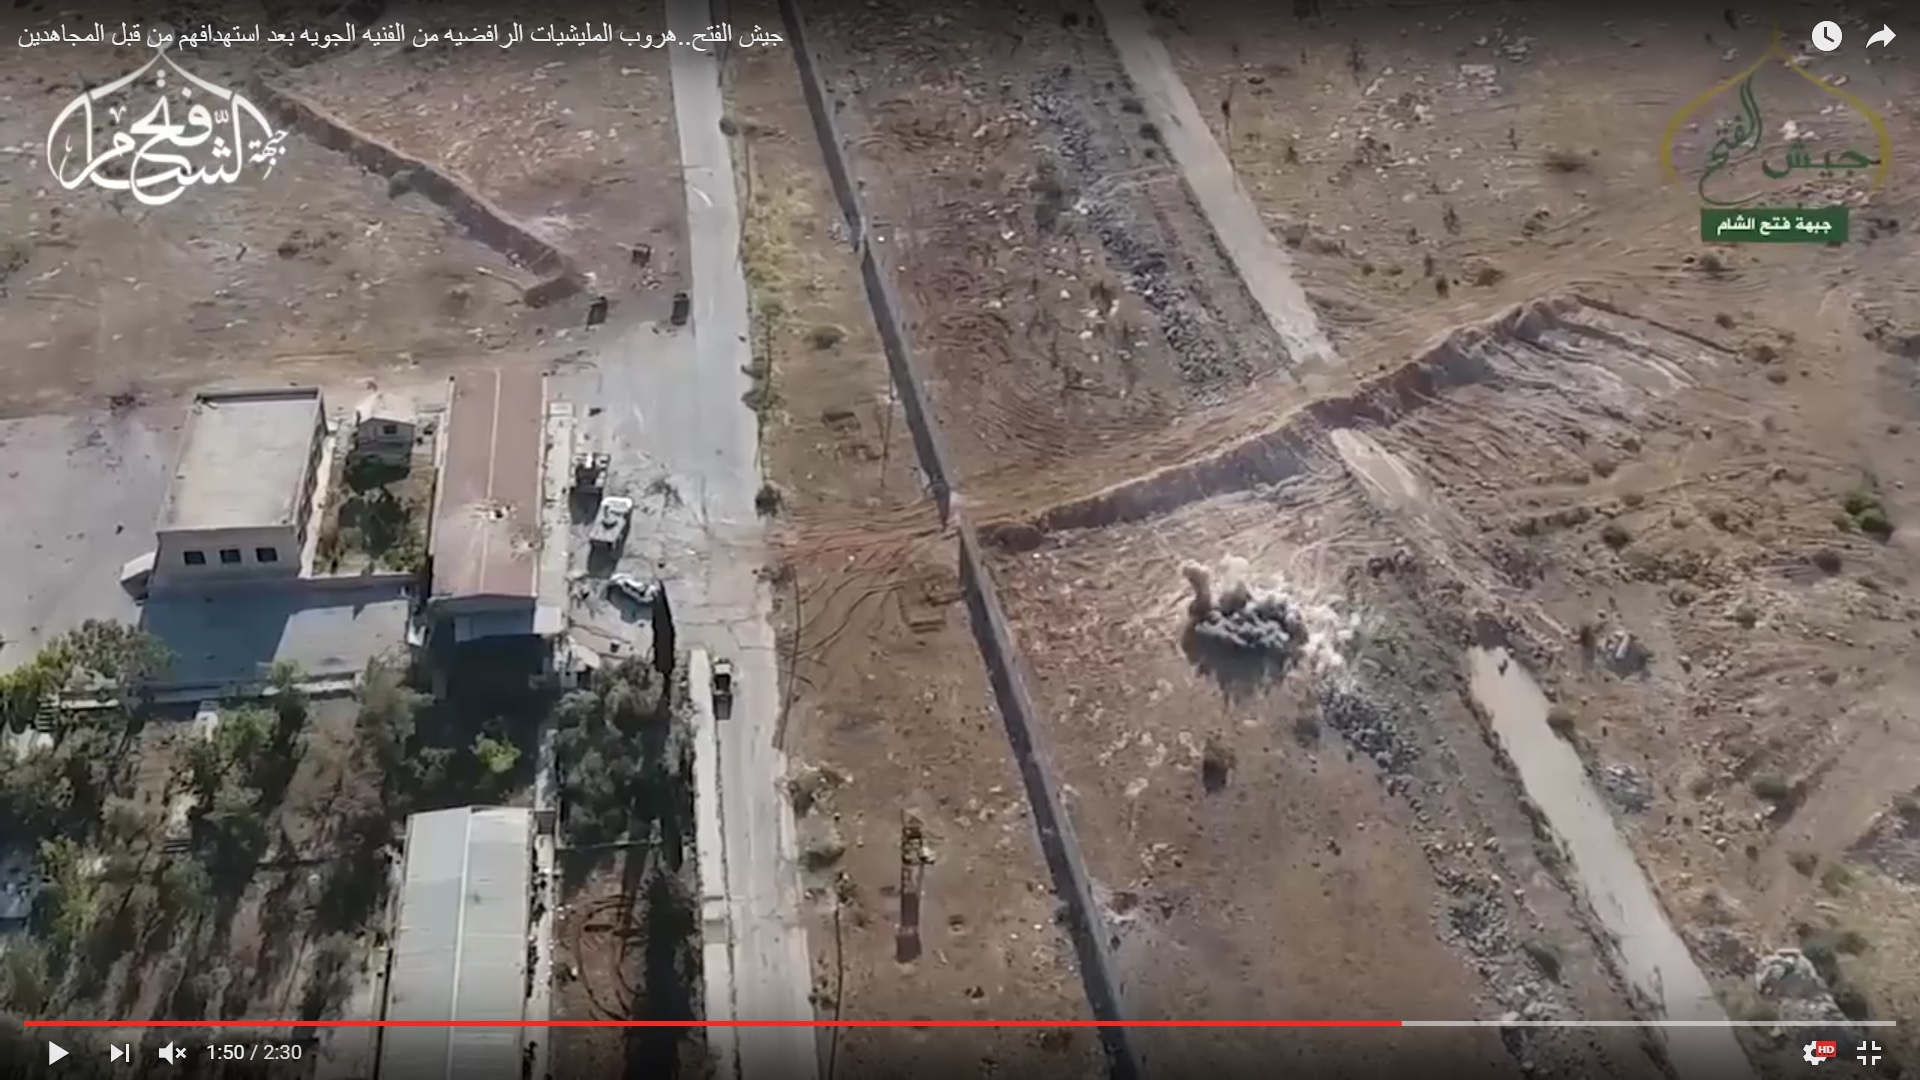
This was a very bad place for the landing. If he decided to do this earlier, soldiers would be able to withdraw back using a revetment. if he did this closer to the depot, soldiers would be able to hide from the fire using the fence.
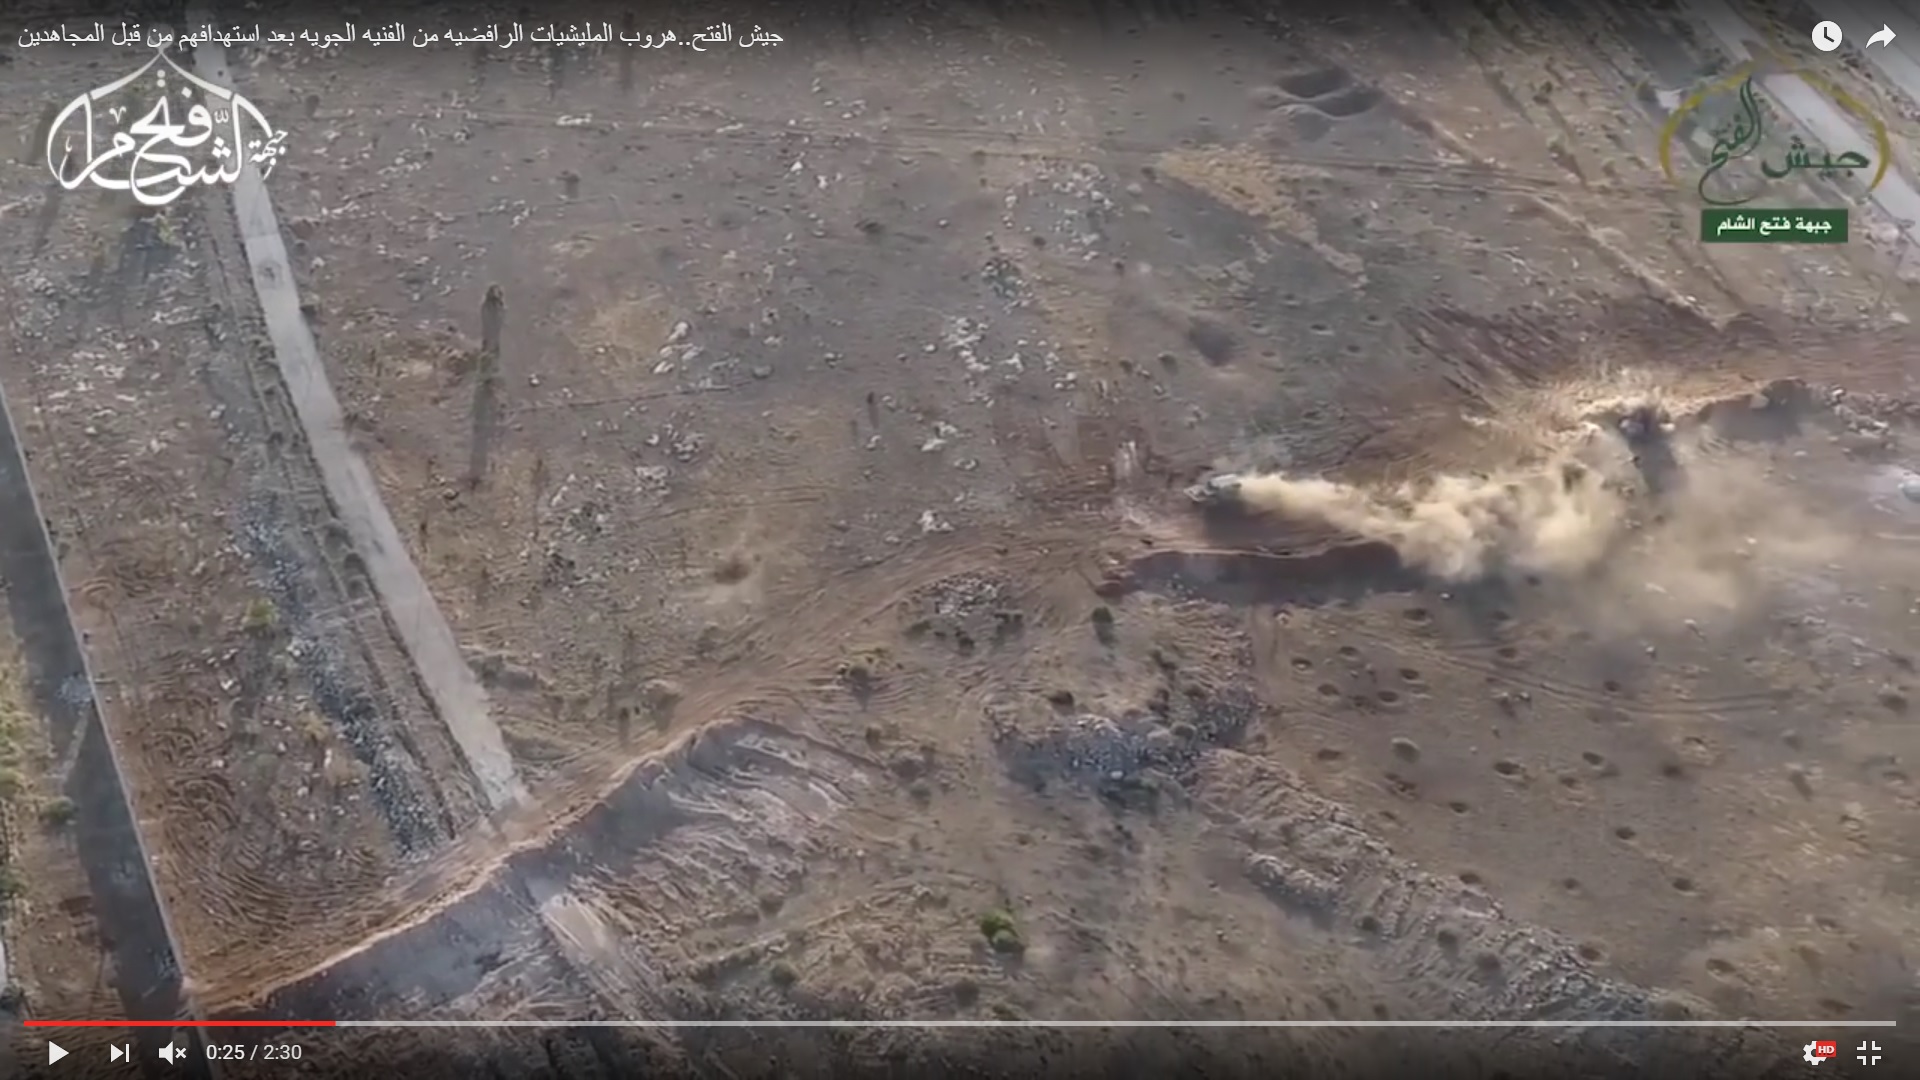
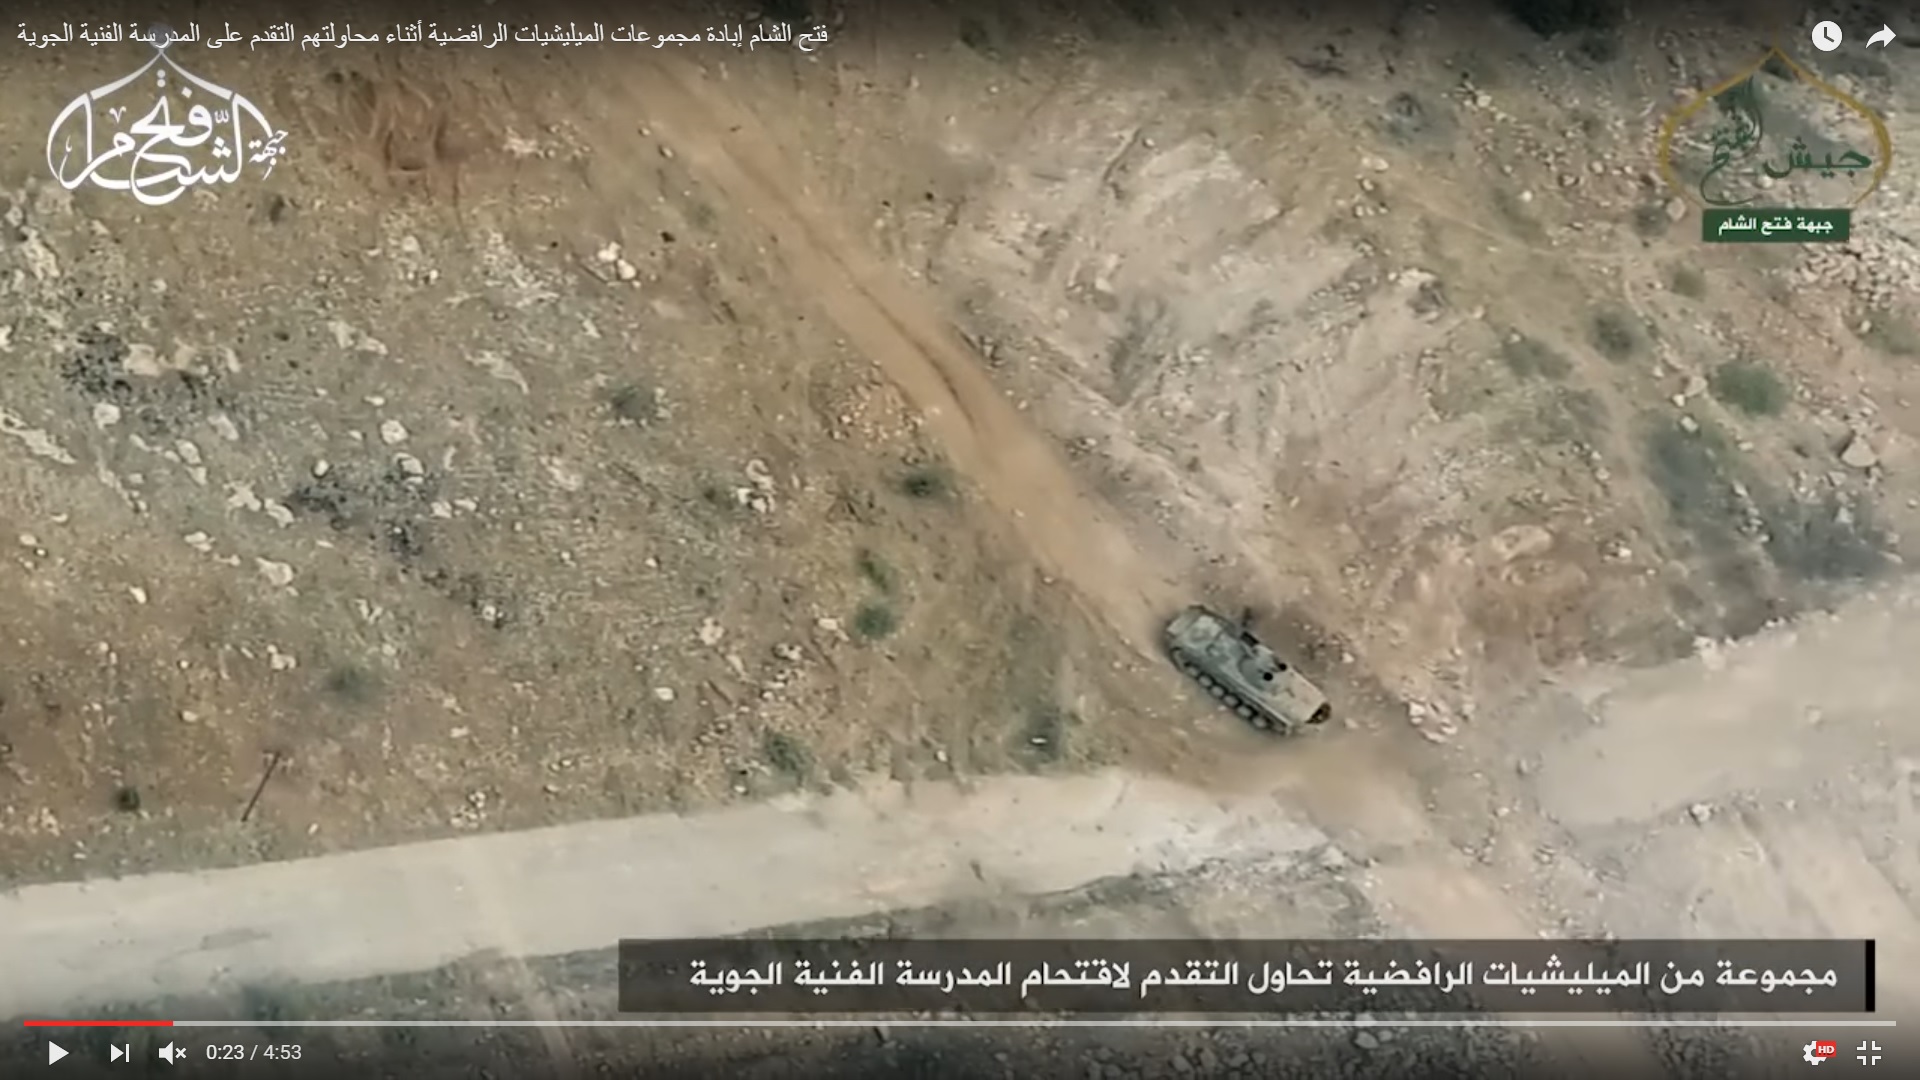
However, the decision was made…. Furthermore, the BMP turned its rear to the militant-held area, dropping soldiers. Thus, militants were able to fire into the opened doors.
The situation could be improved with a dust cloud (at least partly), but the driver didn’t fix the armoured vehicle and it rolled few metres before soldiers were able to leave the vehicle. Thus, militants saw clearly government troops near the vehicle.
As soon as troops left the vehicle, militants opened fire.
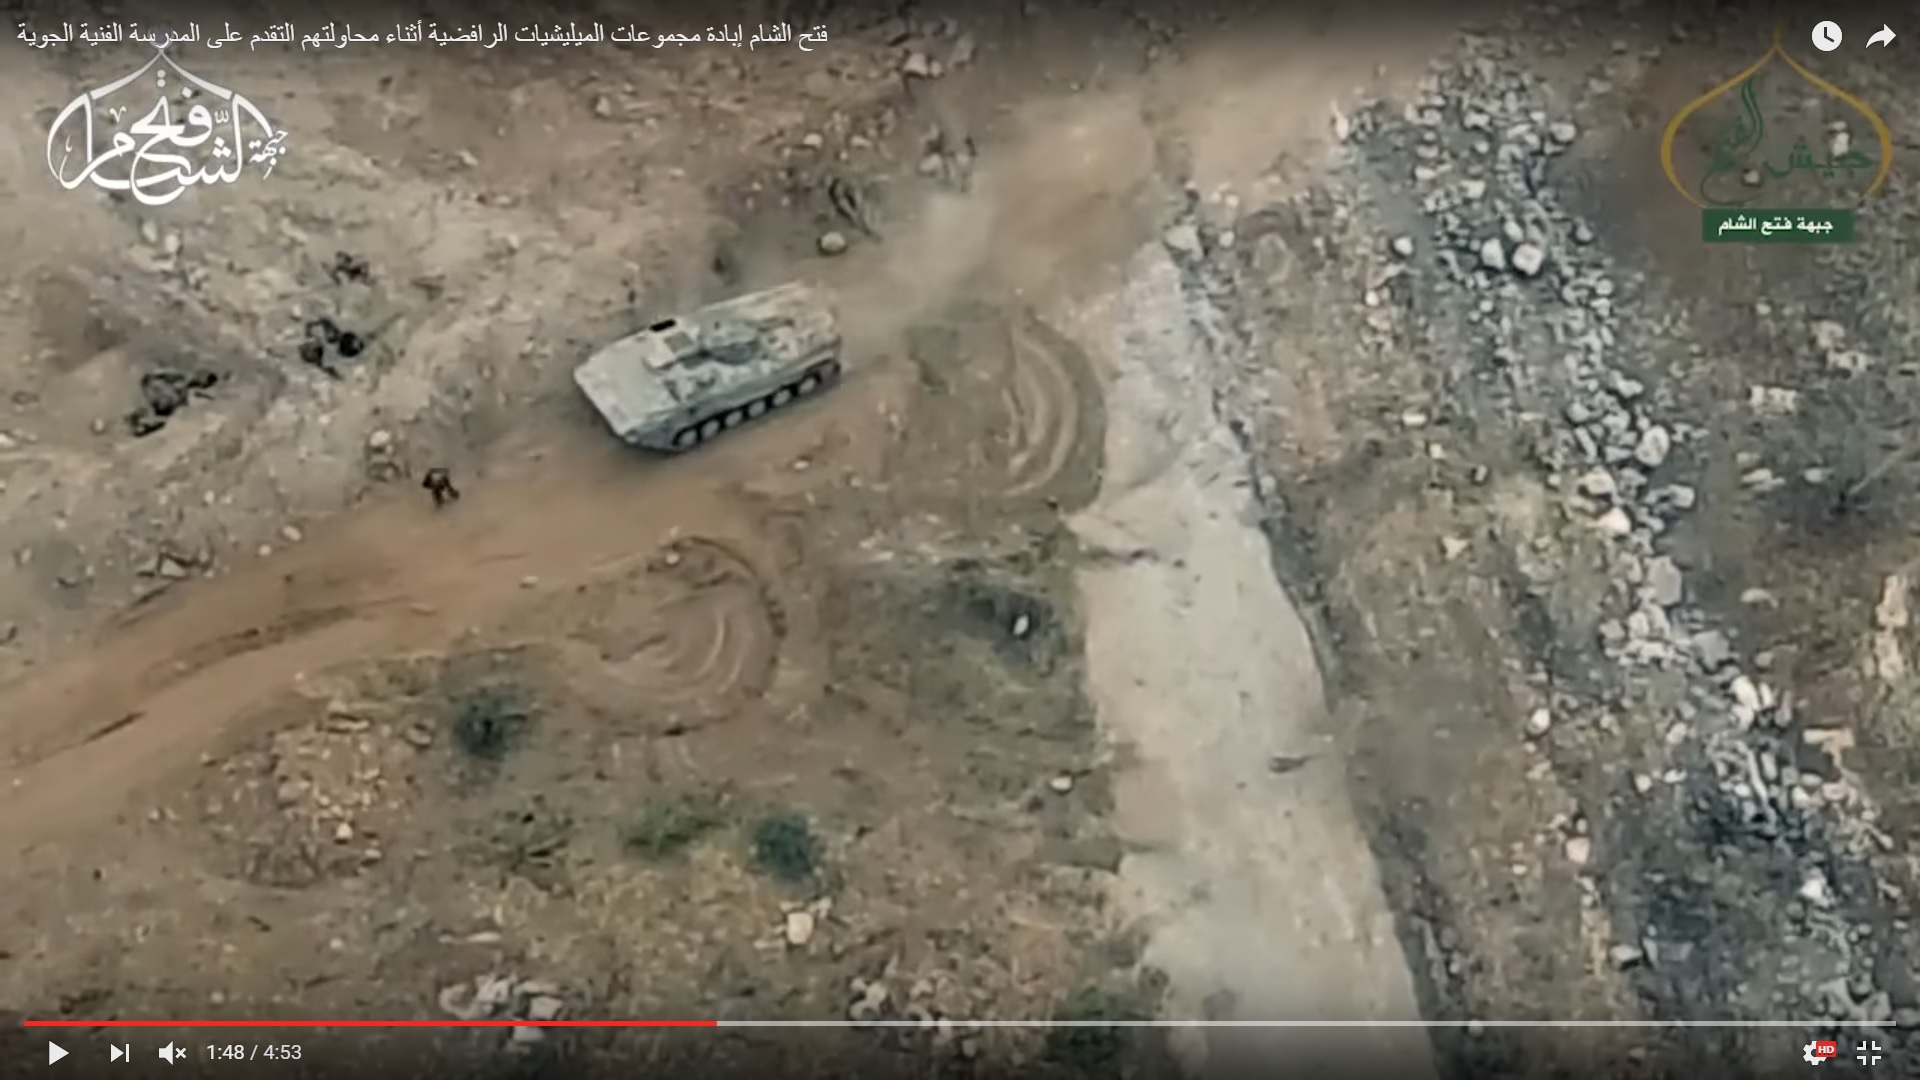
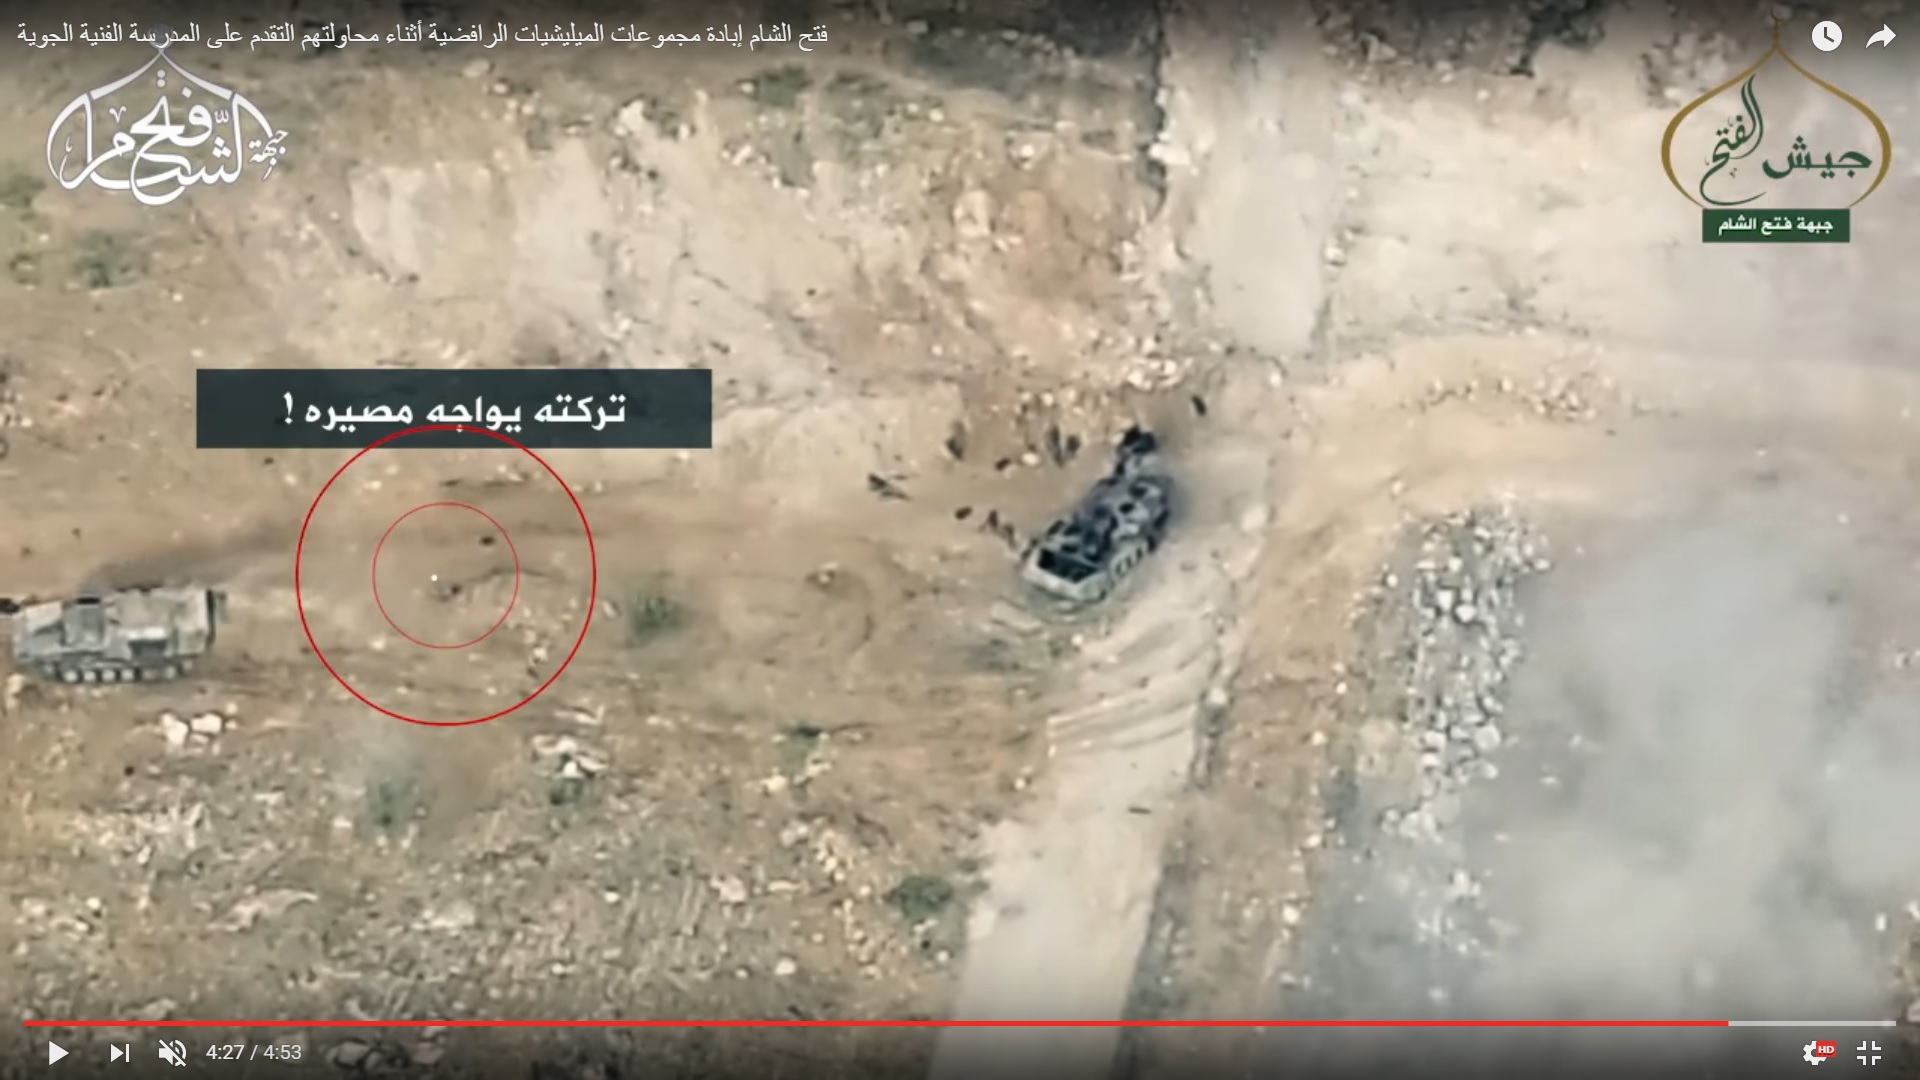
The BMP started to move back in the direction of the government-held area. Government troops were attempting to hide from militant fire. Most likely, they were not even informed where they were dropped. This is why they didn’t attempt to reach the fence or to reach another side of the revetment.
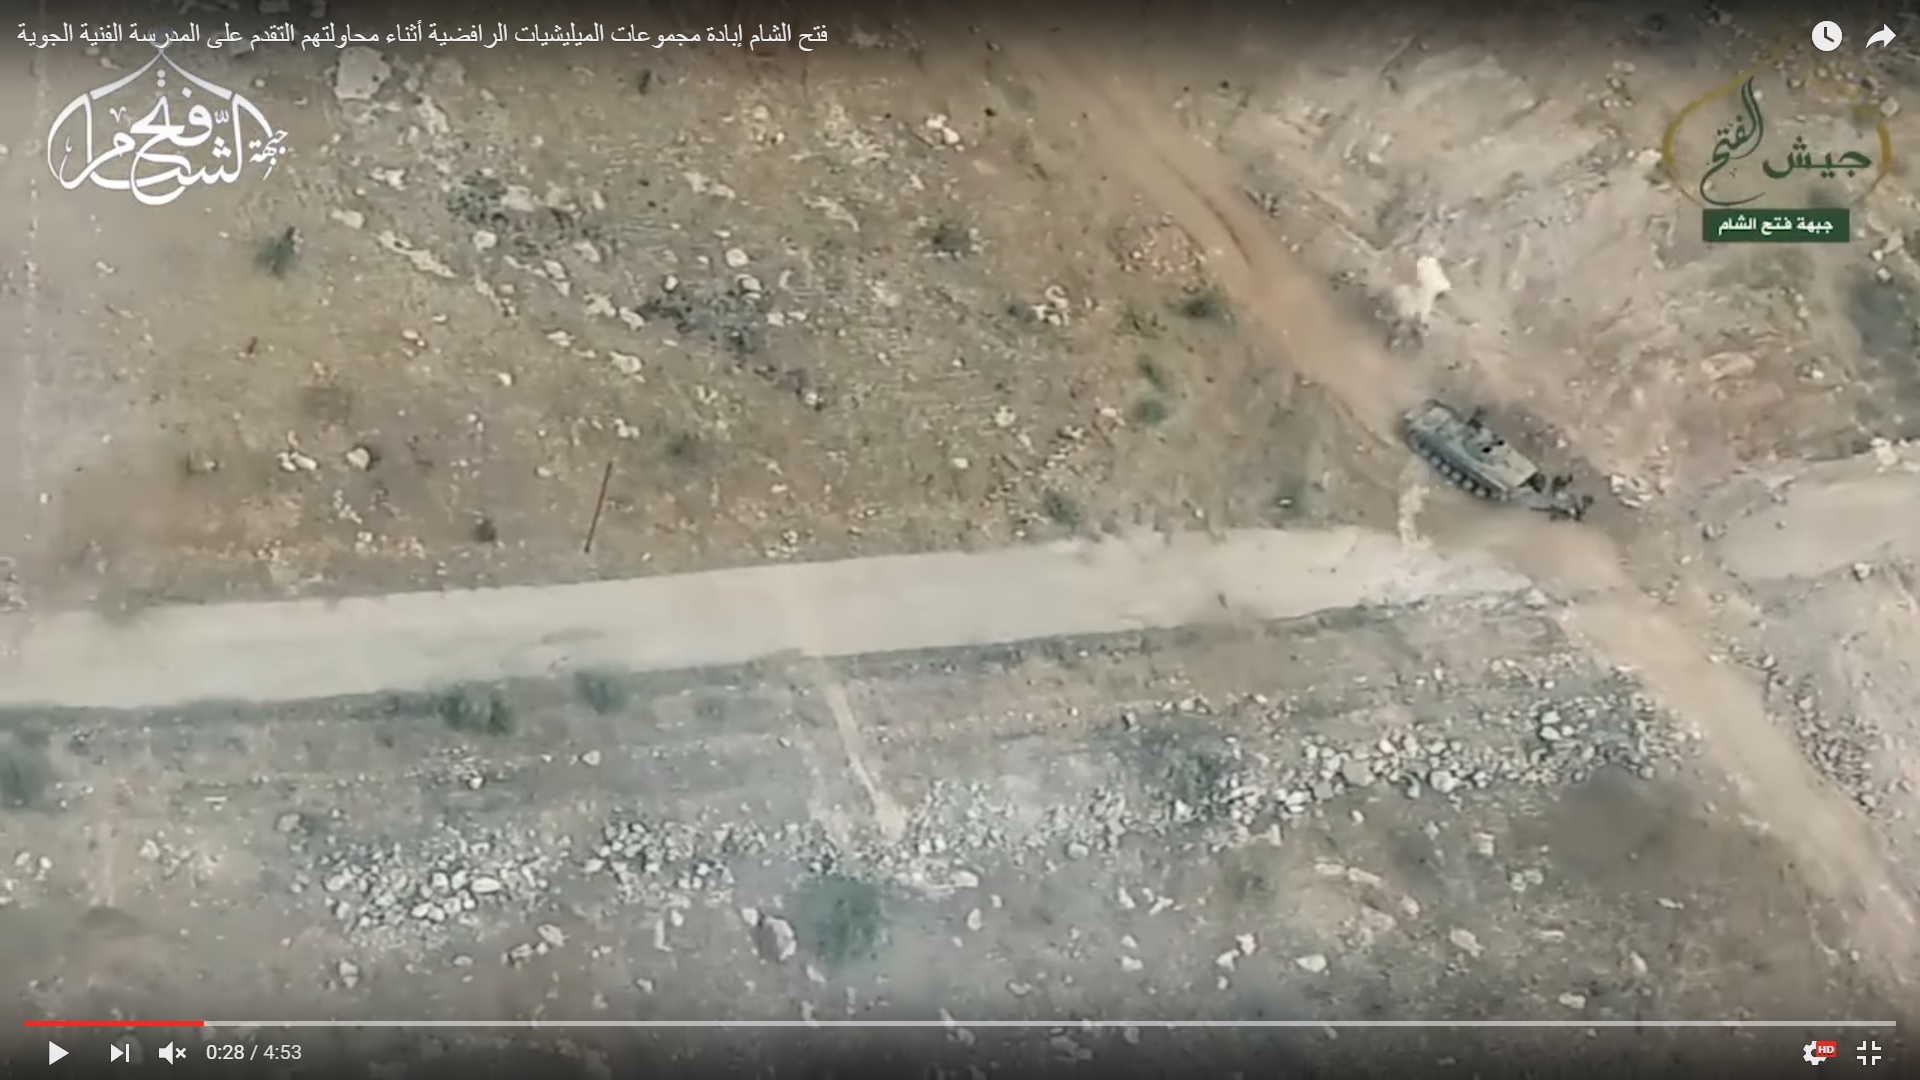
The BMP suddenly stopped. According to ANNA News, soome BMP driver was injured on the road. Probably, it was the reason.
However, after some pause, the BMP left the area. Soldiers remained on the road under machine gun and mortar fire.
The drone video shows another BMP vehicle arrived.
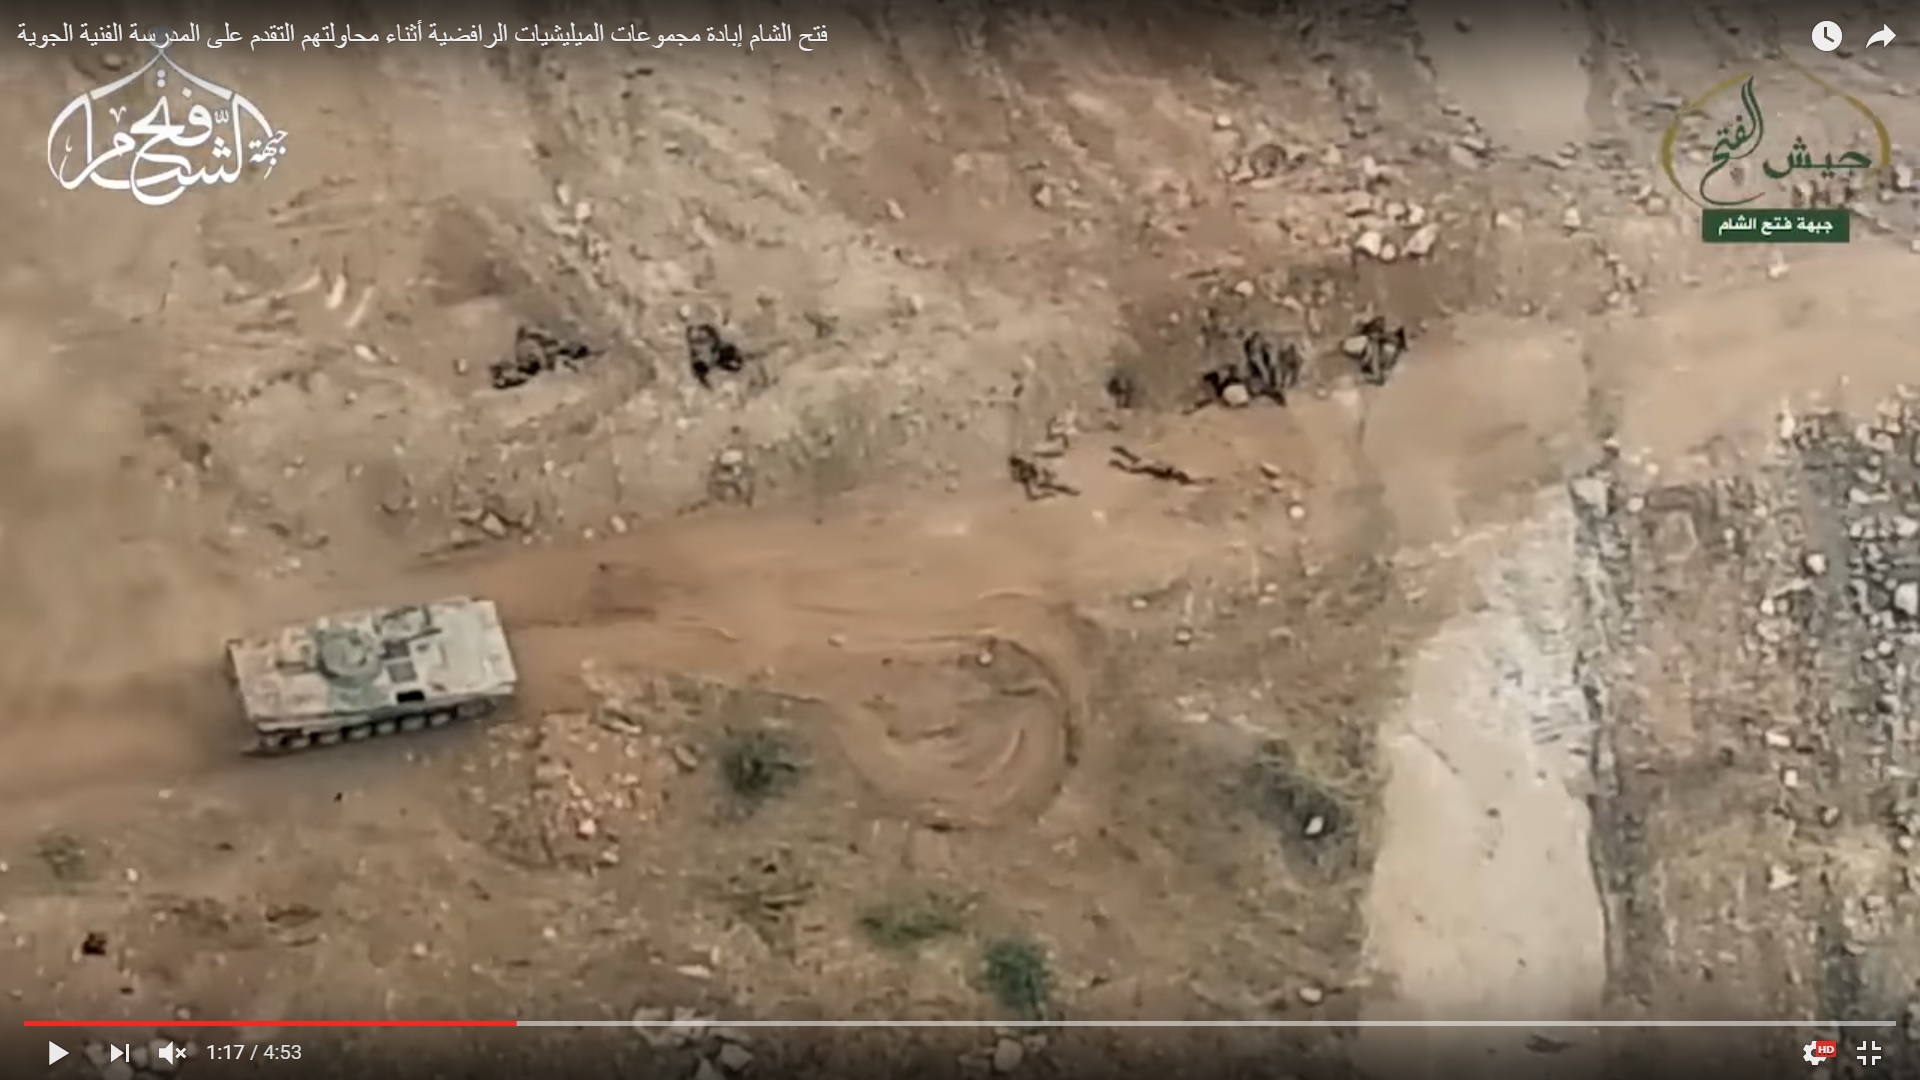
We can see that another banch of troops had been delivered to the area – two groups of soldiers on the other side of the revetment. They were able to hide from the fire.
But what did happen to the group of soldiers on the road?
The BMP reached the soldiers on the road and stopped. Two soldiers standed up hiding behind the BMP-1 vehicle.
In the current situation, any attempt to enter the vehicle was a suicide. So, one of soliders reached another side of the revetment under the cover of the BMP armour.
Another one knocked the armour and run in the direction of the governent held area hiding behind the vehicle.
As a result, 5 dead soldiers remained on the road. Militants increased mortar shelling of the technical area around the Ramouseh Artillery Base complex.
Militants were not enough precise to hit troops hidding behind the revetment, but were able to push soldiers to retreat.
However, government troops suffered some casualties.
A local commander explains the situation to a Russian journalist (Eugene Poddubny).
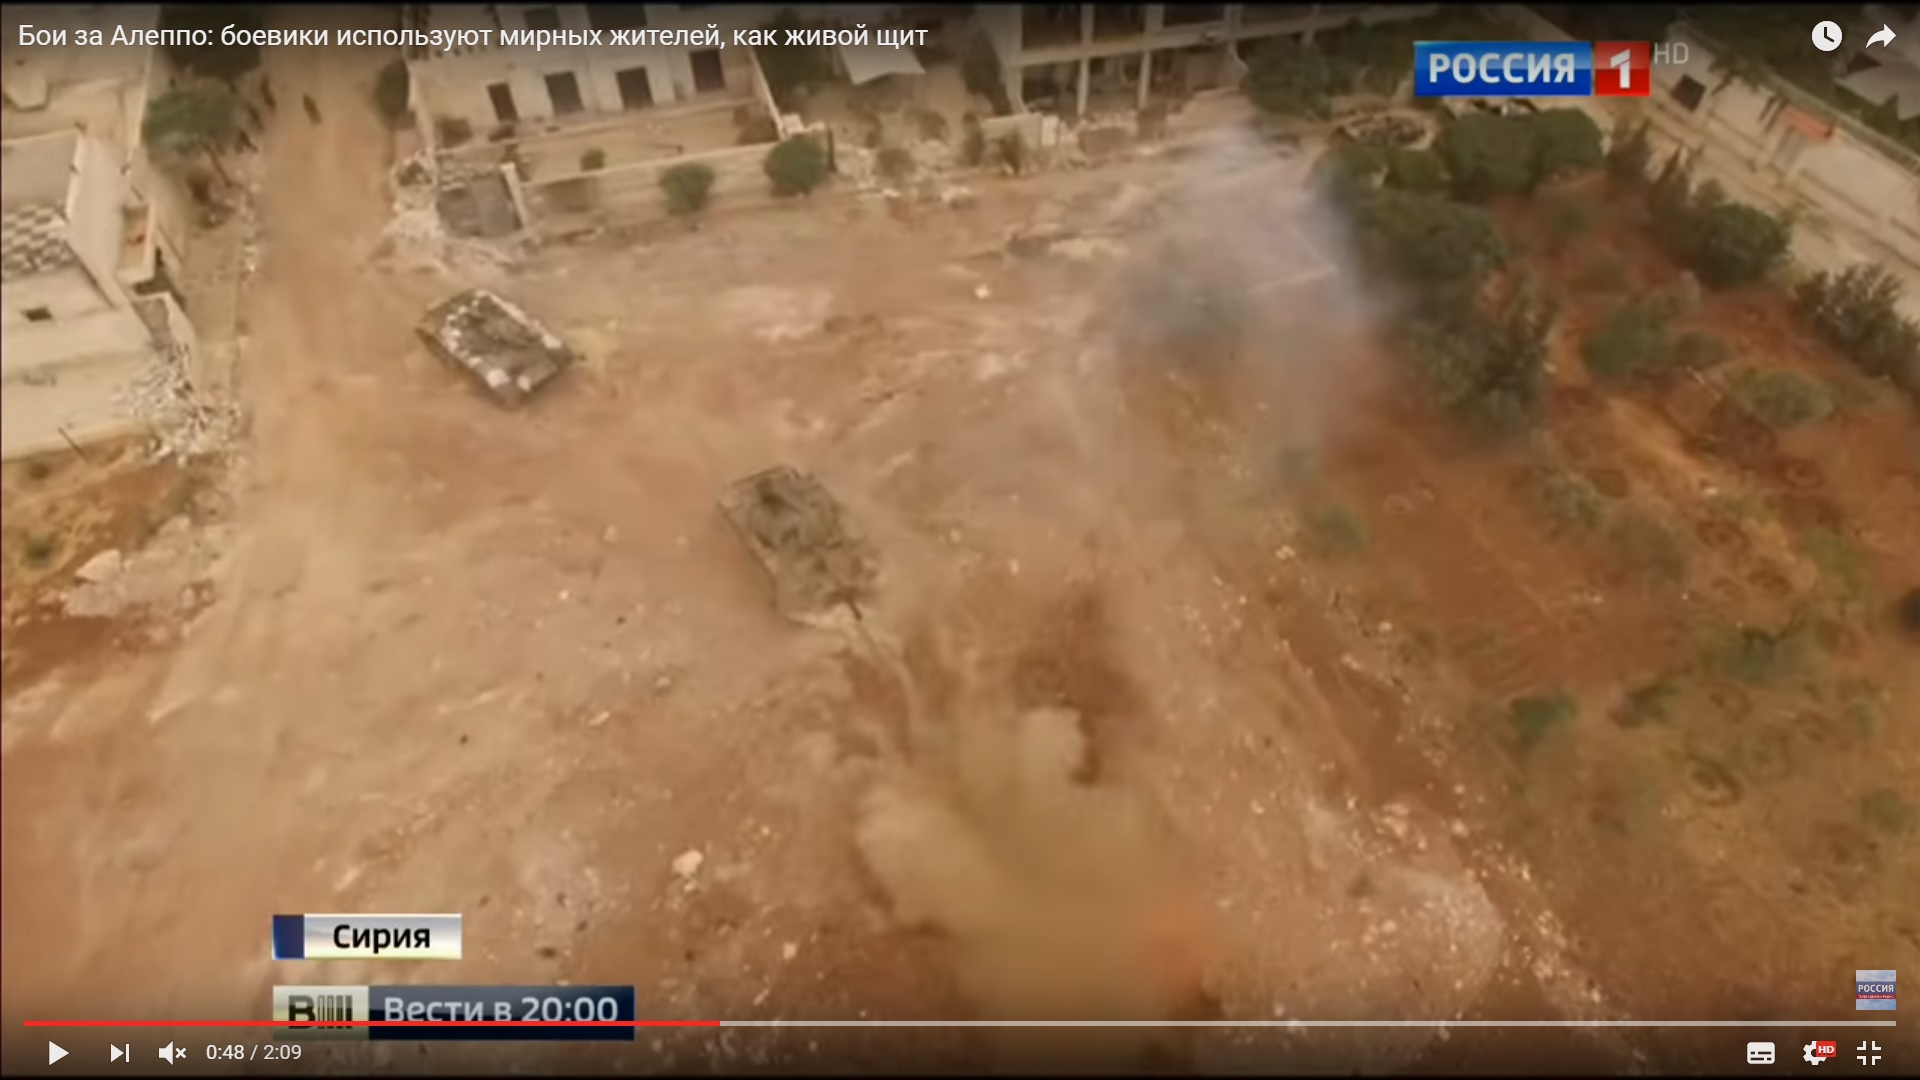
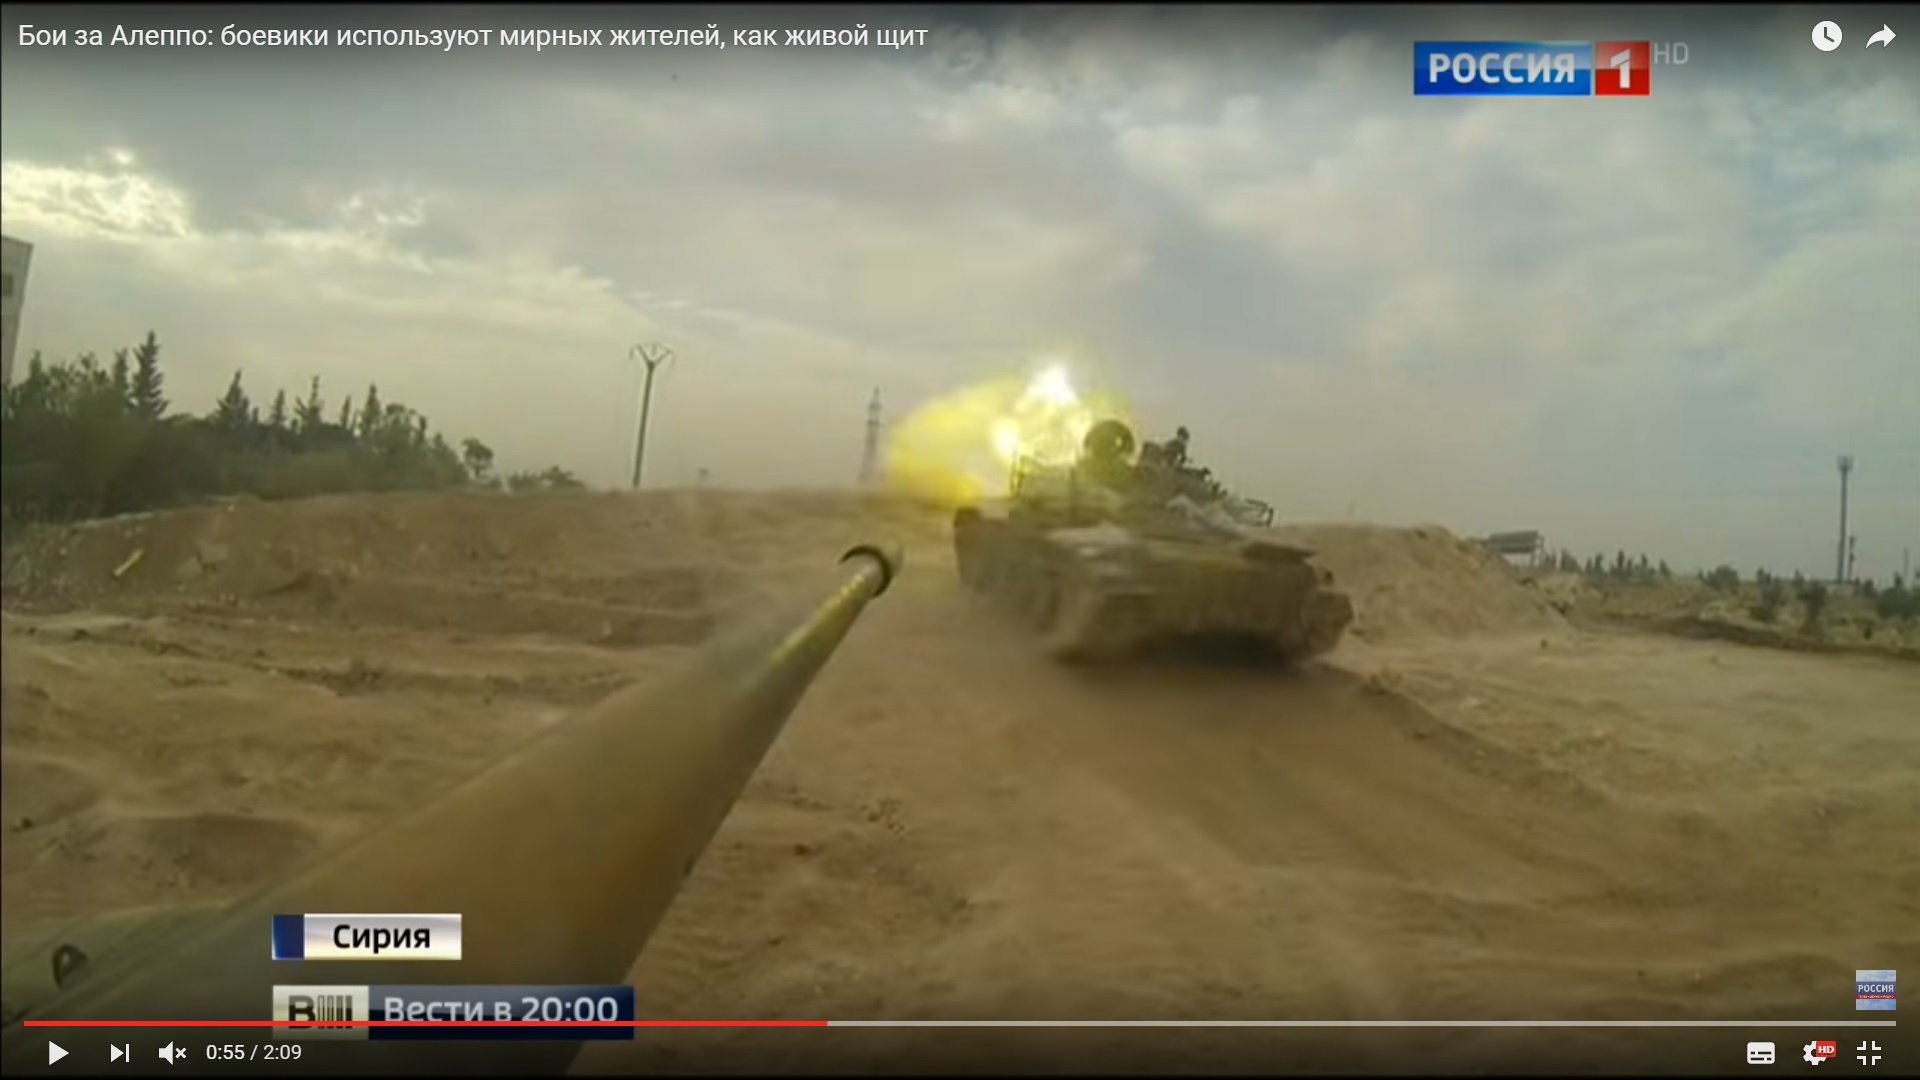
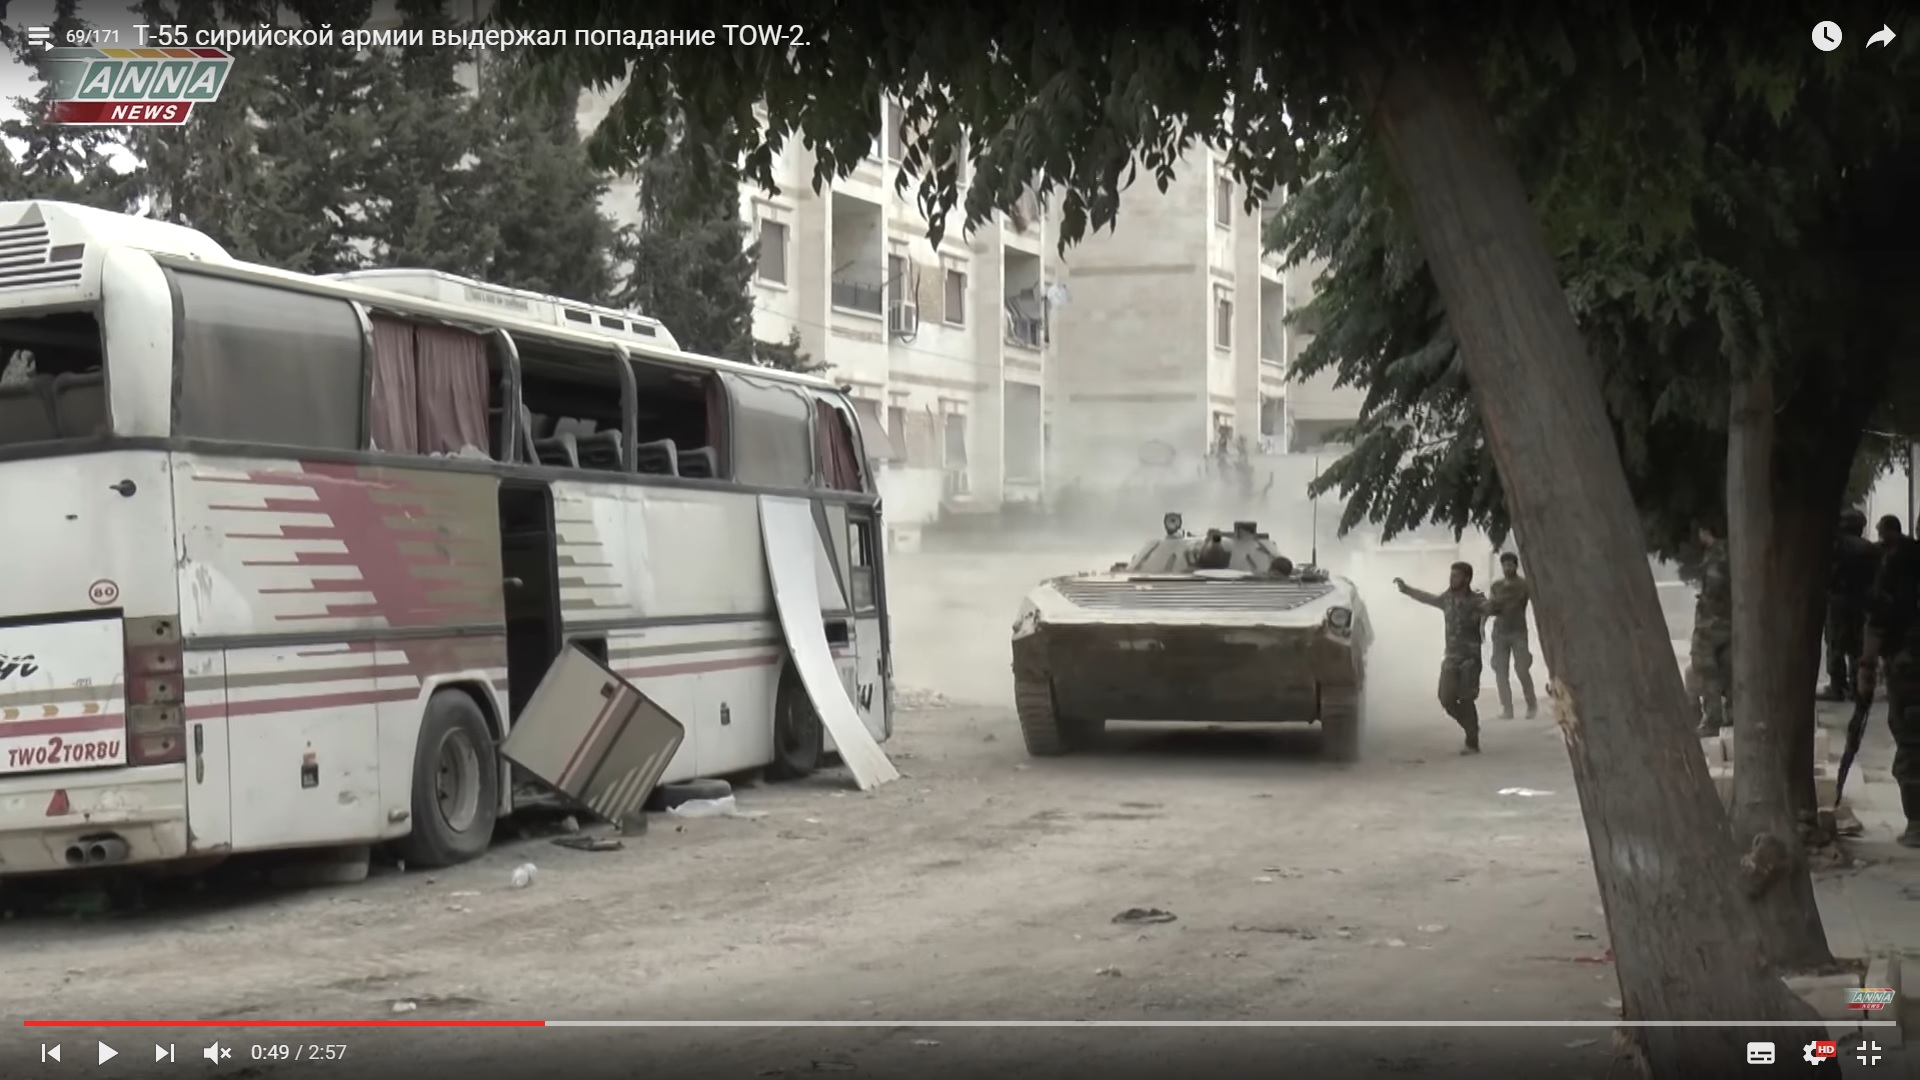
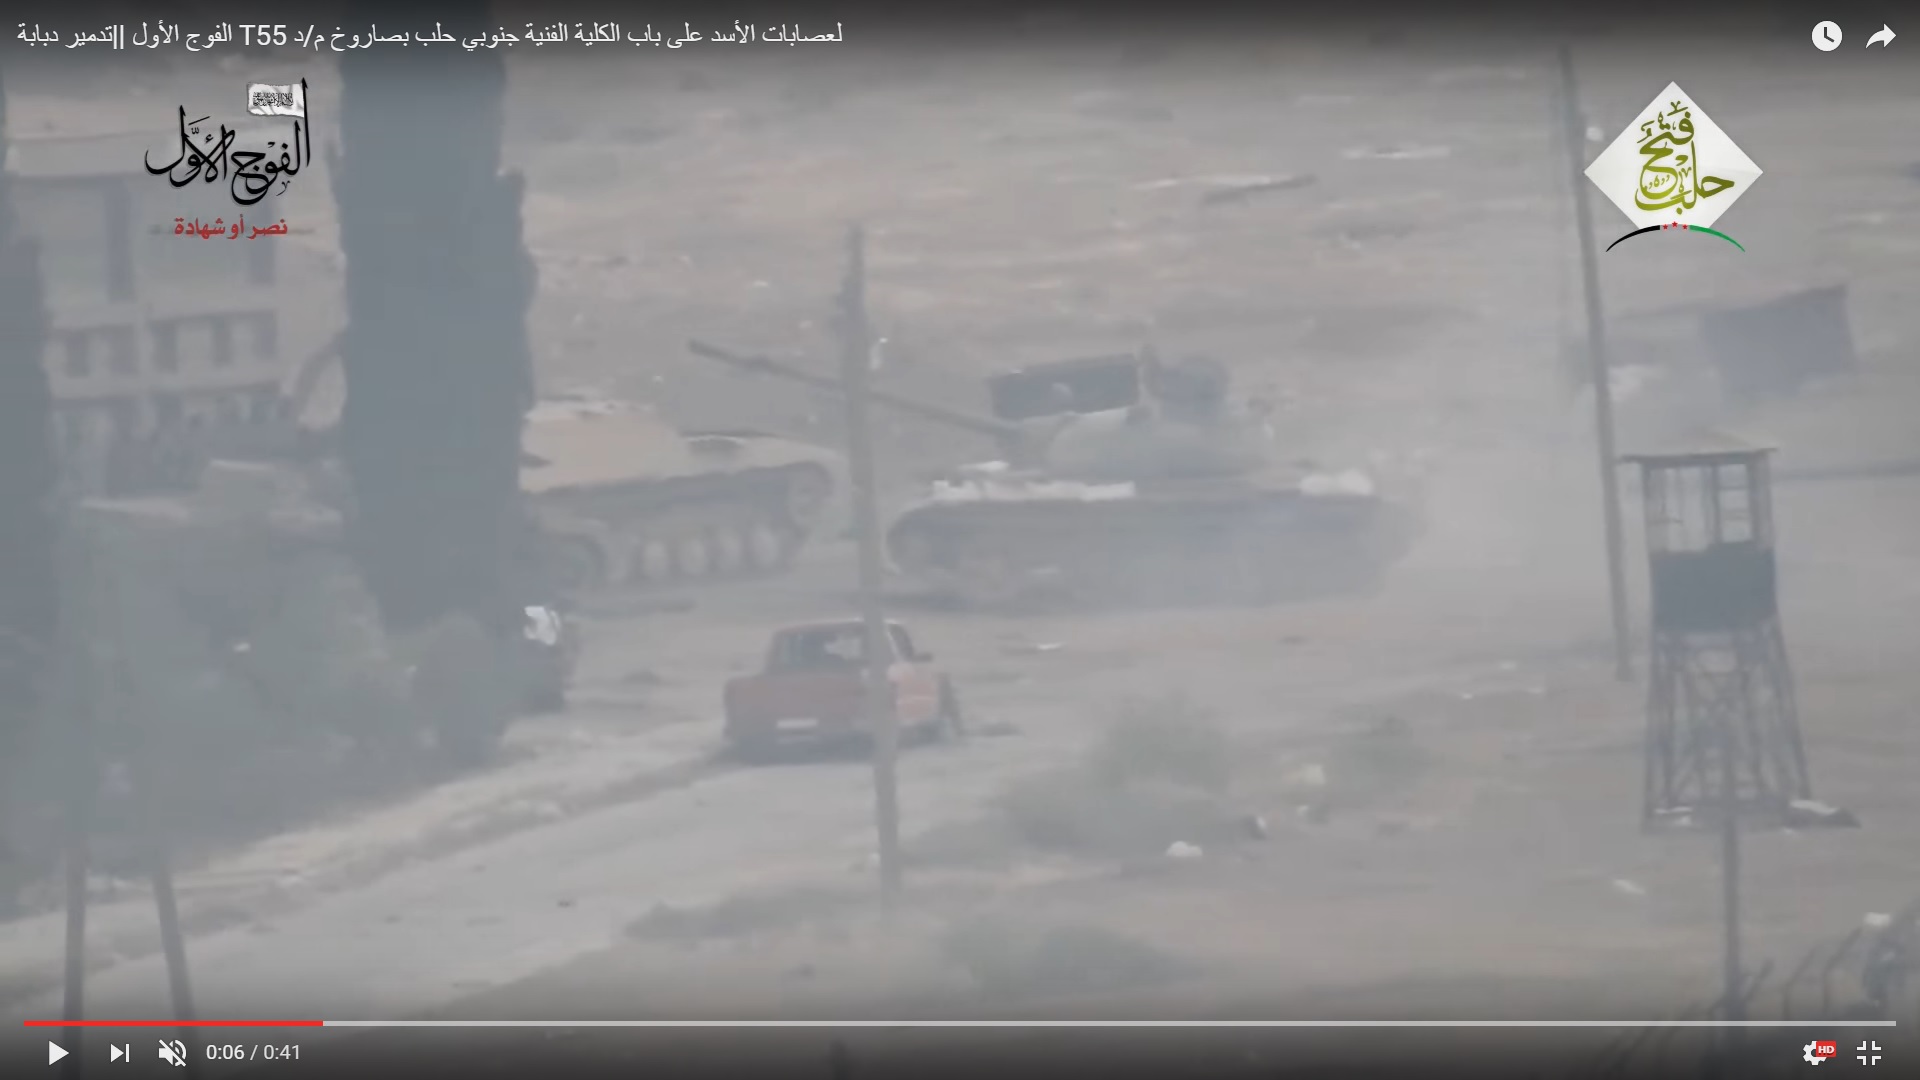
However, government forces continued attempts to advance on the depot. They deployed an additional T-55 battle tank. The tank moved closer to the depot and an assault force was able to reach the depot and seize the dining facility (at about 11:00 local time). The damaged BMP-2 indicated that it was a bad idea to remain on the open filed for a long time and the tank moved back to the government-held area.
However, the militant ATGM crew was ready.
The video showed an ATGM launch from some suspicious area. However, it’s clear that the launch was made from some roofs of the buildings in the al-Ameria neighborhood.
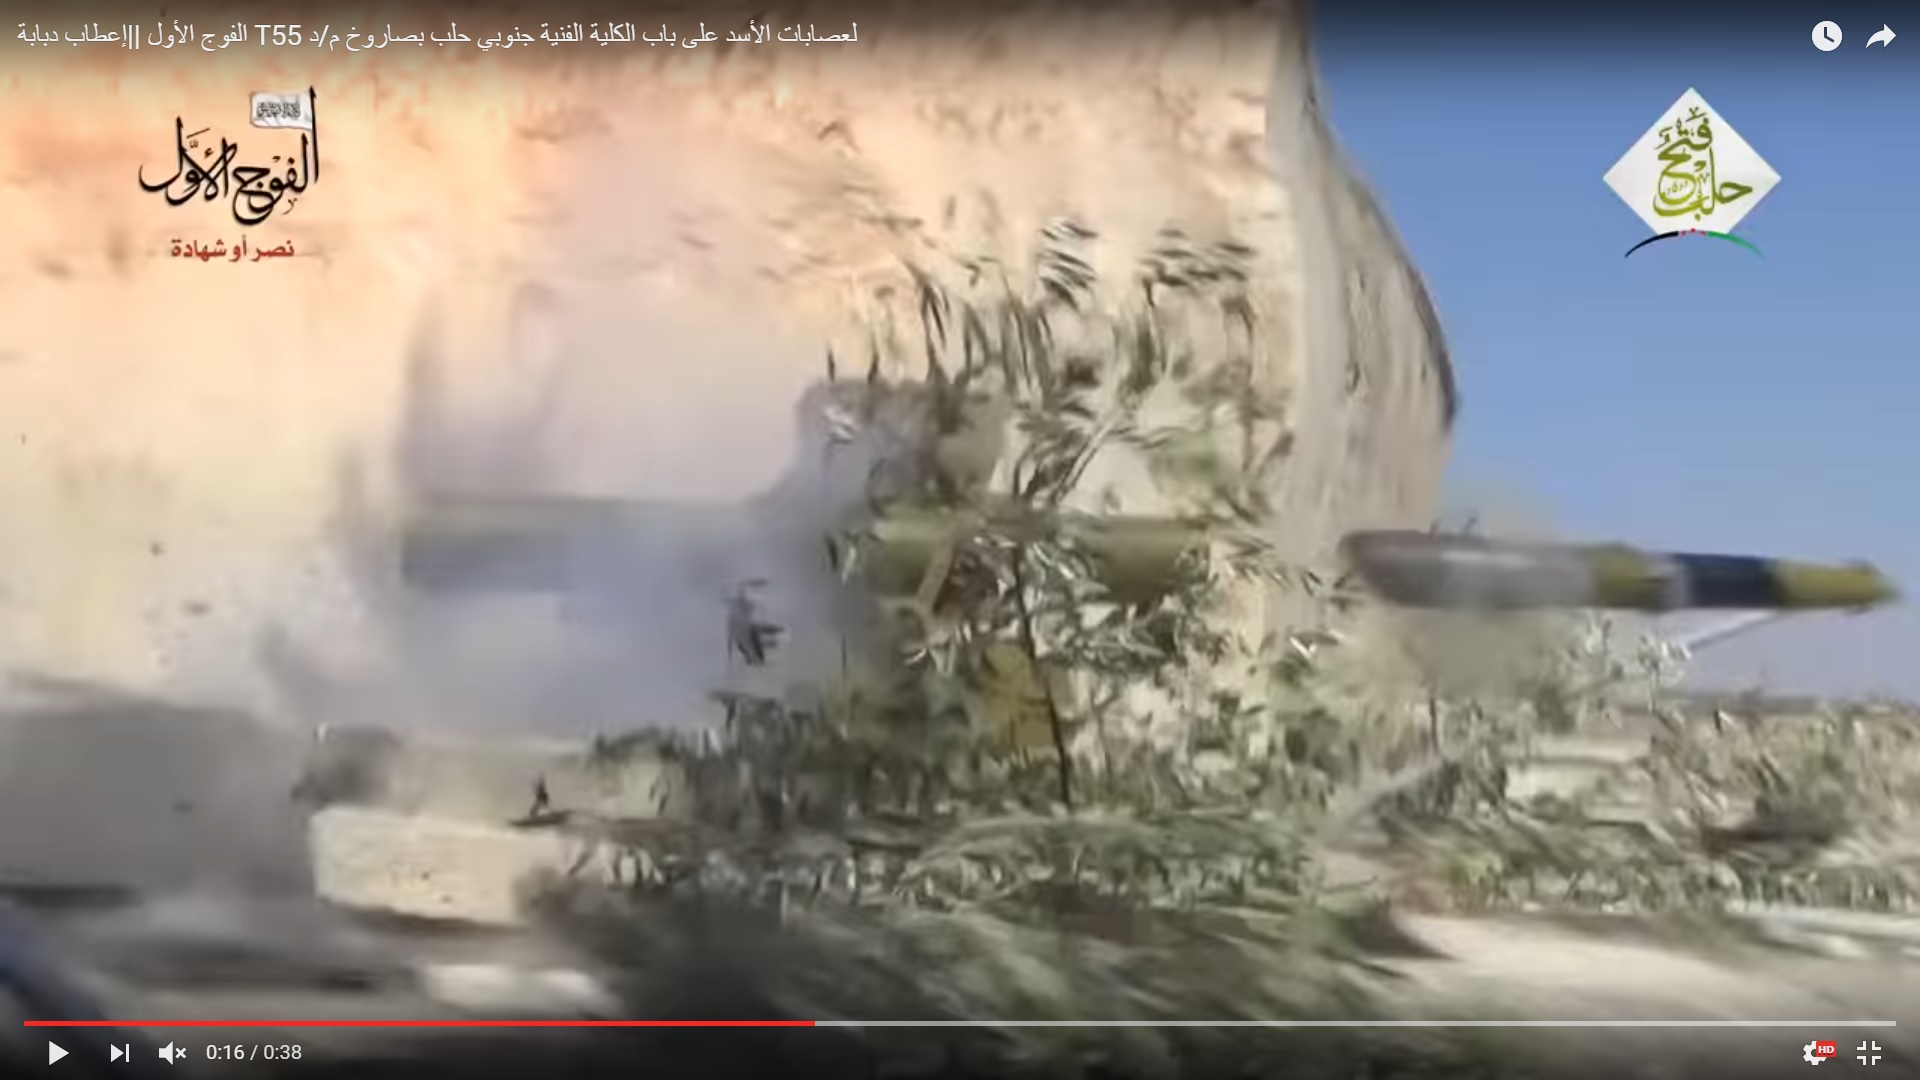
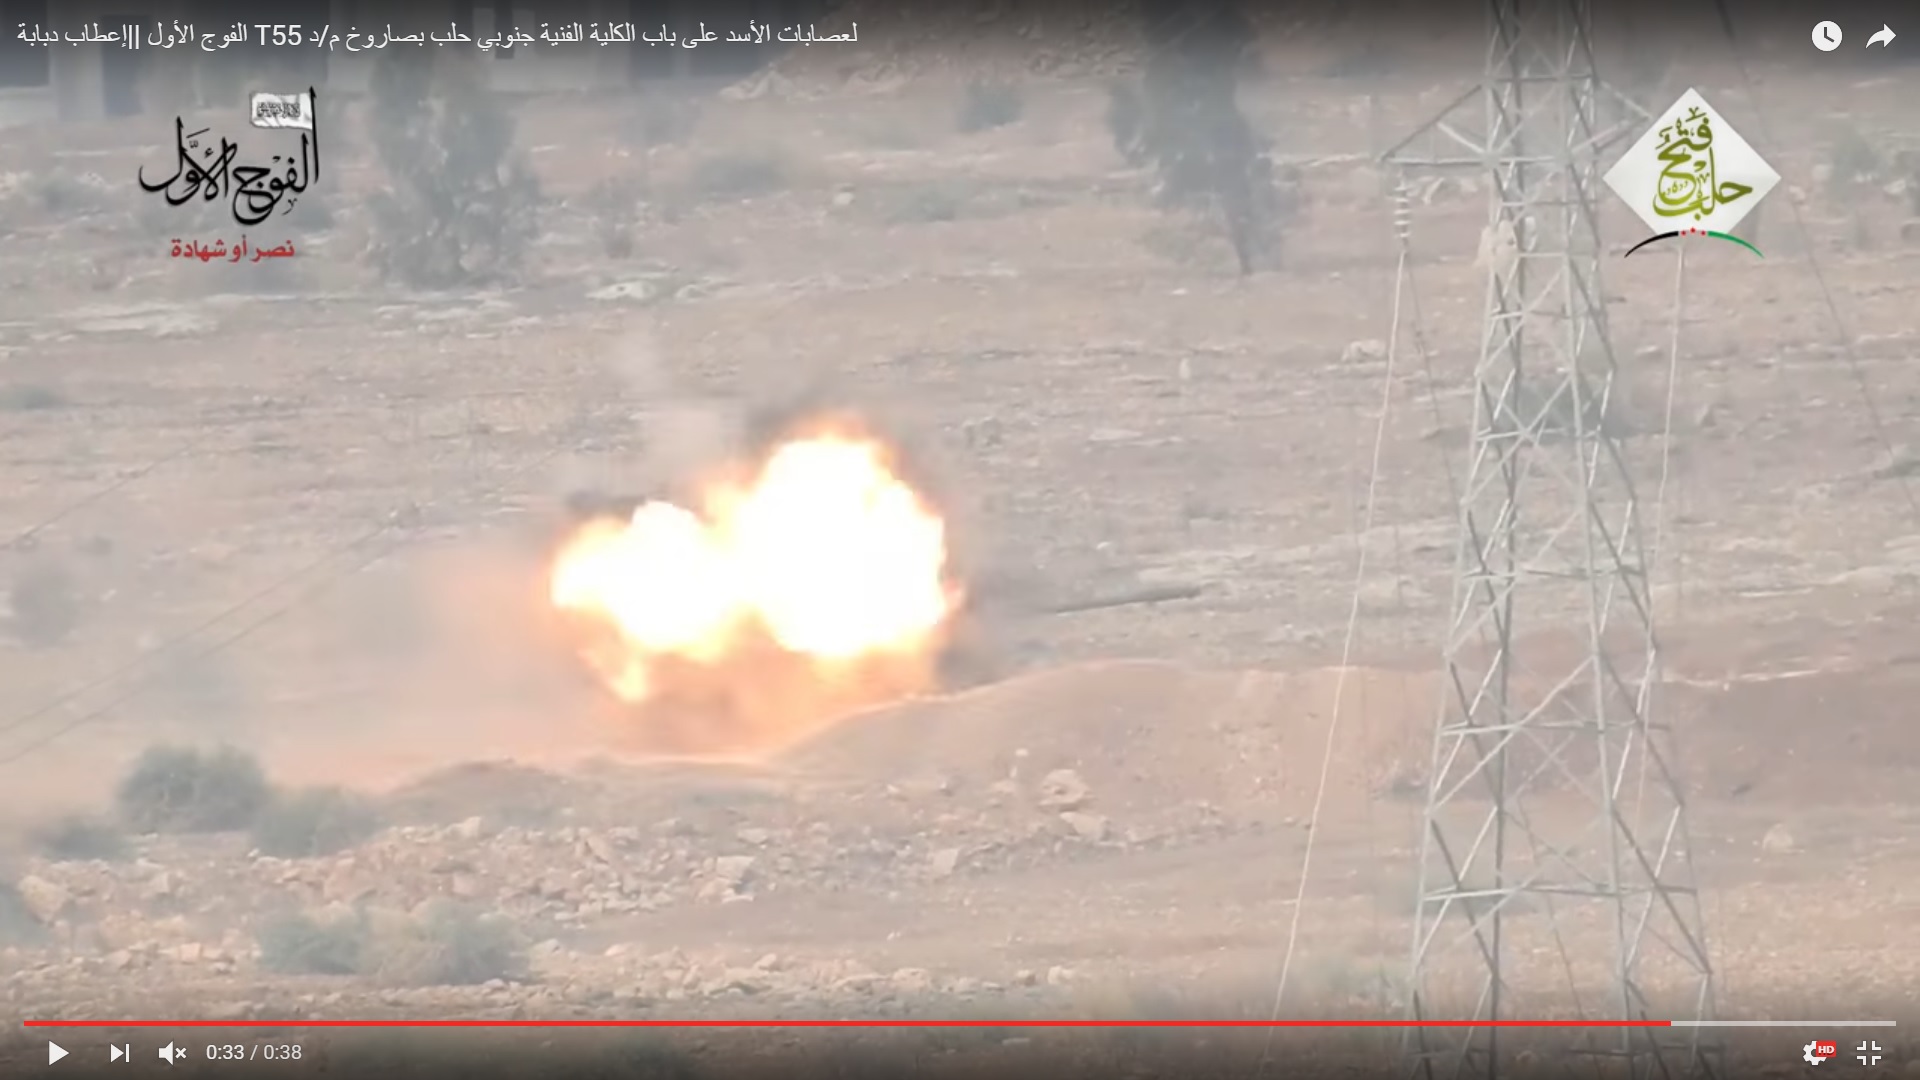
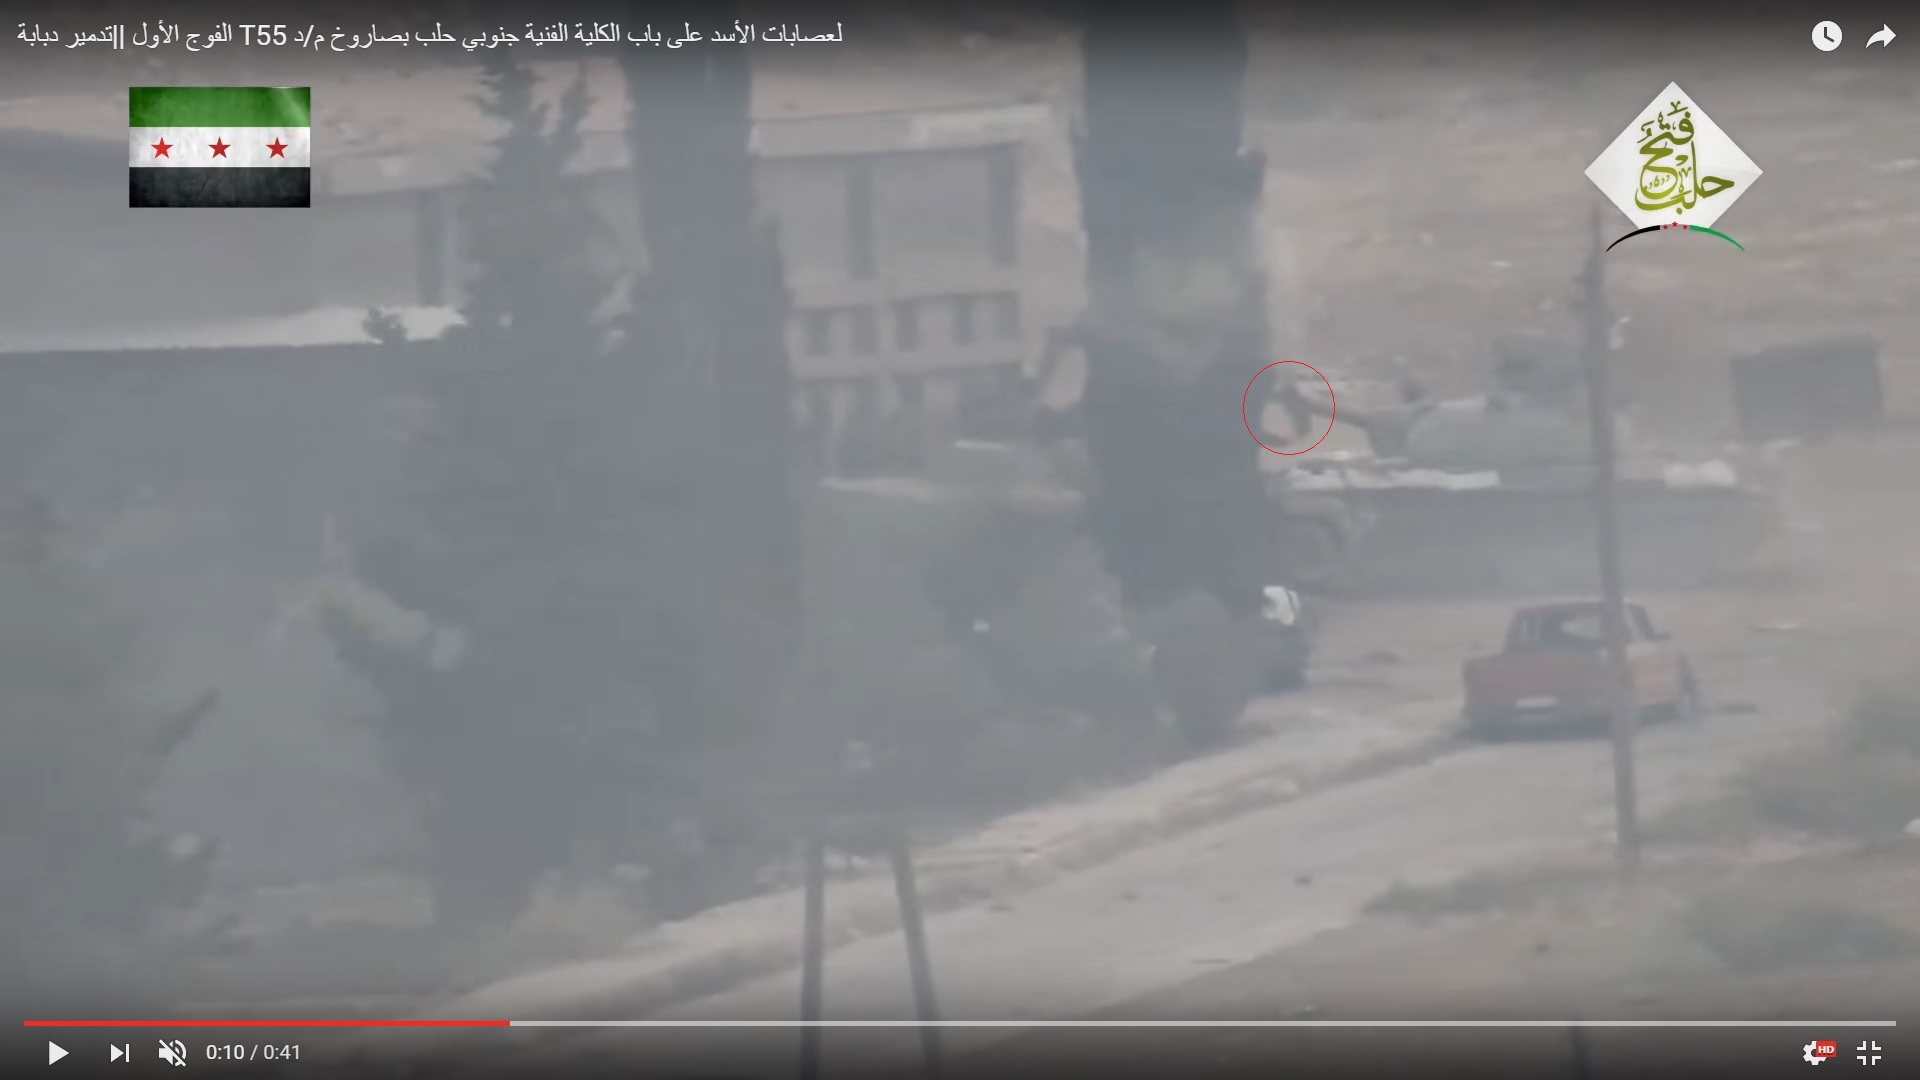
The missile hit the rear of the tank turret.
Another look at the same incident.
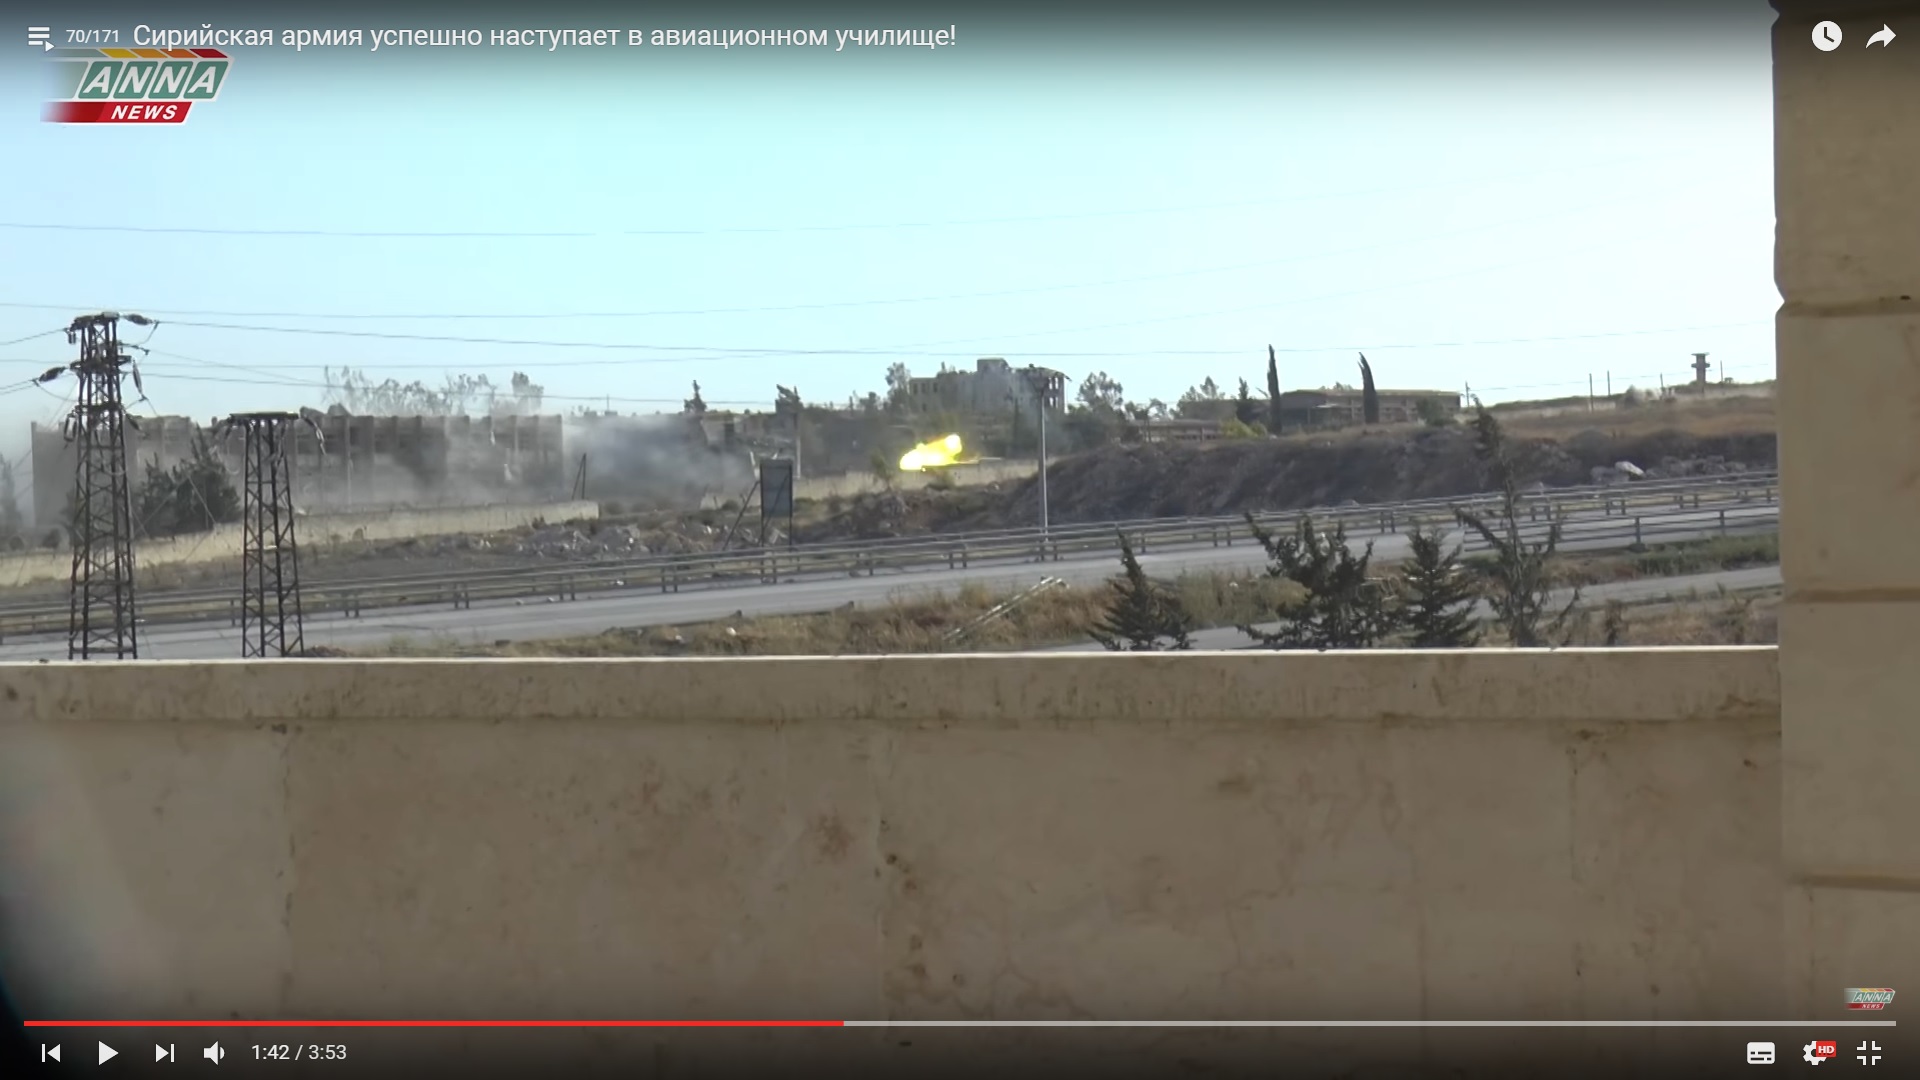
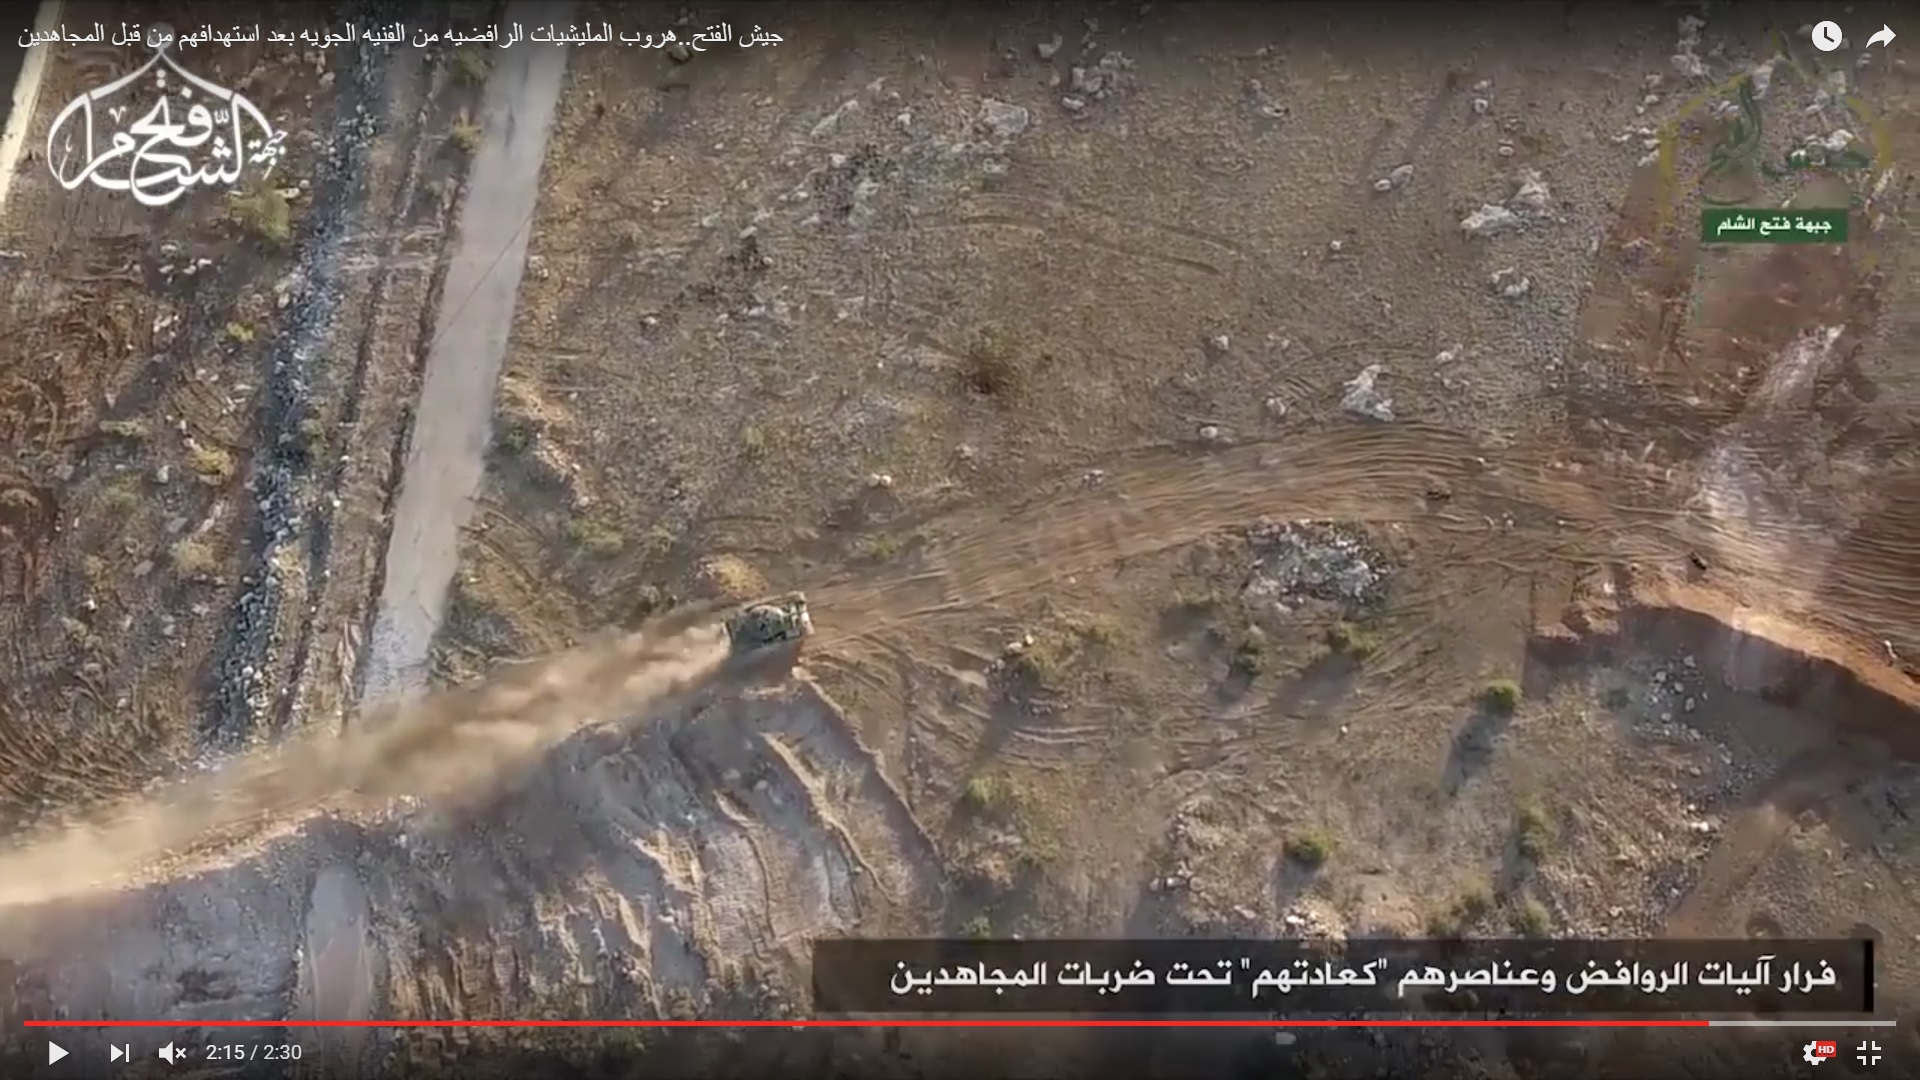
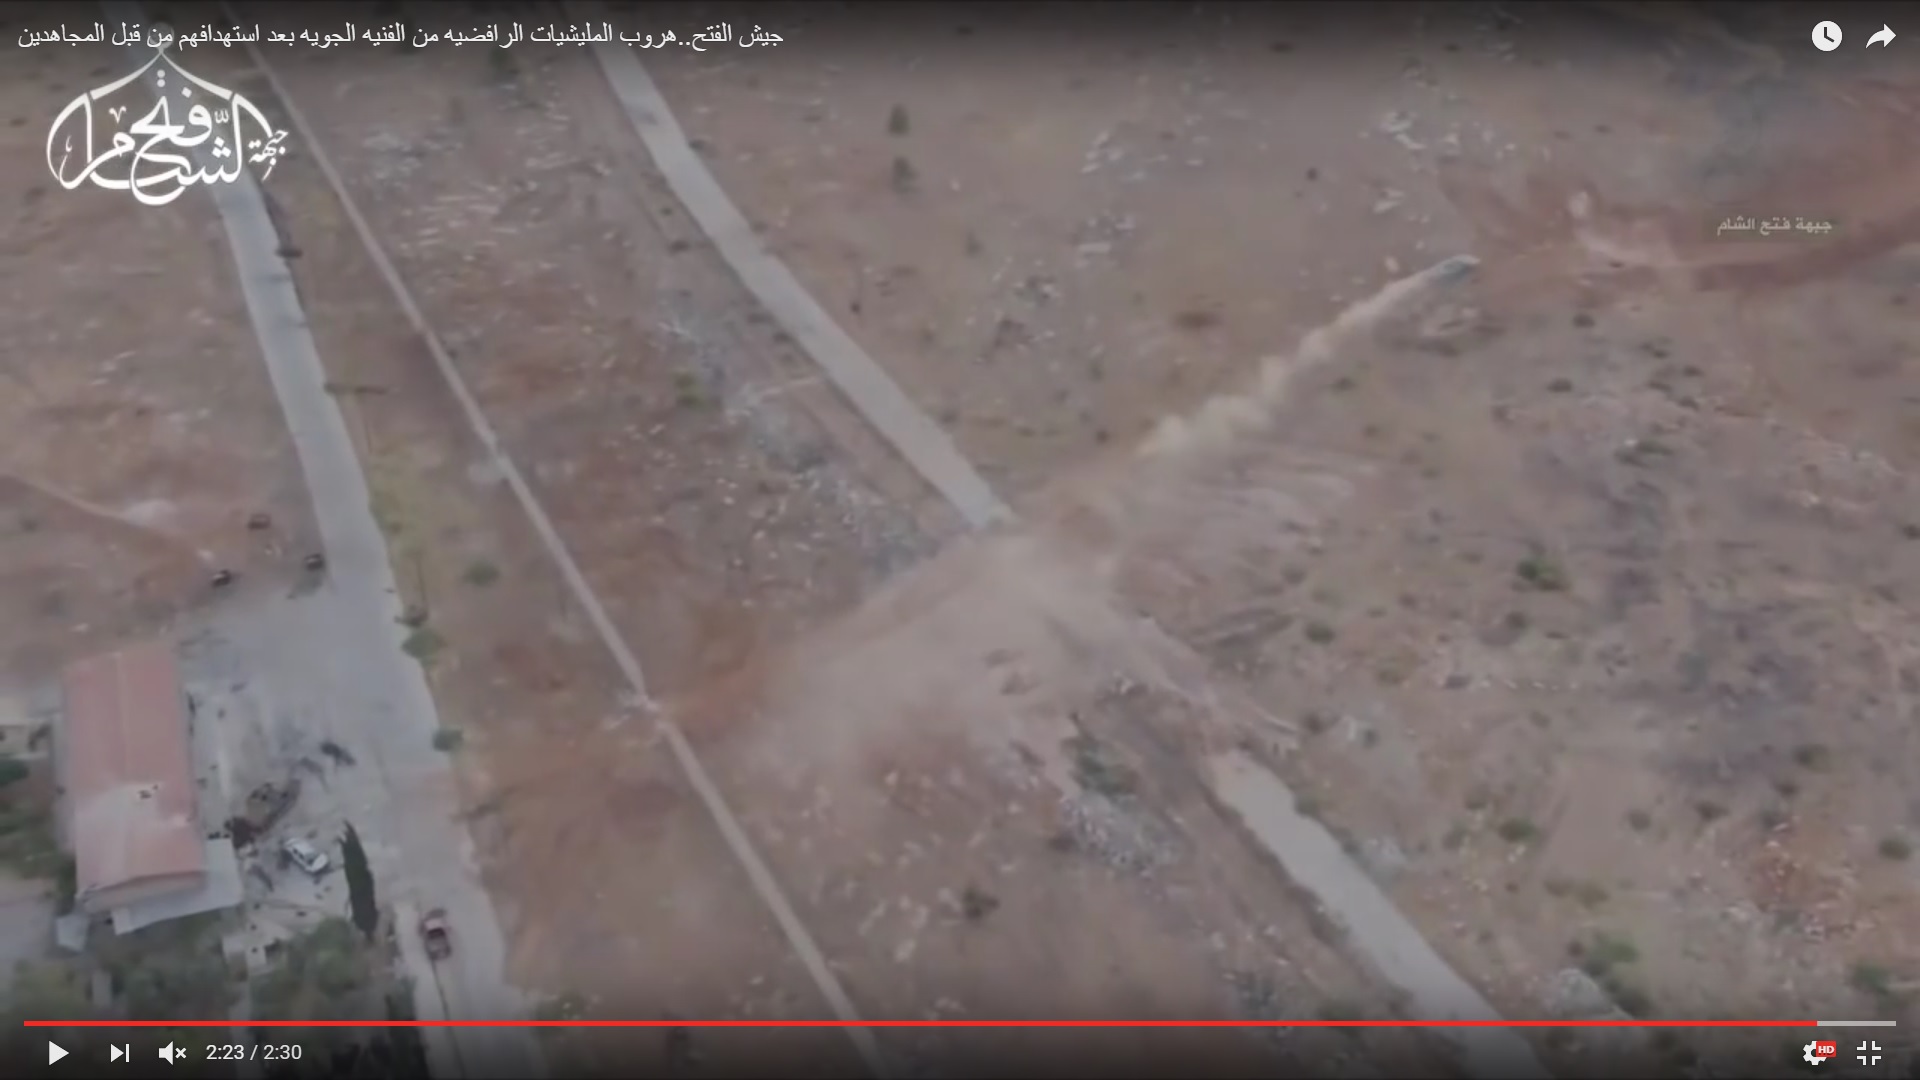
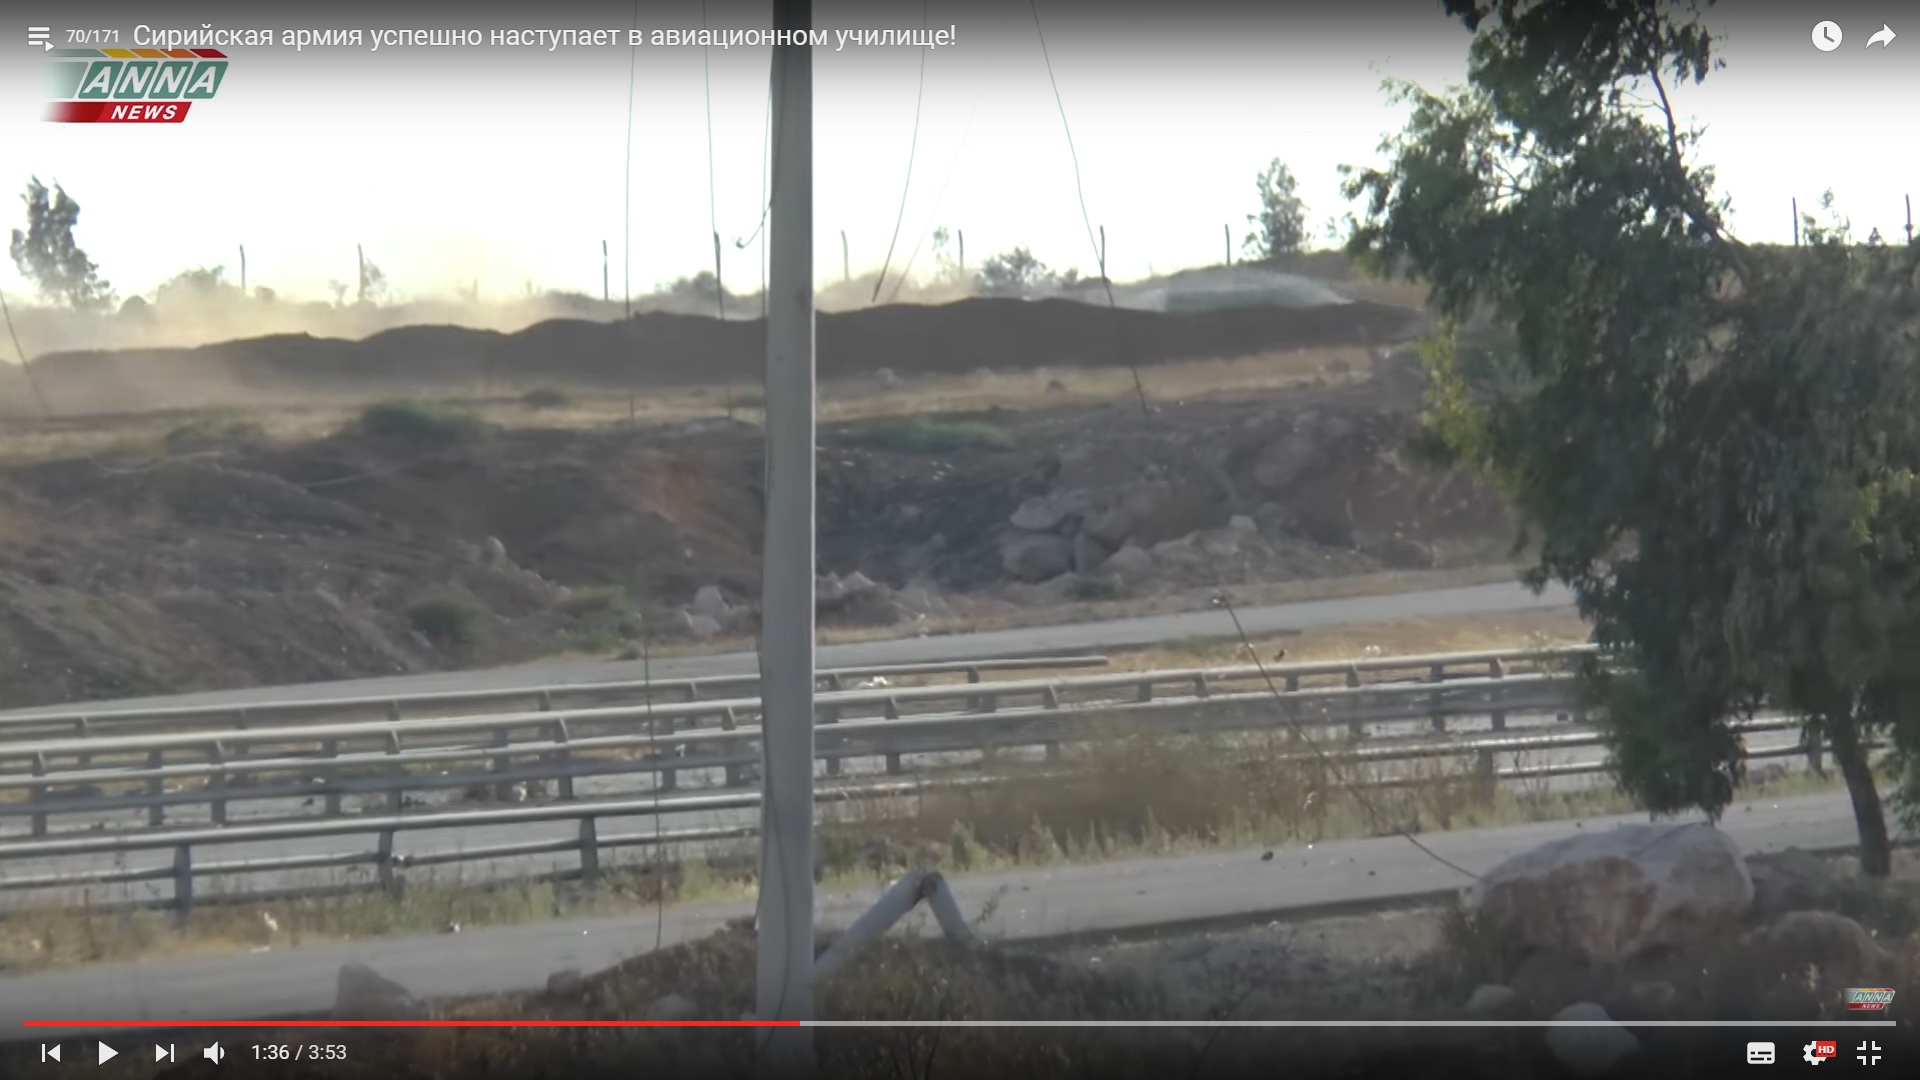
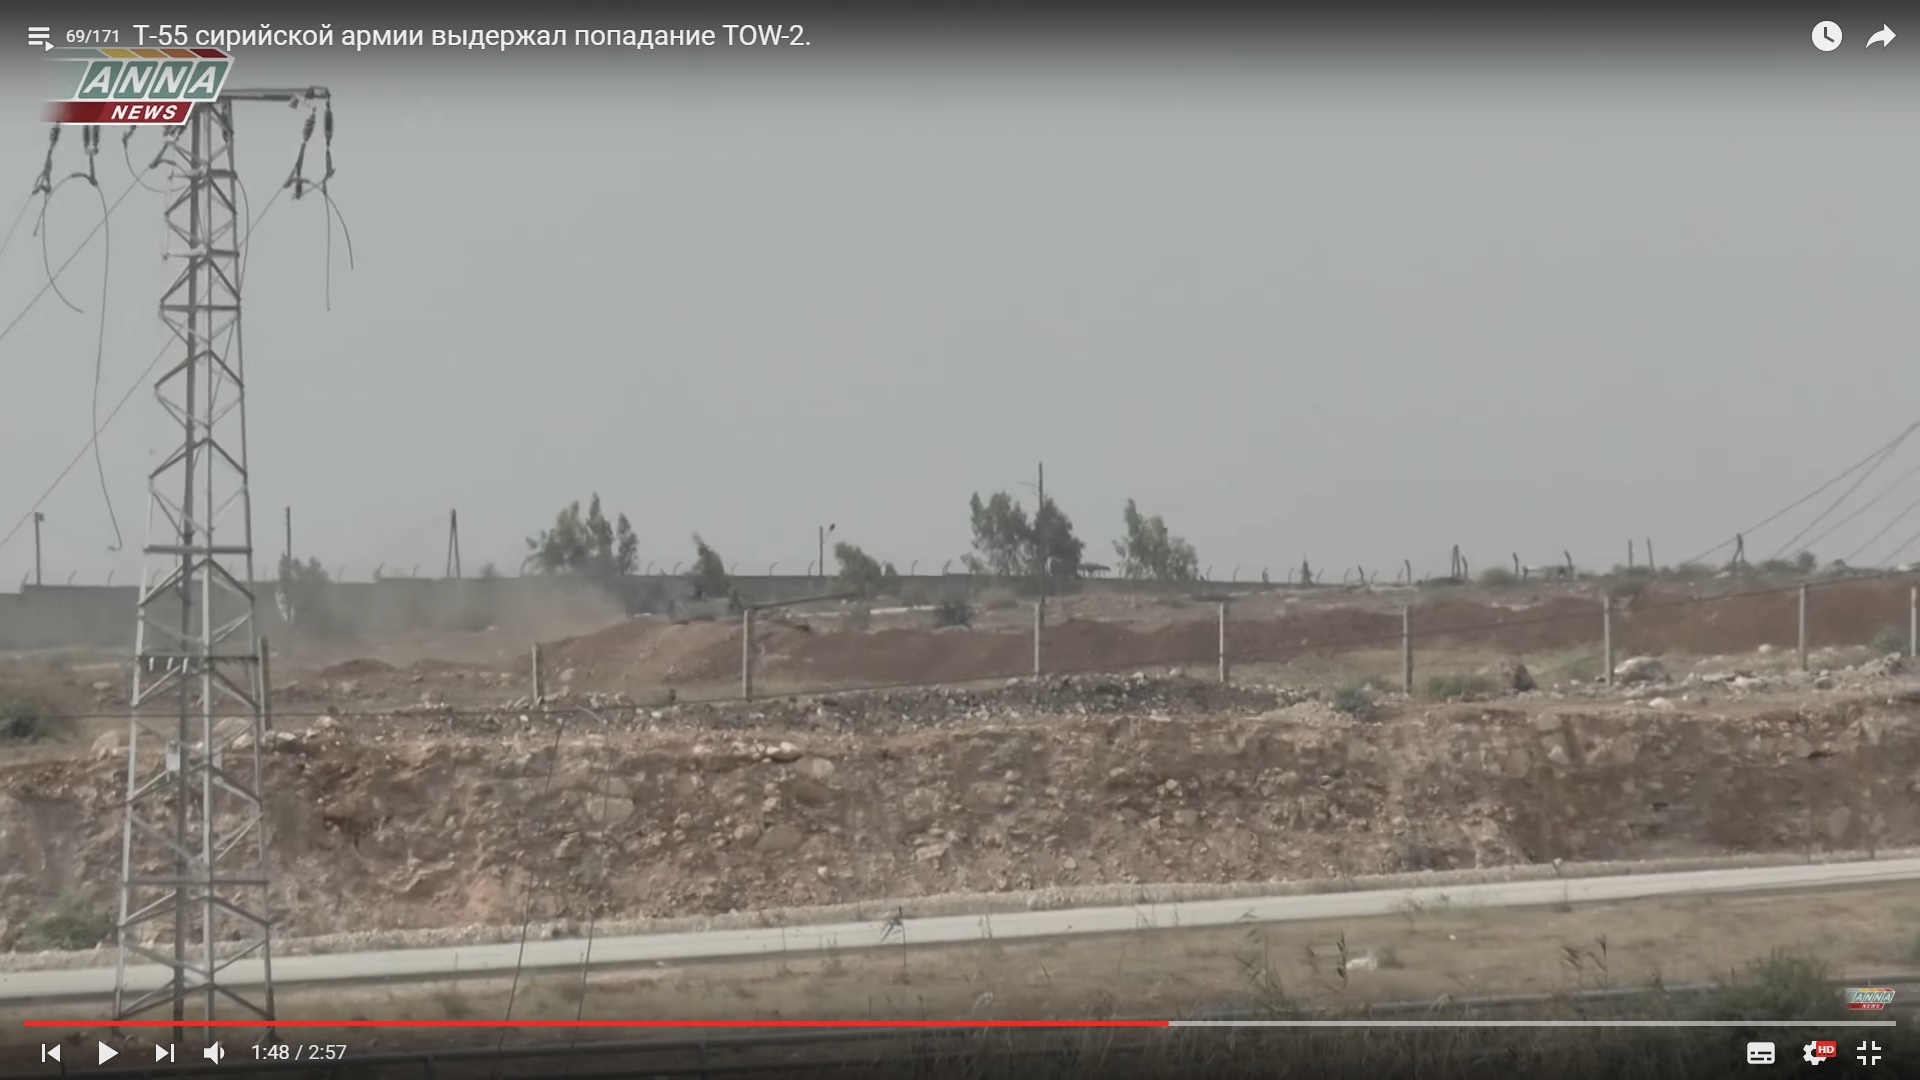
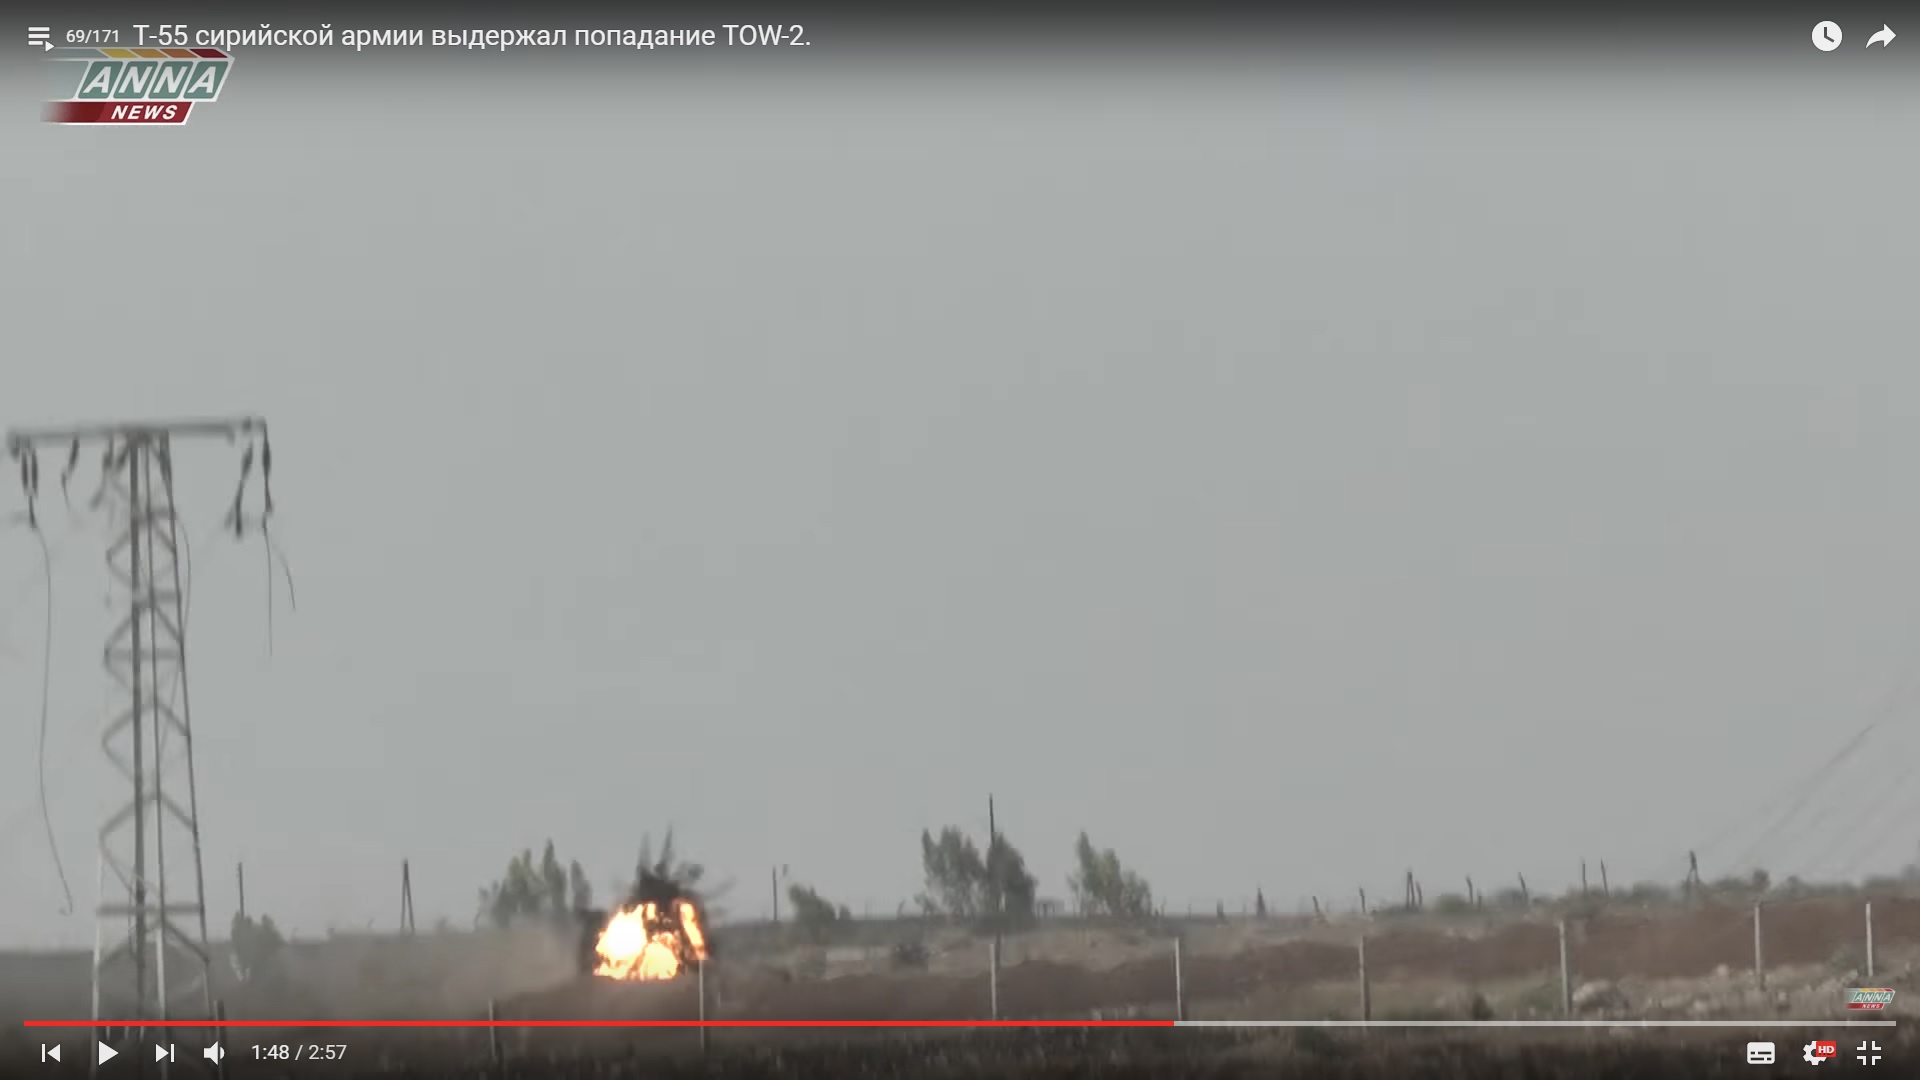
The tank continued moving after the hit and the militant video was shadowed. In turn, the ANNA News video showed that the tank passed about 25-30 m.
The longer version of the video (from militants) allows to see that the tank then moved further and reached a ground near the buildings.
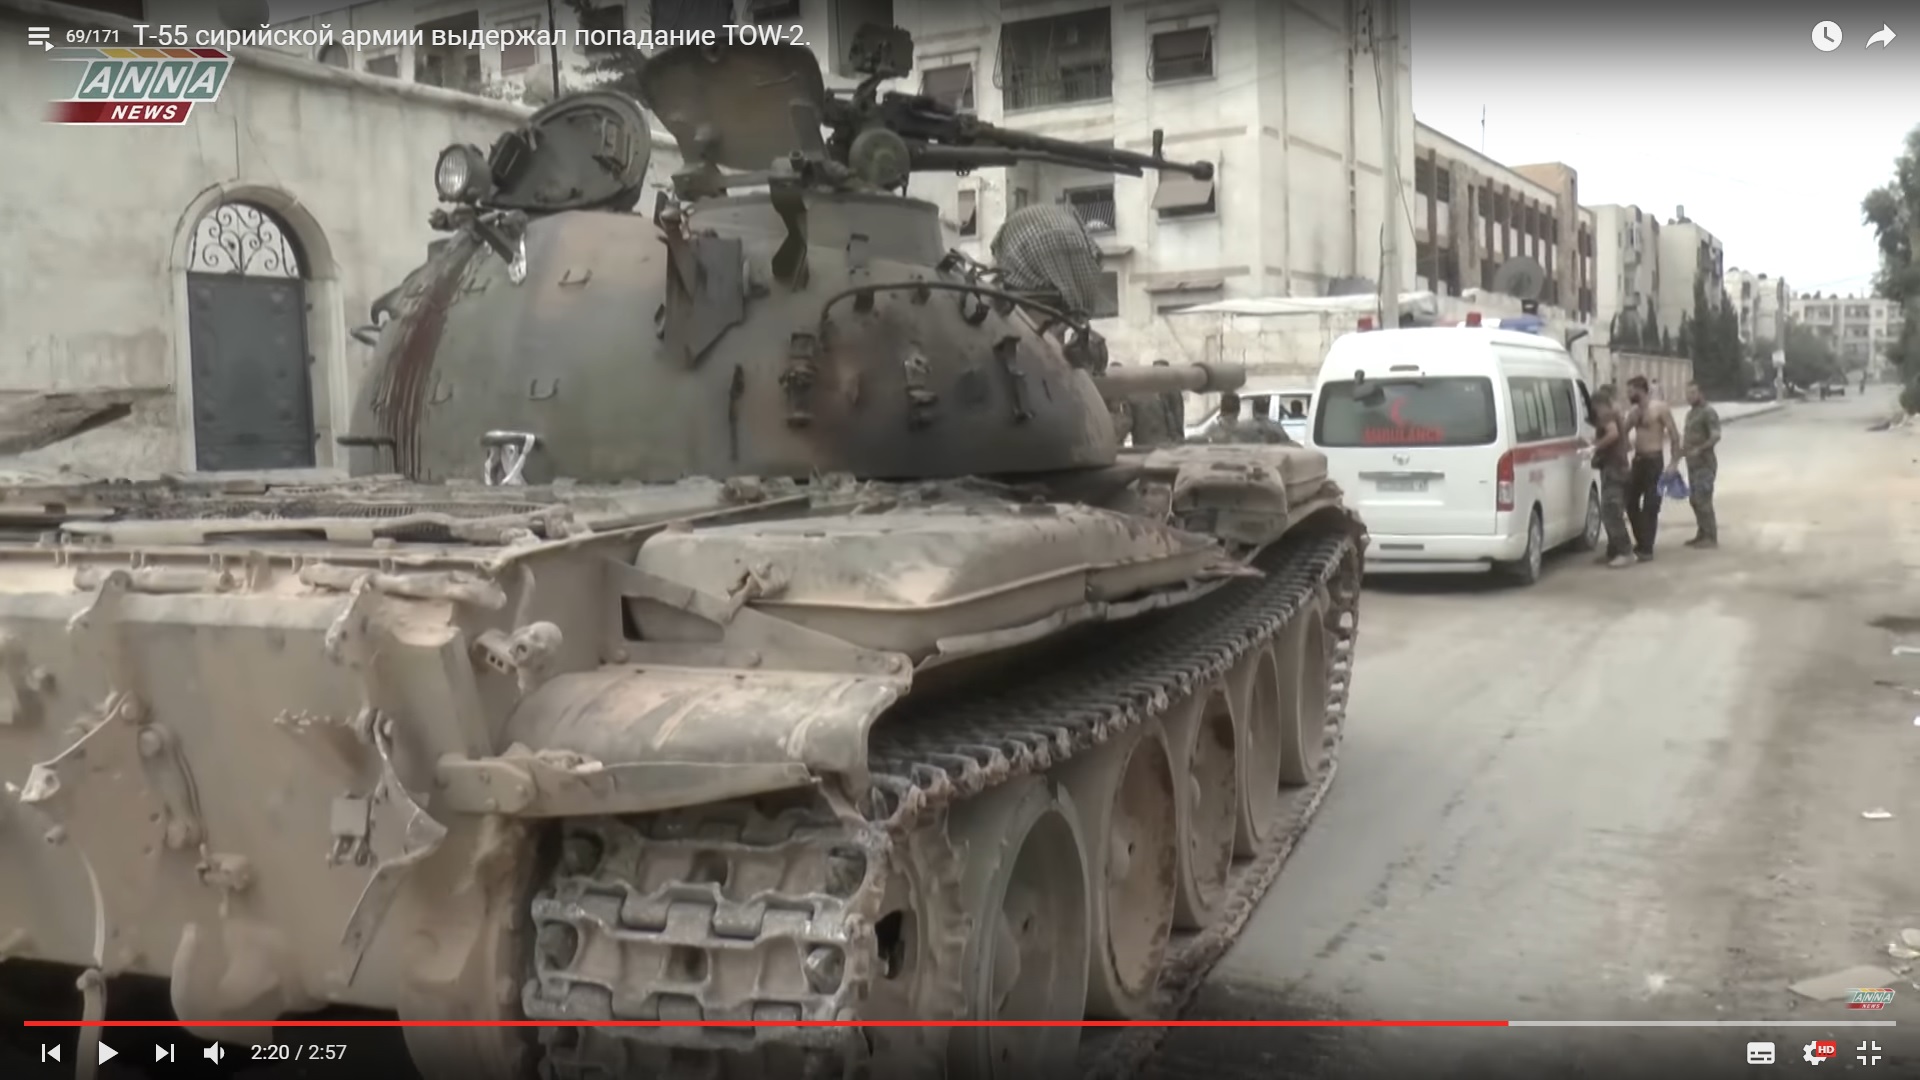
A result of the ATGM hit.
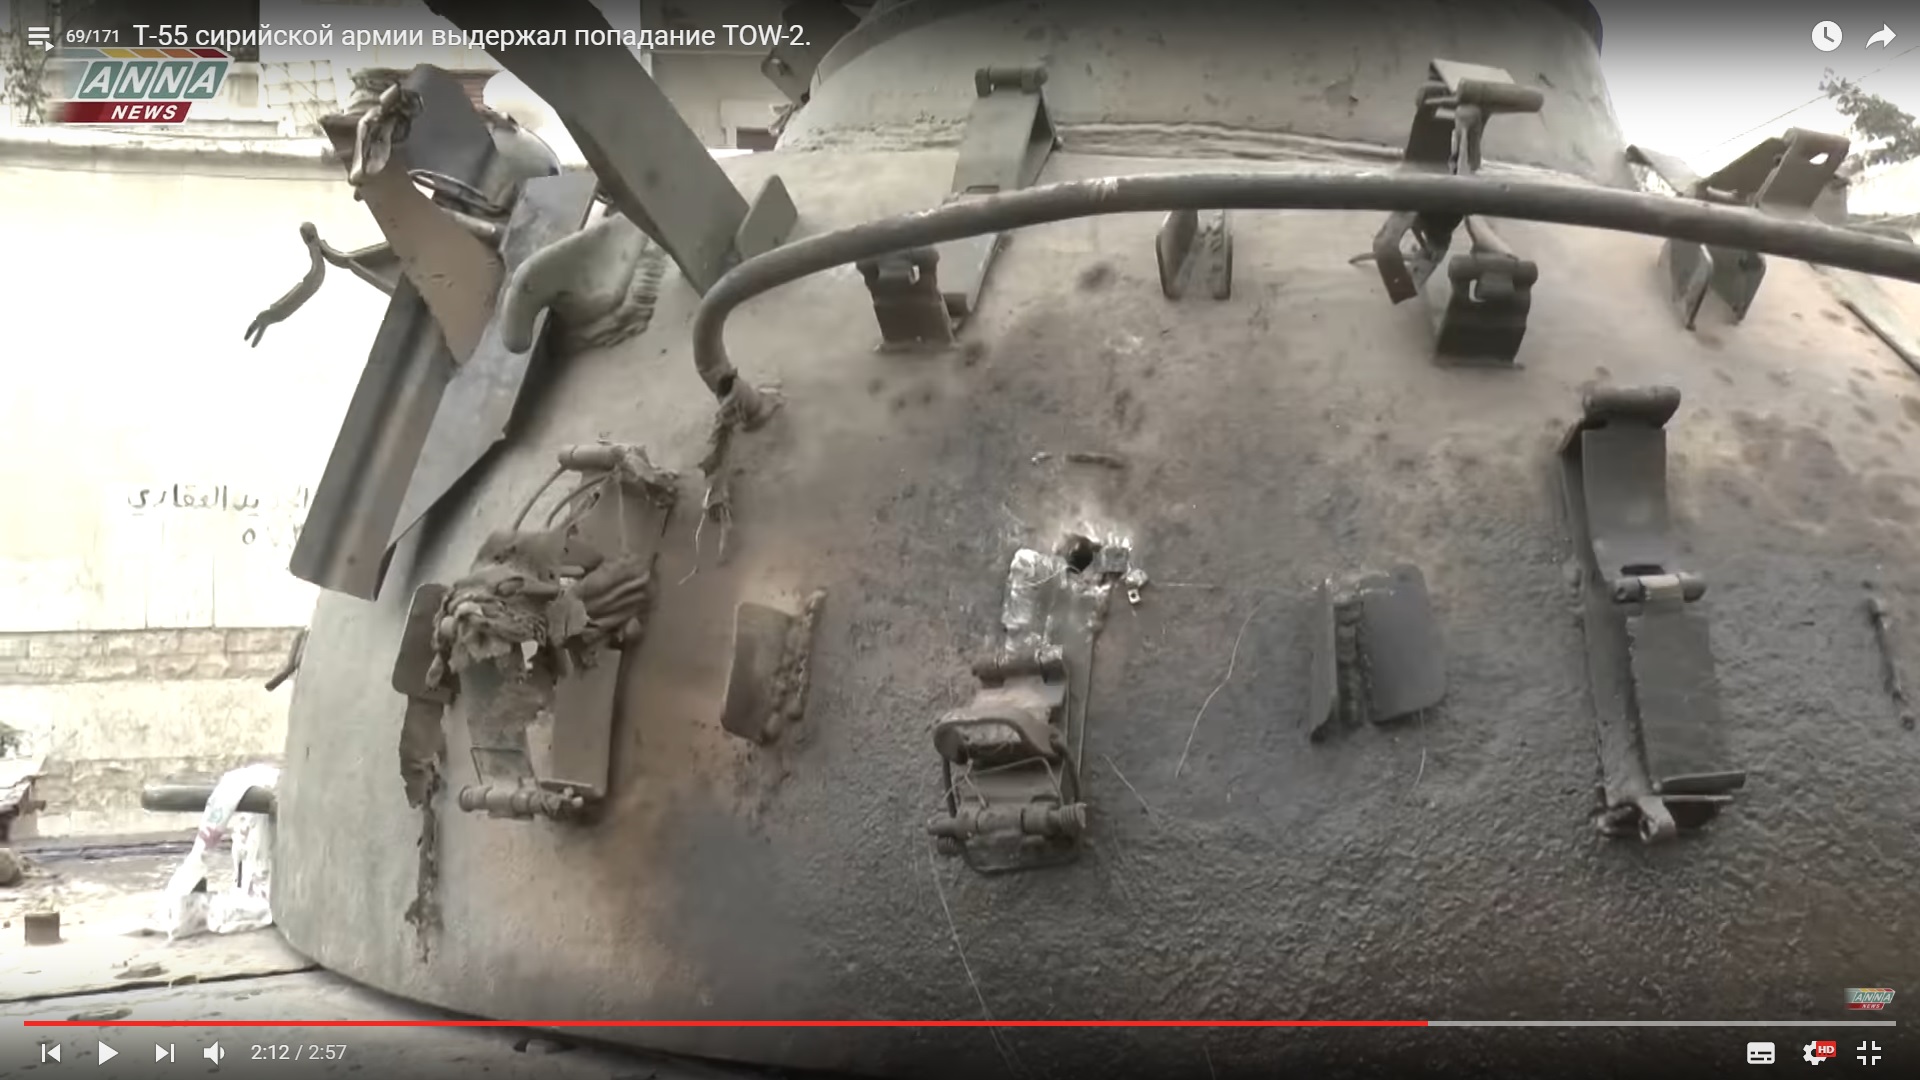
The missile hit a bolster. This likely decreaseed an explosive jet. The tank commander and the tank gunner were injured, according to reports.
The explosion also damaged an external fuel tank. It’s surprising but the fuel tank was full.
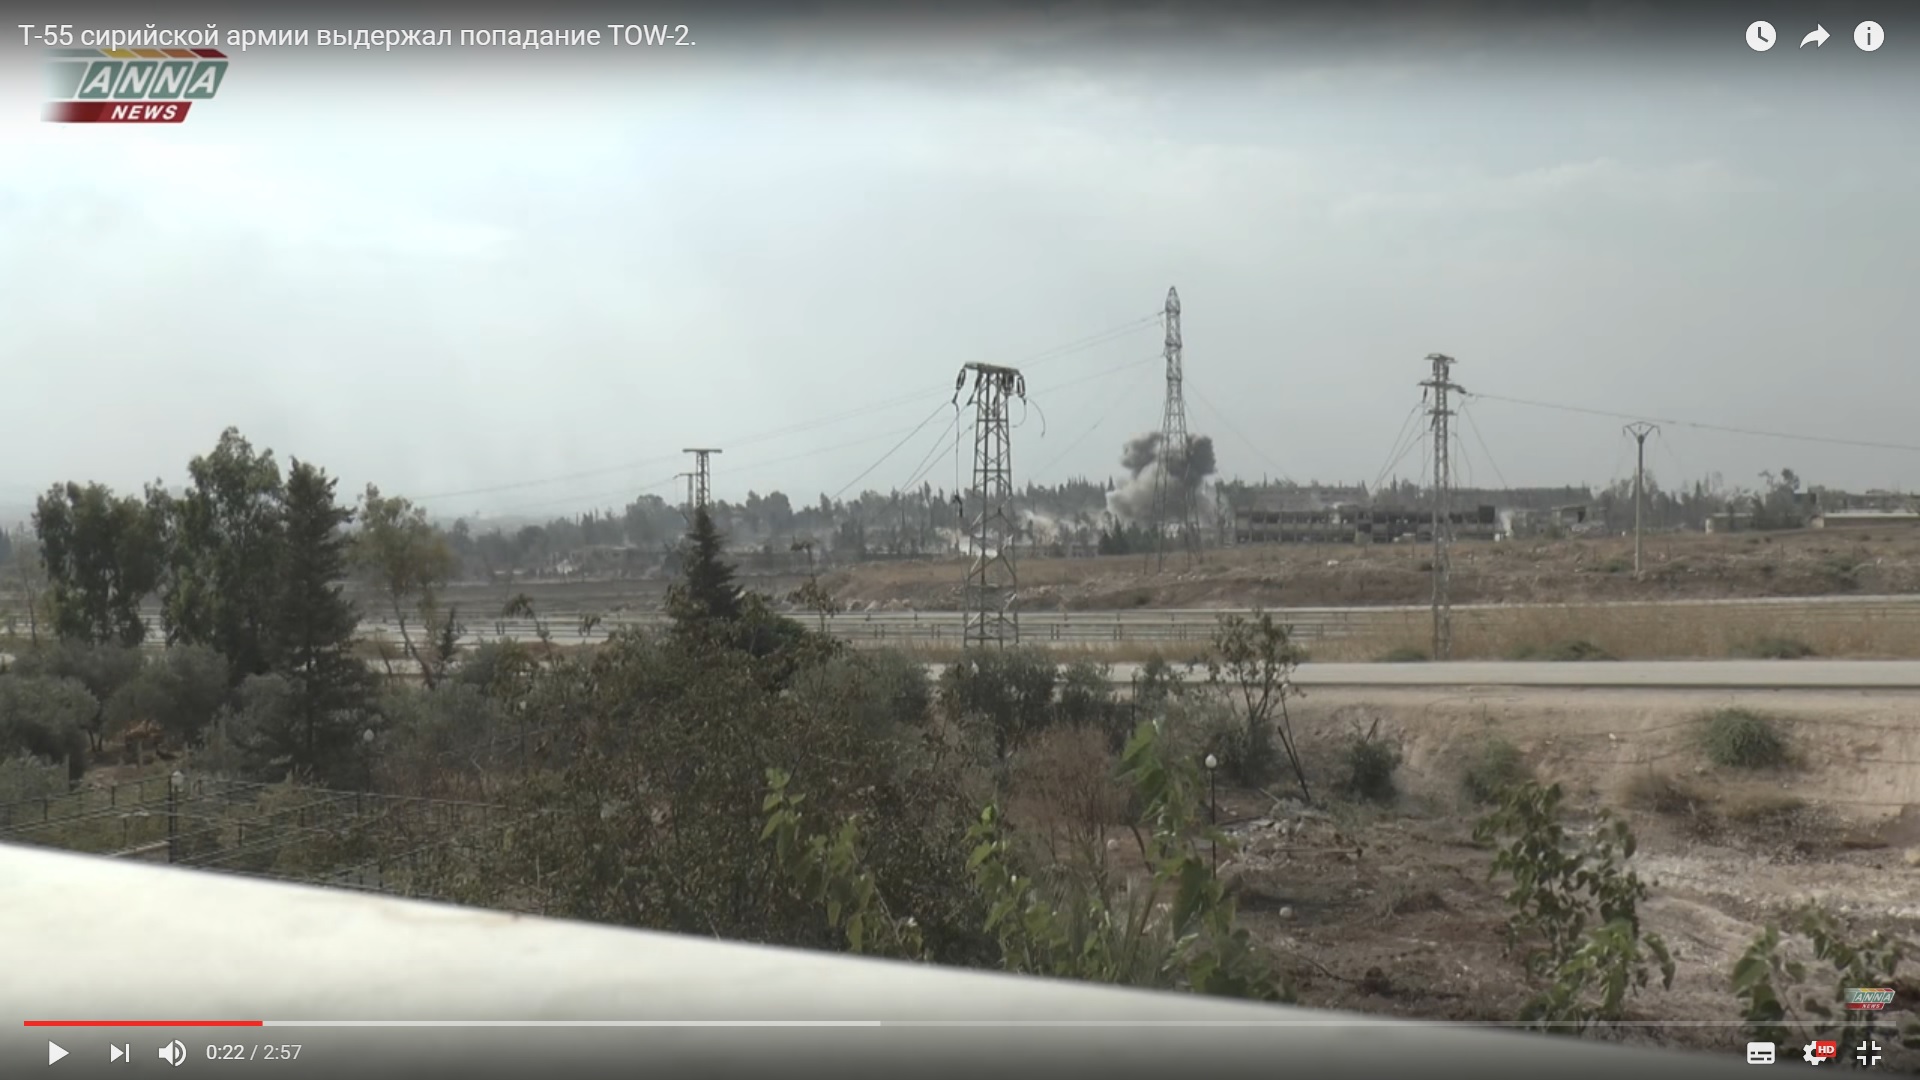
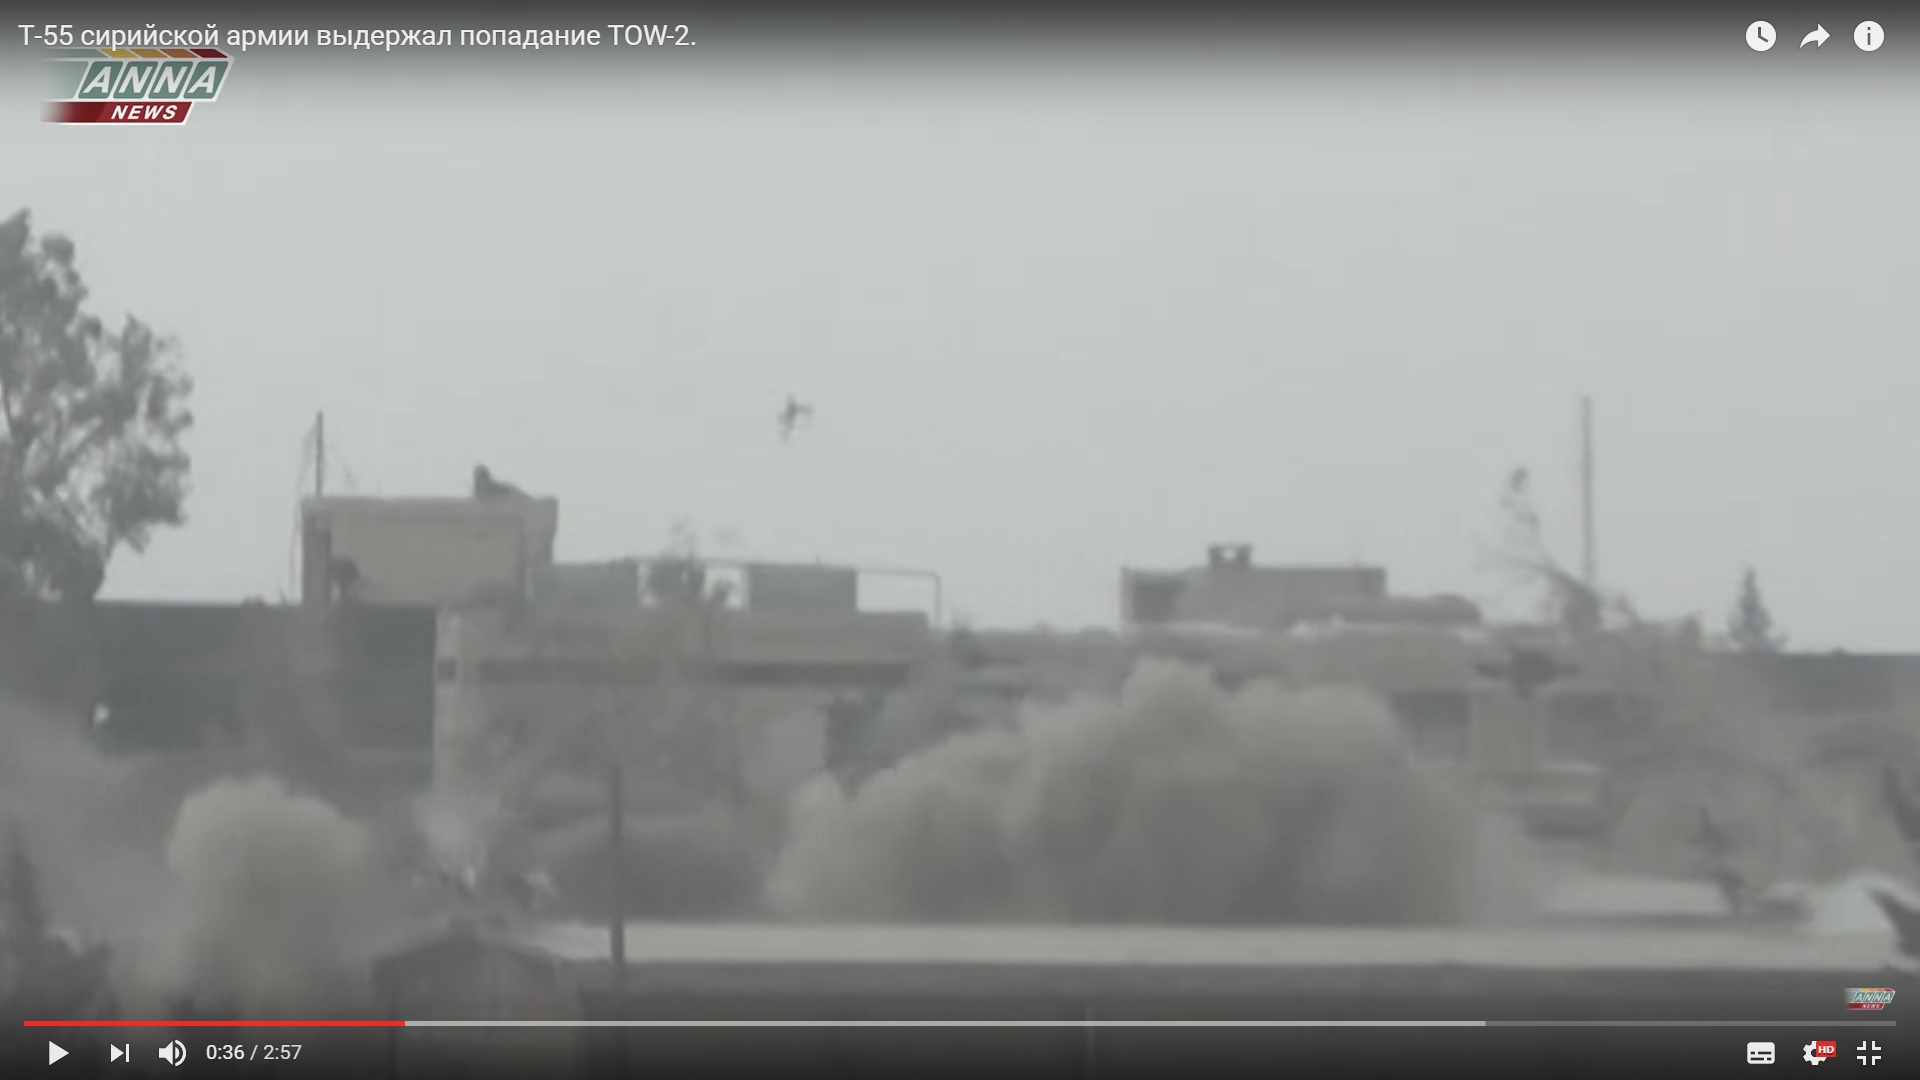
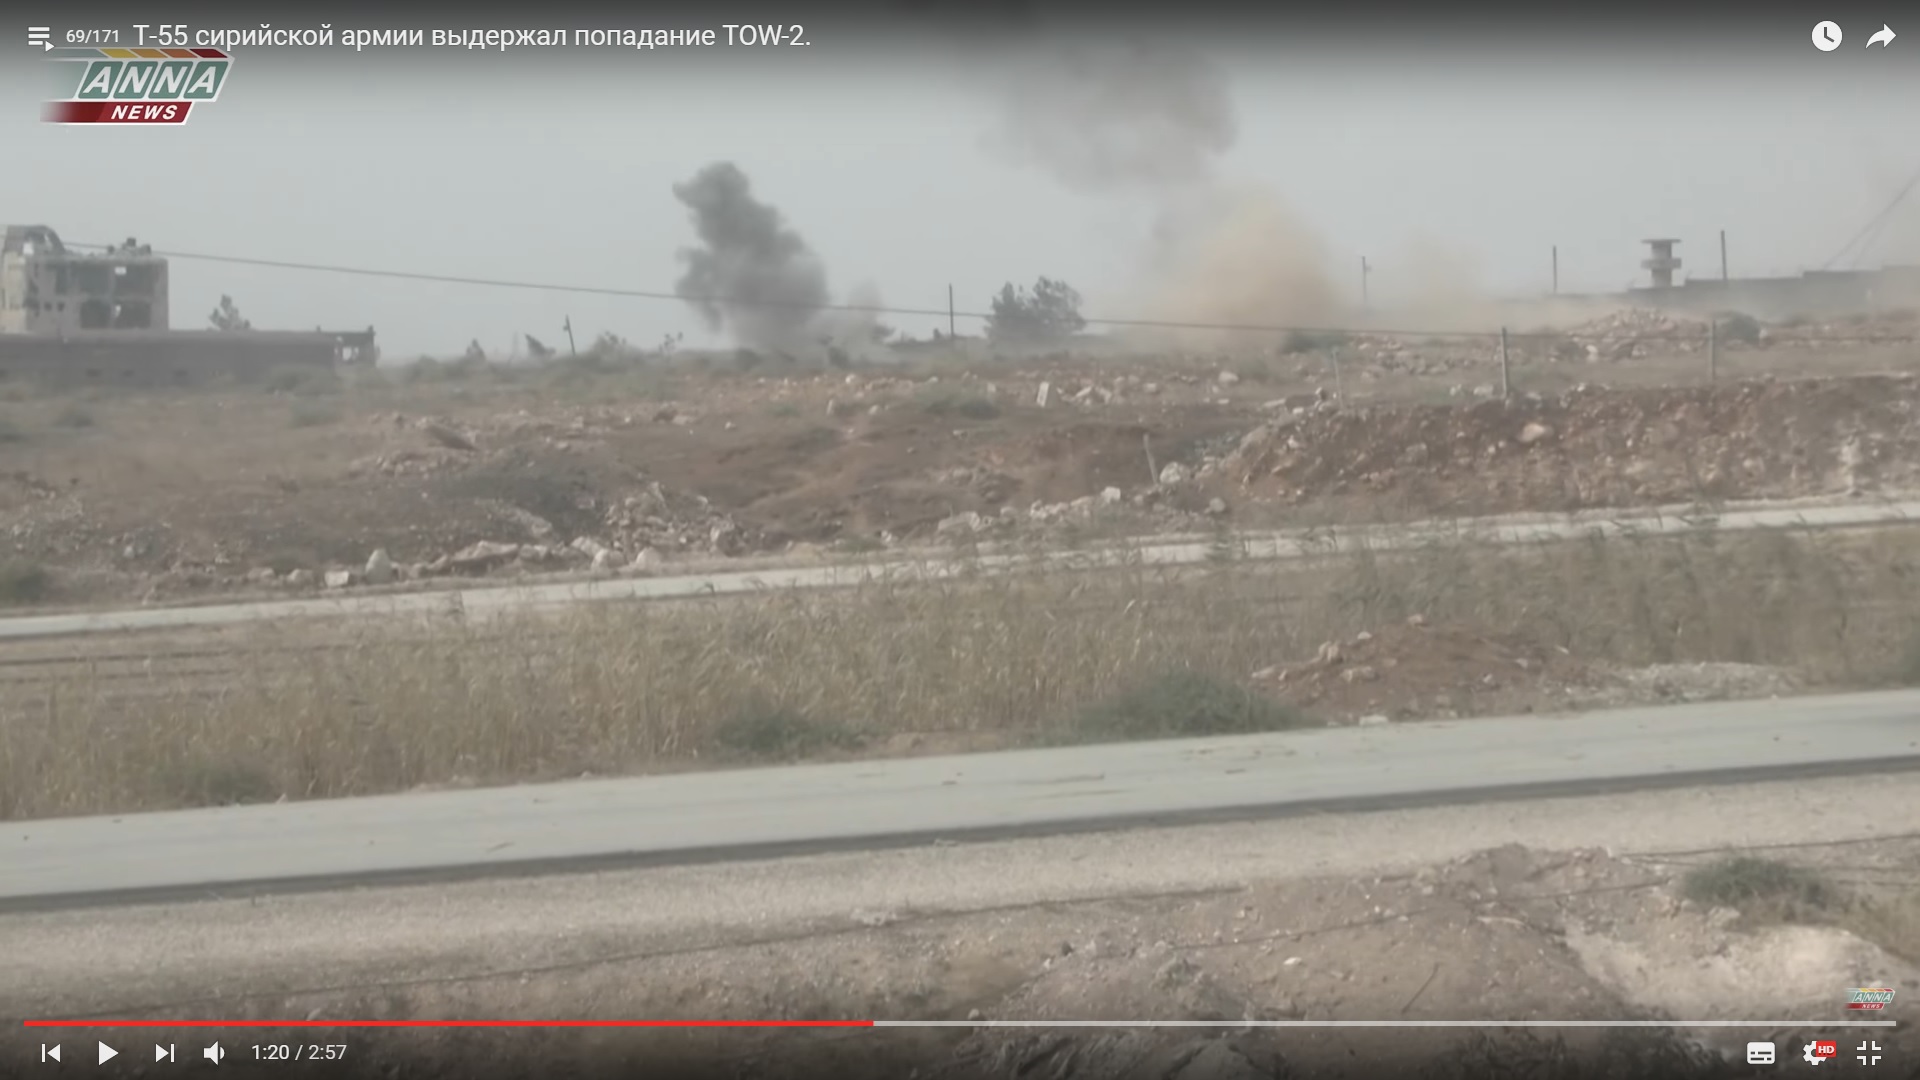
The diesel didn’t fire only by an accident. According to ANNA News, the tank was hit with a TOW-2 missile. However, the delivered damage does not allow to confirm this report.
Presence of journalists allow to estimate the involved force more precisely. This was BVP-1 AMB-S vehicle that had survived an ATMG hit.
There were two more T-55 battle tanks. One had arrived to replace the damaged one but remained in a pocket until the evening. Another tank probably participated in military actions but didn’t move to the Ramouseh Artillery Base complex.
There were also a BMP-2 vehicle and an Armoured Recovery Vehicle that was there for an attempt to evacuate the damaged BMP-2 vehicle from the depot area.
The evacuation was planned for the night to avoid a threat of ATGM launches.
The BMP-1 vehicle was returing from the raid.
Government forces were actively using BMP vehicles delivering reinforcements to the captured part of the Ramouseh Artillery complex.
The BMP-1 was sent to evacuate soldiers from the rampage.
The BMP driver had troubles with driving during the previous attempt. The problems repeated again. He missed the area with soldiers and stopped cross the road.
Soldiers attempted to reach the vehicle but militants started firing at them.
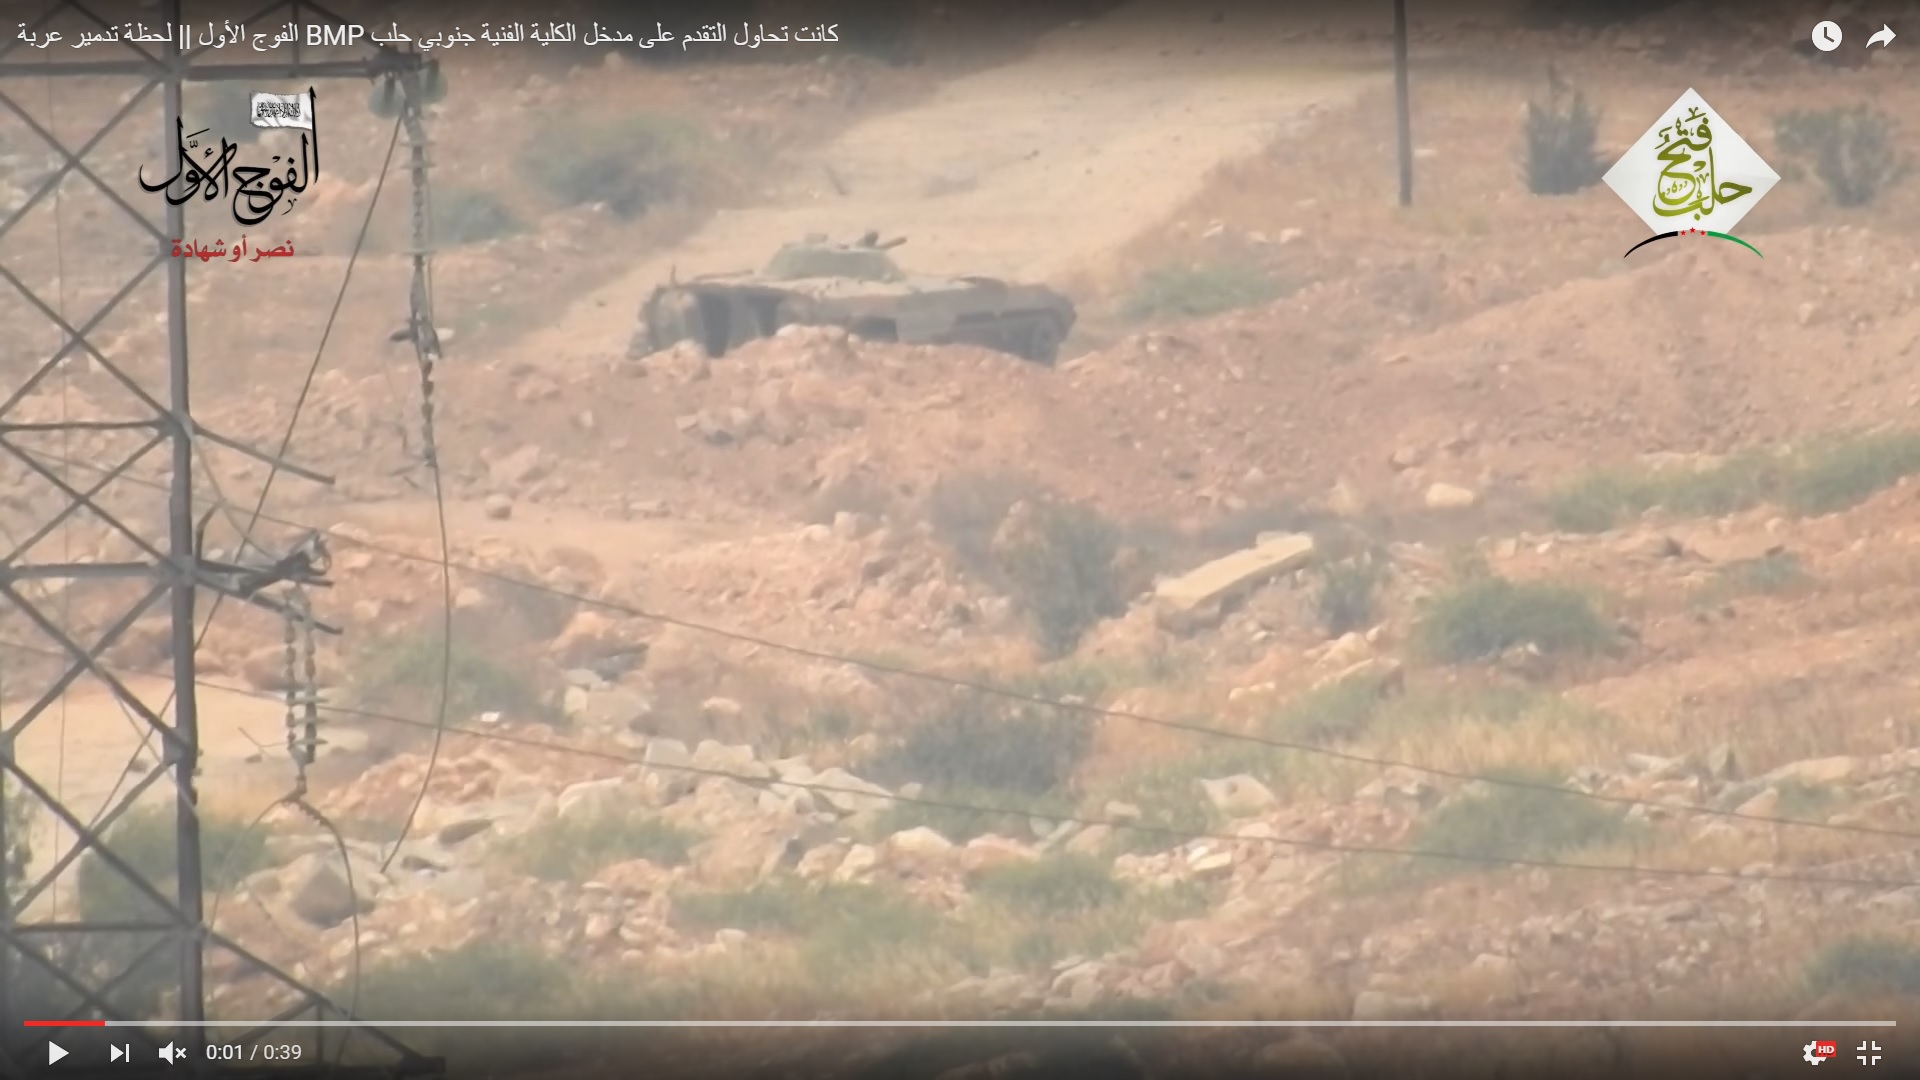
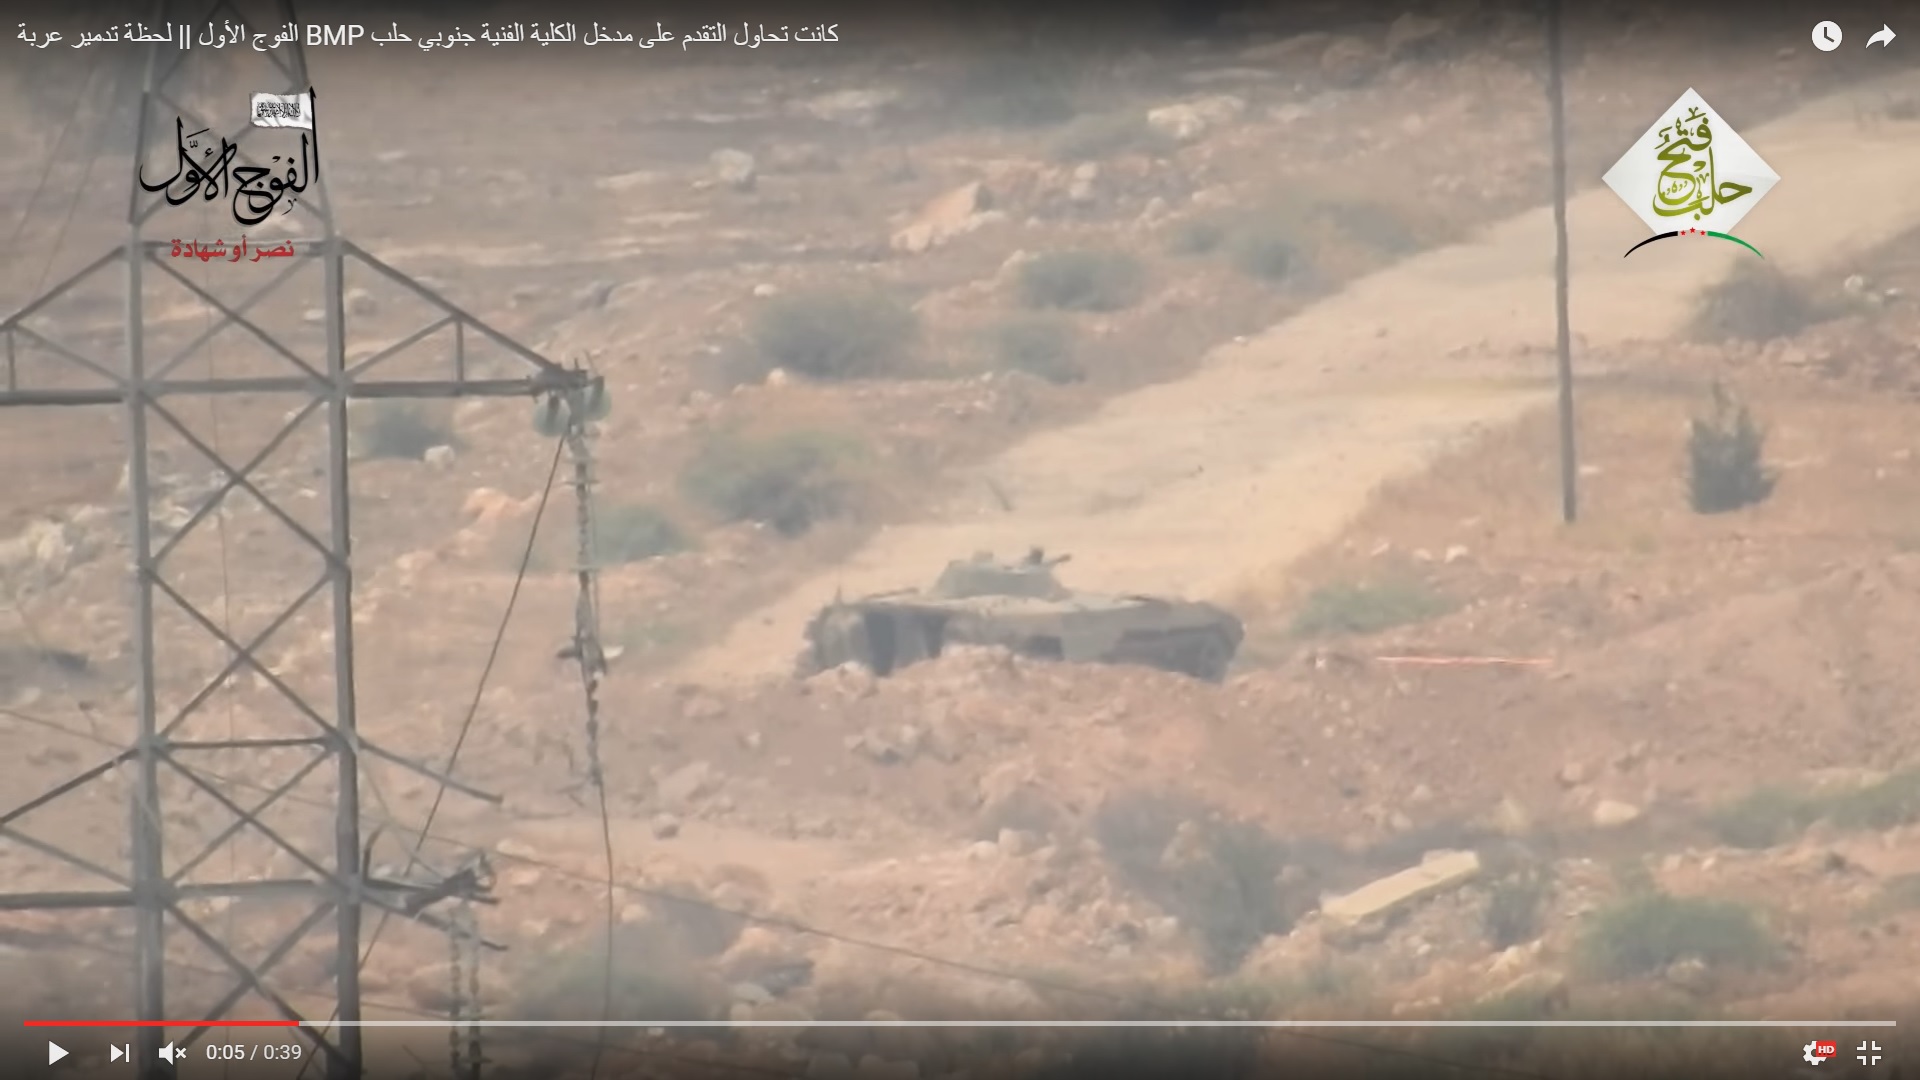
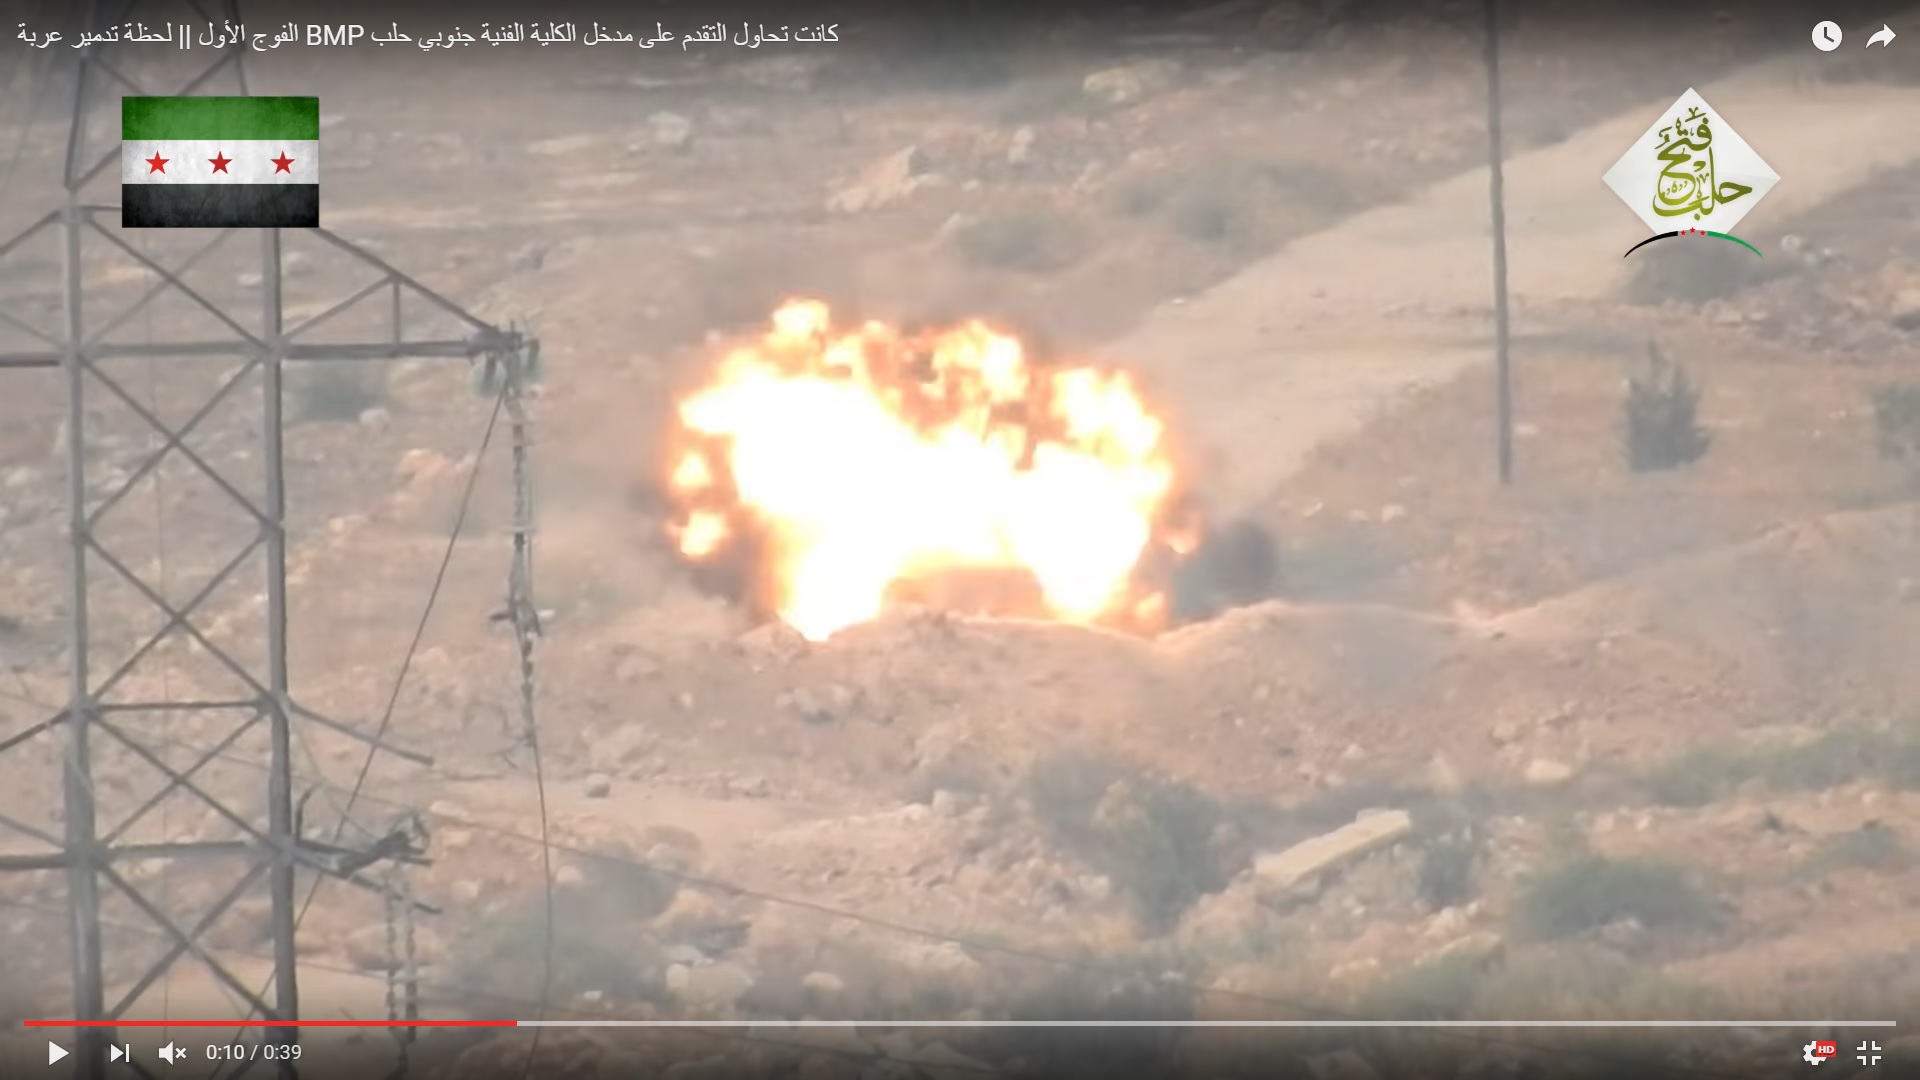
As a result the armoured vehicle was remaining in place for a notable time. This was used by a militant ATGM crew.
The militant video didn’t show the gunner.
It looks like some soldiers crossed the rampage or they were changing their position using smoke clouds. Militants responded with a fire.
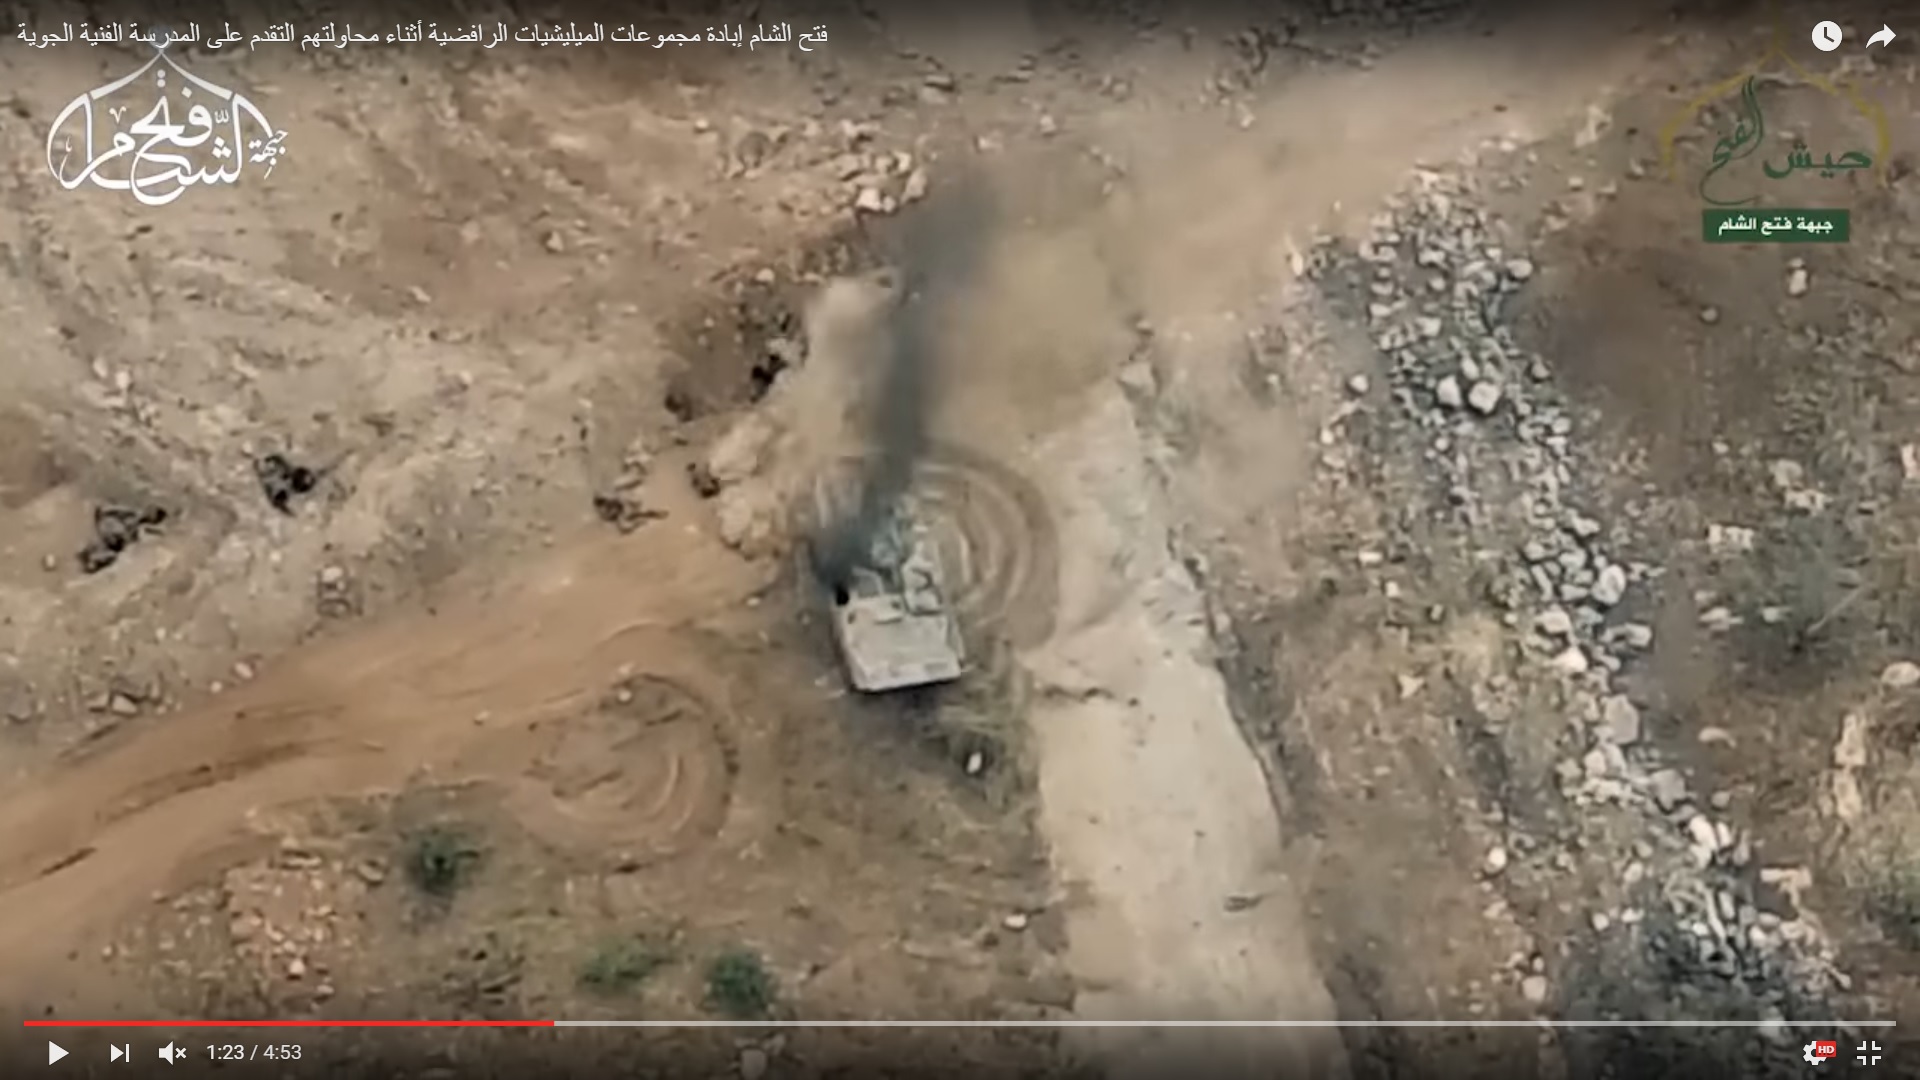
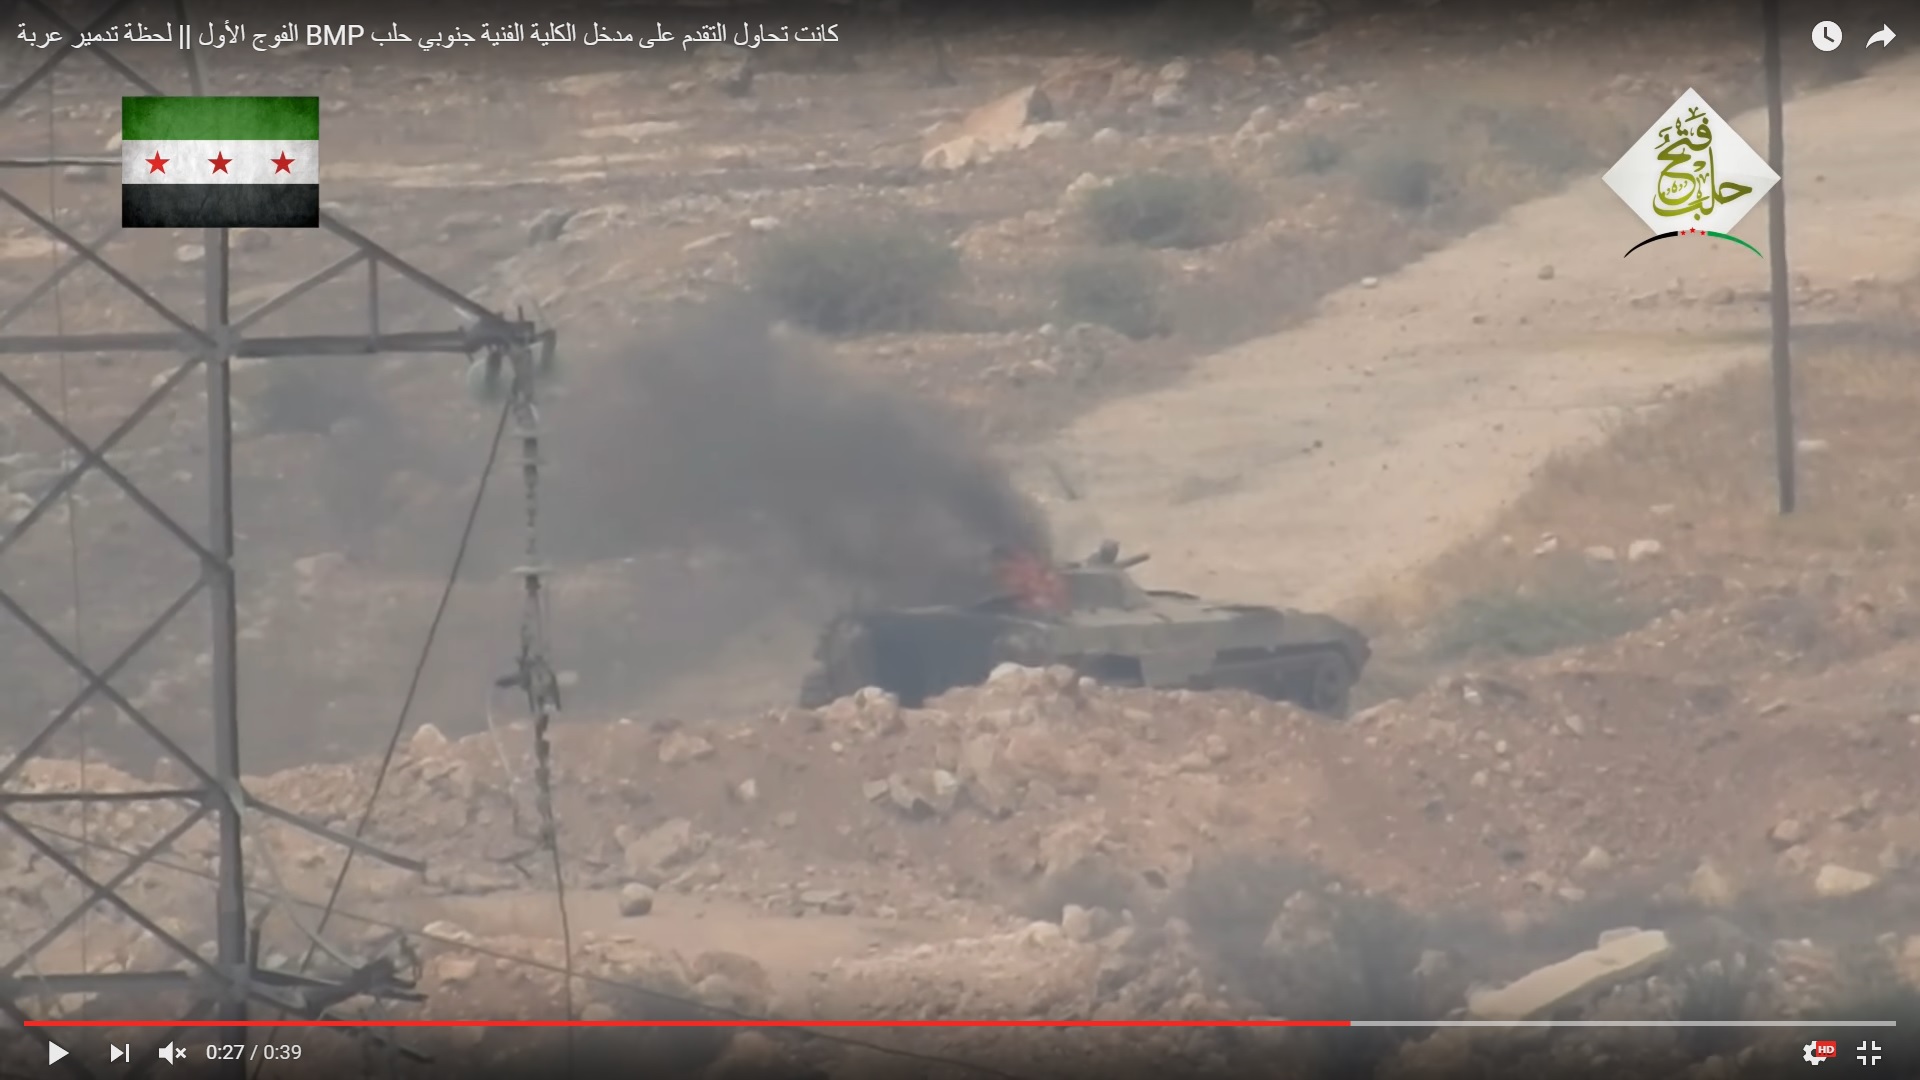
The BMP-1 vehile was burning as a result of the ATMG hit.
The clouds and the video montage don’t allow to see if somebody from the BMP crew was able to run away.
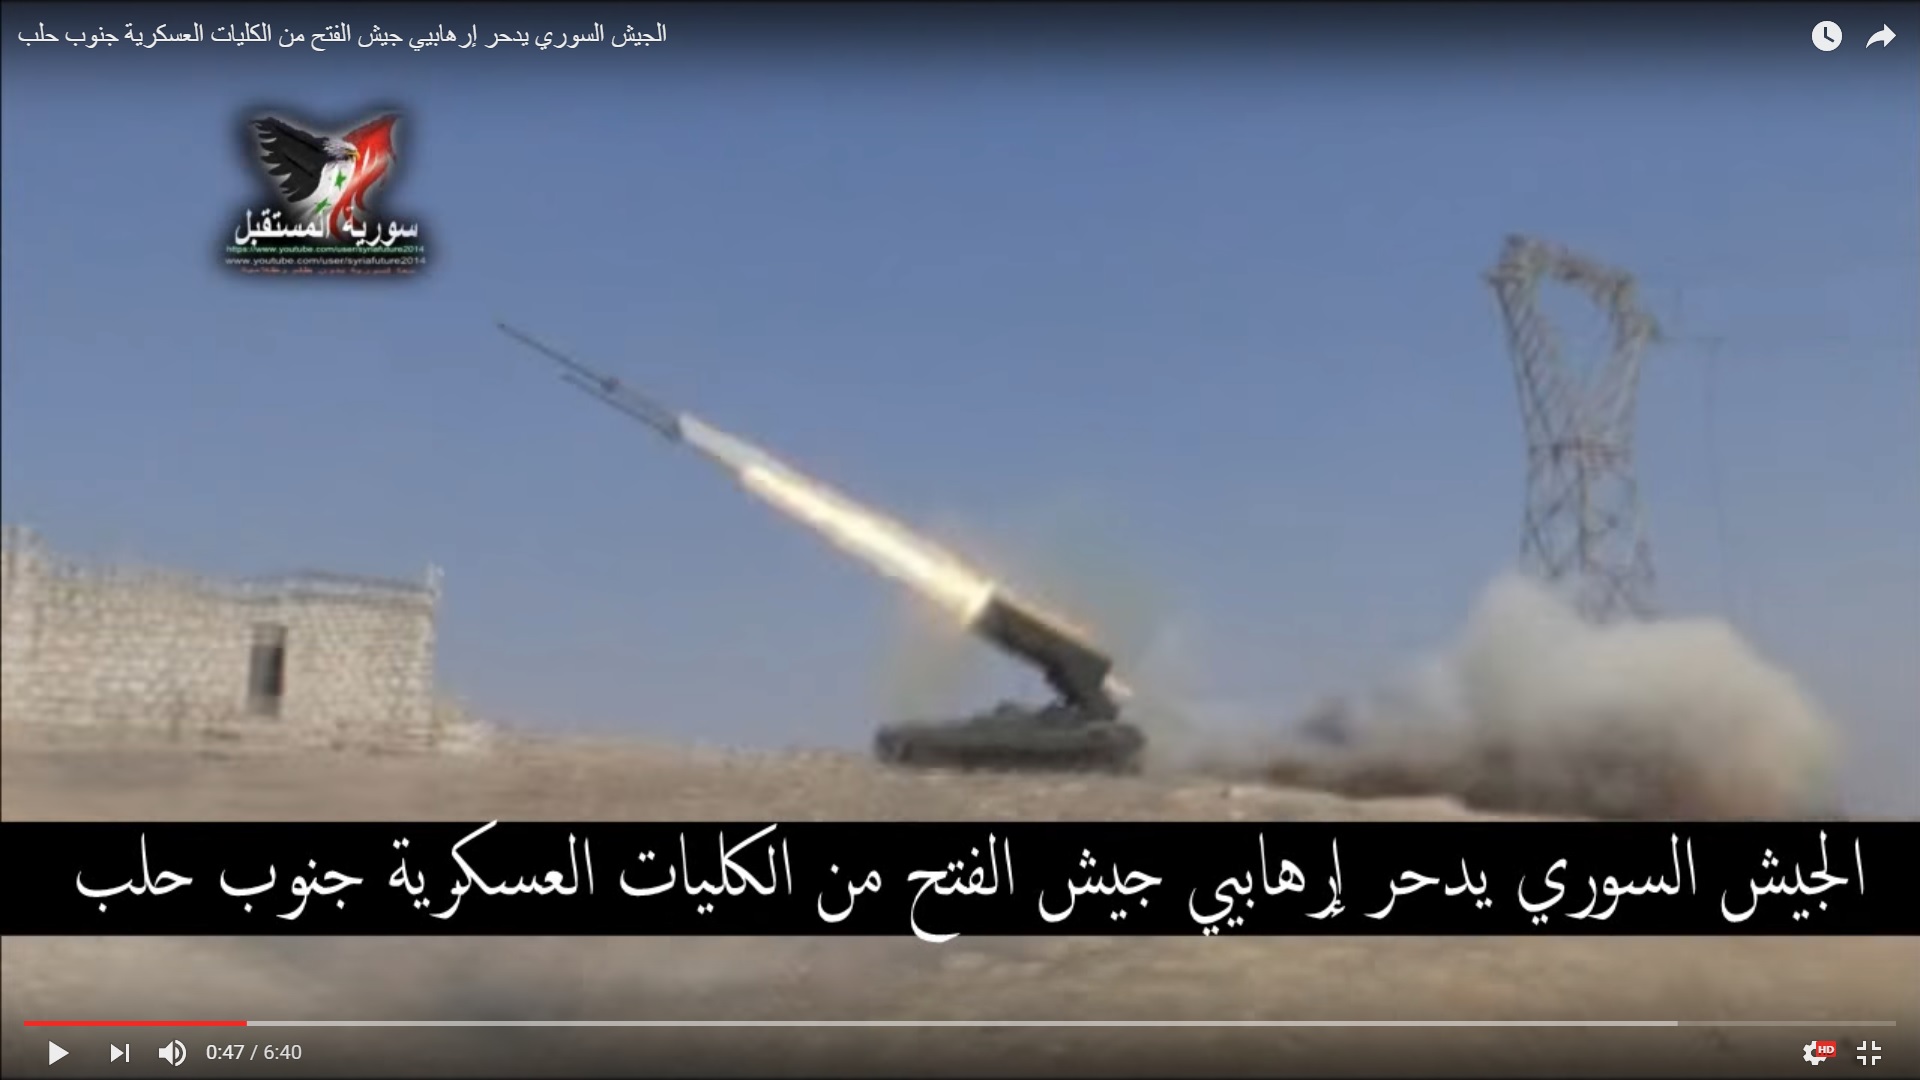
Government forces responded with artillery fire on militant positions in the academy area. A TOS-1 heavy flamethrower system was firing from the cement plan area.
Warplanes were also involved.
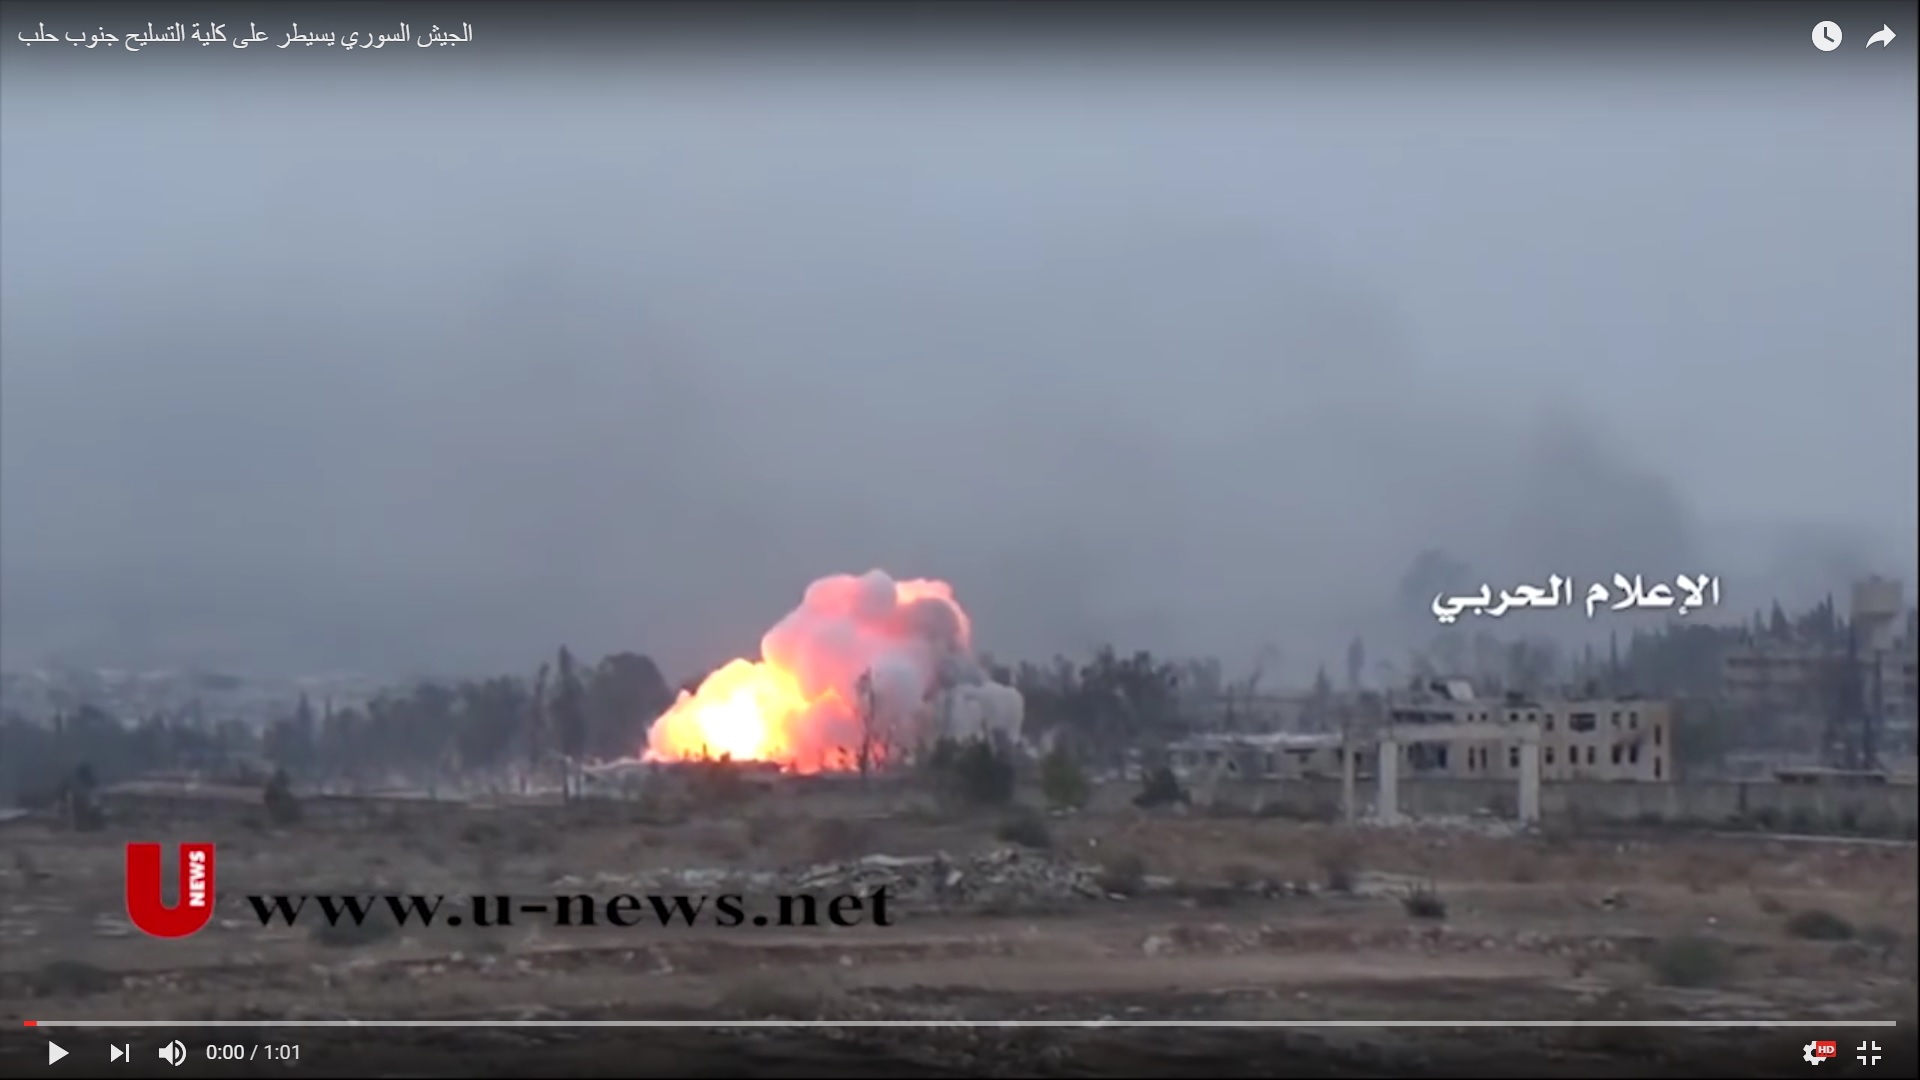
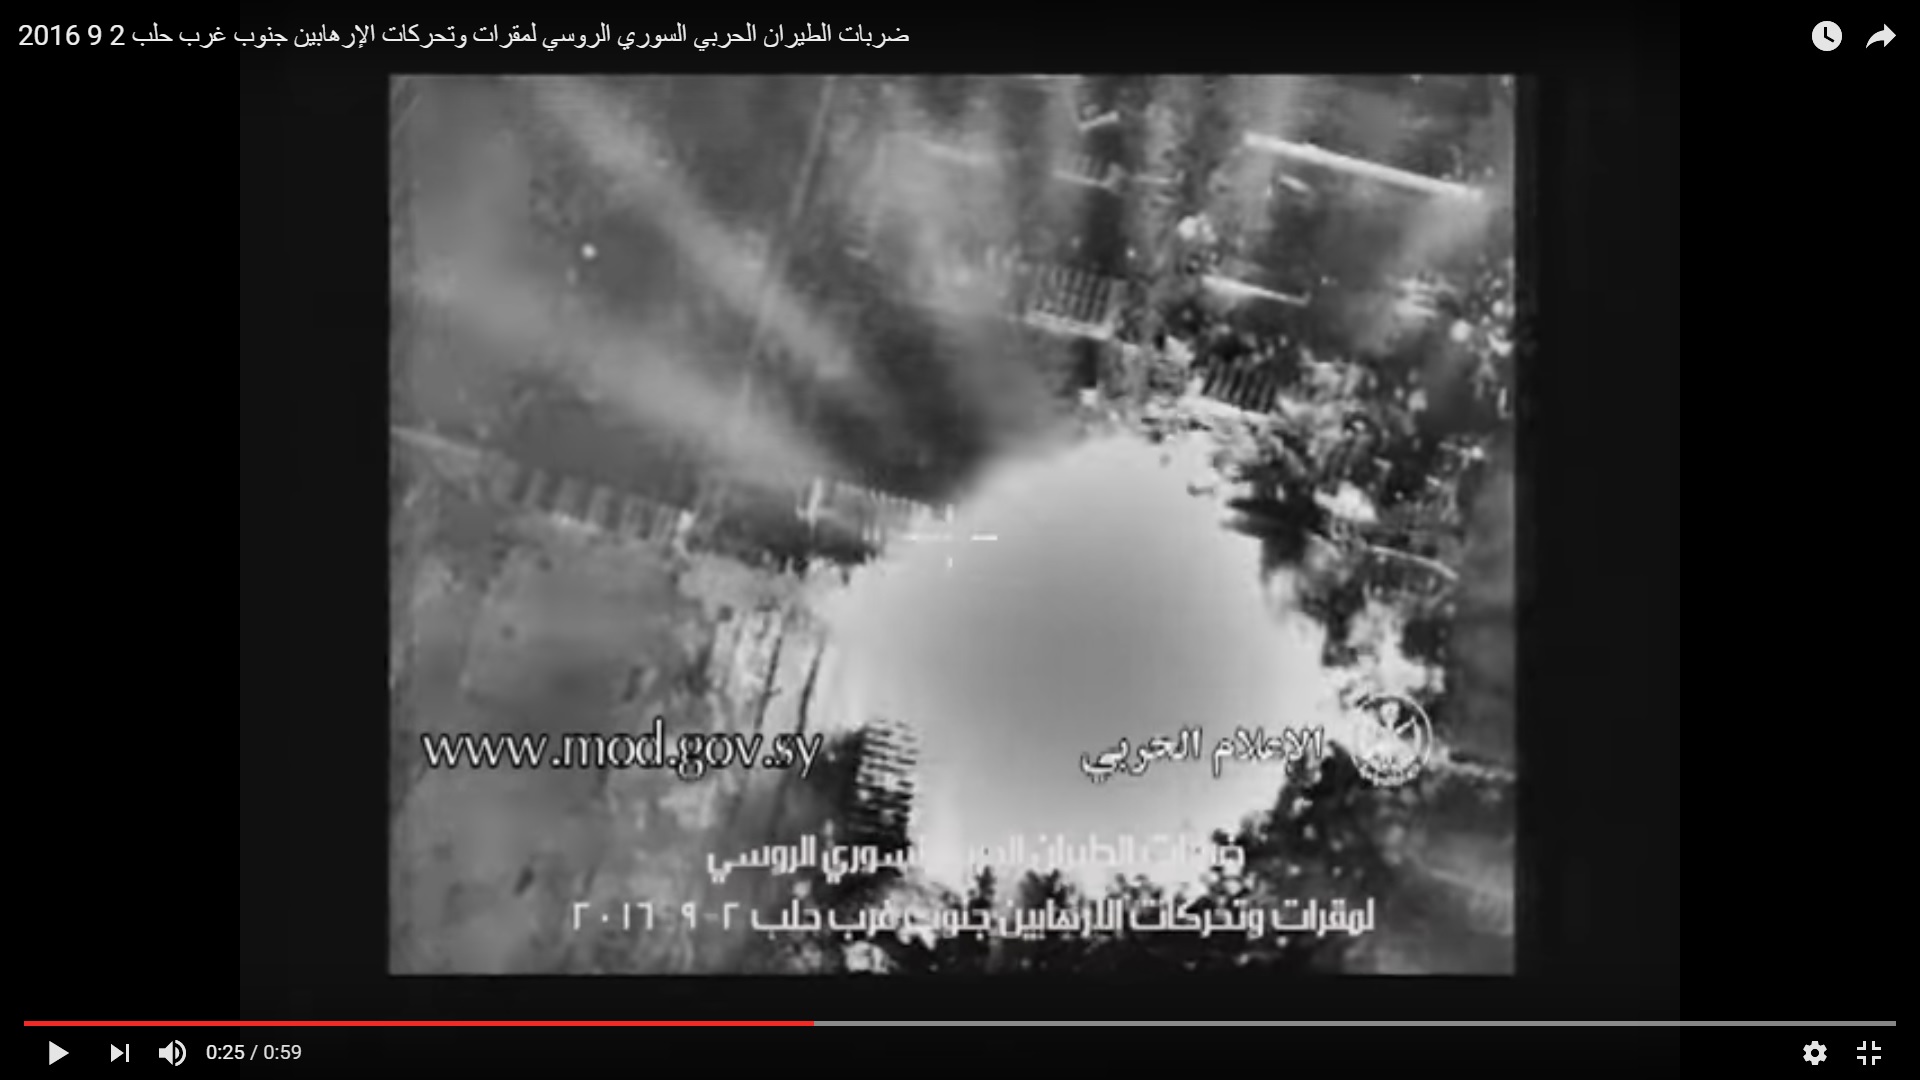
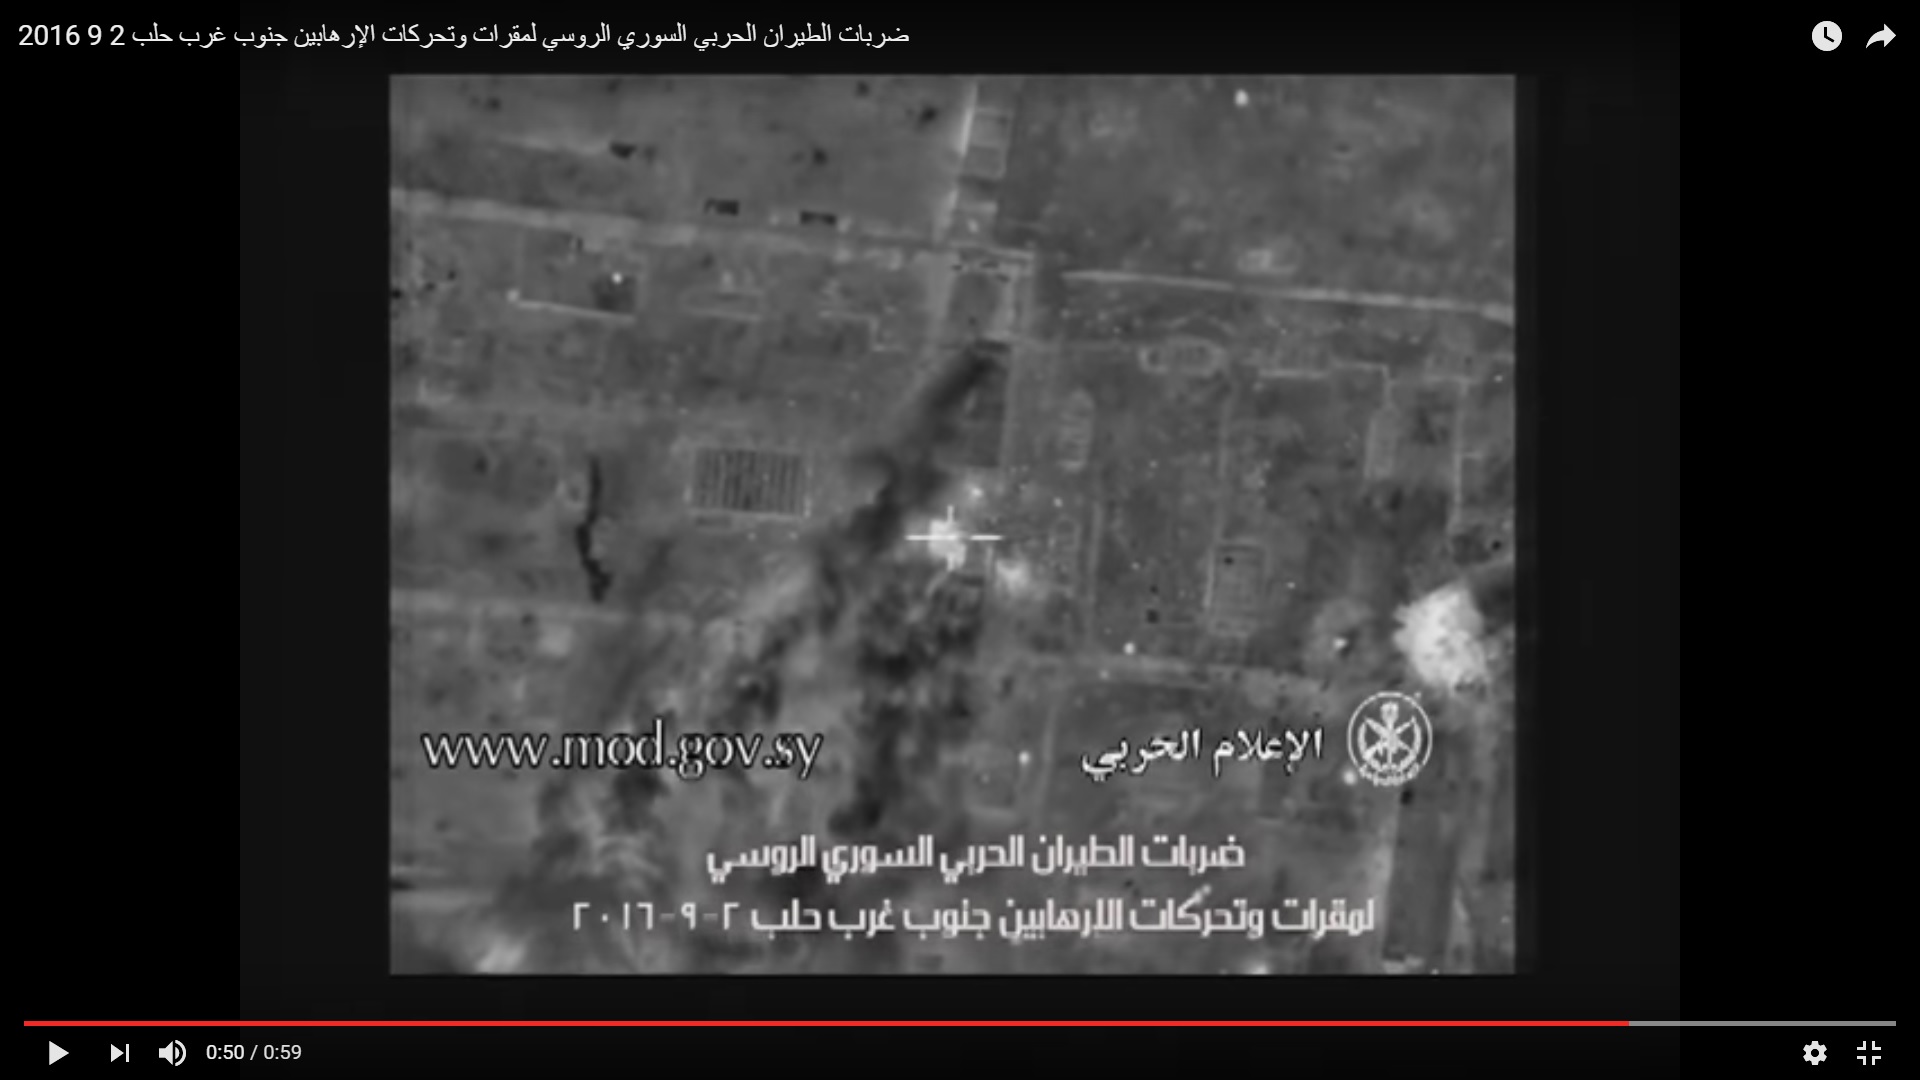
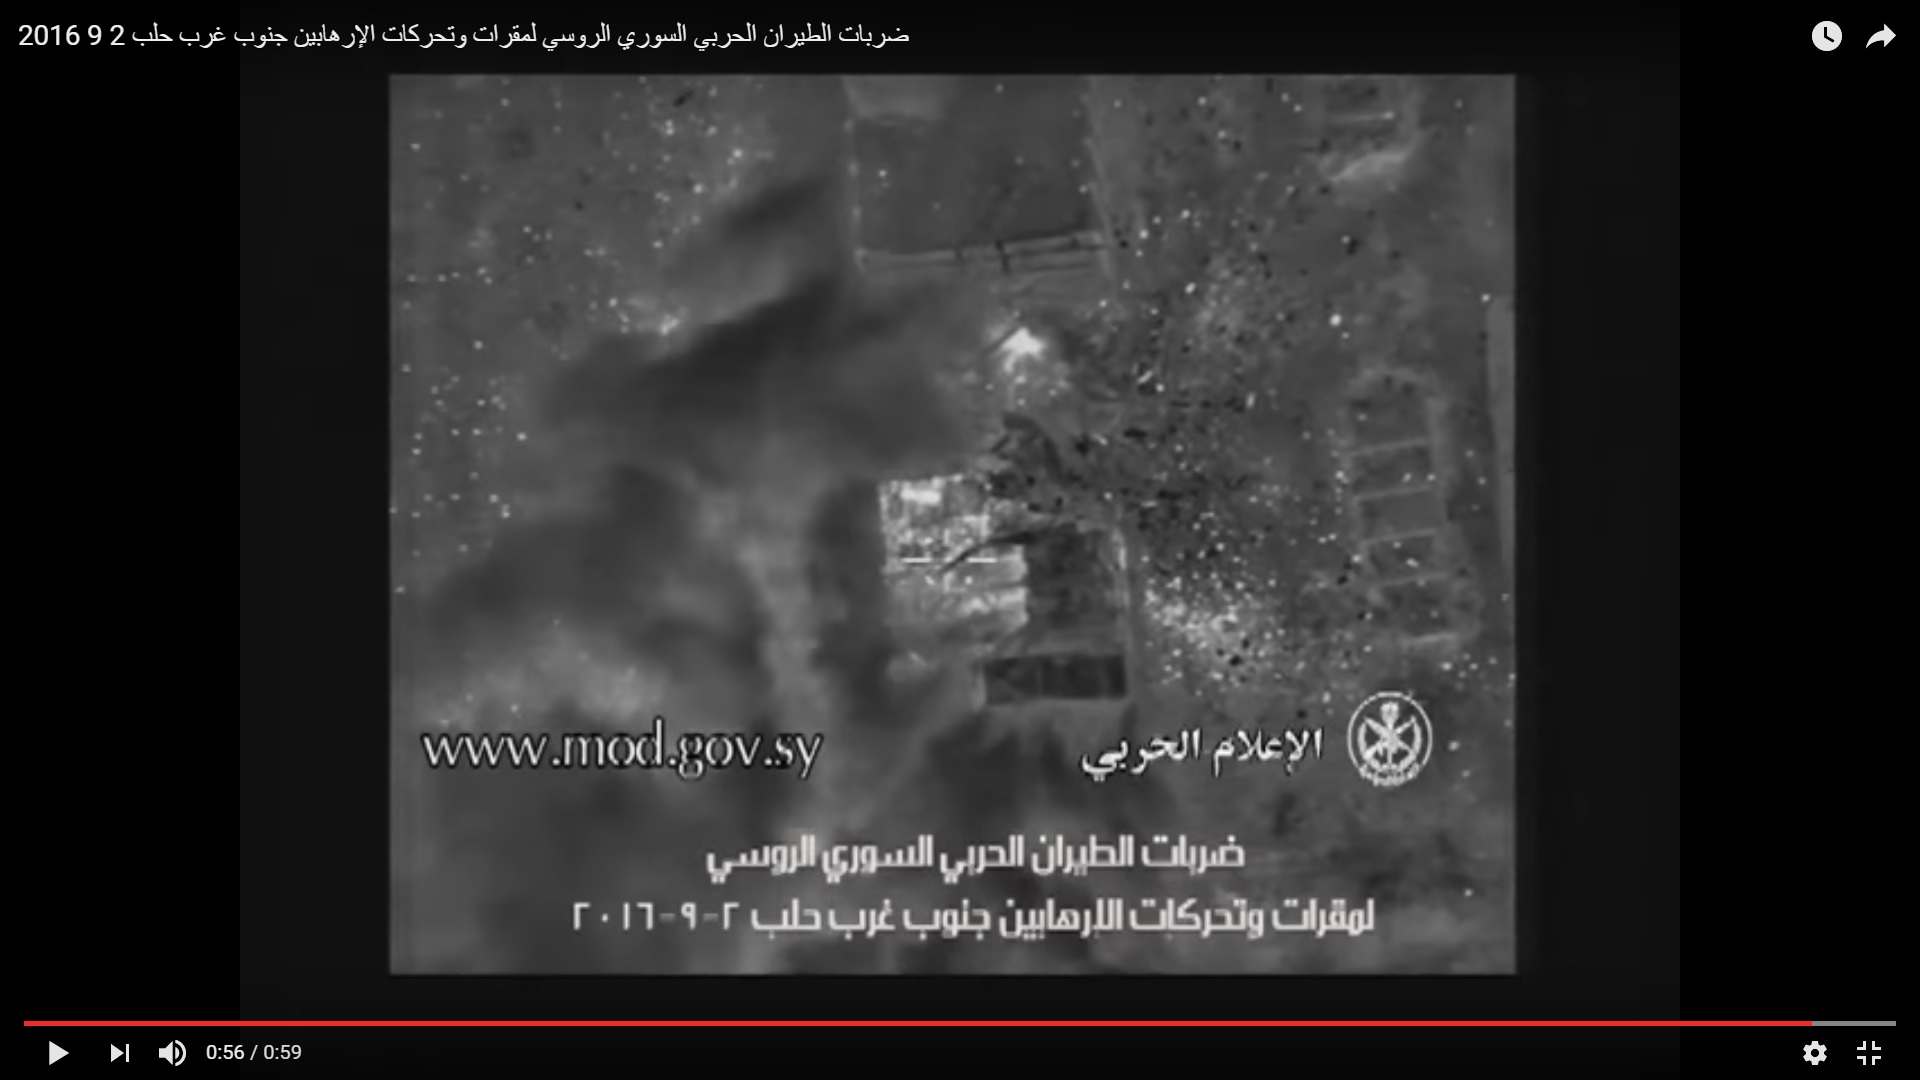
Airstrikes were targeting militant positions in the area of the artillery college.
A look at the Yellow House after military strikes
It’s also possible to see the damaged BMP-2 vehicle near the depot and smoke clouds near the burning BMP-1 on the road.
In some time, the assault force deployed near the depot became enough big to continue an offensive operation. While government forces were advancing, another attempt to evacuate soldiers from the road could take place. The soldiers on the road hid behind the burned BMP-1 vehicle. The ABM-S vehicle was sent to evacuate them.
The driver was skilled enough to park in a way allowing soldiers to evacuate safely. However, militant shelling were not observed.
A soldier lying at a distance from the burned BMP vehicle run to the AMB-S vehicle but it was already full. He run back to his place despite the fact that it was likely safer to remain behind the burned BMP vehicle.
At least 3 soldiers remained on the scene waiting for another voyage of the AMB-S vehicle.
If we take into account that at least 5 soldiers from the first assault team was killed, we can conclude that one crew member of the burned BMP vehicle survived.
Despite intense artillery and air strikes, militants conducted a series of attacks on the advancing government forces in the second part of the day. A group of militants (3-5) reached the pump station and fired at the depot building with an RPG.
It could be noted how constant military strikes were changing the landscape. Holes appeared in roofs of the building with a barrel and a building near the depot.
Closer to the evening, militants shelled government positions.
The AMB-S vehicle deployed more reinforcements to the area. This could allow to increase the fighting spirit and to help in case of a militant counter-attack.
A shell crater could be seen near the road, a part of the fence was damaged.
Soldiers were running to the depot.
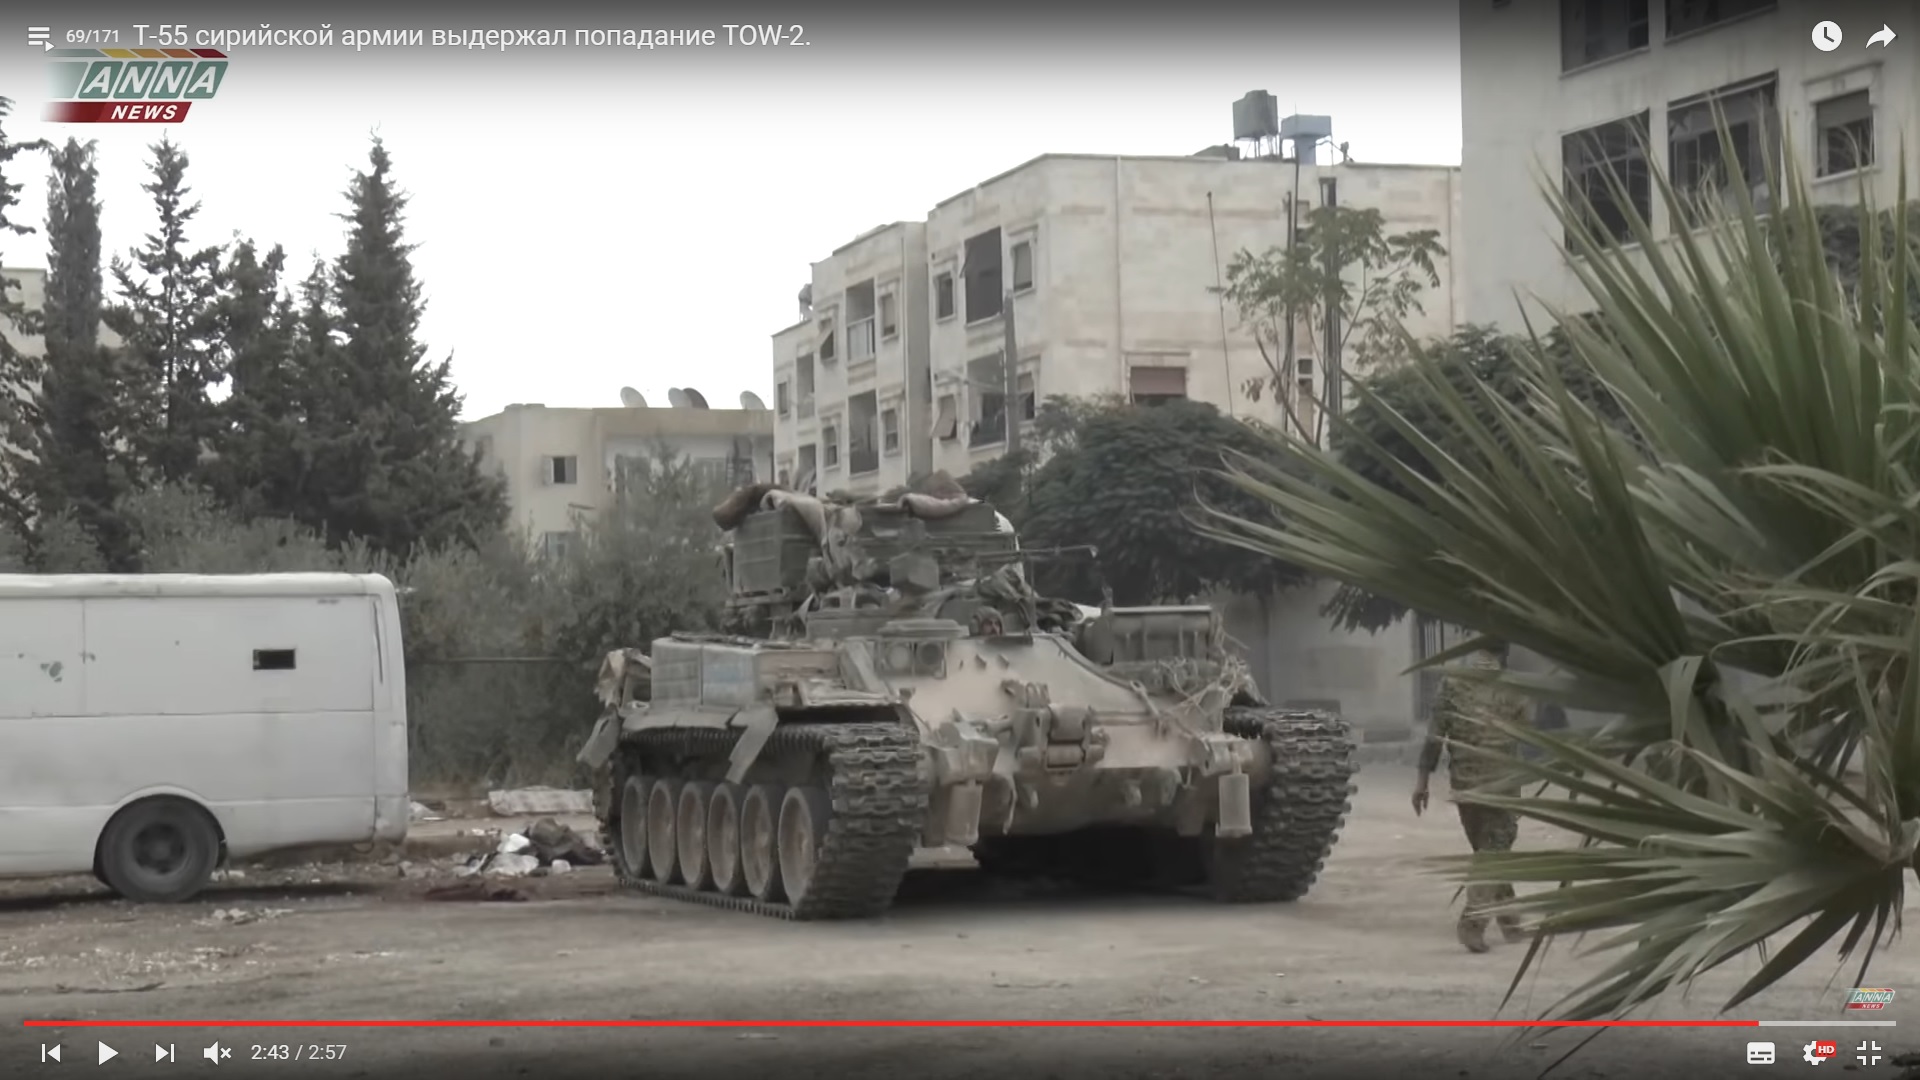
The T-55 battle tank (with white bags) was deployed to support pro-government fighters.
The AMB-S vehicle and the burned BMP-2 vehicle were waiting it near the depot.
While the tank was reaching a depot, one of the sides was shooting at a tree and damaged its branch.
After some time the AMB-s vehicle moved for another raid. The T-55 turned its rear to the al-Aramia neighborhood and our well-known ATGM crew used this moment for a launch.
It was a hit.
Looks like, this was a reare event when the bags helped. Or the explosive jet banked from the caterpillar tread. Following such a bad reception, the tank crew decided that it was time to retreat. The militant drone video showed the results of the day.
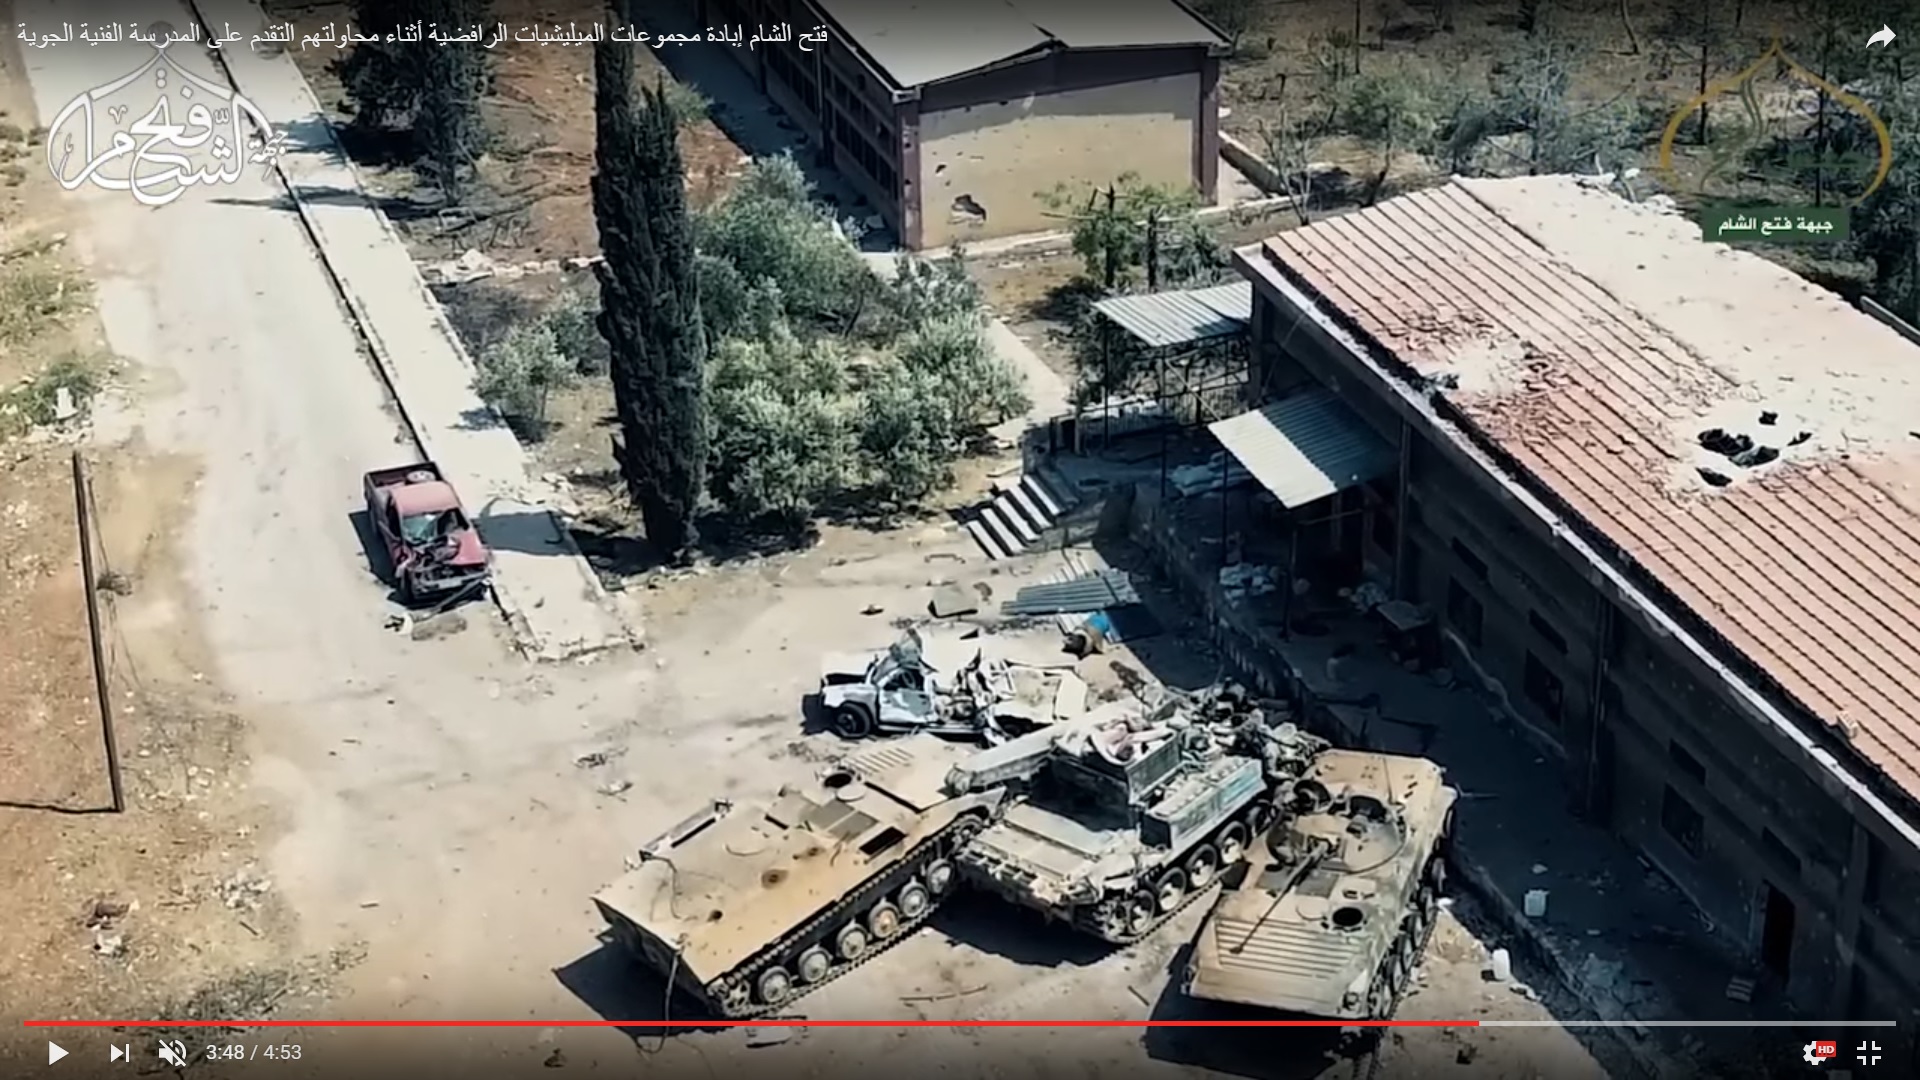
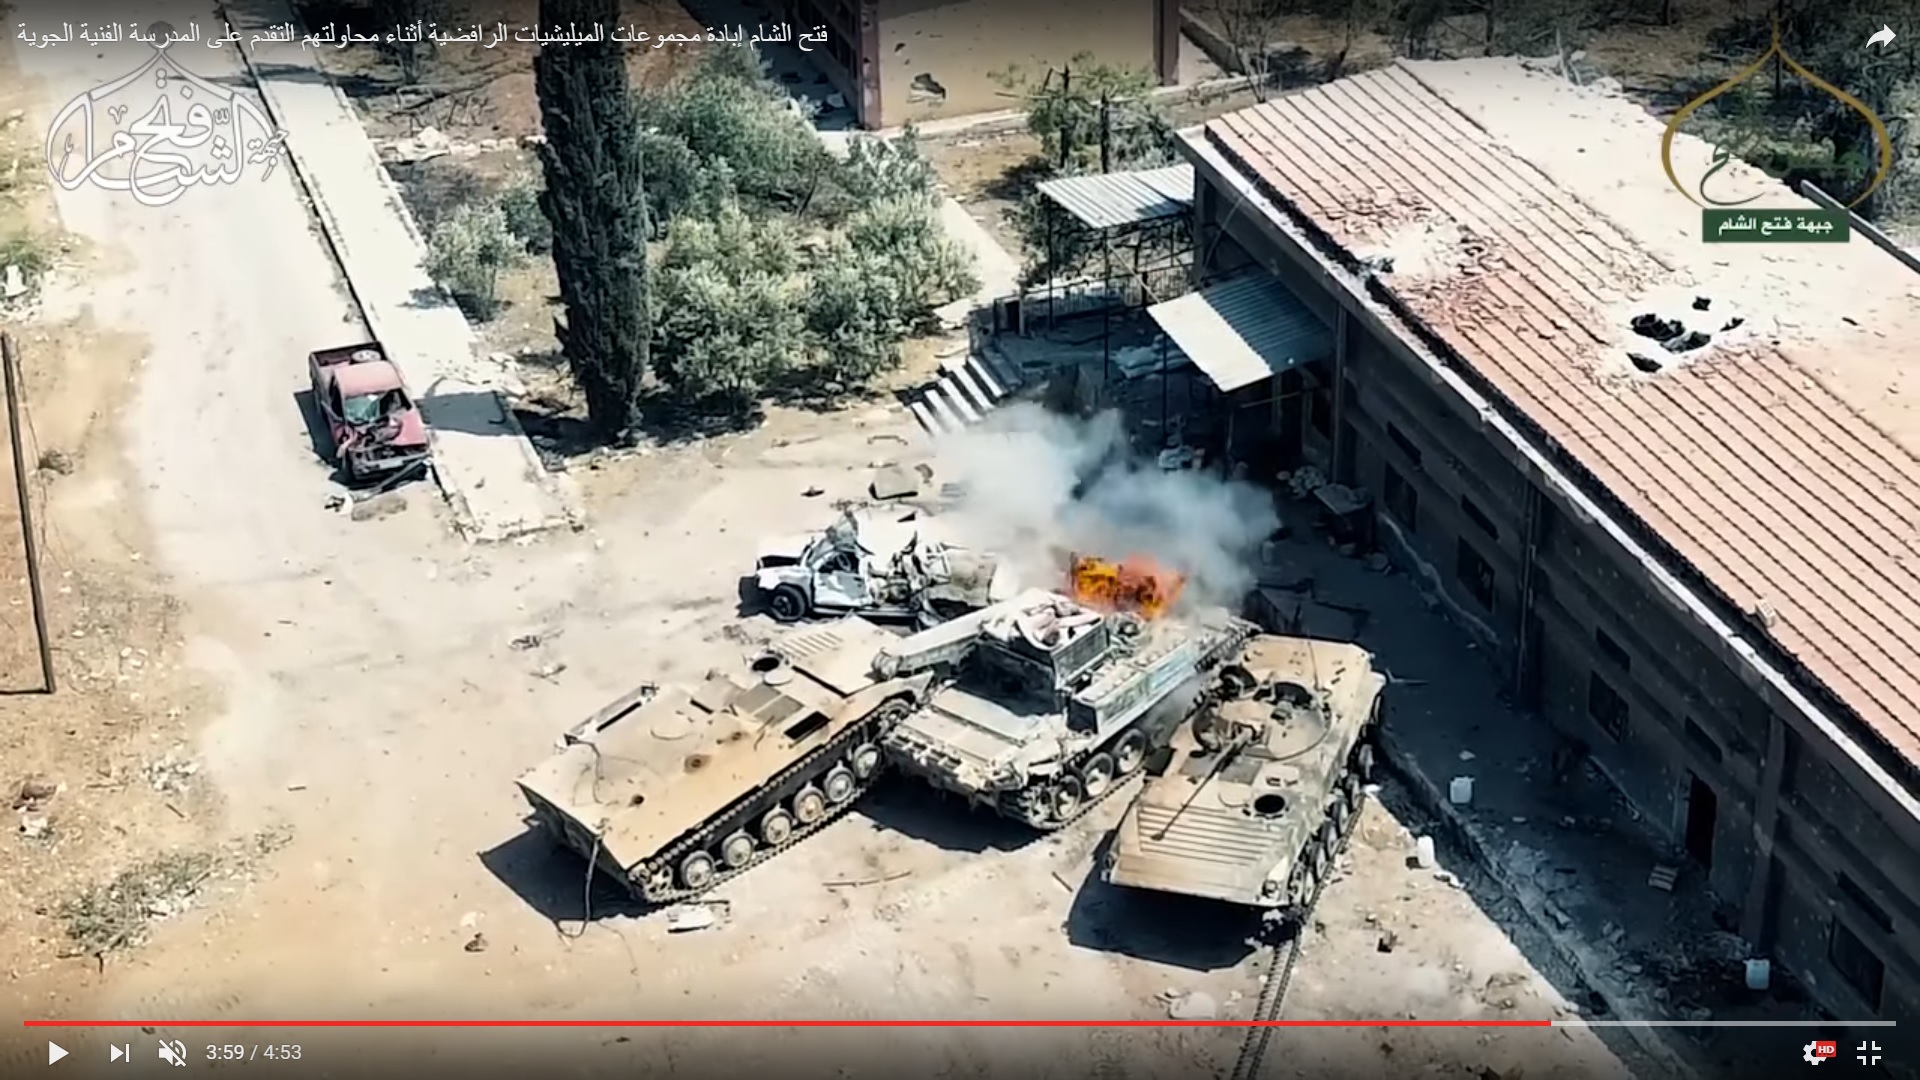
A T-55 battle tank replaced another one damaged on the road was seen in the yard – it didn’t participated in the advance. Another battle tank that had been spotted near the T-55 was absent. The T-55 “defended” with white bags was also there. There were also the earlier spotted armoured recovery vehicle, a technical, the BMP-2 and AMB-S vehicles. The BMP-1 was absent – it had been burned on the road.
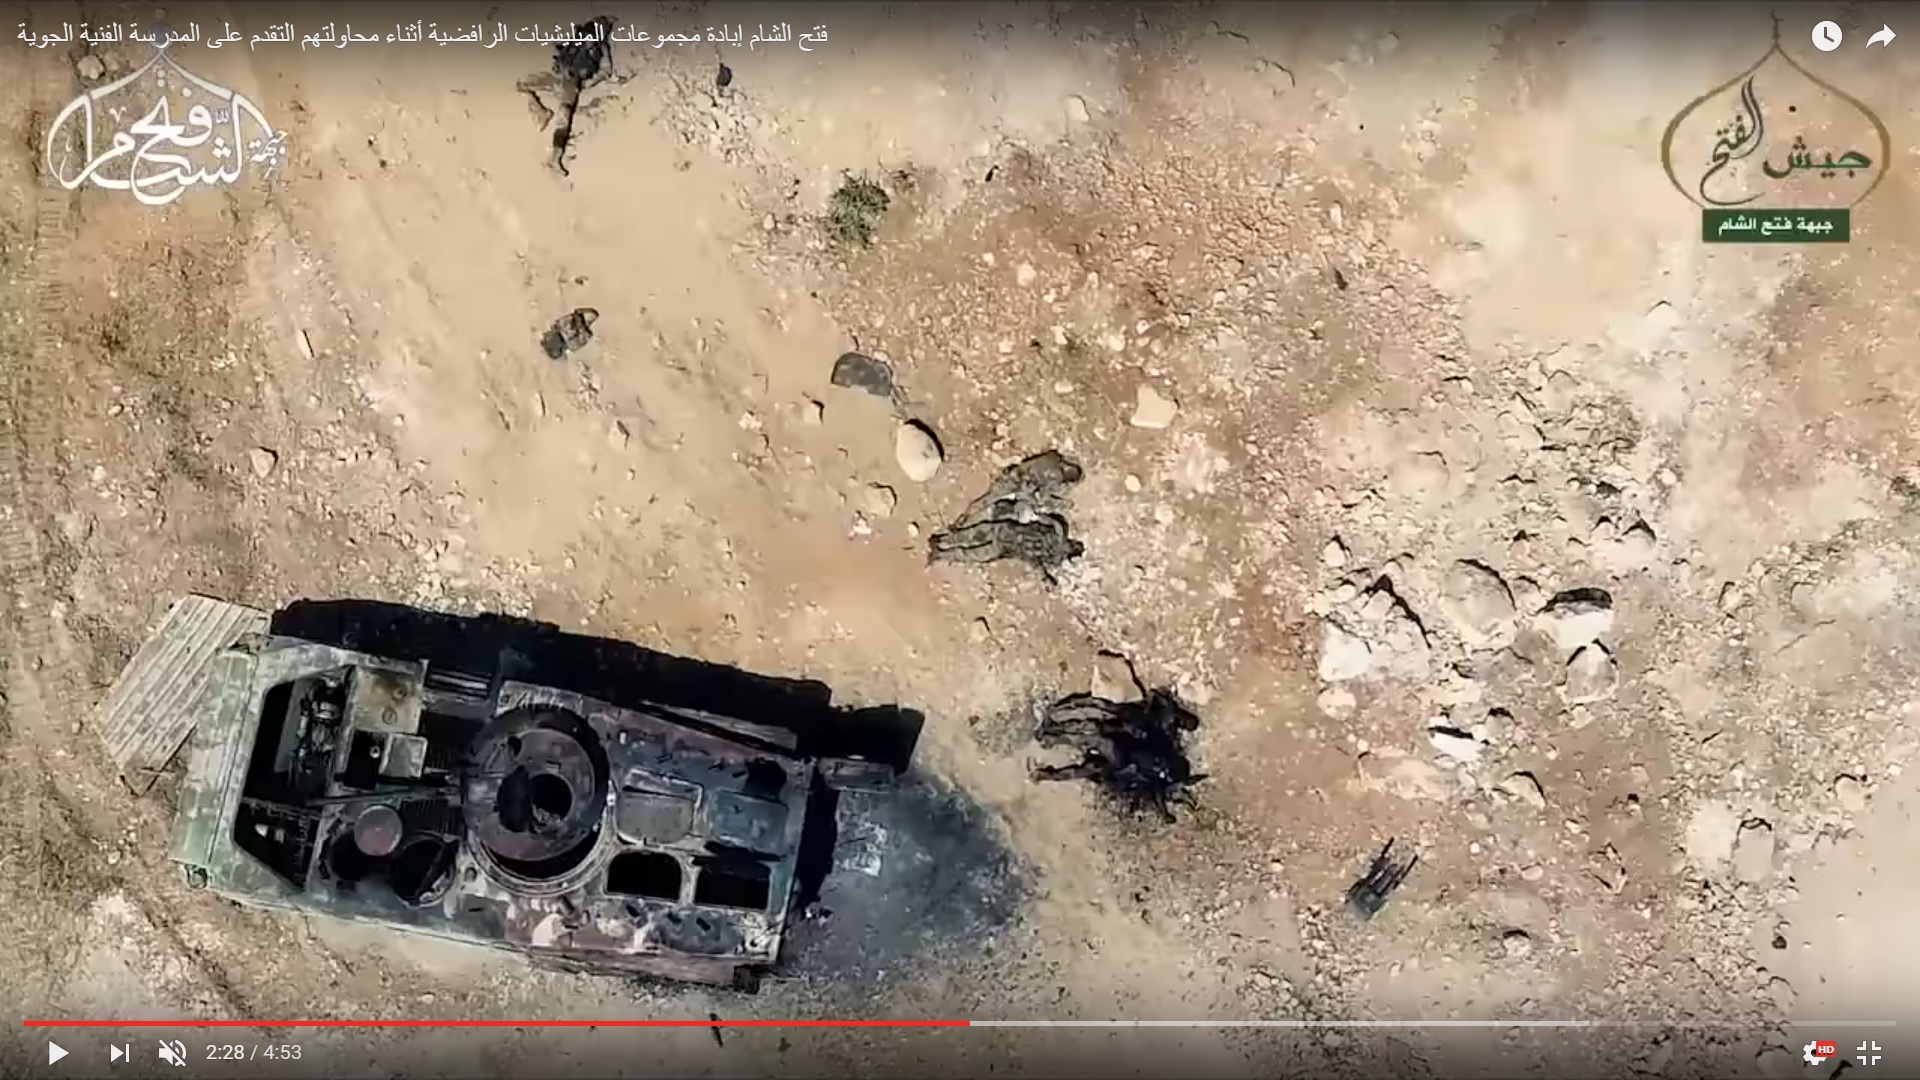
A hole in the rear is a place of the ATMG hit. Soldiers killed during the first assault are near.
The Yellow House and the aviation college were not captured, but soldiers remained in control of the dining house and the depot.
Cameras missed the next part of the developments, but we will try to suppose its possible course. Late on August 25 and early on August 26, something happened with the AMB-S vehicle near the depot. Most likely, the vehicle crashed into the rampant in the darkness and damaged its caterpillar tread. The AMB-S vehicle had shown itself very well during the previous developments (thanks to actions of its driver). Considering low skills of the BMP-2 driver and the burned BMP-1 vehicle, government forces had to do something with this. This is why, the armoured recovery vehicle arrived for repair works. The armoured recovery vehicle dragged the ABM-S from the rampant and erected its nose to the air. At the same moment, militants blew up the pumping station. Most likely, it was mined previously. Government troops panicked and run away from the nearby areas.
Militants in the Yellow House opened a machine gun fire against running soldiers.
The Syrian military used an ATGM to suppress the firing position
But this was not enough to stop the panic. Positions were lost.
The AMB-S and armoured recovery vehicles remained near the depot.
In the first half of the next day, militants checked the situation with a drone and conducted a raid in the area.
The pumping station was totally destroyed. An AMB-S vehicle and a hell cannon were seen near the Yellow House. So, there could be a version that the destruction of the pumping station was a result of a precise strike from the hell cannon. However, considering the delivered damage, it was unlikely. The hell cannon could be moved there to support of the militant advance on the depot.
3 militants were moving to the depot.
Two more militants followed the first trio.
Few minutes later, the first trio was near the fence.
Now, we can see the AMB-S and armoured recovery vehicles. The driver hatch was opened, nobody was near the vehicles.
A body could be seen near the depot. This marks that indeed some firefights had taken place there. Militants threw a grenade into the building and then entered it.
The situation remained calm from the “government side” of the building. Two militants checked the armoured recovery vehicle, nobody there.
Militants threw a grenade inside the armoured recover vehicle.
The vehicle was burning.
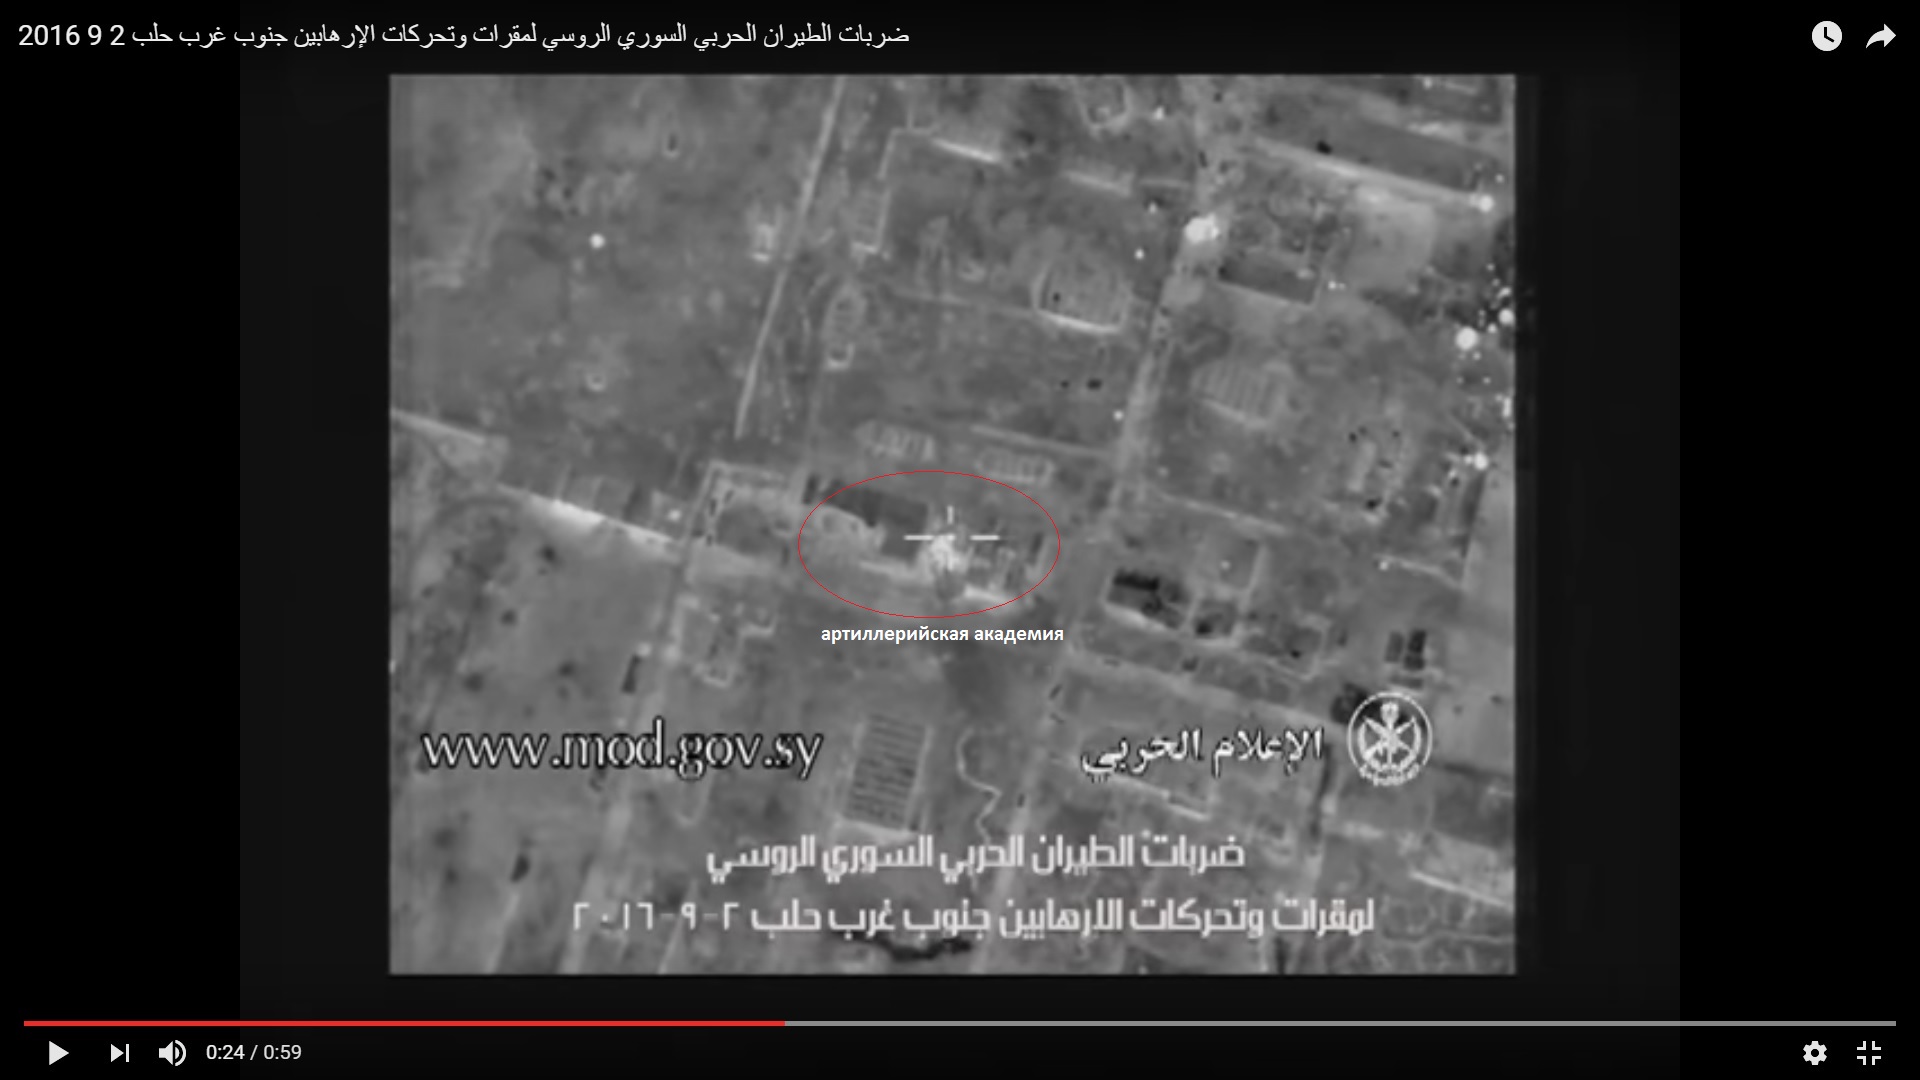
Government forces responded with intense aiirstrikes on the area of the aviation college.
The building of the artillery college was destroyed.
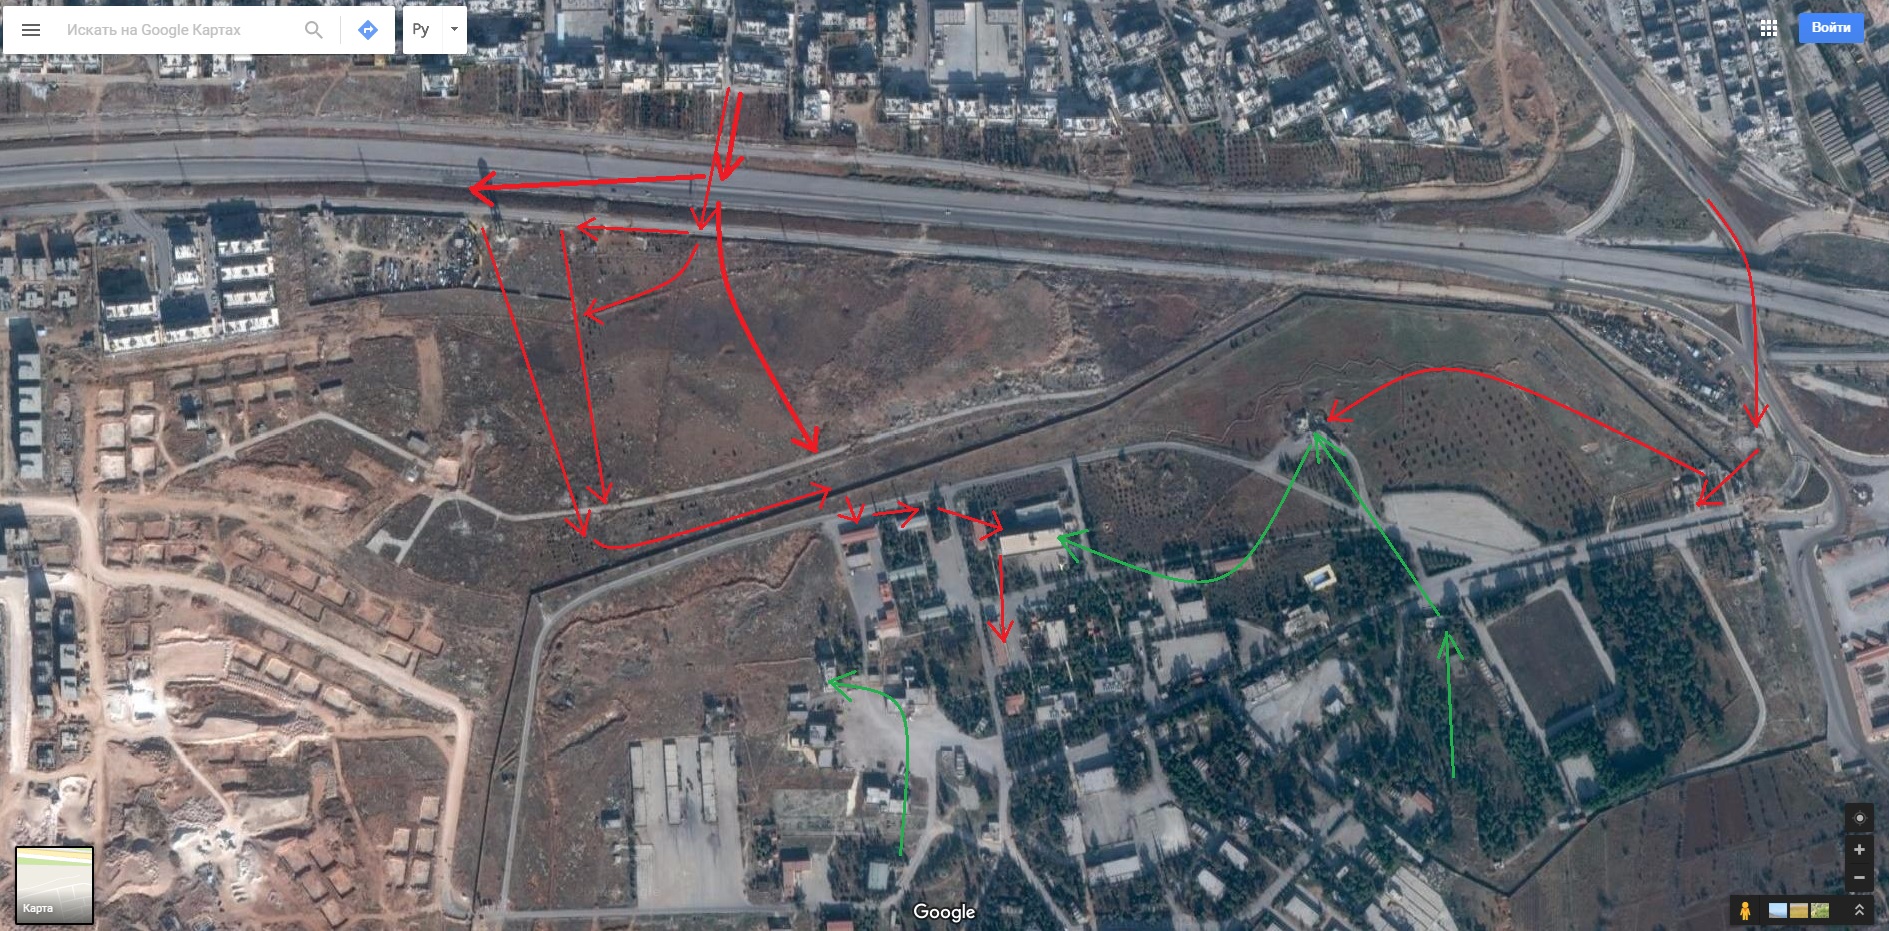
In the second part of the day, government forces made a counter-attack in order to take back the depot and the dining facility. They didn’t involve the BMP-1 vehicle (with a low skilled driver). So, infantry moved via the common way: via the road to the 1070 Apartment Project to the trench, then, to the fence and to the depot.
As it was noted in the previous part, troops were not rushing to enter the Ramouseh Artillery Base complex and were preferring to wait in slopes. A militant ATGM crew used this:
The missile hit one of the slopes between two groups of soldiers.
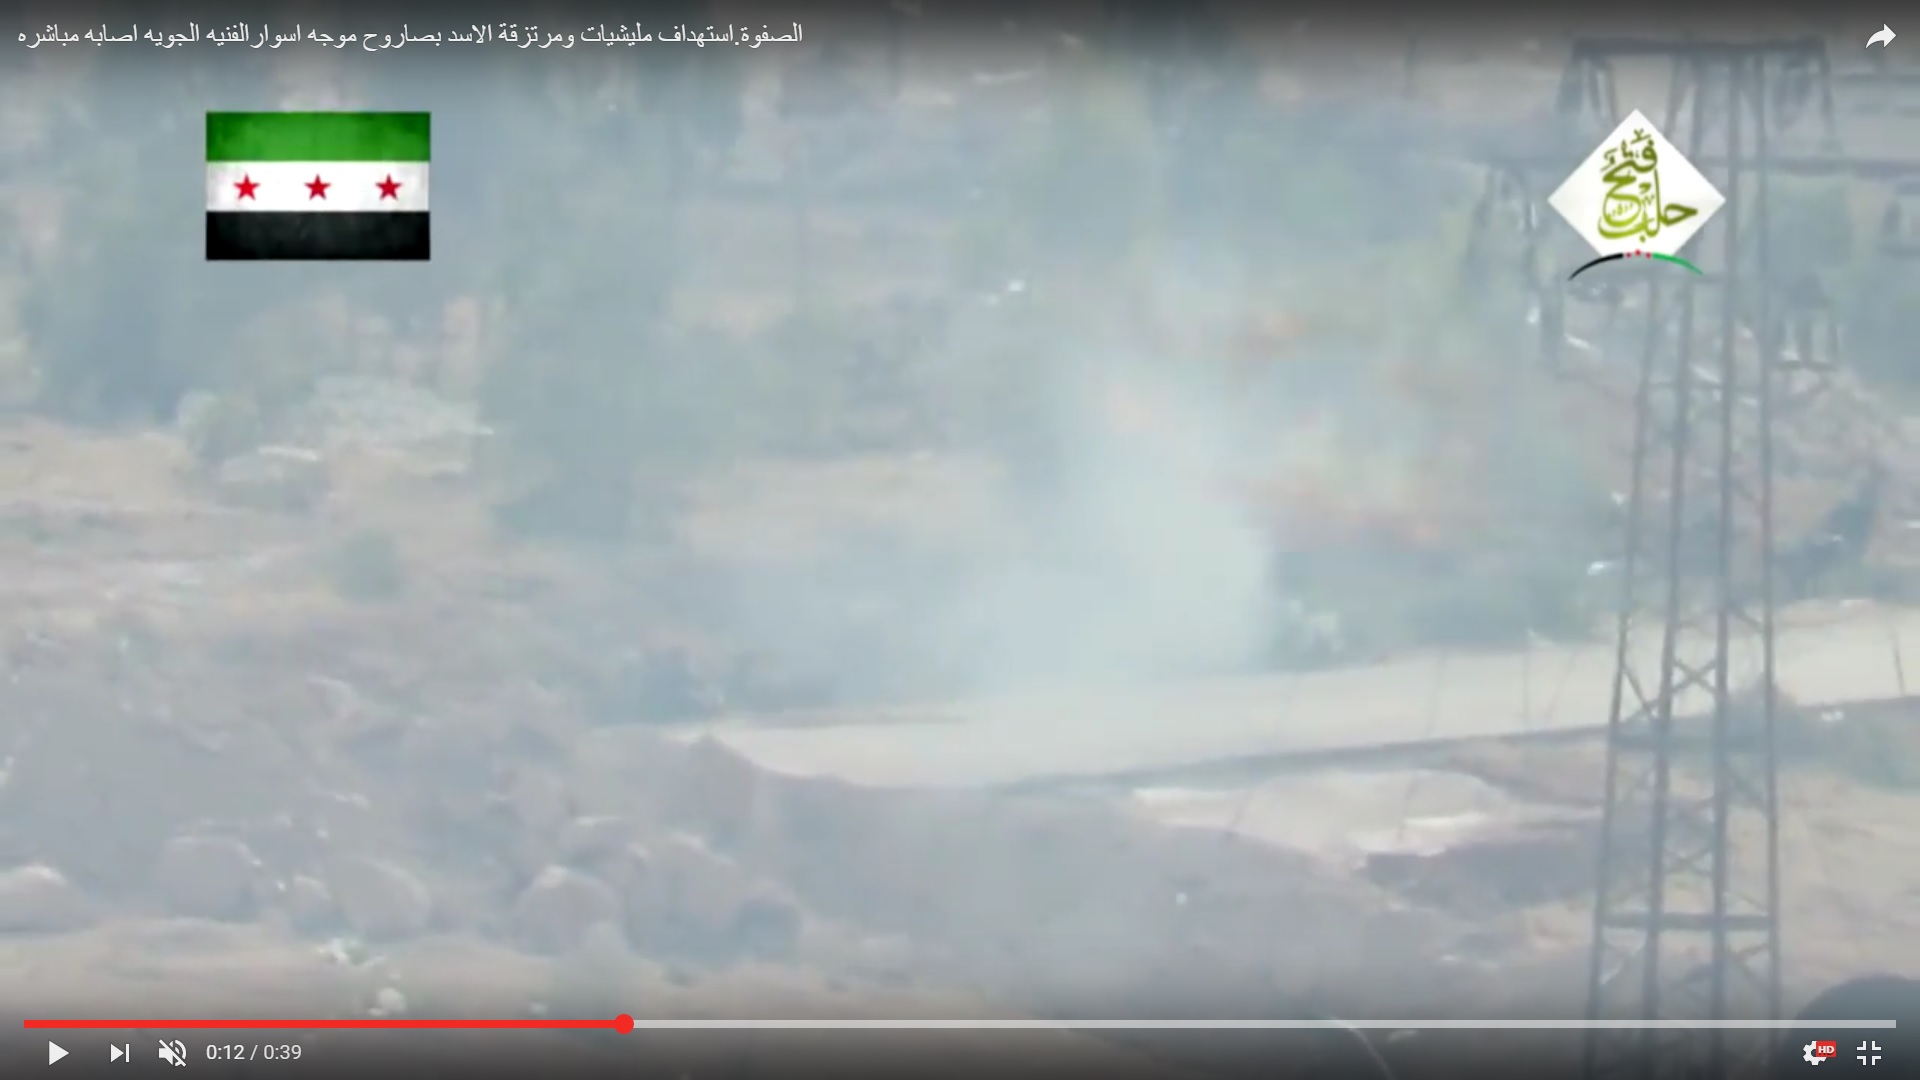
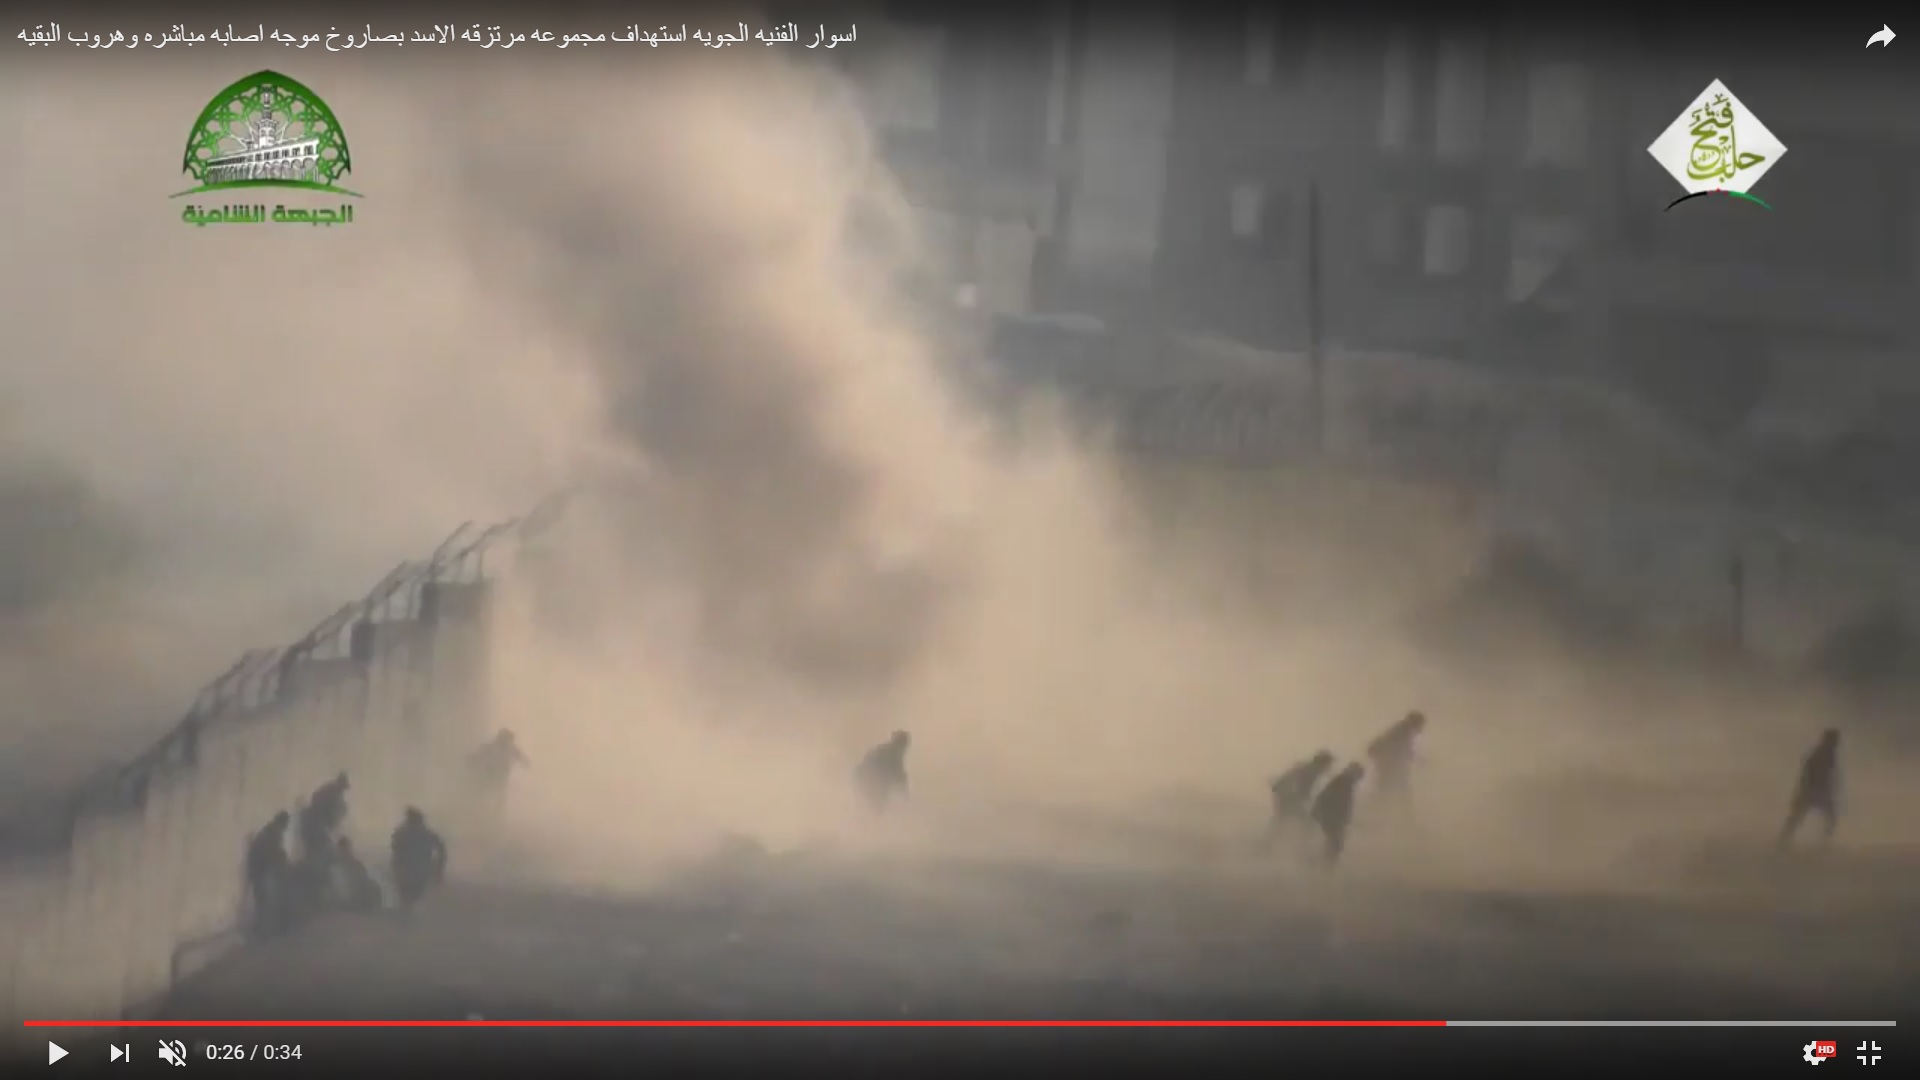
However, the missile created a big cloud.
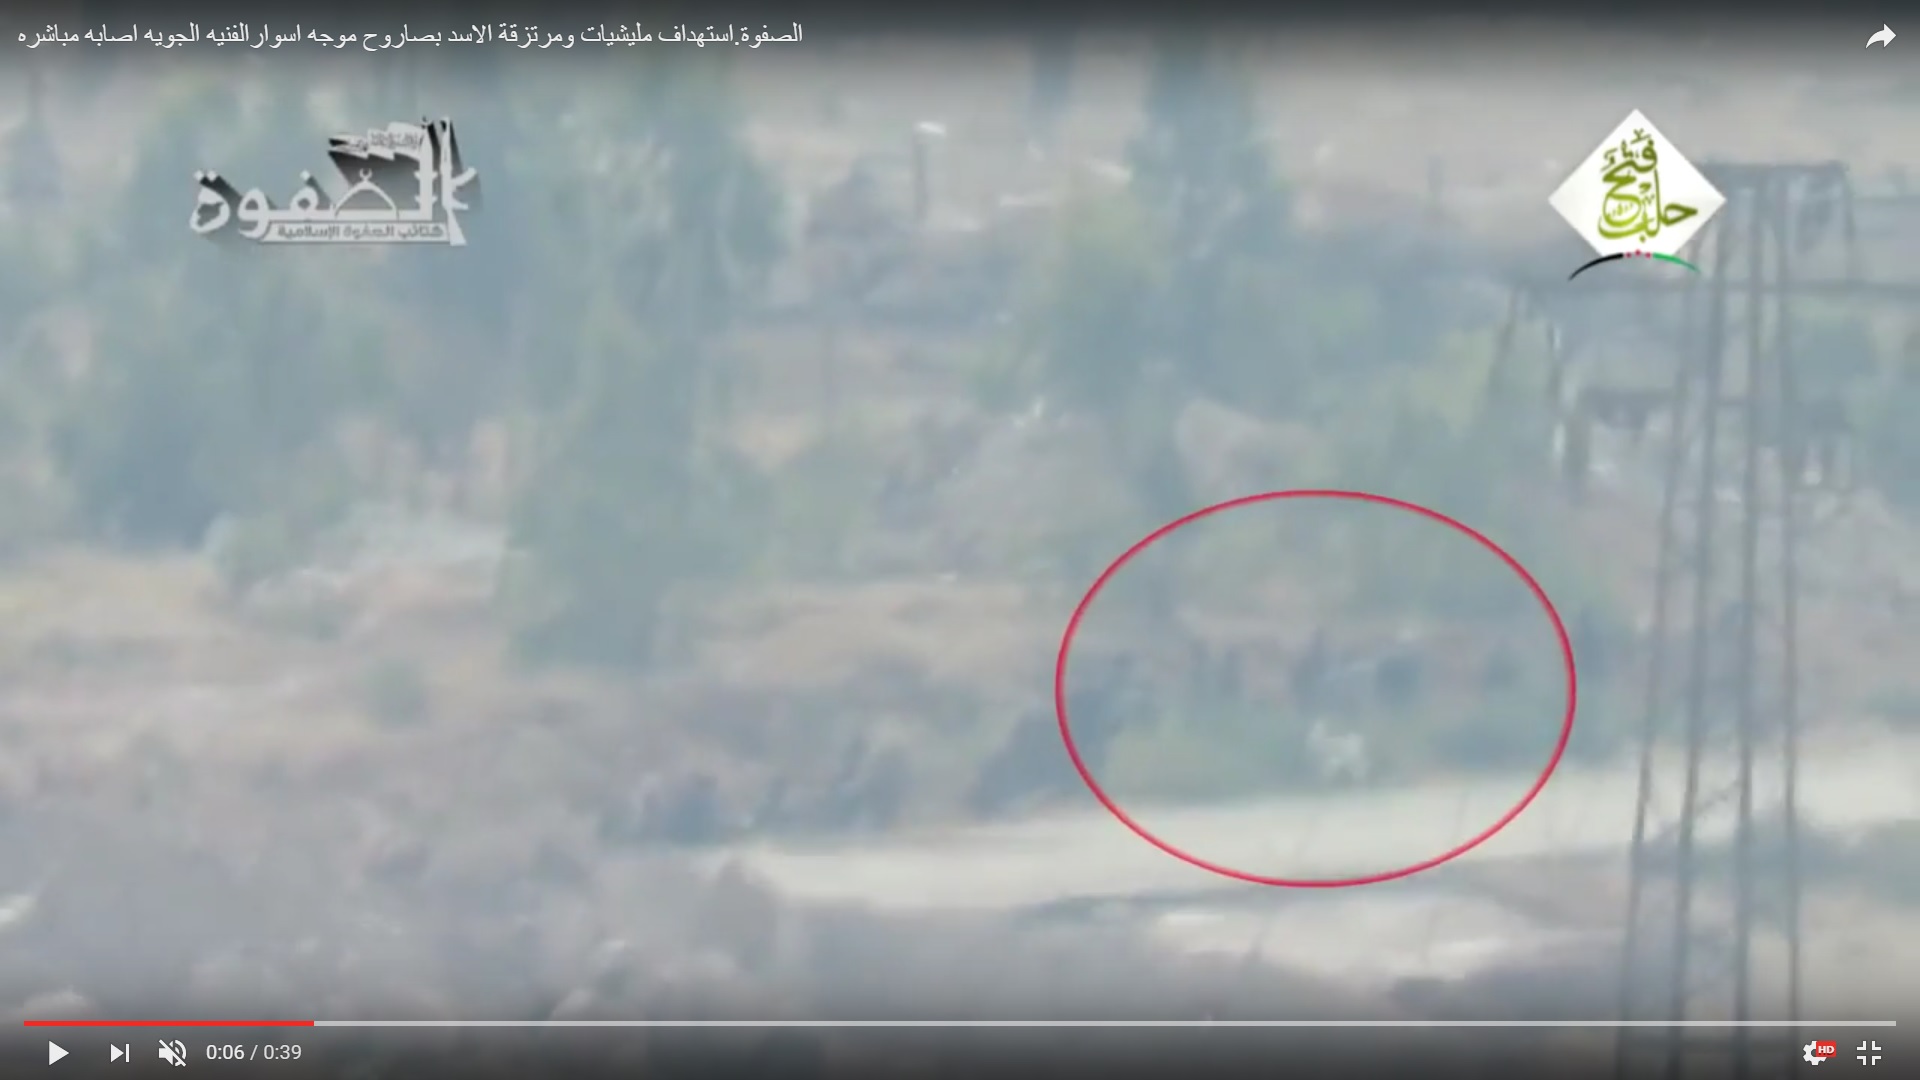
Government soldiers run away from the area. The T-55 burned on August 19 could be seen behind the video’s logo.
Troops that had reached the fence were not rushing (again) to enter the yard near the depot and the dining facility. 3 bodies of their counterparts (a result of the ATGM strike on August 19) were not enough to recall that this was a bad idea. The group of soldiers separated: A small number continued the advance. A bigger group remained near the bodies. Some soldiers even remained in the trench.
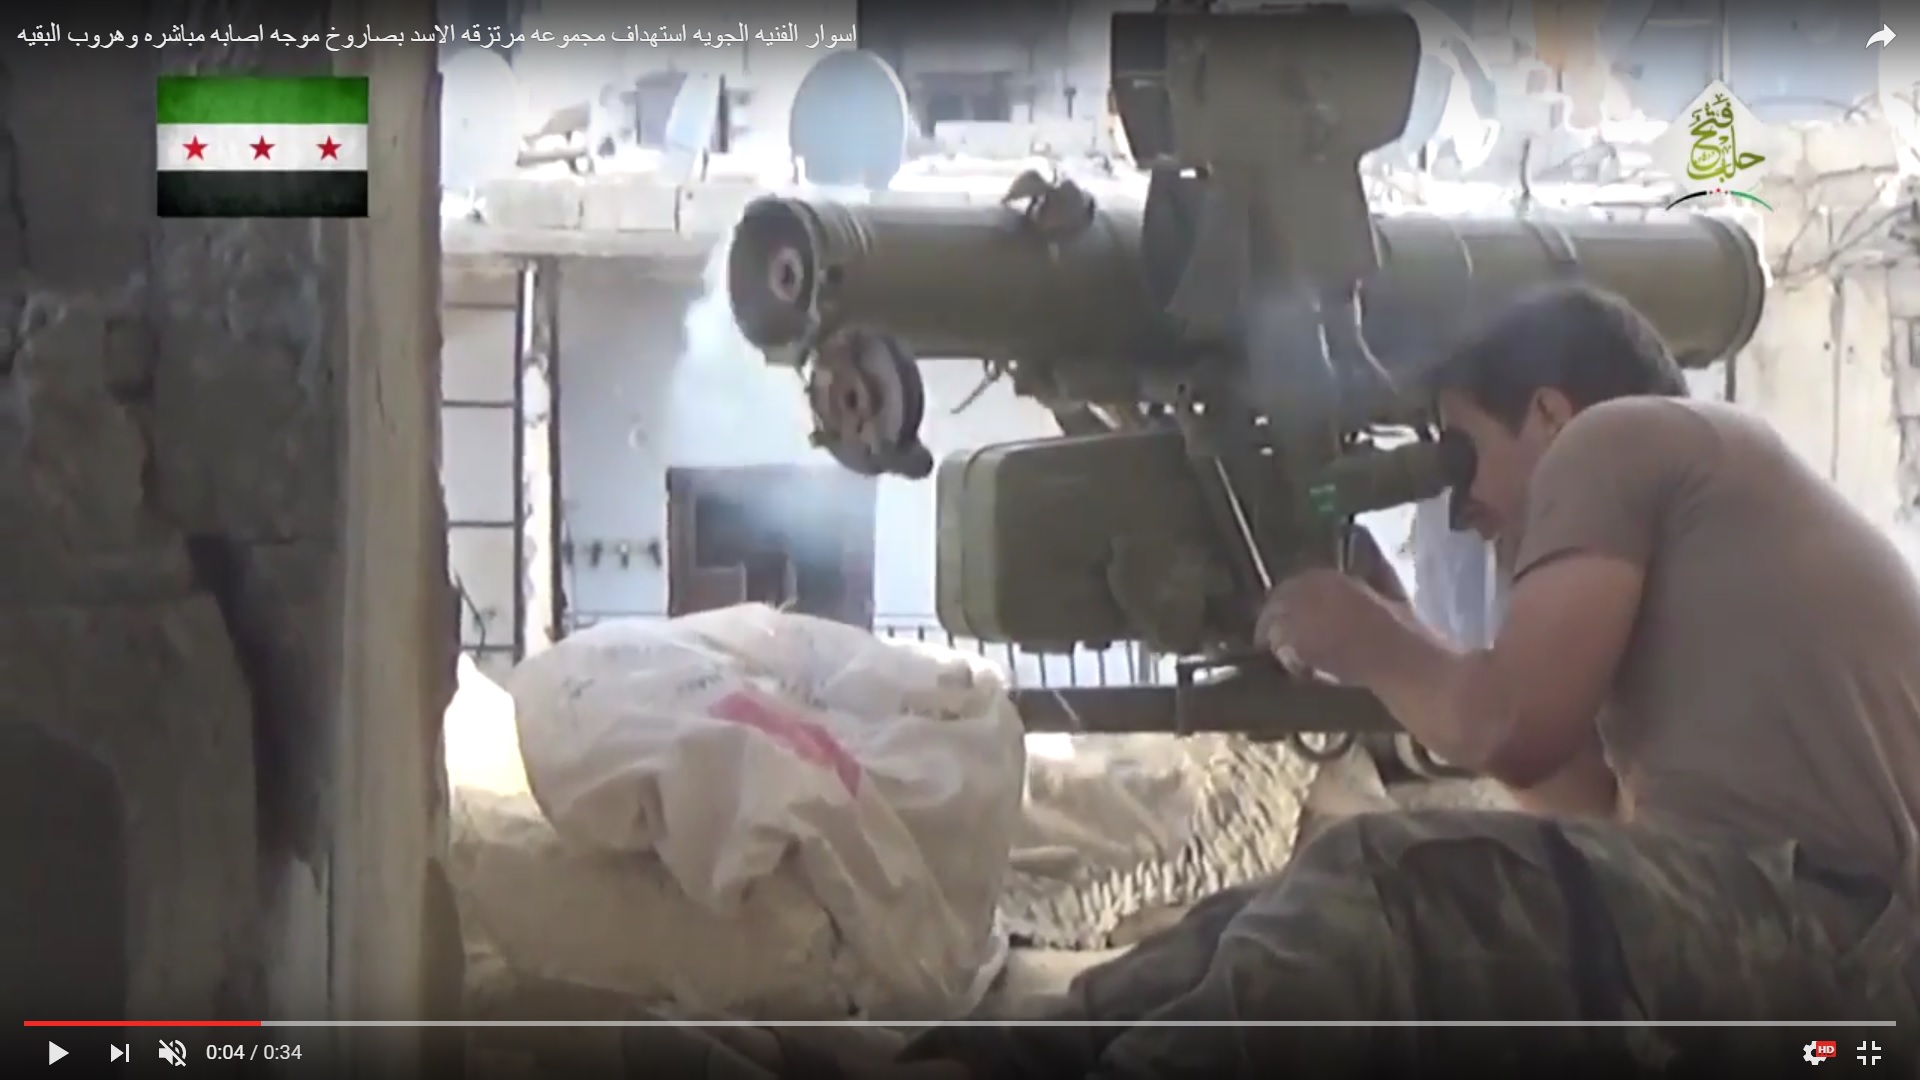
ATGM crewmembers were also at their place.
Militants used old footage to depict the moment of the missile launch.
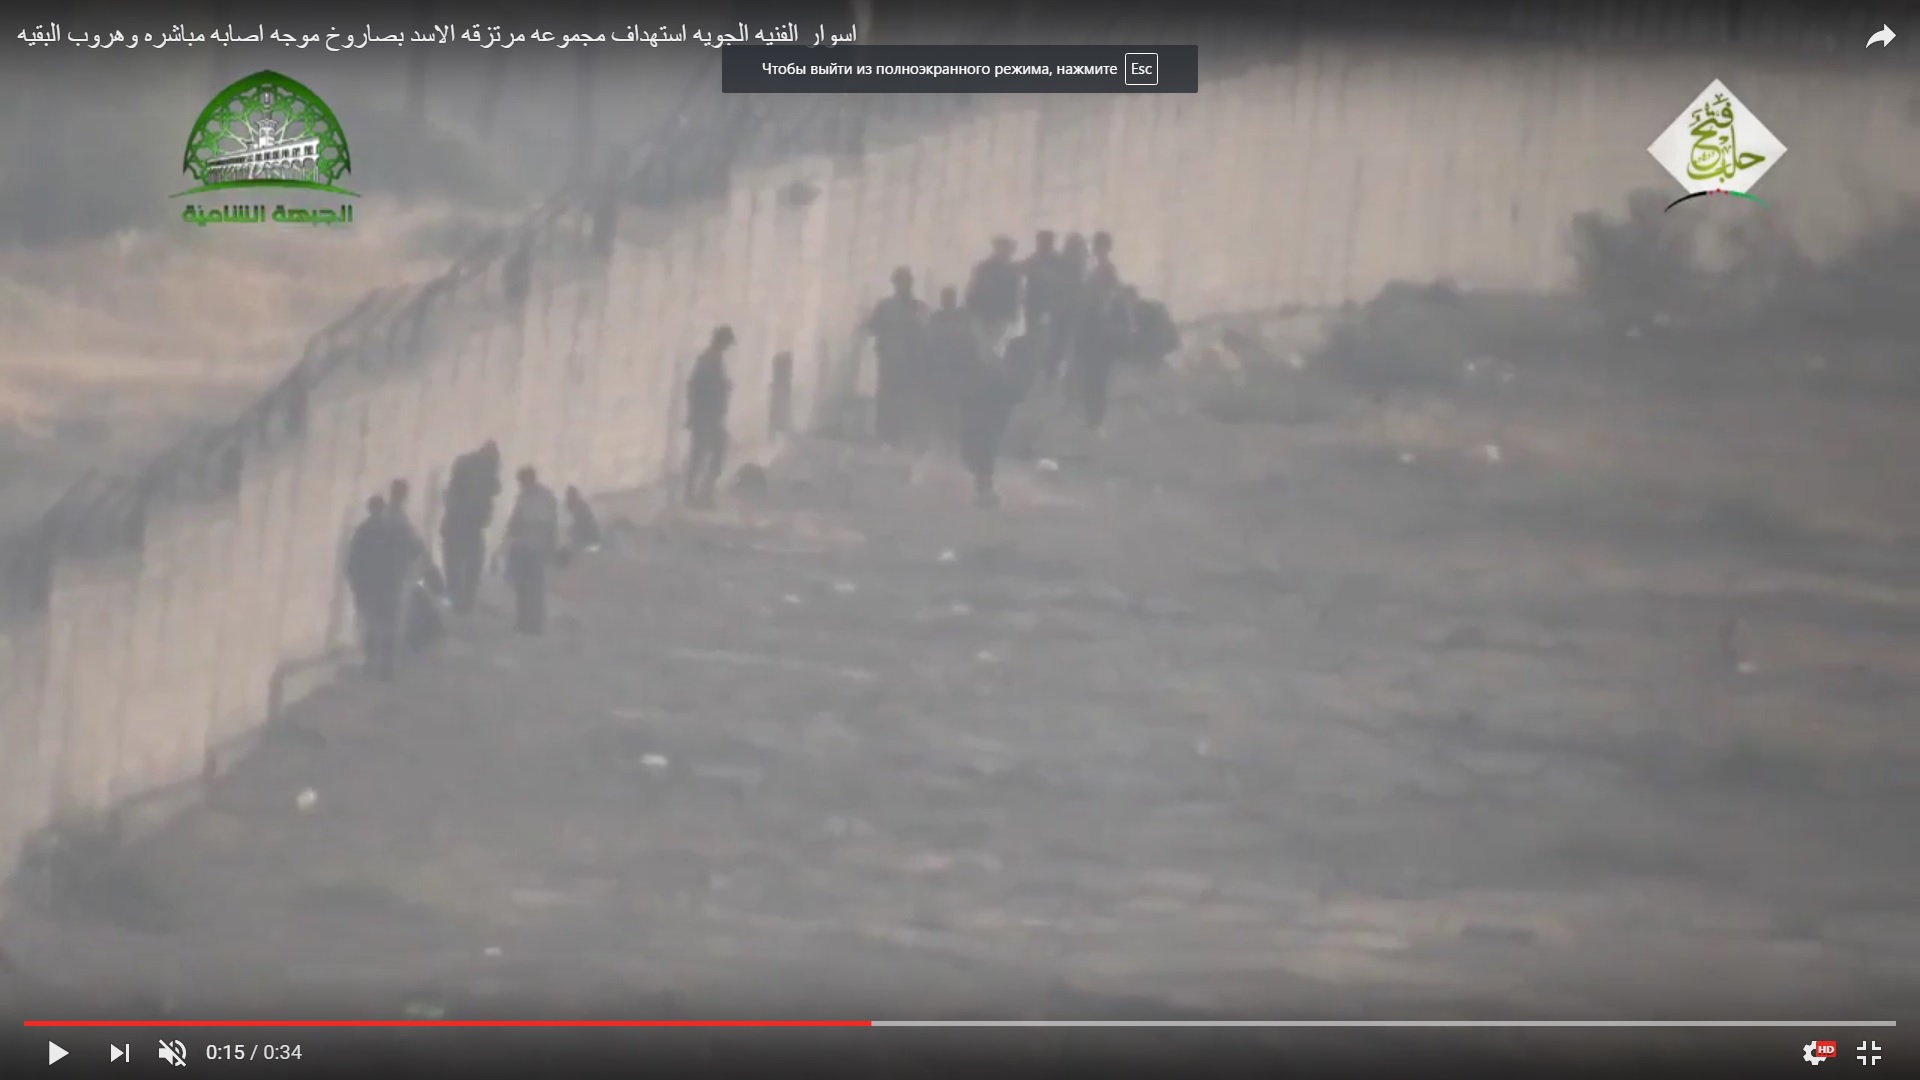
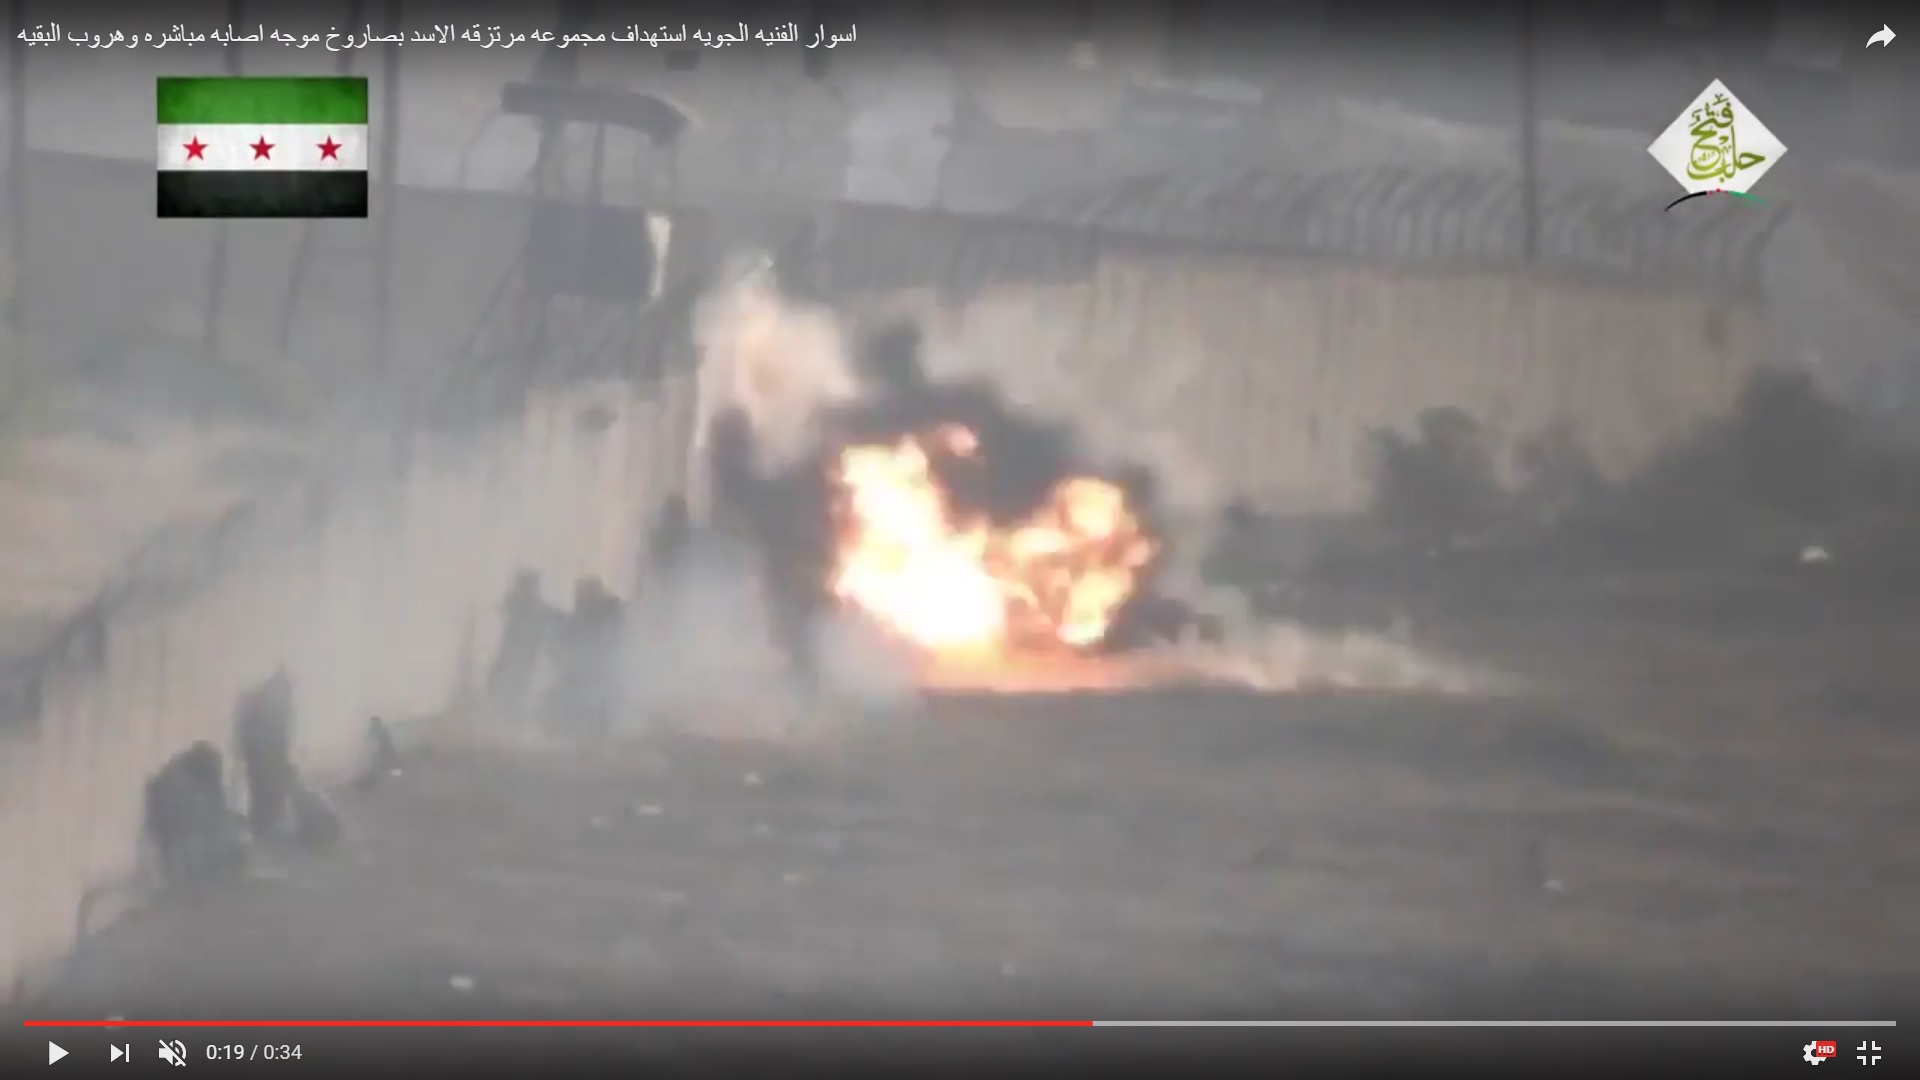
The missile hit a soldier near the fence.
A different look at the same incident.
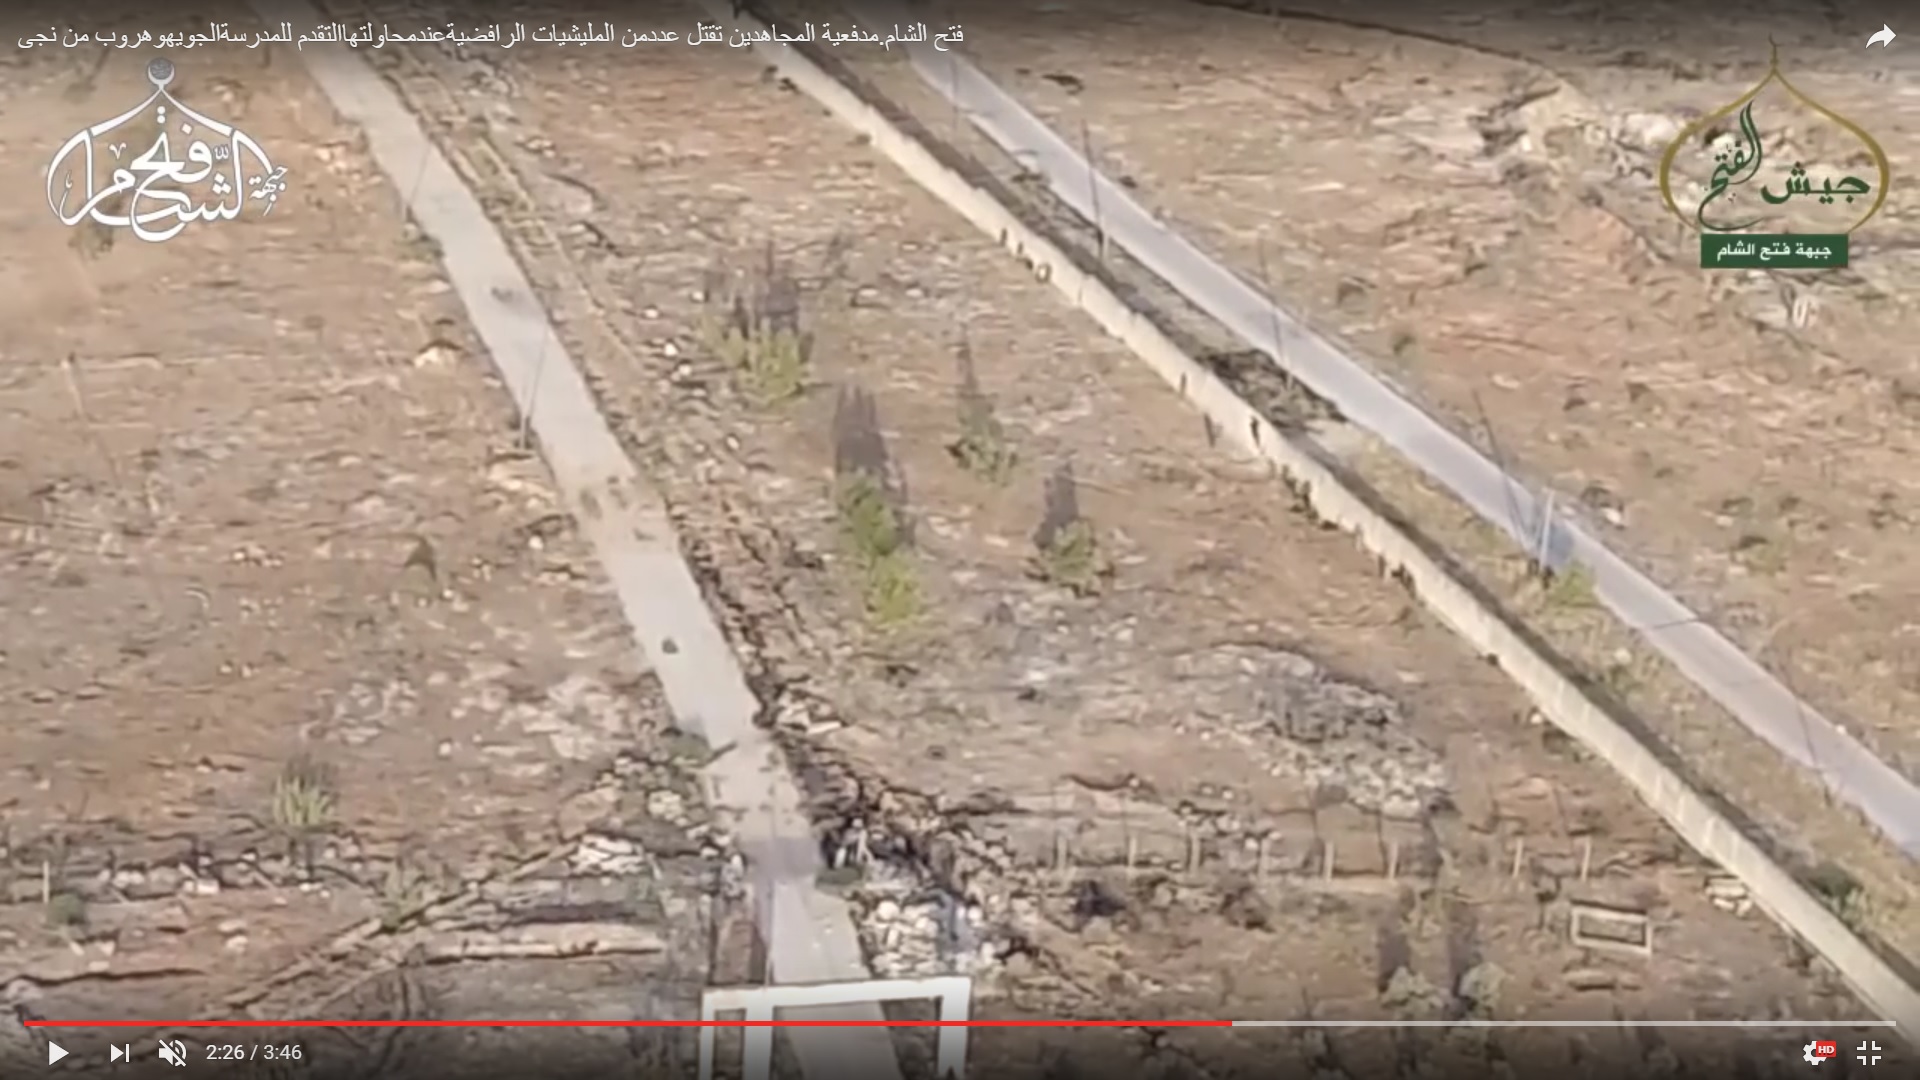
Soldiers were fleeing to trenches
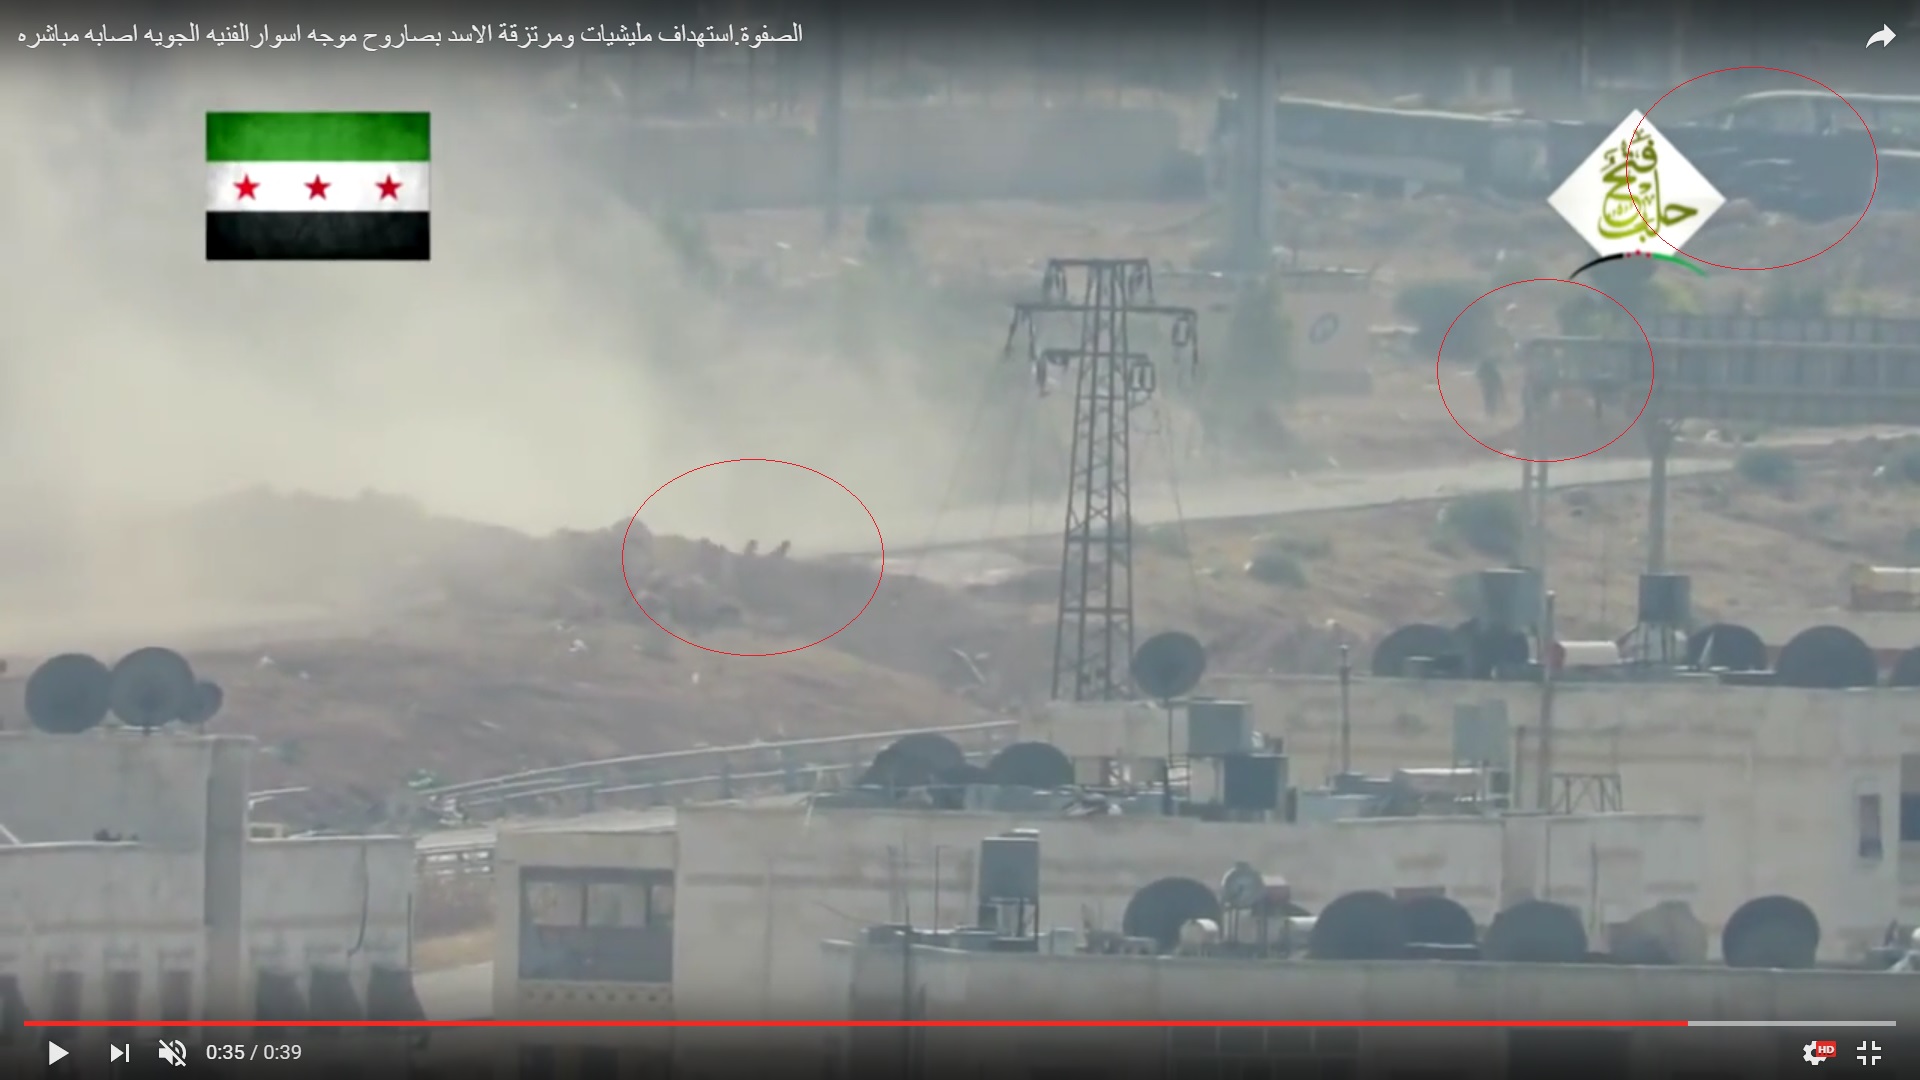
Militants shelled the area near the fence (red circles show dust clouds, a killed soldier and a trench).
1 soldier was killed and another one injured as a result of the ATGM launch. The injured soldier was near his killed counterpat but then moved to the trench.
However, government forces seized the depot building by the end of the day. The Yellow House became the target number one for the next day.


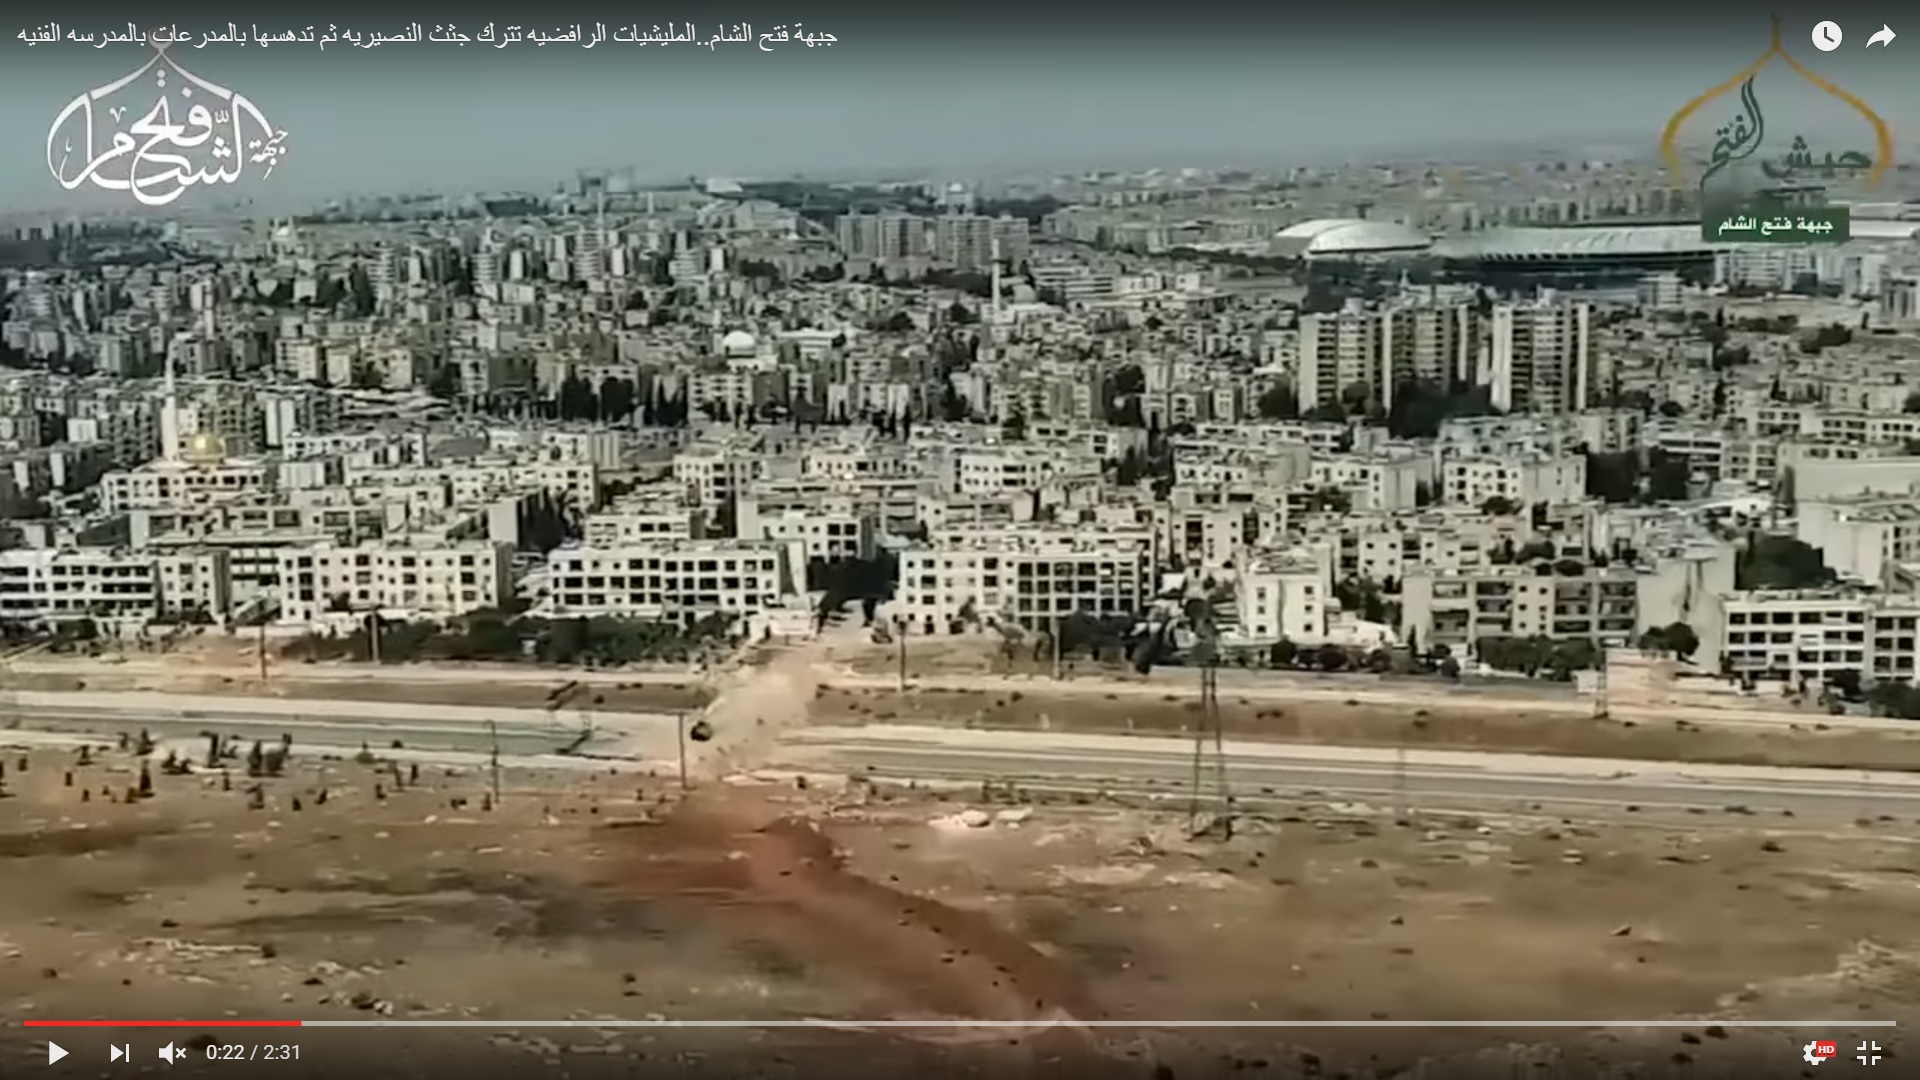

THANK YOU SF!
Was always wondering what was going on… Insightful…
Were any mistakes noticeable on the part of militants?
Dear friend, the author worked with the available footage. This series does not cover 100% of events that took place during the battle for the artillery academy complex. This is why it’s focused on government forces attempts to take the area. Mistakes of the “opposition” forces are another side of the story.